

Powernail Powernailer 50M Operation And Maintenance Manual
POWERNAIL® CO.
1300 Rose Road, Lake Zurich, IL 60047
Phone: 1-800-323-1653
Website: www.powernail.com
Operation and Maintenance Manual
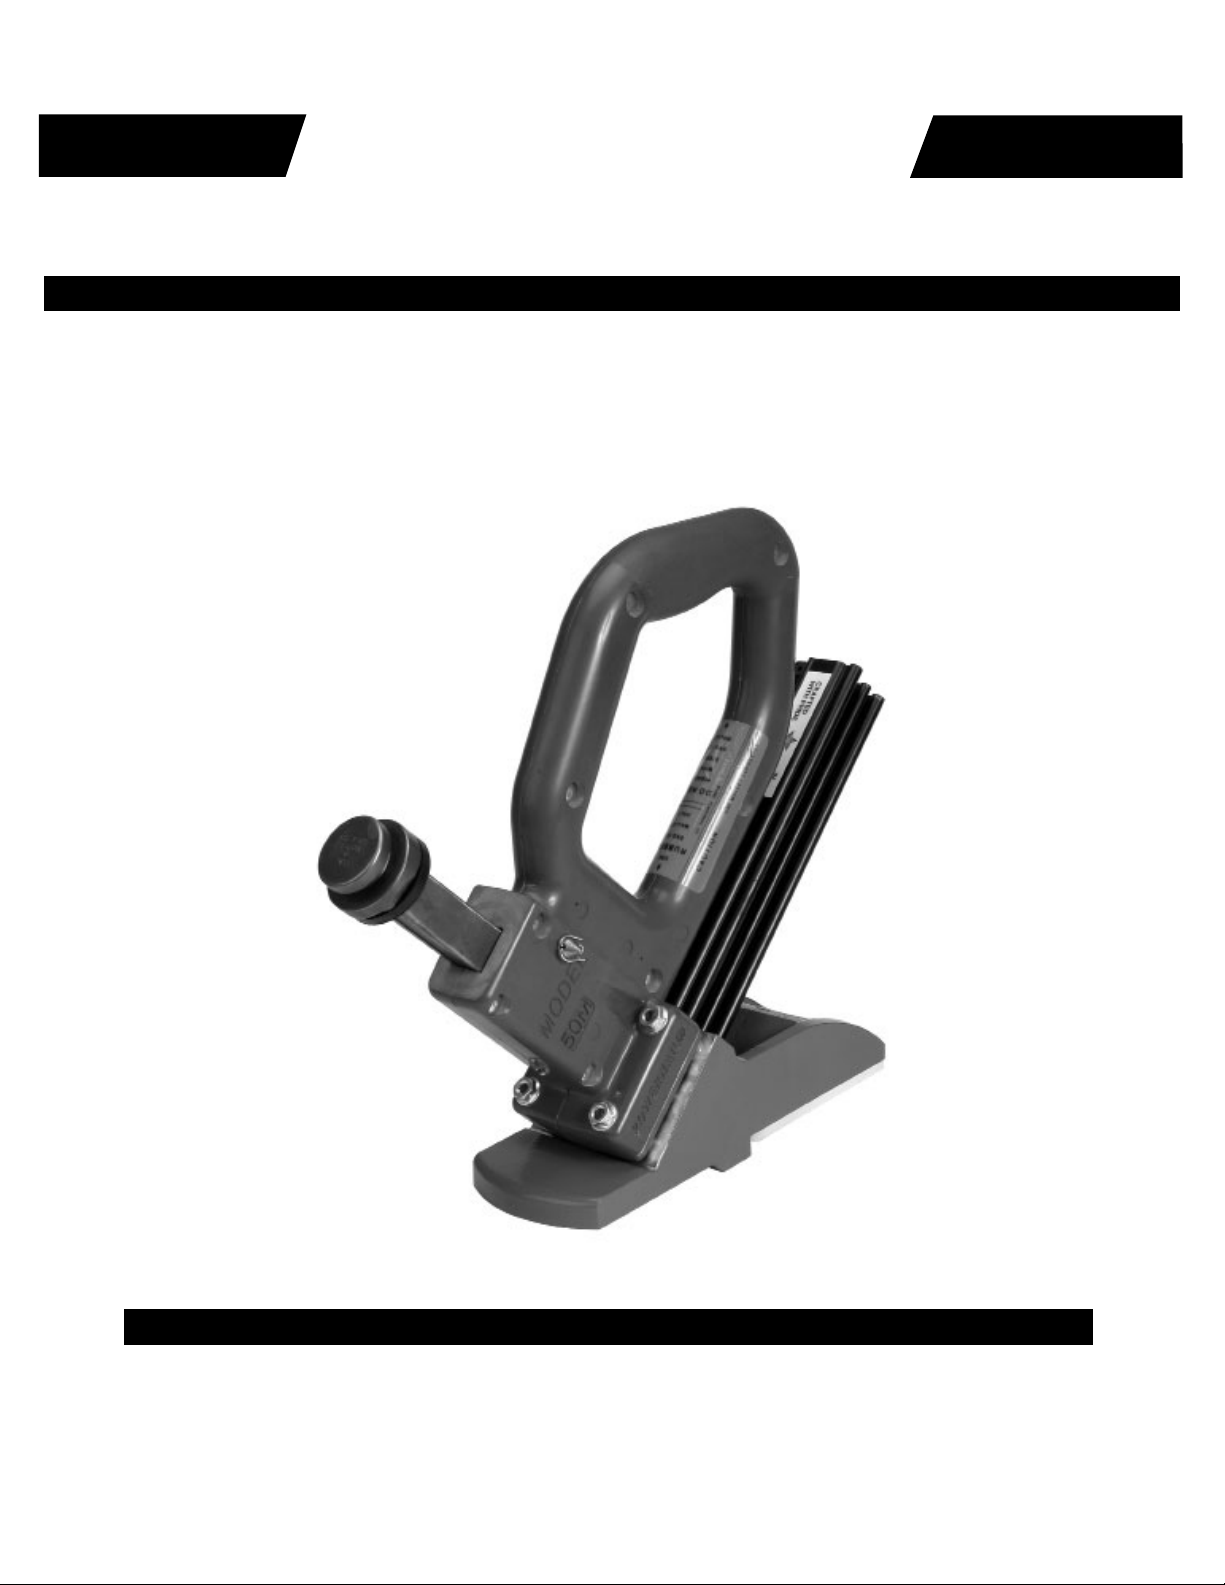
MODEL 50M MANUAL POWERNAILER
®
FOR TONGUE AND GROOVE FLOORING 3/8” TO 5/8”
WARNING
Read this manual before you use this Nailer. Follow all safety warnings and instructions.
If you are uncertain about the operation of the Nailer, call us directly at 1-800-3231653 for assistance or contact the closest Powernail Dealer for help. Please retain this
information for future reference.
03.25.08

2
TO PREVENT ACCIDENTAL INJURIES:
Always wear approved front and side EYE PROTECTION when
operating this Nailer. Others in the work area should also wear
front and side EYE PROTECTION. Eye protection will help
guard against fl ying nails and debris, which could cause severe
eye injury.
EAR PROTECTION may be required to prevent hearing
damage when there are high noise levels in the work area.
DO NOT USE THE METAL END OF THE MALLET TO
STRIKE THE PLUNGER, use the rubber capped end only.
Never place any part of the body in the discharge path of the
Nailer.
DESCRIPTION
The Model 50M Powernailer® is the latest model designed to
bring Powernail quality to a manual nailer. The Powernailer®
Model 50M—designed for use with only 1" , 1-1/4", 1-1/2" and
1-3/4" (18 gage) Powercleats® nails—provides several distinct
advantages.
The Model 50M can nail down 3/8", 1/2", 5/8" and some exotic
3/4" tongue and groove hardwood fl ooring through the use of
easy to change, no mar pad and shims. For a superior manual
Nailer, look to the company that has been the industry’s quality
leader for over 50 years, POWERNAIL® COMPANY, INC.
OPERATION
Read these instructions carefully before you use the Nailer.
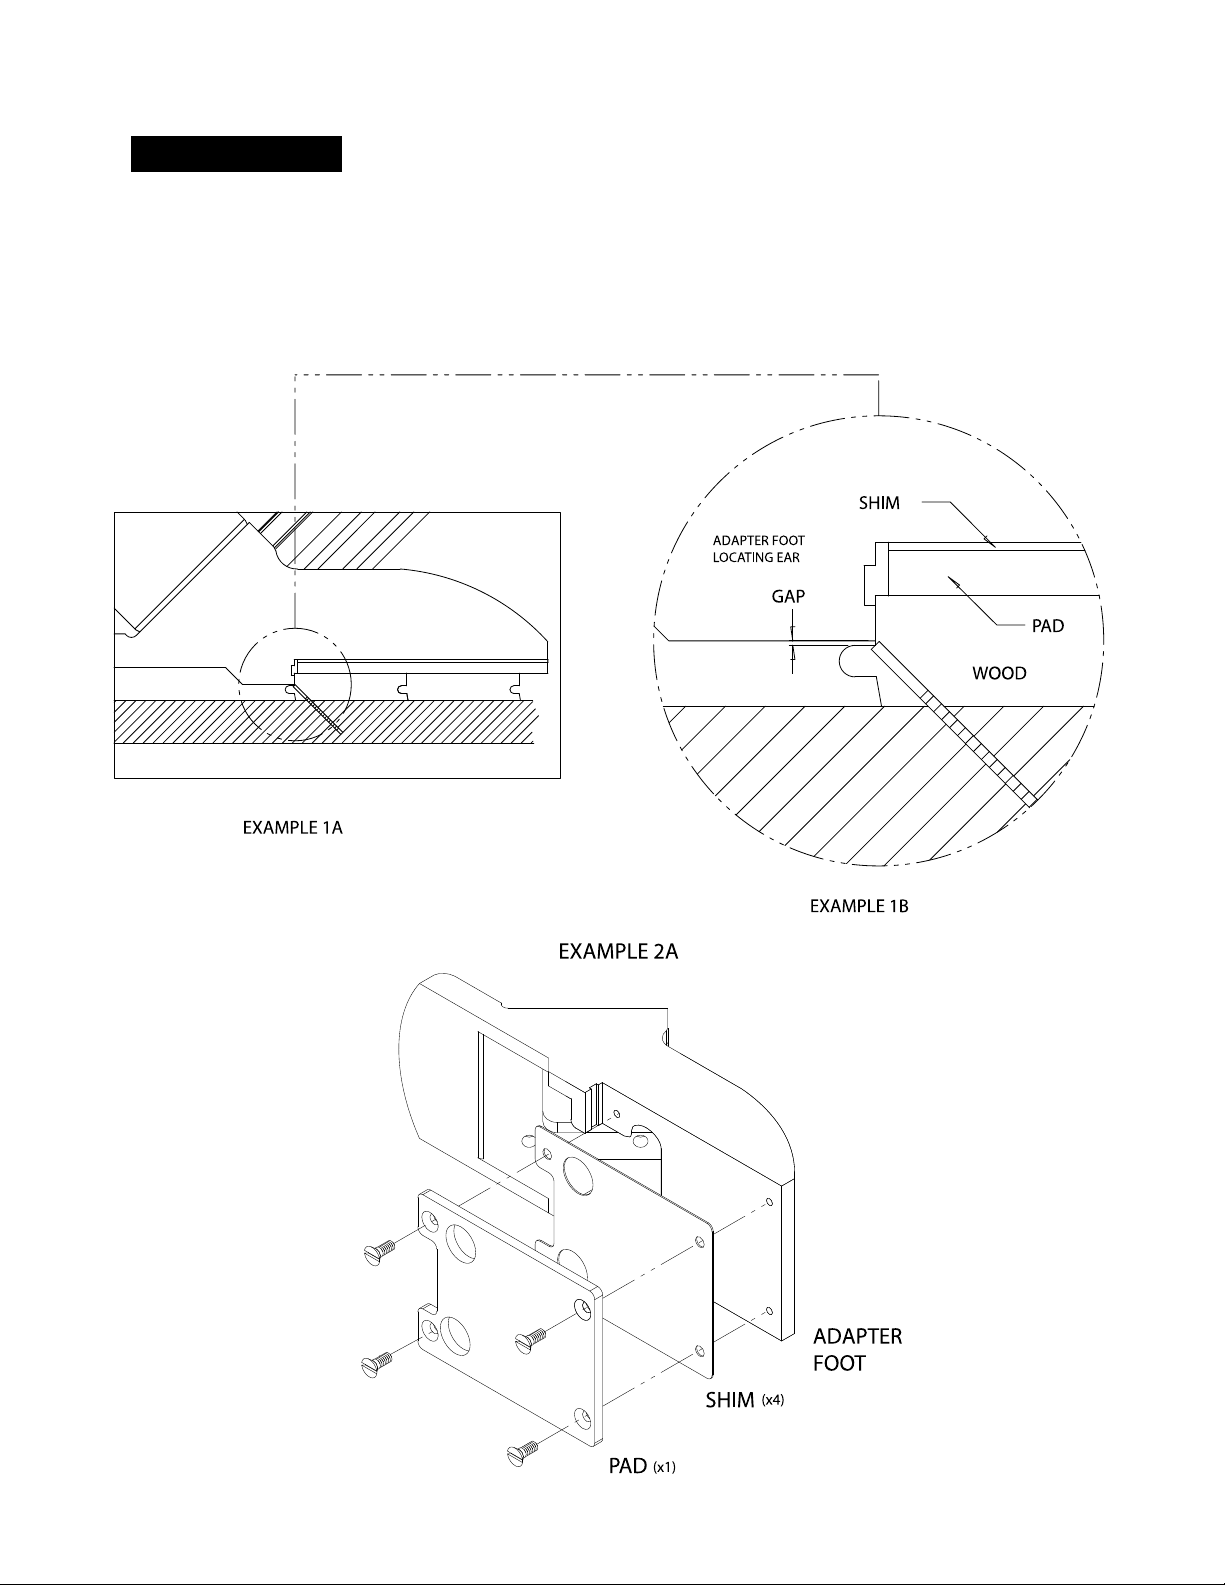
To use the Model 50M, simply place the nailer on the fl oor, pull
nailer back so locating ears catch the edge of the fl oor above
the tongue, strike the plunger with the rubber capped mallet end
and let the Nailer drive and set the nail at the correct 45 degree
angle. Adjust nailer by adding shims between the adapter foot
and pad until there is a slight gap between the tongue of the
wood and the locating ears of the adapter foot. See example 1B
and 2A.
To Load Model 50M
Place up to one stick (100) of Powercleats® (18 gage) nails, 1" ,
1-1/4" , 1-1/2" or 1-3/4" long into the nail channel feed slot. Pull
back the spring loaded nail pusher over the nails until it contacts
the last nail and slowly release the nail pusher.
To Unload
To remove nails from the nail channel, pull the two round knobs
on the nail pusher together. This will clear it from the nail path.
Then turn the nailer over so the nails slide out of the channel.
3
WARNING
nails, which are specifi cally designed for use in the Model 50M Powernailer. Powercleats®
(18 gage) nails are available in 1", 1-1/4", 1-1/2" or 1-3/4" lengths to accommodate 3/8",
1/2", 5/8" and some exotic 3/4" tongue and groove hardwood fl ooring. Contact your
Powernailer® dealer for Powercleats® nails.
Do not use any nails other than Powernail Powercleats® (18 gage)
 Loading...