

PowerKiss Wire-free Charging User Manual

PowerKiss
Wire-free
Charging

PowerKiss User Guide
Version 2.0 (ZM1003)
© PowerKiss 2011

PowerKiss User Guide
Thank you for choosing PowerKiss. PowerKiss technology
provides a simple, efficient and user-friendly way to keep your
dear devices charged.
With PowerKiss, you represent state-of-the-art technology and
design. Imagine getting rid of low batteries and the annoying,
tangled wires from tabletops at the same time! Step into the
future with us.
Maija Itkonen, CEO of PowerKiss
Yours,

Contents
PowerKiss wire-free charging 5
Ring 5
Heart 5
How to use PowerKiss wire-free charging 6
STEP I - Attach the Ring 6
STEP II - Place Ring on the Hotsp ot 7
STEP III - Red means charging 8
How to choose the right Ring for your device 9
MicroUSB Ring 9
Nokia Ring 9
iRing 9
Ring and Hotspot indication lights 10
Troubleshooting 11
1. My device does not start to charge 11
2. My device stops charging 13
Useful things to know 15
Safety instructions 16
1. Safety distances 16
2. General usage instructions 17
3. General safety instructions 18
Technical Specifications 19
The Heart 19
The Ring 19
Official power supplies 19
Regulatory Compliance Information 20
FCC Compliance Statement (United States) 20
EU declaration of conformity 20
Limited manufacturer's warranty for PowerKiss devices 21
Correct disposal of this product 23

5
PowerKiss wire-free charging
The essence of wire-free charging is the pairing of Heart and
Ring. The Heart is the transmitter and the Ring is the receiver and
together they enable wire-free charging on almost any surface.
Ring
The Ring is a small accessory that is plugged into handheld
devices, such as mobile phones or mp3-players. As soon as the
Ring is plugged in, the device is ready to be a part of a wire-free
energy transaction.
Heart
To turn a surface into a wire-free charging platform it first needs
to be given a Heart. Like most, this Heart is also hidden except
for Hotspot to indicate that it is ready to charge a mobile device
wearing a Ring. Whenever the device with Ring is on this Hotspot,
the wire-free charging begins.
I.T.E.
Wire-free Charging Transmitter
Inpu t: 12 ±0 .2 V DC / 1.0 A / 12 W
Indoo r u se o nly
Version: 2.1 S/N : A00 500
Heart
+
-
FCC ID: ZMI-WCT12W
Use only with power supplies listed in the manual
6
How to use PowerKiss wire-free charging
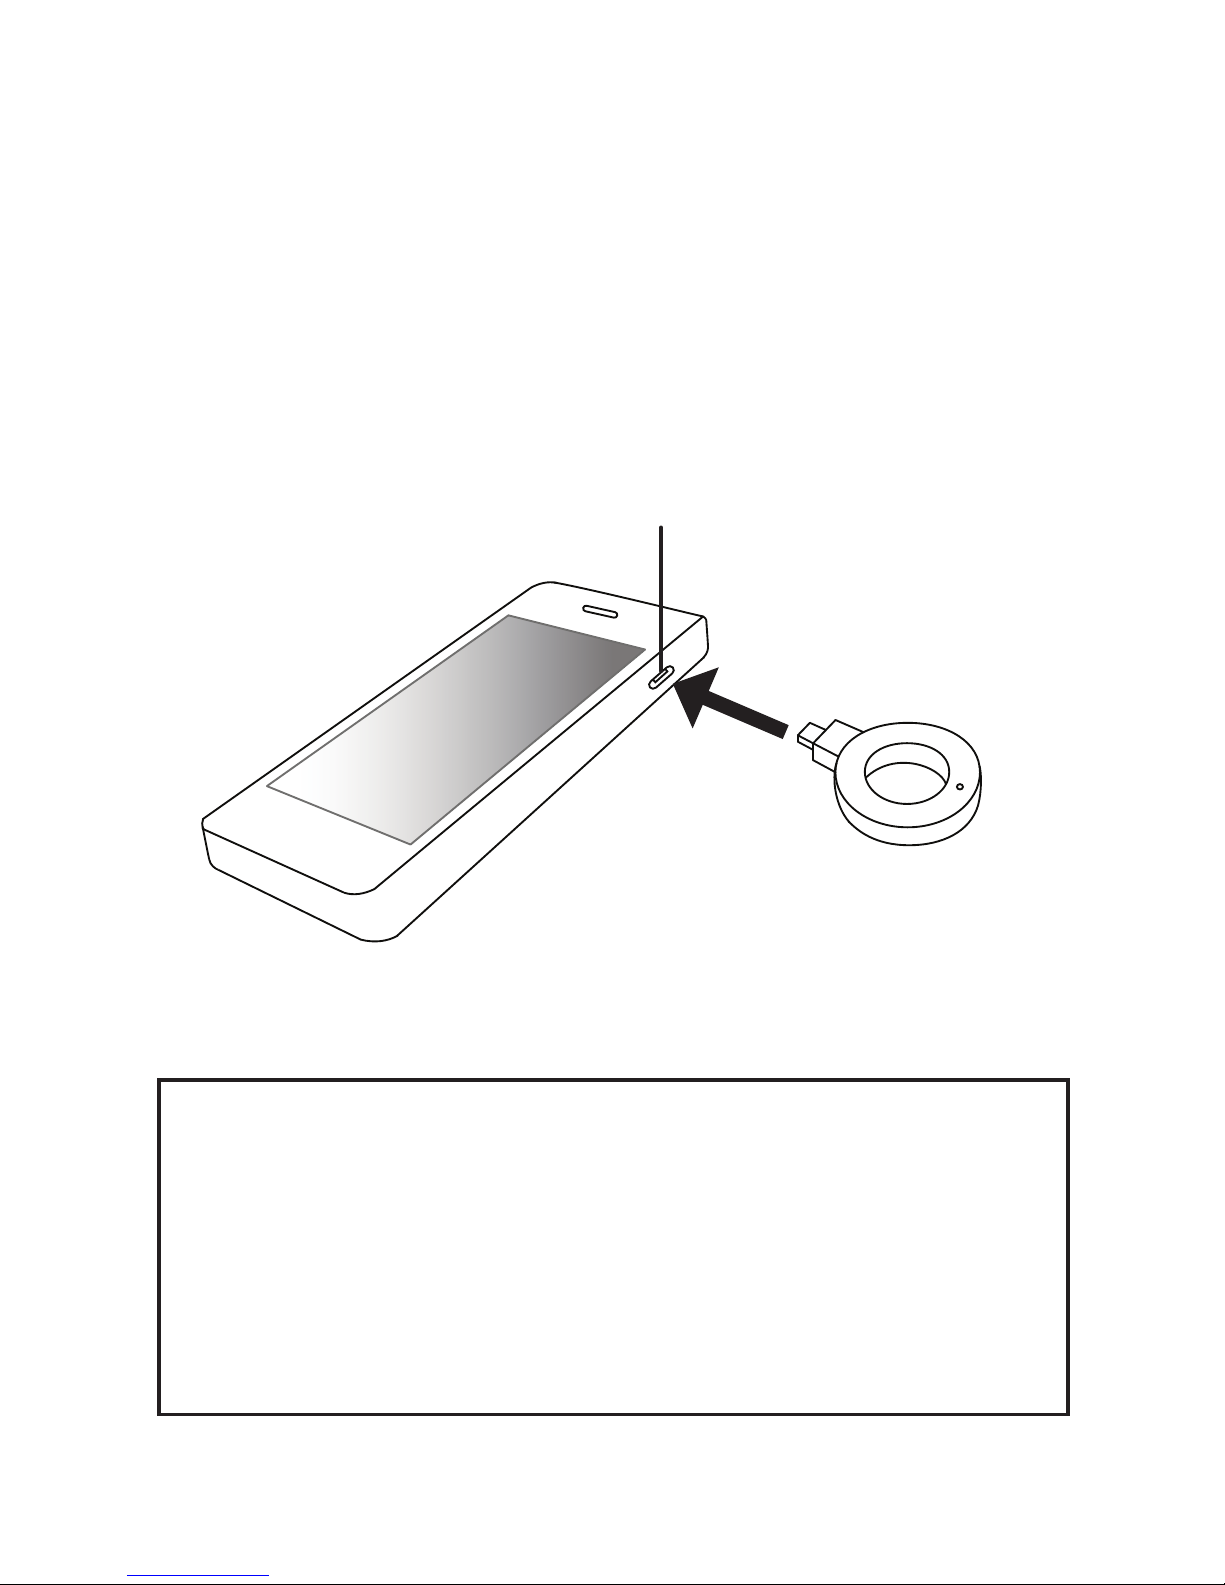
STEP I - Attach the Ring
Connect the Ring to your electronic device through the charger
connector port.
Ring
• There are different Rings, please confirm that you are using
the right model-specific Ring
• Please confirm that the port you are using for charging is
power-enabled, some USB ports do not transfer power
• The devices without a PowerKiss Ring will not charge on
the charging area
charger port
7
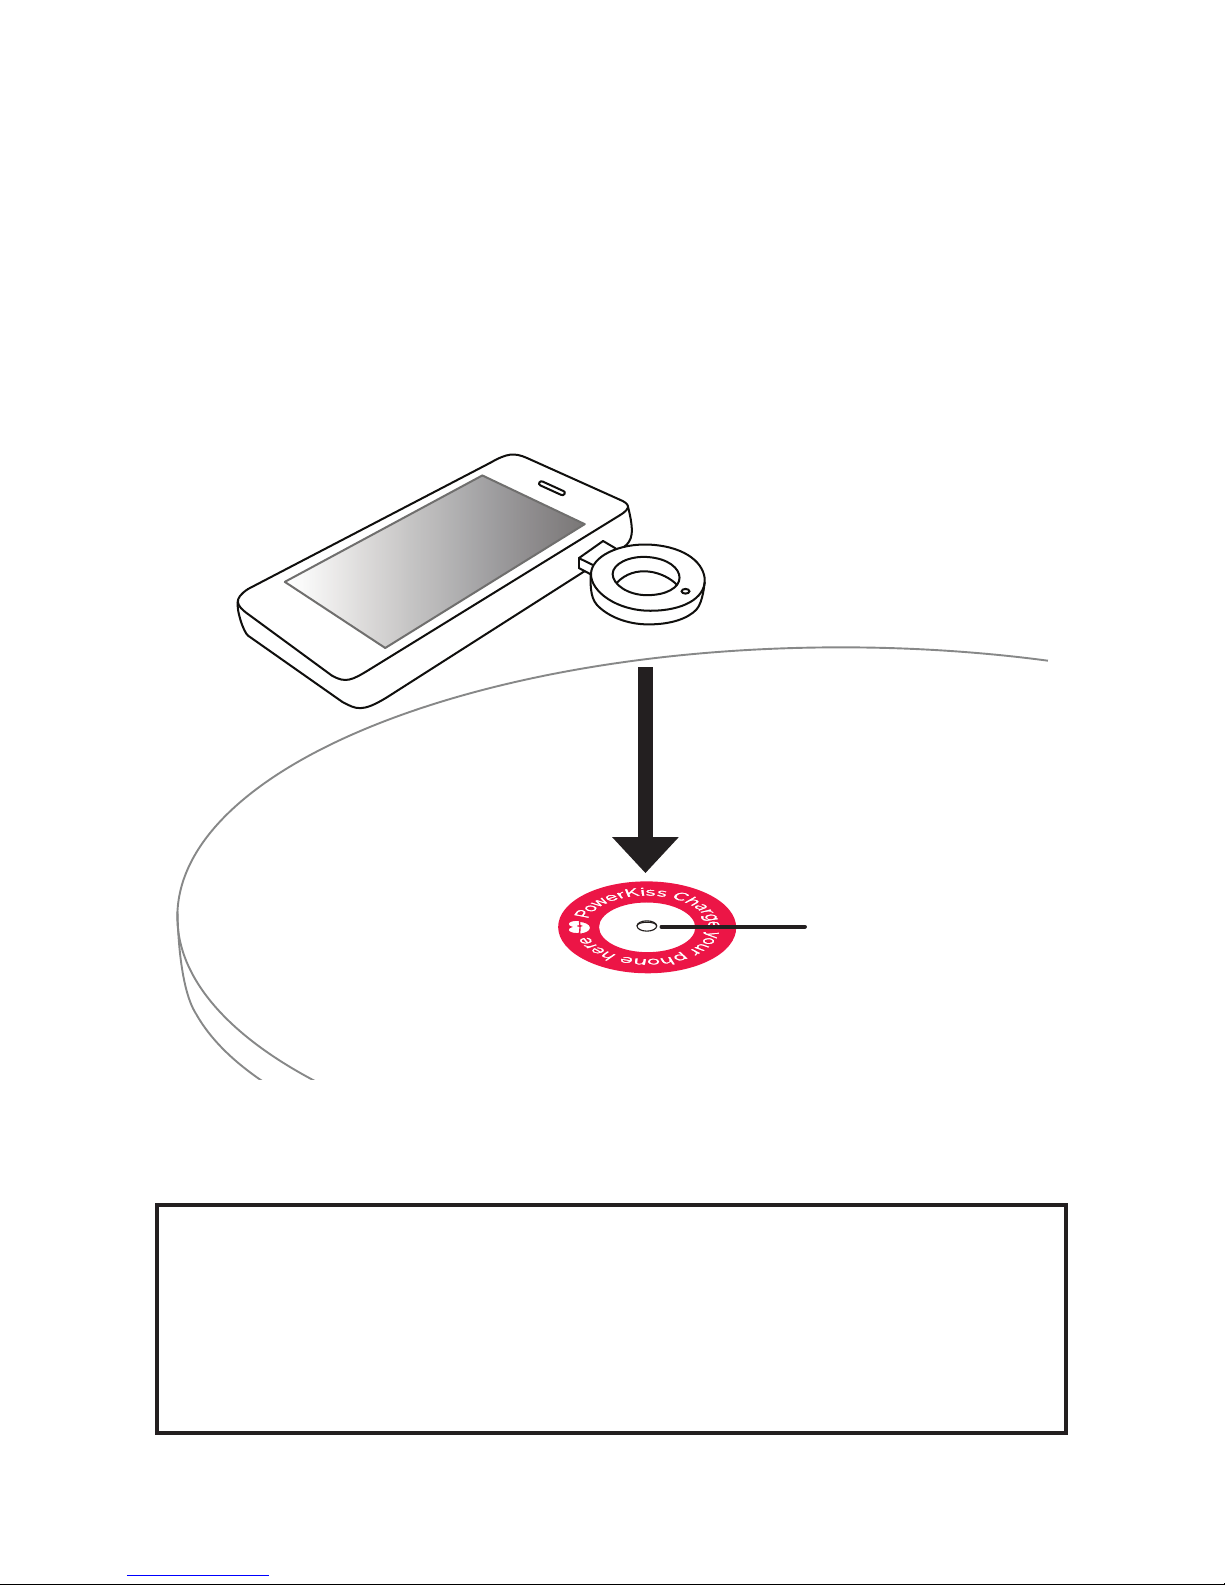
STEP II - Place Ring on the Hotspot
Place your device down on the charging area so that the Ring is
inside the PowerKiss Hotspot. The indication light of the Hotspot
should be visible through the hole of the Ring.
PowerKiss Hotspot
• The indication light of the Hotspot should be white before
placing the device to charge, if not, please wait for a few
seconds for the light to change
• The installations of PowerKiss system might vary
white light
8
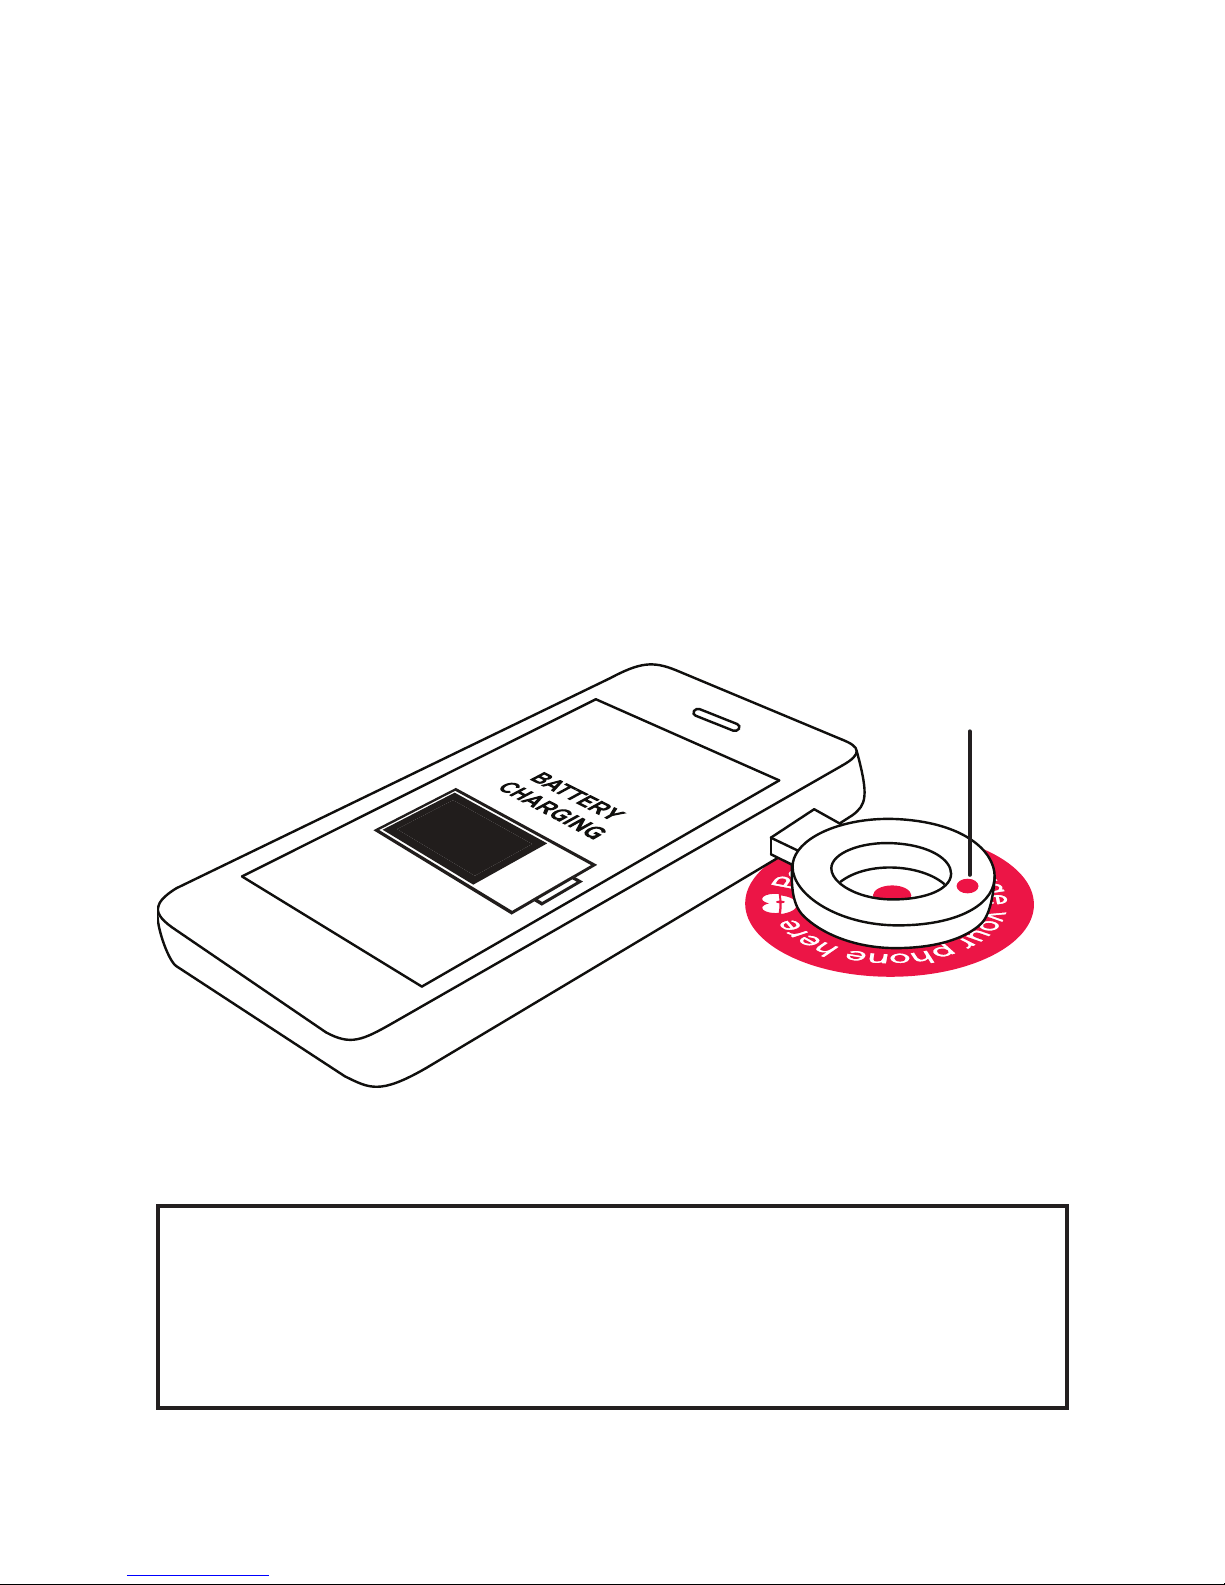
STEP III - Red means charging
As the Heart inside the furniture recognizes the Ring, the
Hotspot’s indication light turns from white to red. The charging
starts as a red light appears also on the Ring.
When the battery is detected to be full, the charging ends.
In this situation, the indication light on the Hotspot turns to
green and the light on the Ring goes out. In some cases the light
remains red if the device is drawing maintenance power.
• The red light on the Ring indicates ongoing charging and
the red indication light on the charging area indicates that the
Ring has been recognized by the Hotspot (placed correctly)
red light
 Loading...