

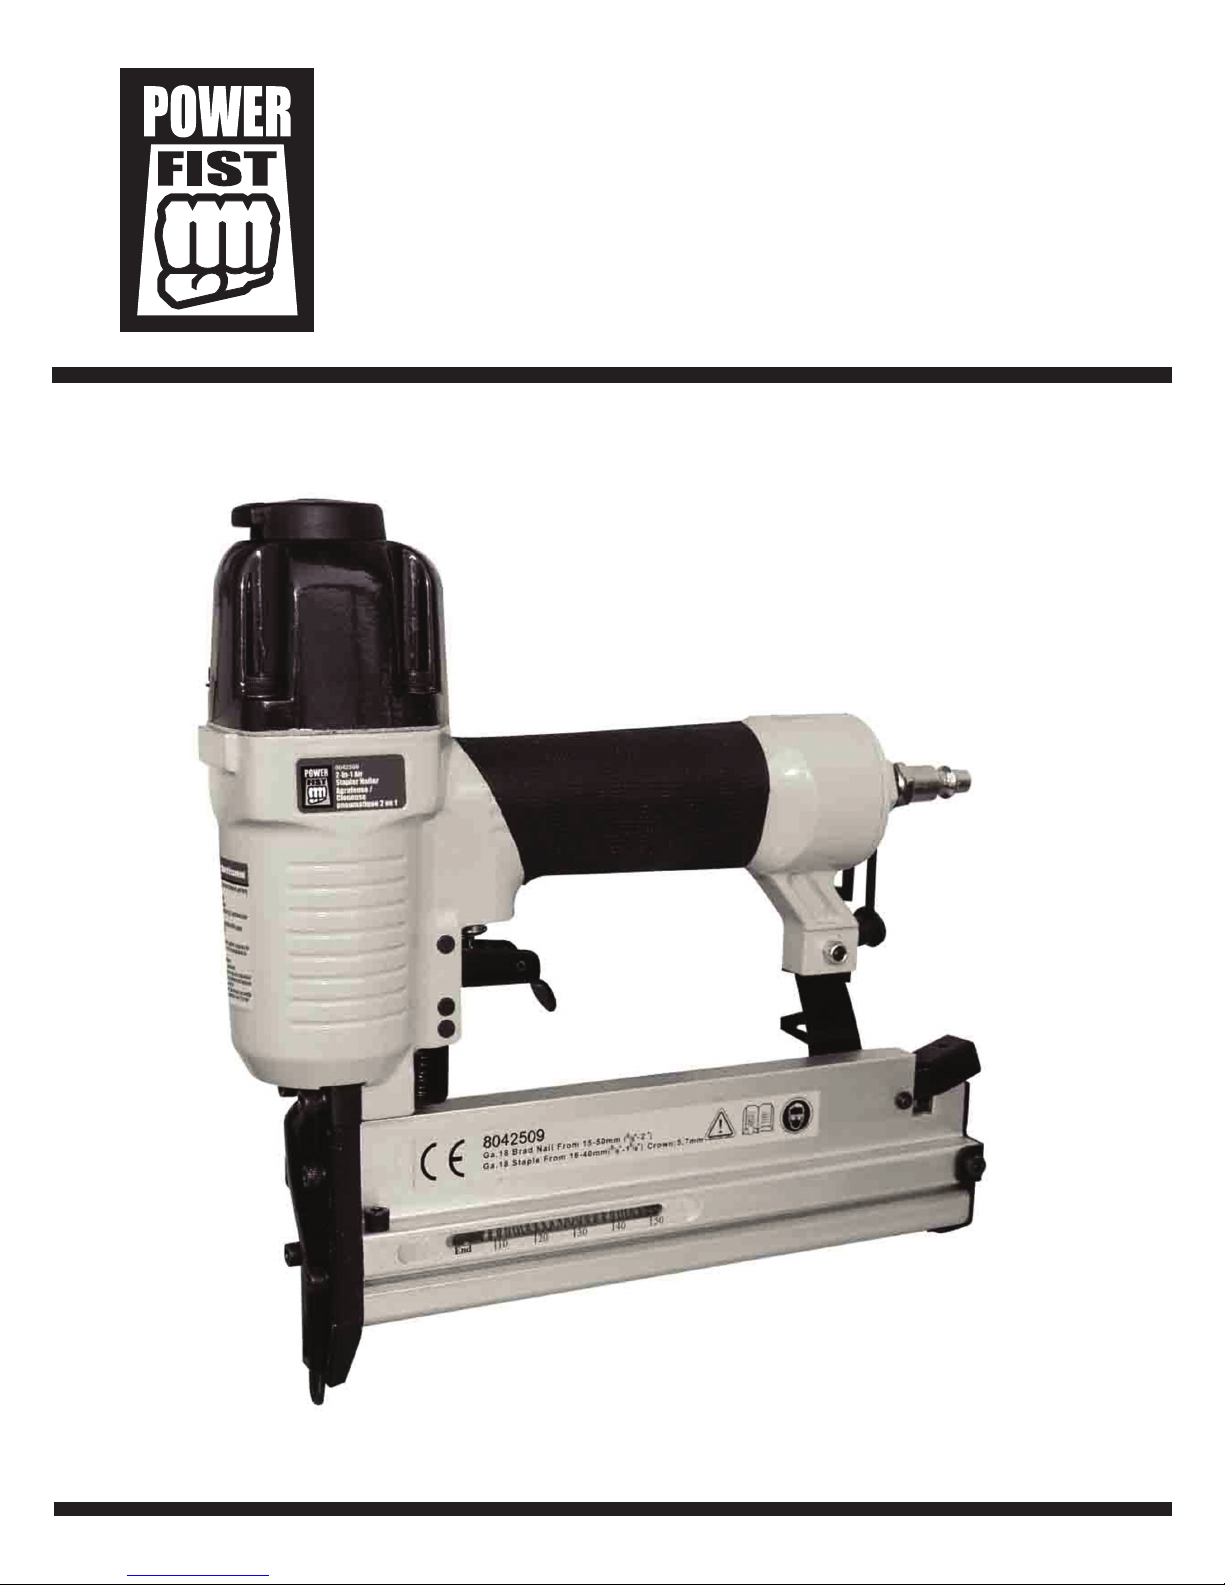
Power Fist SF5040 Owner's Manual
8042509
V 1.40
8042509
OWNER'S MANUAL
Please read and understand all instructions before use.
Retain this manual for future reference.
2-in-1 Air
Stapler Nailer

8042509
V 1.40
2
8042509
2-in-1 Air
Stapler Nailer
INTRODUCTION
Model SF5040 both drives 18 ga. nishing nails from 15mm to 50mm length, and 18 ga. staples from 16 mm to
40 mm length. The 2-in-1 magazine allows you to shoot staples and nishing nails without adjustment. Large cast
aluminum body provides more power to easily drive nails in to hard wood. Rubber handle grip for improved control
and comfort even during extended use. Features adjustable 360° exhaust port and continuous ring. Narrow nose is
ideal for door and window trims, exterior trims, cabinet work, nish paneling, decorative trims, furniture making, etc.
SPECIFICATIONS
Air Inlet 1/4" NPT
Max. Pressure 120 PSI
Operating Pressure 60 to 100 PSI
Nail Length
Nail Size
5/8" to 2" (15 to 50mm)
18 Gauge Brad (1.25 x 1.00mm)
Staple Length
Staple Size
5/8" to 1-5/8" (15mm - 50mm)
18 Gauge 7/32" Staples (1.25 x 1.00mm)
Magazine Capacity 100 pcs.
Recommended Lubricant Air Tool Oil
MPORTANT SAFETY PRECAUTIONS
WARNING! Read and understand all instructions before using this tool. Failure to follow all
instructions may result in electric shock, re and/or personal injury. Keep this manual for
the safety warnings and precautions, operating, inspection and maintenance instructions.
When using this tool, basic precautions should always be followed to reduce the risk of
personal injury and/or damage to the equipment. Note that when this manual refers to a
part number, it refers to the parts list included.

For any technical questions, please call 1-800-665-8685
3
8042509
V 1.40
WORK AREA
1. Keep your work area clean and well lit. Cluttered and dark areas invite accidents.
2. Operate in a safe work environment. Do not use in damp or wet locations. Do not expose to rain. Do
not use in the presence of ammable gases or liquids.
3. Keep children, bystanders and visitors away from the work area. Distraction can cause you to lose
control. Do not let them handle tools, hoses or extension cords. No one should be in the work area if
they are not wearing suitable protective equipment.
4. Store unused equipment. When not in use, tools must be stored in a dry location to prevent rust.
Always lock up tools and keep them out of reach of children.
PERSONAL SAFETY
1. Use eye, face and ear protection. Always wear ANSI approved impact safety goggles, which must
provide both frontal and side protection. Protect your hands with suitable gloves. Wear ANSI approved
earplugs.
2. Do not over reach; keep proper footing and balance at all times. Proper footing and balance enables
better control of the tool in unexpected situations.
3. Dress properly, wear protective equipment. Do not wear loose clothing or jewelry as they can be
caught in moving parts. Tie back long hair. Protective, electrically non-conductive clothes and non-skid
footwear are recommended when working.
4. Stay alert, watch what you are doing and use your common sense. Do not operate any machine or
tool when you are tired, under the inuence of drugs, alcohol or medications.
5. Use clamps or other practical ways to secure and support the work piece to a stable platform.
Holding the work piece by hand or against your body is unstable and may lead to loss of control.
TOOL USE AND CARE
1. Use the right tool for the job. Do not attempt to force a small tool or attachment to do the work of a
larger industrial tool. The tool will perform better and more safely at the task for which it was intended.
Do not modify this tool or use for a purpose for which it was not designed.
2. Securely hold this tool using both hands. Using tools with only one hand can result in loss of control.
3. Maintain tools with care. Keep tools clean and in good condition for a better and safer performance.
Follow instructions for lubricating and changing accessories. Inspect tool ttings, alignment and hoses
periodically and, if damaged, have them repaired by an authorized technician or replaced. The handles
must be kept clean, dry and free from oil and grease at all times. A properly maintained tool reduces the
risk of binding and is easier to control.
5. Avoid unintentional starts. Be sure that the throttle is in neutral or OFF position when not in use and
before connecting it to any air source. Do not carry the tool with ngers near or on the switch.
6. Only use the lubricants supplied with the tool or specied by the manufacturer. Other lubricants
may not be suitable and may damage the tool or even make the tool explode.
7. When not in use for an extended period, apply a thin coat of lubricant to the steel parts to avoid
rust.
8. Maintain the label(s) and name plate(s) on the tool. These carry important information. If unreadable
or missing, contact Princess Auto for a replacement.

For any technical questions, please call 1-800-665-8685
4
8042509
V 1.40
SERVICE
1. Check for damaged parts. Before using any tool, any part that appears to be damaged should be
carefully checked to determine that it will operate properly and perform its intended functions. Check for
alignment and binding of moving parts, for broken parts or mounting xtures, or for any other condition
that may affect proper operation. Any part that is damaged should be repaired or replaced by a qualied
technician.
2. When servicing, use only identical replacement parts. Only use accessories intended for use with this
tool. Replace damaged parts immediately.
AIR SOURCE
1. Disconnect air supply. Disconnect tools from air
pressure source when not in use, before cleaning,
servicing or changing a piece or accessory.
After disconnecting, discharge any residual air
pressure.
2. Do not use tools if the trigger switch does
not function properly. Any tool that cannot be
controlled with the ON/OFF switch is dangerous
and must be repaired.
3. Use proper size and type of air pressure line
and ttings. The recommended air line for this
tool is 1/4" NPT air inlet.
4. Always verify prior to using a tool that the
air source has been adjusted to the rated
air pressure or within the rated air-pressure
range. Over pressurizing a tool may cause
bursting, abnormal operation, breakage of the
tool or serious injury to persons. Use only clean,
dry, regulated compressed air at the rated range
as marked on the tool.
5. Never use pure oxygen, carbon dioxide, combustible gases or any bottled gas as an air source for
a tool. Such gases are capable of causing an explosion and serious injury to persons. Do not use an air
source besides an air compressor to power this tool.
6. Always use an air regulator, an in-line lter and a moisture trap in your compressed air system.
These accessories will increase the tool's life and keeps the tool in good working condition. See the
diagram above for recommended components of an air line.
7. Drain the air tank daily. Water in the air line will damage the tool.
8. Clean air inlet lter weekly.
9. Avoid using an unnecessarily long air hose. Choose a hose that is appropriate for the situation, as a
hose that is too long and running across the oor can be more dangerous than helpful.
10. Keep hose away from heat, oil and sharp edges. Check hose for wear, and make certain that all
connections are secure.
11. Always carry a tool by its handle, never carry the tool by the air hose.
12. Line pressure should be increased to compensate for unusually long air hoses (over 8 metres). The
hose diameter should be 3/8" l.D.
13. Air tool CFM consumption ratings are based upon a 25% duty cycle. If you require continuous duty,
a larger compressor will be required (eg. 4.0 CFM tool at continuous duty requires 16.0 CFM to function
at maximum torque).

For any technical questions, please call 1-800-665-8685
5
8042509
V 1.40
LUBRICATION
1. It is very important that the tool be properly lubricated. Without proper lubrication, the tool will not
work properly and parts will wear prematurely. Manually dropping a drop or two of air tool oil once a day
into the tool's male connector is better than using an automatic in-line lubricator, which should only be
required when there are multiple users of the same tool.
2. Keep the air line lubricator lled and correctly adjusted. The in-line lubricator should be regularly
checked and lled with air tool oil. Proper adjustment of the in-line lubricator is performed by placing a
sheet of paper next to the exhaust ports and holding the throttle open approximately 30 seconds. The
lubricator is properly set when a light stain of oil collects on the paper. Excessive amounts of oil should
be avoided.
3. Air tool oil is the only recommended lubricant for use in all air tools. Do not try to use other types
of lubricants to oil your tools. Using the wrong lubricant will cause premature tool failure and / or loss of
power. Use only recommended lubricants, specially made for pneumatic applications. Substitutes may
harm the rubber compounds in the tool's O-rings and other rubber parts.
4. Oiling your air tool regularly is important, but it is also important not to OVER oil your air tool. Over
oiling can cause premature tool failure. Your tool may not be ruined, but it will begin to experience loss
of power that will continually get worse until it no longer works. The tool then has to be taken apart and
cleaned of excess oil.
5. All air tools are packed in grease to prevent corrosion of internal parts during shipping and
storage. We recommend you clean this out to have optimum performance from your new air tool. Use
two drops of air tool oil to lubricate the tool and run the tool under no load until exhaust is clear.
6. In the event that it becomes necessary to store the tool for an extended period of time (overnight,
weekend, etc.), it should receive a generous amount of lubrication at that time. The tool should be
run for approximately 30 seconds to ensure oil has been evenly distributed throughout the tool. The tool
should be stored in a clean and dry environment.
7. If you are operating your tool without using the in-liner automatic oilier, place 2 or 6 drops of
pneumatic tool oil into the air inlet before each work day, or after 2 hours of continuous use
(depending on the characteristic of workpiece or type of fasteners).
8. Air-operated tools must be inspected periodically, and worn or broken parts must be replaced to
keep the tool operating safely and efciently. Check and change all worn or damaged O-rings, seals,
etc. Tighten all the screws and caps.
9. Make regular inspections of the trigger, spring and safety mechanism to insure that it is complete
and functional, with no loose or missing parts, no binding or sticking parts.
10. Keep the magazine and nose of tool clean and free of any dirt, lint or abrasive particles.
11. When temperatures are below fre ezing, tools should be kept warm by any convenient, safe
method.

For any technical questions, please call 1-800-665-8685
6
8042509
V 1.40
VIBRATION PRECAUTIONS
This tool vibrates during use. Repeated or long-term exposure to vibration may cause temporary or permanent
physical injury, particularly to the hands, arms and shoulders.
1. Anyone using vibrating tools regularly or for an extended period should rst be examined by a
doctor and then have regular medical check ups to ensure medical problems are not being caused
by or worsened from tool use. Pregnant women or people who have impaired blood circulation to the
hands, past hand injuries, nervous system disorders, diabetes or Raynaud's Disease should not use this
tool. If you feel any medical symptoms related to vibrations (such as tingling, numbness, and white or
blue ngers), seek medical attention as soon as possible.
2. Do not smoke during use. Nicotine reduces the blood ow to the hands and ngers, increasing the risk
of vibration-related injury.
3. Wear suitable gloves to reduce the vibration effects on the user.
4. Use tools with the lowest amount of vibration when there is a choice between different processes.
5. Do not use for extended periods. Take frequent breaks when using this tool.
6. Let the tool do the work. Grip tool as lightly as possible (while still keeping safe control of it).
7. To reduce vibrations, maintain tool as explained in this manual. If abnormal vibrations occur, stop
using this tool immediately.
SPECIFIC SAFETY INSTRUCTIONS
1. Do not aim the tool at anyone in case of danger while operating and do dot leave any fasteners in
the channel when tool is not in use.
2. Do not soak the gun in cleaning solution, as it can damage internal parts.
3. Do not place your hand or any body part in the fastener discharge area of the tool when
connecting or disconnecting air supply.
UNPACKING
1. Carefully remove the parts and accessories from the box.
2. Make sure that all items listed in the parts lists are included.
3. Inspect the parts carefully to make sure no breakage or damage occurred during shipping.
4. Do not discard the packaging material until you have carefully inspected and satisfactorily
operated the tool.
WARNING! If any part is missing, do not operate the tool until the missing parts are
replaced. Failure to do so could result in serious personal injury.

For any technical questions, please call 1-800-665-8685
7
8042509
V 1.40
LOADING & OPERATION
WARNING! Always disconnect the tool from the compressed air before loading. When
loading the tool always point the tool away from yourself and others. Make sure that you
are not holding the tool with trigger depressed while loading the tool.
1. Disconnect the tool from the air supply Grasp the nailer rmly with one hand. Press the latch with your
thumb and pull the magazine back. Insert a strip of fasteners into magazine Keeping it point down.
2. Release the latch and pusher, slide the pusher against the nails until it contacts the nails and lock
into place. The tool is now ready for use.
3. Connect the tool to the air supply. Make sure the air pressure is in the correct range denoted in the
Specications.
4. Test the driving depth in a sample piece of wood before using. If the fasteners are being driven too
far or not far enough, adjust the regulator to provide less air pressure or more air pressure.
WARNING: Never operate tool unless safety nose is contact with the work piece. Do not
operate tool without fasteners or damage to tool may result. Never re fasteners into air
because fasteners may injury operator or others and damage to tool may result.
Caution: Check and replace any damaged or worn components in the tool.
1. Attach a high ow pick connect tting to the tool.
2. Empty the magazine.
3. Connect the tool to an air compressor using the air hose. Ensure the air hose has a working pressure
exceeding 200 PSI and a female quick coupler.
4. Regulate the air pressure to obtain 60 to 100 PSI at the tool.
5. Disconnect the air supply from the tool.
6. Load fasteners into the tool
7. Reconnect the air supply to the tool.
8. Grip tool rmly and hold trigger while pushing the tool rmly against the work service.
MAINTENANCE
WARNING! Disconnect the tool from the air compressor before adjusting, clearing jams,
servicing & maintenance, relocating and during non operation.
CLEARING A JAMMED FASTENER
1. Disconnect air tool from air hose
2. Pull back the pusher until it latches at the end of the magazine.
3. Remove jammed fastener.
4. Press the latch button and slide the pusher forward.

For any technical questions, please call 1-800-665-8685
8
8042509
V 1.40
TROUBLESHOOTING
WARNING: If any of the following symptoms appears during your operating, stop using
the tool immediately, or serious personal injury could result. Only a qualied persons or an
authorized service center can perform repairs or replacement of tool.
Disconnect tool from air supply before attempting repair or adjustment. When replacing O-rings or cylinder, lubricate
with air tool oil before assembly.
Problems Possible causes Suggested solutions
Tool runs at normal speed but loses
under load
Motor parts worn. Have a qualied technician replace
worn parts.
Cam clutch worn or sticking due to
lack of lubricant.
1. Lubricate clutch housing.
2. Check for excess clutch oil.
3. Overlling can cause drag on high
speed clutch parts, ie, a typical oiled/
lubricated wrench requires ½ Ounce of
oil.
Grease lubricated note:
Heat usually indicates insufcient grease
in chamber. Severe operating conditions
may require more frequent lubrication.
Tool runs slowly. Air ows slightly from
exhaust
Motor parts jammed with dirt
particles.
1. Check air inlet lter for blockage.
2. Pour air tool lubricating oil into air inlet
as per instructions.
3. Operate tool in short bursts quickly
reversing rotation back and forth where
applicable.
4. Repeat above as needed. If this fails
return to service center.
Power regulator in closed position.
Air ow blocked by dirt.
Tools will not run. Air ows freely from
exhaust
O-rings throttle valve dislodged from
seat inlet valve.
1. Pour air tool lubricating oil into air inlet
as per instructions.
2. Operate tool in short bursts of forward
and / or reverse rotation where
applicable.
3. Tap motor housing gently with plastic
mallet.
4. Disconnect supply. Free motor by
rotating drive shank manually where
applicable
5. If tool remains jammed return to service
centre.
Tool will not shut off O-rings throttle valve dislodged from
seat inlet valve
Have a qualied technician replace the
O-ring
Loss of power or erratic performance Excessive drain on the air line.
Moisture or restriction in the air
pipe. Incorrect size or type of hose
connectors.
Check the air supply. If tool is not
corrected to a 1/4" line, connect it
properly.
Air leak near top of tool or in trigger
area.
O-ring in trigger valve is damaged. Check and replace O-ring.
Trigger valve head is damaged. Check and replace.
Trigger valve stem, seal or O-ring are
damaged.
Check and replace trigger valve stem,
seal or O-ring.
Air leak near bottom of tool. Loose screws. Tighten screws.
Worn or damaged O-rings or bumper. Check and replace O-rings or bumper.
Note: Repairs should be carried out by a qualied person
 Loading...