

Power Computing ATARI PC720, ATARI PC720E, AMIGA DUAL, AMIGA PC880B, AMIGA PC880 Owner's Manual
Page 1
POWER
COMPUTING
Page 2

Page 3
Power
Computing
Thankyou for purchasing your new drive from Power Computing - the
peripheral specialists. Your drive is of the latest design, and comes with
a full guarantee for a year.
ATAFU PC720
...................................................................
Section 1
ATAFU PC720E
...................
..
................................................................
Section 2
AMIGA PC880 Section
3
AMIGA
DUAL
..........................................................................................
Section
4
AMIGA PC880B Section
5
Returned Goods -please note that we cannot acceptgoods for return without a
Power Computing
RA
number. uyou think that you have received a faulty
product, please check the troubleshootingguide in this manual carefully, and
then call Power Computing for instructions and authorisation.
Power Computing Ltd Unit 8 Railton Road Woburn Road Ind.
Estate Kempston Bedford MK42 7PN
Telephone: 0234-843388 (WE LINES) Fax: 0234 840234
Page 4

Section One
The Atari
PC720
Drive
Installation Instructions
1. Switch off your Atari and all its peripherals.
2.
Fit a plug on the PC720's mains lead. and plug the drive in.
3.
Connect the disk drive's connector to the drive socket on the back
panel of your Atari. The plug will only fit one way into the socket. Push
the drive switch (located on the back panel of the disk drive) down (on).
This switch controls the drive's internal power supply.
4.
Switch on the peripherals and computer. The drive may now be
treated in the same way as your internal drive. Note however, that your
Atari will NOT boot from the external drive. even if the internal
drive is empty.
Note: NEVER remove a floppy disk from the drive while the drive light
is on
-
you may damage the disk or lose information on it.
Technical
Data.
Storage Capacity
Unformatted
Formatted
Transfer Rate
Track Density
No Cylinders
Total No Cylinders
DC Power Supply
Dimensions
Weight
Double Density
l
mbyte
720k Bytes
250k
bit/Sec
135
TPI
80
160
5v
230 X 104 X 30
mm
1 Kg.
Page 5

Section Two
The Atari
PC720E
Drive
Installation Instructions
I.
Switch off your Atari and all its peripherals.
2. Remove your joystick from the Atari (if fitted), and plug the black
joystick lead into the empty joystick port. This lead serves to pick up the
power for your drive, and the joystick may still be plugged into the joys-
tick through port. located on the rear panel of the drive.
3. Connect the disk drive's connector to the drive socket on the back
panel of your Atari. The plug will only fit one way into the socket.
4.
Switch on the peripherals and computer. The drive may now be
treated in the same way as your internal drive. Note however, that your
Atari will NOT boot from the external drive, even if the internal
drive is empty.
Note: NEVER remove a floppy disk from the drive while the drive light
is on
-
you may damage the disk or lose information on it.
Technical Data.
Storage Capacity
Unformatted
Formatted
Transfer Rate
Track Density
No Cylinders
Total No Cylinders
DC Power Supply
Dimensions
Weight
Double Density
l mbyte
720k Bytes
250k
bit/Sec
135 TPI
80
160
5v
230
X
104 X 30 mm
1 Kg.
Page 6
Section Three
The
Amiga
PC880
Drive
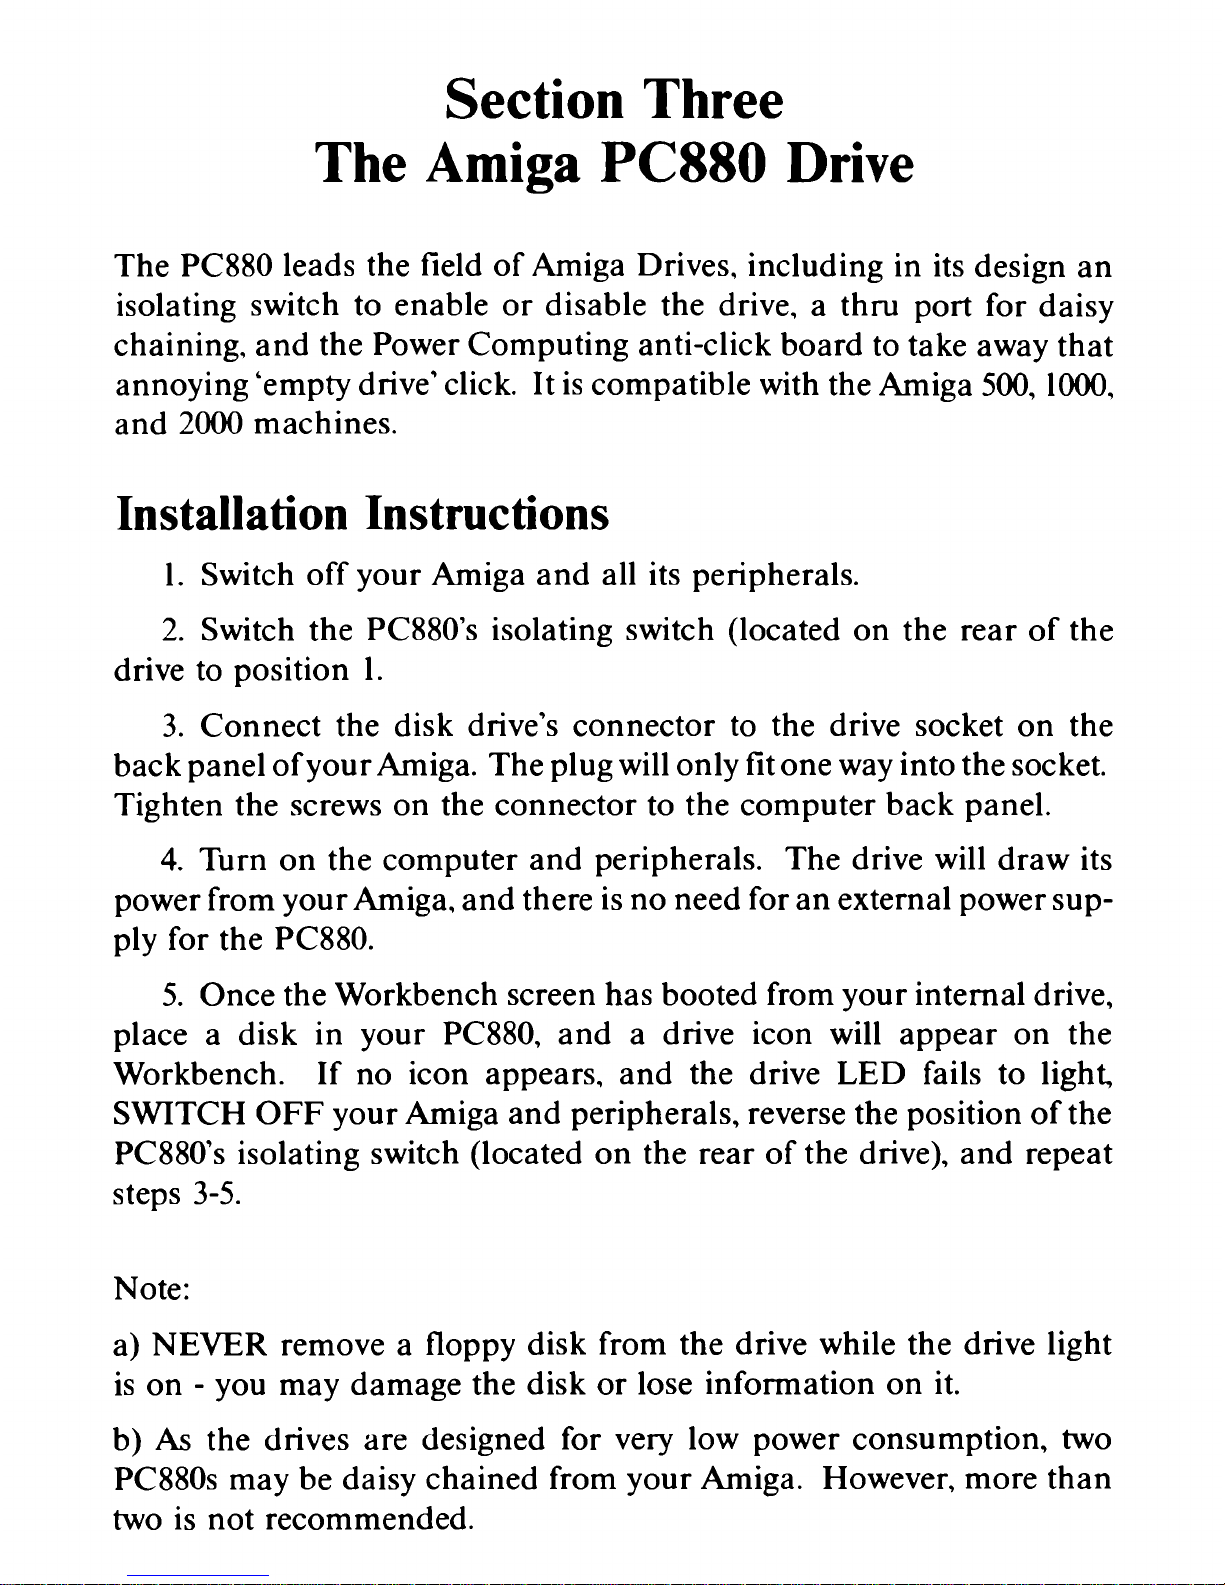
The PC880 leads the field of Amiga Drives, including in its design an
isolating switch to enable or disable the drive. a
thru port for daisy
chaining. and the Power Computing anti-click board to take away that
annoying 'empty drive' click. It is compatible with the Amiga
500,
1000,
and 2000 machines.
Installation Instructions
1.
Switch off your Amiga and all its peripherals.
2. Switch the
PC880's isolating switch (located on the rear of the
drive to position
1.
3.
Connect the disk drive's connector to the drive socket on the
back panel of your Amiga. The plug will only fit one way into the socket.
Tighten the screws on the connector to the computer back panel.
4.
Turn on the computer and peripherals. The drive will draw its
power from your Amiga, and there is no need for an external power sup-
ply for the
PC880.
5.
Once the Workbench screen has booted from your internal drive,
place a disk in your
PC880, and a drive icon will appear on the
Workbench. If no icon appears. and the drive LED fails to light,
SWITCH OFF your Amiga and peripherals, reverse the position of the
PC88O's isolating switch (located on the rear of the drive). and repeat
steps
3-5.
Note:
a) NEVER remove a floppy disk from the drive while the drive light
is on
-
you may damage the disk or lose information on it.
b)
As
the drives are designed for very low power consumption, two
PC880s may be daisy chained from your Amiga. However. more than
two is not recommended.
Page 7

c) The power on your Arniga
MUST
be switched off before the external
drive can be enabled
or
disabled.
Technical Data.
Storage Capacity
Unfonnatted
Formatted
Transfer Rate
Track Density
No Cylinders
Total No Cylinders
DC Power Supply
Dimensions
Weight
Double Density
l mbyte
880k Bytes
250k
bit/Sec
135
TPI
80
160
5v
220
X
104
X
30 mm
1
Kg.
Page 8

Section Four
The
Amiga
Dual Drive
The Power Dual Drive for the Amiga gives you the benefit of two exter-
nal floppy drives in one compact case. The unit has its own power supply so that power is not drained from the Arniga
500. The two external
drives are independent and copying operations can be carried out between the computer and either drive or from one drive to another. Both
drives possess the unique Power Anti-Click feature so that they do not
click when empty. The dual drive is compatible with Arniga 500,
1000.
2000. 1500 machines.
Installation Instructions
1. Switch off your Amiga and all its peripherals.
2.
Switch the isolating switch (located on the rear of the drive) to
position
1
3.
Connect the disk drive's connector to the drive socket on the back
panel of your Amiga. The plug will only fit one way into the socket.
Tighten the screws on the connector to the computer back panel.
4.
Plug the drive into the mains and turn on using the large switch
5.
Once the Workbench screen has booted from your internal drive,
place a disk in either of the external drives, and a drive icon will appear
on the Workbench. If no Icon appears, and the drive LED fails to light.
SWITCH OFF your Amiga and peripherals, reverse the position of the
isolating switch (located on the rear of the drive), and repeat steps
3-5.
Note:
a)
NEVER
remove a floppy disk from the drive while the drive light is on
-
you may damage the disk or lose information on it.
Page 9

b) The power on your Amiga MUST be switched off before the dual
drive can be enabled or disabled.
c) Due to the multi-tashing nature of the
Amiga, it is unadvisable to
place two disks into the dual drive at exactly the same moment as validation errors may be produced.
Technical Data.
Storage Capacity
Unformatted
Formatted
Transfer Rate
Track Density
No Cylinders
Total No Cylinders
DC Power Supply
Weight
Double Density
2
X
l mbyte
2
X
880k Bytes
250k
bit/Sec
135
TPI
80 PER DRIVE
160 PER DRIVE
5V
(FROM INTERNAL PSU)
3
Kg.
SPECIAL NOTE
-
DUAL DRNE WITH BLITZ
For instructions on the special features of this dual drive, please refer to
the
PC880B section of the manual.
Blitz on the Dual drive works in much the same way as Blitz on the
PC880B (see enclosed manual). However. you should note the following
important points:
Blitz Dual copies to TWO disks at once. You must have a disk in
each drive for it to copy (even if one of them is a dummy).
You must reboot your computer when changing from Blitz mode to
normal mode or vice versa.
The dual drive will "click when empty if it is in Blitz mode. This is
normal and is intended to warn you when the drive is in Blitz mode.
Page 10

Section Five
The
PC88OB
Drive
The PC880B leads the field of Amiga drives, including in its design the
followine features:
'2
Isolating Switch
Rear
of
PCSSOB
Thru' port
Blitz Cop~er hardware built In
Virus-Blocker sw~tch
Anti-Cl~ck
Isolating
Switch
PC880B
Switches
Isolating Switch
The
PC880B has TWO switches on the back. The ISOLATING switch
has two positions and is marked
0 and 1.
In position 0, the computer will not recognise the drive.
In position
1. the drive can be used.
The computer checks what drives are present when you first switch on.
This means that:
Turning
this switch on while the computer is
on
will have
no
effect.
To change the isolating switch, you MUST switch the computer off
first.
Function Switch
The Function Switch has three positions marked
A,
0 and
B
In position 0, the drive operates as NORMAL.
In position
A,
the "Anti-Virus" function is selected.
In position B, the "Blitz" function is selected.
Page 11

Normal Mode.
The drive will operate as a standard Readwrite 880K external
floppy drive.
Anti-Virus Mode
The drive will operate as a standard Readwrite 880K external floppy
drive. but write access to the boot block on ALL drives (including the
internal drive) will be prevented. You will not be able to format disks or
carry out any other action that writes to the bootblock.
Blitz Mode.
This mode should be used with the BLITZ software when you want to
back up floppy disks. It should not be used from the workbench and
may give unpredictable results if this is done.
Installation of the
PC880B
1.
Switch off your Amiga and all its peripherals.
2.
Switch the PC880B's isolating switch (located on the rear of the drive)
to position 1.
3.
Switch the Function switch to position 0 (Normal Mode).
4.
Connect the disk drive's connector to the drive socket on the back
panel of your Amiga. The plug will only fit one way into the socket.
Tighten the screws on the connector to the computer back panel.
5.
Turn on the computer and peripherals. The drive will draw its power
from your Amiga, and there is no need for an external power supply for
the
PC880B.
6.
Once the Workbench screen has booted from your internal drive,
place a disk in your
PC880, and a drive icon will appear on the
WorkBench. If no icon appears, and the drive
LED
fails to light,
SWITCH OFF your Amiga and peripherals. check the position of the
PC880B's switches, and repeat steps
3-5.
Page 12

Note:
a) NEVER remove a floppy disk from the drive while the drive light is on
you may damage the disk or lose the information on it.
b)
As
the drives are designed for very low power consumption. two
PC880's may be daisy chained from your Amiga. However. more than
two in a chain is not recommended
c) The Power on your Amiga MUST be switched off before the external
drive can be enabled or disabled.
Technical Data.
Storage Capacity
Unfomatted
Formatted
Transfer Rate
Track Density
No Cylinders
Total No Cylinders
DC Power Supply
Dimensions
Weight
,
Double Density
1 mbyte
880k Bytes
250k
bit/Sec
135 TPI
80
160
5v
220
X
104
X
30 mm
1
Kg.
Troubleshooting
All PC880B drives are tested at our factory with an Arniga 500 and exten-
sive test software. In spite of this we still receive drives back from users as
being faulty. Of these:
Around 75% have no fault and are returned because the customer has
not read the instructions (usually the part about not changing the isolat-
ing switch while the computer is on).
Around 20% are caused by faulty Amiga 500 computers. power supplies
that are not strong enough, or non-standard setups.
Less than 5% are actually faulty
-
usually due to damage in transit.
Before you contact our technical department, check the following:
Page 13

1. Make sure that you have powered up your Amiga with the Isolating
switch in position
1 and the function switch in position 0 (NORMAL
MODE).
2.
Check your drive with a WORKBENCH or
EXTRAS
disk. Many
games load is unusual ways and are not a good test for the drive. If a
drive works with Workbench then it is unlikely to be faulty.
3.
Check your drive on a friend's computer. If it works in there then it is
highly likely that the problem lies with your Amiga (yes this does happen!), and sending the drive back to us will not help you to get it working.
If you have to call our technical department, please have the exact
symptoms of the fault, and what you did ready for our staff.
"my PC880 dosen't
work, or "The drive won't format" are unlikely to tell
us much about your problem. The description below would be more
helpful:
Iconnected the PC880B to my Amiga 500. which also has a 512K
RAM
expansion
and a modem fitted.
I
set the isolatingswitch to position l and the function switch
to position
0. I booted the Amiga w'th my workbench disk in the internal drive.
and no disk in the
PC880. The workbench loaded asnormal. but an icon appeared
forthe PC880B. saying
"DFl
Bad". Puninga disk in the PC880made no difference
to this
-
it did not seem to be reading the disk. I tried the drive on a friend's Amiga
and it did exactly the same.
This would help our technician to find any fault that existed and would
mean that you would spend much less time on the telephone to us.
Page 14

Blitz on the PC880B
Running the Blitz! Amiga Program
Switch off your Amiga. and move the function switch on the PC880B to
the position marked
"B".
Switch on your Amiga and insert the Blitz!
Amiga disk once the workbench prompt appears. After a short time, the
Blitz! main screen will appear. Wait until your internal drive access light
goes out before removing the Blitz! Amiga software disk.
Using the Blitz! Amiga Program
Simply insert the disk that you wish to copy into your DFO: (or boot)
floppy drive, and blank disks that you wish to copy to into
ALL
external
floppy drives. Please note that the disk in DFO: must be write protected,
and those in the other drives must not.
Press the left mouse button with the mouse pointer somewhere in the
centre of the screen, and the copy process will begin. If you wish to abort
the copy operation. simply hold down the left mouse button for a
few seconds.
More Complex Copy Operations
Normally, none of the Blitz! Amiga settings will have to be altered, even
ifthe disk that you wish to copy is for an STor PC for example. However.
if you do wish to copy a PC or ST disk, the copy will take less time if you
tell Blitz! Amiga that it is a PC or ST disk. To do this, press and hold the
right mouse button, move the mouse pointer over the 'Mode' menu item
at the top of the screen, and select the appropriate format. The 'Options'
menu allows you to copy only part of a disk, or to quit the program.
Notes When Using Blitz! Amiga
1. We strongly advise against copying onto unbranded disks.
2.
Blitz! has no way of telling if the copy was successful, and so it may
occasionally be necessary to re-copy a disk that has failed. Always
check the disks that you have copied.
Page 15

3.
Blitz! can make upto three copies at once if you have three external
disk drives, even on an Amiga
150012000. Note, however, that in normal
use, a
1500/2000 will only be able to use two external drives.
4.
ALL
disks in external drives while Blitz! is copying a disk will be writ-
ten to, thus erasing their old contents. For this reason. NEVER place
valued disks into the external drives while using Blitz! Leave them write
protected. that way Blitz! will warn you if you make a mistake.
5. Blitz! is intended as a method of copying public domain or user data
disks quickly.
As
Such, Power Computing does NOT authorise the use
of Blitz! to copy software protected under the 1988 Copyright Act.
6.
Blitz Amiga is a high-precision copier which demands a high degree
of accuracy from the Amiga internal drive. While most internal drives
are able to provide this accuracy, many are not when standard quality
disks are used to make copies.
If problems are experienced while copying standard DOS disks with
Blitz Amiga we recommend the use of high density
(1.44MB) floppy dis-
kette~ for your copies. These contain very high quality media and
should allow you to copy most disks without any errors at all.
High density diskettes are readily available, and due to their popularity
in the PC market their cost is very similar to that of standard 720K
diskettes.
We reserve the right to change specifications
&
prices without notice.
REVISED EDITION
-
OCTOBER
1991
Power Computing Ltd Unit
8
Railton Road Kempston Beds
MK42
7PN
Page 16

Page 17

Page 18

Page 19

Page 20

POWER COMPUTING
LTD
Unit
8,
Railton Road, Woburn Road lndustrlal Estate, Kempston, Bedlord
MK42
7PN
TEL:
(0234) 843388
(Five Lines) FAX:
(0234) 840234
 Loading...