

Page 1
pottery barn kids
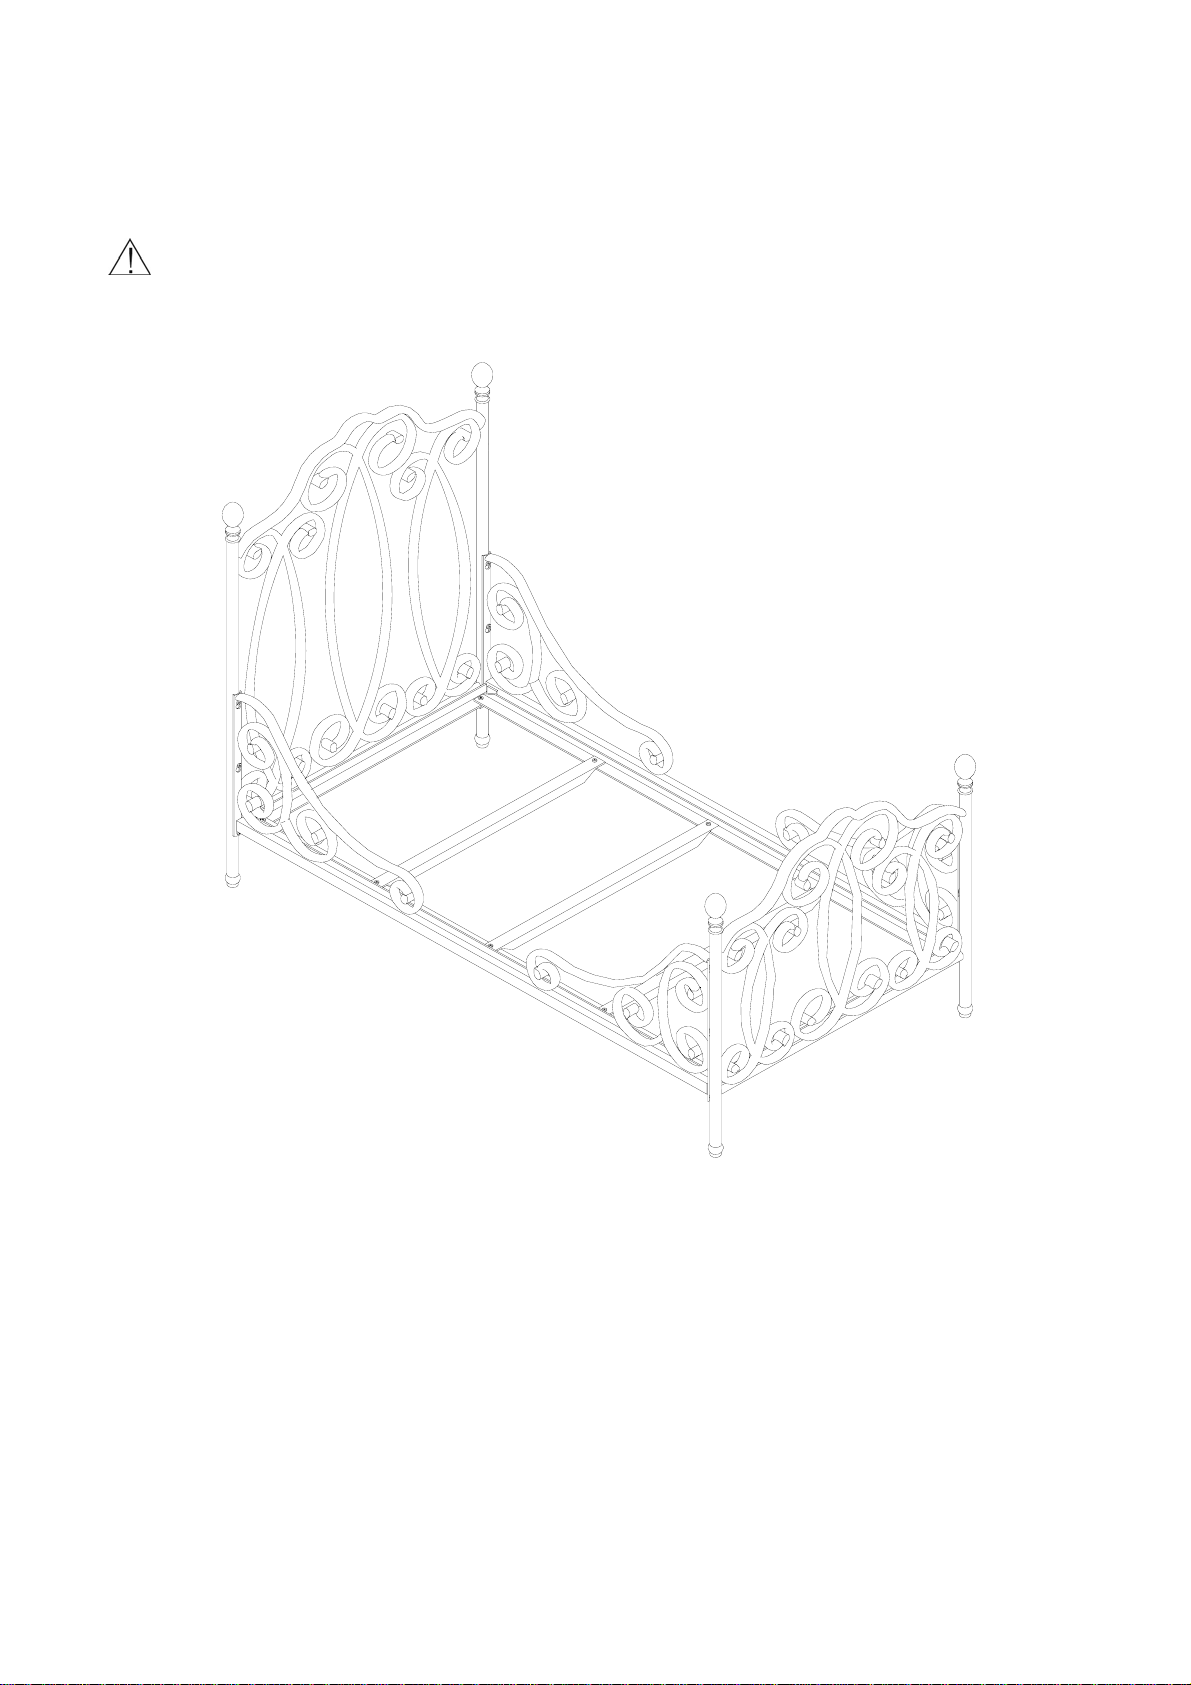
GEORGIA IRON BED
TWIN SIZE
CAUTION: Adult assembly required. This item contains small parts in the unassembled state and
care should be taken in the unpacking and assembly of the product.
PRE-ASSEMBLY:
• Remove all parts and hardware from the box and lay out on a clean, carpeted, or scratch-free
work surface, as this will avoid damaging any parts during assembly. The shipping box provides
an ideal work surface. Do not dispose of any contents until assembly is completed to avoid
accidentally discarding small parts or hardware.
• Use the parts and hardware lists above to identify and separate each of the pieces included.
• The illustrations provided allow for easier assembly when used in conjunction with the assembly
instructions.
• Note: Do not fully tighten all bolts until all parts are in place. Failure to follow these instructions
may cause the bolts to misalign during assembly.
• If using power tools to aid in assembly please use caution. Power tools can damage hardware.
Page 2
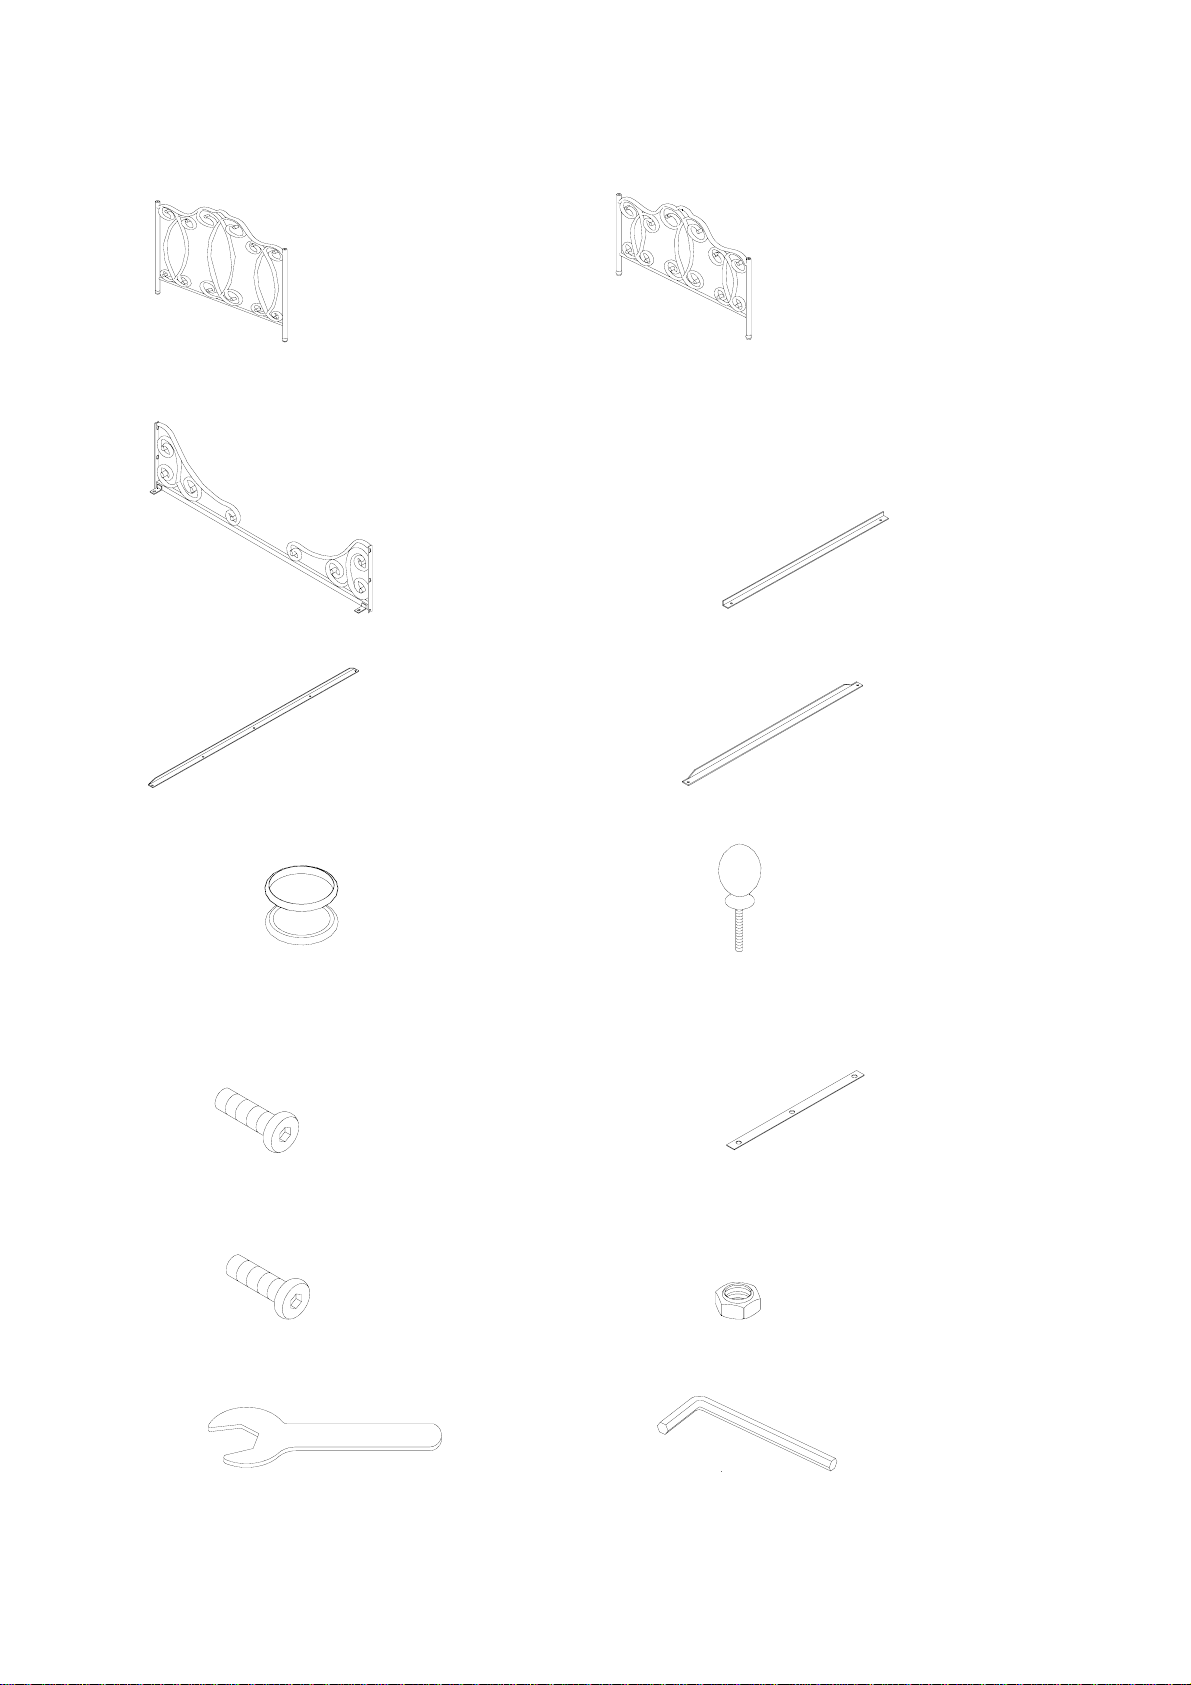
PARTS INCLUDED:
(J) Headboard - 1pc (K) Footboard - 1pc
(L) Side Rail - 2pcs (M) End Slat - 2pcs
(N) Side Slat - 2pcs (Q) Slat - 3pcs
(R) Middle Connector - 4pcs (S) Top Finial - 4pcs
HARDWARE ENCLOSED :
(A) 1/4" * 20mm Medium Screw - 16pcs (B) Spacer - 4pcs
(C) 1/4" * 15mm Short Screw - 6pcs (D) 1/4" * 5mm Screw Nut – 10pcs
(F) Wrench - 1pc (G) 30*70*4mm Large Allen Key - 1pc
Page 3

ASSEMBLY INSTRUCTIONS:
1. Assemble the side rails (L) to the Headboard (J) and Footboard (K), using Sp acer (B), Medium
Screw (A) and the Large Allen Key (G). (Fig. 1)
(Fig. 1)
2. Assemble both the Side Slat (N) and End Slat (M) to the brackets on the Side Rail (L) using
Medium Screws (A), Screw Nuts (D), Large Allen Key (G) and the Wrench (F). (Fig. 2)
(Fig. 2)
Page 4

3. Assemble the Slat (Q) to the Side End (L) using Short Screws (C), Screw Nuts (D), Large Allen Key
(G) and the Wrench (F). (Fig. 3)
(Fig. 3)
4. (Bypass this step if you bought the optional matching canopy with the bed) .
Assemble the Top Finials (S) and Middle Connectors (R) onto the Headboard (J) and Footboard (K).
(Fig. 4)
(Fig. 4)
CARE INSTRUCTIONS:
• Dust with a clean, soft cloth.
• Bolt spills immediately, and wipe with a clean, damp, cloth.
• We do not recommend the use of chemical cleansers, abrasives, or furniture polish on our
lacquered finish.
Thank you for your purchase
stores | catalog | www.potterybarnkids.com
Page 5

USA 1.800.290.8181
 Loading...