

Page 1

Page 2

Table of Contents
Chapter 1 System Information
1.1 Setup Scanner with PC
1.2 Setup Scanner with Mobile Device
1.3 Configure iOS On-Screen Keyboard
1.4 Memory Mode
1.5 Sleep Settings
1.6 How to Configure the Scanner
Chapter 2 System Setup
2.1 Terminator
2.2 Beeper Tone
2.3 Trigger Mode
2.4 String Options (Prefix & Suffix)
2.5 Setup Insertion
Chapter 3 Barcode Configuration
3.1 UPC-A 17
3 2 UPC-E 20
3 3 EAN-13 23
3.4 EAN-8 25
3.5 Code 39 27
3 6 Codabar 30
3.7 Code 93 34
3 8 Code 128 36
3 9 Interleaved 2 of 5 39
41
43
45
47
49
51
53
55
3.10 Industrial 2 of 5
3.11 Matrix 2 of 5
3.12 China Postage
3.13 MSI/Plessey
3.14 Code 32
3.15 Code 11
3.16 Telepen
3.17 GS1 DataBar
Appendix
61
3
4
4
5
6
7
9
10
11
12
13
Page 3

Scan Bluetooth SPP Mode
Scan Cradle Pairing Mode
Plug Cradle into Computer
Scan Pairing Mode
Chapter 1 - Scanner Setup
About this manual
This User's Guide provides detailed programming instructions. Barcode
scanners are factory programmed for the most common communication
settings. If you need to change these settings, programming is
accomplished by scanning the barcodes in this guide.
1.1 Setup Scanner PC
To use the scanner with a Windows PC, simply connect the base to your
PC with the provided cable. The scanner is paired with the base by
default. To re-pair the scanner with the base, or to pair the scanner with
a different base, use the instructions below. After scanning each barcode
wait until the scanner beeps before proceeding to the next step.
Wait until the Blue LED on the scanner
and base turn solid
Unplug Cradle from Computer
3
Scan Disconnect Previous Pair
Page 4

1.2 Setup Scanner with Mobile Device
To use the scanner with a mobile device (iOS, Android, or
Bluetooth Windows device) use the instructions below.
Scan HID Mode
Enable/Disable iOS Quick
Keyboard Shortcut
Toggle iOS
On-Screen Keyboard
To toggle the iOS on screen keyboard a single time, use the
barcode below.
Scan Pairing Mode
Open Bluetooth settings on your mobile device and tap on
"Bluetooth Scanner" to pair with the scanner. The Blue LED on the
back of the scanner will turn solid once it is successfully paired.
1.3 Configure iOS On-Screen Keyboard
When the scanner is connected to an iOS device, rapidly pulling
the trigger twice will toggle the iOS on-screen keyboard. If this
functionality is not needed use the barcode below to disable it.
4
Scan Disconnect Previous Pair
Page 5

1.4 Memory Mode
The scanner can be configured to store all scanned barcodes in the
scanners internal memory. While in memory mode the scanner will
not transmit any barcodes until the "Transmit Stored Data" barcode
is scanned. The scanner can hold a maximum of X barcodes in
internal memory.
Scanning "Transmit Count of Stored Barcodes" will transmit the
number of barcodes currently held in memory mode. "Clear All
Stored Data" will erase all stored barcodes from the scanners
memory and can not be un-done.
Enter Memory Mode
Transmit Stored Data
Exit Memory Mode
Transmit Count of Stored Barcodes
Clear All Stored Data
5
Page 6

1.5 Sleep Settings
If the scanner has not been used for a set amount of time the
scanner will automatically enter sleep mode. To take the scanner
out of sleep mode simply press and hold the trigger for 1 second.
To change the amount of time before the scanner enters sleep
mode, scan one of the barcodes below.
WARNING: Longer sleep times may result in shorter battery life
20 Seconds
30 Seconds
1 Minute
2 Minutes
5 Minutes
10 Minutes
20 Minutes
Never
6
Page 7

1.6 How to configure the scanner
(1) Scan Start Configuration to enter programming mode
(2) Scan all necessary barcodes for settings that meet your needs.
(3) Scan End Configuration to exit programming mode.
Start Configuration End Configuration
Default Settings
Check Version
An asterisk (*) next to an option indicates it is the default setting.
Power Off
7
Page 8
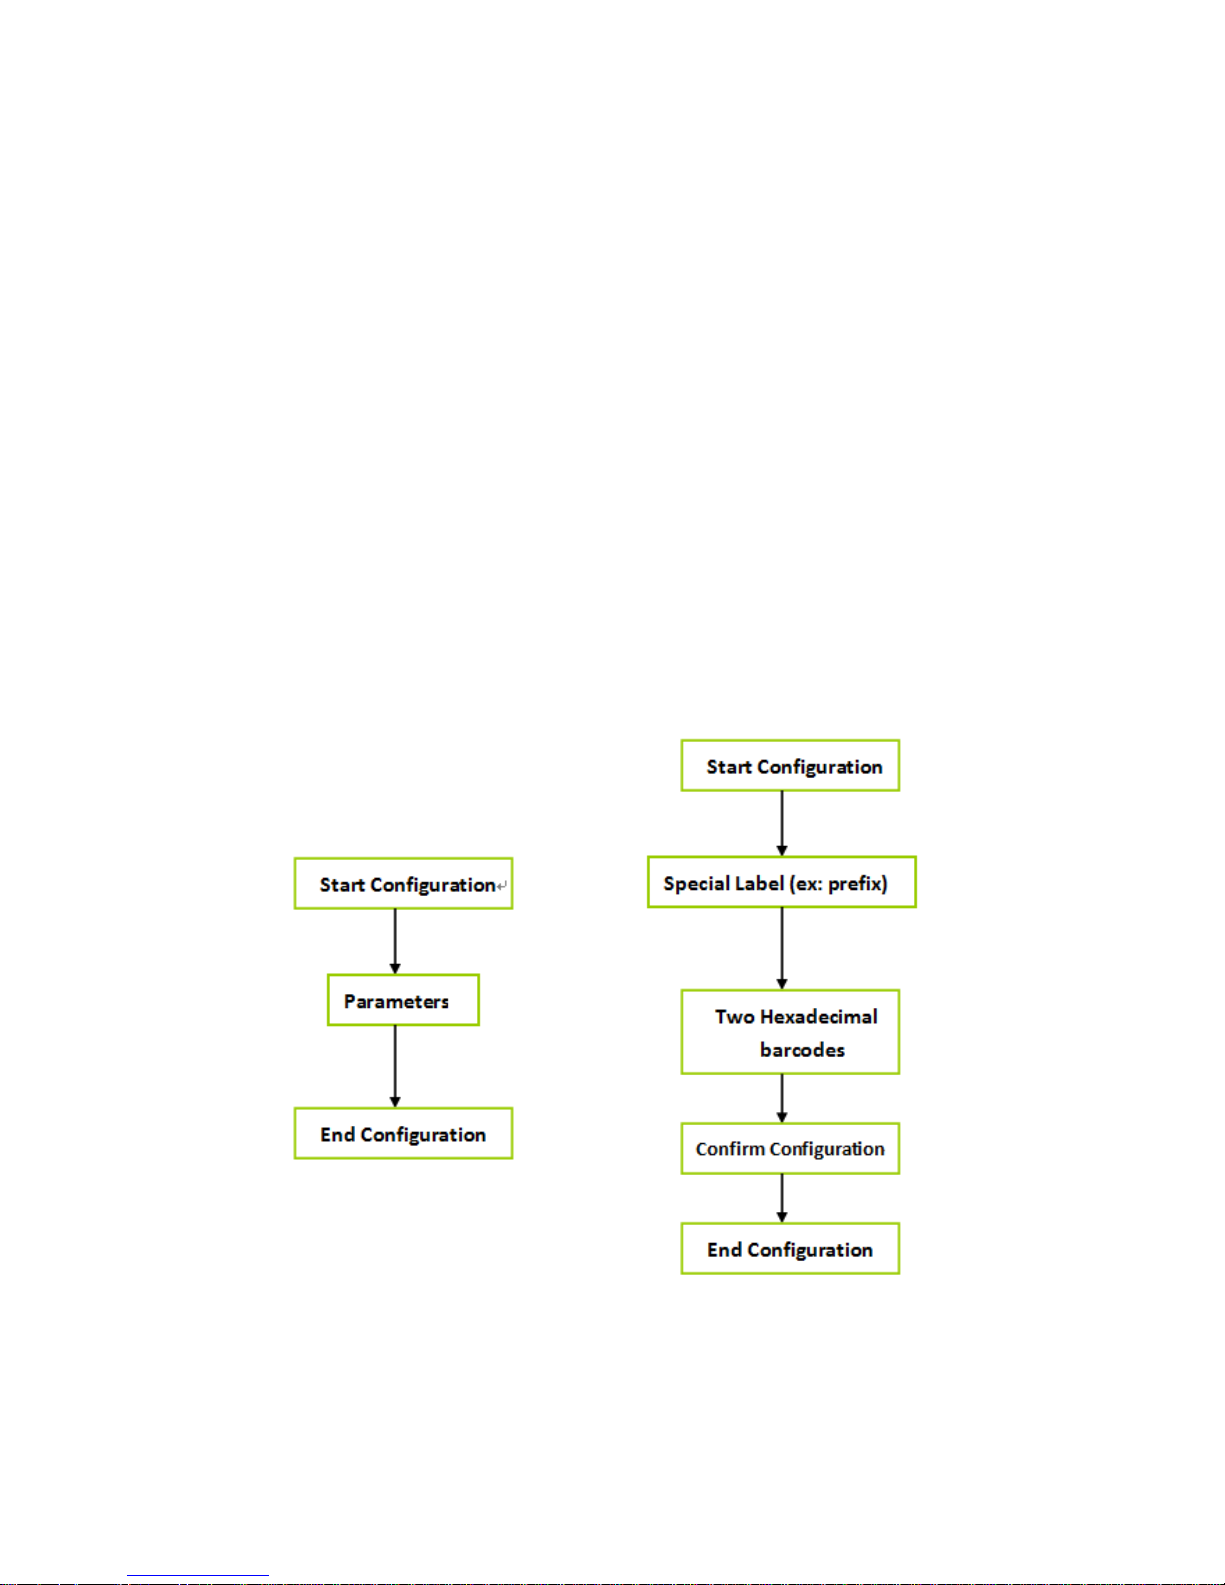
Most of time the scanner only requires one barcode when changing to
new values. You will hear two beeps when you successfully change a
setting. For some special settings, multiple barcodes are needed to
complete the configuration. When using these special settings, you might
need to read one or more barcodes, such as:
Hexadecimal barcodes. For example: prefix, suffix, etc.
Numeric barcodes. For example: inter-character delay, max/min length
To complete changing the setting you will need to scan the “Confirm”
barcode after scanning from the hexadecimal table. Below is the flow chart
for the two different types of configuration.
8
Page 9

Chapter 2 - Scanner Configuration
Start Configuration End Configuration
2.1 Terminator
ITEM OPTION
None
*CR+LF
CR
LF
Tab
Output Characters
9
Page 10
Start Configuration End Configuration
ITEM OPTION
* Ref: Appendix (00-10H)
Beep Tone
(Default : 09H)
* Ref: Appendix (00-10H)
Beep Sound Duration
(Default : 05H)
* Enable
Power On Beeper
Disable
* On
Beeper
Off
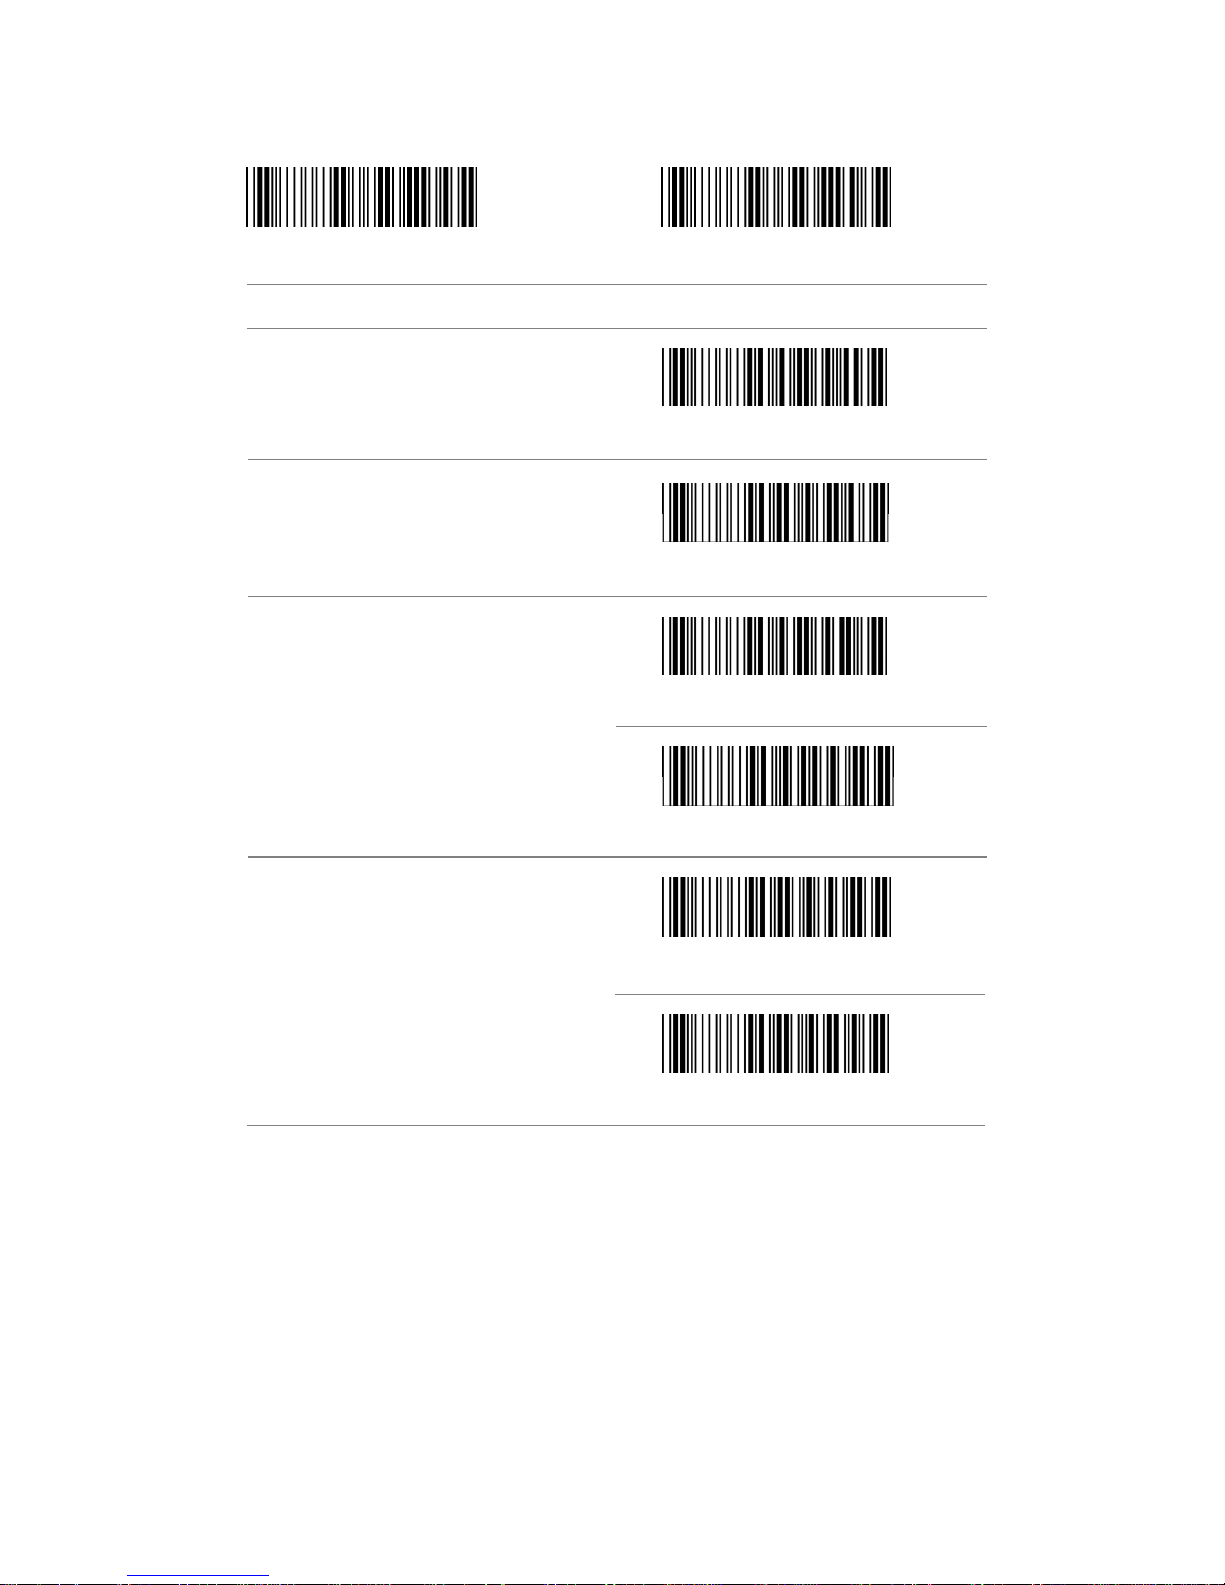
2.2 Beeper Tone
10
Page 11
Start Configuration End Configuration
ITEM OPTION
* Trigger On/Good Read Off
Reading Mode
Trigger On/Off
Continuous/Trigger Off
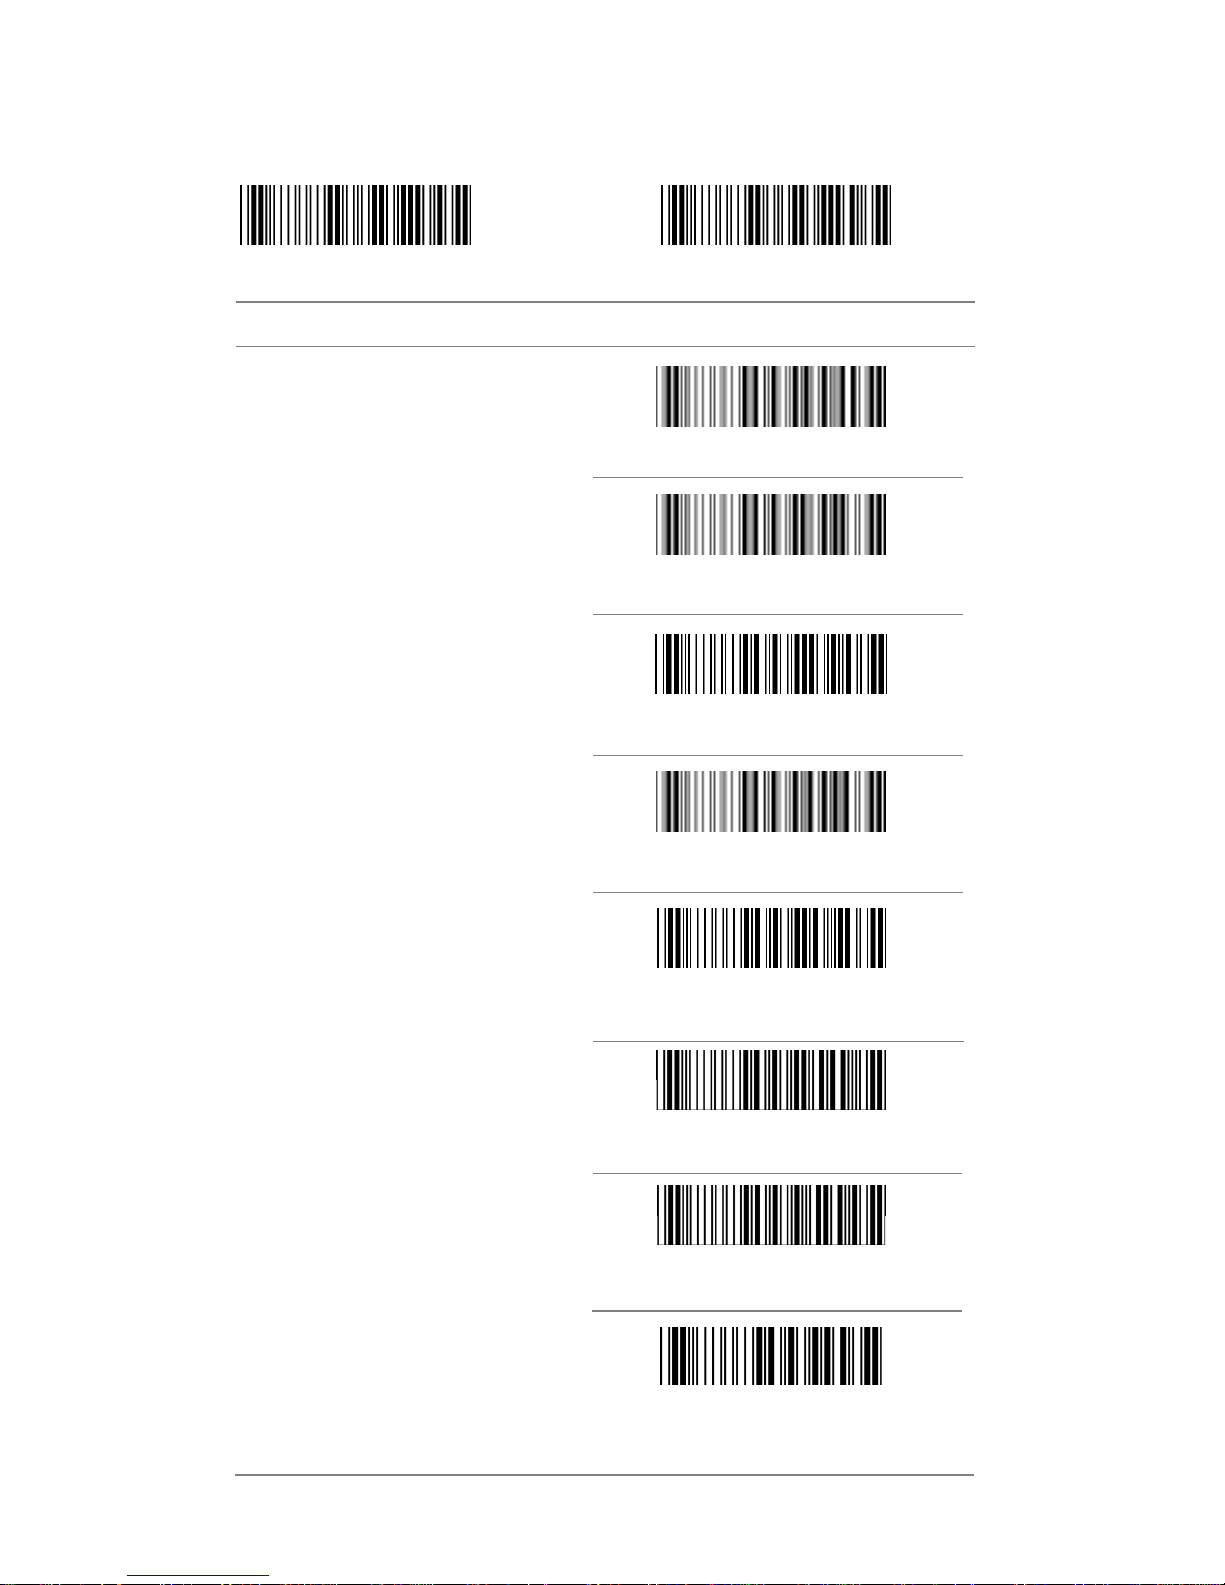
2.3 Trigger Mode
Continuous/Testing
Continuous/Trigger On
Continuous/Auto Power On
Flash
Flash/Auto Power On
11
Page 12

2.4 String Options (Prefix & Suffix)
This section describes the alterations which can be made to the format of
the transmitted data string. A prefix and suffix of 10 direct inputs may
be included in front of and at the end of the scanned barcode.
Format
{Prefix} {Code ID} {Bar Code} {Suffix}
How to set up a prefix?
To configure “#“as a prefix
(1) Scan "Start Configuration"
(2) Scan "Preamble"
(3) Scan "2" then "3" from the HEX
table. (p. 61)
(4) Scan "Confirm Configuration"
(5) Scan "End Configuration"
How to set up a suffix?
To configure “$$” as a suffix
(1) "Start Configuration"
(2) Scan "Postamble"
(3) Scan "2" then "4" from the HEX
table twice. (p. 61)
(4) Scan "Confirm Configuration"
(5) Scan "End Configuration"
12
Page 13
2.5 Setup Insertion
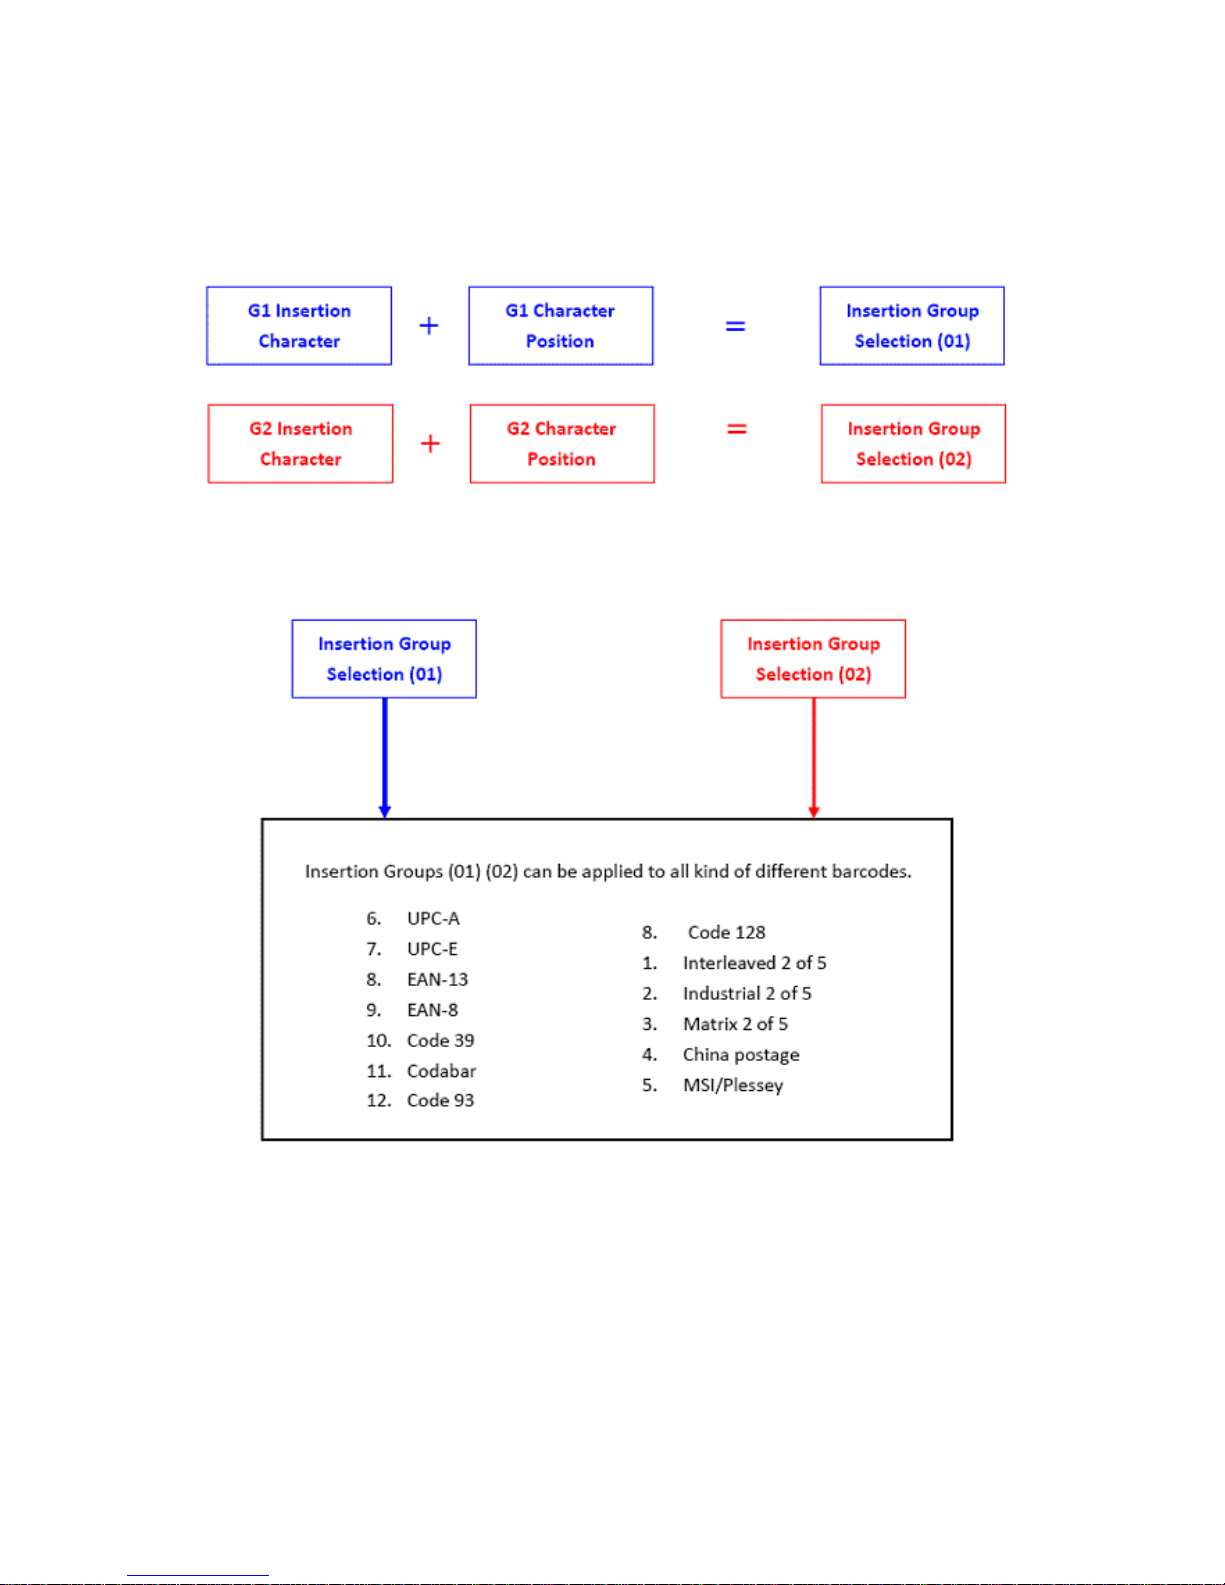
This section describes how to setup insertion groups. Insertion groups allow
you to insert characters into the output from scanned barcodes.
NOTE :
Max. 10 charters can be inserted each time
Max. Insertion groups is two.
Insertion group (01) or (02) can be used in different kinds of
barcodes at the same time
13
Page 14

Example:
To make the above barcode output 12A3456789,
insert an "A" character before the third digit (3).
How to set the character you want to insert
(1) Scan “Start Configuration“ barcode
(2) Scan “G1 Insertion character”
(3) Scan “4” and “1” from HEX Table (p.61)
(4) Scan “Confirm Configuration“ barcode
(5) Scan “End Configuration“ barcode
How to set the position you wish to place the character
(6) Scan “Start Configuration“ barcode
(7) Scan “G1 Character Position”
(8) Scan “0” and “3” from HEX Table (p.61)
(which sets the position)
(9) Scan “Confirm Configuration“ barcode
(10) Scan “End Configuration“ barcode
How to set the insertion for Code 39
Go to page 27 (Code 39)
(11) Scan “Start Configuration“ barcode
(12) Scan “Insert Group Selection” barcode
(13) scan “0” and “1” from the HEX Table (p.61)
(which represents the group, 01, that was just created)
(14) Scan “Confirm Configuration“ barcode
(15) Scan “End Configuration“ barcode
14
Page 15
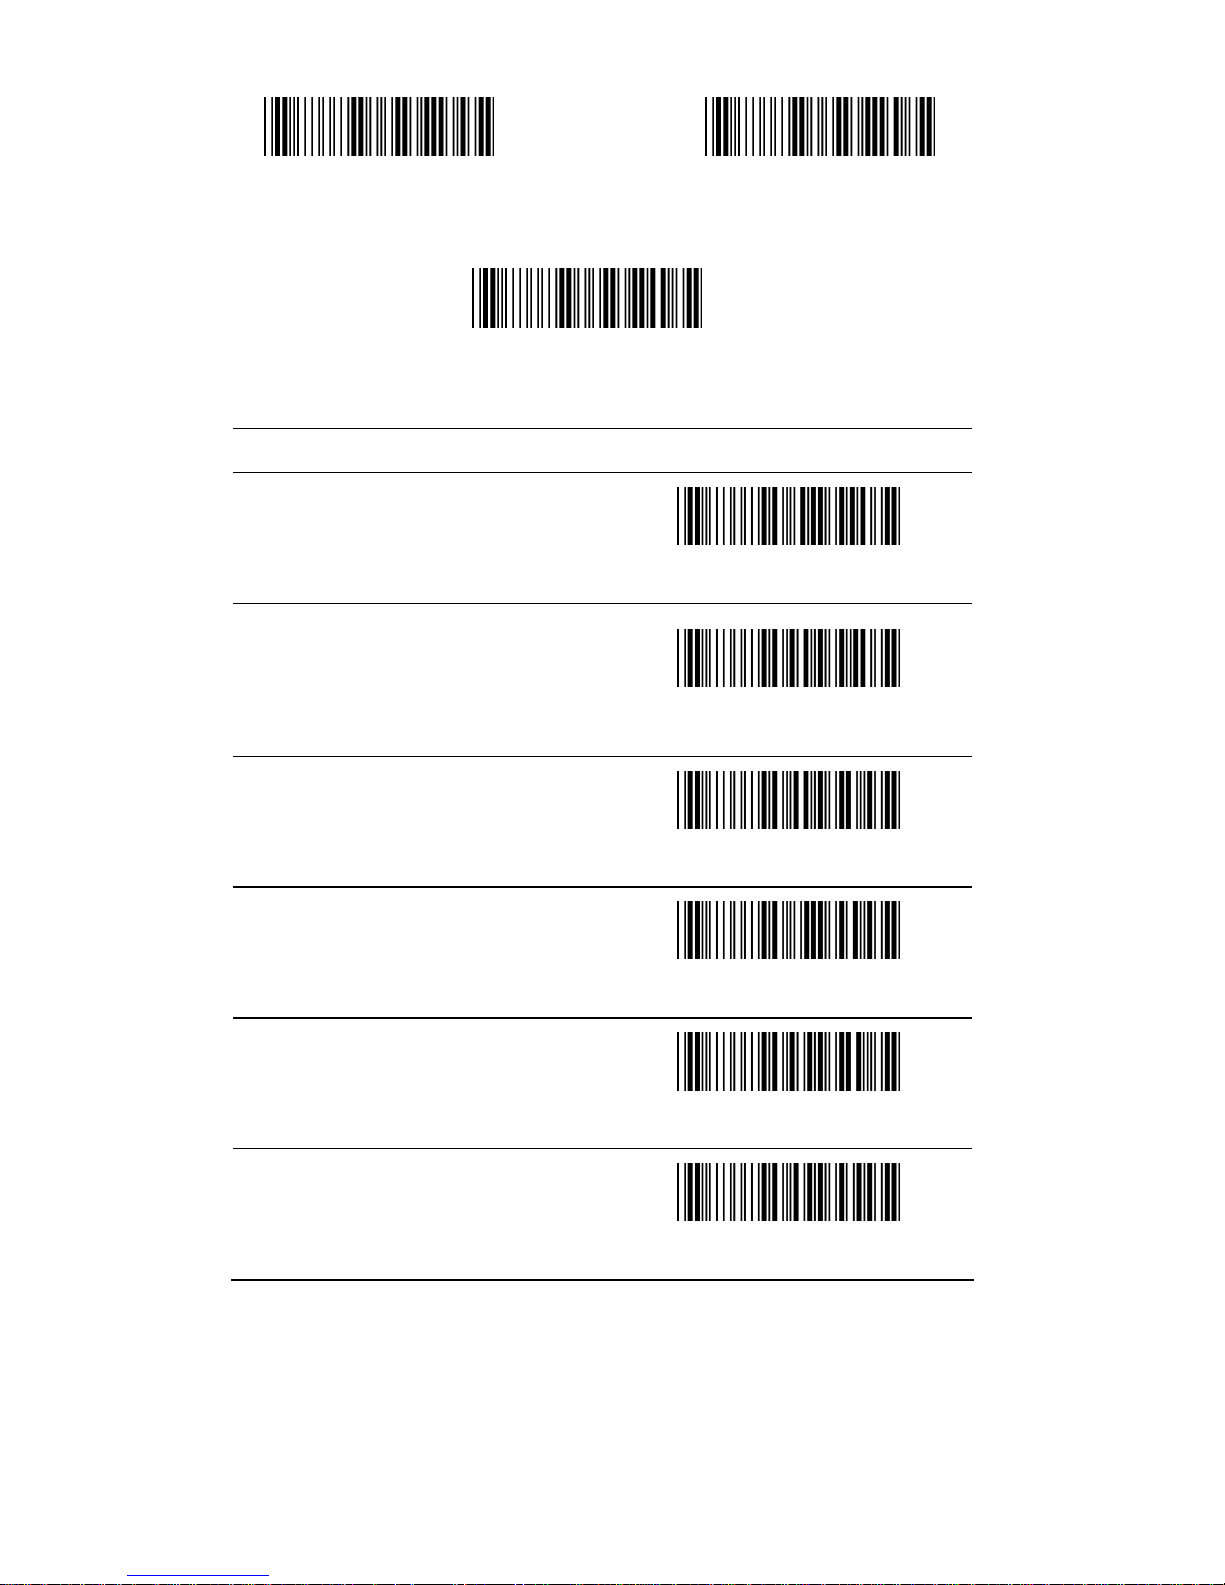
Start Configuration End Configuration
Confirm Configuration
ITEM OPTION
Preamble
(Default:00)
Ref: Appendix
Postamble
(Default:00)
Ref: Appendix
G1 Insertion Character
(Default:00)
Ref: Appendix
G2 Insertion Character
(Default:00)
Ref: Appendix
G1 Character Position to be
Inserted (Default:00)
Ref: Appendix
G2 Character Position to be
Inserted (Default:00)
Ref: Appendix
15
Page 16
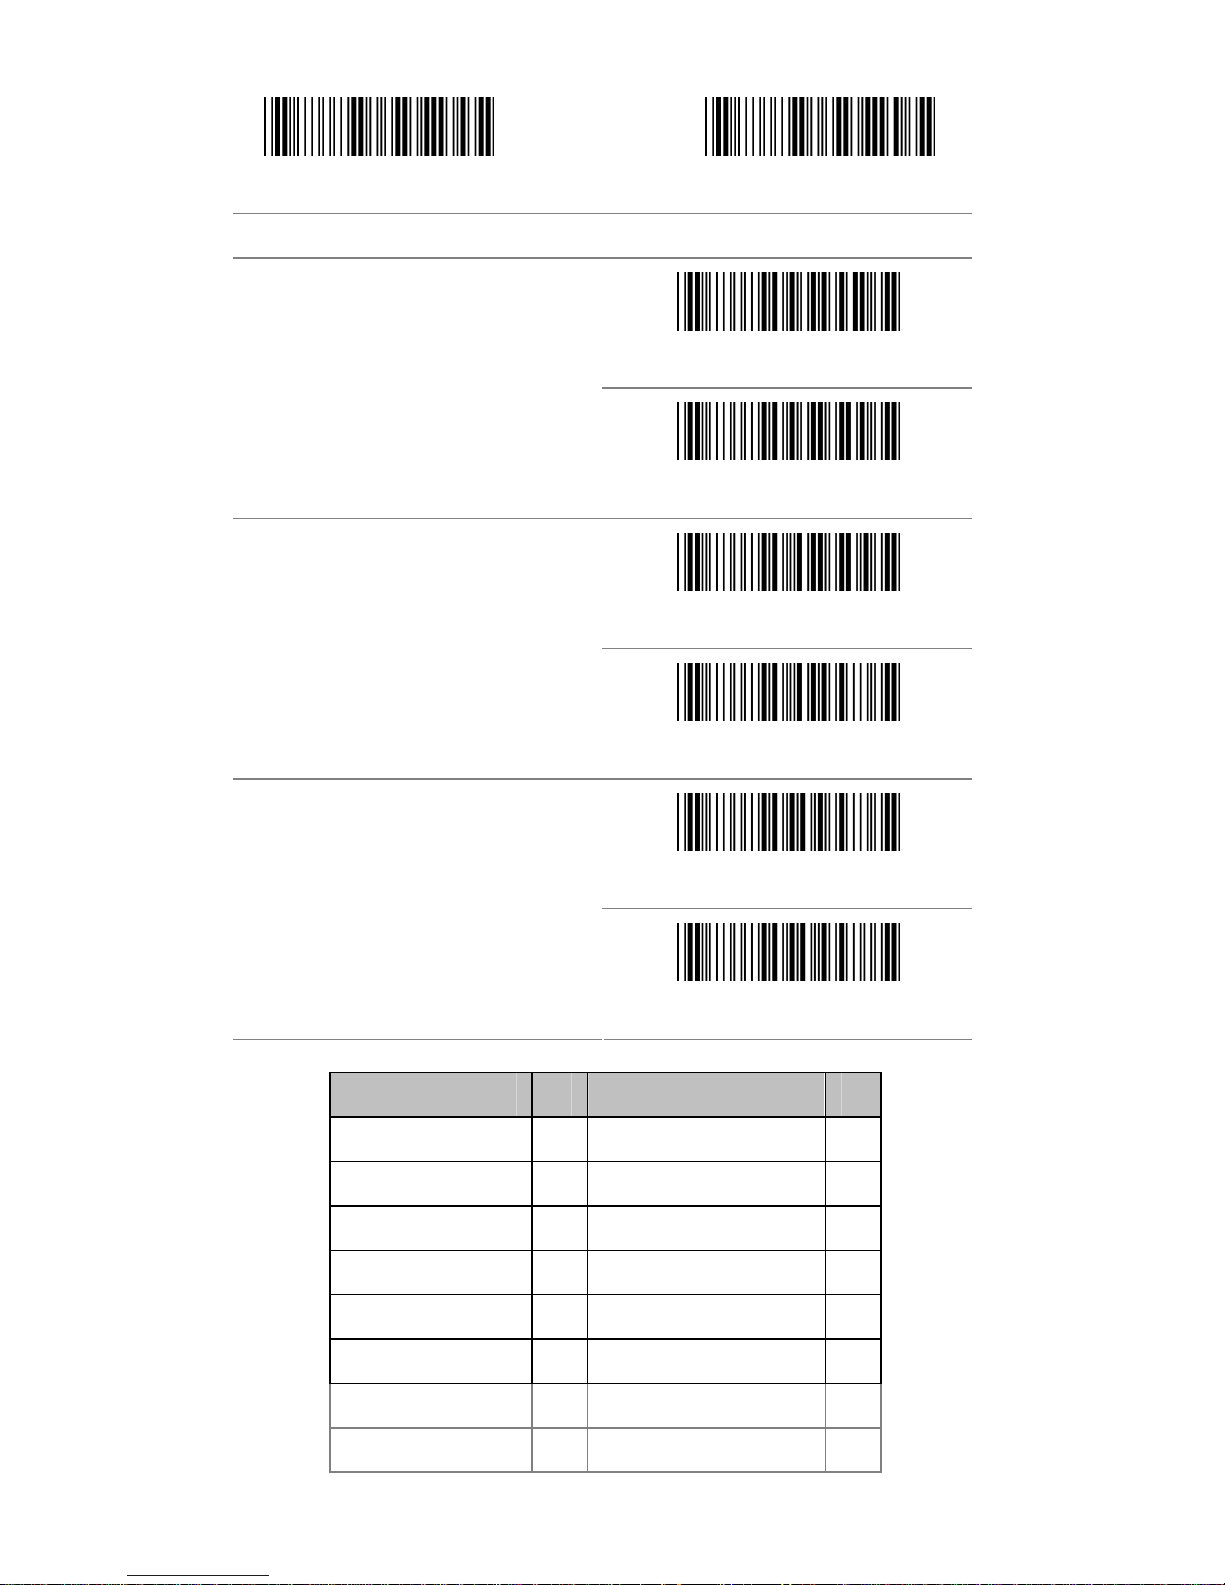
Start Configuration End Configuration
ITEM OPTION
*Disable
Barcode ID
Enable
* Read 1 Time
Accuracy
Read 2 Times
Negative bar codes Positive and Negative Barcodes
*Positive bar codes
Code Type ID Code Type ID
UPC-A F Interleaved 25 N
UPC-E G Industrial 25 O
EAN-13 H Matrix 25 P
EAN-8 I China Postal Code Q
Code 39 J MSI/Plessey R
Codabar K Code 32 S
Code 93 L Code 11 T
Code 128 M Telepen V
16
Page 17

Chapter 3 - Barcode Settings
How to set up a Code ID?
(1) Scan Start Configuration bar code
(2) Go to the ASCII Table and scan label that represent the desired
characters to be inserted.
(3) Scan Confirm Configuration bar code
(4) Scan End Configuration bar code.
Start Configuration End Configuration
Confirm Configuration
3.1 UPC-A
ITEM OPTION
Disable
Read
* Enable
Code ID Setting
(Default : F )
Ref: Appendix (20-7EH)
17
Page 18
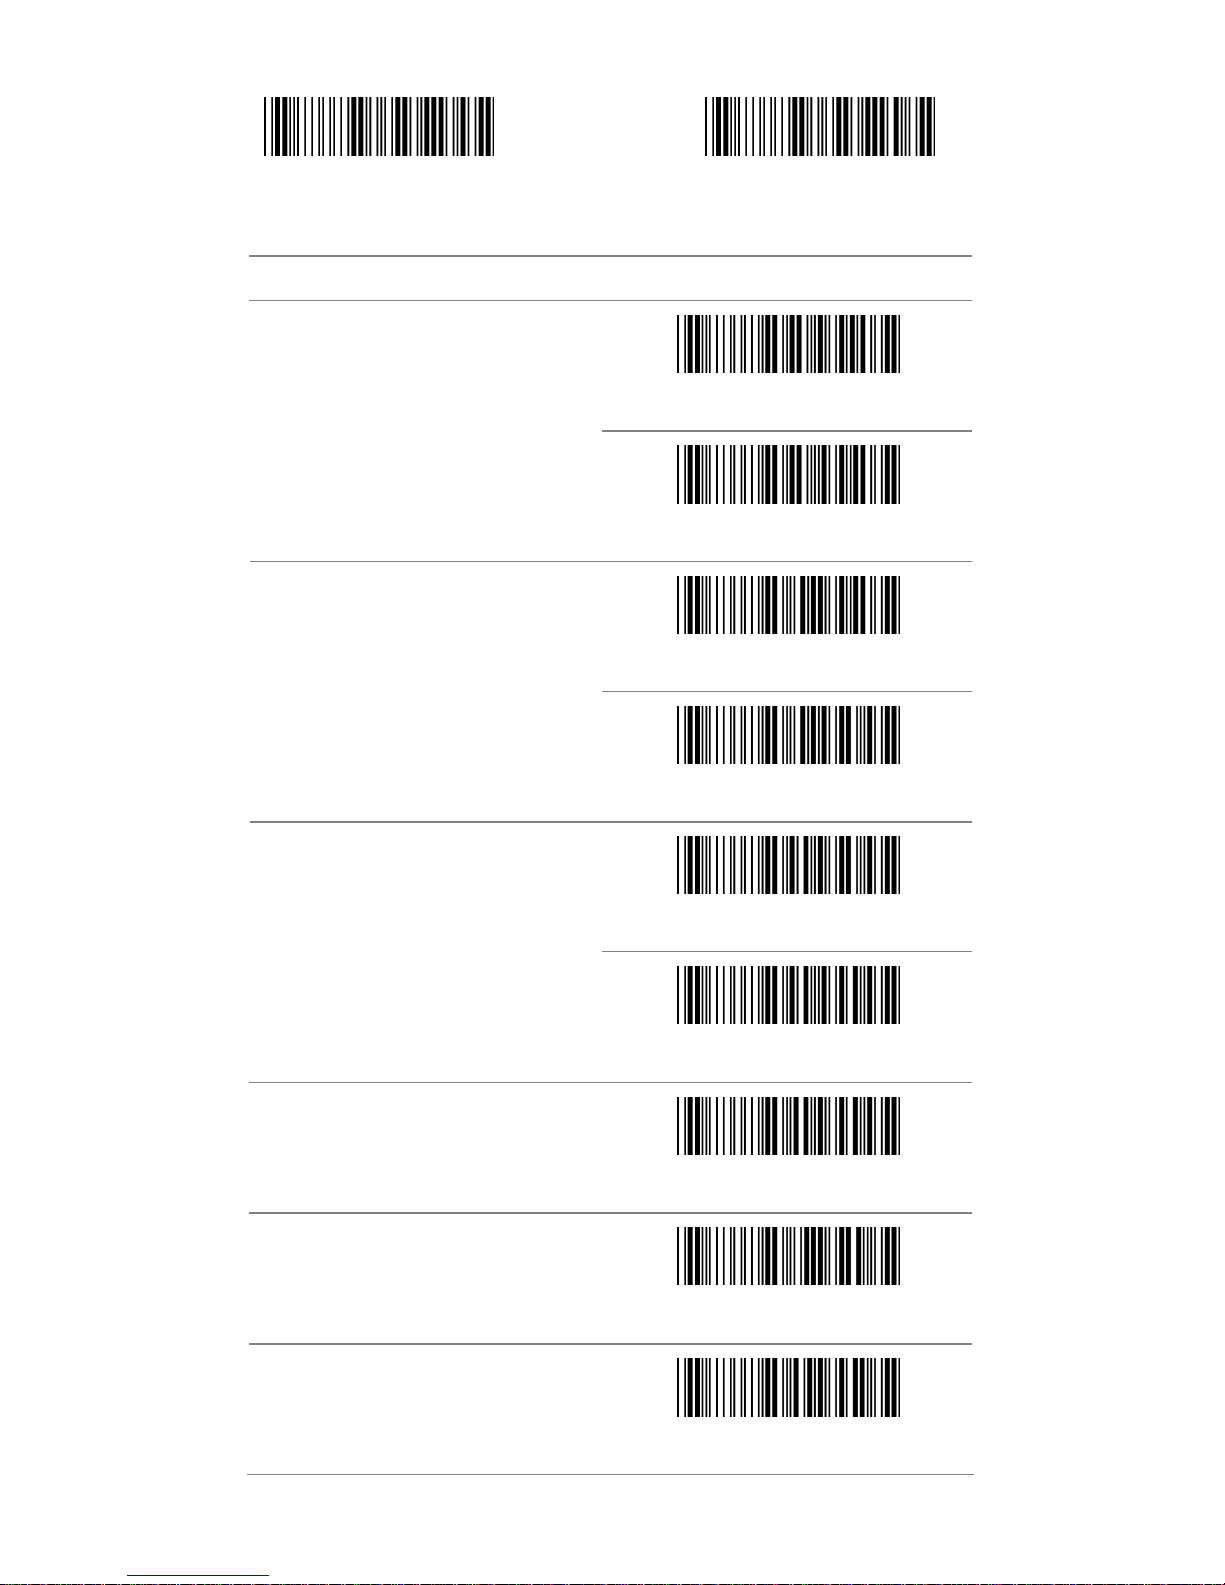
Start Configuration End Configuration
ITEM OPTION
* Disable
UPC-A Expand to EAN-13
Enable
Disable
Check Digit Send
* Enable
* Disable
Truncate Leading Zero
Enable
Truncate Leading
(Default:00)
Ref: Appendix (00-0DH)
Truncate Ending
(Default:00)
Ref: Appendix (00-0DH)
Insert Group Selection
Ref: Appendix(00—02H)
18
Page 19
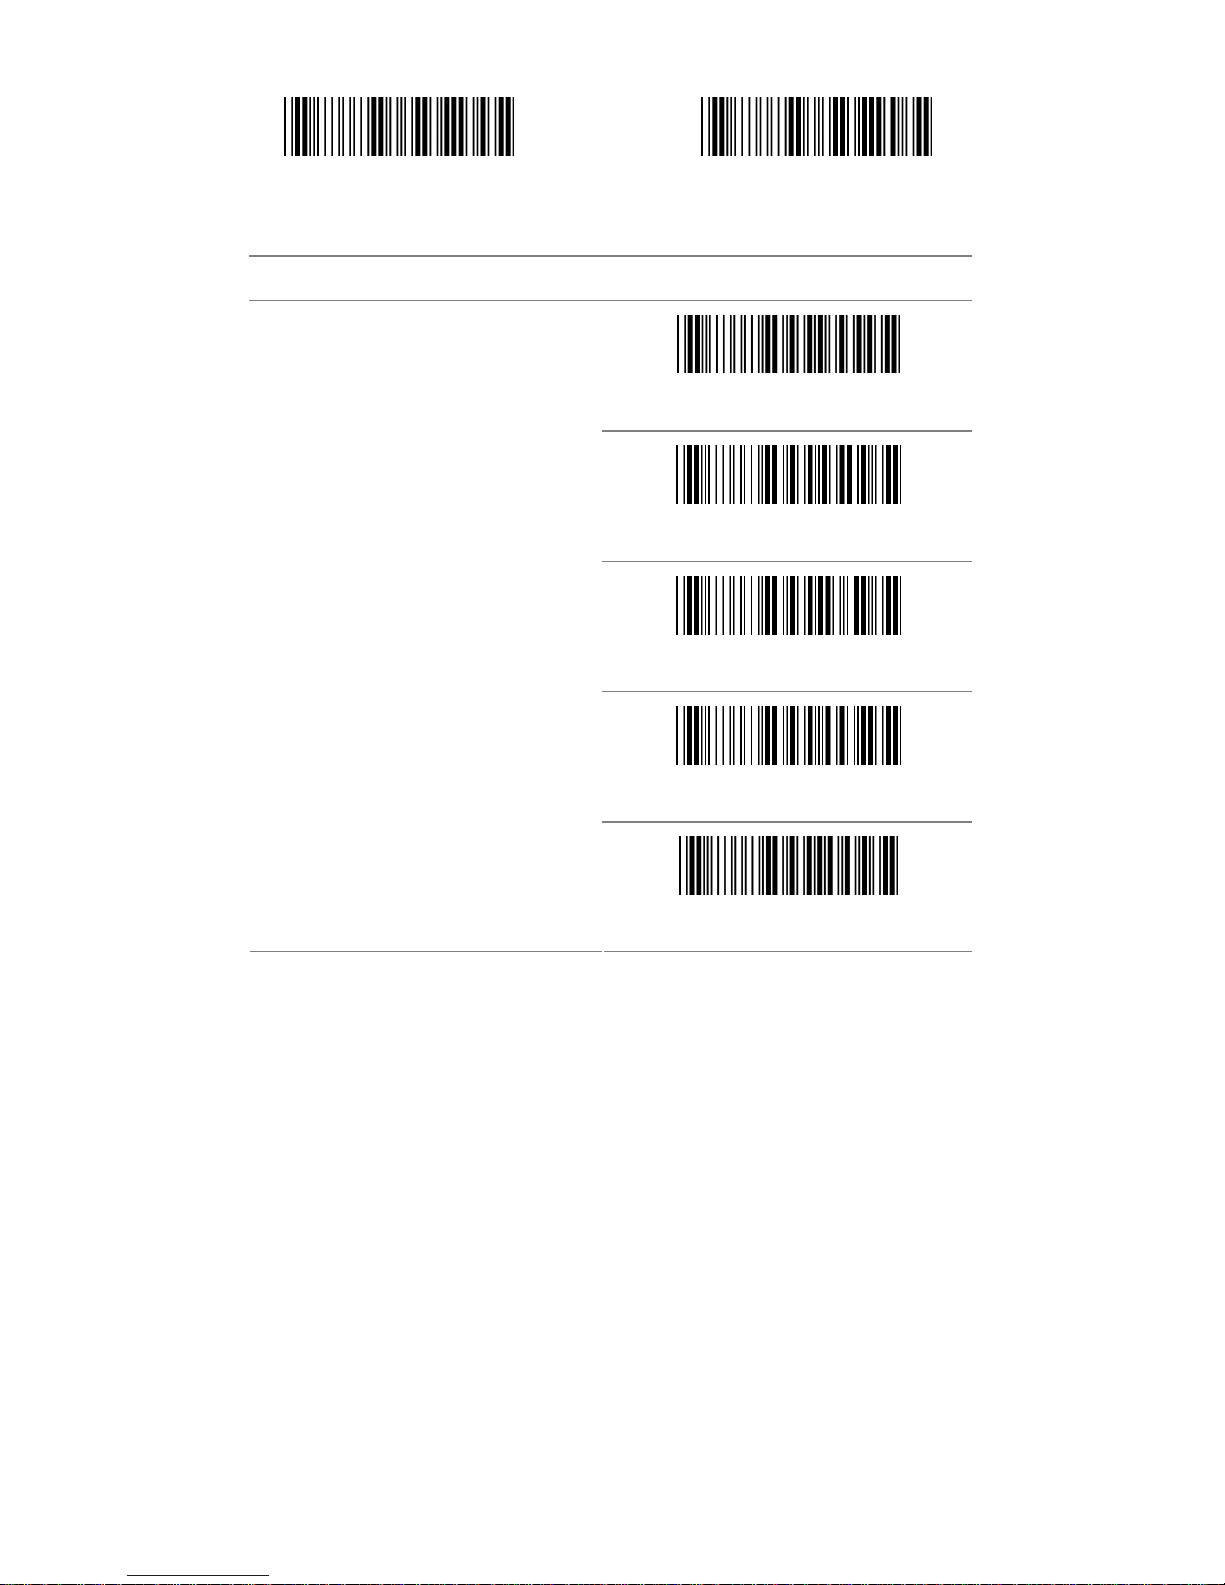
Start Configuration End Configuration
ITEM OPTION
* NONE
2 digits
5 digits
2 or 5digits
Supplement Digits
Auto-discriminate Supplement
19
Page 20

3.2 UPC-E
Start Configuration End Configuration
ITEM OPTION
Disable
Read
* Enable
Code ID Setting
(Default : G) Ref: Appendix (20-7EH)
20
Page 21
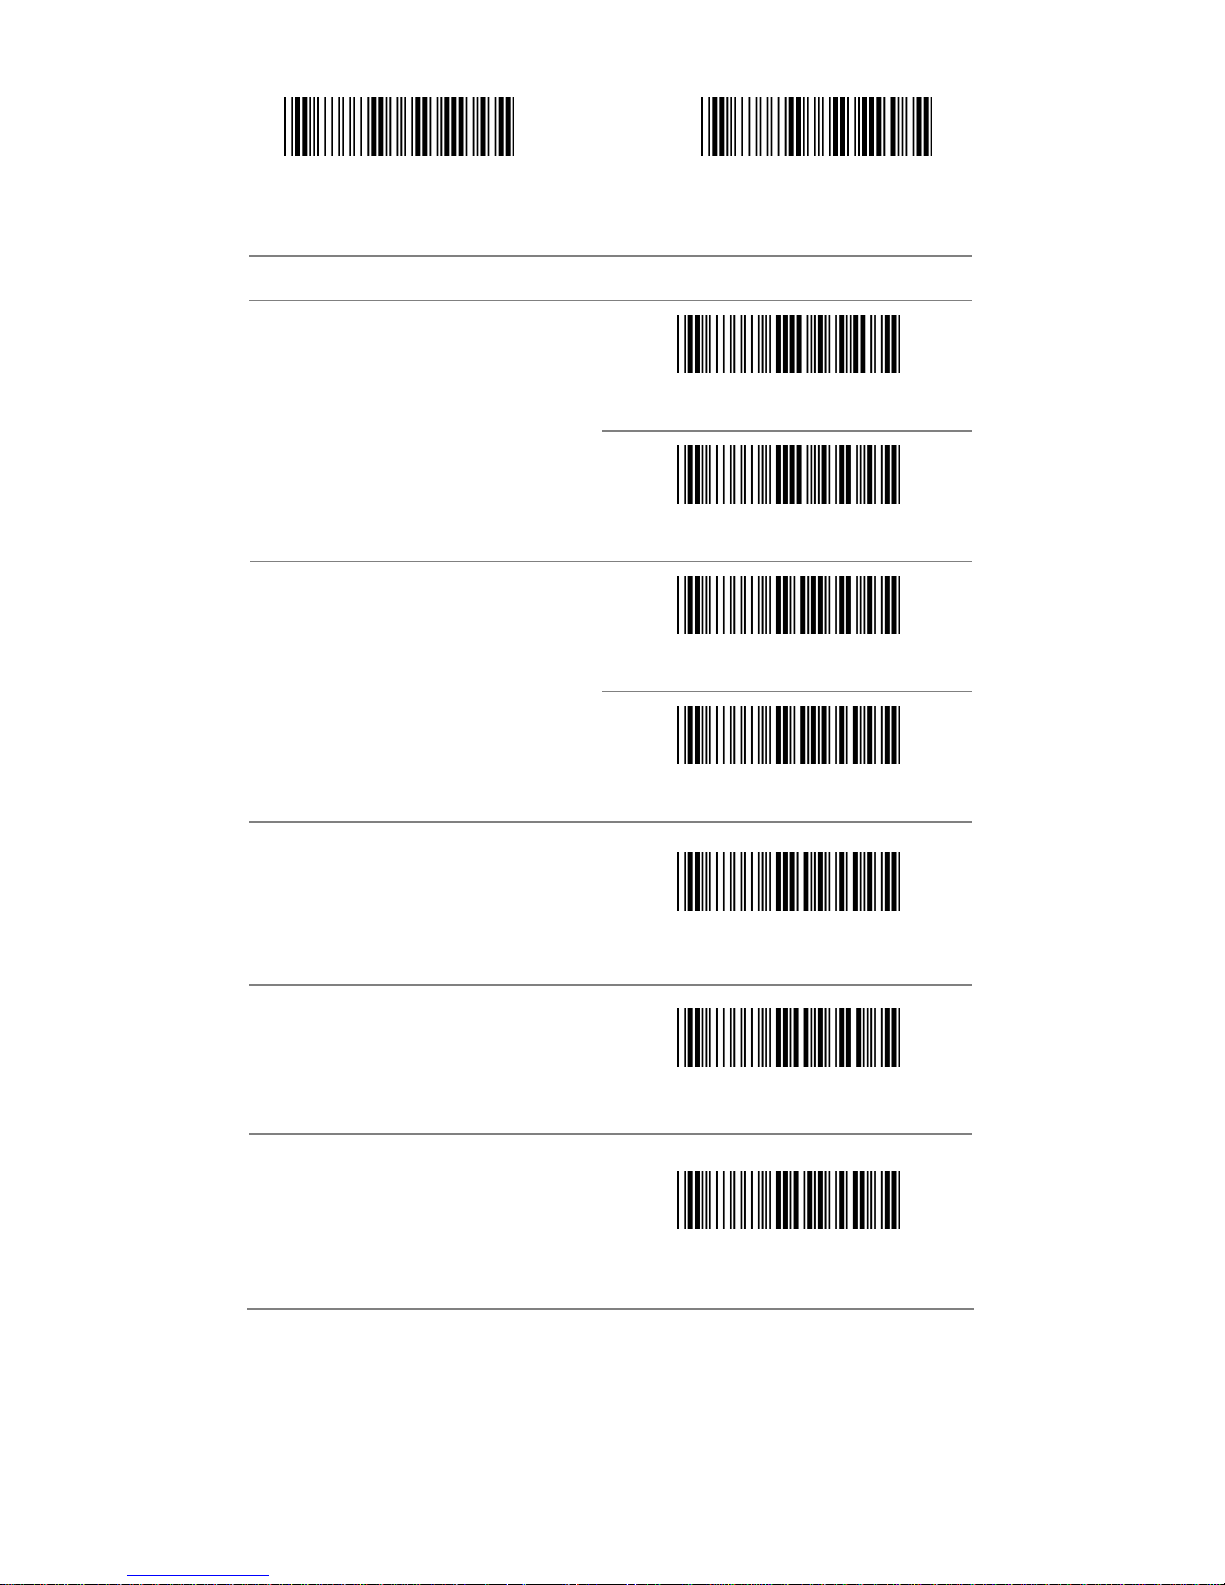
Start Configuration End Configuration
ITEM OPTION
* Disable
UPC-E Expand to UPC-A
Enable
Disable
Check Digit Send
* Enable
Truncate Leading
(Default:00)
Ref: Appendix (00-08H)
Truncate Ending
(Default:00)
Ref: Appendix (00-08H)
Insert Group
Selection (Default:00)
Ref: Appendix (00-02H)
21
Page 22
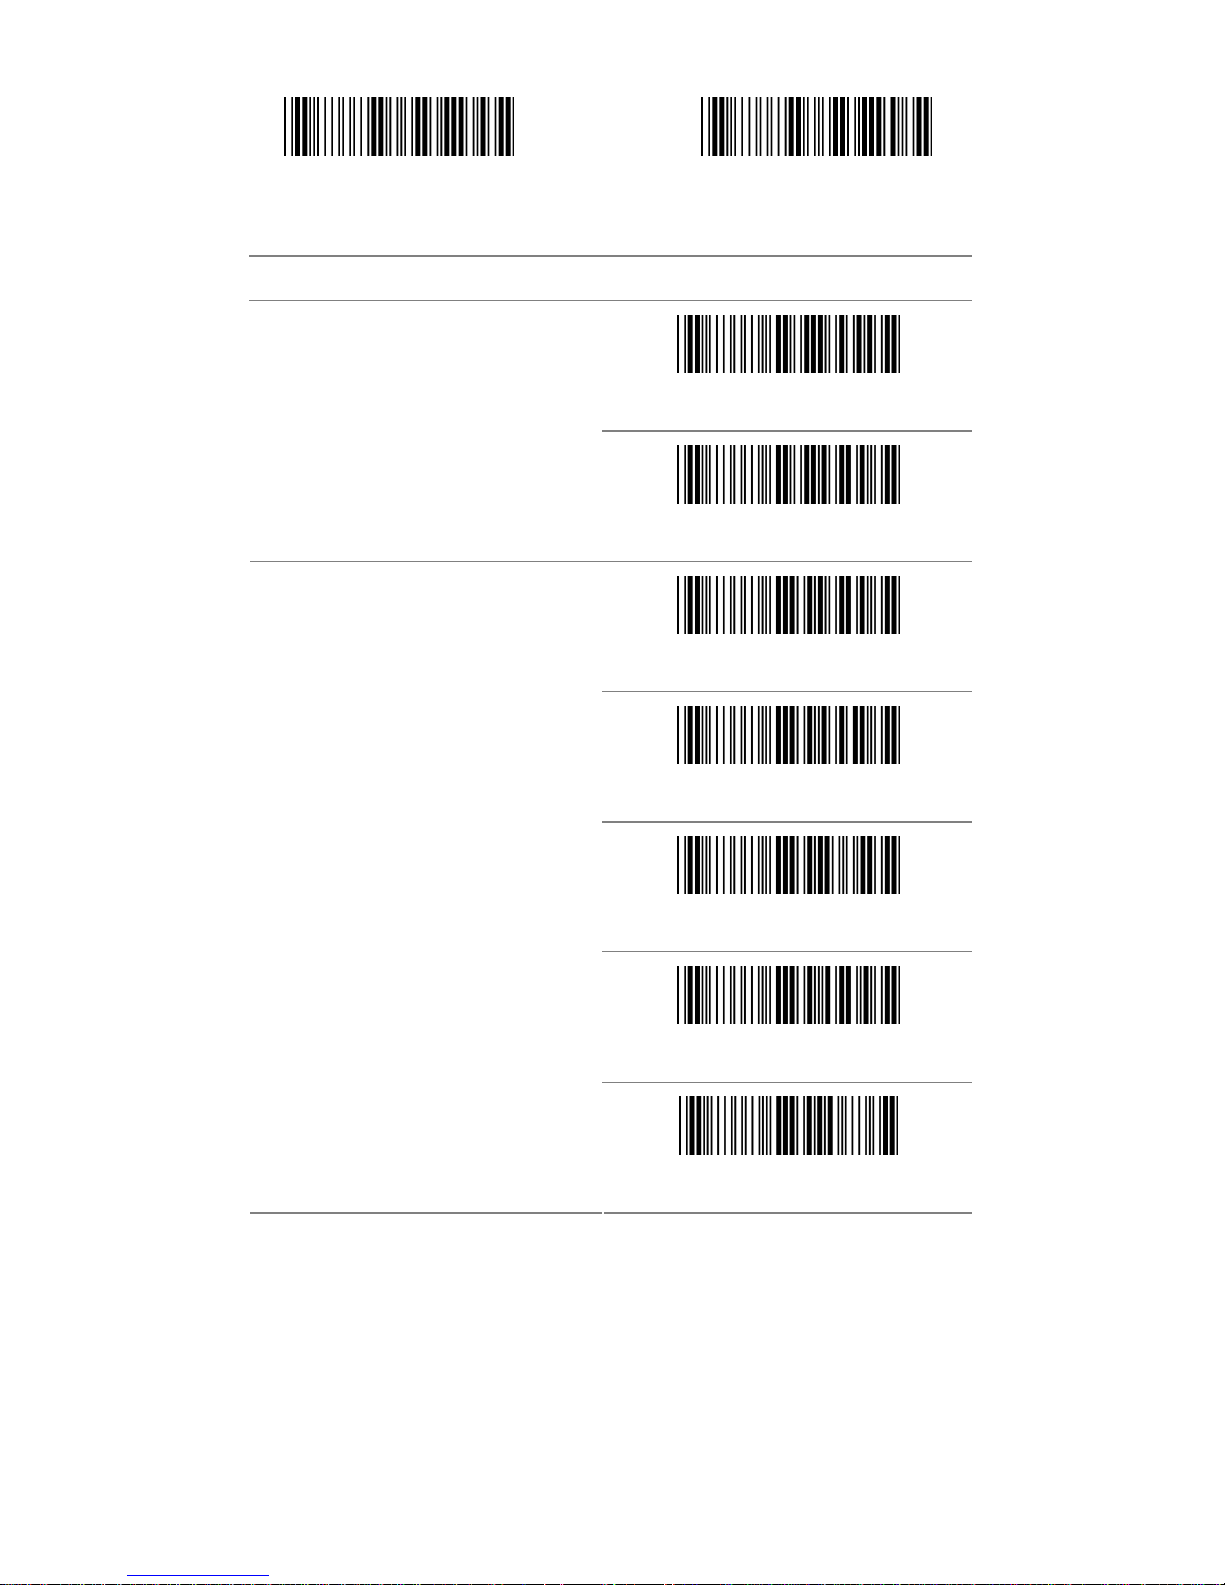
Start Configuration End Configuration
ITEM OPTION
*Disable
Truncate Leading Zero
Enable
* None
2 digits
5 digits
2 or 5 digits
Supplement Digits
Auto-discriminate Supplement
22
Page 23
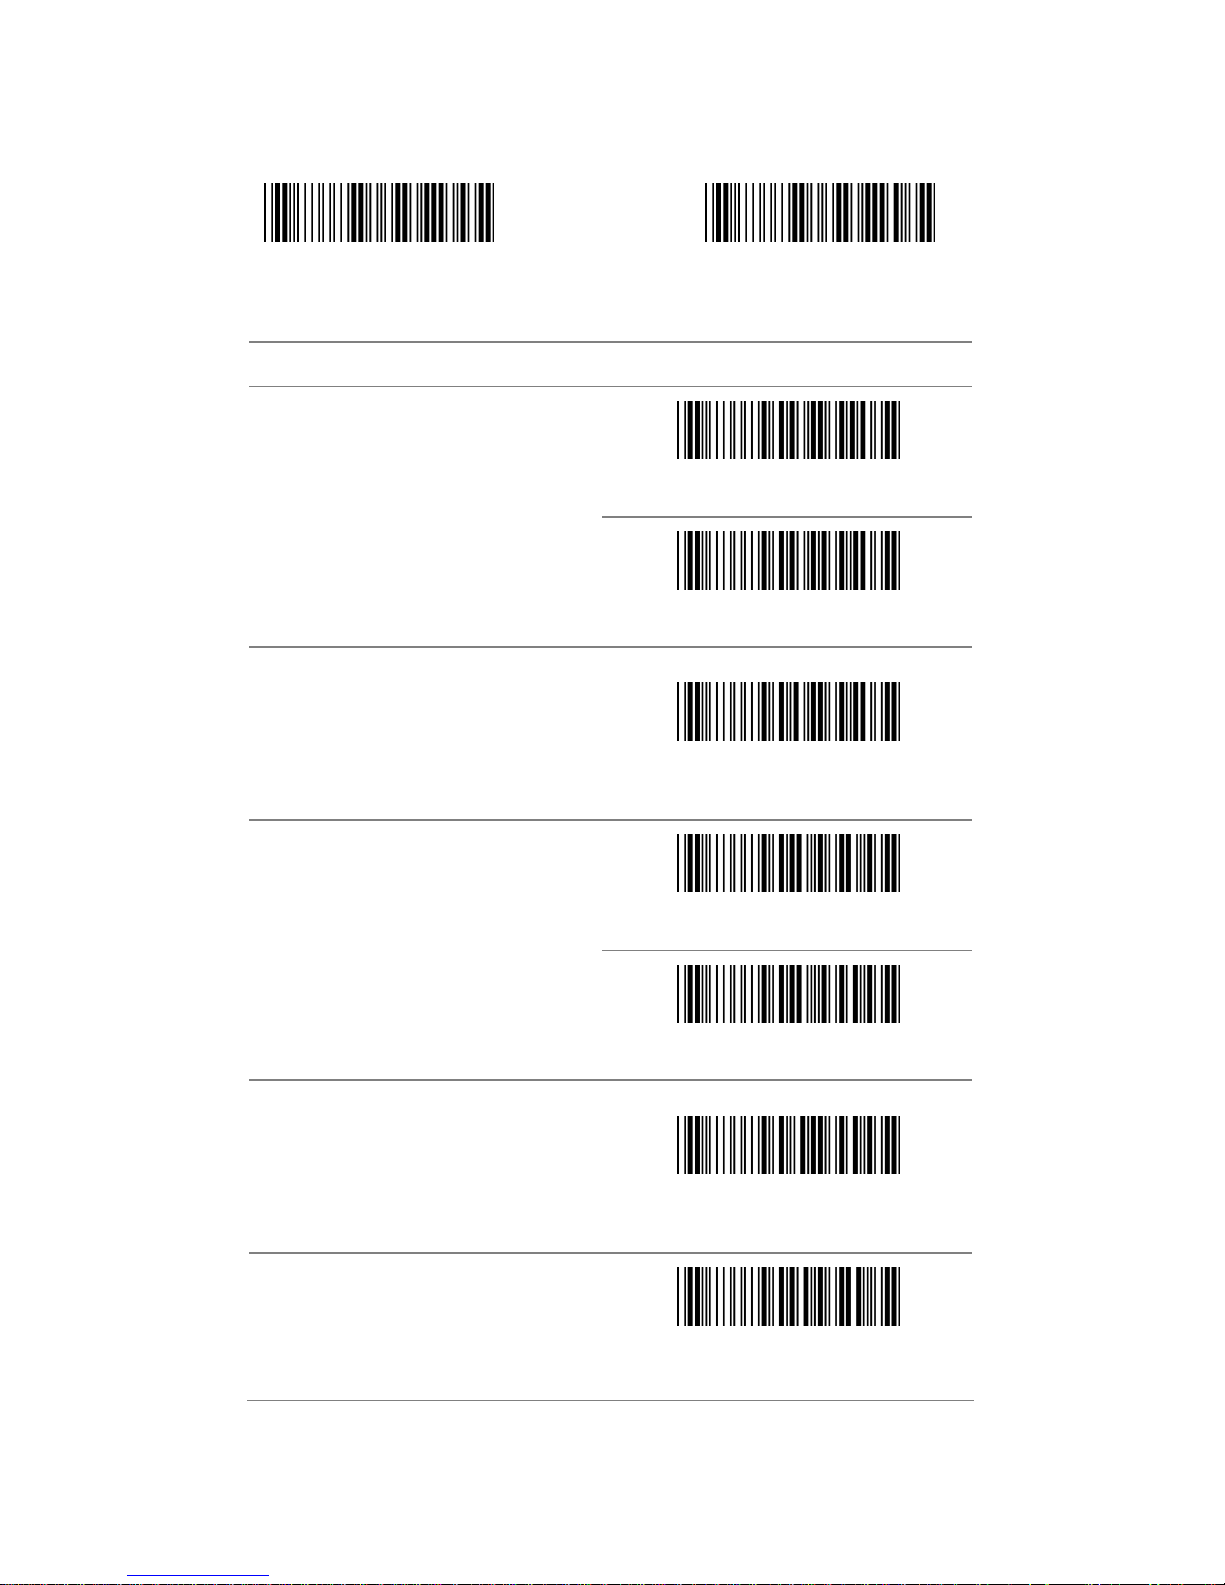
3.3 EAN-13
Start Configuration End Configuration
ITEM OPTION
Disable
Read
* Enable
Code ID Setting
(Default : H)
Ref: Appendix (20-7EH)
Disable
Check Digit Send
* Enable
Truncate Leading
(Default : 00 )
Ref: Appendix (00-0DH)
Truncate Ending
(Default : 00 )
Ref: Appendix (00-0DH)
23
Page 24
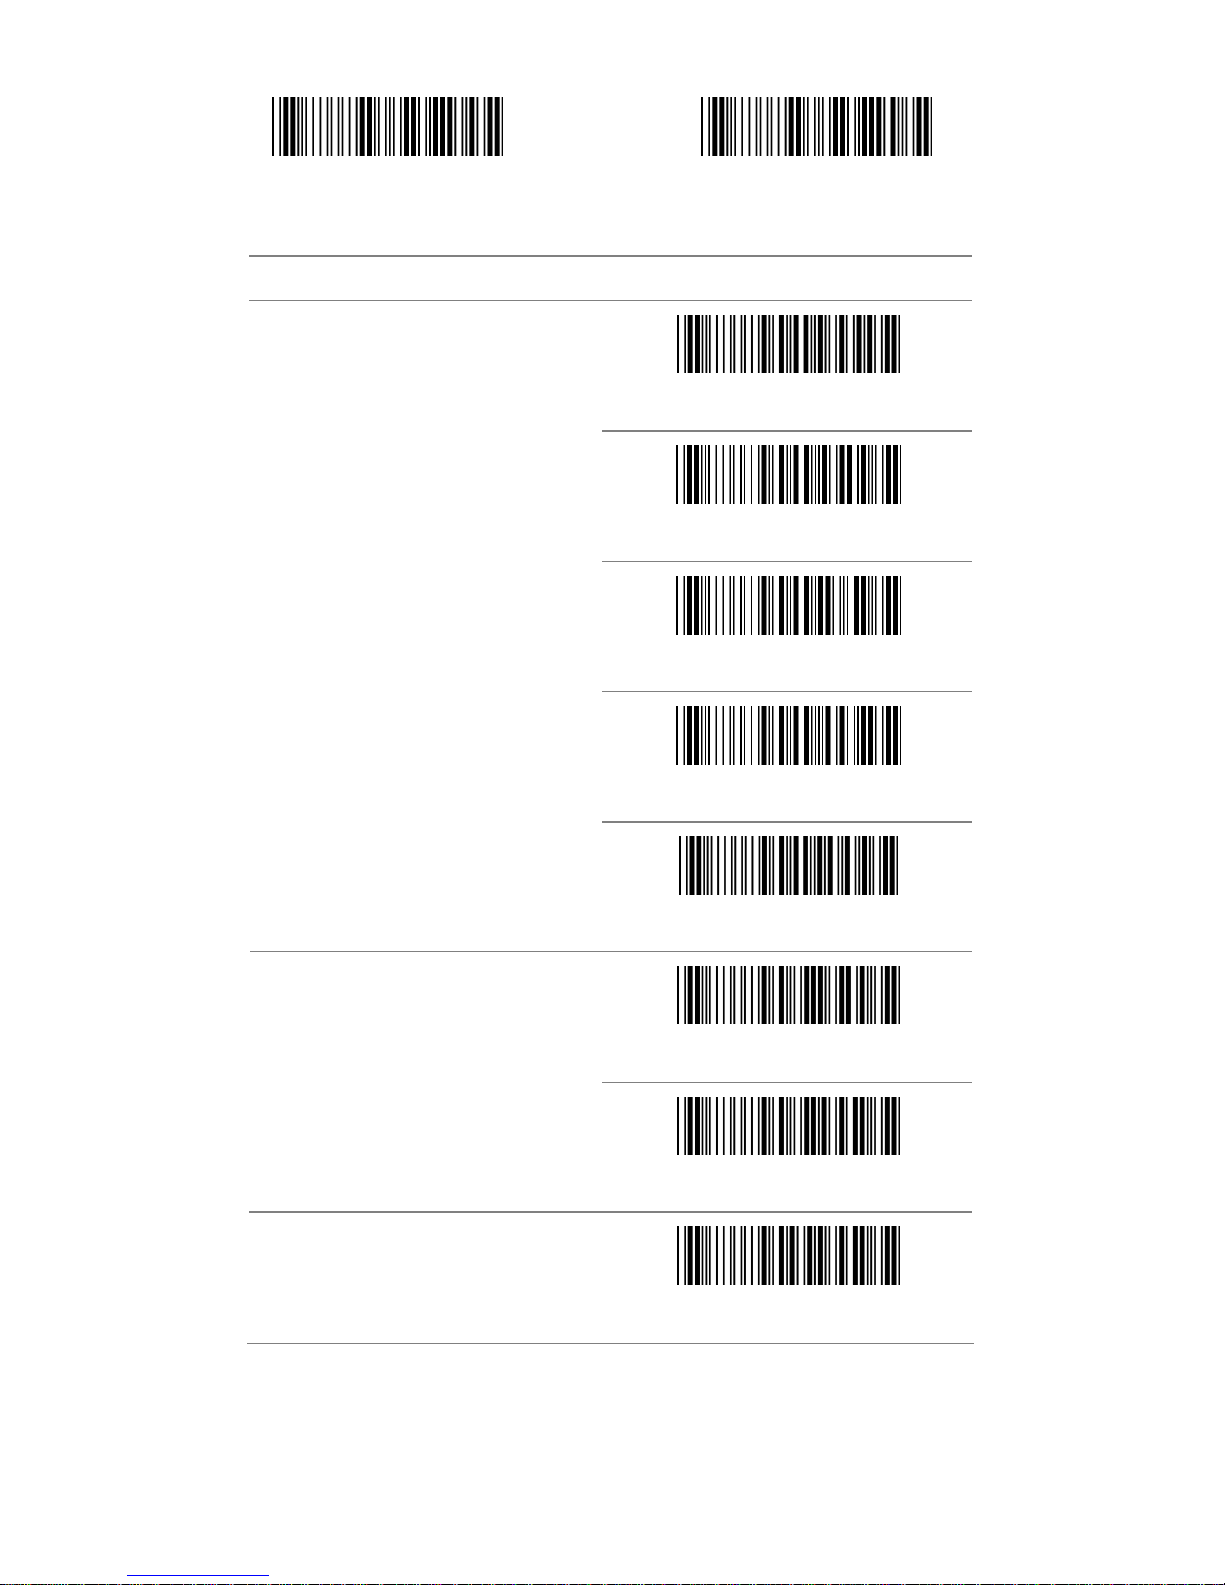
Start Configuration End Configuration
ITEM OPTION
* None
2 digits
5 digits
2 or 5 digits
Supplement Digits
Auto-discriminate Supplement
* Disable
ISBN/ISSN Conversion
Enable
Insert Group Selection
(Default : 00 )
Ref: Appendix (00-02H)
24
Page 25
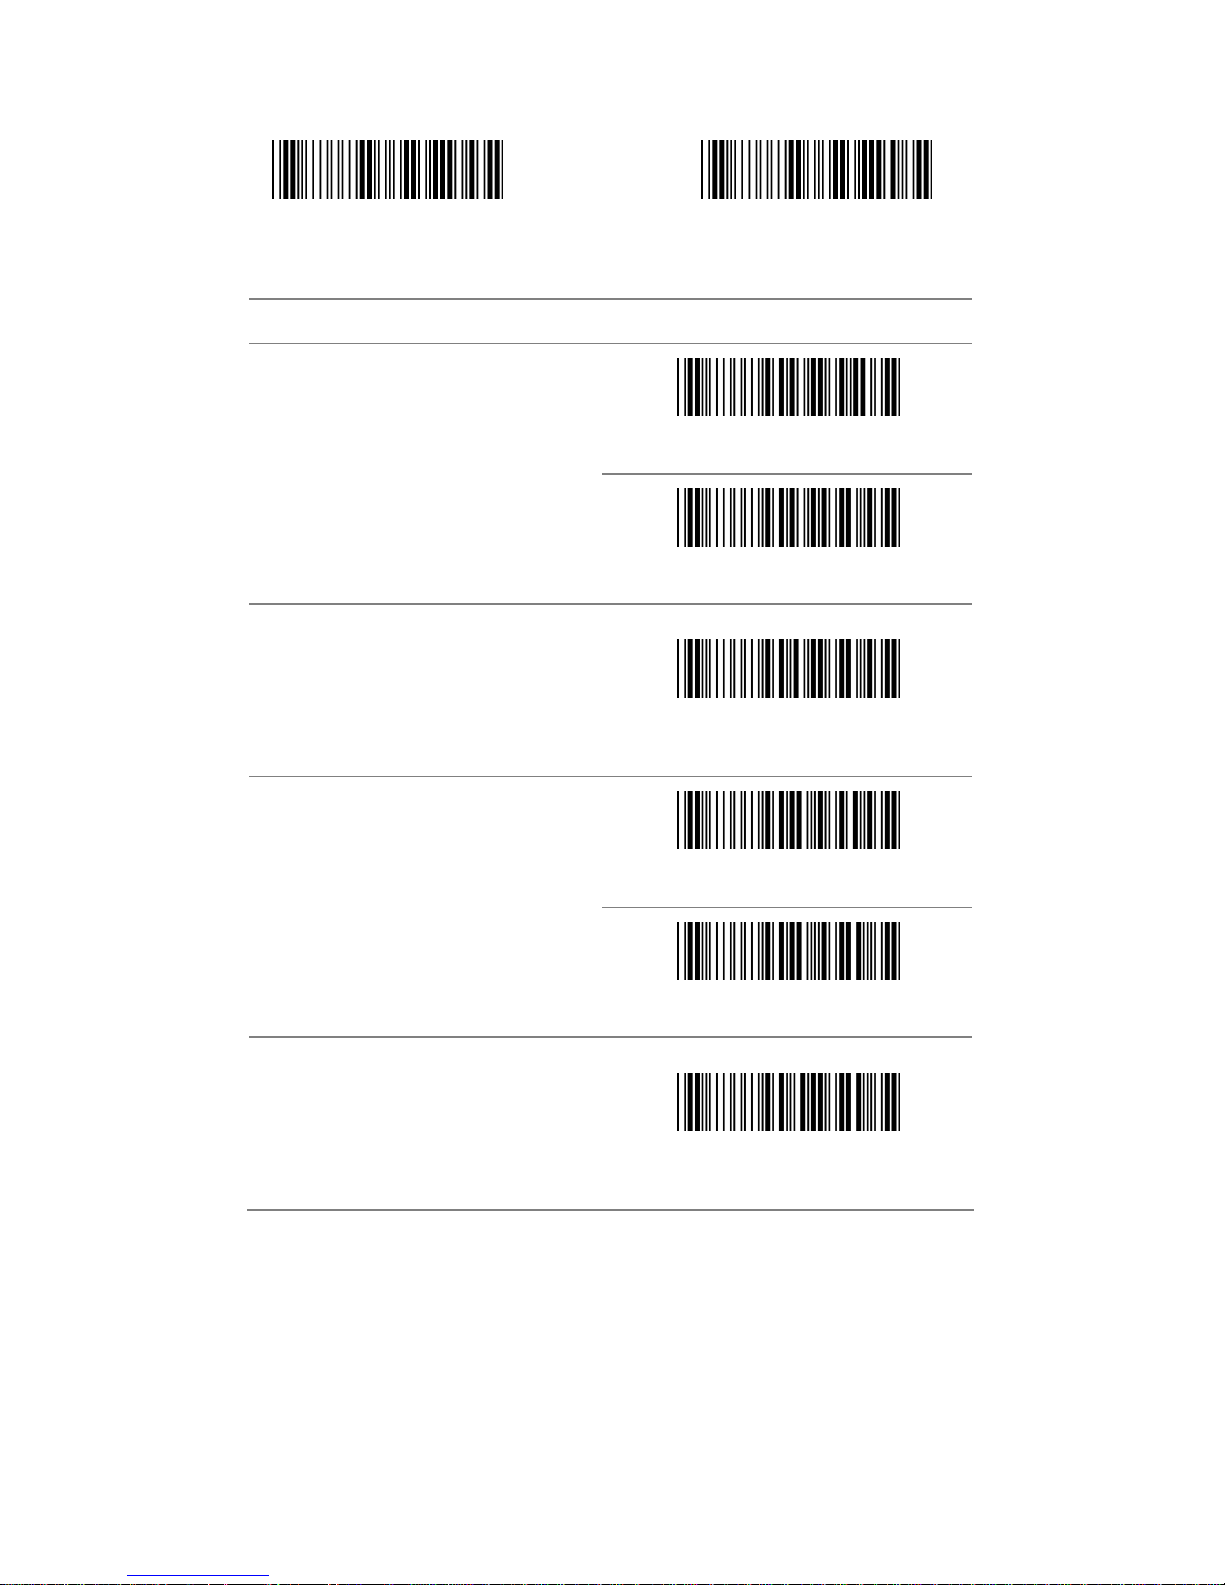
3.4 EAN-8
Start Configuration End Configuration
ITEM OPTION
Disable
Read
* Enable
Code ID Setting
(Default : I)
Ref: Appendix (20-7EH)
Disable
Check Digit Send
* Enable
Truncate Leading
(Default : 00)
Ref: Appendix (00-08H)
25
Page 26
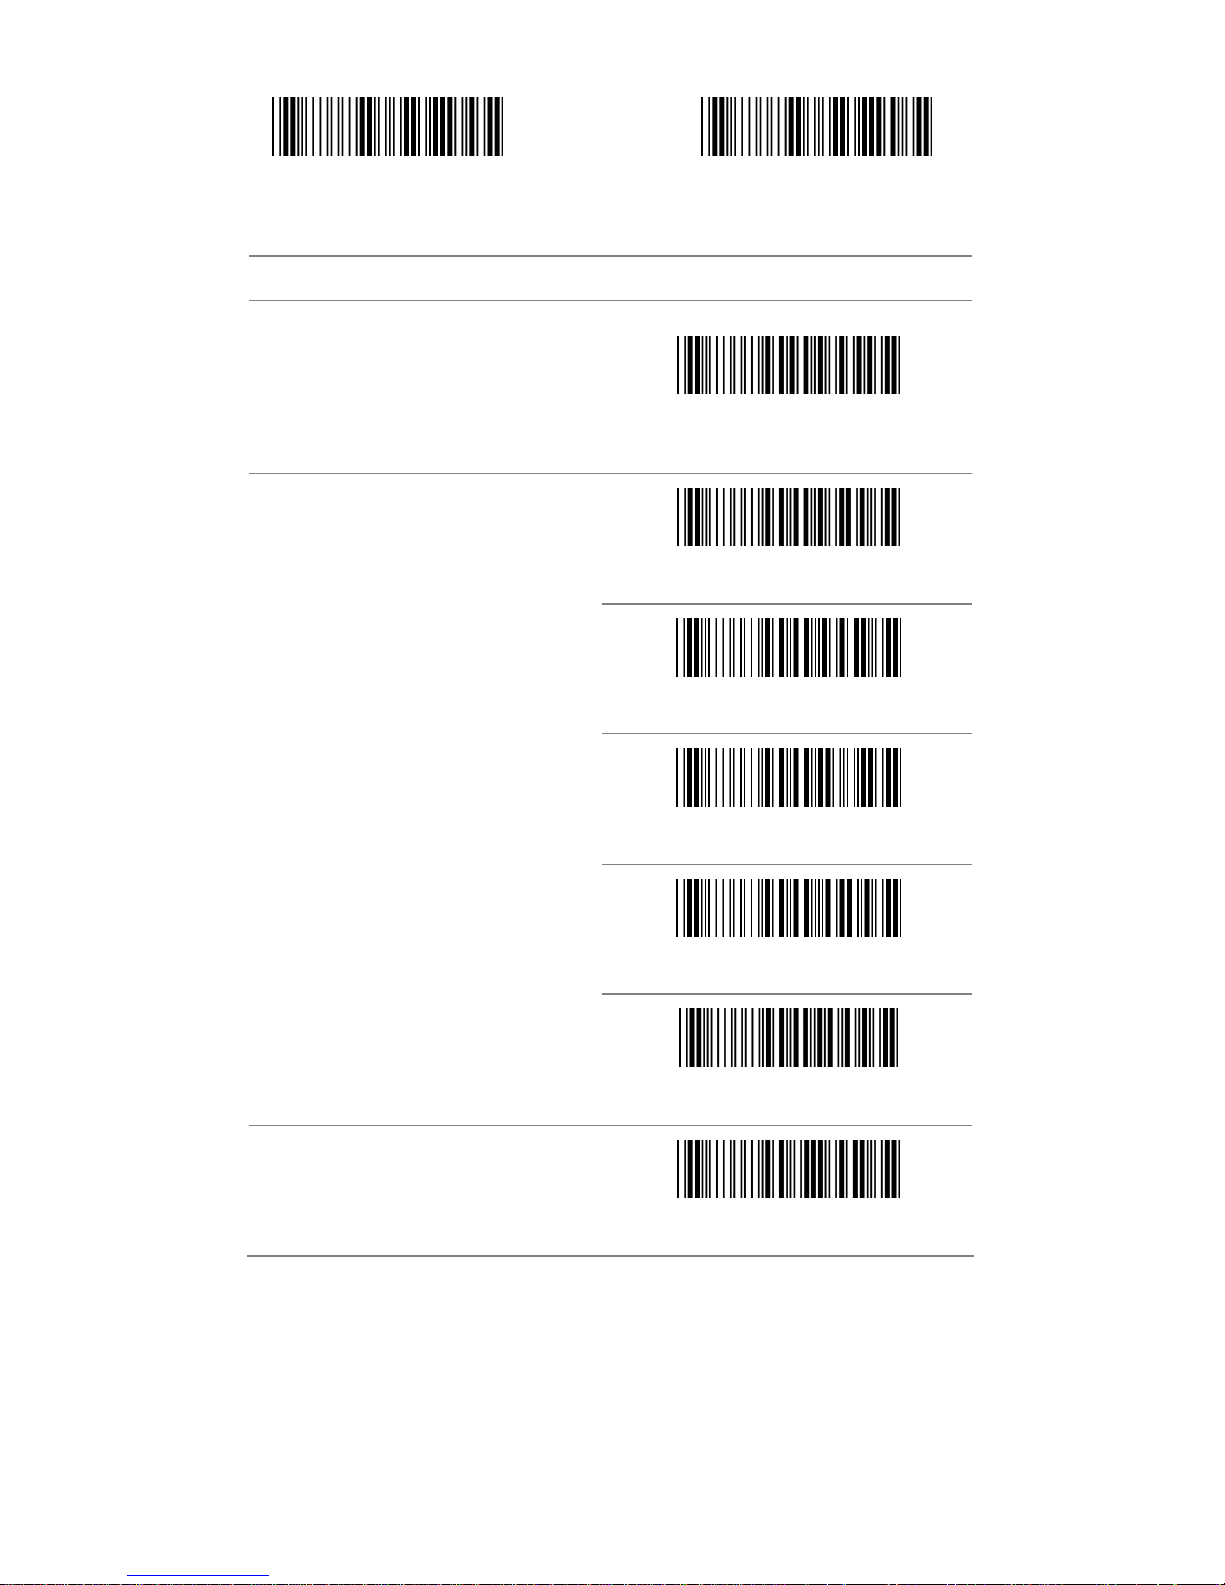
Start Configuration End Configuration
ITEM OPTION
Truncate Ending
(Default : 00)
Ref: Appendix (00-08H)
* None
2 digits
5 digits
2 or 5 digits
Supplement Digits
Auto-discriminate Supplement
Insert Group Selection
(Default : 00)
Ref: Appendix (00-02H)
26
Page 27
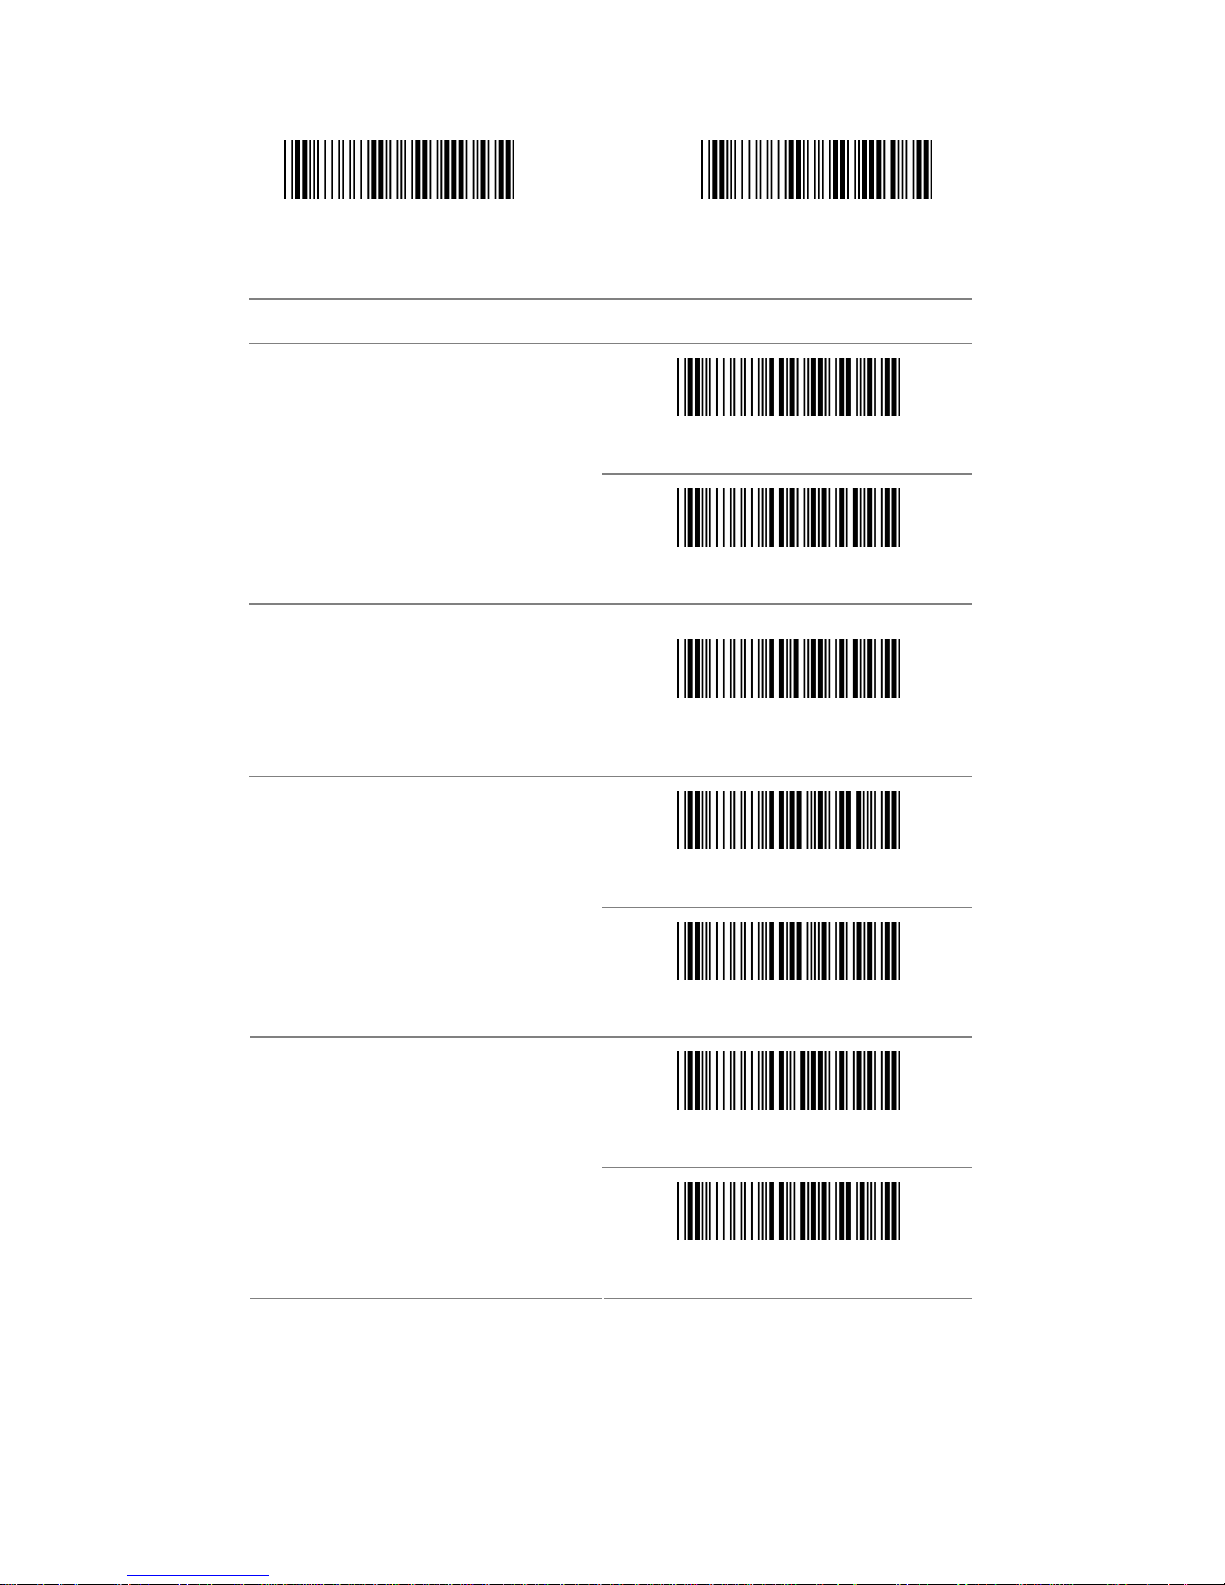
3.5 Code 39
Start Configuration End Configuration
ITEM OPTION
Disable
Read
* Enable
Code ID Setting
(Default : J)
Ref: Appendix (20-7EH)
* Disable
Check-sum Verification
Enable
Disable
Check-sum Transmission
* Enable
27
Page 28
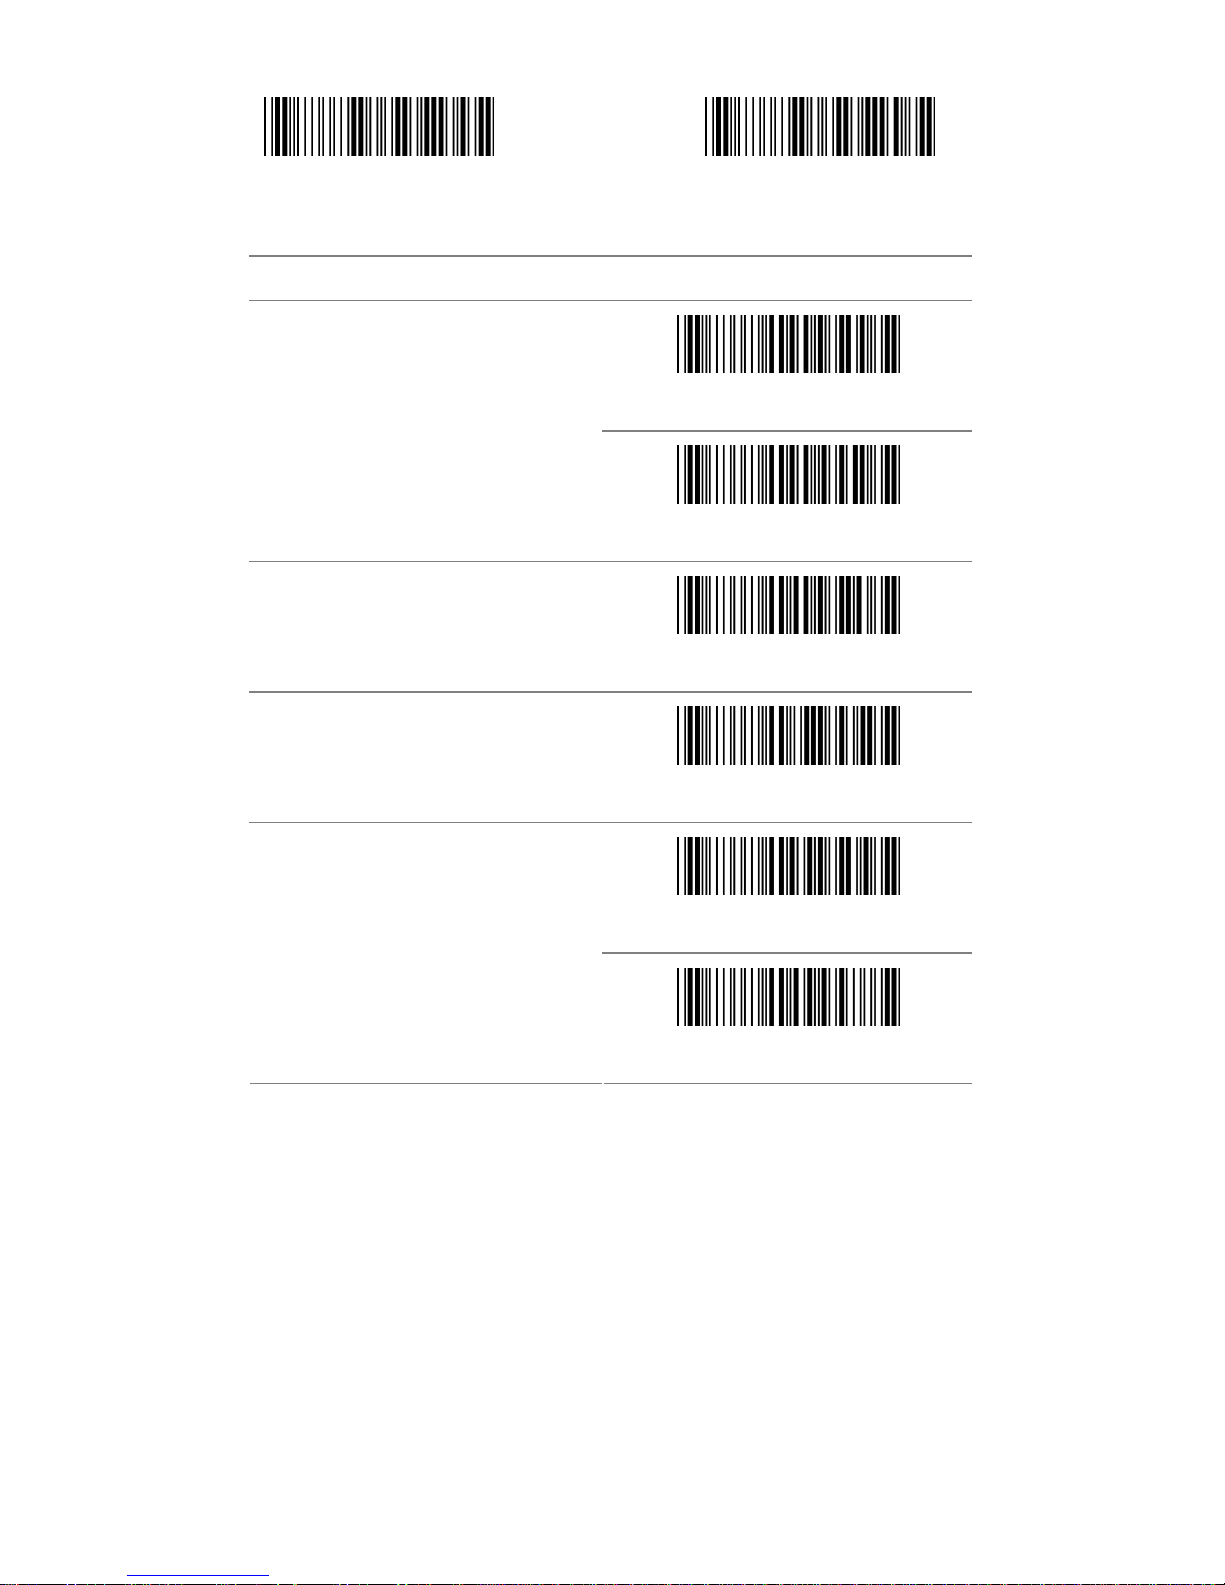
Start Configuration End Configuration
ITEM OPTION
* Disable
Append
Enable
Min. Code Length
(Default: 00)
Ref: Appendix (00-32H)
Max. Code Length
(Default: 32H)
Ref: Appendix (00-32H)
* Standard Code39Format
Code 39 Full ASCII
28
Page 29
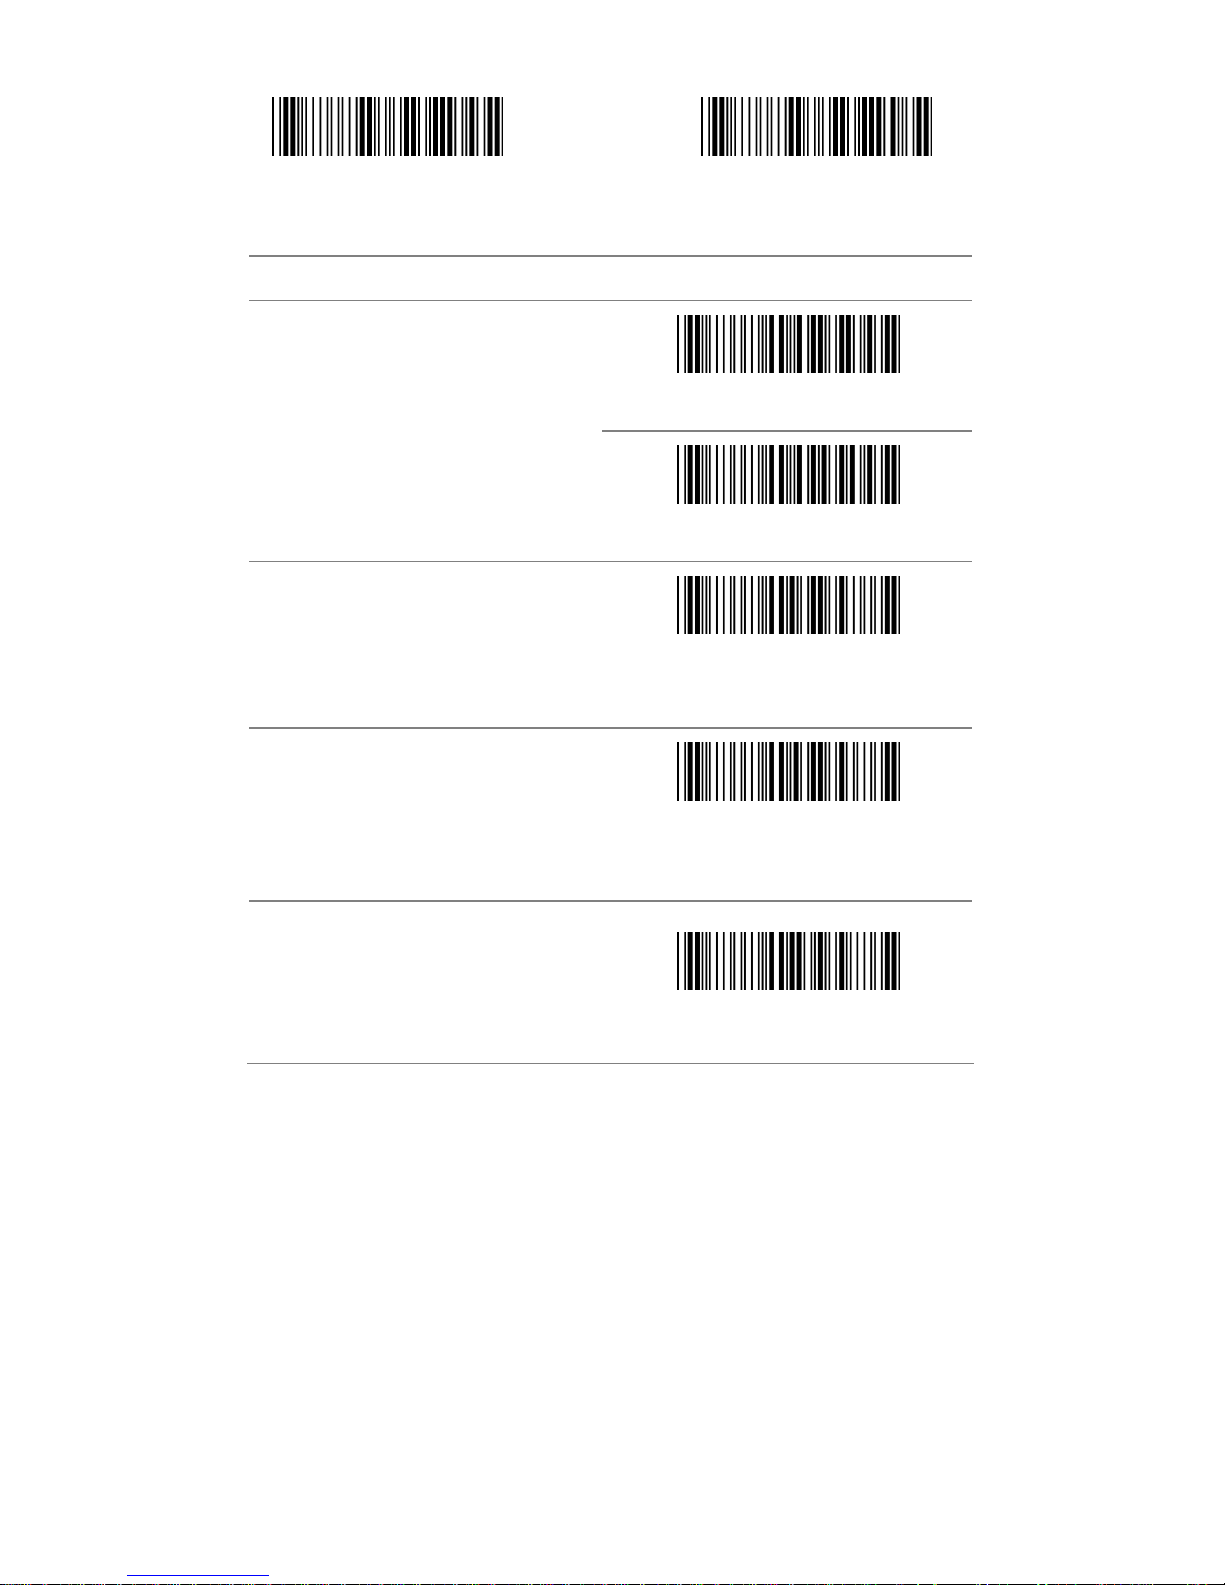
Start Configuration End Configuration
ITEM OPTION
* Disable
Transmit Start/End Character
Enable
Truncate Leading
(Default: 00)
Ref: Appendix (00-32H)
Truncate Ending
(Default: 00)
Ref: Appendix (00-32H)
Insert Group
Selection (Default: 00)
Ref: Appendix (00-02H)
29
Page 30

3.6 Codabar
Start Configuration End Configuration
ITEM OPTION
Disable
Read
* Enable
Code ID Setting
(Default : K)
Ref: Appendix (20-7EH)
30
Page 31
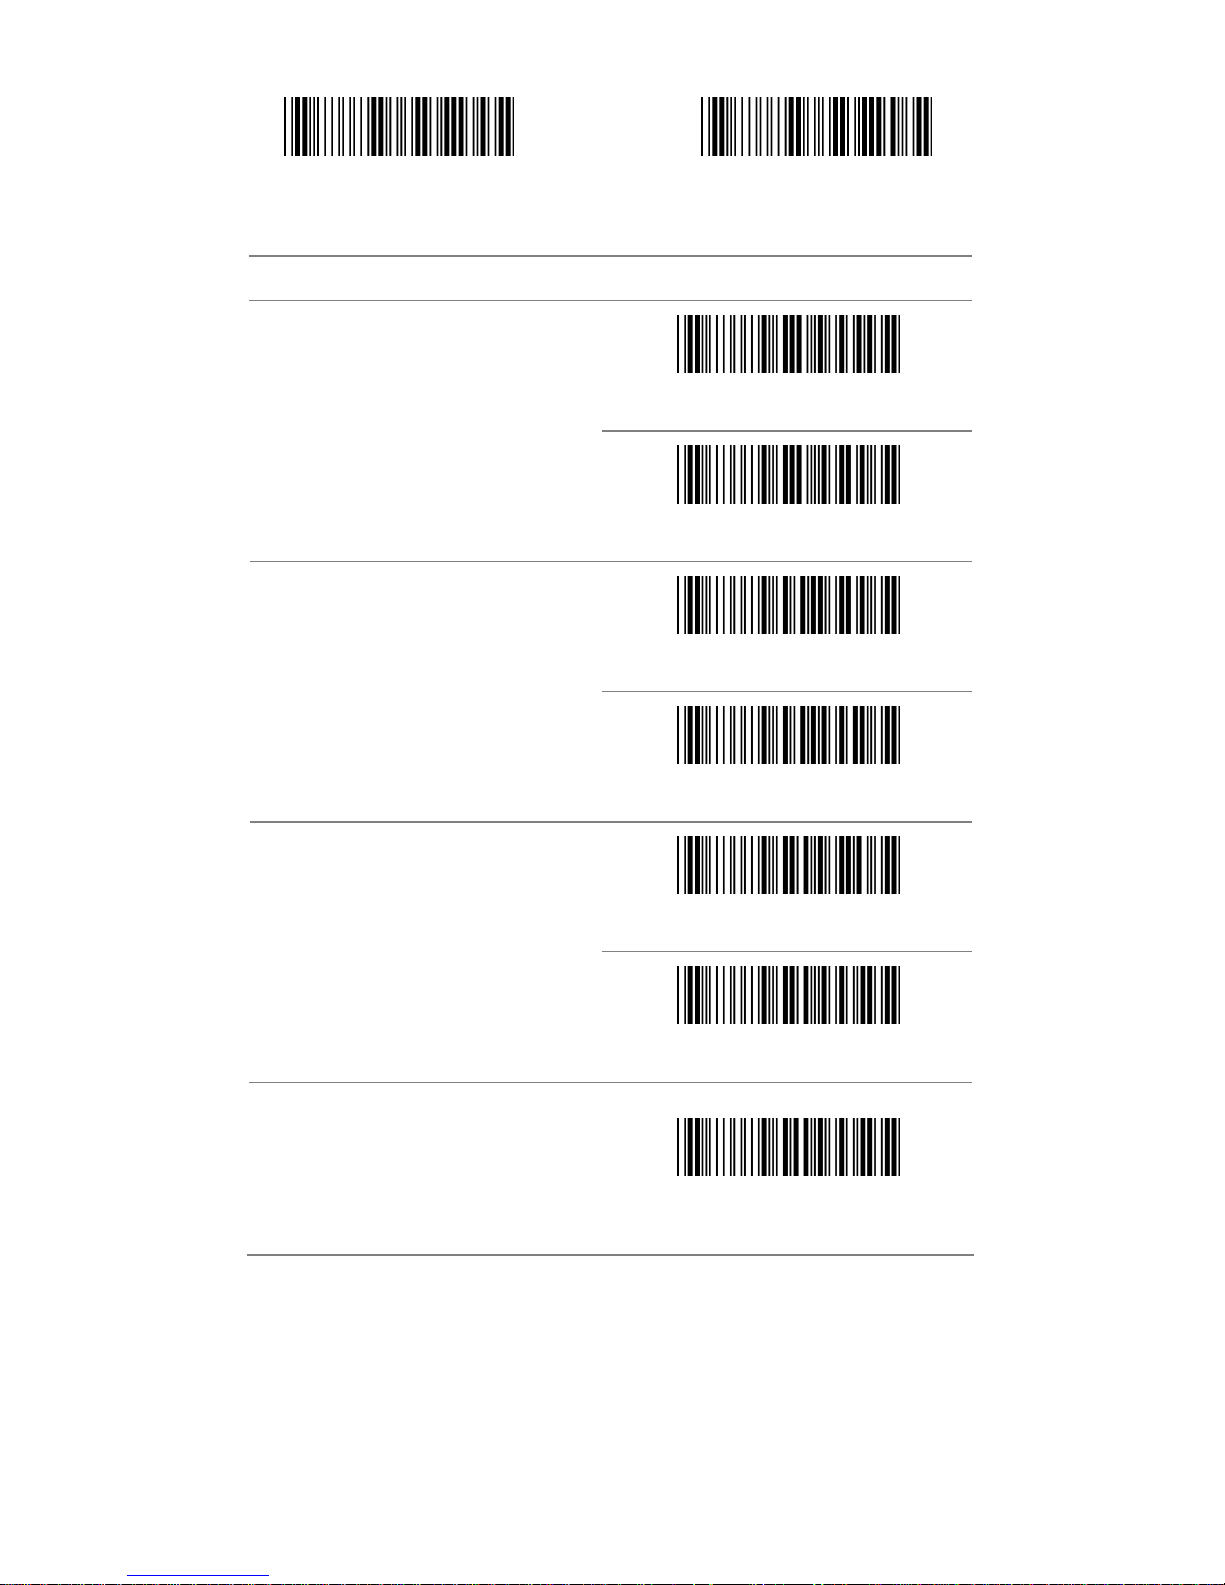
Start Configuration End Configuration
ITEM OPTION
Disable
Check-sum Verification
* Enable
* Disable
Check-sum Transmission
Enable
* Disable
Append
Enable
Truncate Leading
(Default:00)
Ref: Appendix (00-7EH)
31
Page 32
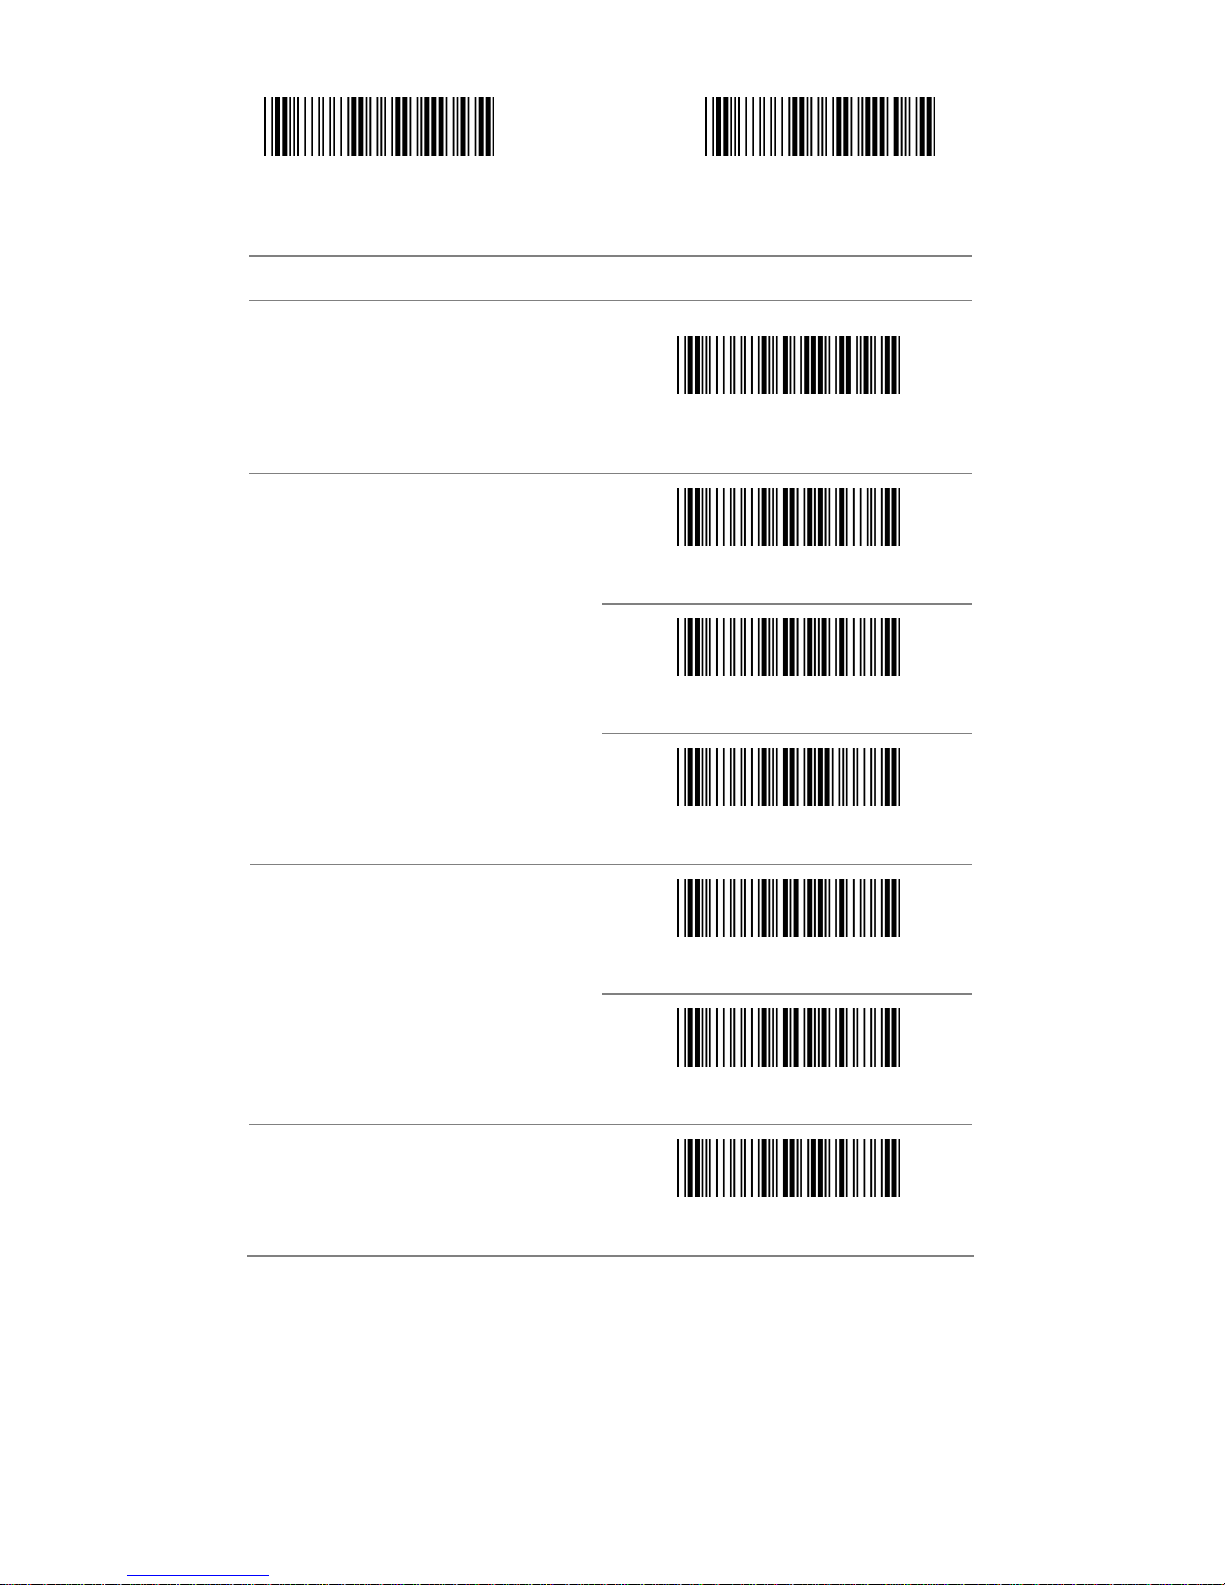
Start Configuration End Configuration
ITEM OPTION
Truncate Ending
(Default:00)
Ref: Appendix (00-7EH)
* ABCD/ABCD
abcd/abcd
Start/End type
abcd/tn*e
* Disable
Start/End Transmission
Enable
Min. Code Length
(Default: 05)
Ref: Appendix (00-3CH)
32
Page 33

Start Configuration End Configuration
ITEM OPTION
Max. Code Length
(Default: 3CH)
Ref: Appendix (00-3CH)
Insert Group Selection
(Default: 00)
Ref: Appendix (00-02H)
33
Page 34
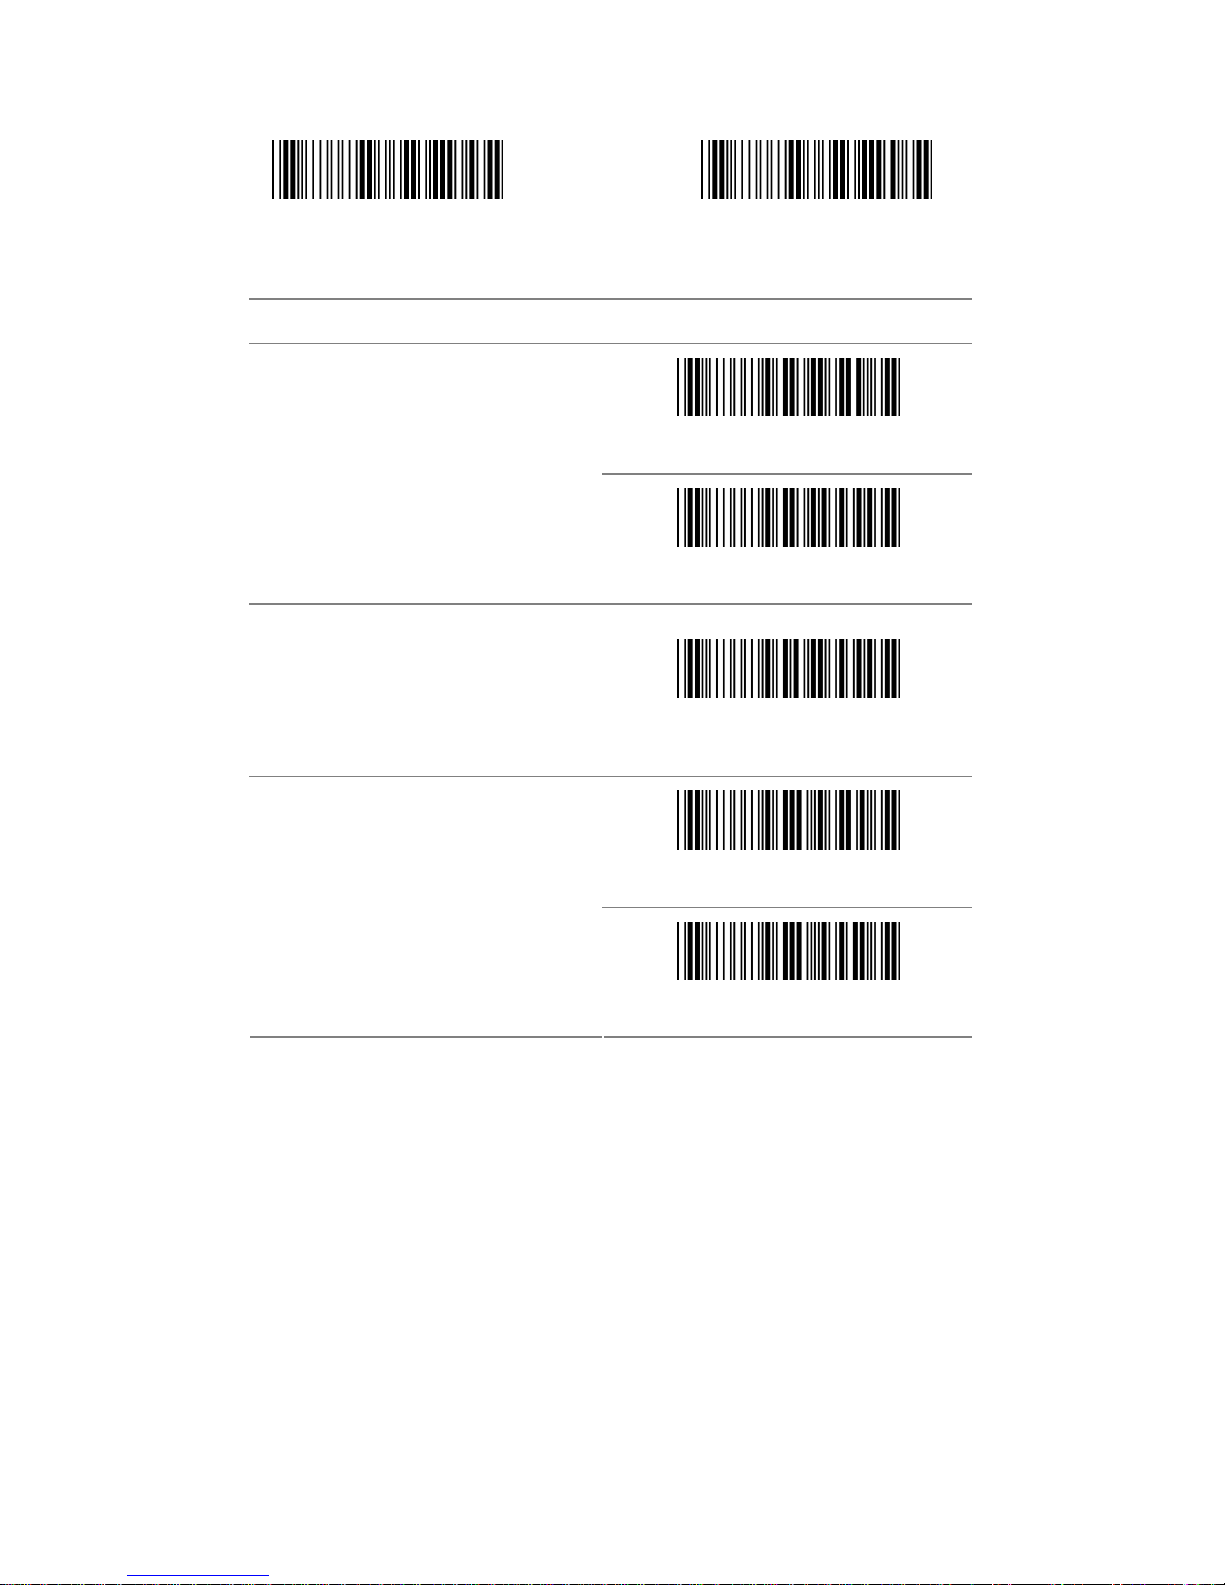
3.7 Code 93
Start Configuration End Configuration
ITEM OPTION
Disable
Read
* Enable
Code ID Setting
(Default : L)
Ref: Appendix (20-7EH)
Disable
Check-sum Verification
* Enable
34
Page 35
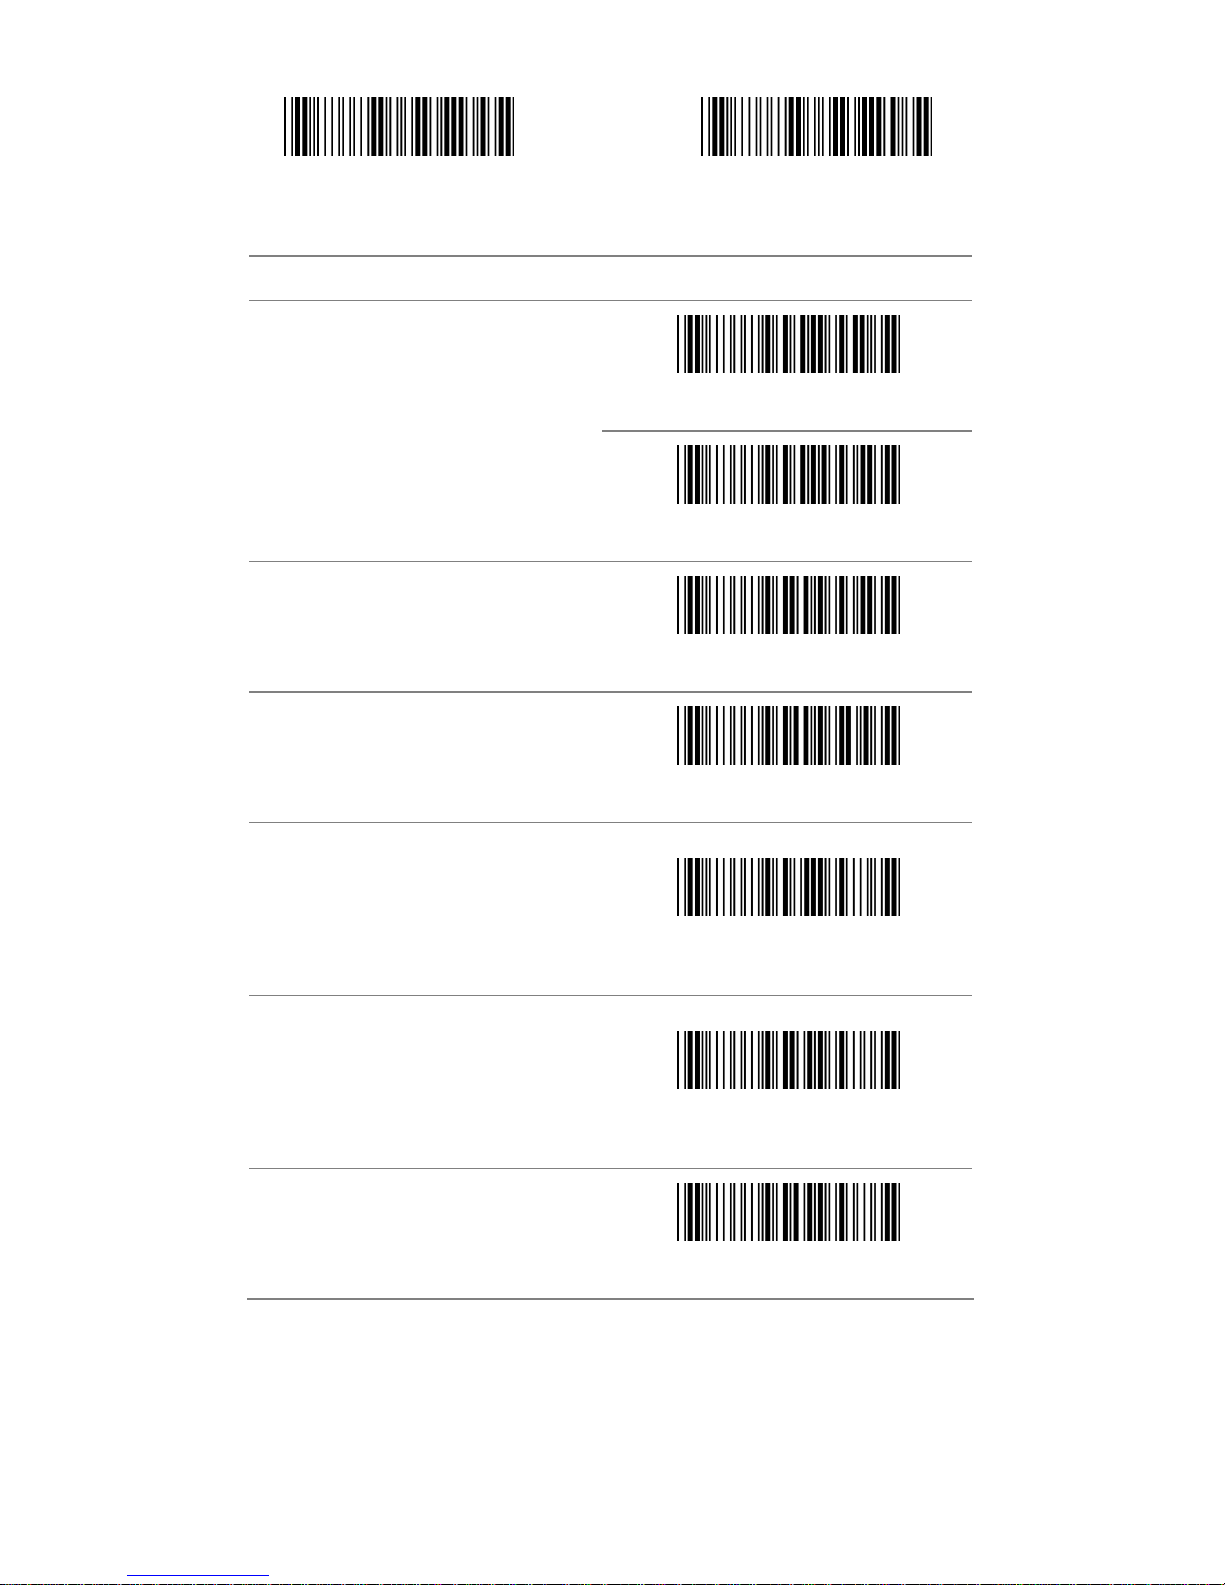
Start Configuration End Configuration
ITEM OPTION
* Disable
Check-sum Transmission
Enable
Min. Code Length
(Default: 00)
Ref: Appendix (0-50H)
Max. Code Length
(Default: 50H)
Ref: Appendix (0-50H)
Truncate Leading
(Default: 00)
Ref: Appendix (00-7EH)
Truncate Ending
(Default: 00)
Ref: Appendix (00-7EH)
Insert Group Selection
Ref: Appendix (00-02H)
35
Page 36
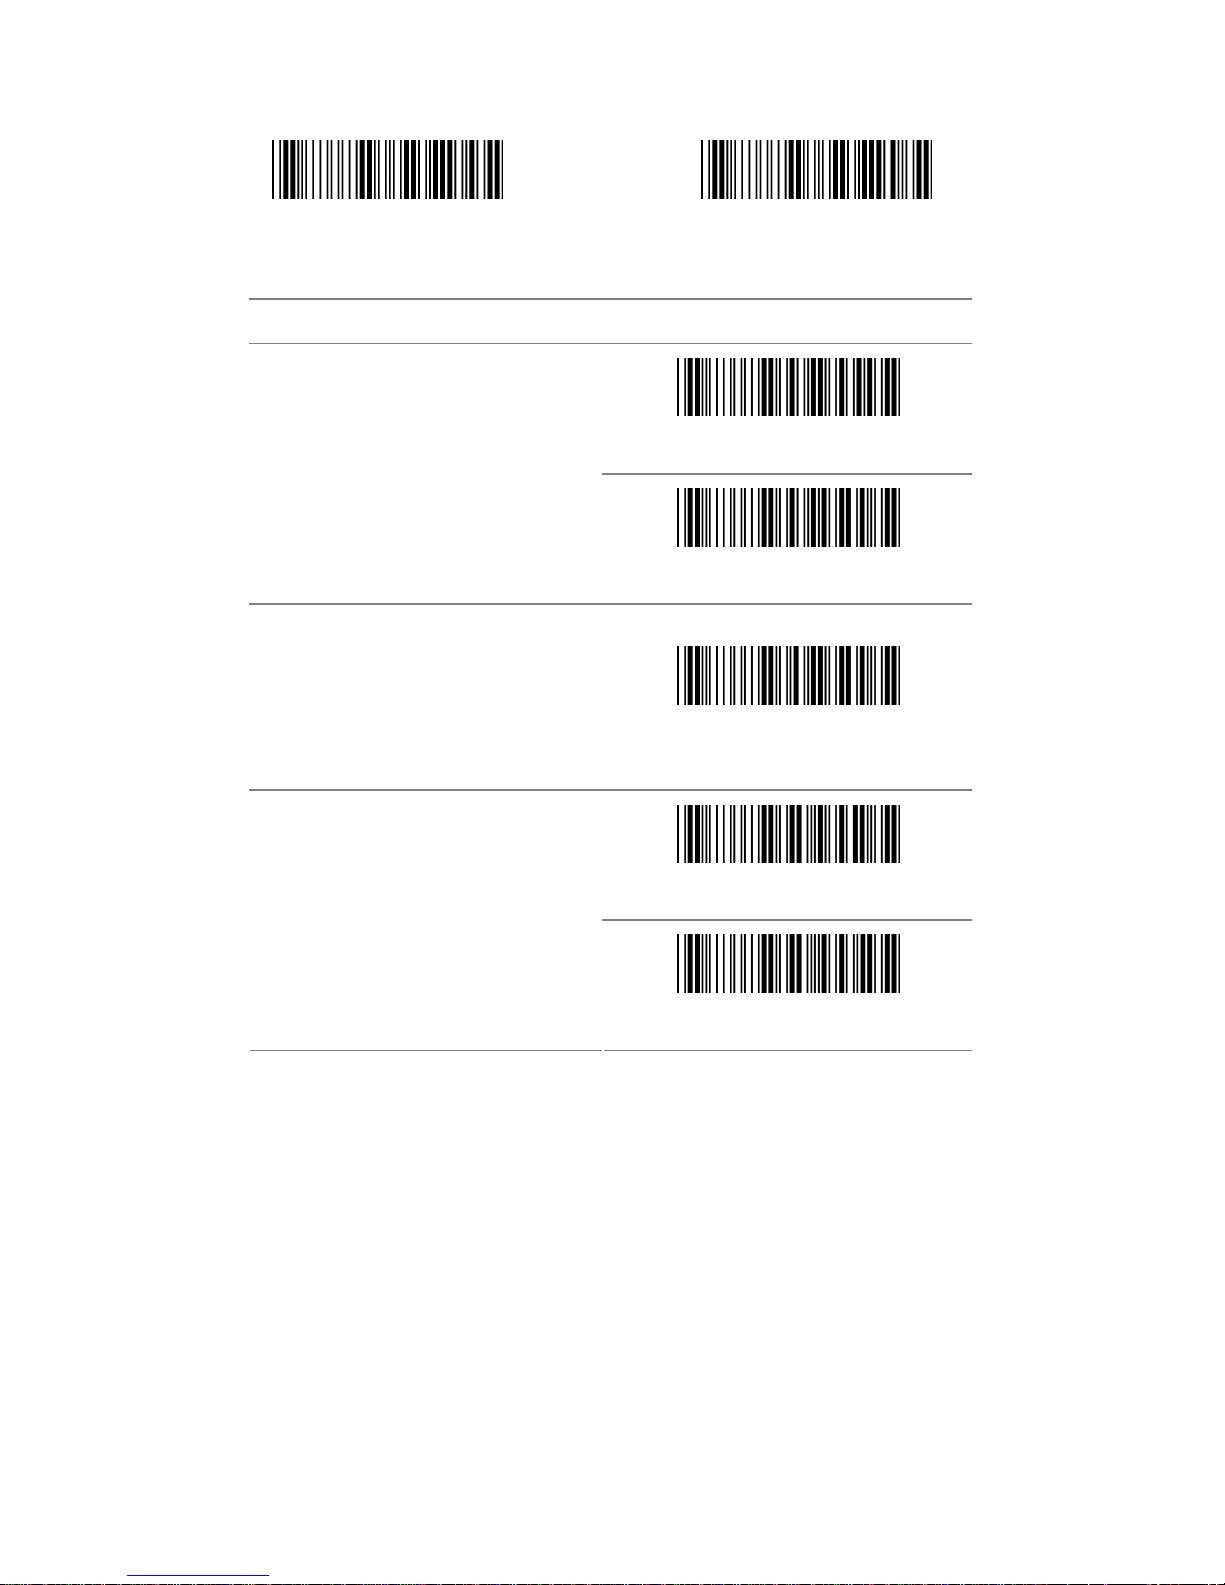
3.8 Code 128
Start Configuration End Configuration
ITEM OPTION
Disable
Read
* Enable
Code ID Setting
(Default : M)
Ref: Appendix (20-7EH)
Disable
Check-sum Verification
* Enable
36
Page 37
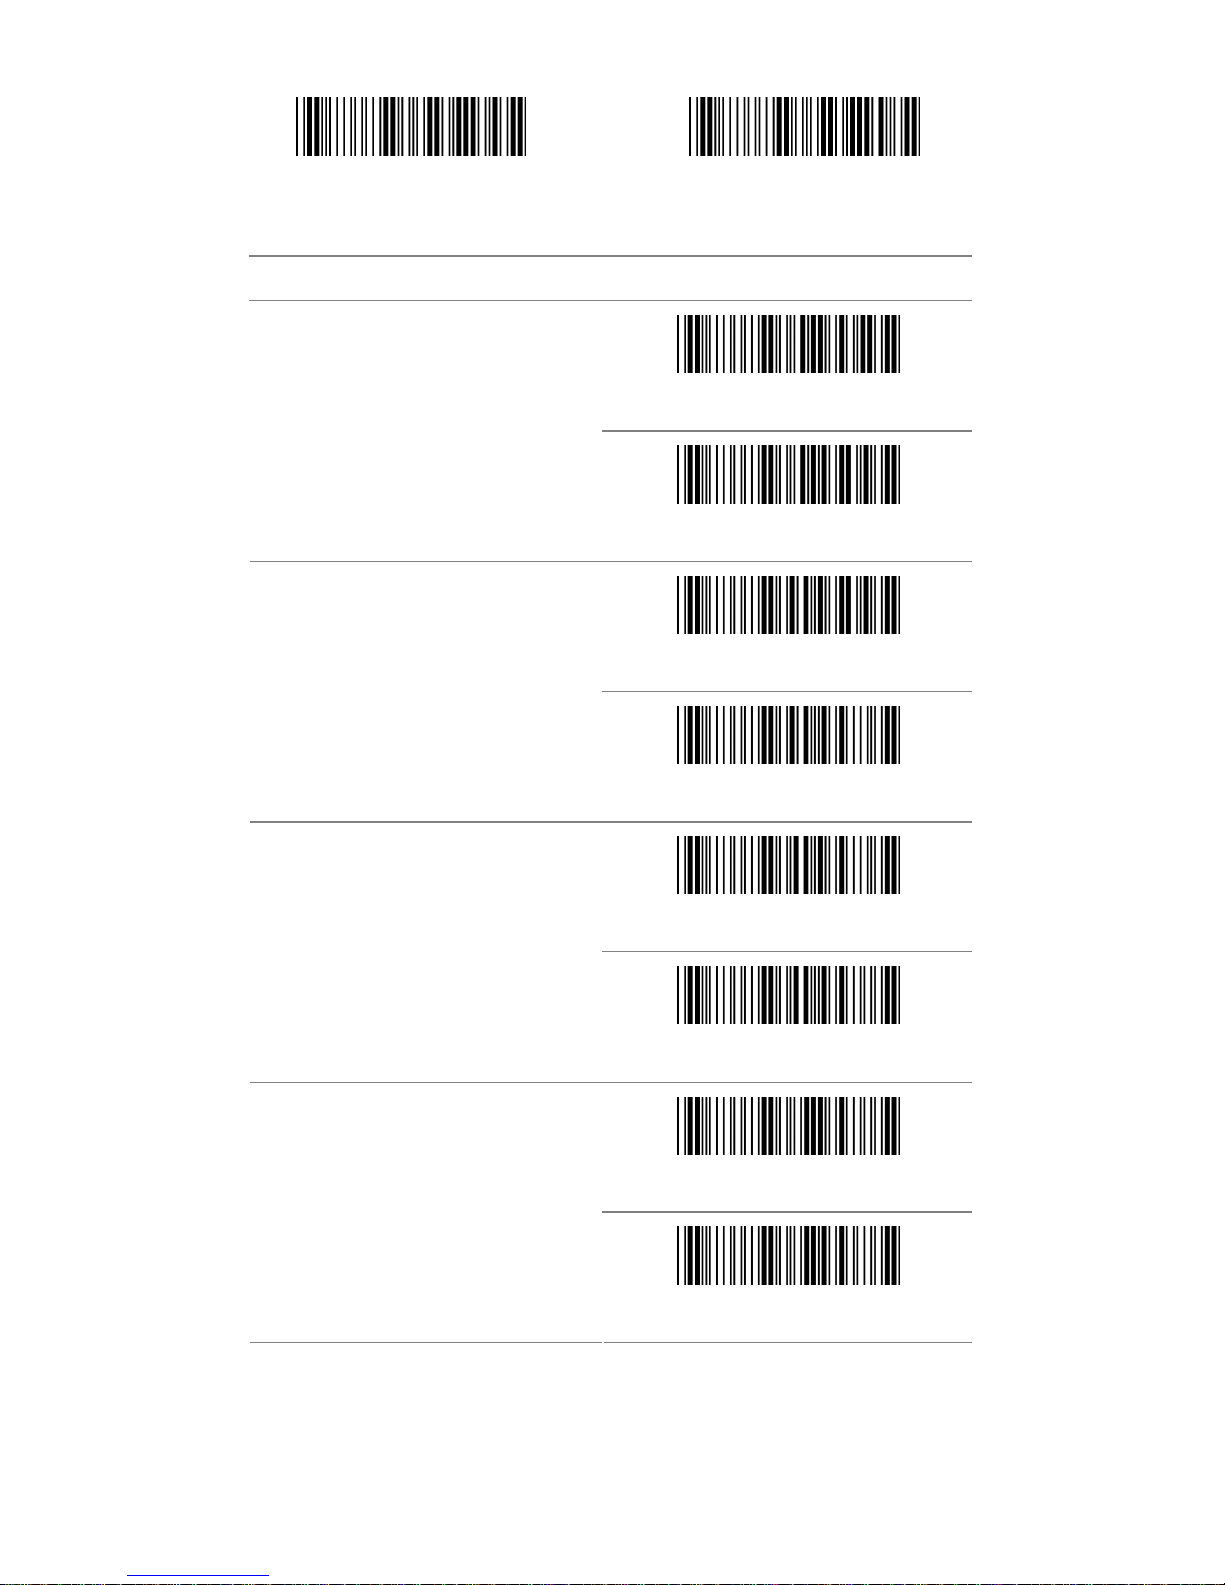
Start Configuration End Configuration
ITEM OPTION
* Disable
Check-sum Transmission
Enable
* Disable
FNC2 Append
Enable
* Disable
UCC/EAN128
Enable
* Disable
FNC1 Transmission
Enable
37
Page 38
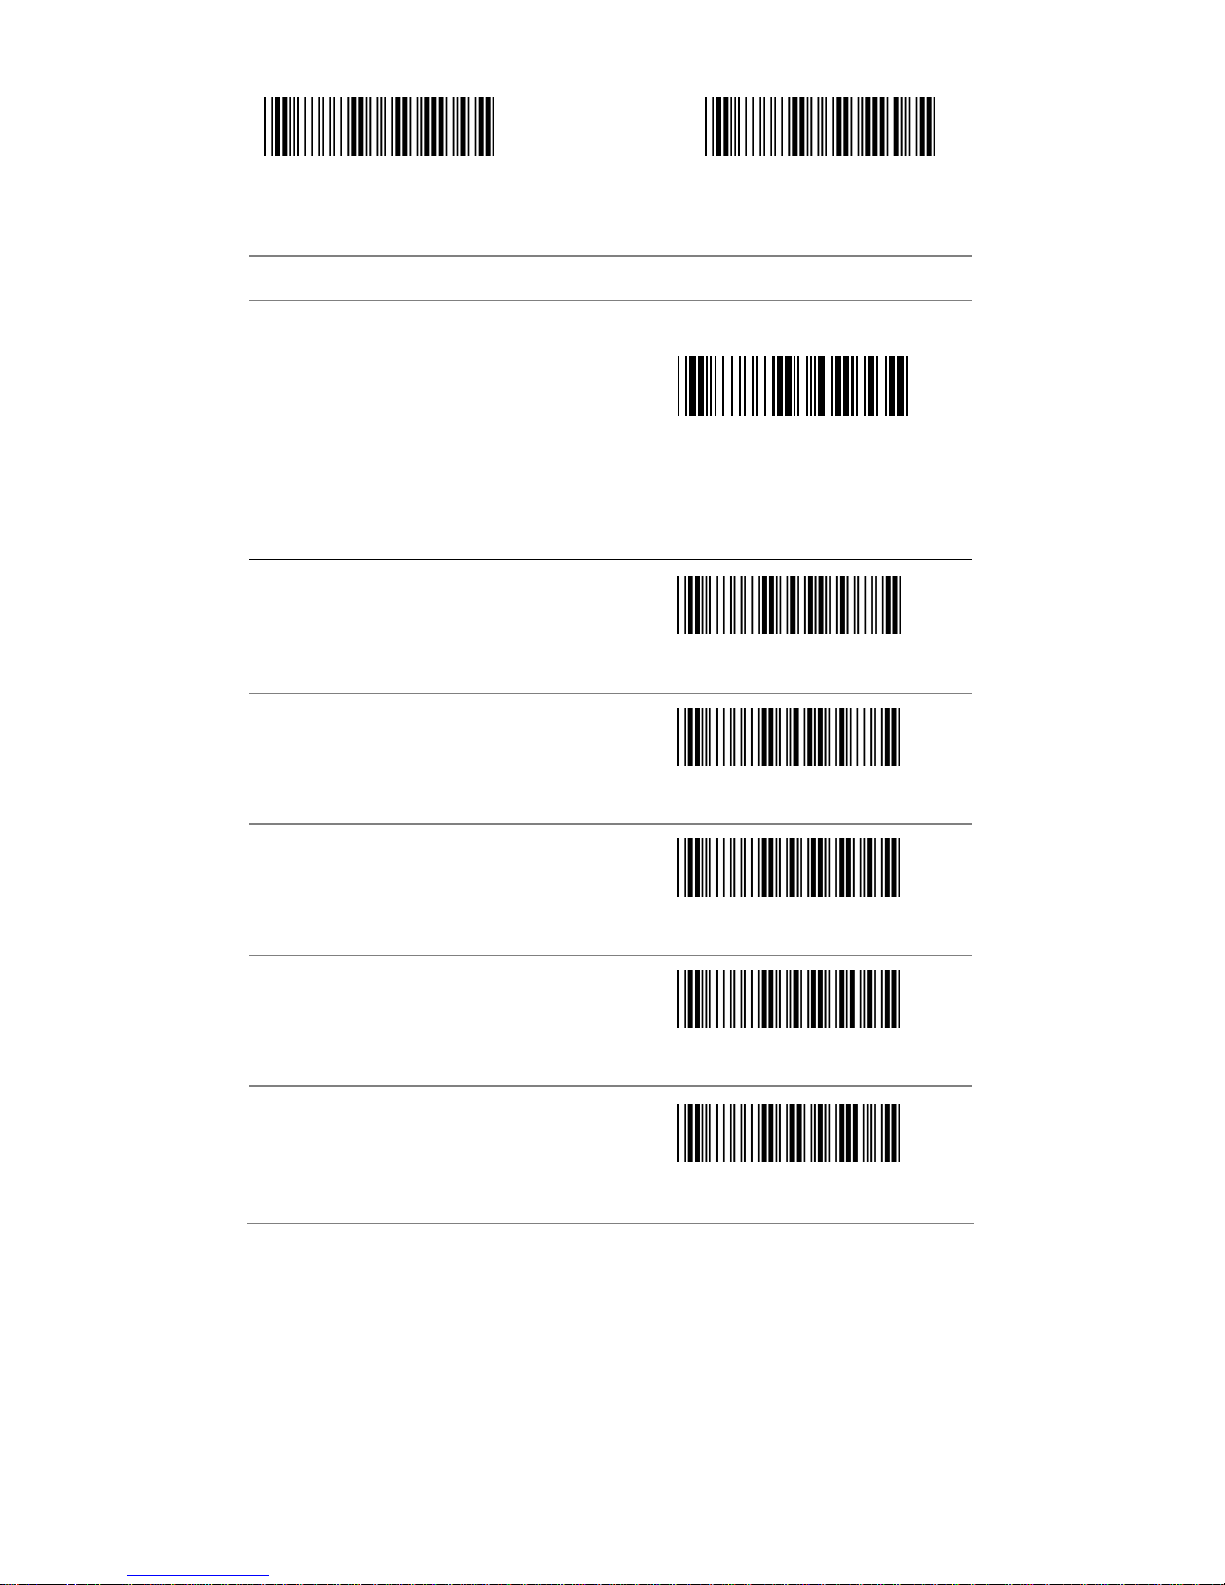
Start Configuration End Configuration
ITEM OPTION
Field Separator Defined
(GS CHARACTER)
Enable Field Separator
Ref: Appendix
Truncate Leading
(Default: 00)
Ref: Appendix (00-7FH)
Truncate Ending
(Default: 00)
Ref: Appendix (00-7FH)
Min. Code Length
(Default: 00)
Ref: Appendix (00-7FH)
Max. Code Length
(Default: 7FH)
Ref: Appendix (00-7FH)
Insert Group
Selection (Default: 00)
Ref: Appendix (00-02H)
38
Page 39
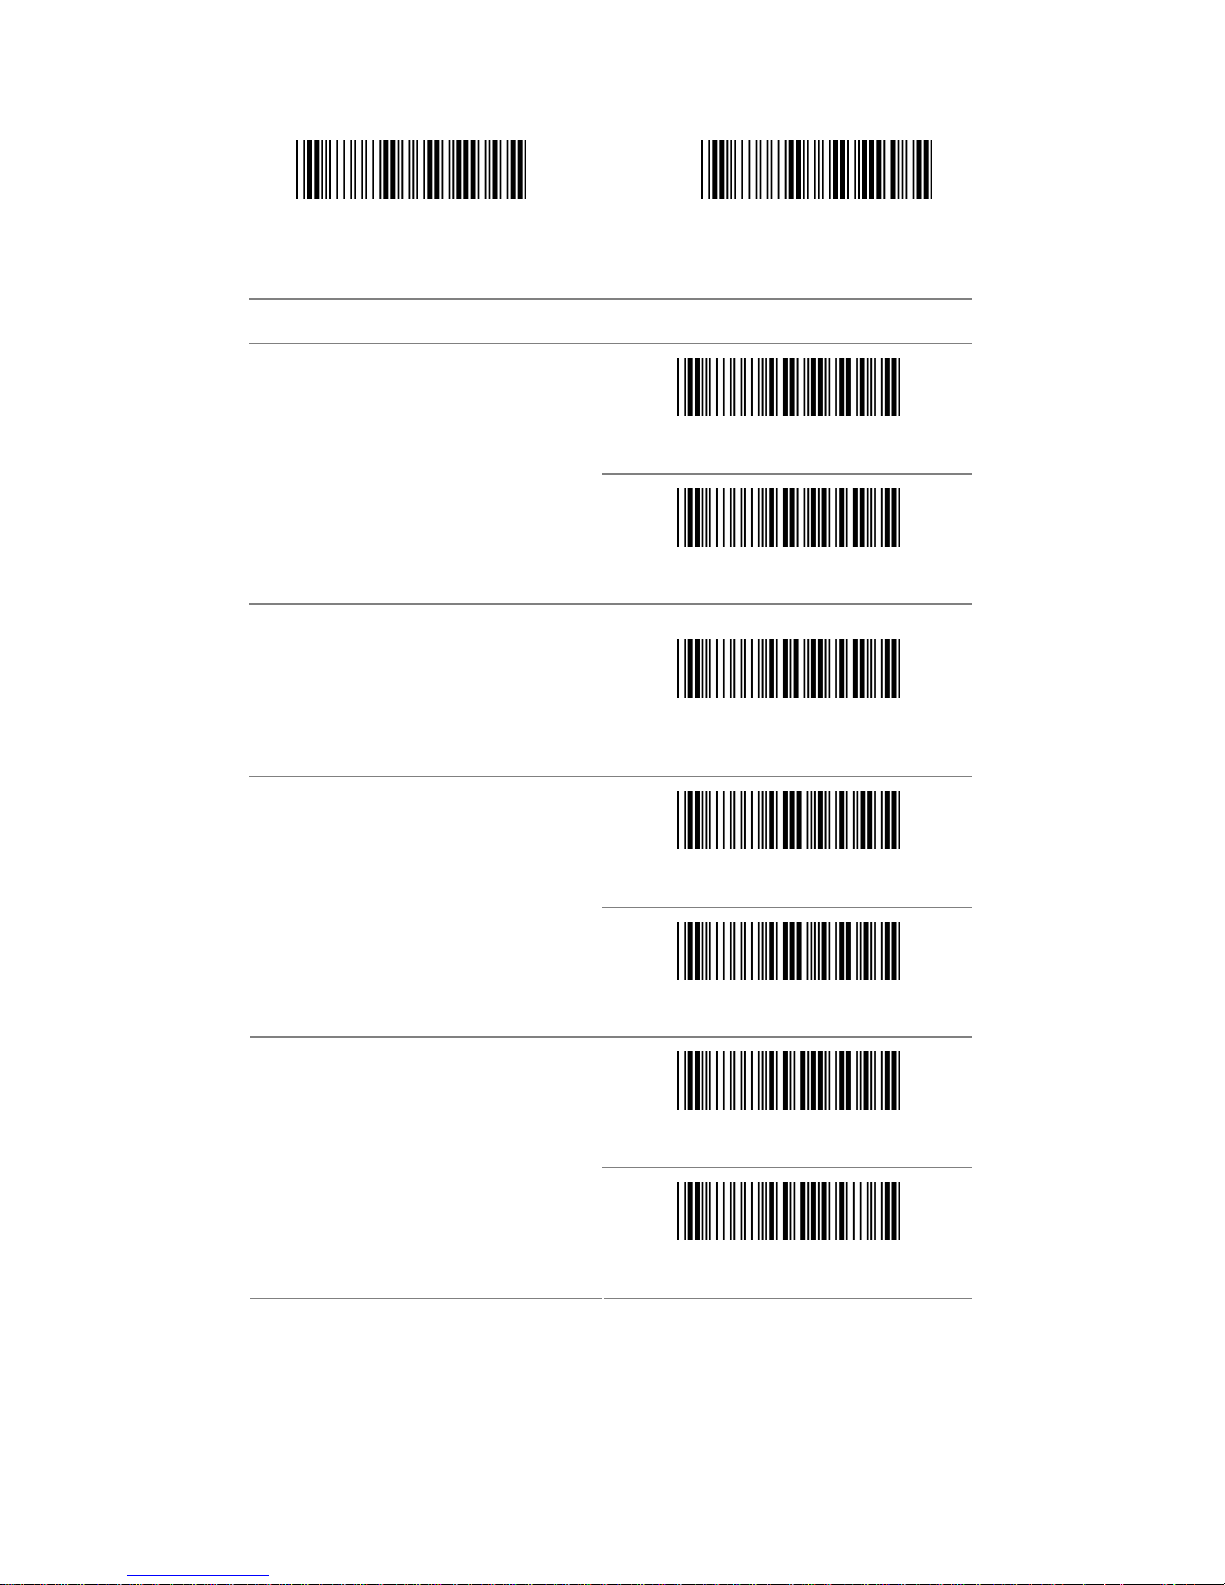
3.9 Interleaved 2 of 5
Start Configuration End Configuration
ITEM OPTION
* Disable
Read
Enable
Code ID Setting
(Default : N)
Ref: Appendix (20-7EH)
Disable
Check-sum Verification
* Enable
Disable
Check-sum Transmission
* Enable
39
Page 40
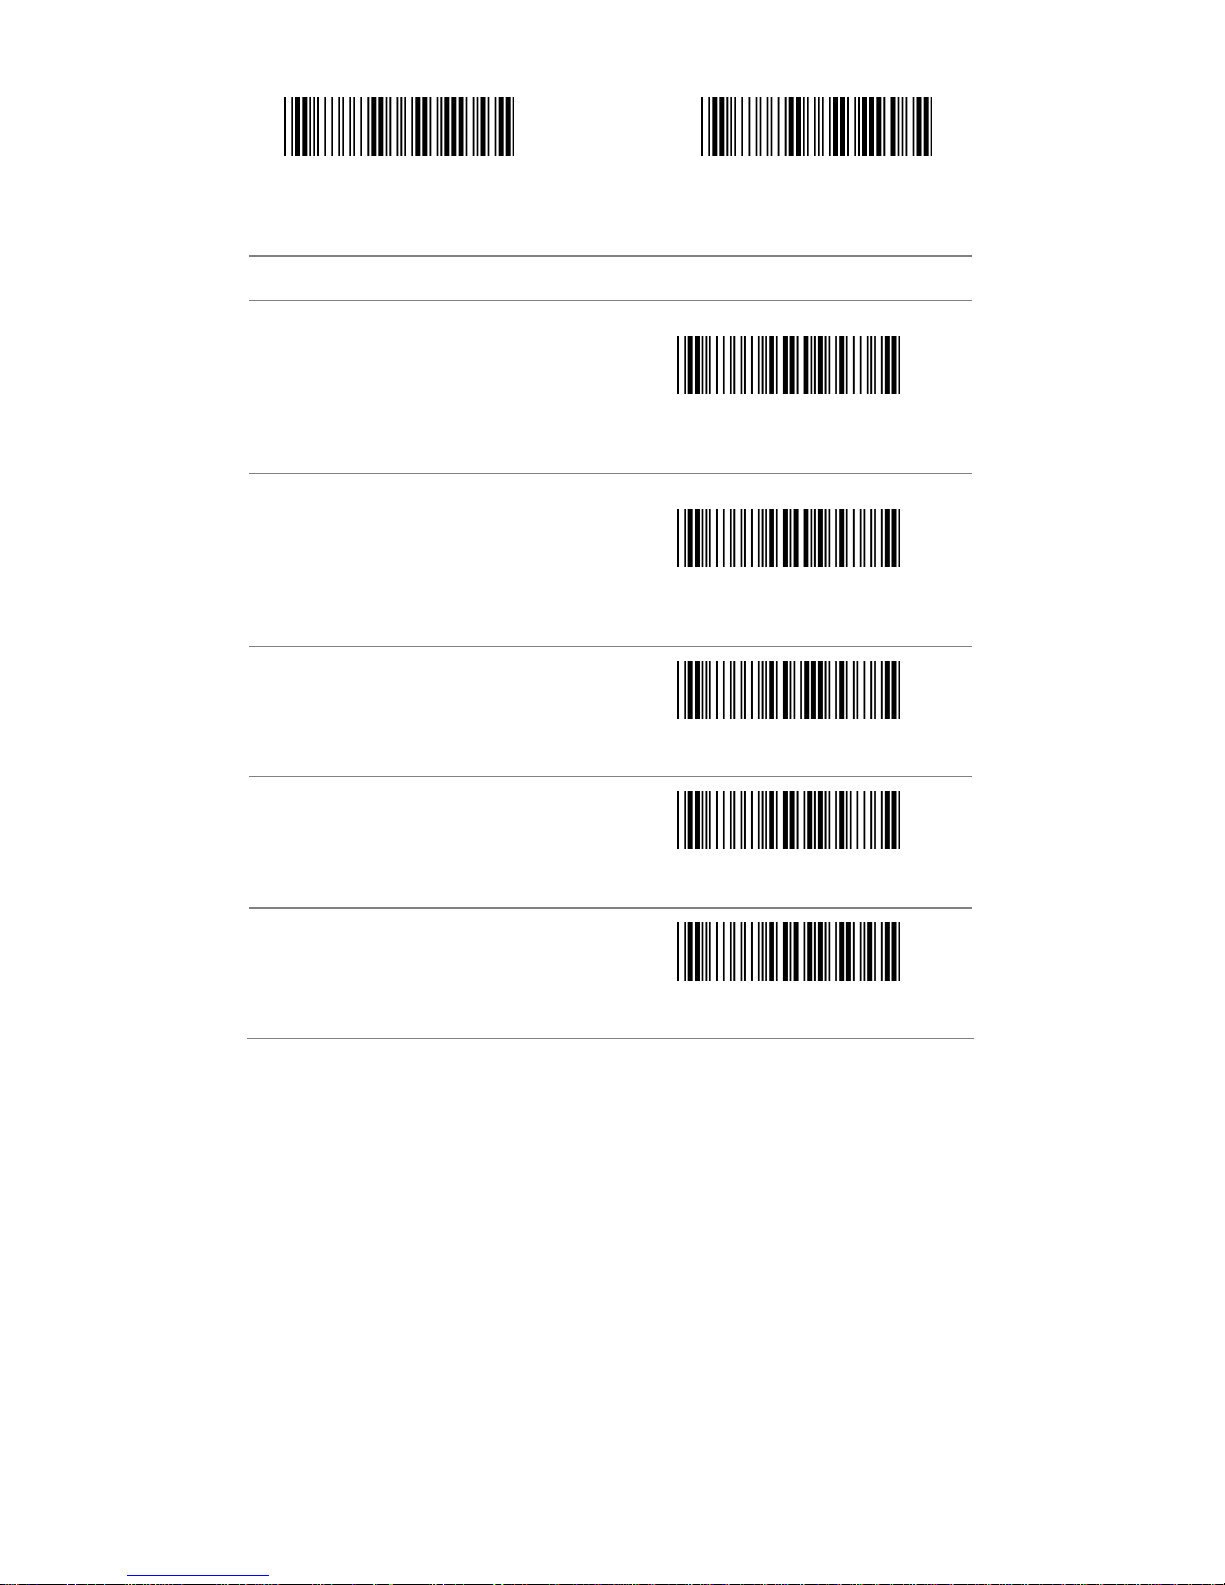
Start Configuration End Configuration
ITEM OPTION
Truncate Leading
(Default : 00)
Ref: Appendix (00-7EH)
Truncate Ending
(Default : 00)
Ref: Appendix (00-7EH)
Min. Code Length
(Default : 04)
Ref: Appendix (04-7FH)
Max. Code Length
(Default : 7FH)
Ref: Appendix (00-7FH)
Insert Group Selection
(Default : 00)
Ref: Appendix (00-02H)
40
Page 41
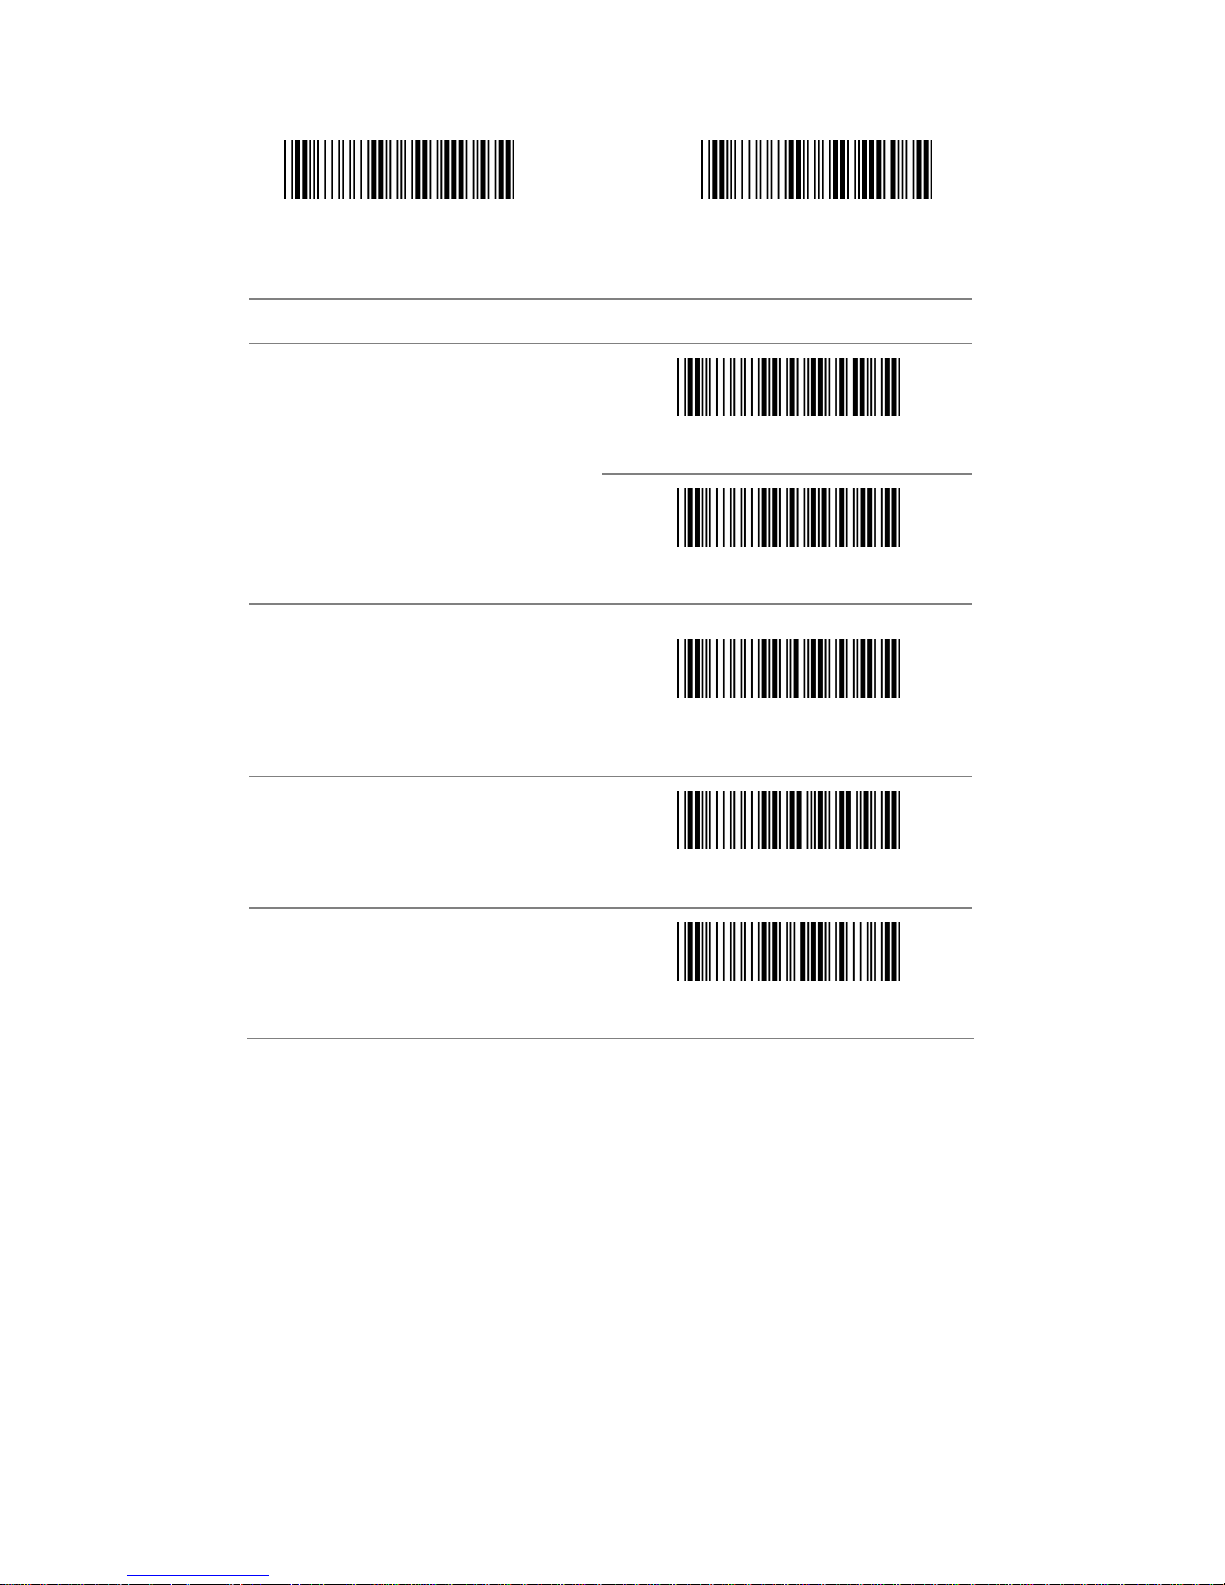
3.10 Industrial 2 of 5
Start Configuration End Configuration
ITEM OPTICON
* Disable
Read
Enable
Code ID Setting
(Default : O)
Ref: Appendix (20-7EH)
Min. Code Length
(Default : 00)
Ref: Appendix (00-32H)
Max. Code Length
(Default : 32H)
Ref: Appendix (00-32H)
41
Page 42
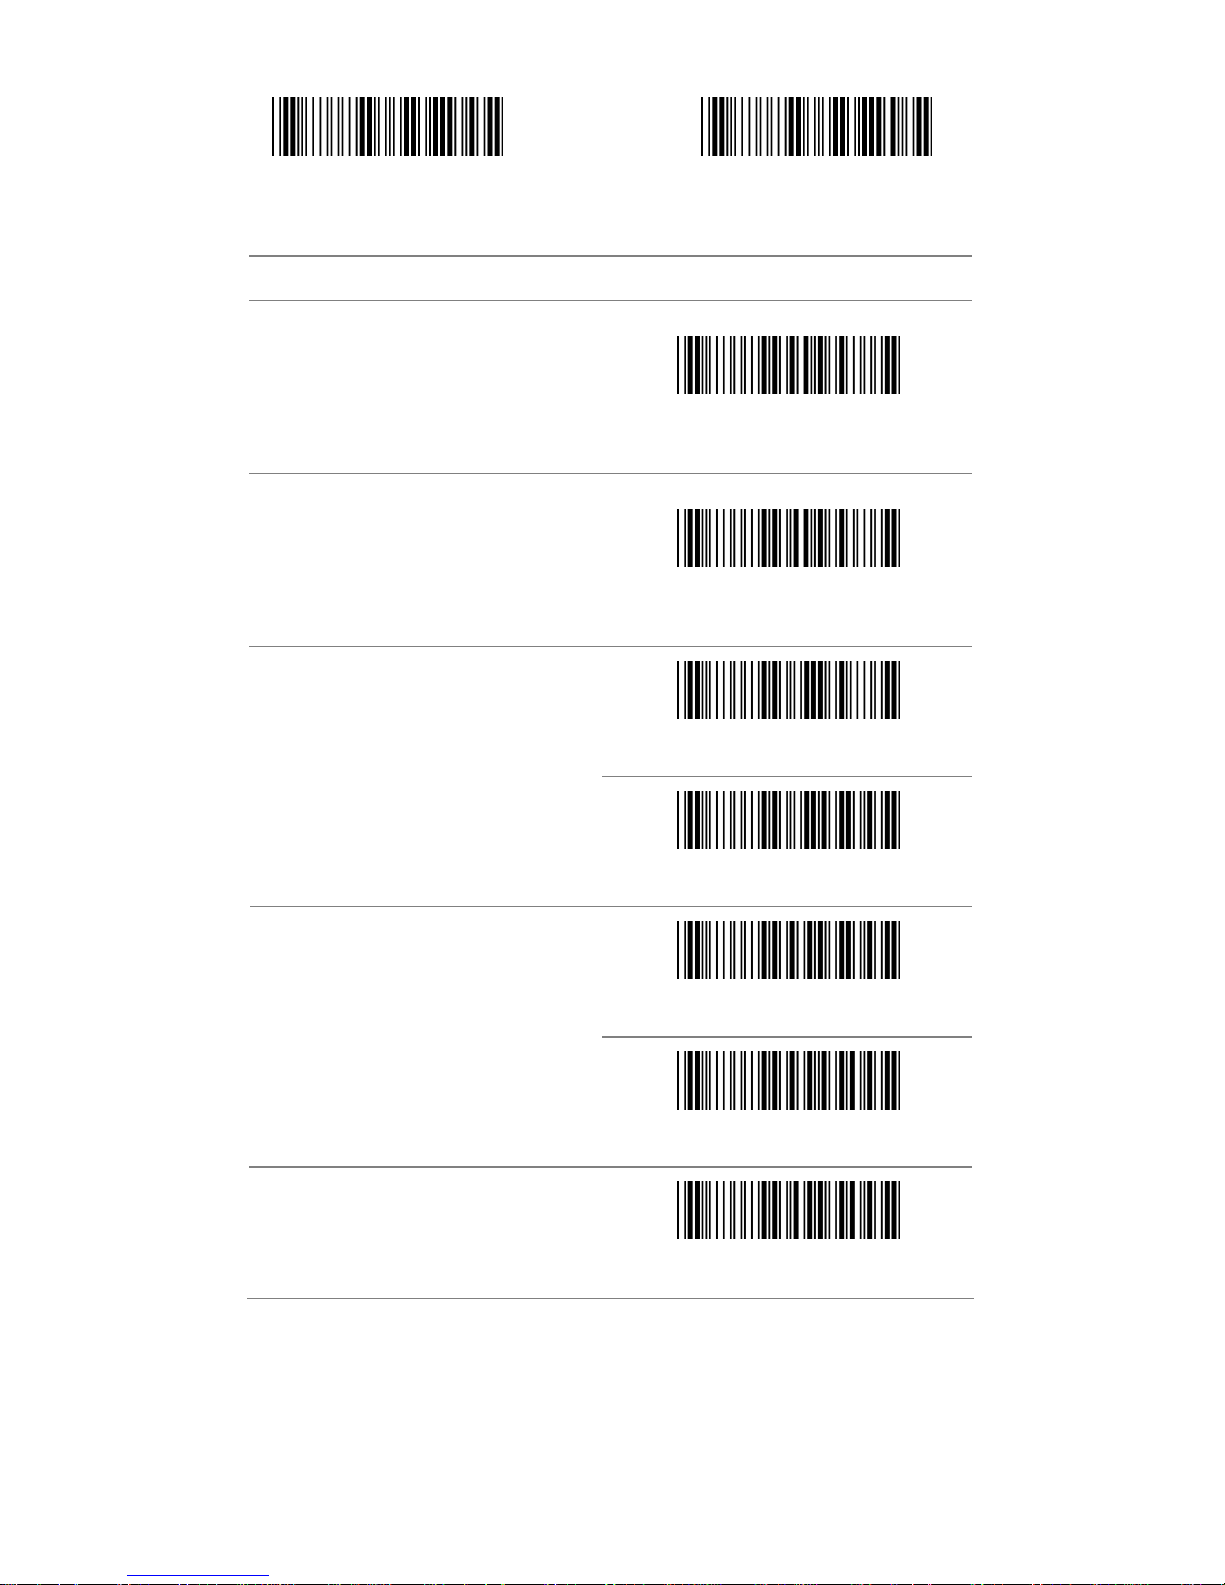
Start Configuration End Configuration
ITEM OPTION
Truncate Leading
(Default : 00)
Ref: Appendix (00-32H)
Truncate Ending
(Default : 00)
Ref: Appendix (00-32H)
* Disable
Check-sum Verification
Enable
Disable
Check-sum Transmission
* Enable
Insert Group Selection
(Default : 00)
Ref: Appendix (00-02H)
42
Page 43
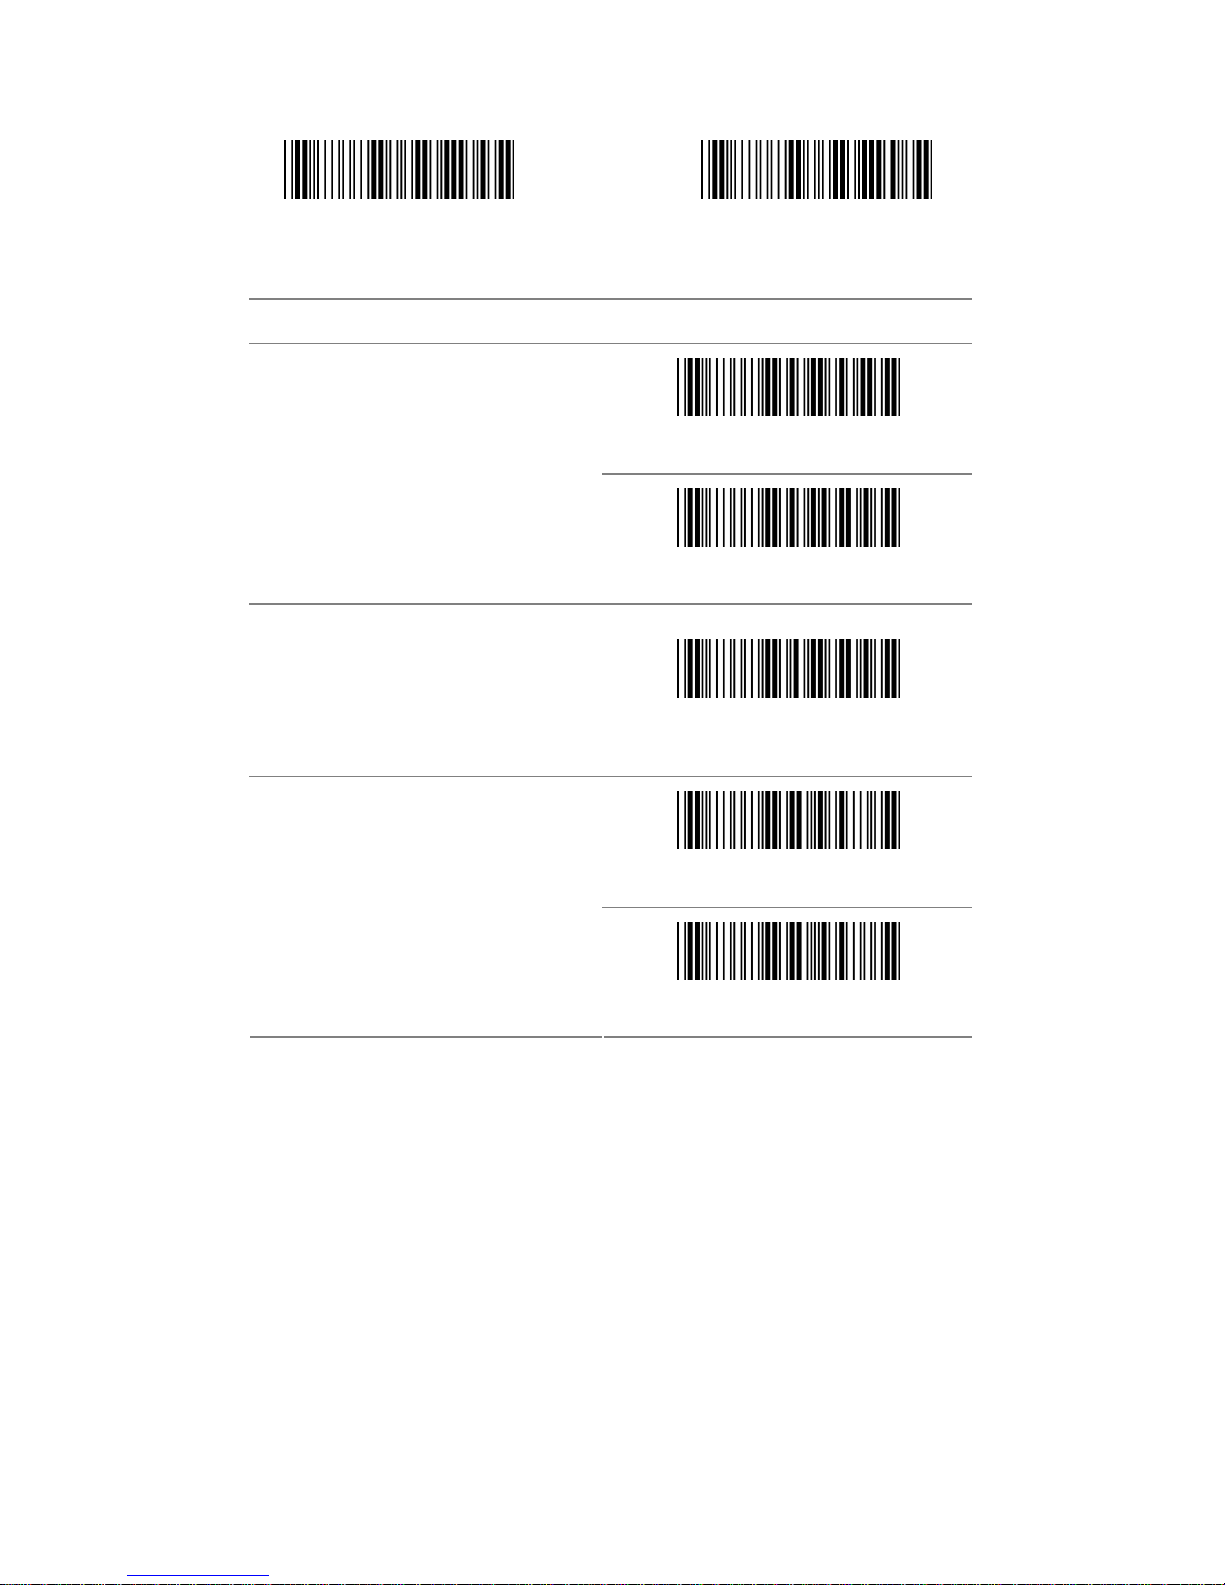
3.11 Matrix 2 of 5
Start Configuration End Configuration
ITEM OPTION
* Disable
Read
Enable
Code ID Setting
(Default : P)
Ref: Appendix (20-7EH)
* Disable
Check-sum Verification
Enable
43
Page 44
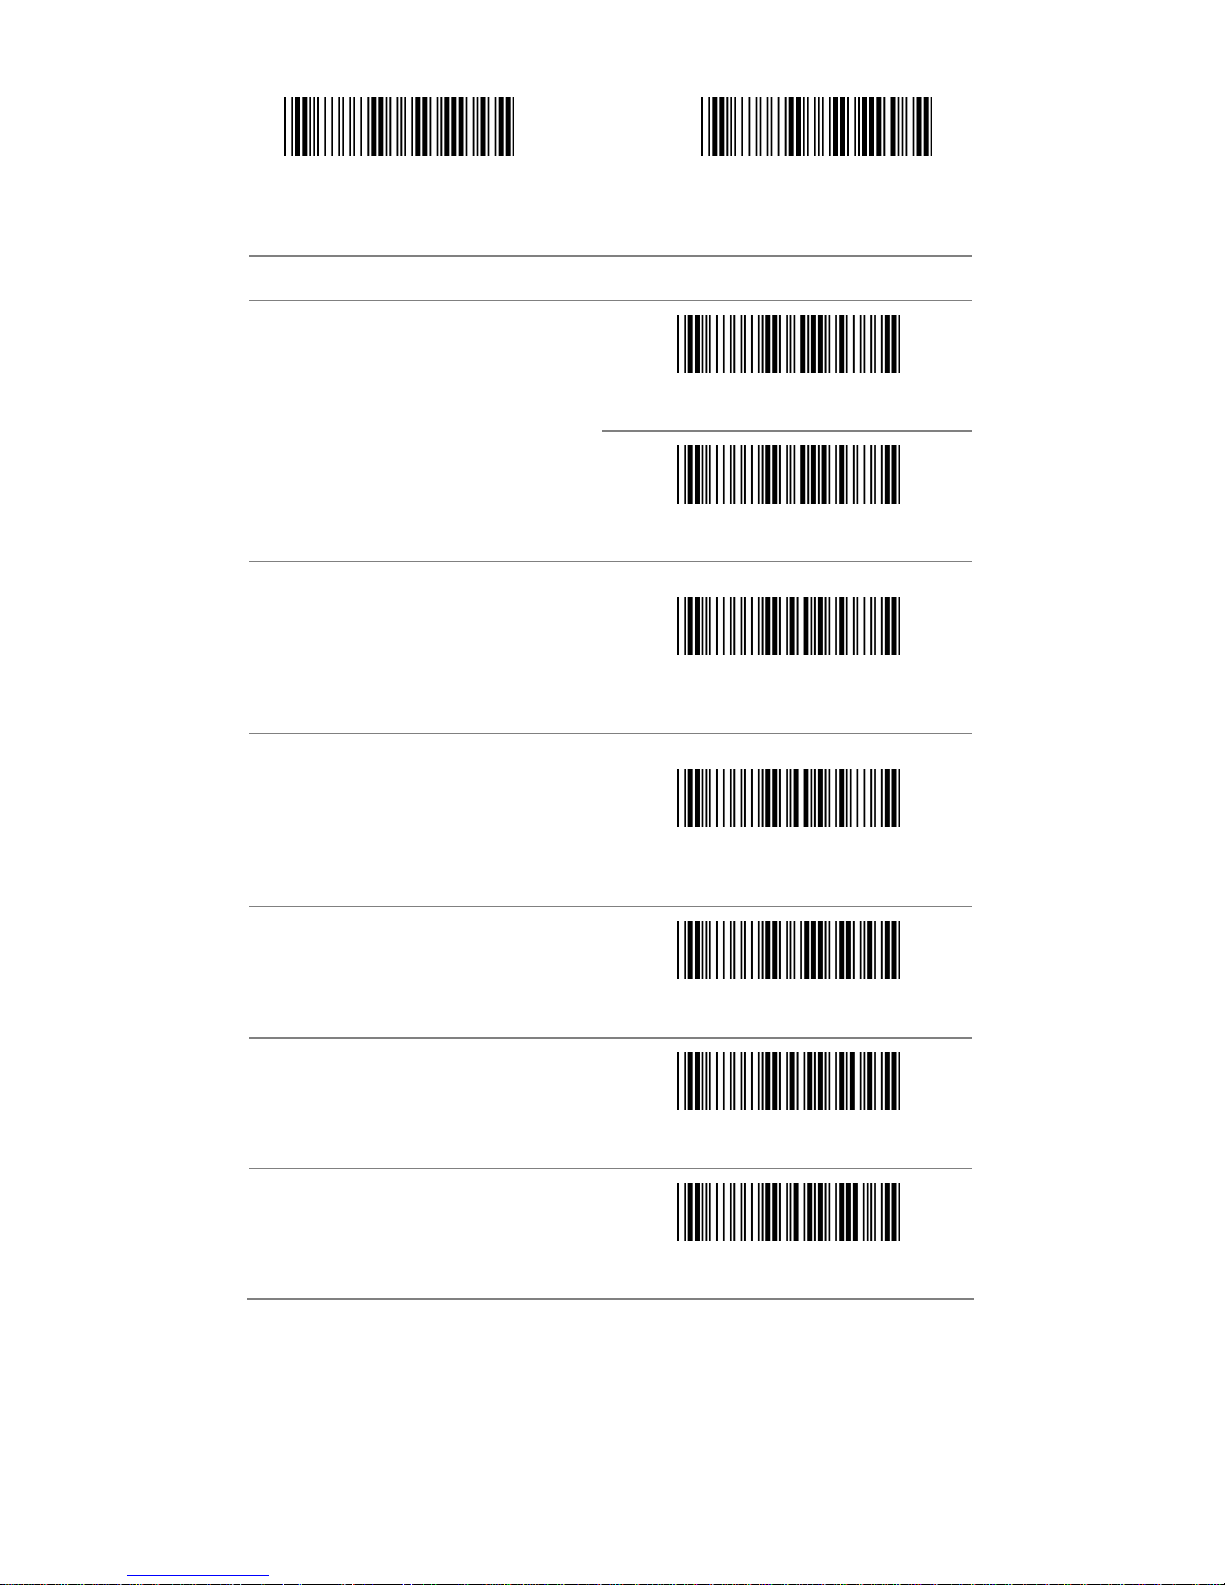
Start Configuration End Configuration
ITEM OPTION
Disable
Check-sum Transmission
* Enable
Truncate Leading
(Default : 00)
Ref: Appendix (00-50H)
Truncate Ending
(Default : 00)
Ref: Appendix (00-50H)
Min. Code Length
(Default : 0B)
Ref: Appendix (00-50H)
Max. Code Length
(Default : 50H)
Ref: Appendix (00-50H)
Insert Group Selection
(Default : 00)
Ref: Appendix (00-02H)
44
Page 45
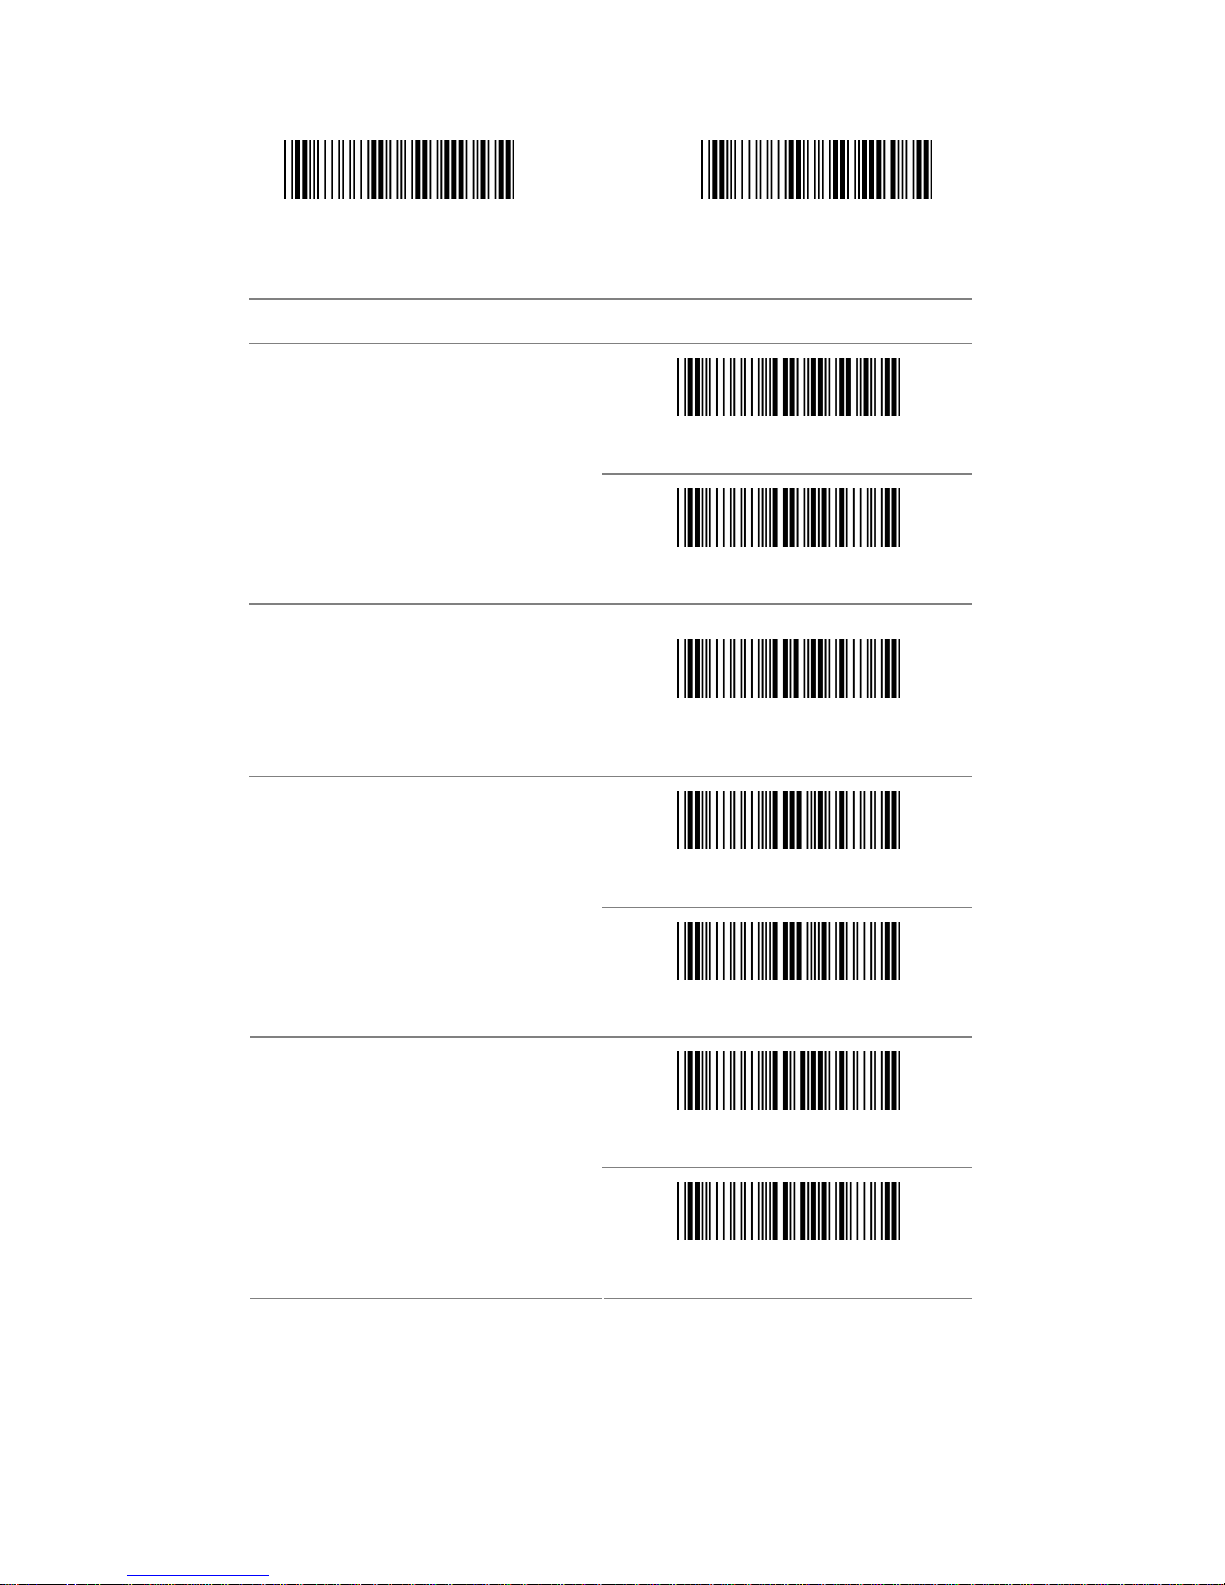
3.12 China Postage
Start Configuration End Configuration
ITEM OPTION
* Disable
Read
Enable
Code ID Setting
(Default : Q)
Ref: Appendix (20-7EH)
* Disable
Check-sum Verification
Enable
Disable
Check-sum Transmission
* Enable
45
Page 46
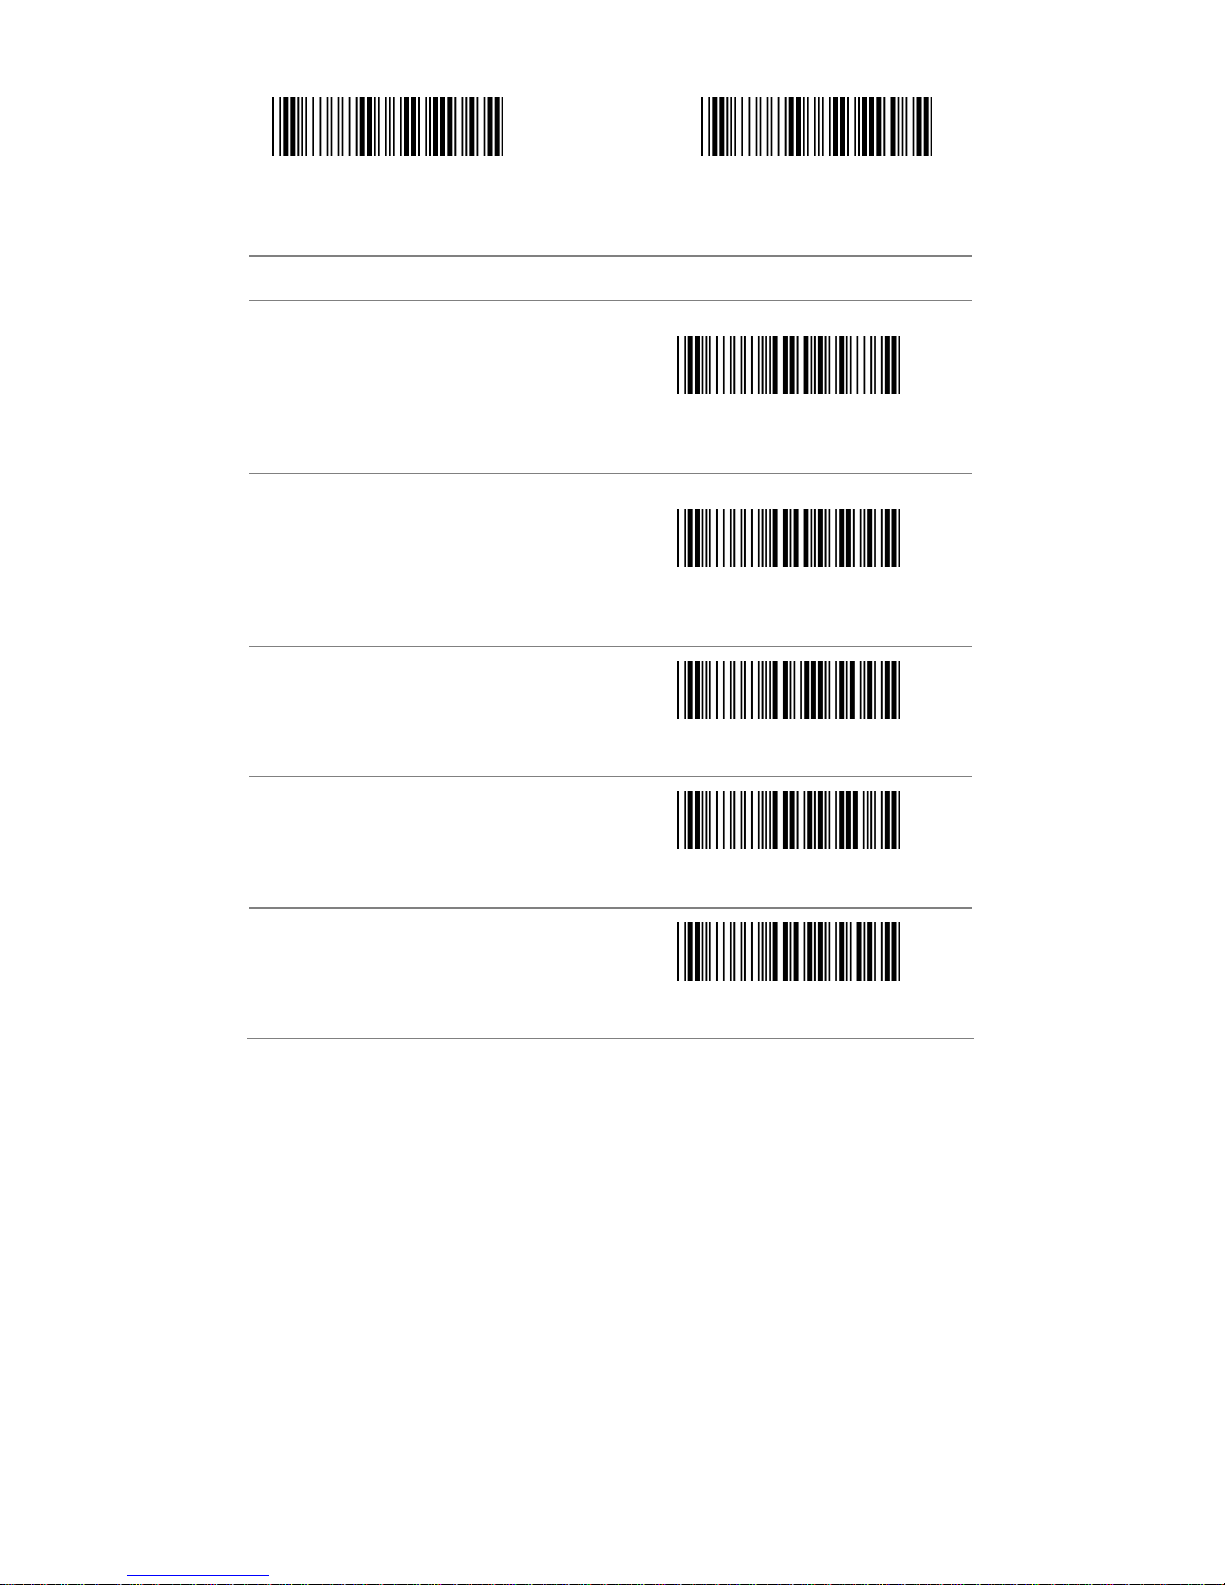
Start Configuration End Configuration
ITEM OPTION
Truncate Leading
(Default : 00)
Ref: Appendix (00-50H)
Truncate Ending
(Default : 00)
Ref: Appendix (00-50H)
Min. Code Length
(Default : 00)
Ref: Appendix (00-50H)
Max. Code Length
(Default : 50H)
Ref: Appendix (00-50H)
Insert Group Selection
(Default : 00)
Ref: Appendix (00-02H)
46
Page 47
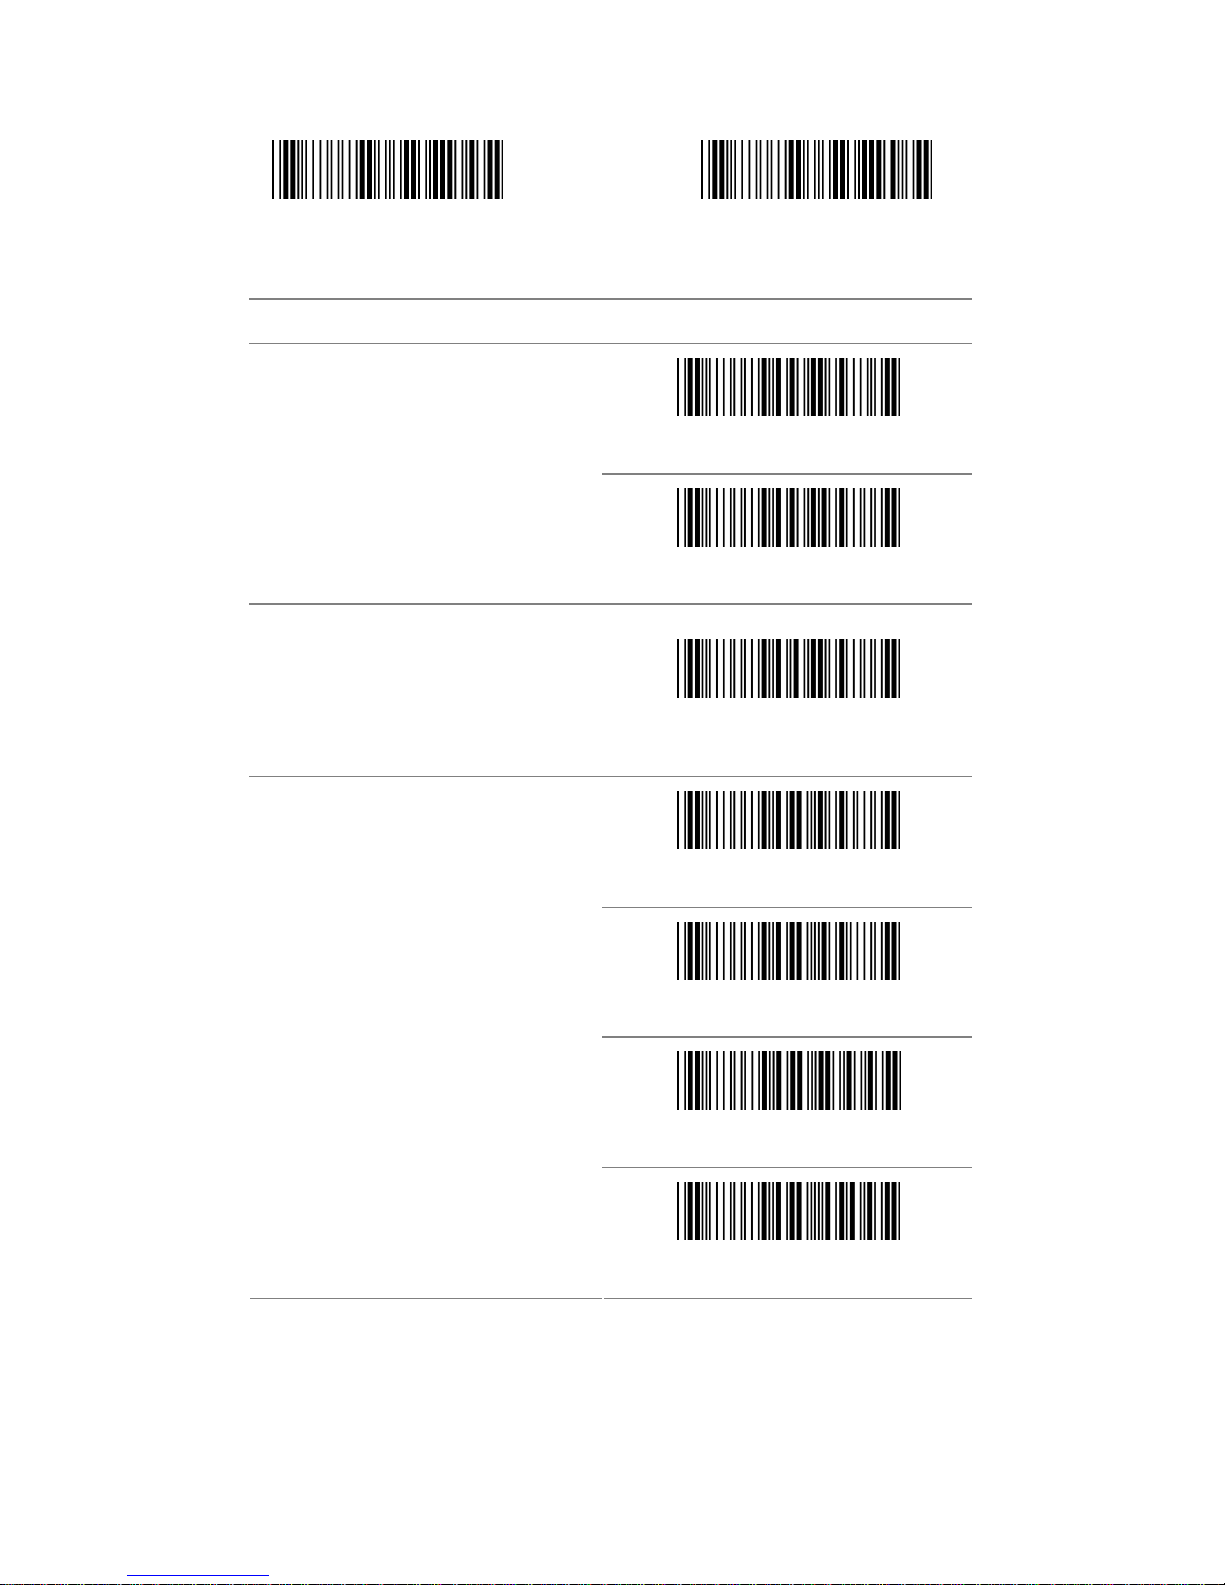
3.13 MSI/Plessey
Start Configuration End Configuration
ITEM OPTION
* Disable
Read
Enable
Code ID Setting
(Default : R)
Ref: Appendix (20-7EH)
* Disable
MOD 10
MOD 10/10
Check-sum Verification
MOD 11/10
47
Page 48
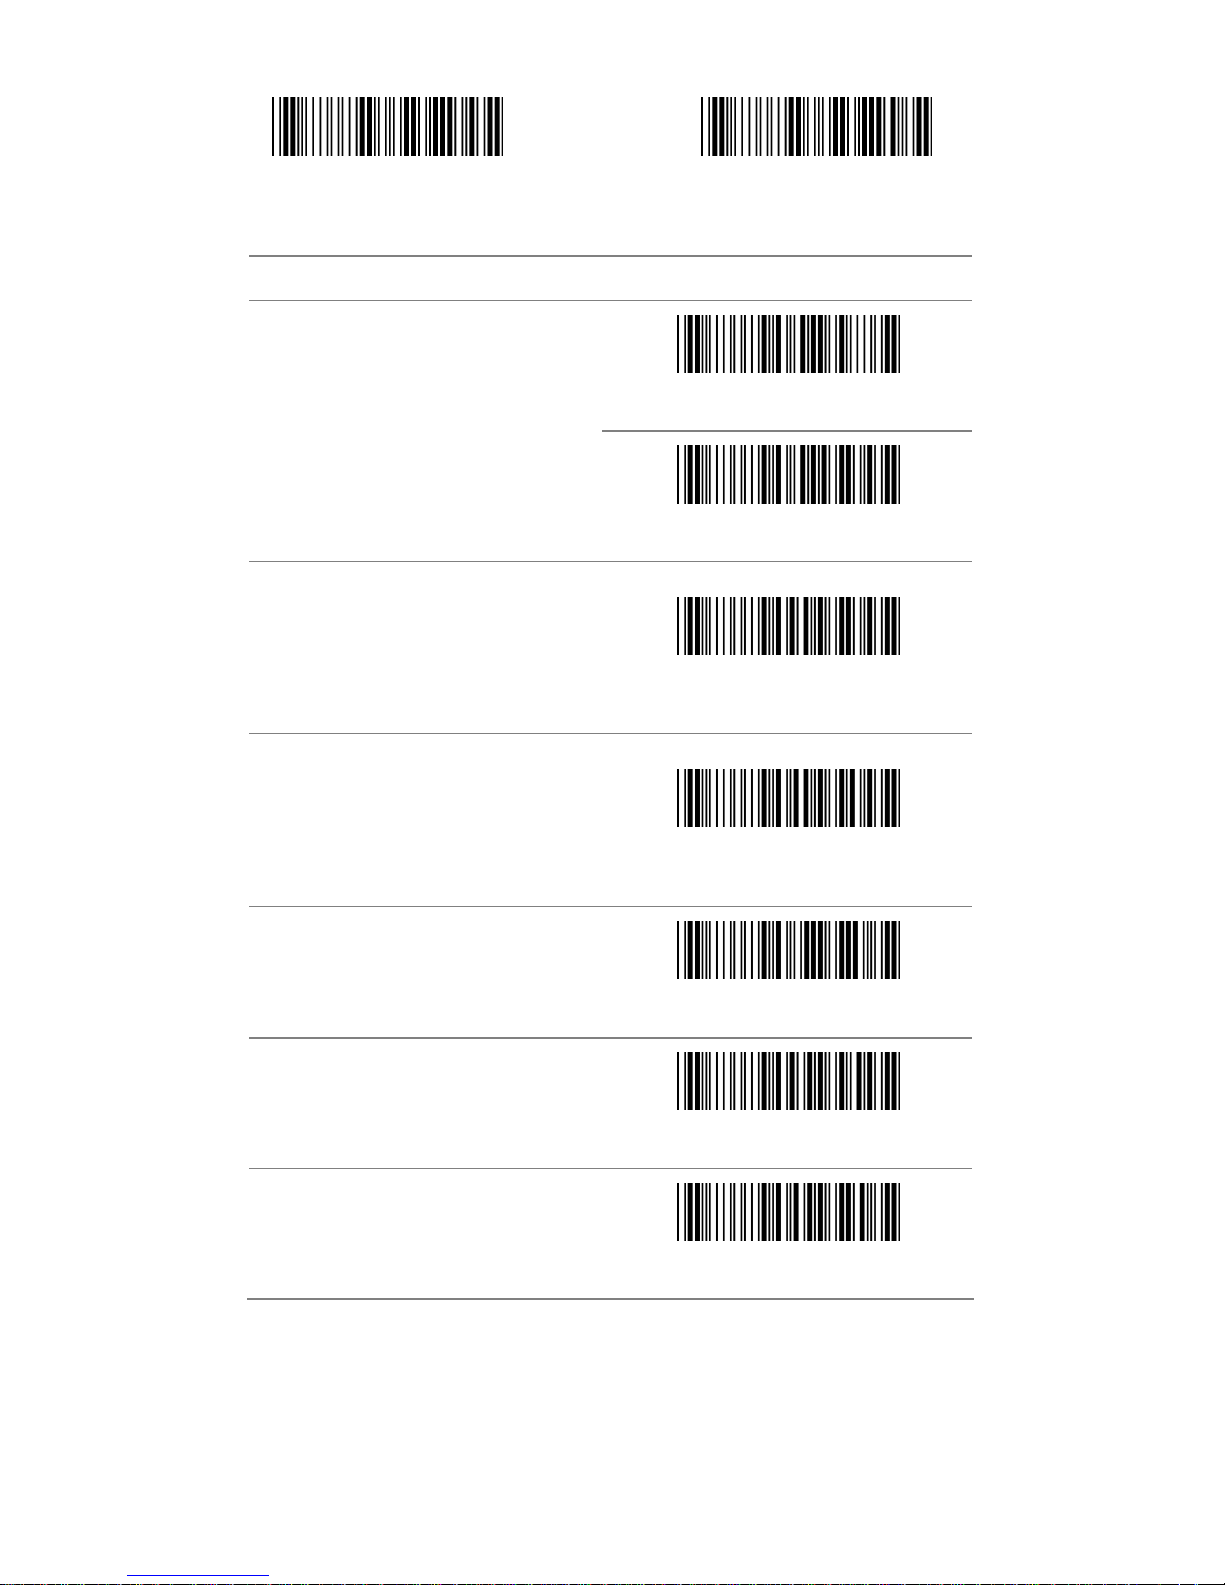
Start Configuration End Configuration
ITEM OPTION
Disable
Check-sum Transmission
* Enable
Truncate Leading
(Default : 00)
Ref: Appendix (00-3CH)
Truncate Ending
(Default : 00)
Ref: Appendix (00-3CH)
Min. Code Length
(Default : 00)
Ref: Appendix (00-3CH)
Max. Code Length
(Default : 3CH)
Ref: Appendix (00-3CH)
Insert Group Selection
(Default : 00)
Ref: Appendix (00-02H)
48
Page 49
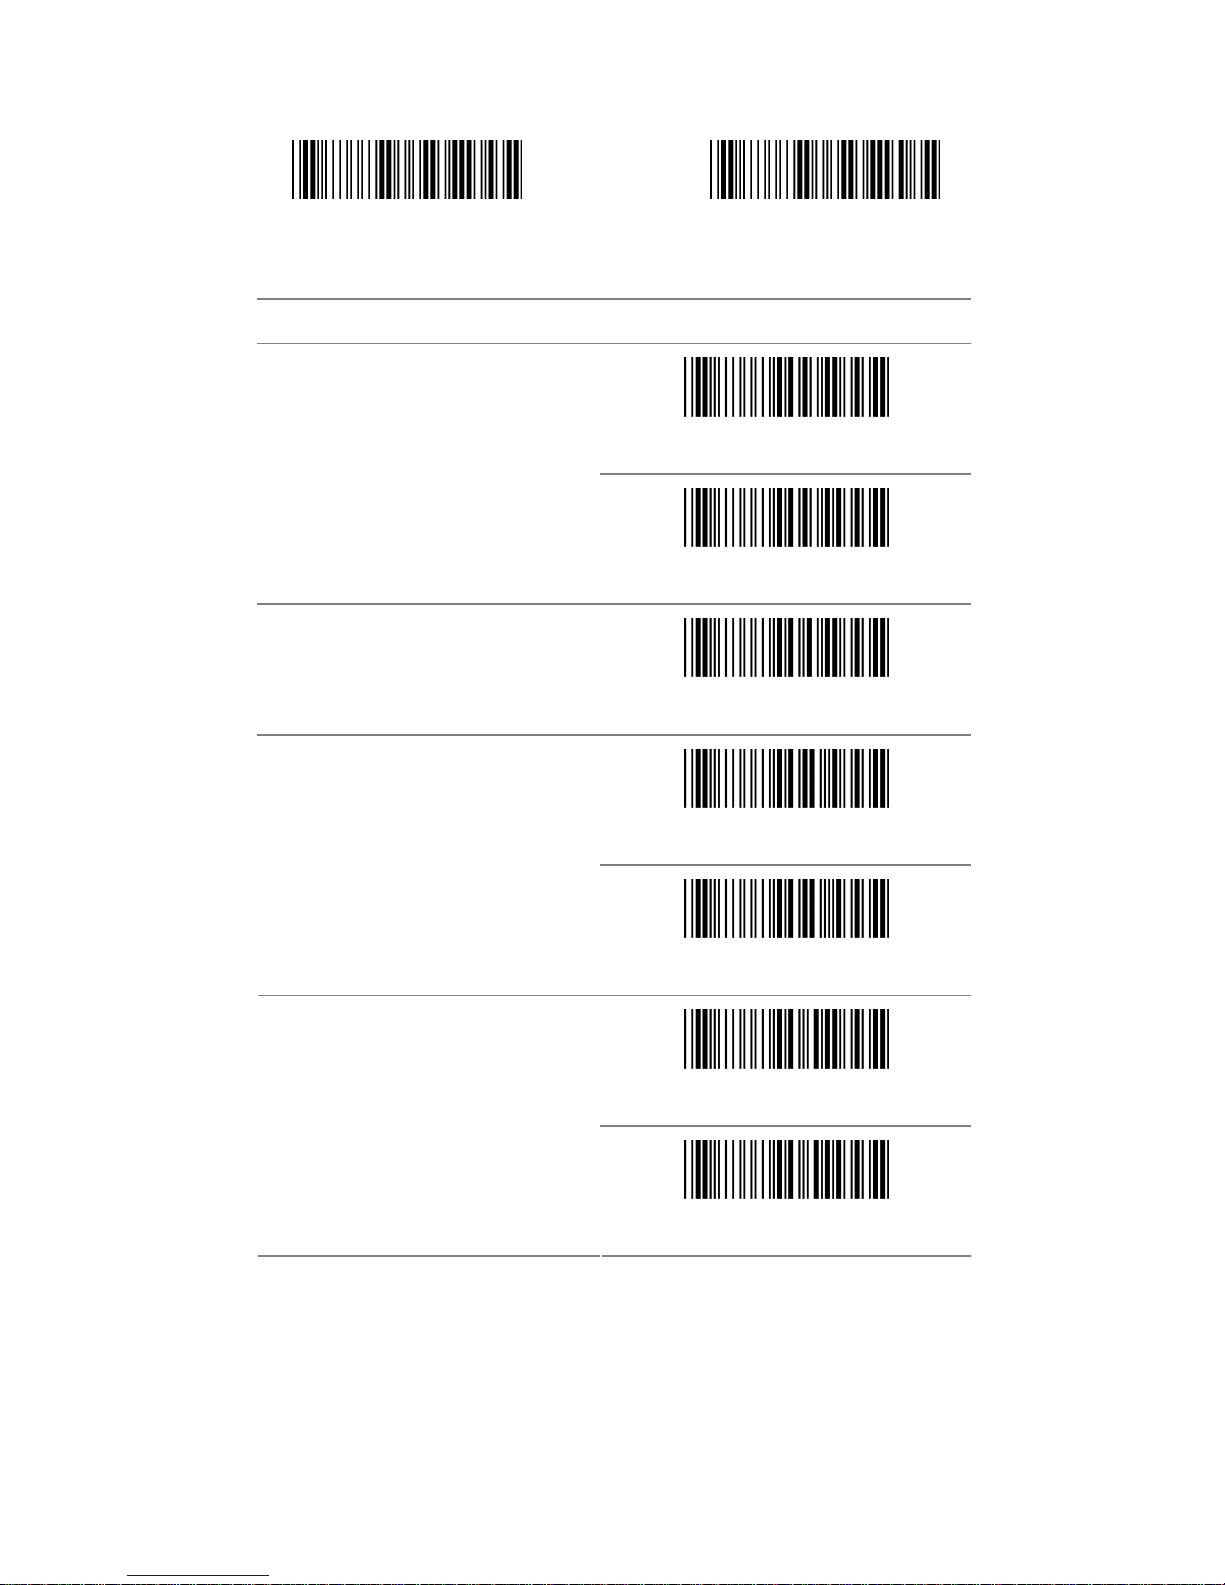
3.14 Code 32
Start Configuration End Configuration
ITEM OPTION
* Disable
Read
Enable
Code ID Setting
(Default:S)
Ref: Appendix (20-7EH)
Disable
Check-sum Verification
* Enable
Disable
Check-sum Transmission
* Enable
49
Page 50

Start Configuration End Configuration
ITEM OPTION
Truncate Leading
(Default : 00)
Ref: Appendix (00-0AH)
Truncate Ending
(Default : 00)
Ref: Appendix (00-0AH)
Insert Group Selection
(Default : 00)
Ref: Appendix (00-02H)
50
Page 51
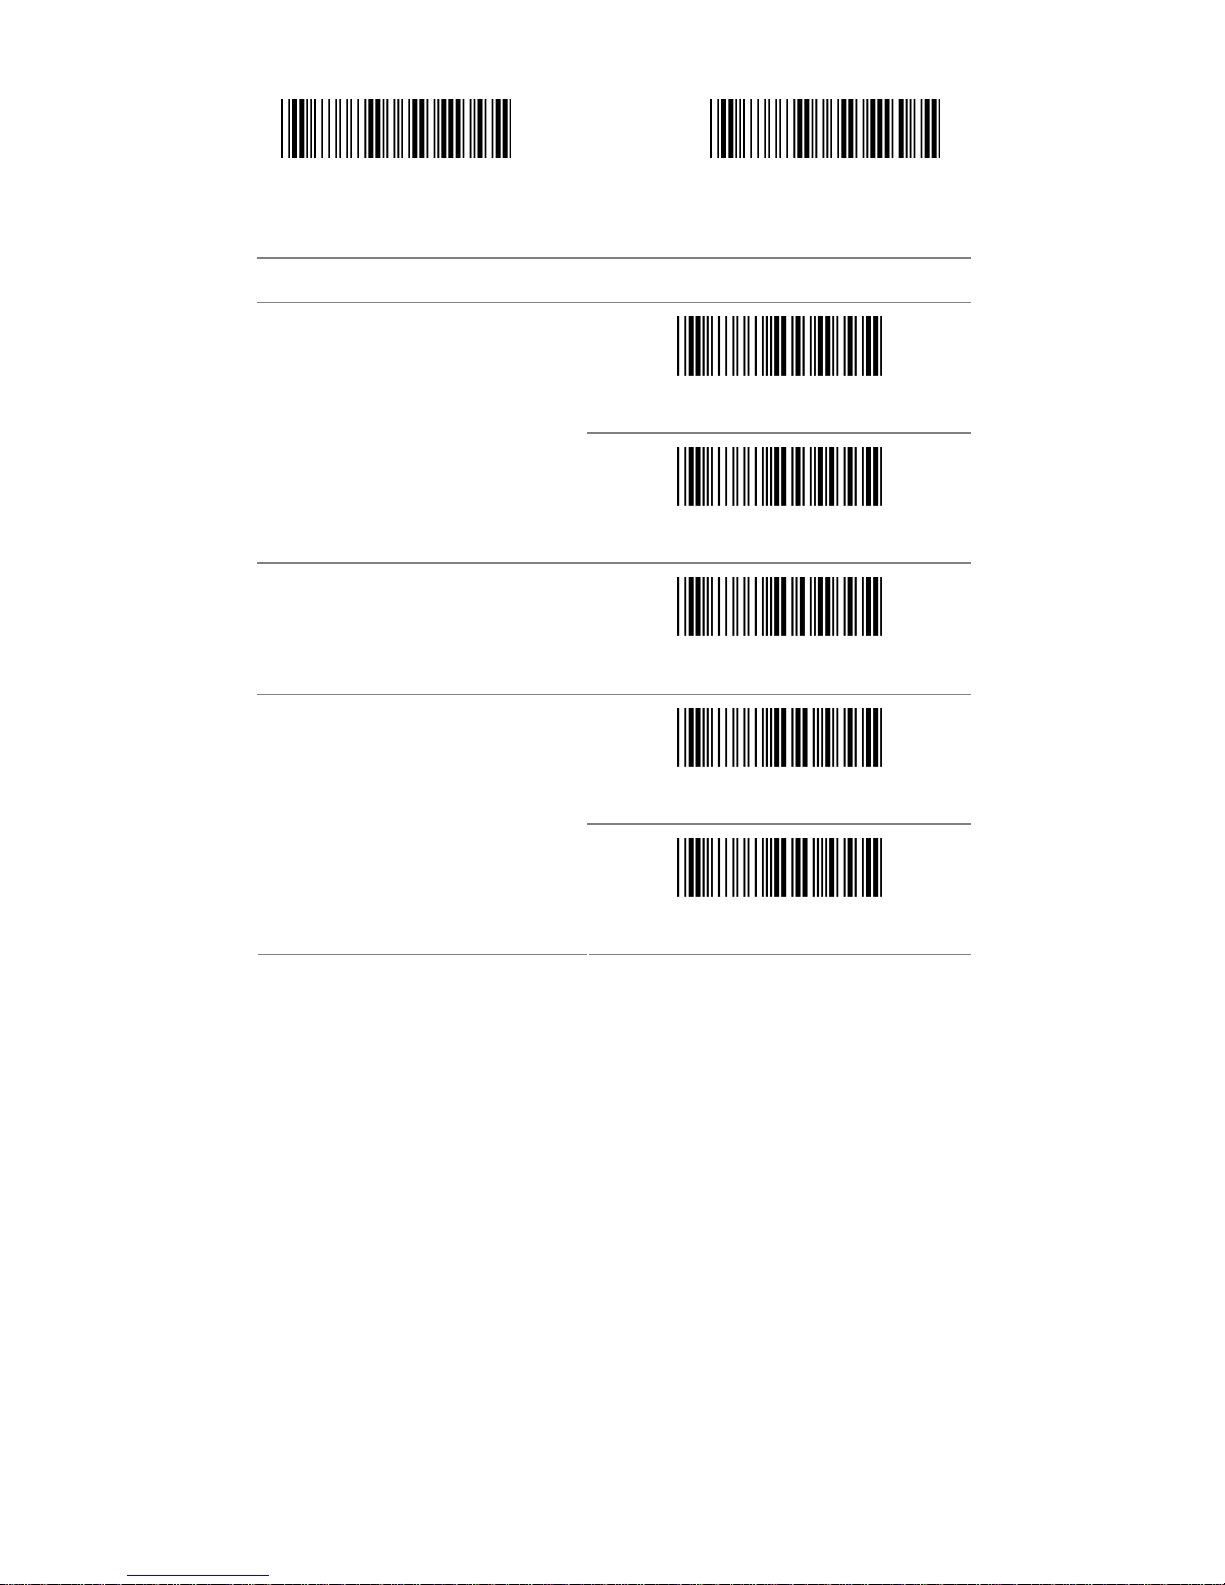
3.15 Code 11
Start Configuration End Configuration
ITEM OPTION
* Disable
Read
Enable
Code ID Setting
(Default:T)
Ref: Appendix (20-7EH)
Disable
Check-sum Verification
* Enable
51
Page 52
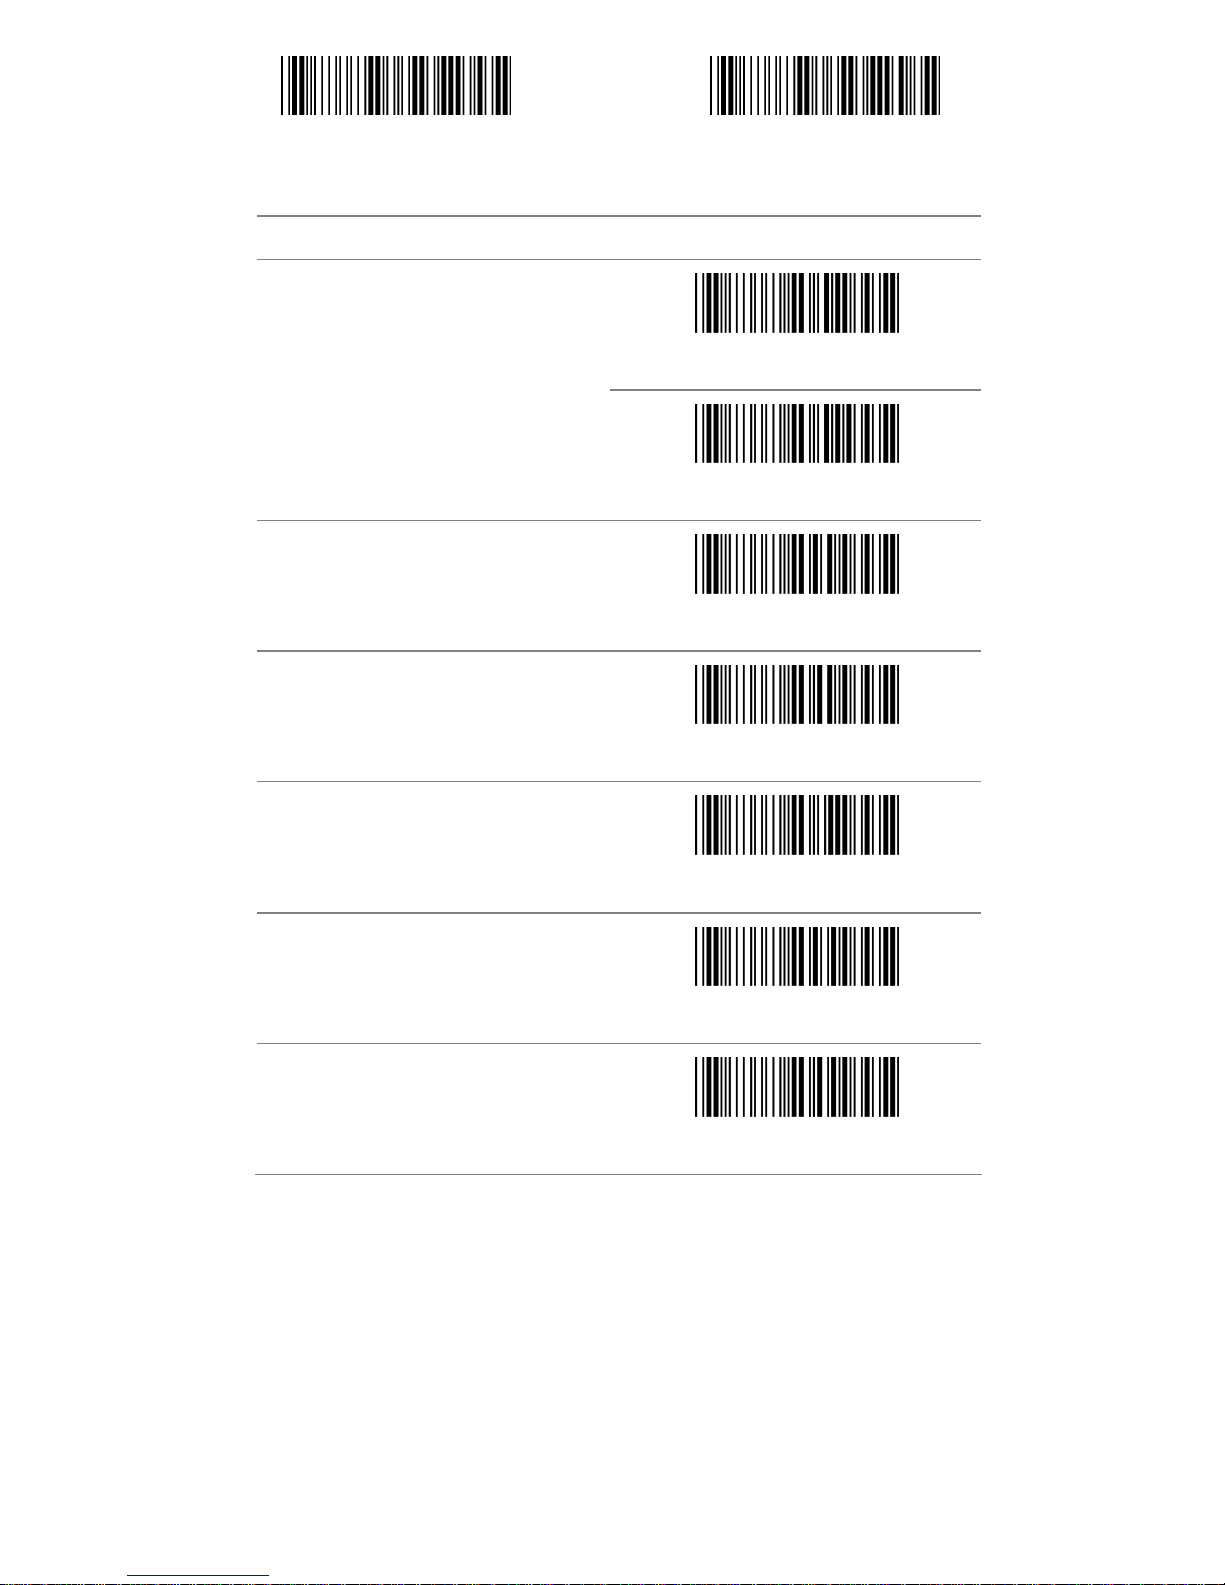
Start Configuration End Configuration
ITEM OPTION
* Disable
Check-sum Transmission
Enable
Truncate Leading
(Default : 00)
Ref: Appendix (00-50H)
Truncate Ending
(Default : 00)
Ref: Appendix (00-50H)
Min. Code Length
(Default : 00)
Ref: Appendix (00-50H)
Max. Code Length
(Default : 50H)
Ref: Appendix (00-50H)
Insert Group Selection
(Default : 00)
Ref: Appendix (00-02H)
52
Page 53
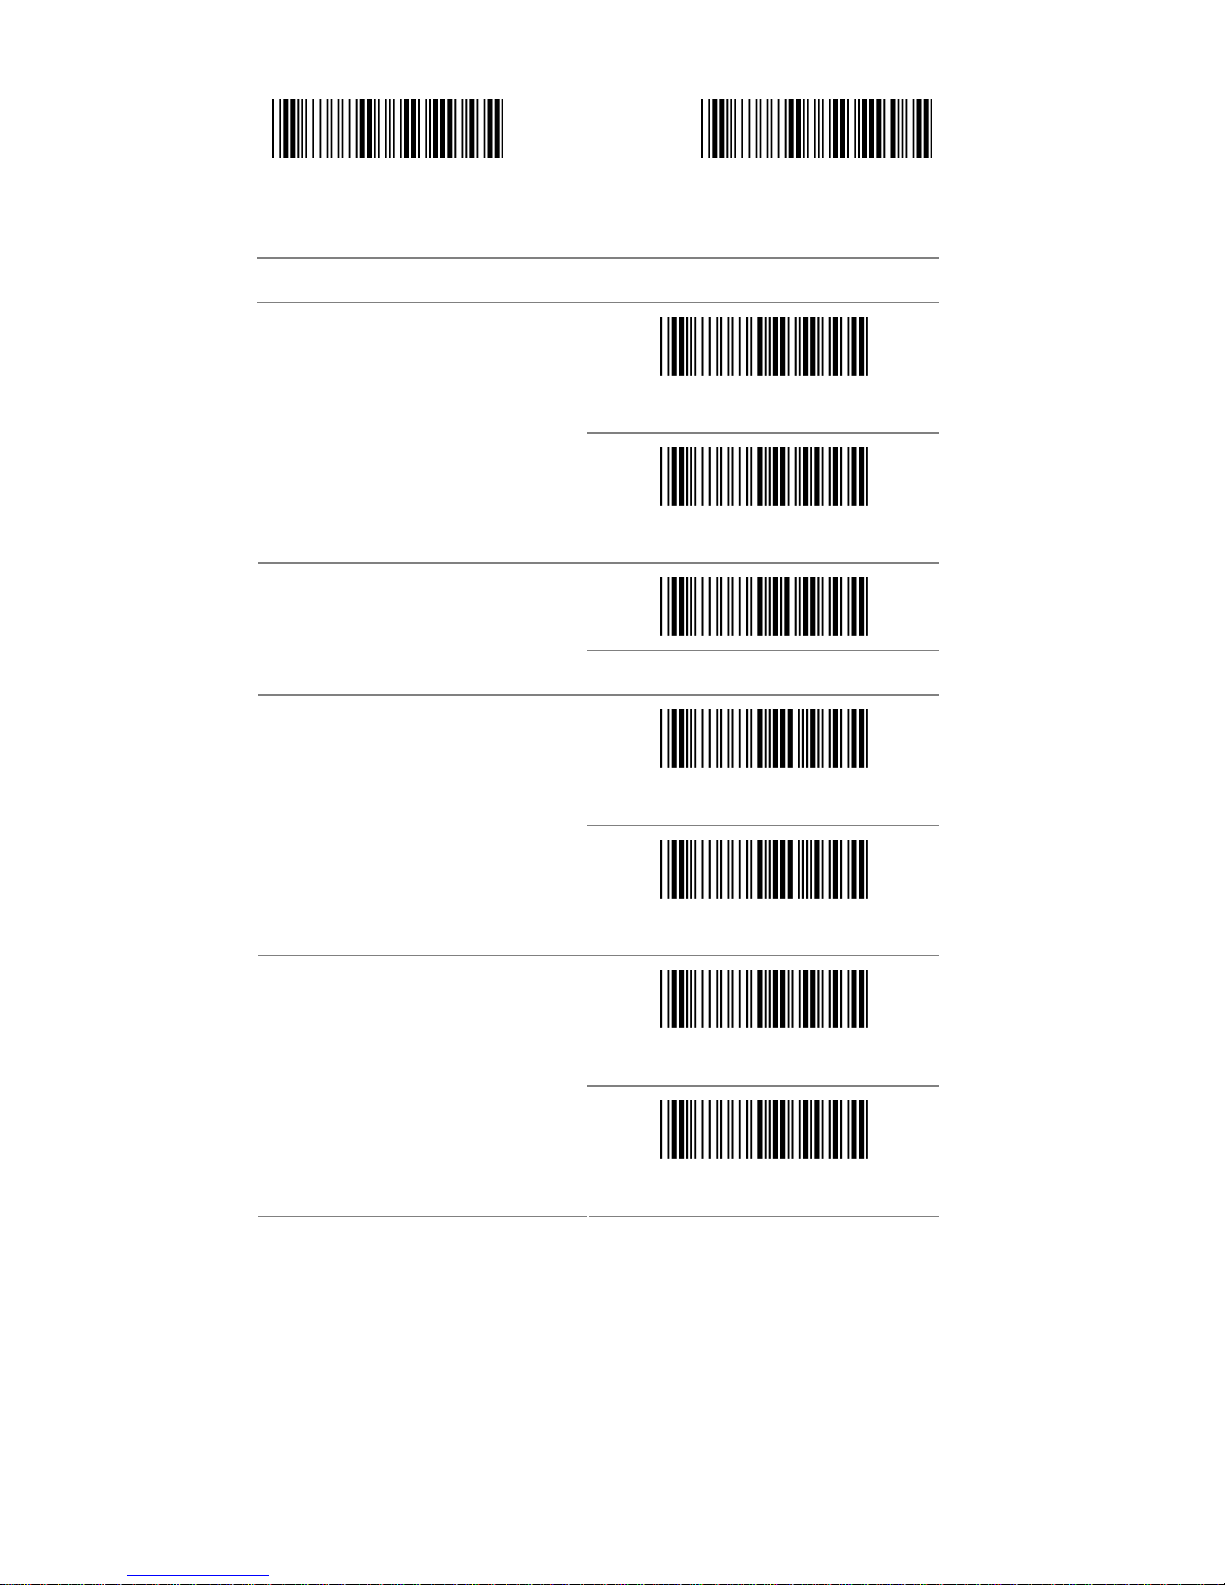
3.16 Telepen
Start Configuration End Configuration
ITEM OPTION
* Disable
Read
Enable
Code ID Setting
(Default:V)
Ref: Appendix (20-7EH)
Disable
Check-sum Verification
* Enable
Only Numnic
Data Format
*Full ASCII
53
Page 54
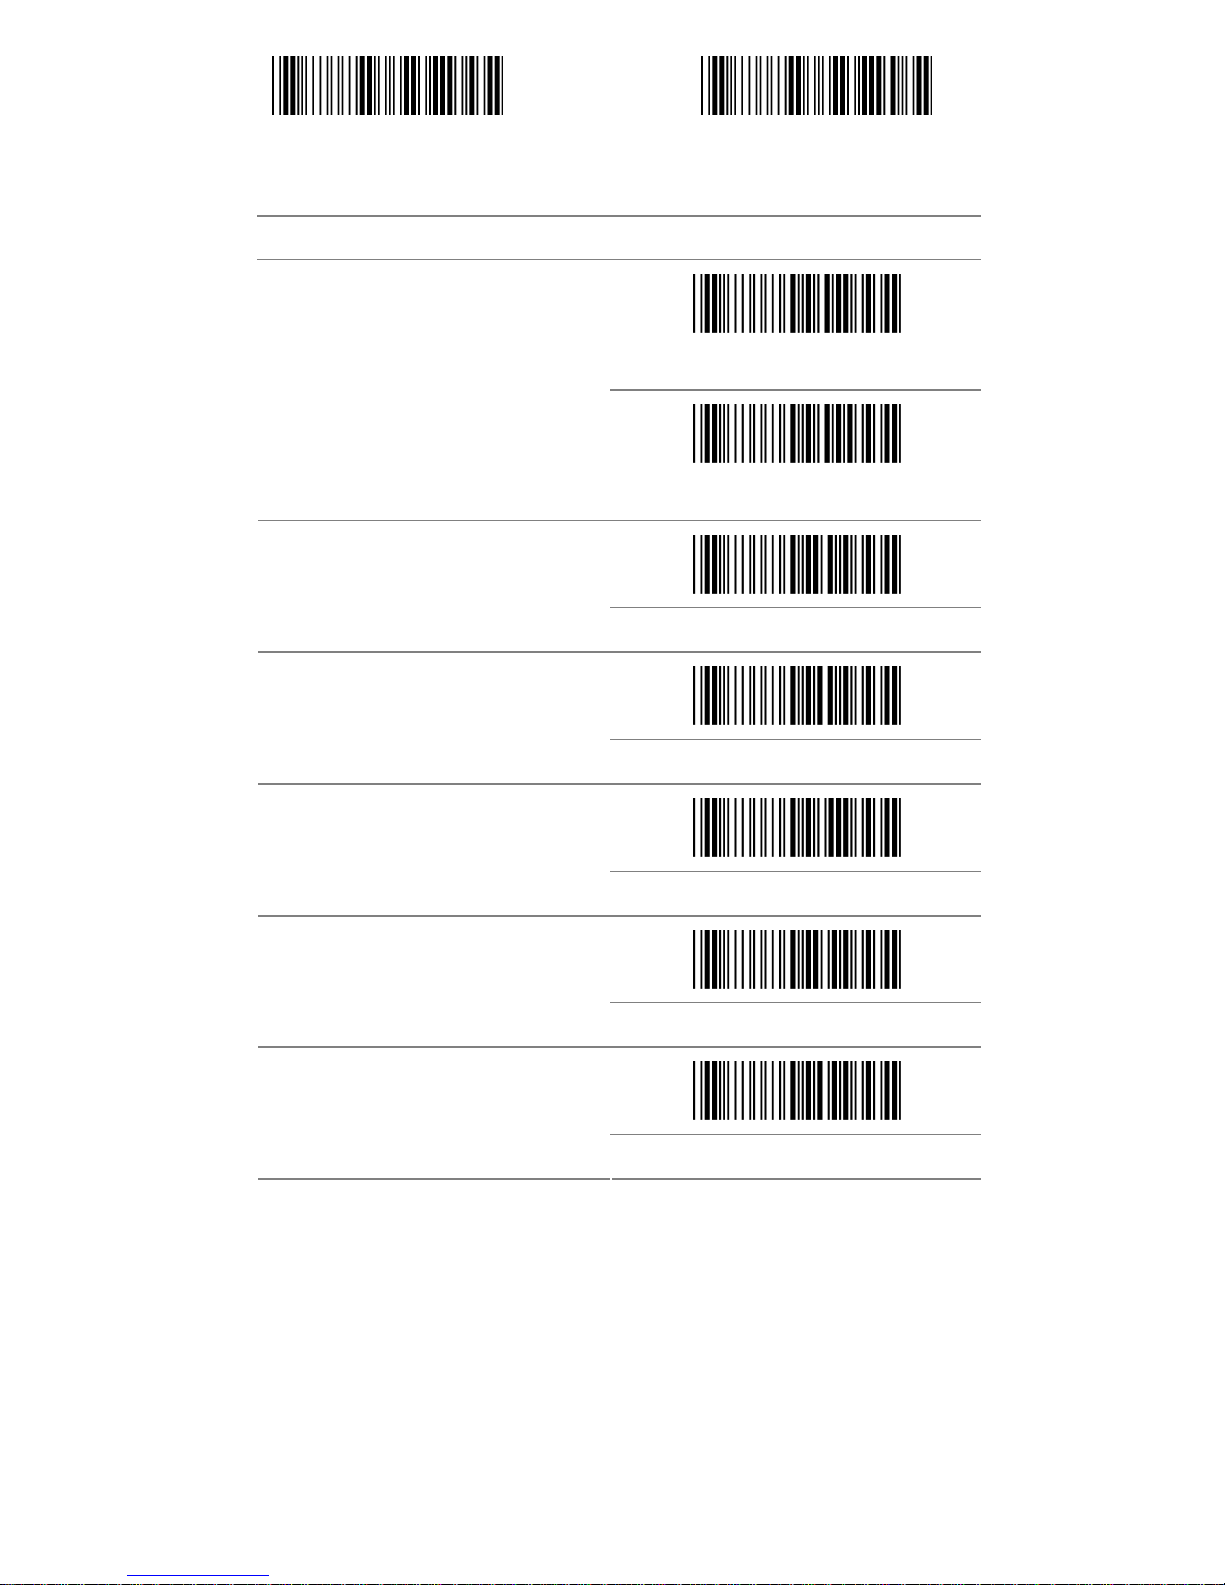
Start Configuration End Configuration
ITEM OPTION
* Disable
Check-sum Transmission
Enable
Truncate Leading
(Default : 00)
Ref: Appendix (00-40H)
Truncate Ending
(Default : 00)
Ref: Appendix (00-40H)
Min. Code Length
(Default : 00)
Ref: Appendix (00-40H)
Max. Code Length
(Default : 40H)
Ref: Appendix (00-40H)
Insert Group Selection
(Default : 00)
Ref: Appendix (00-02H)
54
Page 55
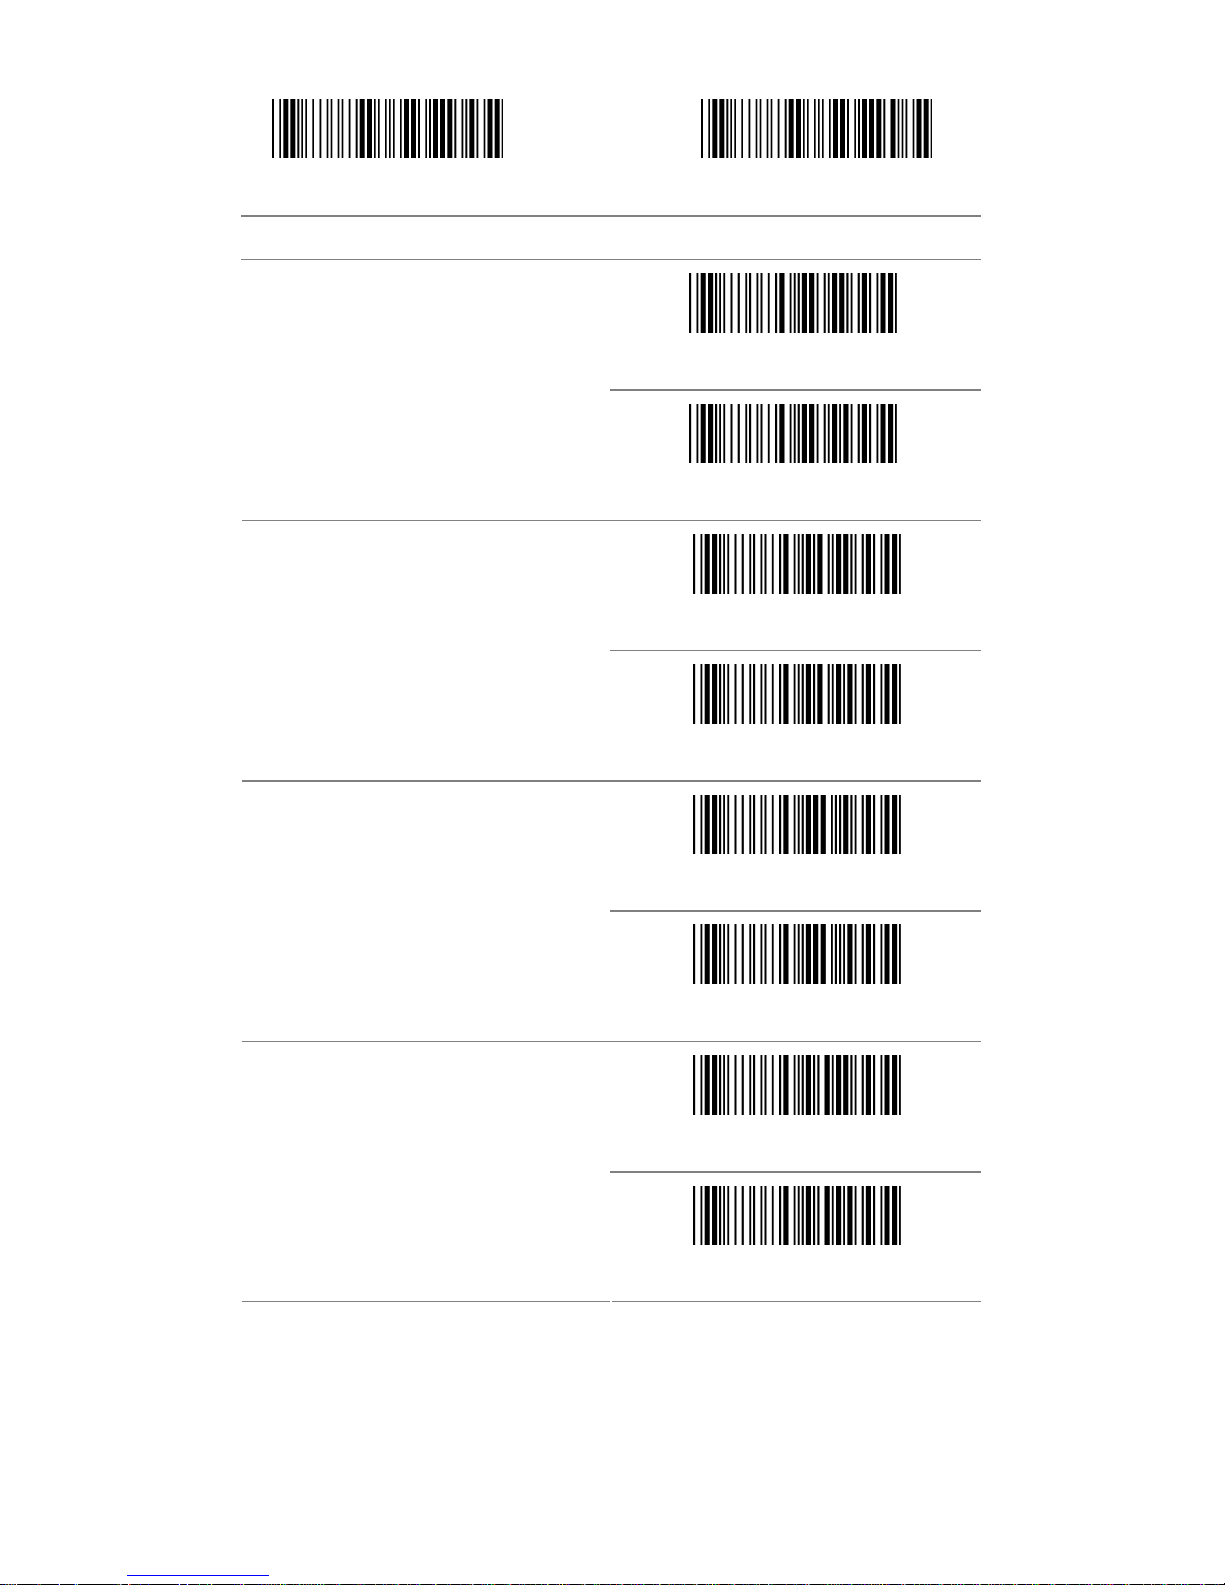
3.17 GS1 Data Bar (RSS)
Start Configuration End Configuration
ITEM OPTION
Enable
RSS-14
*Disable
Enable
RSS-14 Limited
*Disable
Enable
RSS-14 Expanded
*Disable
Enable
RSS To UPC/EAN
*Disable
55
Page 56
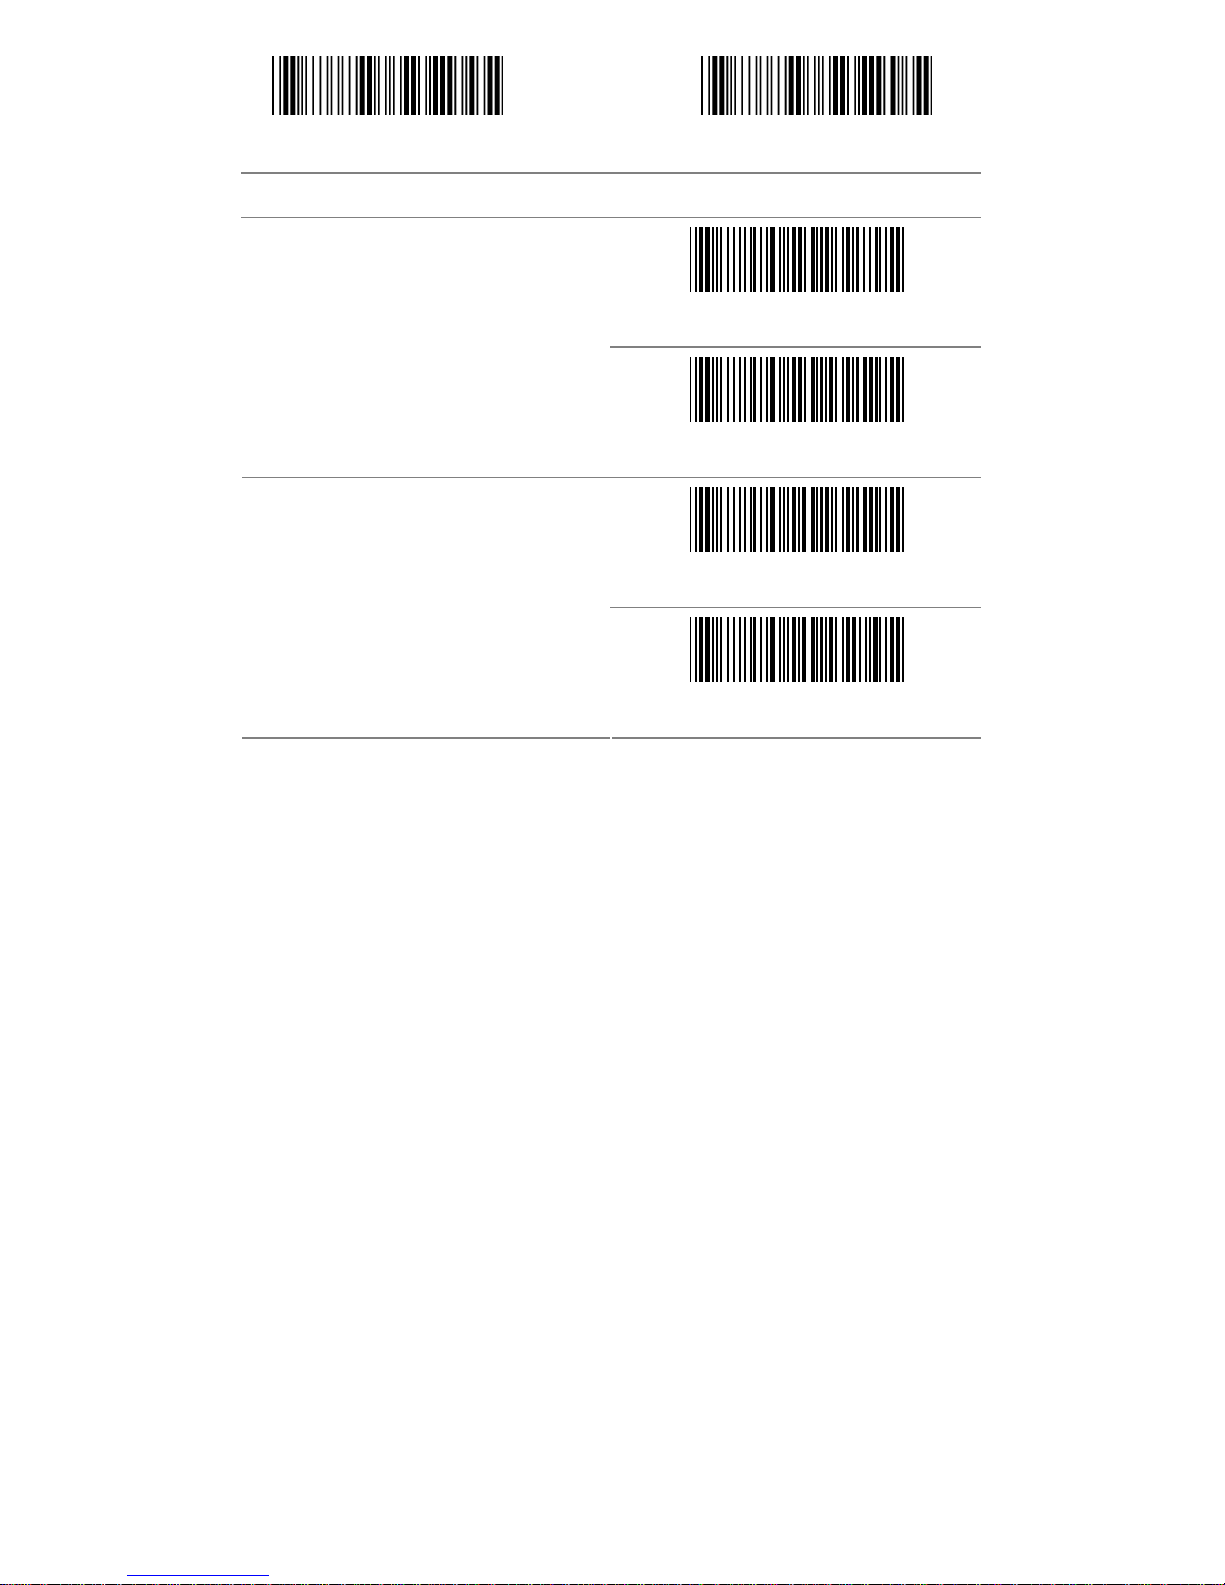
Start Configuration End Configuration
ITEM OPTION
*Enable
Application ID Transmission
Disable
*Enable
Checksum Transmission
Disable
56
Page 57

Appendix
57
Page 58

KBD Wedge Character Table
0 1 2 3 4 5 6 7
Type
1
Type
1
0 DLE SP 0 @ P ` p
1 SOH DC1 ! 1 A Q a q
2 STX DC2 “ 2 B R b r
3 ETX DC3 # 3 C S c s
4 ETO DC4 $ 4 D T d t
5 EAQ NAK % 5 E U e u
6 ACK SYN & 6 F V f v
7 BEL ETB ‘ 7 G W g w
8 BS CAN ( 8 H X h x
9 HT EM ) 9 I Y i y
A LF SUB * : J Z j z
B VT ESC + ; K [ k {
C FF FS , < L \ l |
D CR GS - = M ] m }
E SO RS . > N ^ n ~
F SI US / ? O _ o DEL
58
Page 59

Dec Hex Char. Dec Hex Char.
0 00 NUL 32 20 SP
1 01 SOH 33 21 !
2 02 STX 34 22 “
3 03 ETX 35 23 #
4 04 EOT 36 24 $
5 05 ENQ 37 25 %
6 06 ACK 38 26 &
7 07 BEL 39 27 ‘
8 08 BS 40 28 (
9 09 HT 41 29 )
10 0A LF 42 2A *
11 0B VT 43 2B +
12 0C FF 44 2C ,
13 0D CR 45 2D -
14 0E SO 46 2E .
15 0F SI 47 2F /
16 10 DLE 48 30 0
17 11 DC1 49 31 1
18 12 DC2 50 32 2
19 13 DC3 51 33 3
20 14 DC4 52 34 4
21 15 NAK 53 35 5
22 16 SYN 54 36 6
23 17 ETB 55 37 7
24 18 CAN 56 38 8
25 19 EM 57 39 9
26 1A SUB 58 3A :
27 1B ESC 59 3B ;
28 1C FS 60 3C <
29 1D GS 61 3D =
30 1E RS 62 3E >
31 1F US 63 3F ?
59
Page 60

Dec Hex Char. Dec Hex Char.
64 40 @ 96 60 ‘
65 41 A 97 61 a
66 42 B 98 62 b
67 43 C 99 63 c
68 44 D 100 64 d
69 45 E 101 65 e
70 46 F 102 66 f
71 47 G 103 67 G
72 48 H 104 68 h
73 49 I 105 69 i
74 4A J 106 6A j
75 4B K 107 6B k
76 4C L 108 6C l
77 4D M 109 6D m
78 4E N 110 6E n
79 4F O 111 6F o
80 50 P 112 70 P
81 51 Q 113 71 q
82 52 R 114 72 r
83 53 S 115 73 s
84 54 T 116 74 t
85 55 U 117 75 u
86 56 V 118 76 v
87 57 W 119 77 w
88 58 X 120 78 x
89 59 Y 121 79 y
90 5A Z 122 7A z
91 5B [ 123 7B {
92 5C \ 124 7C |
93 5D } 125 7D }
94 5E ^ 126 7E ~
95 5F _ 127 7F DEL
60
Page 61
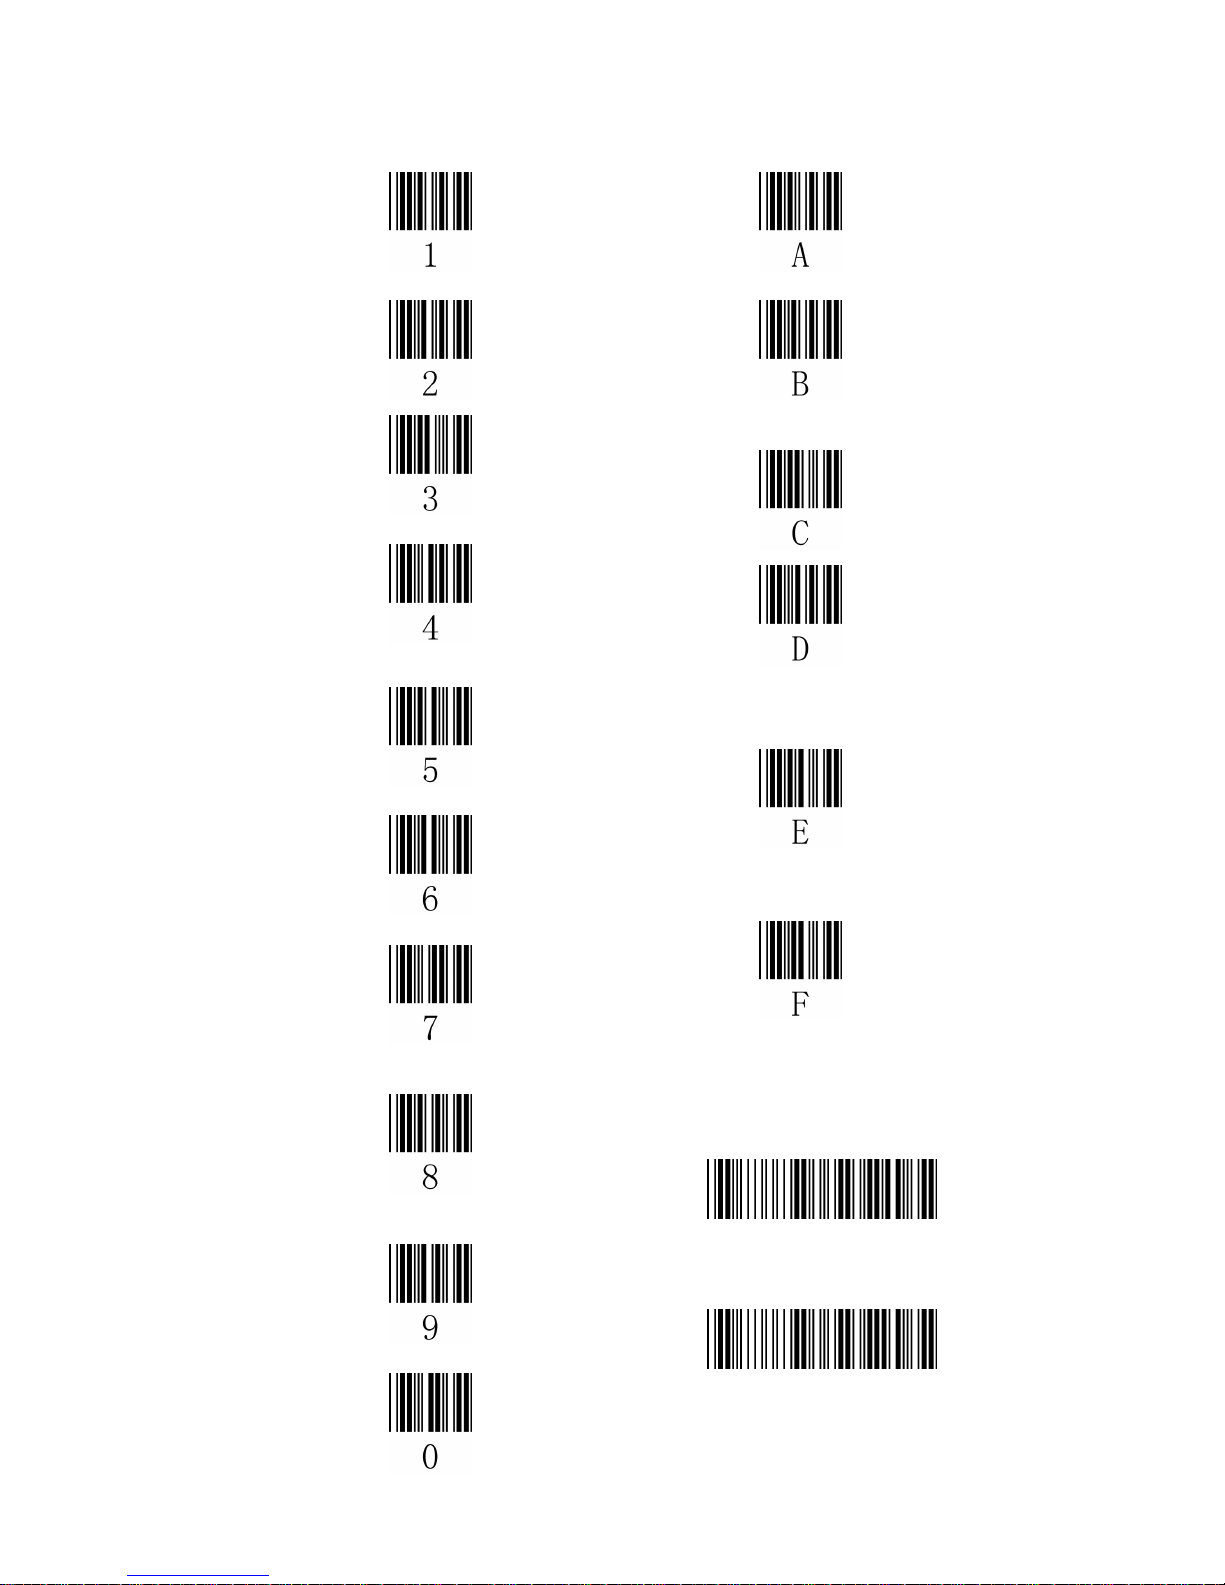
Hex Table
Confirm Configuration
End Configuration
Version: 1.00
61
 Loading...