

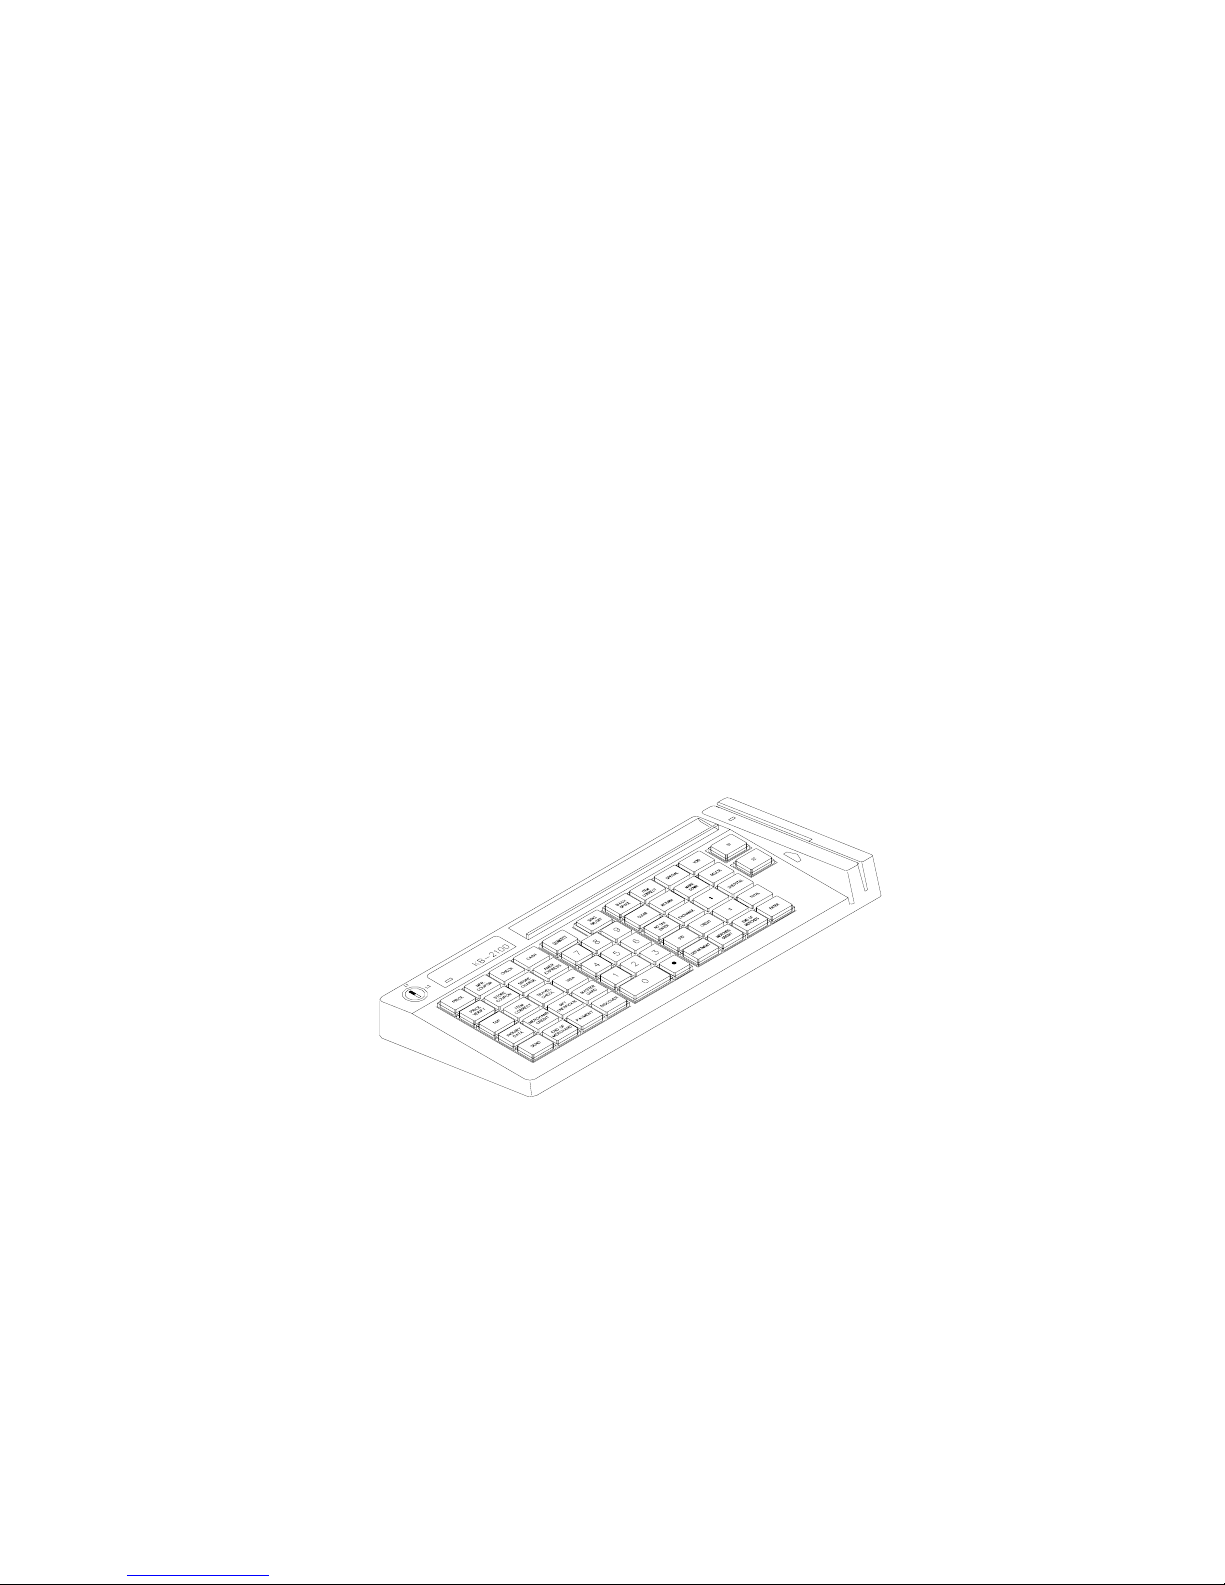
KB2100 SERIES
55 - PROGRAMMABLE
KEYBOARD
USER’S MANUAL
Rev. : C

NOTICE
The manufacturer of the POS keyboard makes no representations or
warranties, either expressed or implied, by or with respect to anything in this
manual, and shall not be liable for any implied warranties of fitness for a
particular purpose or for any indirect, special or consequential damages.
Information in this document is subject to change without notice and does not
represent a commitment on the part of the manufacturer.
FCC NOTICE
This equipment generates, uses, and radiate radio frequency energy. If not
installed and used in accordance with the user’s guide, may be cause
interference to radio communications. It has been tested and found to comply
with limits for a Class A digital device pursuant to subpart J of Part 15 of FCC
Rules, which are designed to provide reasonable protection against interference
when operated in a commercial environment. Operation of this equipment in a
residential area is likely to cause interference in which case the user at his own
expense will be required to take whatever measures may be required to correct
the interference.
i

TABLE OF CONTENTS
FEATURES . . . . . . . . . . . . . . . . . . . . . . . . . . . . . . . . . . . . . . . .
1
CONTENTS OF CARTON . . . . . . . . . . . . . . . . . . . . . . . . . . 2
CONNECTING THE KB2100 TO THE COMPUTER . . . . 3
FUNCTIONAL TEST . . . . . . . . . . . . . . . . . . . . . . . . . . . . . . . 4
PROGRAMMING THE KB2100 . . . . . . . . . . . . . . . . . . . . . . 6
COMMAND MENU . . . . . . . . . . . . . . . . . . . . . . . . . . . . . . . . .
8
ADVANCED PROGRAMMING . . . . . . . . . . . . . . . . . . . . . . 10
SPECIAL CONFIGURATION . . . . . . . . . . . . . . . . . . . . . . . 12
SPECIFICAITONS . . . . . . . . . . . . . . . . . . . . . . . . . . . . . . . . . 16
ii

FEATURES
Programs all computer keys including alphanumeric characters, Shift, Alt,
ESC, F1, etc.
Provides 55 programmable keys plus 1 programmable key-lock switch.
Does not require a TSR program and therefore avoids application software
crashes.
Does not require a battery. Holds data over 100 years.
Uses highly reliable, full-travel tactile keys.
Does not require an external programming kit.
Provides an optional built-in credit card reader and paper money clip.
Reads and writes up to 255 characters per key.
Provides true keyboard wedge function that operates with or without the
normal computer keyboard connected.
Provides optional output formats: Standard keyboard emulation and RS232.
Features an optional magnetic stripe reader:
-KB2100M2: Capable of reading tracks 1,2 and both tracks 1& 2.
-KB2100M3: Any combination of tracks 1,2, and 3.
-Built-in decoder and wedge interface.
Permits simple field programmability.
Supports down loading of an entire 55-key template into the internal non-
volatile memory in just 7 seconds.
Includes replaceable label sheet.
Built with spill-proof construction.
Includes cable, utility software, and accessories.
Provides multi-level programming which allows different character strings
to be defined to the same key.
Provides for a variable time delay in key programmed of up to 240 seconds.
Provides a true Cap Lock function independent of any other keyboard being
connected.
Optional soft dust cover.
KB2100 Series User’s Manual 1

CONTENTS OF CARTON
1. POS Keyboard.
2. Keyboard to Computer interface cable.
3. Utility software disk
4. Three legend label sheets.
5. User’s Guide.
6. Key clip.
KB2100 Series User’s Manual 2
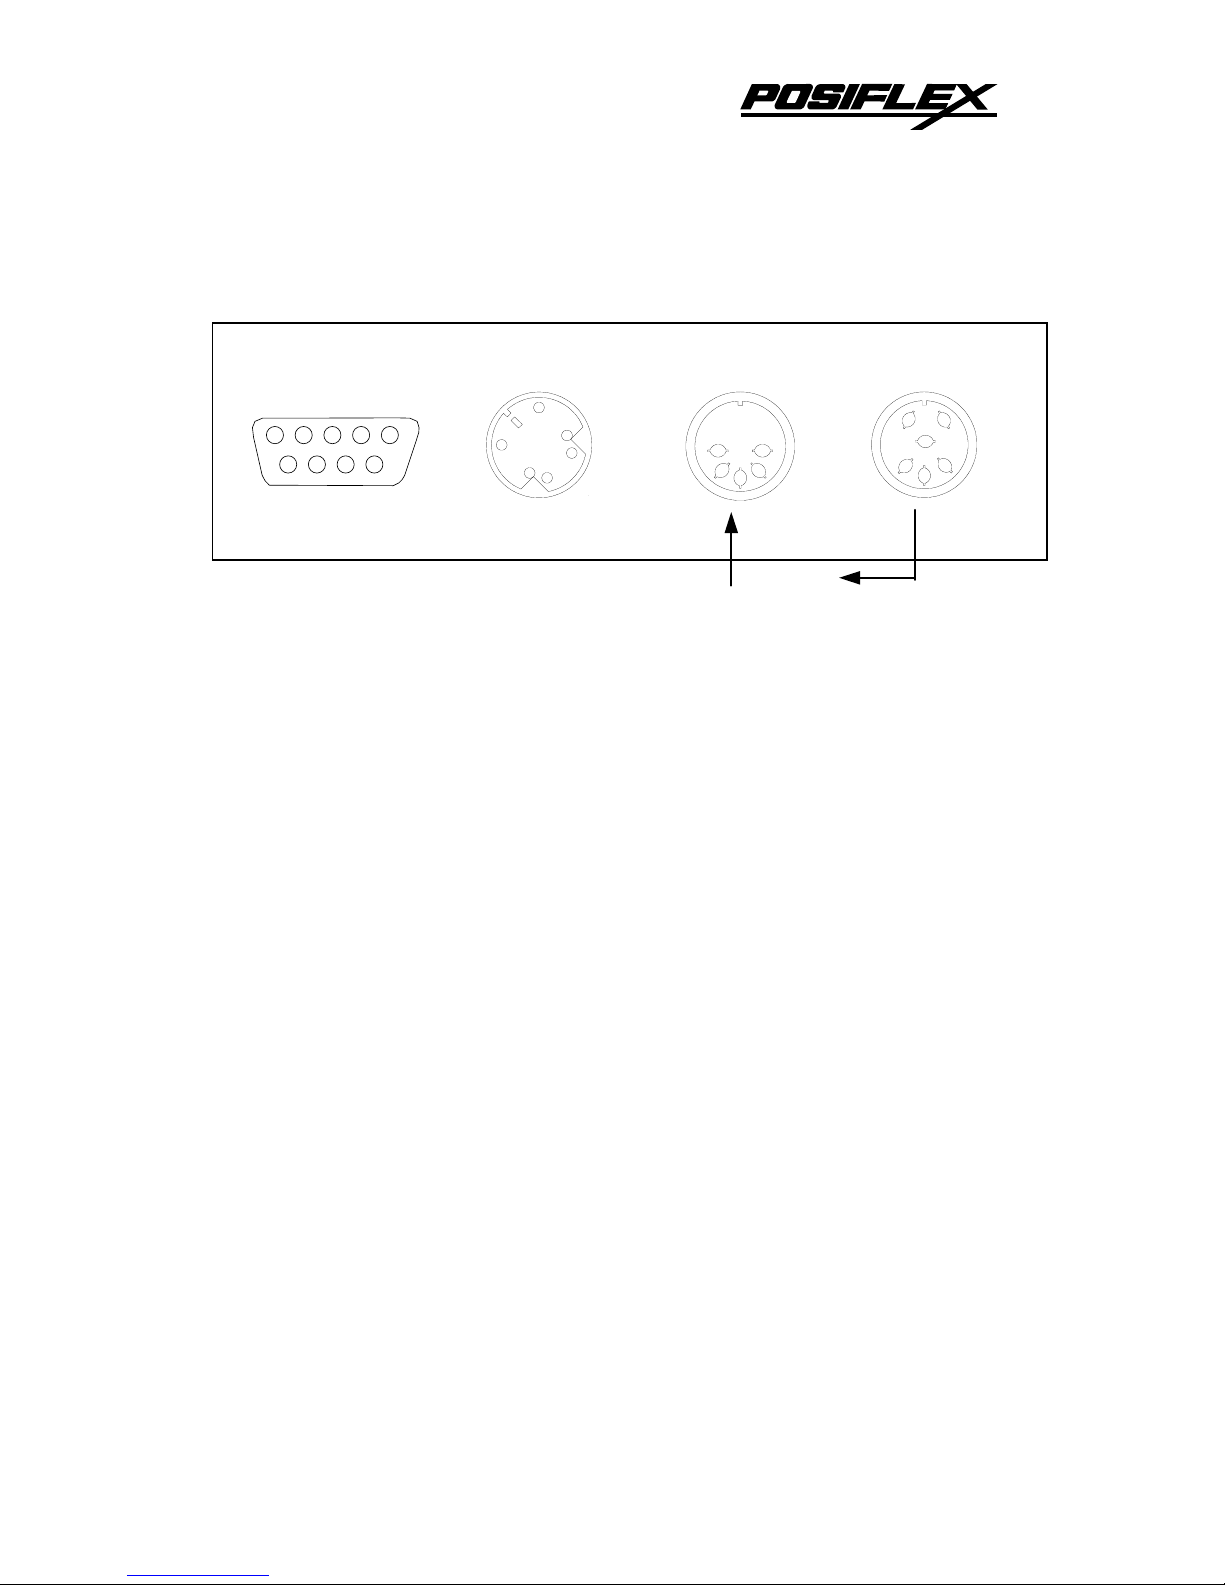
CONNECTING THE KB2100 TO THE COMPUTER
J2
6
5
4
3
2
1
J5
5
4
3
2
1
J1
6
5
4
3
2
1
J6
9 8 7 6
5 4 3 2 1
To computer
Keyboard port
From other keyboards
A. Connecting the KB2100 to a IBM PC (XT, AT or CLONE) Computer:
KB2100 as a Stand-alone keyboard
1. Using the supplied interface cable, connect the KB2100 to the computer
keyboard port. Plug the 6-pin connector into the J2 port of the KB2100.
Plug the 5-pin connector into the computer keyboard port.
KB2100 and Computer keyboard together
1. The KB2100 and the standard computer keyboard can be attached to the
computer without a selection switch. To implement, connect the KB2100
to the computer as outlined above. Plug the standard computer keyboard
into J5 of the KB2100.
Note:
KB2100 connectors J1 and J6 are not used
.
B. Connecting the KB2100 to a PS/2 Computer
KB2100 as a stand-alone keyboard
1. Using the supplied interface cable connect the KB2100 to the computer
keyboard port. Connect the 6- pin plug to J2 of the KB2100. Insert a ATto-PS/2 adapter between the PS/2 computer keyboard port and the 5-pin
connector of the supplied cable.
Note:
The AT-to-PS/2 adapter is not included with the KB2100
.
KB2100 and Computer keyboard together
KB2100 Series User’s Manual 3

1. The KB2100 and the PS/2 computer keyboard can be attached to the
computer without a selection switch. To implement, connect the KB2100
to the computer as outlined above. Plug the PS/2 computer keyboard into
J1 of the KB2100.
Note:
KB2100 connectors J5 and J6 are not used.
C. KB2100-R, and a Computer terminal:
1. Connect J6 of the Kb2100-R to a RS232 port of the computer terminal.
Note:
J1, J2 and J5 are not used.
FUNCTIONAL TEST
To determine the proper working condition of the KB2100, a test key
pattern was preprogrammed into the keyboard memory. Page 5 shows this test
pattern. For a quick functional test follow the functional test procedure below:
1. Connect the KB2100 as shown in the section “Connecting the KB2100 to
the Computer”.
2. Turn on the computer.
3. At the DOS prompt press the upper left-hand key on the keyboard.
4. If the word “PRICE” appears on the screen, the KB2100 is working!
5. To check all 55 keys, press each individual key and compare the result
with the test pattern.
6. To check out the magnetic stripe reader:
Hold a credit card with the magnetic stripe at the bottom and facing the
arrow mark. Slide the card through the reader slot. Make sure the bottom
edge of the card continuously touches the bottom edge of the reader. The
recorded data from the credit card will appear on the monitor.
KB2100 Series User’s Manual 4
 Loading...