

Portek Scatterbird Mk3 Servicing And Repair

1
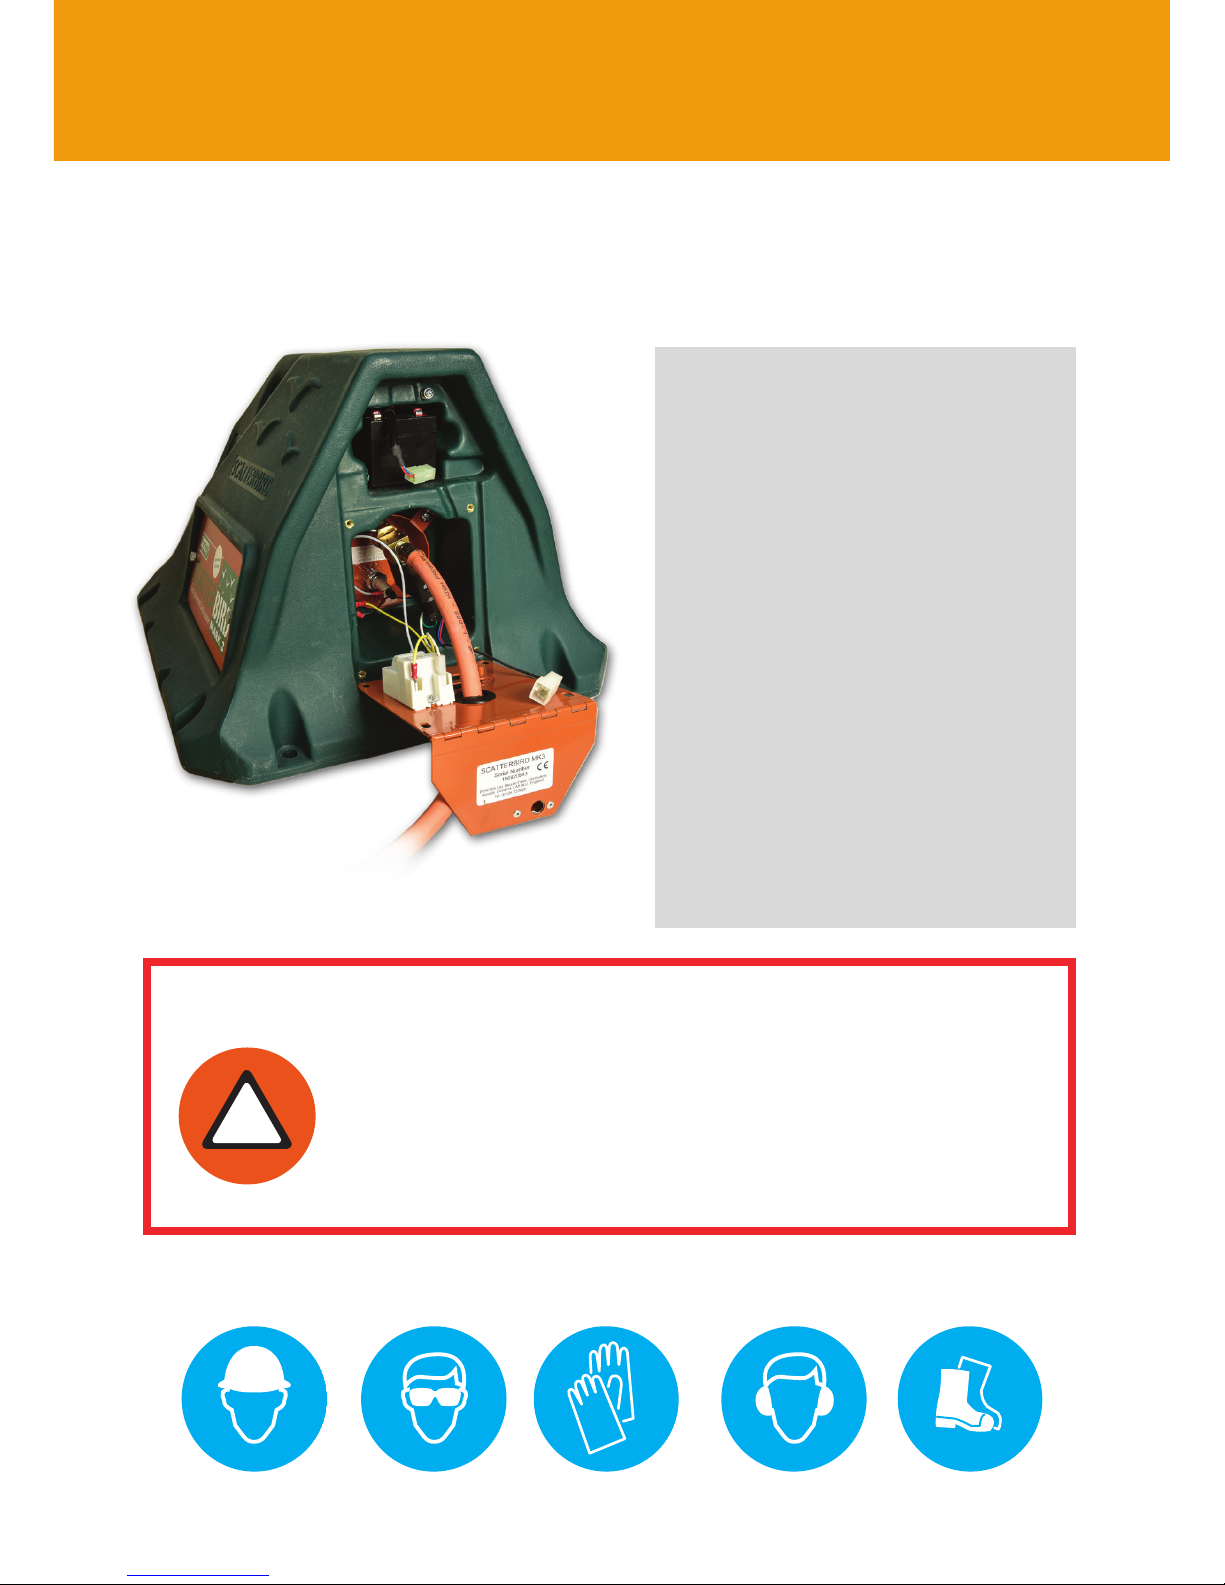
Servicing & Repair
Scatterbird Mk3
Birdscarer
portek.co.uk
2
If you are having trouble with your Scatterbird MK3 this guide will help you
determine the problem and remedy any issues to get your Gas Gun up and
running again. Please refer to the operating instructions in conjunction with
this guide.
Most problems can be tracked
down to:
1. Hose damage
2. Blocked barrel
3. Battery low
4. Low gas pressure
5. Corroded earth connections
6. System in wrong mode
after storage
7. Circuit board alignment
8. Spark plug gap
9. Blocked jet
10. Failed circuit board
Guidelines in this publication will help
you to troubleshoot these issues.
Before you start
Safety note:
Before testing your Scatterbird, always turn off
and disconnect the gas supply and make sure all
residual gas has been expelled from the barrel.
If you intend to test fire in the yard, remove the
barrel first to avoid a loud bang.
!
See the troubleshooting video
at www.scatterbird.co.uk
ALWAYS USE THE APPROPRIATE SAFETY AND PROTECTION EQUIPMENT

3
BUTTON A CONTROLS
VERTICAL LIGHTS TO
CHOOSE THE MODE
Just as with any mechanical device, it’s best to eliminate simple
problems before digging further into the technical details - carry out
these simple checks first
1. Hose damage: Check the gas hose for damage and replace if needed as vermin do
damage hoses through chewing.
2. Blocked barrel: Look for foreign material such as a bird’s nest or dead vermin in the barrel
which are commonly found. Remove obstruction and clean barrel as required.
3. Battery condition: Ensure your battery is fully charged and delivering 12 volts. Old tractor
batteries lose their charge very quickly; a deep cycle leisure battery (caravan battery) is ideal.
Initial checks
4. Make sure the Controls Panel is switched on:
Turning on the Scatterbird.
Connect the power supply - using either external battery or Portek internal battery accessory.
BUTTON B CONTROLS
HORIZONTAL LIGHTS
• ON/OFF - PINK BAND
• NUMBER OF BANGS - PINK BAND
• BANG INTERVAL - YELLOW BAND
• MORNING DELAY - GREEN BAND
• PRE-DUSK SHUT OFF - RED BAND
The unit is OFF if the 2 lights
are showing here.
Press button B to move the
light right into one of the ON
positions. (1,2,3,4 or 5 in
the PINK band)
Press button A - the unit is ON
when the the top light is in
the PINK band and the second
light is in the numbered bangs
section of the firing scale.
4
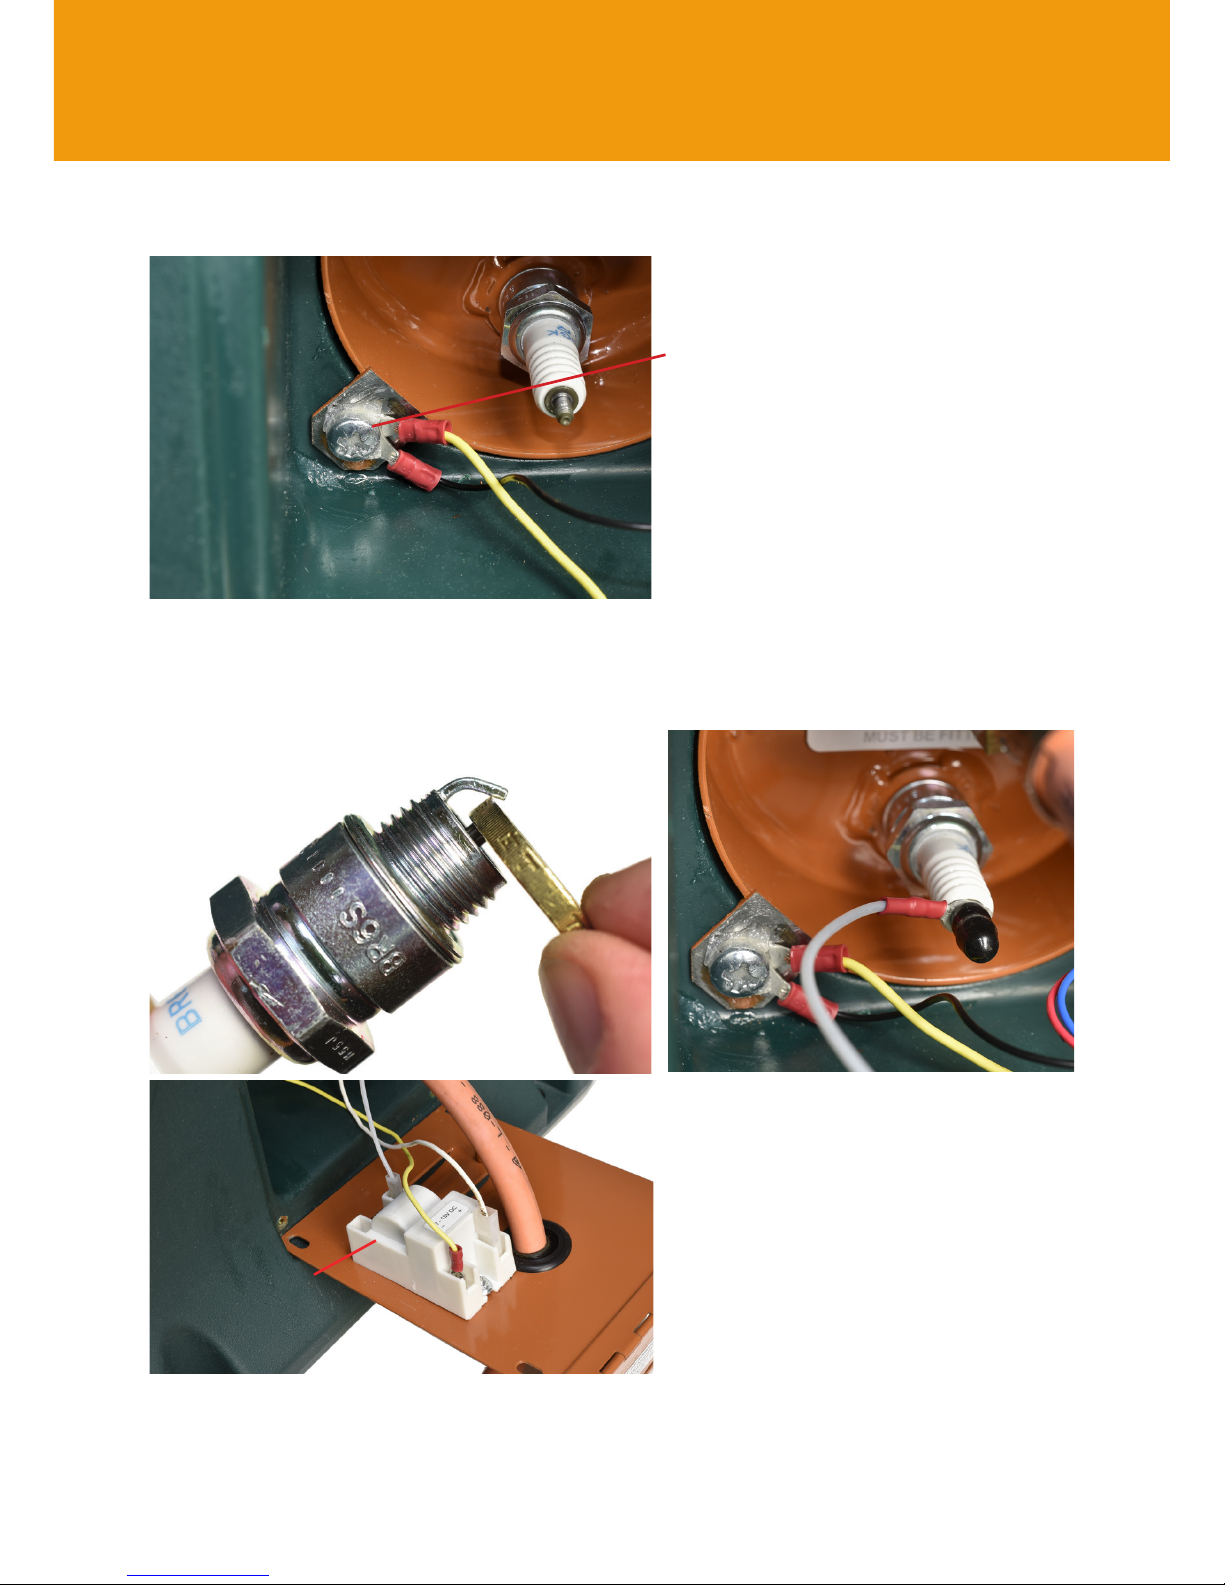
Basic conductivity checks
7. Spark generator contacts:
Take the spade terminals off the spark
generator, clean the contacts, and
replace using petroleum jelly to protect
if needed.
The spark generator may be green in
colour and not white as shown.
If the gun still does not fire after these simple contact
cleaning procedures, move onto the next stage of this guide.
Make sure all the contacts are clean and free from corrosion
6. Spark plug maintenance: Remove the rubber cap and unscrew the plug lead followed by
the spark plug. Clean the thread, reset the gap using a £1 coin and reassemble making sure
you replace the rubber cap.
5. Corroded earth: Remove the back
plate and unscrew the earth wires. Clean
the connectors and the earth point with
emery cloth and reassemble, using
Vaseline (petroleum jelly) to protect
against future corrosion.
This might
be green in
colour
 Loading...