

Page 1
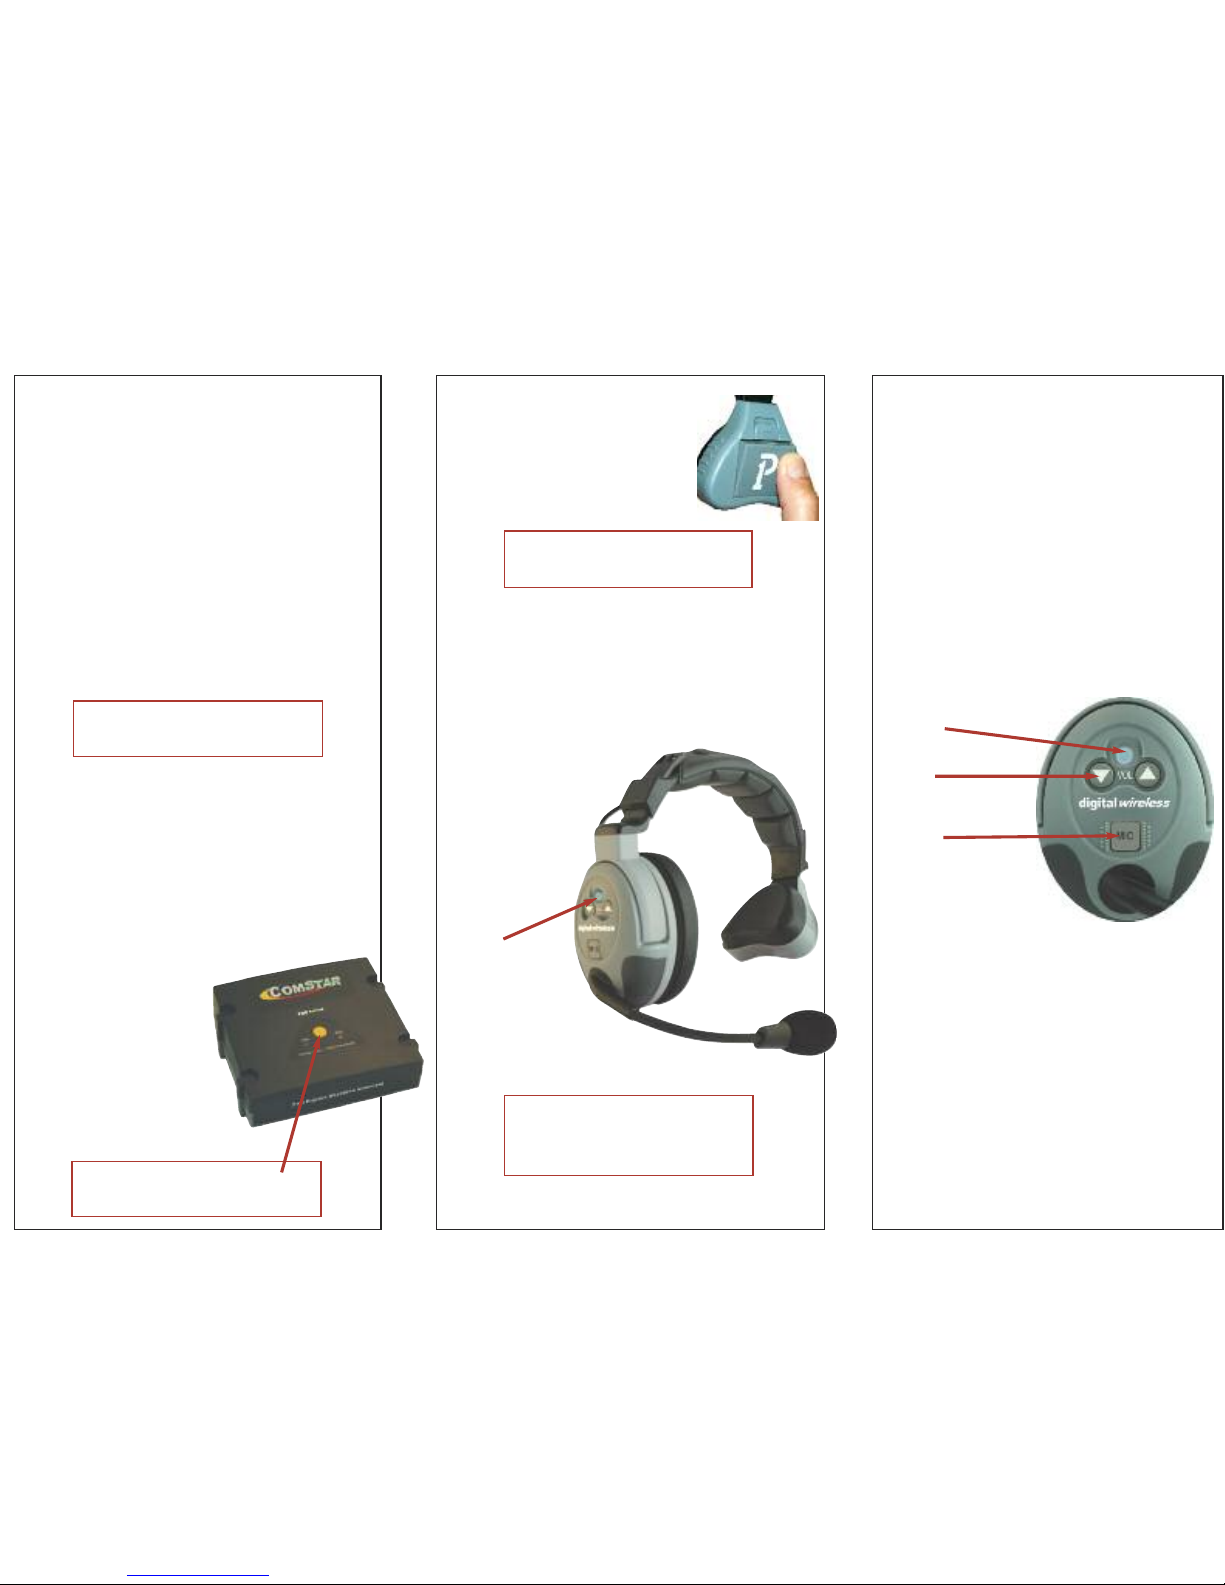
Wireless Headset Start:
l
Insert battery into headset.
l
Headset will automatically
turn ON.
Blue LED Indications:
l Blue LED blinks as headset searches for
signal.
l LED turns SOLID BLUE automatically
when headset senses the signal from the
Com-Center.
l Solid blue LED
means headset is
communicating.
LED
Headset Controls:
Power Button
Subsequent to performing the headset
start-up procedure, the power button is
used to simply turn the headset on and
off.
l OFF by pressing & holding untill LED
goes out.
l ON by quick clicking, LED Illuminates.
Volume
l Headset volume is set to middle level
upon power-up. Volume control buttons
adjust to any of five settings.
MIC Mute - grey button
l Click MIC button to mute microphone,
audible tone confirms change.
l Repetitive beep indicates headset bat-
tery low.
Operating Instructions
Com-Center Start:
l
Attach AC power cord to Com-Center,
then plug into the nearest wall outlet.
l If wall outlet is not available insert
rechargable battery into slot at back of
Com-Center
(silver contacts must be in proper position).
l OR use five brand name AA batteries in
battery sled
(provides up to 6 hours of operation).
l Turn Com-Center ON (switch on back panel).
Com-Center Facts:
Line of Sight
l For optimum range, position the Com-
Center so that the radio signals have a
clear path to the wireless headsets.
Conference Feature
l Red & Green LED
lights indicate two
separate channels are
in use. Press Conference button for amber
LED so all coaches can
communicate.
Note: If rechargeable battery and AC power
cord are used simultaneously, the battery will
receive a trickle charge while system is in use.
Note: Switch connects both channels,
and LED MUST be amber for systems of 5 or
more coaches.
Note: Slide battery into compartment bot-
tom first, then press top to snap into place.
Push latch up to eject.
Note: When the wireless headset LED is blink-
ing, it means the headset is searching for the
signal. When the Com-Center is ON the headset LED will automatically change to solid blue
(indicating communication).
Power
Button
Volume
Controls
MIC Mute
Button
PRO
Page 2
Caution
Compartment on bottom of Com-Center houses
switches for factory programming. Call Porta
Phone for more information: 1-800-233-1113.
Duplex Wireless System
User Manual
145 Dean Knauss Drive
Narragansett, RI 02882
Tel: 1-800-399-5994
In RI: 401-782-4966
Fax: 401-789-7300
www.eartec.com
Important Tips
Microphone Placement
l
COMSTAR headsets include a special noise
cancelling microphone. For
optimum performance place
directly in front of, and approximately 1 - 2” from the
user’s mouth.
Com-Center Placement
l Line of sight: for optimum range, posi-
tion the Com-Center so that the radio signals have a clear path to the wireless
headset/radios.
Rain Game / Storage
l Place the Com-Center in a protected dry
location during use.
l Before storing, wipe down all equipment
and leave out in a well ventilated room to
fully dry.
l Do not store in individual drawstring
bags or carrying case while wet.
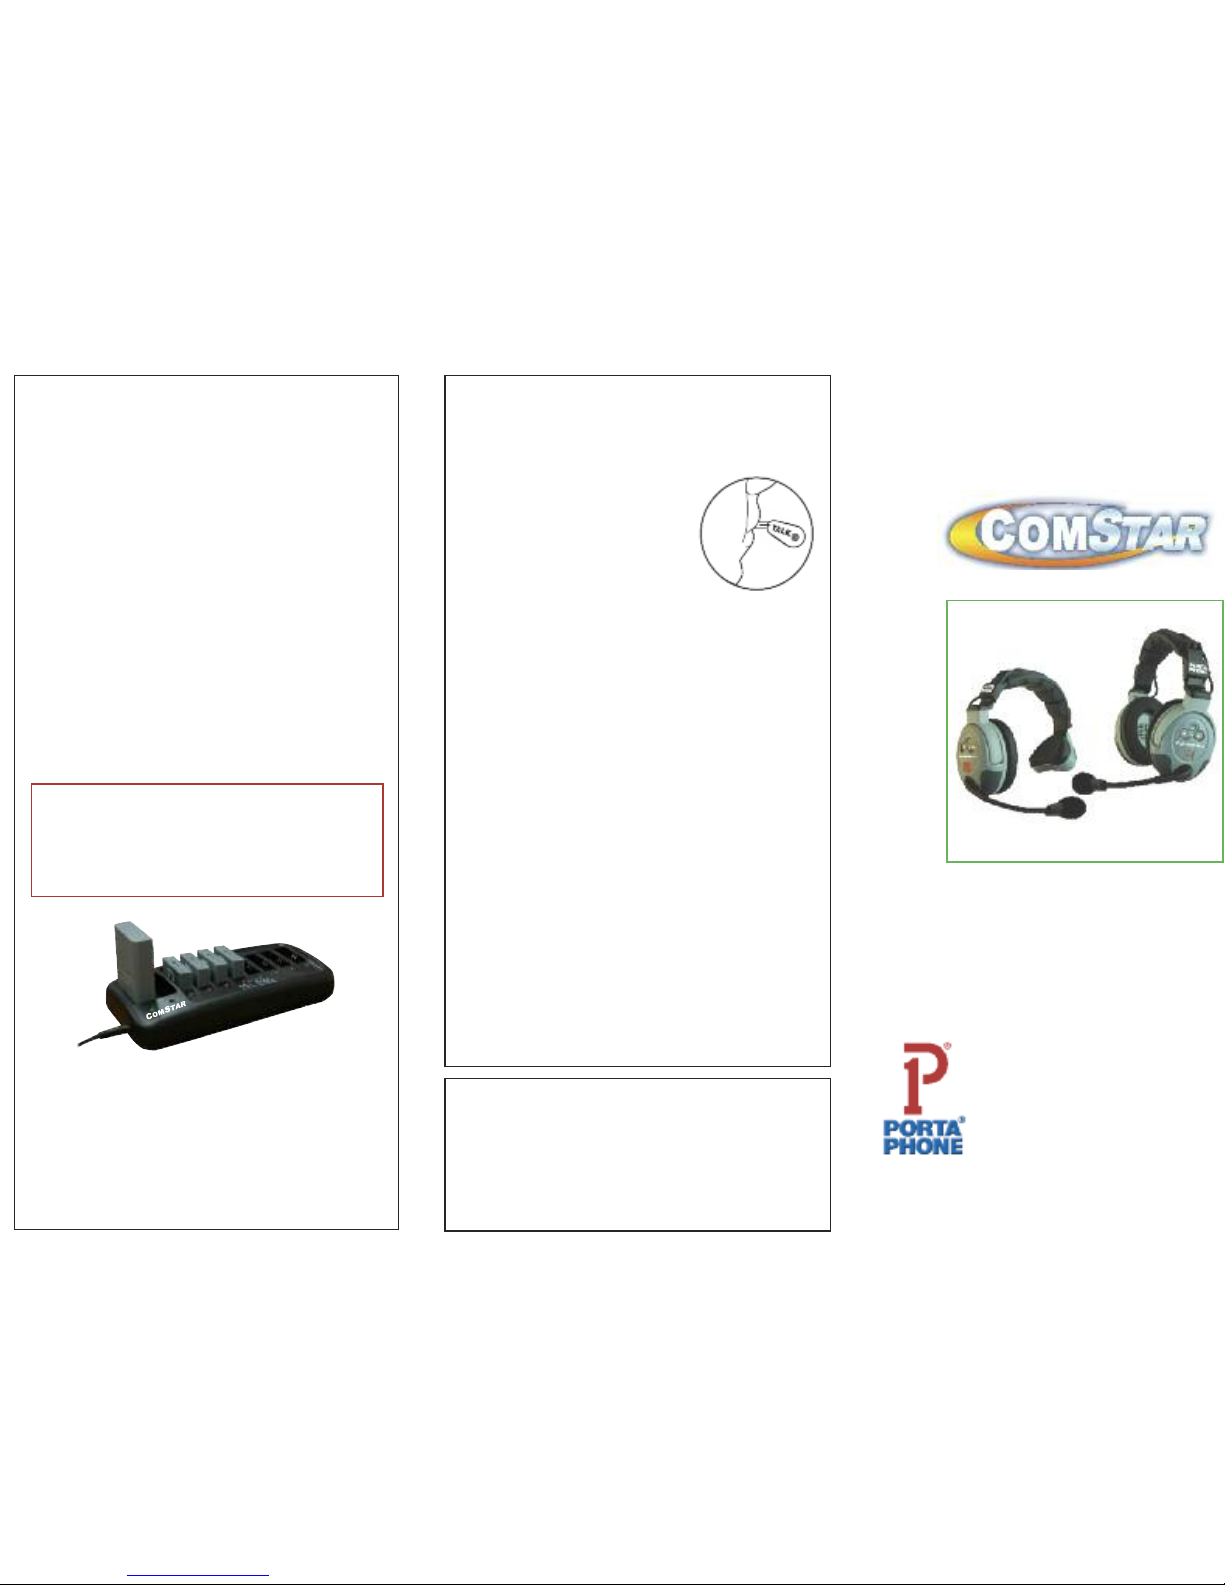
Battery Charging
l
System includes 2 rechargeable batteries:
one battery for the 1st half & one battery for
the 2 half.
l Plug charger AC adapter into charging
base and into wall outlet.
IMPORTANT: There are two AC adapters supplied
with this system. The Com-Center adapter will fit
ONLY the Com-Center.
The Charger adapter will fit ONLY the Charger.
l Batteries should snap into charging slot
securely.
l Charge time 2 - 4 hours.
Battery Facts
l COMSTAR high capacity Lithium batteries
provide up to 10 hours of operation.
l Lithium batteries do not develop a mem-
ory. Do not drain batteries after use.
Charge up to 2
Com-Center
batteries
Charge up to 8
Headset
batteries
LED Indicators:
- GREE N: Fully cha rged
- RED: Charging
- RED Fla shing: Battery F aulty
- NO LIGH T: Battery i mproperl y insert ed
PRO
 Loading...