

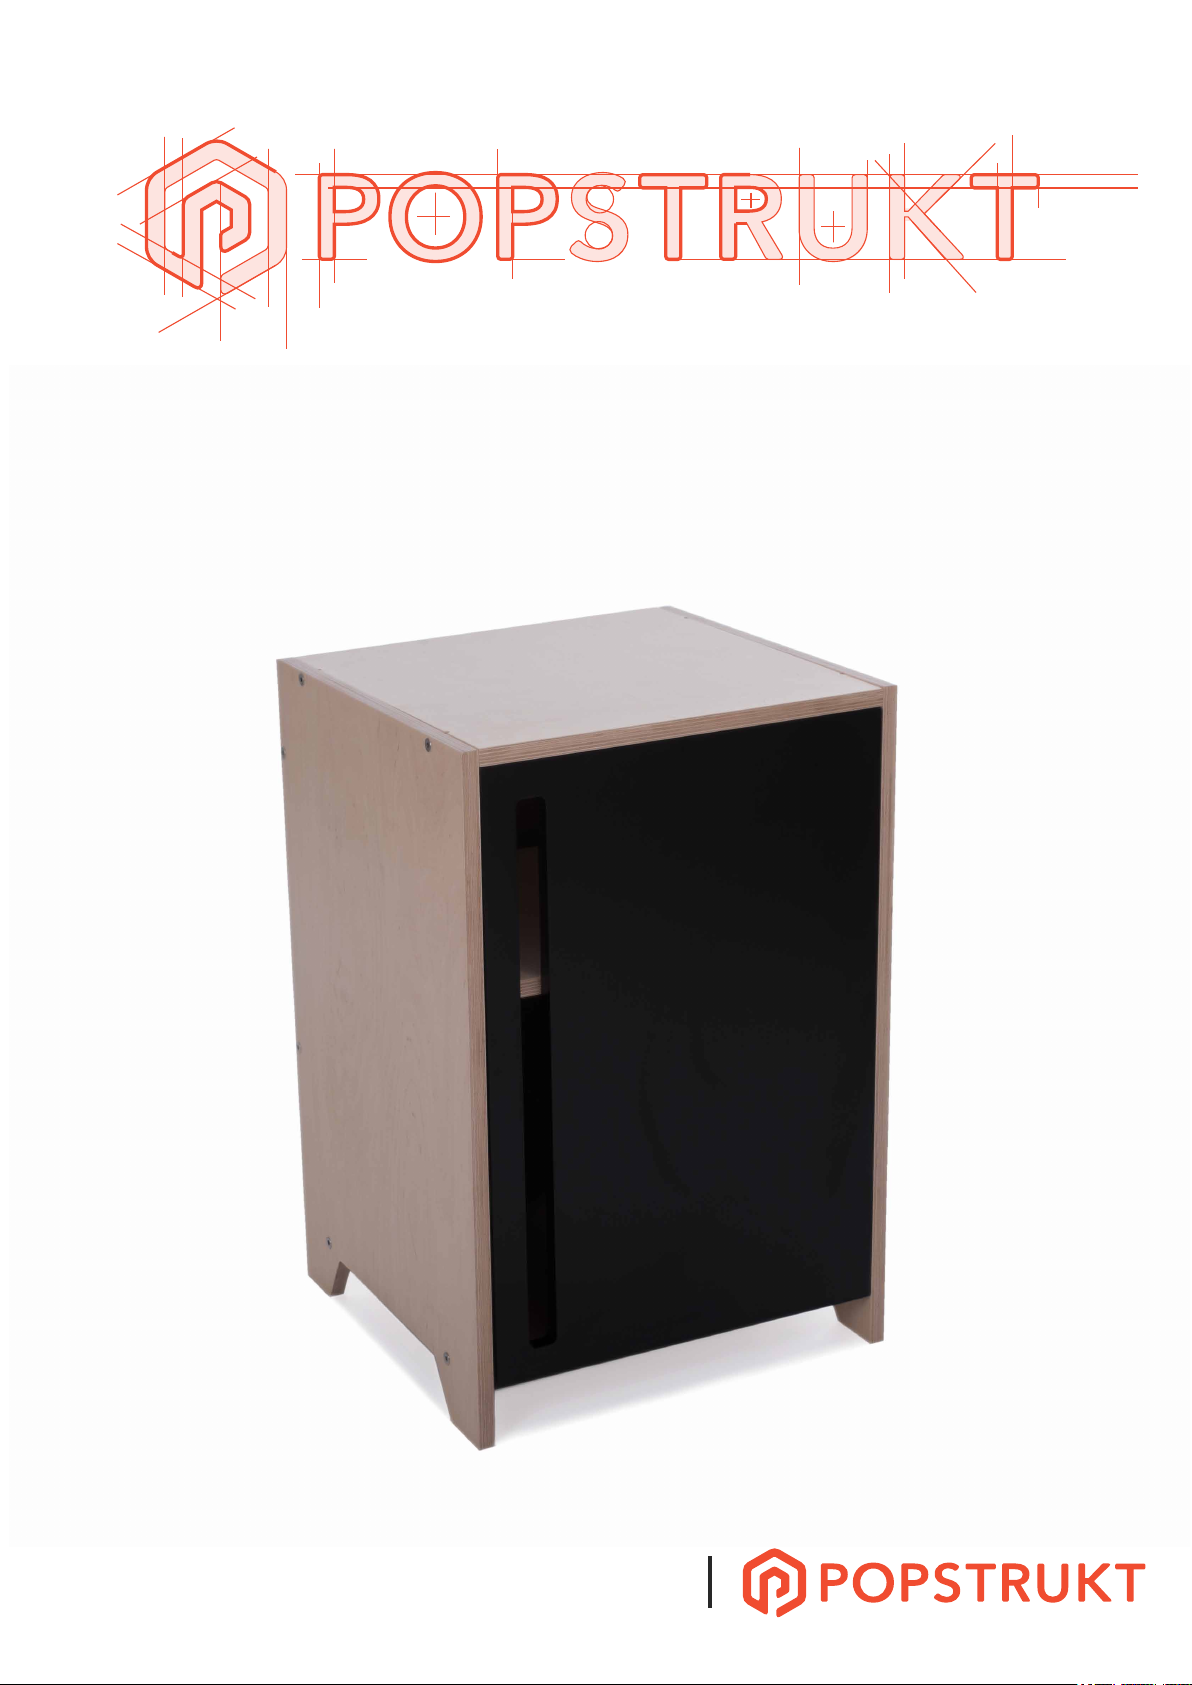
Creme
Bedside Table
OCT 2017
ASSEMBLY
INSTRUCTIONS

The Basics.
First of all, don’t panic, we’ve got you covered with simple step by step instructions to help you pop-up
your new piece painlessly. We know a sack of bolts looks daunting but lets start with the basics.
5
ASSEMBLY RATING:
2
ASSEMBLY TIME: 20 minutes
PEOPLE REQUIRED:
Tools Required
The Process
1
READY TOOLS
HANDYMAN
4
SEPERATE
SCREWS
or
2 3
MAKE SPACE
2
2m
2m x 2m
5
Handyman
OPEN
PACKAGE
LAY OUT PIECES
THEN SORT PIECES
- Do this on a carpet
6
FOLLOW
1 2 3
ASSEMBLY
INSTRUCTIONS
INSTRUCTIONS

Overview
The Flat White comes in flatpack. You will have to mount the base, then assemble the trunk/shelving section,
before assembling and installing the drawers followed by the istallation of the doors.
Supplied
A B C D E
AMOUNT
STEP
x2
7
x12
2/3/4/5
x4
6
x4
7
Contact
If you are really struggling with this build please contact us so that we can get in touch
and help resolve the problem with you.
EMAIL: info@popstrukt.com
SUBJECT : Assembly Help Needed (Send pics if need be)
x4
8
NOTE
Please keep all the packaging for 14 days, and try not to damage it as you will need it if you
want to return the piece. See our Return Policy on our website for further information on returns.
ASSEMBLY
INSTRUCTIONS

1
Make sure you have all the bits and bobs.
- Note: Work on a carpet or soft suface.
2
Fix top to one side.
HARDWARE B
- Don’t tighten screws fully just yet.
Make sure these holes
face inward.
ASSEMBLY
INSTRUCTIONS

3
Fix Base to side.
Keep unit on its side.
HARDWARE B
4
Fix Other side.
Don’t fully tighten any of the screws just yet.
HARDWARE B
ASSEMBLY
INSTRUCTIONS

Fix back panel to base structure.
5
Note: You can flip this panel any way depending on which side you
want the lead hole to be.
HARDWARE B
6
Insert shelf.
Note: First insert 4
shelf holders.
NOTE: Now tighten all screws equally.
HARDWARE C
ASSEMBLY
INSTRUCTIONS

7
HARDWARE A + DFit hinges to door.
Note: Do not over tighten these screws.
NOTE: We make use of clip on hinges. If the hinge base plates are pre-attached,
simply clip the door to these two base plates as shown in picture below. Alternatively
mount the hinges to the door and then mount the door to the main body.
ASSEMBLY
INSTRUCTIONS

Fit door to main body.
8
You might have to adjust hinges
slightly to open and close perfectly.
- If base plates are pre-fitted, simple clip in hinges.
#ProTip: Place unit on its side. Remove hinge base plates as per step 7 instructions. Use a
fair amount of elbow grease (force) to attach hinge plates. Then clip on door.
HARDWARE E
To Flip door direction. Simply mount hinges to the pre-drilled holes on the opposite side.
ASSEMBLY
INSTRUCTIONS

9
JAY!!! YOU’RE ALL DONE, ENJOY!
Share a picture woth us using #LOVESTRUKT
Popstrukt Furniture @Popstrukt_com @popstrukt_com Popstrukt Furniture
ASSEMBLY
INSTRUCTIONS
 Loading...