

Page 1
Troubleshooting
Warning
Safe Use and Care
Warranty
Your new POOLRITE Do minator Pump is manufact ured to the highest poss ible standar ds and most up-to-date t echnology.
Accordin gly the equi pment carrie s the follow ing warranty , should a f ault occur d ue to faulty manufacture or
material s. In the e vent of a fa ult covered by warranty occurring, t he purchaser must, in th e first inst ance,
contact Poolrite Equ ipment Pty L td or the cl osest author ised distrib utor.
POOLRITE warrants th at the Domin ator Pump wi ll operate e ffectively f or the speci fied periods subject to the followin g
conditio ns:-
1. The warr anty covers the Dominato r Pump unit , and the or iginal Domin ator Pump w hen they are included in the initial
purchase as a comple te unit.
2. The warr anty extends to the work manship and materials us ed in the ma nufacture of the unit on ly. POOLRIT E specifical ly
disclaim s any liabil ity for any consequentia l loss or da mage which m ay result fr om the use o f the Domina tor Pump .
3. The Domi nator Pump is warranted against man ufacturing d efects only for a period of 3 years from date of purchase, i n
which ev ent POOLRITE shall, as i ts sole oper ation, eithe r repair or replace such damage to u nits deliver ed to POOLRI TE or its
authoris ed distribut or.
4. This war ranty extend s only to:
(i) within t he borders o f Australia and New Zeal and
(ii) Dominato r Pump that are install ed and maint ained strict ly in accord ance with PO OLRITE’s ins tructions an d/or
installe d by agents duly authori sed by POOLR ITE without alterations or modificat ions of any nature whats oever.
(iii) The Domi nator Pump returned to the distribu tor from whi ch it was pu rchased or t o
POOLRITE at the purc haser’s expe nse.
5. This war ranty exclud es:
(i) Damage a rising from abnormal use , lack of ca re, extreme exposure to the elements or chemical s or factors beyond
the cont rol of POOLR ITE
(ii) The POOL RITE warrant y supersedes all other w arranties wh ether expres sed or impli ed.
POOLRITE accepts no responsibil ity for loss , damage or injury to pe rson or prop erty arising from warran ty failure o f
equipmen t, or instal lation of th at equipment . Unless wi th the expre ss authority of POOLRITE any repair or
replacem ent shall be provided on ly by POOLRI TE or its au thorised Dis tributors an d this warra nty shall no t extend to any
expendit ure otherwis e incurred.
If the Pump and Motor runs but there is little or no wate r flow, th e followin g conditio ns may app ly:
Check to see if th e
Filter n eeds clean ing
or is bl ocked.
Pump is not primed . Air leaks in suction
lines .
Blockage s Water on ground und er
the Pump and Motor
usually indicates a
damaged Pump Shaft
Seal
Pump una ble to dra w
water fr om the poo l
Refer to
Filter I nstruction
Manual.
Re-prime as per
instruct ions in
“Startin g
Pump”.
Check fo r air bubb les
under Cl ear Lid an d
tighten.
Check St rainer Bas ket
and Pool Skimmer
Basket a re free of
obstruct ion.
This sho uld be
repaired immediate ly
or furth er damage
may occu r.
Check St rainer Bas ket
and Pool Skimmer
Basket a re free of
obstruct ion. If a
blockage is suspec ted
inside t he Pump or
in the P ipework th e
advice o f your poo l
ician sh ould
be sough t.
Check po wer point by pluggin g in a
portable appliance to ensure power
is avail able. Also check Fus es and
Main Pow er Supply Switch
Poolrite Motors in corporate an
Internal Switch th at will re set
automati cally afte r the Moto r
has cool ed.
If a Pum p or Pipew ork blocka ge is
suspecte d that is preventing the
motor fr om rotatin g, the adv ice of
your poo l service technician should
be sough t.
“Burning ” smell ev ident -
replacem ent
may be r equired.
The Pump Motor is an electrica l device a nd as such should no t be disass embled or serviced b y anyone o ther than an authoris ed Poolrit e Service Technician or qualif ied Elec-
tricial S ervice Com pany. This appliance is not int ended for use by you ng children or infirm persons u nless they have been adequately supervise d by a res ponsible p erson to
ensure th at they ca n use the a ppliance s afely.
Young chi ldren shou ld be super vised to e nsure that they do n ot play wi th the appl iance.
Also, any other pro blems that cannot be corrected by routine maintenan ce should b e attended to by an experience d Pool Ser vice Techni cian.
If the motor doe s not run, the probl em could b e that:
Power no t connecte d Overload tripped Blockage preventin g Pump fro m
rotating .
Motor fu sed or “bu rnt out”
union adapter
union adapter
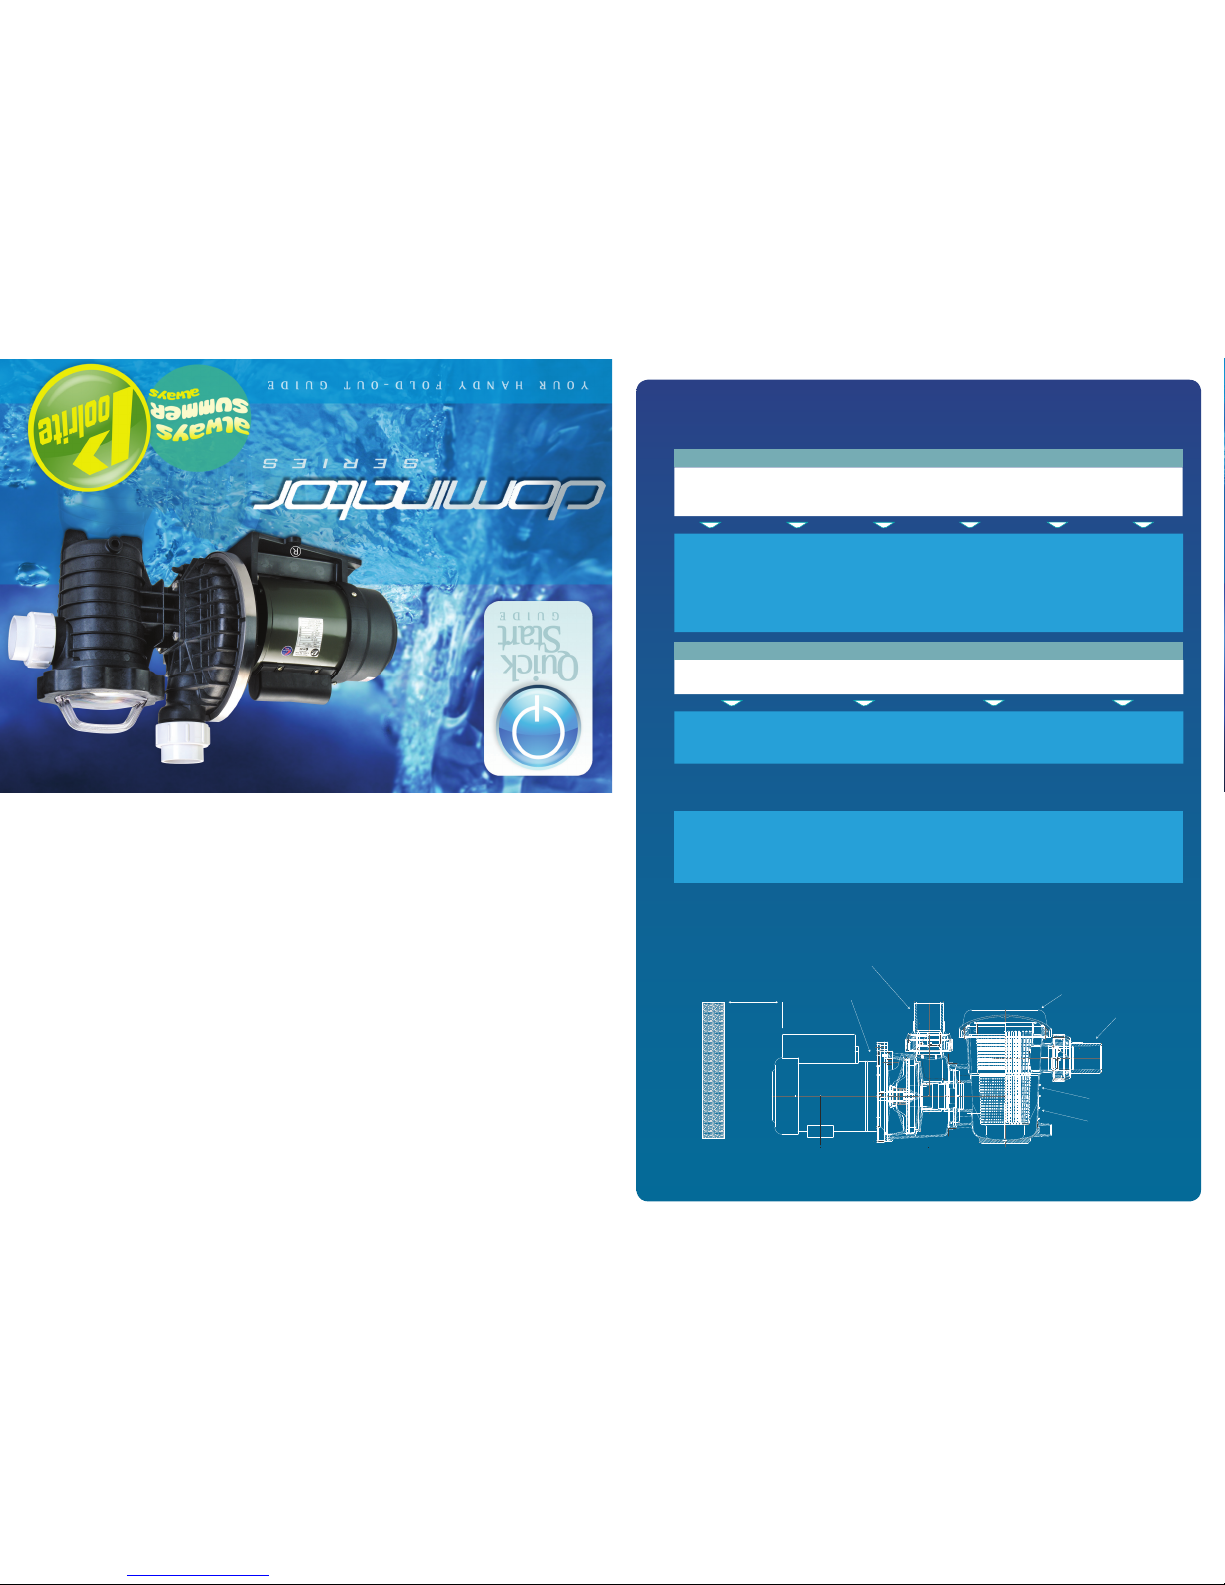
strainer basket
strainer port
suction port
150mm (min)
pump body
discharge port
clear lid
20703
Page 2

Automatic Operating Switch Setting
Move the slide switch on the face of the Time Switch down to the position marked “AUTO”. The Filter
pump and cell should now operate when the next ON cycle is detected by the Time Switch (if the
Chlorine Control is correctly adjusted).
To manually turn the lter pump and cell off, move the slide switch to the centre
“OFF” position.
OperationInstallation
Location Starting the Pump
Pipe Connection
Routine Maintenance
Water Leaks
Motor Noise
Large Air Bubbles Under Strainer Pot Lid
Chemical Balance Guide
Weather Protection
Power Connection
Install at a distance no more than 12 metres from the Pool or Spa and no more than 1 metre above water level or 1 metre below water
level. If the pool is to be installed outside these parameters, seek the advice of your local Poolrite Distributor.
Before switching the pump ON check that all Pipework is properly sealed and that the pool water is at the recommended level (check
with your Pool Builder). First prime the Pump by loosening the Clear Lid. Fill the Strainer Pot with water to the Suction Port. Replace
the Lid ensuring that it is sealed on the Gasket properly.
The Dominator Pump is completely Weatherproof and therefore no enclosure is necessary. However should it be desirable to install the
Pump in an enclosure, the enclosure must have both a ventilation inlet and outlet opening to allow cooling airflow around the
Pump Motor. Each opening should be at least 200 sq cm in area as close as practicable to the Pump.
The Dominator Pump is designed to be connected to a nominal 240 volt 50Hz power supply and is supplied with a 1.8 metre lead and
3 Pin Plug. A Weatherproof 3 Pin Power Point should be fitted by an electrician in a dry place, shielded from pool water splash over.
EXTENSION LEADS ARE NOT RECOMMENDED FOR USE WITH THIS EQUIPMENT BECAUSE THEY ARE UNSAFE IN AND AROUND THE
POOL ZONE.
The Pump should be placed on a secure and level concrete or similar base 600 x 300mm in size (Pump only) and should be placed in a
location that cannot be flooded by storm water or by accidental immersion.
Connect to power supply and switch ON.
The rear of the Motor should be no closer than 150mm from a wall, fence or any other barrier to allow for adequate airflow to cool the
Motor.
Allow Pump to run discharging the water back to the pool.
If flow is not established within approximately 1 minute, switch off the Pump and repeat procedure. Continued failure to prime may
indicate an air leak in the suction line which should be rectified.
The Suction and Discharge Ports are provided with Union Adaptors for quick disconnection. These connectors will accept either 40mm
or 50mm PVC pipe and should be joined to the pipe with PVC Solvent Cement. Suction lines should be no smaller than as follows:-
Switch off Pump.
Water leaking from under the Pump and Motor should be attended to immediately as this would indicate a failure of the Pump Shaft
Seal. If this seal is not immediately replaced damage may occur.
If the Pump Motor starts to get “noisy” the Motor should be checked by a Pool Technician to ascertain whether the Motor Bearings need
replacement. This should be attended to immediately as Bearing failure may cause Motor burn out.
Check the Gasket under the Clear Lid and check the pipe connection to the Suction Port at the front of the Pump to make sure it is tight
- do not overtighten.
Your Dominator is designed to be used for swimming pool water, which needs to be balanced in accordance with Langlier Saturation
Index, with a pH level of 7.0 to 7.8 and maintains the recommended levels of sanitizer. (i.e 2 - 3 ppm of free chlorine). Regular water
analysis and advice on correct addition of chemicals and/or products to achieve suitable water quality and balance by a reputable
professional pool shop will ensure bather health and comfort and extended equipment service life.
Pool water leaking onto the pump motor from associated plumbing should be attended to immediately before damage occurs.
Remove Clear Lid.
Remove Strainer Basket.
Empty accumulated rubbish and hose Strainer Basket clean.
Replace Strainer Basket.
If Strainer Pot has emptied of water, repeat steps in “Starting the Pump”.
The Strainer Basket should be inspected frequently through the Clear Lid and emptied as follows when a build-up of rubbish is evident.
Discharge pipe should be no smaller than 40mm for Pump sizes DP 300, DP 375, DP 450 and DP 500. Pump DP 500 should use
50mm pipe. When installed below water level, Shut-off Valves should be fitted to the Suction and Discharge Lines which should be free
from air leaks. The discharge from the Pump Outlet should be connected to the Inlet of the Filter and the Suction Port connected to the
Skimmer Box or Suction Outlet from the Pool or Spa.
please go to www.poolrite.com for full product manual
Pump
Model
HP Max Suction
Line Length
Min PVC
pipe size
DP 300 1 12m 50mm
DP 375 1.25 12m 50mm
DP 450 1.5 12m 50mm
DP 500 2 12m 2 x 50mm
1 1
1
1
2
2
3
3
4
1
1
1
1
1
1
2
2
3
4
5
6
2
a
l
w
a
y
s
s
u
m
m
e
r
 Loading...