

Page 1
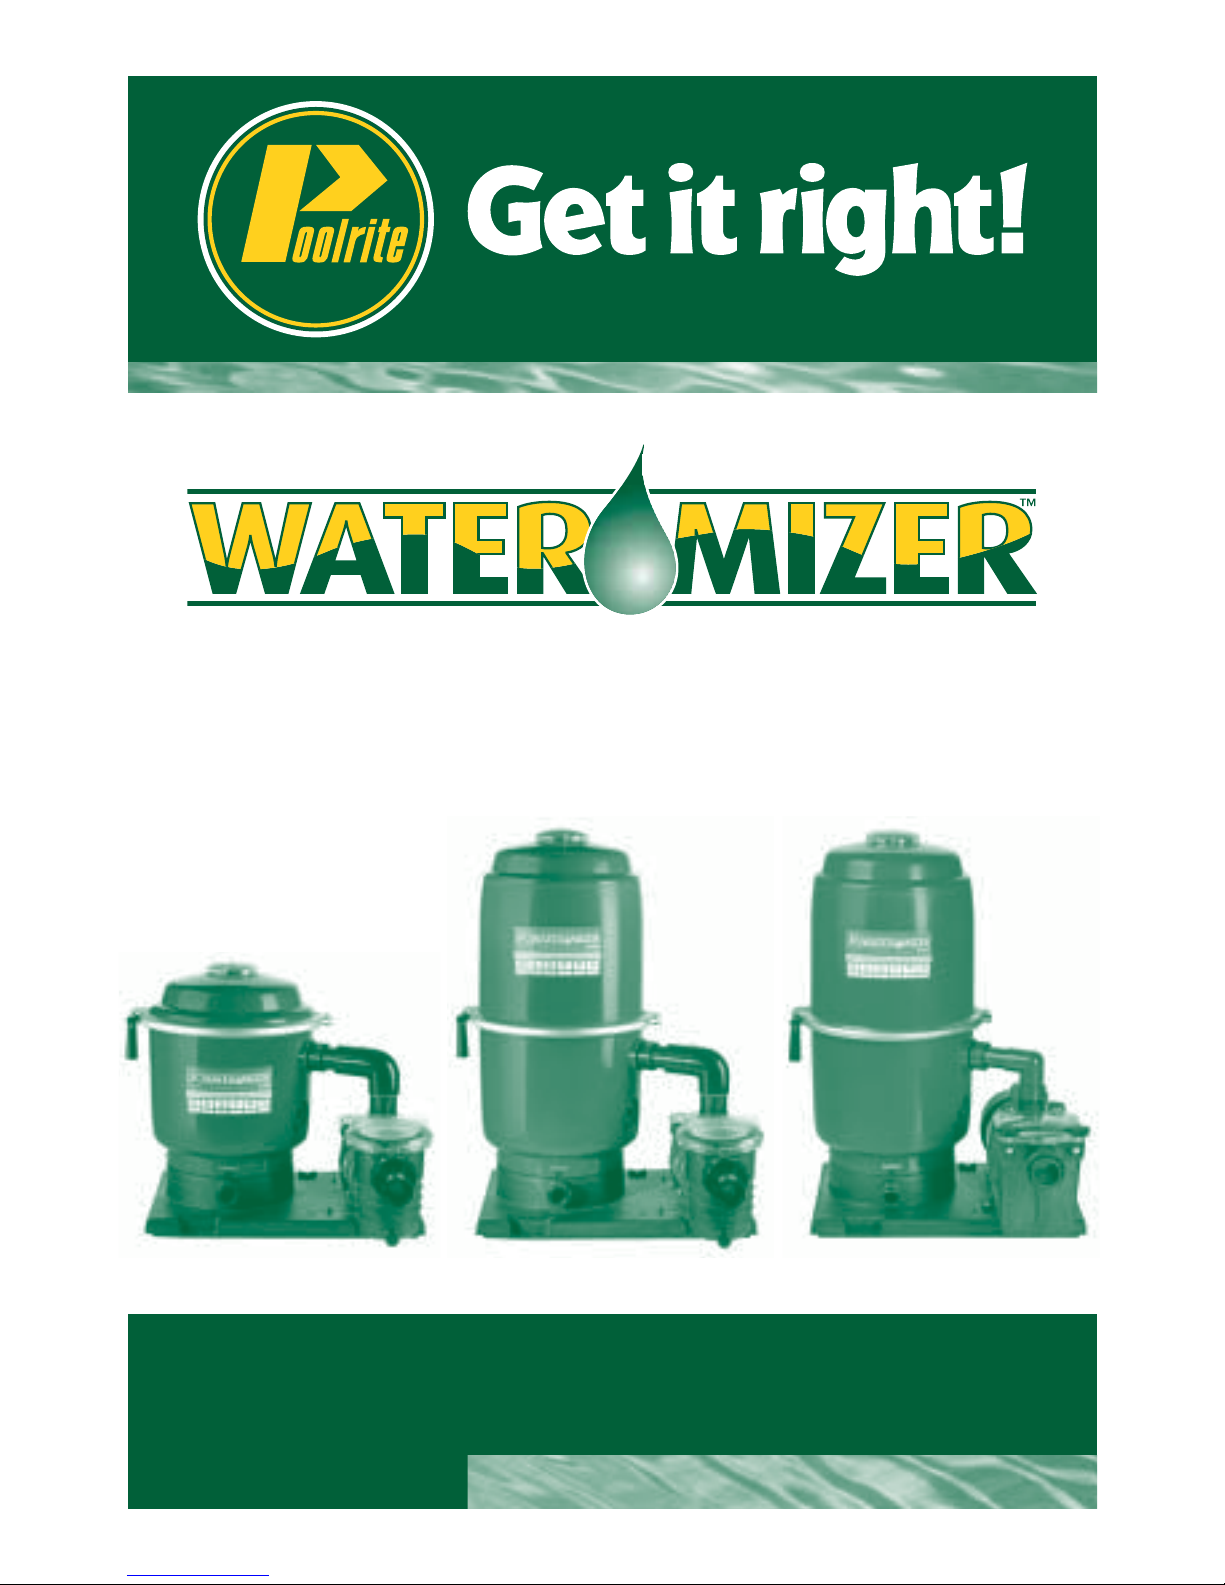
FILTRATION SYSTEM
with Polyester Cartridge
OWNERS MANUAL
EQUIPMENT
13 0 – Enduro 240 – Enduro 240 – SQI500
Page 2

Your POOLRITE Filtration Equipment is manufactured to the
highest possible standards and most up-to-date technology.
Accordingly the equipment carries the following warranty,
should a fault occur due to faulty manufacture or materials.
IMPORTANT:
In the event a fault covered by warranty occurs, the Purchaser
must in the fi rst instance contact POOLRITE EQUIPMENT PTY.
LTD. or the closest authorised Poolrite Distributor.
1. All components in the Filtration System, except the
2. Due to POOLRITE’s Advanced Moulding Technology,
3. Pump Warranty (ENDURO and SQI 500) –
POOLRITE will repair, or authorise a qualifi ed
• POOLRITE is notifi ed within seven (7) days of the
• The pump is not operated subsequent to detection
• The pump has not under gone any unauthorised
• The pump has been installed and operated
POOLRITE will not be liable to repair the pump
Page 3

IMPORTANT
MAINTENANCE INSTRUCTIONS FOR YOUR
POOLRITE Water Mizer Filtration System
Read the following instructions carefully to ensure
trouble free efcient operation of your ltration system for
many years.
IMPORTANT POINTS TO CHECK PRIOR TO
OPERATION OF FILTER SYSTEM
• Filter Pump should NOT be connected via extension
leads.
• At least 15cm clearance be provided at fan cowl end
(rear) of motor for efcient ventilation.
• Should Filter System be housed in an enclosure,
provision must be made for adequate ventilation.
• Filter System must be installed in a position to ensure
effective drainage in the event of potential ooding that
may occur during heavy rain or plumbing malfunction.
• Pool water level must be at least half way up Skimmer
Box opening.
• Make sure both Skimmer Box Basket and Pump Hair
and Lint Pot Basket are in place.
• Do not operate Filter System unless the free chlorine
level is between 0.5 and 2.0 (ppm) and the pH level
between 7.2 and 7.6 for concrete pools and 6.8 and
7.2 for breglass pools.
FAILURE TO ADHERE TO THE ABOVE DIRECTIONS
WILL VOID THE WARRANTY
1
Page 4

Water Mizer Filtration
System 130 & 240
FILTER CARTON 130 & 240 CONTAINS:
• A factory assembled Filter ready for immediate
installation.
• Enduro or SQI 500 Pump.
• Moulded Base Plate.
• Moulded Plumbing from Pump to Filter completely
assembled.
• Hair and Lint Pot and basket
.
• Owners Manual & Warranty Card.
ASSEMBLY INSTRUCTIONS:
ENDURO PUMP MODEL ONLY
Before plumbing in the lter, the hair and lint pot and basket
must be assembled as shown in the pictures below.
ENSURE RETAINING SCREWS ARE FITTED
INSTALLATION
Water Mizer 130 & 240
1. The Filter is normally packed in the carton tted to the
mounting base, however, should these be separated,
the Filter Tank is tted to the Mounting Base by tilting
the tank forward at an acute angle allowing the R.T.P.
Plumbing outlet at the bottom of the tank to slide
through the hole provided in the Mounting Base.
2. Position the slot in the Filter Tank Base into the Keyway
in the Base Plate well.
2 3
1 2
3 4
IMPORTANT
Ensure O-Ring is
in position.
ASSEMBLY INSTRUCTIONS:
SQI 500 PUMP MODEL ONLY
Before plumbing in the lter, the pump (packaged separately)
must be bolted to the base plate (photos 2 & 3). Two bolts,
nuts and washers supplied.
Attach plumbing arm to lter tank and pump, ensuring the
rubber O-rings provided are used (photo 4).
1 2
3 4
Page 5

CONNECTING THE FILTER SYSTEM
ONLY (2) CONNECTIONS ARE REQUIRED VIA ONE SWIVEL
COUPLING AND ONE 40ML TAKE-OFF UNION. THESE ARE:
1. Pump to Skimmer Box.
2. Filter to Return to Pool(R.T.P.). (40ml Valve Take-Off
union (V.T.O.) provided). Glue adaptor to 40ml PVC
tube and attach plumbing to lter base.
3. It is recommended that the lter and pump be mounted
on a concrete slab.
START UP PROCEDURE
1. PRIMING THE PUMP
(PUMP INSTALLED ABOVE WATER LEVEL ONLY. IF PUMP
INSTALLED BELOW WATER LEVEL, PROCEED TO STEP 2).
A
Remove clear Pump lid:
(I) by turning anti-clockwise (ENDURO pump models)
(II) by turning the clamp knobs anti-clockwise to open
(SQI pump models)
then ll the pump bowl with water to the suction inlet level.
B
Check rubber Pump lid seal is clean and located in the
groove within:
(I) the lid (ENDURO pump models)
(II) the pump body (SQI pump models)
C
Replace clear lid by hand tightening in a
clockwise direction:
(I) the lid (ENDURO pump models)
(II) the clamp knobs (SQI pump models)
DO NOT OVER TIGHTEN.
2. STARTING THE FILTER
A Open Air Release Valve on top of Filter Tank several turns
(DO NOT REMOVE).
THE FILTER SYSTEM IS NOW FILTERING THE POOL/SPA AND
THE PRESSURE GAUGE READING IN THE “FILTER” RANGE.
AS THE PROCESS OF FILTERING CONTINUES, THE
UNWANTED SOLIDS BUILD UP AND THE PRESSURE GAUGE
READING RISES ACCORDINGLY.
WHEN THE POINTER REACHES THE “RED” SECTION ON THE
DIAL, THE FILTER MUST BE CLEANED.
MAINTENANCE PROCEDURE
CLEANING THE FILTER – 130 and 240
• Switch the Pump off.
• Close any shut-off Valves on Suction and return lines to
and from Pool/Spa (lter installed below water level).
4 5
B Ensure all plumbing lines to and from the Pool/Spa are
clear (i.e. shutoff valves “OPEN” etc.).
C Switch on Pump.
D Observe the reaction through the clear lid of the Pump.
The Pump will at rst draw water in surges until all air
within the Pump Bowl and Suction Piping from the Pool/
Spa has been expelled.
If air is still present after approximately three (3) minutes,
check the following:
• Ensure clear Pump lid is correctly tightened onto Rubber Seal.
• Check the Couplings on the Pump Suction Inlet are tight.
• Check correct water level in Pool/Spa.
• Check Skimmer Weir is free and not jammed.
• Make sure Skimmer Vacuum Plate is removed.
• Clear all leaves and debris from Strainer Baskets.
NOTE: If air is still present, the Suction Piping to the
Pool/Spa should be checked.
E When the Filter Tank is full, i.e. when water escapes
through Air Release Valve, close Valve
(DO NOT OVER TIGHTEN).
Page 6

• Open Air Release Valve on top of Filter Tank.
• Remove Clamp Band on top by loosening Clamp Band
Adjuster anticlockwise.
• Remove Filter lid by lifting upwards being careful not to
lose rubber “O” ring seal in groove in top of lid.
• The Filter Cartridge(s) can now be lifted out for cleaning.
This can best be done by using a garden hose with the
nozzle adjusted to give a strong, concentrated jet of water
which is directed between each individual pleat in the
cartridge. Work systematically around and from end to end
to ensure the whole ltering surface area of the Cartridge is
thoroughly cleaned with particular attention being paid to
the bottom inside corners of the pleats.
• After cleaning, reposition Cartridge onto standpipe
located inside tank.
• Replace Tank top ensuring “O” ring and Flanges
are perfectly clean otherwise the two halves will
not seal correctly.
• Close drain plug.
• Restart Filter System. (Refer instructions:
“STARTING THE FILTER SYSTEM”)
IMPORTANT — 130 and 240
• Each (12) months the Cartridges should be
cleaned individually by soaking in warm water
and household detergent. The 130 and 240
Cartridges must be be removed from the lter tank
(See Maintenance Procedure).
• Should calcium scaling occur on the Cartridges due to
incorrect chemical balance of the pool water, this can
be removed by soaking each Cartridge in a solution of
(10) parts water and (1) part Hydrochloric Acid for (1)
hour then hosing pleats as previously described.
TROUBLE SHOOTING POOLS
ALGAE
BLACK SPOT ALGAE IN FIBREGLASS POOLS
Add Hydrochloric Acid to lower pH to Yellow on Test Kit.
Brush Black Spot. When Algae has disappeared use Soda
Ash to raise pH back to 6.8. Black Spot Algae will always
reappear if pH is allowed to rise too high.
NOTE: DO NOT SWIM IN POOL WHILST pH IS LOW.
BLACK SPOT ALGAE IN CONCRETE POOLS
Add Algaecide as per manufacturers recommendation,
adjust pH and brush Black Spot Algae with stainless steel
Algae brush. The main cause of the Algae is ineffective
Chlorine due to high pH.
GREEN ALGAE
Check and adjust pH. Check salt level. Check cleanliness of
Electrodes. Increase running time to superchlorinate.
BROWN ALGAE
Check pH. Add Algaecide.
MILKY WATER
Check pH and adjust. Check Filter is operating correctly.
Increase running time.
FILTER PRESSURE BUILDS UP RAPIDLY
• Clean Cartridges or replace if necessary.
• Check Eyeball in Pool is in open position.
• Check Salt Chlorinator Electrodes are clean.
6 7
130
240
Page 7

AIR BUBBLES BACK TO POOL
• Check Hair and Lint Pot “O” ring — grease
and tighten.
• Check sufcient water in pool.
• Check suction pipe for cracks.
WATER DRAINS BACK TO POOL WHEN FILTER
SWITCHED OFF
• Check Hair and Lint Pot lid for leaks.
• Check Air Release Valve for Leaks.
PUMP LOSES SUCTION POWER
Check Strainer Baskets to ensure they are not choked
with debris. Don’t forget there are two Strainer Baskets
which need emptying regularly. One is located in the
Skimmer Box, whilst the other is housed in a special
compartment within the Pump Assembly itself. This Strainer
safeguards the Impeller against debris which gets past
the Skimmer’s Basket.
Frequently, this Basket immediately in front of the Pump
gets overlooked, and Servicemen are called to investigate
malfunctioning equipment which is put right simply by
emptying debris from Strainer Baskets. Get in the habit of
checking them regularly, perhaps at the same time as the
cleaning operation is to be carried out.
REMEMBER: BE SURE MOTOR IS SWITCHED OFF
BEFORE OPENING UP THE PUMP’S STRAINER BASKET
COMPARTMENT.
During the Compartment opening / Basket emptying
process, air will have entered the Filtration System. This
should be released immediately after switching the motor
back on again to re-start ltering.
8
Page 8

WARRANTY CARD
WATER MIZER FILTRATION SYSTEM
POOLRITE EQUIPMENT PTY. LTD.
Your POOLRITE Filtration Equipment is manufactured to the
highest possible standards and most up-to-date technology.
Accordingly the equipment carries the following warranty,
should a fault occur due to faulty manufacture or materials.
IMPORTANT:
In the event a fault covered by warranty occurs, the Purchaser
must in the fi rst instance contact POOLRITE EQUIPMENT PTY.
LTD. or the closest authorised Poolrite Distributor.
1. All components in the Filtration System, except the
fi lter tank
and pump
, carry 1 year (12 months)
warranty from the DATE OF PURCHASE BY THE
ORIGINAL OWNER.
2. Due to POOLRITE’s Advanced Moulding Technology,
the Filter Tank (the most important part of your Filtration
System) carries a special Extended Warranty of te
n
years from the Date of Purchase by the Original
Owner. The terms of this Warranty cover full
replacement, excluding the cost of labour, of a
defective Filter Tank for the Original Owner for a
period of fi ve years (60 months) from the Date of
Purchase by the Original Owner and additionally for
a further fi ve years (60 months) the Filter Tank will be
replaced for the Original Owner at a pro-rata cost.
3. Pump Warranty (ENDURO and SQI 500) –
In addition to the conditions of sale and warranties
implied at law and which may not be excluded,
POOLRITE warrants the pump to be free from defect
for a period of 2 years (Enduro Pump) or 3 years
(SQI 500 Pump) and the Mechanical Seal for a
period of one (1) year from the date of purchase
by the Owner from POOLRITE or an authorised
supplier of the pump.
POOLRITE will repair, or authorise a qualifi ed
technician to repair, the pump provided that:
• POOLRITE is notifi ed within seven (7) days of the
defect being detected;
• The pump is not operated subsequent to detection
of the defect;
• The pump has not under gone any unauthorised
modifi cation or been fi tted with other than
genuine POOLRITE approved parts; and
• The pump has been installed and operated
in accordance with the Installation Instructions
and Operating Instructions, respectively.
POOLRITE will not be liable to repair the pump
if the repair is necessary because of misuse,
accidental damage, entry of foreign objects
or materials into the equipment, improper or
inadequate maintenance or repair or incorrect
operation of the pump.
This warranty does not extend to reasonable wear
and tear of the pump.
All repairs must be undertaken by POOLRITE or a
technician authorised by POOLRITE.
The owner will be responsible for all freight
and/or travelling charges. POOLRITE accepts no
responsibility for goods while in transit.
POOLRITE accepts no responsibility for
representations other than expressly contained in
literature published by POOLRITE. In particular
POOLRITE has made no representation as to the
fi tness of the pump for any particular purpose
except as contained in such literature.
4. The Warranty is void if the following are not adhered to:
(a) The equipment must be installed and used in
accordance with the instructions supplied.
(b) The equipment is designed to be used in swimming
pool water, balanced in accordance with the
langlier Saturation Index with a pH of 6.8 to
8.0 and that is regularly treated with a sanitising
system utilising chlorine either added in compound
form or generated in situ in concentrations
as recommended by the relative State Health
Departments. Should other chemical treatment
systems or parameters be used, POOLRITE will not
be responsible for damage done by corrosion,
scaling or stress cracking of equipment or for
shortened fi lter cycles resulting therefrom.
(c) The Pressure Gauge will not be covered by
Warranty if damaged by water, if the gauge cover
is not fi rmly affi xed.
(d) If in the opinion of POOLRITE the equipment has
been subjected to other than normal pool use, or
improperly serviced/maintained, the Warranty will
be void.
The Warranty is applicable to workmanship and materials only.
POOLRITE will replace at no charge, all parts returned freight
paid, which display faulty workmanship or materials. POOLRITE
EQUIPMENT PTY. LTD. accepts no responsibility for loss,
damage or injury to person or property arising from Warranty
failure of equipment, or installation of that equipment.
Unless with the express prior authority of POOLRITE any
repair or replacement shall be provided only by POOLRITE or
its Authorised Distributors and this Warranty shall not extend
to any expenditure otherwise incurred.
Page 9

AUSTRALIA
HEAD OFFICE – QLD: 415 Creek Road MT GRAVATT 4122
Telephone: (07) 3323 6555, Fax: (07) 3323 6500
Nth QLD: 36 Hugh Ryan Drive GARBUTT 4814
Telephone: (07) 4779 4880, Fax: (07) 4779 6714
NSW: 6 Forsyth Close WETHERILL PARK 2164
Telephone: (02) 9729 0166, Fax: (02) 9729 2759
Manufacturer reserves the right to alter specifi cations without notice.
Manufactured by Poolrite Equipment Pty Ltd ABN 11 001 674 004 Website: www.poolrite.com.au Email: [email protected]
VIC: 15 Yiannis Court SPRINGVALE 3171
Telephone: (03) 9547 4188, Fax: (03) 9547 1023
WA: 16 Ledgar Road BALCATTA 6021
Telephone: (08) 9344 3871, Fax: (08) 9345 3923
NEW ZEALAND
22/761 Great South Road, Penrose AUCKLAND
Telephone (09) 571 0210, Fax: 0800 766 574
Get it right!
EQUIPMENT
WARRANTY CARD
Page 10

WARRANTY CARD
EQUIPMENT
Name of Purchaser
Address
Purchased From
Date
Equipment and Model
IMPORTANT:
This card must be fi lled in and returned to
Poolrite Equipment Pty. Limited within 14 days
of purchase to render the Warranty effective.
AUSTRALIA
QUEENSLAND HEAD OFFICE
SALES & EXPORT BRISBANE
415 Creek Road, MT GRAVATT QLD 4122
PO Box 520, MT GRAVATT QLD 4122
Telephone: (07) 3323 6555 Facsimile: (07) 3323 6500
NEW ZEALAND
POOLRITE EQUIPMENT PTY LTD
22/761 Great South Road,
Penrose AUCKLAND New Zealand
Telephone: (09) 571 0210 Facsimile: 0800 766 574
Page 11

AUSTRALIA
HEAD OFFICE – QLD: 415 Creek Road MT GRAVATT 4122
Telephone: (07) 3323 6555, Fax: (07) 3323 6500
Nth QLD: 36 Hugh Ryan Drive GARBUTT 4814
Telephone: (07) 4779 4880, Fax: (07) 4779 6714
NSW: 6 Forsyth Close WETHERILL PARK 2164
Telephone: (02) 9729 0166, Fax: (02) 9729 2759
Manufacturer reserves the right to alter speci cations without notice.
Manufactured by Poolrite Equipment Pty Ltd ABN 11 001 674 004 Website: www.poolrite.com.au Email: [email protected]
VIC: 1 Endeavour Way BRAESIDE 3195
Telephone: (03) 9588 1770, Fax: (03) 9588 1779
WA: 16 Ledgar Road BALCATTA 6021
Telephone: (08) 9344 3871, Fax: (08) 9345 3923
NEW ZEALAND
22/761 Great South Road, Penrose AUCKLAND
Telephone (09) 571 0210, Fax: 0800 766 574
PLR/143 (0 5/05)
Get it right
!
EQUIPMENT
 Loading...