

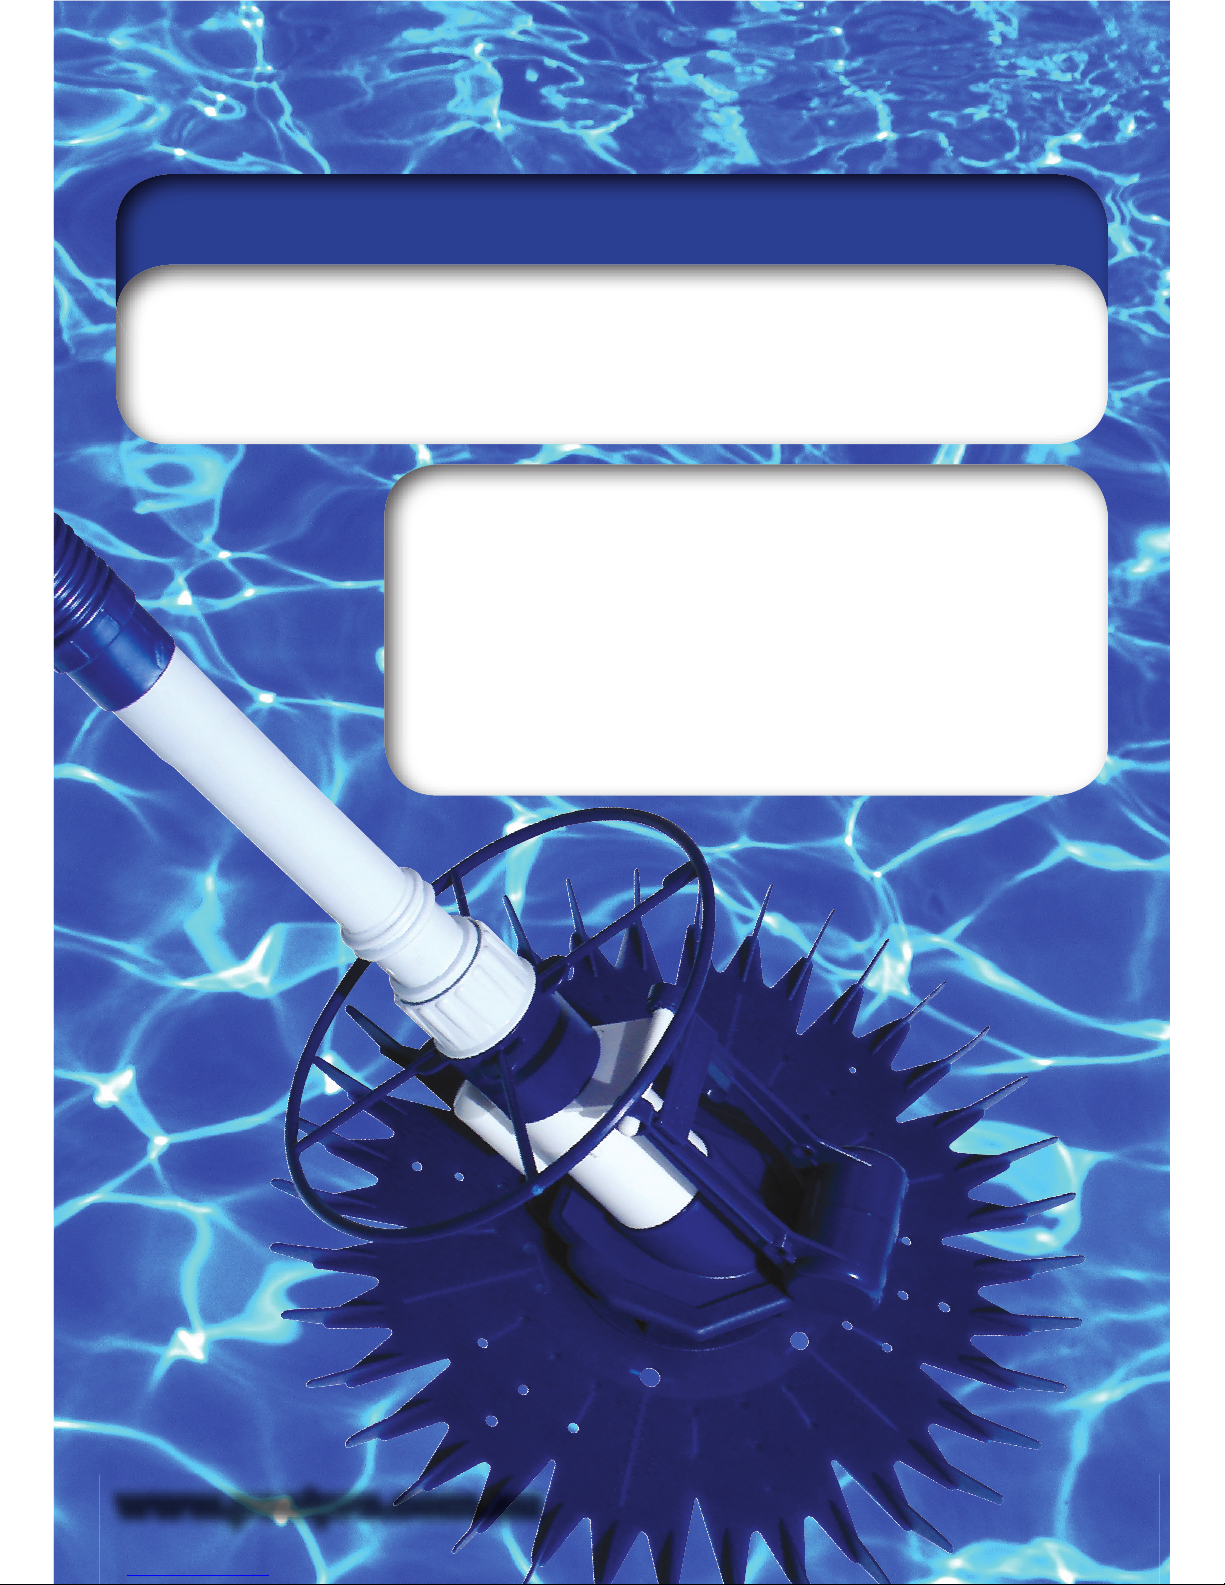
Pool Pro Acrobat GT Operating And Troubleshooting Manual
• 36 n disc and exible foot constructed of quality polyurethane
• Proven technology: Diaphragm driven strength & quietness
• Unique hose design for extra spring
• Three year warranty on main body
• Adjustable ow valve to control the ACROBAT GT travelling speed
• Easy installation – no tools required
• Suitable for all in-ground pool surfaces in good condition
We hope you enjoy your ACROBAT GT automatic pool cleaner!
Automatic Pool Cleaner
OPERATING AND
TROUBLESHOOTING GUIDE
www.poolpro.com.au
ACROBAT GT
ACROBAT GT

CONTENTS:
PART A: ASSEMBLING THE ACROBAT GT POOL CLEANER
PART B: INSTALLING THE ACROBAT GT POOL CLEANER
PART C: INSTALLING OR REPLACING THE DIAPHRAGM
PART D: MAINTENANCE
PART E: TROUBLESHOOTING
PART F: LIST OF INSTALLATION COMPONENTS
PART G: WARRANTY
PART A:
ASSEMBLING THE ACROBAT GT POOL CLEANER
1. Place the inner lip of the disc onto the exi foot pad ange and peel over until disc is secure
between the ange and lip of the exi foot pad.
2. The ns of the disc and the word “TOP” should face the oat arm.
3. Unscrew the threaded hand-nut and slide the bumper ring over the back of the ACROBAT GT’s
main body.
4. Screw the hand-nut back into place and this will secure the bumper ring in place.
5. Attach the hoses to thick tube of main body at the opposite end to the hand nut, push hose
on rmly.
PART B:
INSTALLING THE ACROBAT GT POOL CLEANER
1.
Connect ACROBAT GT machine to your hoses, su cient hose should be installed for the hose to
reach the furthest place from the skimmer box plus one length of hose.
2. Gently place machine in water. This will let the unit gradually release air and sink to pool oor.
3. Prime your hose by placing the last section of hose over your return inlet eyeball while your
pump is running. This lls the hoses and ACROBAT GT unit with water and allows it to sink.
4. Attach the adjustable control valve to the end hose, with arrow in direction of water ow. Use
weir adapter in skimmer plate and attach elbow supplied between adapter and control valve.
5. Attach the free end of the pool hose to the free end of the adjustable valve.
Switch on the pump and the ACROBAT GT will start to operate.
6. If required, adjust the control valve by opening or closing the ow - the tighter the spring, the
more pressure, the looser the spring, the less pressure.
WARNING! DO NOT DETACH POOL CLEANER WHILE PUMP IS RUNNING
TIP: Backwash and rinse lter and clear skimmer box and pump basket before operating your new
ACROBAT GT pool cleaner.
TIP: Backwashing and cleaning the skimmer basket or sock and pump basket should be done weekly.
ACROBAT GT
ACROBAT GT
Pool Cleaner
Pool Cleaner
ACROBAT GT
ACROBAT GT
PART F:
LIST OF COMPONENTS:
PART NUMBER DESCRIPTION PURPOSE
WZ5
WZ6
WZ8
WZ9
WZ28 / AMPB1
WZ29
WZ30
K167-08
PART C:
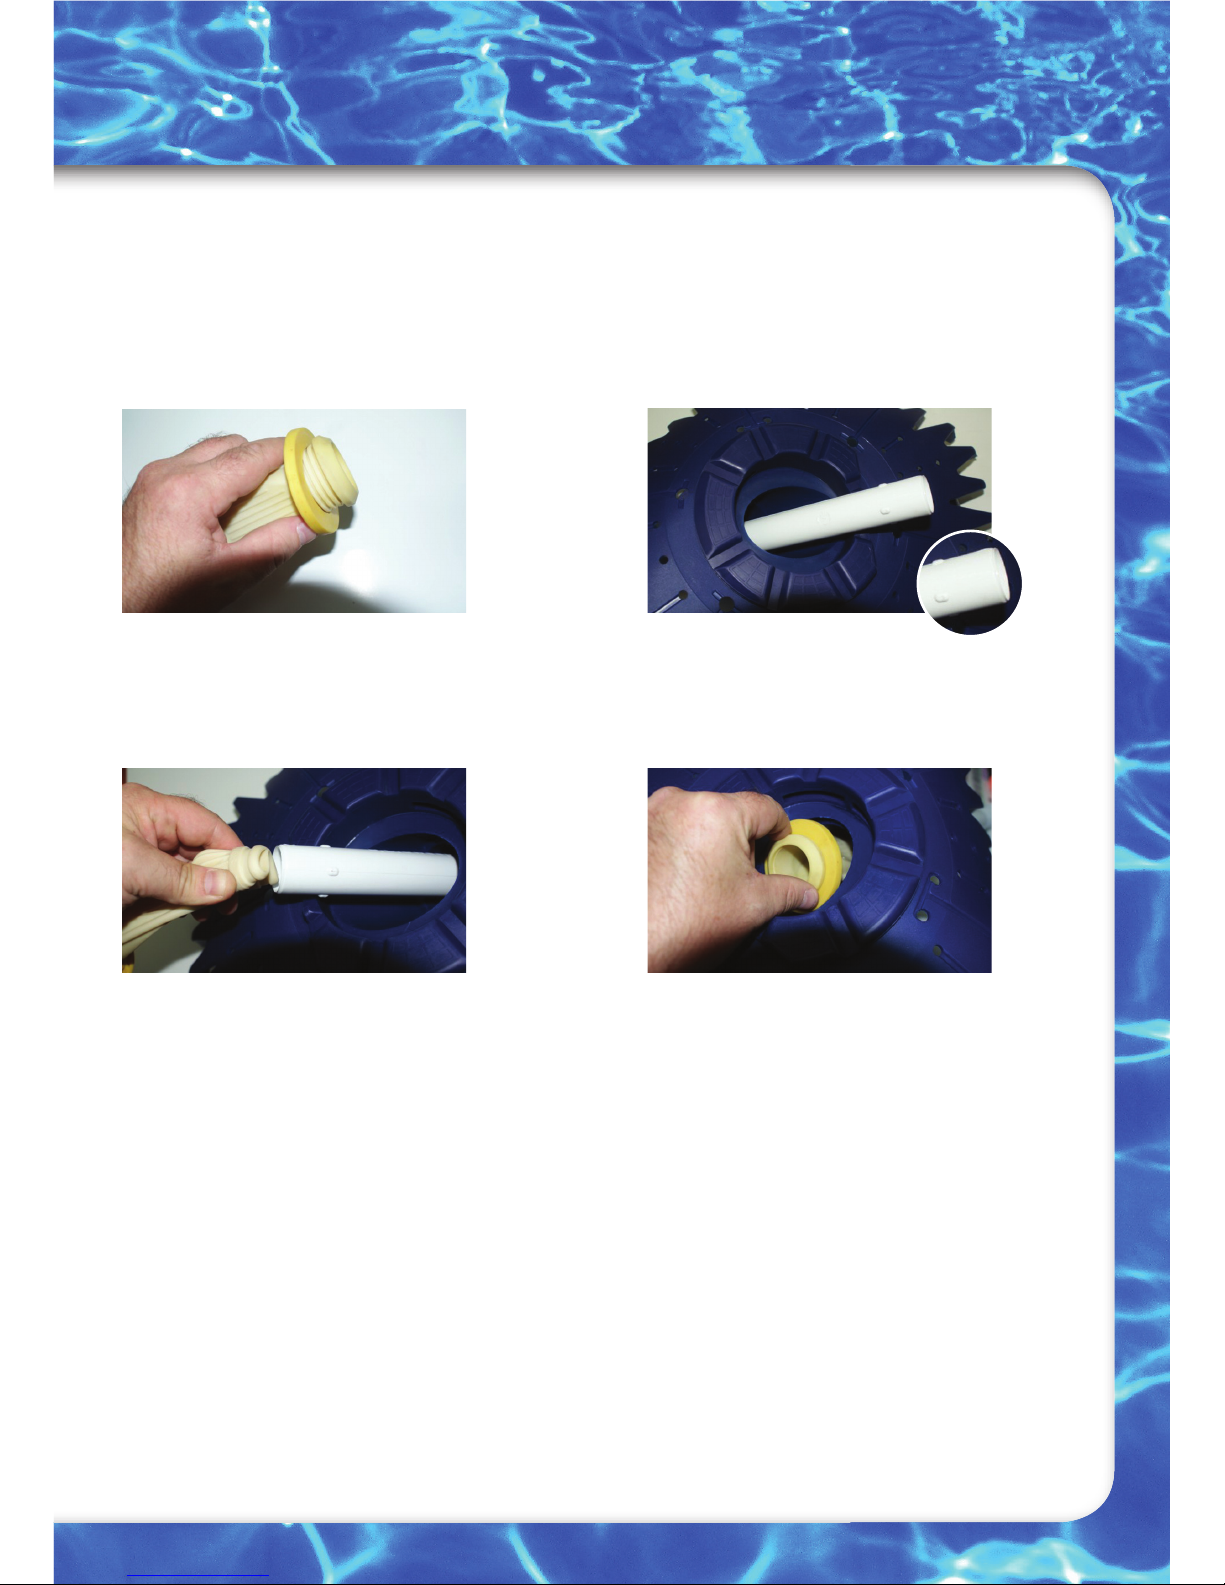
INSTALLING OR REPLACING THE DIAPHRAGM
No specialised tools are required to install the ACROBAT GT diaphragm.
However should you experience di culty, please consult your local ACROBAT GT dealer.
You can visit www.poolpro.com.au to watch a video of this installation.
ACROBAT GT
ACROBAT GT
Pool Cleaner
Pool Cleaner
Step 1:
Place the yellow seal over the end of the diaphragm
that has 3 circular ridges on it, and push the yellow
ring up against the rim of the diaphragm.
Step 3:
Holding the diaphragm by the end with the yellow
ring a xed, fold the other end of the diaphragm so
it ts about 2cm inside the inner extension tube.
Step 2:
Hold the inner extension tube by the
threaded end and push the other end through
the cleaner body from top to bottom.
Step 4:
Push the diaphragm and inner extension tube
back through the body of the cleaner, until
the end holding the yellow ring ts snugly
into the bottom of the cleaner body.
 Loading...