

Page 1
Manual
4.000 / 6.000 / 10.000
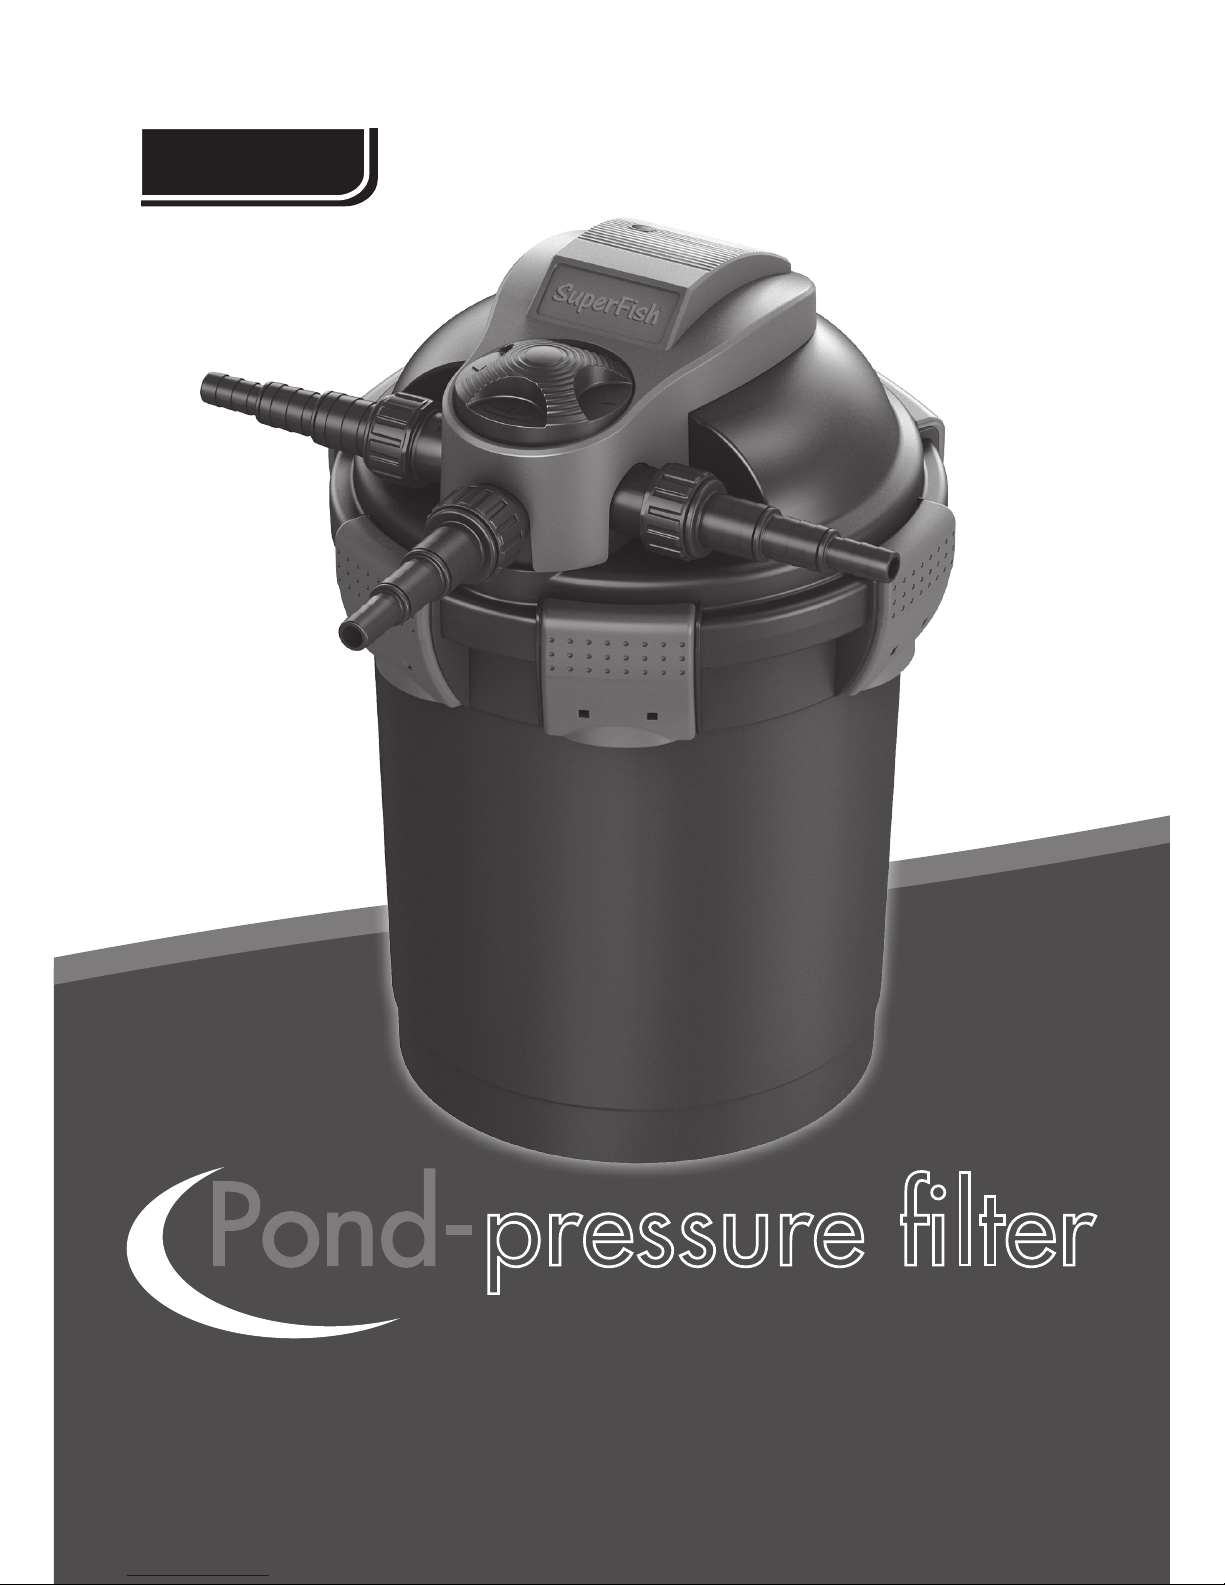
A unique 3-step pond pressure filter
pressure filter
Page 2
2
Placed and connected
Placed and connected
Quick cleaning
Full
cleaning
Full
cleaning
Full
cleaning
Replacing the UVC lamp
Page 3

3
Pond pressure lter 4.000 / 6.000 / 10.000 GB
Biological pond pressure lter with integrated UV-C.
The UV-C ensures the removal of algae growth and the destruction of bacteria. The biological filter media inside the filter catch dirt and are the ideal growing medium for
beneficial bacteria that will develop an optimal bio-culture in the filter within a few weeks.
Safety;
1. Read manual car efully before usage.
2. Suitable for outdoor use.
3. Ensure voltage shown on the label matc h to the mains supply voltage.
4. Only connec t plug to mains supply which is protec ted with an earth leakage circuit breaker.
5. Disconnec t Filter from mains supply before any maintenance on pond.
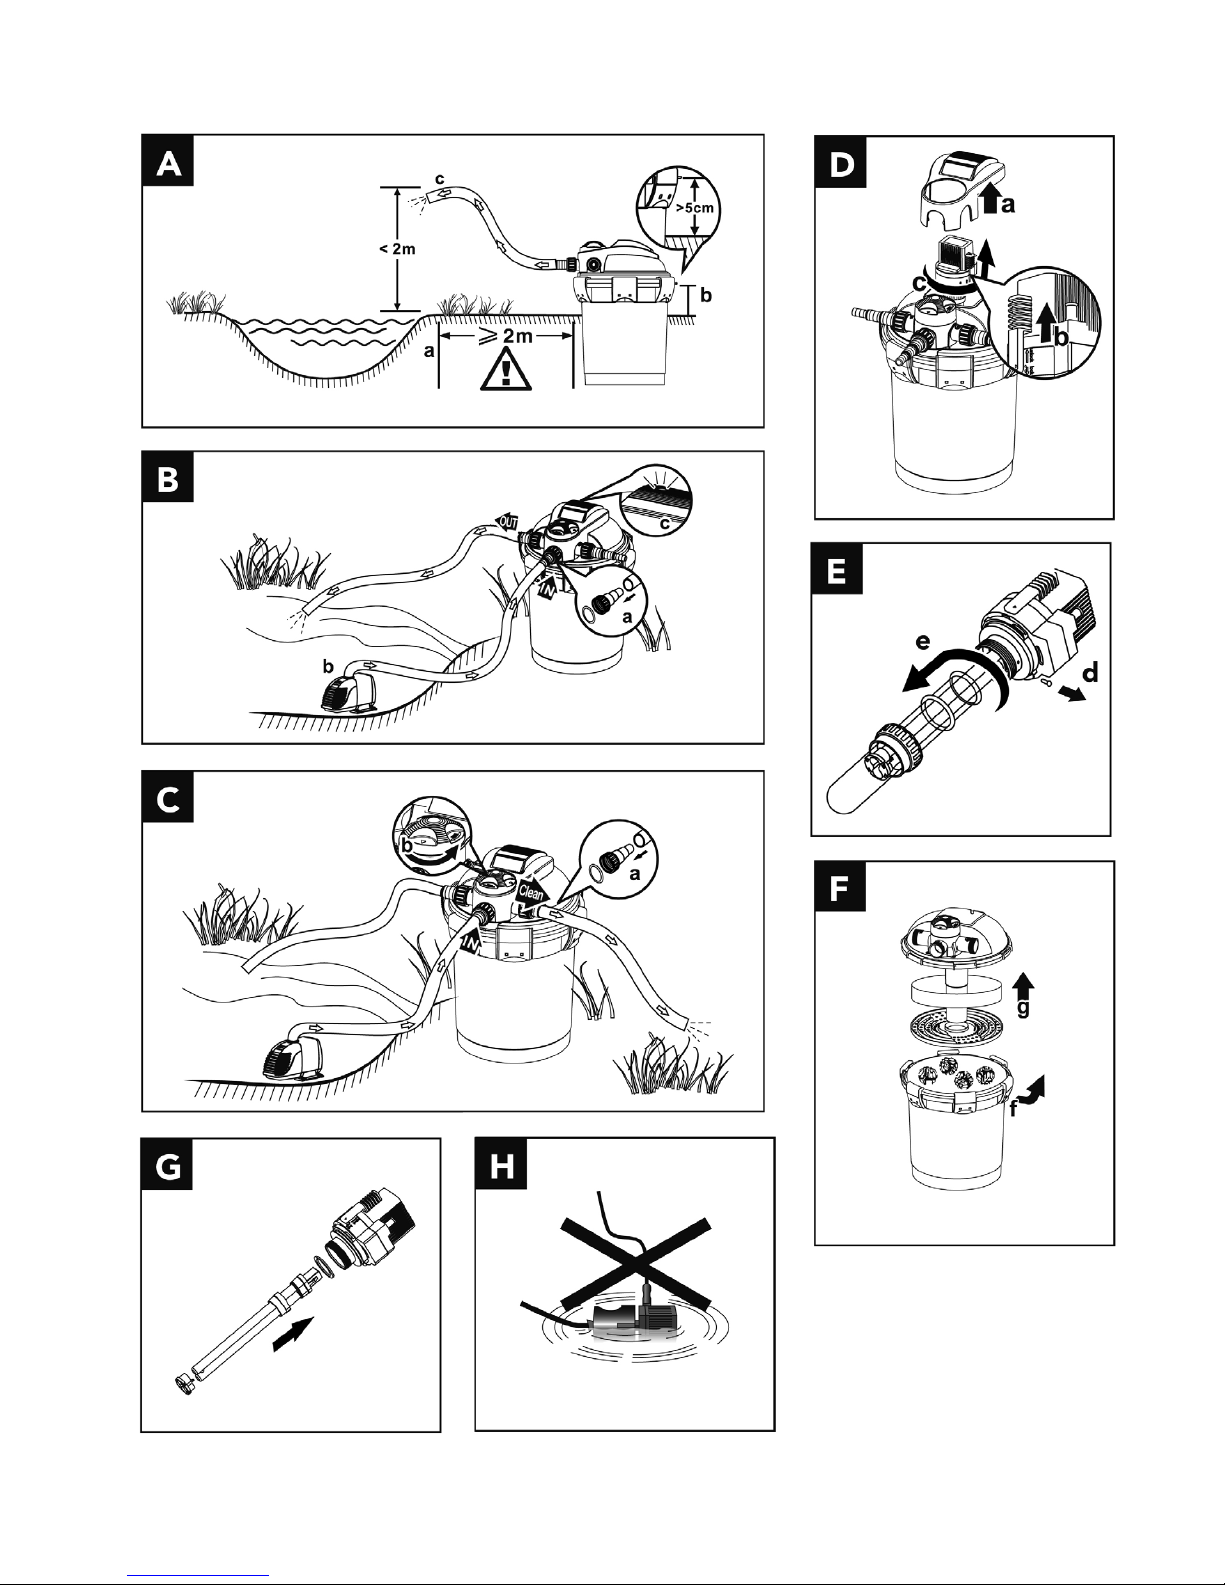
6. When connec ting the plug of the unit, make sure the lead end is pointing downward and t it in a socket with cover. Never place plug on wet area (see g. H).
7. This lter is intended for the c leaning of garden ponds, only use with pond water, do not use chemicals, foodstu , easily ammable or explosive sub stances.
8. The UVC lamp installe d in the unit is intended to kill algae and b acteria in the pond water. UV radiation is harmful for the eyes and sk in, disconnect lter and UV
from mains be fore any maintenance to the unit, repairs should only be done by authoris ed dealers.
9. The lter can be placed anywh ere around the pond, however the maximum water head is 2 meter to avoid damage to th e unit due to high pressure and leakage.
10. The max imum pump capacit y on the packaging should be respected to avoid damage to the unit due to high pressure and leakage.
11. To avoid overheating, switch o the lamp when no water is owing past it.
12. In the winter season, when the s ystem is not us ed, the Pond Clear unit should be removed to avoid the risk of fre ezing.
13. The cable of the Top Clear unit must not be replaced. If the cable is damaged, the entire electrical par t should be scrappe d and replaced.
14. This appliance is not intended for use by per sons (including children) with reduced p hysical, sensory or mental capabilities, or lack of e xperience and
knowledge, unless they have b een given supervision or instr uction concerning use of the appliance by a pers on responsible for t heir safet y. Spec ial care should
be taken with the use of electrical equipment by or near c hildren.
Installation:
1. Choose the most suitable place. T he lter should be installed close to the pond and it should be easil y accessible for maintenance see packaging for installation
samples.
2. Connect the pond pump to the lter inlet, using a pond hose and hos e clamps. If the hose diameter is more than 12mm, the hose coupling should rst be sawn
o to the right size. In that case, unscrew the hose soc ket from the l ter before starting the sawing (see g. A-c). This is to avoid damaging the lter.
3. Connect hose to the outlet of the lter following the same procedure to adjus t the size of the hose connector like the inle t.
4. Switch the pump on rst, then the UVC clarif ying unit.
5. Switching on: Connec t power plug to the socket.
6. Do not op erate the unit w ithout water owing through.
7. The unit switches on automatically when power connection is established.
8. Transpar ent control window on the top shows whether or not the UVC lamp is lit blue.(Fig. B- c)
9. Check all connections for leaks.
10. After a new ins tallation, the unit only reaches its full biological cleaning eect after a few weeks.
11. The full eect on bacteria is only reached as f rom a water temperature of + 10 °C.
12. Switching o: Disconnec t the power plug.
Maintenance:
1. Quick c leaning; week ly or when pond is very dirt y daily the Top Clear needs a quick clean, t his is an easy job using the back wash syste m.
2. Connect a pi ece of hose to the tri-stepped outlet on the lter head, (Fig. C-a). Turn the knob (Fig. C-b), run the pump the backward water ow will clean the
lter. The water from the hose can be use d to water your gar den.
3. Full cleaning; yearly the Top Clear needs a total cleaning. Switch o the pump, unplug to s witch o the UVC c larifying unit.
Loose n all the nuts of the hose connector s, and remove the hose connec tors.
Open the UVC lamp cover .(Fig. D-a)
Slide th e red switch lock. (Fig. D-b)
According to the signs inside the lter, turn the UVC clarifying unit counter-clockwise against t he stop, then pull it out.(Fig. D-c)
Loose n the screw (Fig. E-d).
Screw o the union nut, pull o the quar tz glass including the O ring by a slight rotary movement (Fig. E- e).
Clean the quar tz glass outer face with a moist cloth car efully and check for damag e.
Open the clips.(Fig. F-f). Separate the lid from the main housing. (Fig. F-g)
Take out the sponge and rinse with clean water.
Take out the clapbo ard (Model 10.000 & 15.000 onl y)
Pour out the bio -balls on the bottom and rinse them with clean water.
Remove the seal of the main housing, and c heck for damage.
Mount it back on the upp er of the main housing af ter cleanin g or replacement.
Page 4

4
4. Replace the UV Lamp;
Remove the UVC lamp. (Fig. E/G)
Replace the UVC lamp. Only u se original UV lamps available at your dealer.
Guarantee conditions:
This produc t carries a 24 month warrant y as from the date of purc hase, covering manuf acturing fault s. The lamp and the quar tz glass are not covered by the
warranty. Warranty claims will only be considered if the product is r eturned complete with all parts and lamp and accompanied by a receipt proving the purchase.
Warranty claims resulting from installation or operati on errors will not be honour ed. Defec ts as a result of poor maintenance do not come under the w arranty either.
Warranty repairs must on ly be carried out by the supplier. The supplier cannot be hel d liable for any consequential damag e caused by failure, poor maintenance or
misuse of the Top Clear.
Technical data:
Voltage 220-240 V
Model Pond Size Max. ow rate UV-C Hose diameter
4.000 4.000 ltr 2.000 L/h 7W 12/20/25 mm
6.000 6.000 l tr 3.000 L /h 9W 25/32/40 mm
10.000 10.000 lt r 5.000 L/h 11W 25/32/40 mm
Tip :
A 2-way tap c an be used for pond pumps wit h a larger capacity or using the pump to both p ower lter and waterfall
Recycle information:
The symbol of the bar red bin printed on the product means that i t must be collected separately from other ru bbish when it will not be anymore in use. The user, at the
end of the life of the pro duct, will have to bring it to a proper rubbish collection centre for elect ric and electric al devices. Alternatively he can return the used product
to the seller at the moment he buys a new unit, but only in propor tion 1 to 1, a dierentiated refuse collec tion is environmentally f riendly and it helps the recycling of
the materials, any othe r collection procedure is unlaw ful and will be subject to the law in fo rce.
www.aquadistri.com
 Loading...