

Color Options
• Granite Gray
• Tan
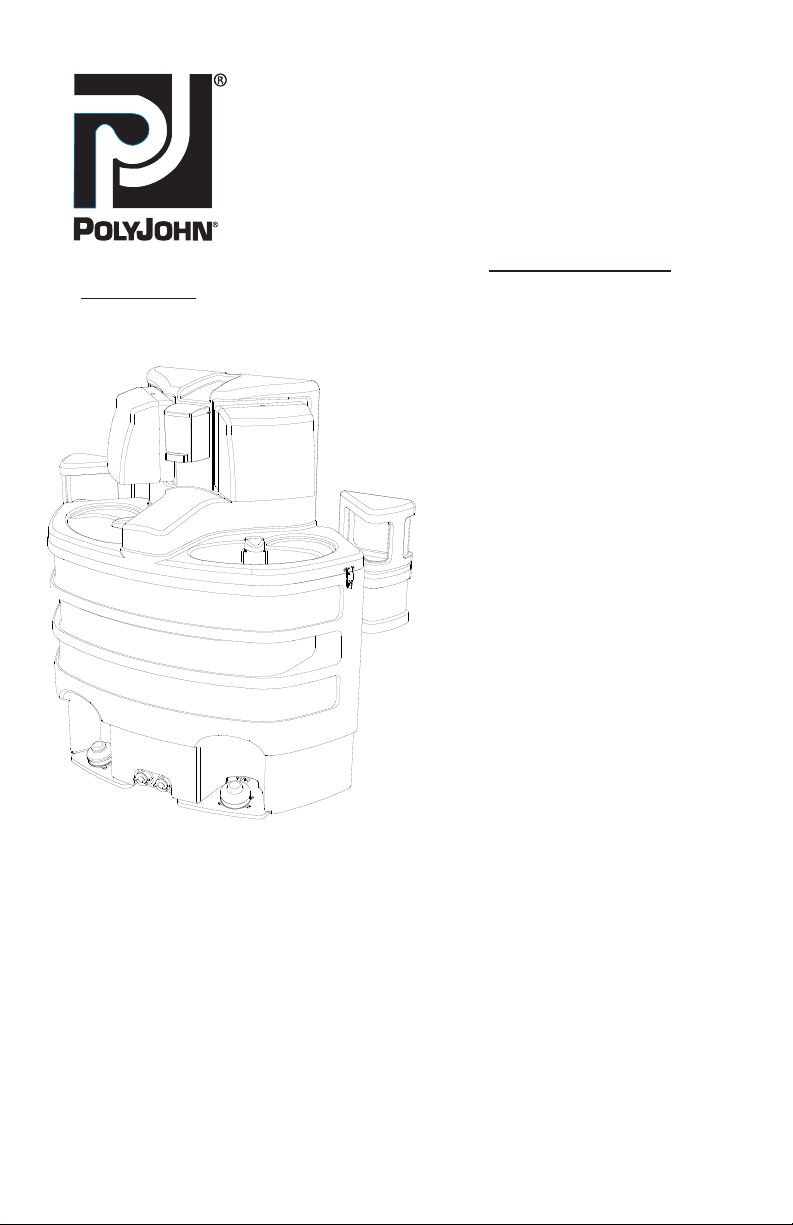
SK3 Applause™ 3000
Wash Station with Water Hookups
Operations & Maintenance Guide
SPECIFICATIONS
Dimension Imperial Metric
Height 47.5 in 121 cm
Width 50.5 in 128 cm
Depth 21.7 in 55 cm
Weight 80 lb 36 kg
Capacity 60 gal 227 L
Pump Capacity
(per stroke) 2 oz 59.14 ml
Number of Single
Dispenses 3840 3840
Paper Towel
Capacity
Soap Dispenser
Capacity 30 oz 887 ml
(4 pks-Georgia Paci c 23504)
1000
or (2 rolls-Baywest Ecosoft 46200)
All materials, including resin, pigments and additives
used to make the plastic components as well as the
plumbing components that come in contact with the
fresh water are U.S. FDA food grade compliant.
NOTE: All dimensions are subject to change due to environmental factors.
POLYJOHN
USA
PolyJohn Enterprises Corp
2500 Gaspar Ave.
Whiting, IN 46394
Phone: 800-292-1305
Fax: 219-659-0625
www.polyjohn.com
info@polyjohn.com
We recommend reading through the entire booklet prior to proceeding with installation, service or
maintenance. All references to left and right throughout this guide are as viewed from the front.
Wetherby, England LS22 7RD
POLYJOHN
WORLDWIDE
PolyJohn (UK) Ltd.
Equinox 1 Audby Lane
Phone: 44 (0) 1937-583333
Fax: 44 (0) 1937-583322
www.polyjohn.co.uk
sales@polyjohn.co.uk
SK3-3 Guide - July 2009
Page 1 of 8
POLYJOHN
CANADA
PolyJohn Canada
P.O. Box 2300
199 Forest Plain Rd.
Orillia, Ontario LV3 6S2
Phone: 800-465-9590
Fax: 705-325-8250
www.polyjohncanada.ca
info@polyjohncanada.ca

General Product Overview
This is a uniquely designed two-station “Water-Mains Hookup Sink”. The sink
must be hooked up to a fresh water source as well as a drain for gray water.
The sink is designed to hold a small amount of fresh water in the tank. The
amount of water is controlled with a oat operated valve. A wing-nut located
on the bottom of the valve can be loosened and the oat adjusted up or down
to the desired water level. The water acts as a ballast, the more water allowed
into the sink, the heavier the sink is. The sink basins are plumbed directly to a
tee connected to the top tting exiting the rear of the sink. The top tting is
for the gray water connection and must be connected to a drain. The sink can
be easily converted into a “stand-alone sink” by means of an optional “ exible
vinyl liner”. The built-in recessed handles allow for transport, while the hinged
lid provides easy access to the internal components. The three ribbed design
provides strength and o ers space for “strip” advertisements.
Assembly Instructions
Float Valve Assembly - Attach the PC-000361 - Plastic Float to the PC-000362 -
Float Valve Connector Rod. Remove the towel chutes from the trash bag holders
and release the latch locks. Thread the oat with rod assembly to the PC-000360
- Float Valve Shuto (which is already connected at the bottom inside rear of the
sink). NOTE: The oat valve is adjustable by loosening the wing-nut, and then
adjusting the oat accordingly by moving it up for more water, down for less and
then tightening the wing-nut.
Water-Mains Hookup
Located at the bottom rear of the sink are the ttings for the Water-Mains
Hookup. The bottom tting is used for “fresh water” and the top tting is used
for “gray water”.
Gray Water Out
Fresh Water In
SK3-3 Guide - July 2009
Page 2 of 8
Operations Information
Fresh Water Plumbing
The plumbing system in this sink is simple and requires minimal maintenance.
If the system becomes plugged, rst check the foot pumps. Depress each foot
pump and observe the level of resistance. If there is resistance and water is
not dispensed, there is most likely an obstruction in the tube or at the ori ce
of the water spigot. If there is no resistance and the water is not dispensed,
then either a.) a tube connection is loose or b.) an internal rubber part of the pump
needs replacing.
Emptying Fresh Water
A drain port is located at the bottom left center of the sink.
Paper Towel Dispensers
The dispenser is designed to accept single or multi-fold as well as roll towels. The
recommended towels are the Georgia Paci c #23504 - single fold or the Baywest
Ecosoft #46200 - roll towel. NOTE: When using other towels, be sure the width does
not exceed 9-1/2”. The use of a roll towel complies with ADA requirements.
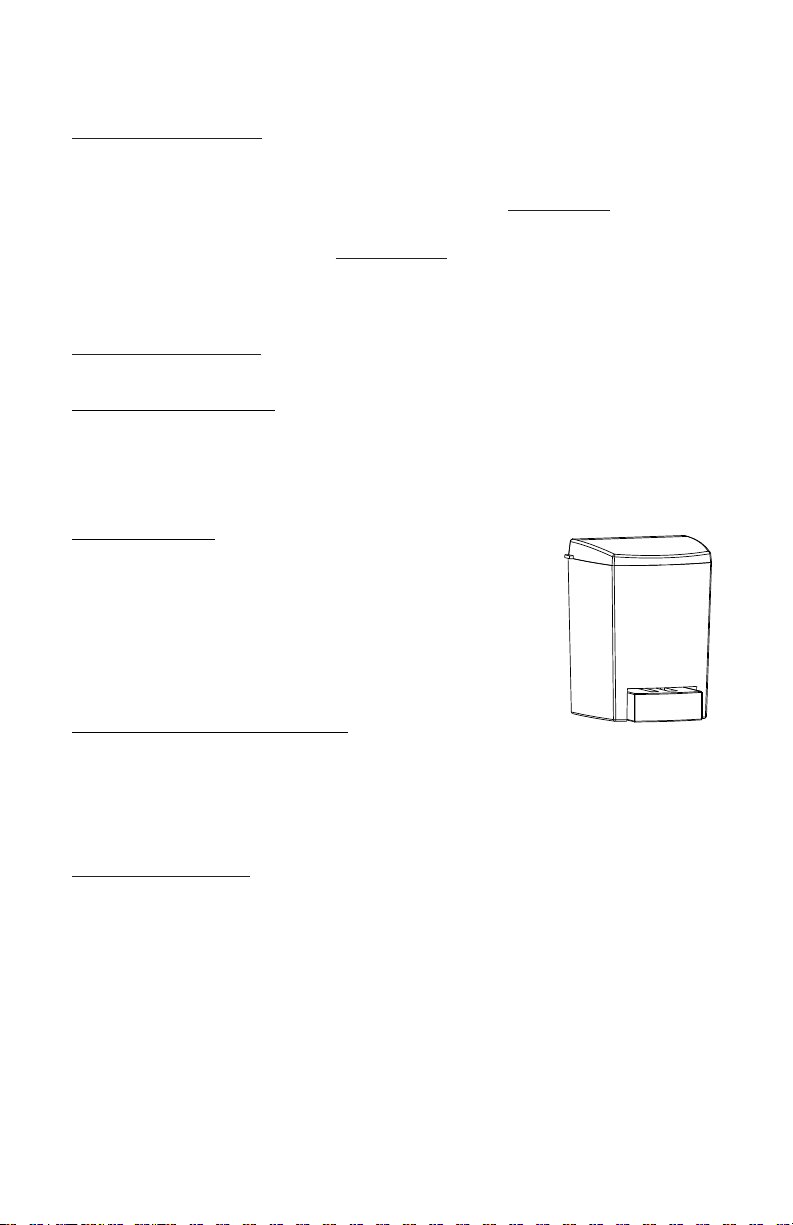
Soap Dispensers
Open the soap dispenser by placing your hands on both
sides of the dispenser and pressing up on the tabs of the
lid. Locate the tab on the mounting plate at the rear of the
dispenser and push in on it and slide the dispenser up and
o . Fill with 30 uid ounces of liquid soap. Refasten it to
the mounting plate and snap the lid back on.
Towel Chutes/Trash Bag Holders
The towel chutes/trash bag holders have a “force- t” common joint design. The
trash bag holder will accept most types of trash bags from 10 to 55 gallons (30
gallon is the most practical). Position the trash bag in the holder and force the
chute into position over the holder.
IMPORTANT DECAL
NOT FOR COOKING OR DRINKING, is required by law in certain areas of the U.S. Other
geographical areas require that the materials used to manufacture the sinks comply
with the U.S. Federal Food and Drug Administration (FDA) guidelines 21 CFR 175.300
(resins), 177.1520 (ole n polymers) and 178.3297 (colorants for polymers). The materials also comply with the U.S. Public Health Service Drinking Water Standards, 42 CFR
part 72 and U.S. Environmental Protection Agency Interim Primary Drinking Water Regulations 40 CFR part 141.
SK3-3 Guide - July 2009
Page 3 of 8

Part Replacement Information
~~TOOLS REQUIRED~~
•
Drill with 9/64” and 13/64” bits
• Rivet Gun
• Standard slotted screw driver
• Channel Locks
Spigot Replacement
To replace the spigots, open the hinged lid and from the underside of the bowl,
drill out the (2) PC-000104 - Rivets. Pull out the spigot with the tting attached
and disconnect the tubing. Quick disconnect ttings are used throughout the
plumbing system. To disconnect the tubing, pull the ring of the tting toward
the tting stem while at the same time pulling out on the tubing.
Filter Replacement
Prior to removing or replacing the lters, be sure to completely drain the fresh
water from the main tank. Also, it will be necessary to drain the gray water bag
and pull it up out of the sink. Pull the PC-000305 - Plastic Filter o of the CT38-
005 - 3/8” x 5” Tube (the lter is tted onto the tube in the bottom of the sink).
Pump Removal
Remove the (4) PC-000142 - 1/4” Hex Head Bolts from each of the base plates.
The pumps are fastened to the base plates with (4) PC-000104 - Rivets and (4)
PC-000106 - Back-up Washers. To remove the pumps, drill out the rivets from
the bottom of the sink and disconnect the tubing. Quick disconnect ttings
are used throughout the plumbing system. To disconnect the tubing, pull the
ring of the tting toward the tting stem while at the same time pulling out on
the tubing.
SK3-3 Guide - July 2009
Page 4 of 8

Conversion from Water-Mains Hookup to Stand-alone
Optional - SK3-3250 / Bag Complete Mains Conversion
Step 1. Remove the towel chutes from the trash bag holders and release the
latch locks.
Step 2. Under the sink bowl loosen the PC-000351 - #10 Hose Clamps and remove
the hoses from the elbows.
NOTE: There are fourteen drill spots along the inside rim of the tank.
Step 3. Drill into the drill spots using a 9/64” bit. Rivet the (14) PC-000356 -
Male Snap Fasteners into the locations using PC-000110 - Rivets with PC-000111
- Washers on the inner side of the rim.
Step 4. Unscrew the oat valve and rod assembly and remove.
Step 5. Remove the tee, hoses and #10 hose clamps.
NOTE: Set aside the parts removed and reverse the steps to convert back to water
mains hookup if needed.
Step 6. Locate the (2) PC-000555 - 3/4” Plastic Hex Socket Plugs from the parts bag
and insert them into the rear drain holes (inside the rear of the sink).
Step 7. Also locate from the parts bag: (1) PC-000327 - 1” Mpt x 1” Strait Barb
Fitting, (2) PC-000352 - #12 Hose Clamps and (1) CH100-025 - 1”I.D. x 25” Hose. On
the inside of the sink, thread the barbed tting to the gray water spinweld tting
(which is the right front). Slip a hose clamp on both ends of the hose. Push one
end of the hose onto the barbed tting and tighten the clamp. Push the other
end of the hose onto the bottom of the vinyl liner and tighten that clamp.
Step 8. Align the seams of the vinyl liner in-between the two rear snaps (located
in the center rear of the sink). Snap the vinyl inner liner in place.
Filling with Fresh Water (with Stand-alone Bag/SK3-3250)
To open the hinged top you must rst remove the towel chutes from the trash bag
holders on both sides and release the latch locks. Insert a standard 1” garden or
similar type hose into the 1-1/4” round ll port under the lid. Fill the sink with a
few gallons of fresh water to perform a system check. Depress both foot pumps
a few times to “prime” them (the pumps have built-in check valves that will hold a
prime between uses). The sink is equipped with “weep” holes located at the top
of the recessed handles in the sides (fresh water will “weep” from these holes once
the tank has reached capacity).
Emptying Gray Water (with Stand-alone Bag/SK3-3250)
NOTE: Certain geographical areas prohibit “dumping” of gray water and requires proper disposal. Gray water can be pumped out by lifting the hinged
top. A drain port is also located at the bottom right center of the sink.
SK3-3 Guide - July 2009
Page 5 of 8

Parts Drawing
(2) TD04-1000
Paper Towel Dispenser
(8) PC-000105 Rivet
(8) PC-000106 Washer
10) PC-000117 Rivet
SK3-0023
Dispenser Column
(
(2) PC-000308
Sink Strainer
SK3-0021
Sink Bowl
2) PC-100147 - 19” Cable Tether
(2) PC-000105 - Rivet
(
(2) PC-000102 Rivet
(2) PC-000106 Washer
(2) PC-000322 Elbow
(2) PC-000172
3” S.S. Flat Hinge
(6) PC-000105 - Rivet (hinge to lid)
(6) PC-000102 - Rivet (hinge to tank)
(6) PC-000106 - Washer
LS04-0001
Soap Dispenser
(3) PC-000105 - Rivet
(2) PC-000581G Sink Tap
(4) PC-000104 Rivet
(4) PC-000106 Washer
(2) PC-000340
SK3-3 Guide - July 2009
Page 6 of 8
(2) PC-000310
3/8” Tube x 3/8” Mpt
Male Connector
Rubber Washer
(2) PC-000226 Latch w/Catch
(8) PC-000110 - 1/8” Rivet
(8) PC-000111 - 1/8” Washer
(2) PC-000205M - Lock
(2) CH075-037
3/4” x 37” Hose
(4) PC-000351
#10 Hose Clamp

- Exploded View
SK3-0020
Main Tank
(2) PC-100559 - PVC Fitting
3/4” Mpt x 3/4” Fht
(2) CT38-065
3/8” x 65” Tube
(2) PC-000305
(4) PC-000415
1/4” Uniseal
Plastic Filter
SK1-0002R
Right Base Plate
(4) PC-000142 - Bolt
1/4” -20 x 3/4“
(4) PC-000168 - Washer
5/16” x 7/8”
PC-000348 Tee
3/4” Mpt x 3/4” Barb
PC-000360 - Valve
Shuto Float
PC-000361
Float Valve Conn.
Plastic Float
PC-000362 - Rod
(2) PC-000600
(2) PC-000554 - 1” Plug
(2) PC-000345 - 1” O-Ring
SK3-3 Guide - July 2009
Page 7 of 8
Baby Foot Pump
(8) PC-000102 - Rivet
(8) PC-000106 - Washer
(2) CT38-005
3/8” x 5” Tube
**NOT SHOWN**
(4) PC-000102 - Rivet (2) PC-000102 - Rivet
(2) PC-000104 - Rivet (2) PC-000106 - Washer
(6) PC-000106 - Washer
(2) SK1-0003 - Trash Chute PC-000791 - I.D. Plate
4) PC-000142 - Bolt 1/4”-20 x 3/4”
SK1-0002L - Left Base Plate
(
(4) PC-000168 - Washer 5/16” x 7/8”
PC-000782 - Decal Not for Drinking or Cooking

Winterizing
• Drain all water from the tanks.
• Depress the foot pump to clear lines.
• Flush tank with a solution of chlorine and water.
CLEANING AND MAINTENANCE
Use a mild soap to clean all surfaces and component parts.
Minor scratches and abrasions can be lightly sanded or scrubbed with a
mild abrasive cleaner (such as “Soft Scrub”) that contains calcium carbonate,
hypochlorate bleach and detergents. Be sure to follow the cleaning product
directions since these ingredients may cause hazardous gases when mixed with
other chemicals. Rinse the cleaned area and bu with a conventional wax.
Some light scratches may also be hidden by using an industrial hot air gun.
To keep the water fresh add a “Fresh Sink Tablet” (chlorinated tablet) each time
the sink is lled with water.
For a source of cleaning, deodorizing and paper products contact:
RID IT
2500 GASPAR AVE.
WHITING, IN 463942175
8002921305 EXTENSION 514
www.rid-it.com
We highly recommend membership in the Portable Sanitation Association International
(PSAI); the worldwide authority on portable sanitation services. The PSAI, “Portable
Sanitation Industry Certi cation Program” manual contains a wealth of information on
standards and service procedures. For more information contact the PSAI:
PORTABLE SANITATION ASSOCIATION INTERNATIONAL PSAI
7800 METRO PARKWAY, SUITE 104
BLOOMINGTON, MINNESOTA 55425 USA
8008223020 / 6128548300 FAX 6128547560
www.psai.org
MISSION STATEMENT
“PolyJohn is a family owned, state of the art, plastics manufacturing company
dedicated to providing its employees with a work environment committed to
excellence, and its customers with innovative products, services and technology
that meet or exceed their requirements.”
THANK YOU FOR PURCHASING POLYJOHN PRODUCTS!
Look for us on the Web @ www.PolyJohn.com
SK3-3 Guide - July 2009
Page 8 of 8
 Loading...