

Polycom WCMICS VSX Series, VSX Series, SoundStation VTX 1000, VSX7400s Series Getting Started Manual
Page 1

1
Getting Started Guide
for the VSX Series
Page 2

2
Contents
System Basics ....................................................................................4
Using the Remote Control...................................................................... .....................................4
Calling and Answering.........................................................................6
Answering a Video Call .............................................................................................................6
Placing a Video Call ..................................................................................................................6
Ending a Video Call ............................................................................................................. .....8
Types of Video Calls Y ou Can Make ..................................................................................... .......9
Placing Audio-only Calls and Adding Audio-Only Sites ................................ ................................. 10
Ending an Audio-Only Call ....................................................................................................... 11
Controlling What You See..................................................................11
Selecting and Adjusting a Camera or Other Video Source ........................................ ............ ....... 11
Setting and Using Camera Presets ......................................................................... .............. ..... 13
Switching Between Full Screen Video and the Home Screen ........................................................ 14
Showing, Moving, and Turning Off the PIP ................................................................................. 14
Controlling What You Hear................................................................ 16
Adjusting Volume....................................... ............................................................................. 16
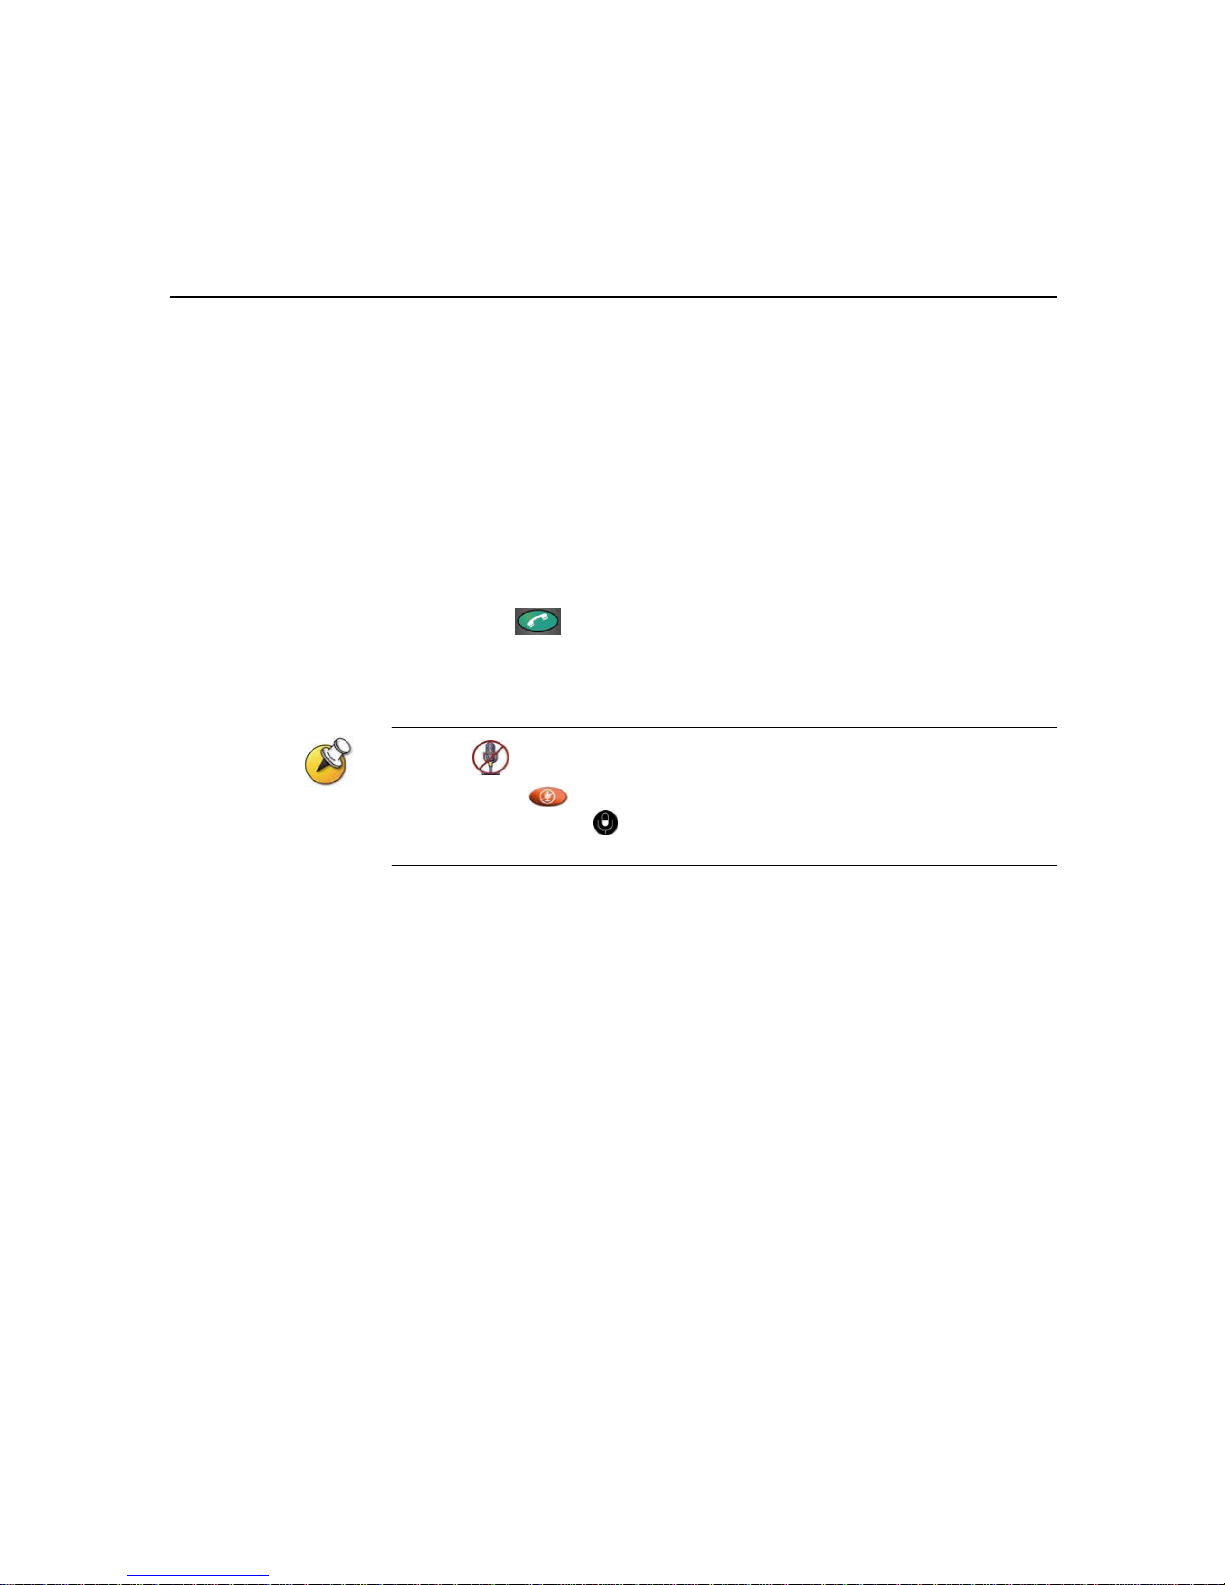
Muting the Microphone ............................................................................................................16
Enjoying Stereo Audio in Video Calls ................................................................................ ......... 16
Showing Content and Video Sources.................................................17
Using a Document Camera, or Microscope ...........................................................................................17
Using a VCR or DVD Player ..................................................................................................................18
Page 3

3
Using the So undStation VTX 1000 Conference Ph one in Video Calls.. 19
Placing a Video Call with the SoundStation VTX 1 000 Conference Phone ....................................19
Adding Sites to a Video Call Using the SoundSta tion VTX 1000 Conference P ho ne ........................ 19
Muting the Audio in a Call that Includes a SoundStation VTX Conference Phone ........................... 20
Adding Video to a Sou ndStation VTX 1000 Conference Phone Aud io-on ly Call ..............................20
Ending a Call ......................................................................................................................... 20
Ending a Call with Audio-Only P articipants ................................................................................ 21
Video Conferencing Tips ................................................................... 21
Tips for Great Meetings........................................................................................................... 21
Tips for Great V ideo................................................................................................................ 21
Tips for Great Audio ............................................................................................................... 22
Tips for Showing Content ....................................................................................................... 22
Assistance & Support .......................................................................23
Page 4

4
Getting Started Guide
for the VSX Series
When you attend a meeting using the Polycom®VSX™ system, you’ll see that
it’s very much like any other meeting you attend in a conference room. With
a VSX system, you can meet with people anywhere in t he world, without any
travel required.
The VSX systems a re easy to use. It’s easy to place calls, create y our own
dir ectory of numbers, change the way ca lls are answered , and customize
what you see on the screen. Depending on how your system is
configured, you can make video calls using ISDN or IP c onnections and to
one site or multiple sites at one time.
You can also share information in c alls using content sharing
software, document cameras, VCRs, DVDs or microscopes.
Before you place your first call, use this guide to get some basic “how -to”
information. This guide includes ov erview infor mation that you may fi nd
helpful when you ’re just sta rting to learn about video conferencing or when
you have experience, b ut you need a quick refresher.
VSX systems can be customized to show only those options used in your organization.
Therefore, there may be options covered in this guide that you cannot access on your
system. To find out more about these options, please talk to the administrator of your
VSX system.
System Basics
Using the Remote Control
You use t he rem ote control to place calls, ad just the volume,
navigate screens, and select options.
If you need to enter text, you can press number buttons, using the textentry method commonly used with cell phones. For example, to enter a “b”,
press the number 2 button twice. Alternativ ely, you can press
Keyboard
and use the on-screen keyb oard to enter text
Page 5

5
VSX7400s Series Handset
Place or end a call
Adjust the camera;
navigate through menus
Open the directory tomake a call
or work with an entry
Return tothe Place a Call
(home)
screen
Confirm your current
selection; perform
functions on highlighted
items
Increase or decrease the sound
you hear from thefar sites
Mute the sound you‘re
sending to the far sites
Return tothe
previous screen
Switch between the nearsite and far-site camera
views
Zoom the camera image in
or out
Show or hide the
Picture-in- Picture (PIP)
Turn automatic camera
tracking to presets on or off
Select a camera or other
video source
Store camera positions
(when followed by a
number); deleteall
stored camera
positions
Enter a dot in an IP addres
Display the onscreen keyboard so
you can enter text
Delete letters or numbers
Enter numbers or text; move
the camera to a stored
position
Start and stop sending content to
far sites (VSX 7000, VSX 8000)
Access the online help; see
current system status while
in a call
Page 6
6
C
ALLING ANDANSWERING
Calling and Answering
Answering a Video Call
The VSX system can answer incoming calls i n one of these ways:
o
The system prompts you to answer t he calls manually.
o
The system answers incoming cal ls automatically.
When a call comes in, you hear a ringing sound, and you may see a message
that inc ludes the nu mber of the person calling. If the person is listed in the
system directory, you ’ll also see the person’s name.
To answer the c all manu ally:
o
Press
Call
on the rem ote control.
If your system is set up to automatica lly a nswer calls, the call connects
automatically.
If you see
Near
on your screen, your microphone is muted. To unmute your
microphone, press
Mute
on the remote control. For VSX set-top and component
systems, you can also press on the microphone.
Placing a Video Call
You can use your system to place a video call in any of these ways:
o
Entering a name or number
o
Choosing a site from:
ü
The Recent Calls list
ü
The Contact s or Speed D ial list
ü
The Directory
Page 7

7
G
ETTINGSTARTEDGUIDE FOR THE
VSX S
ERIES
Calling by Entering a Name or Number
To place a call by ent er ing a name or number:
1. In the dialling field, enter the dialling information. Depending on the
capabilities of your system and the system you are callin g, the dialling
informati on will look like one of these samples:
ƒ
10.11.12.13 (IP address)
ƒ
2555 (extens ion)
ƒ
stereo.polycom.com (DNS name)
ƒ
Ascot Co nference Room (system name)
ƒ
19784444321 (ISDN number)
The system aut omatically determines the type of call to make based on
the information you enter.
2. E nter any additional inf ormation needed for the cal l. The availab le
settings depend on t he type of call and your syst em’s co nfiguration.
Not all ca lls require these setting s:
o
Call
Quality
– Specify the bandwidth or call type for this call. For
most calls, choose
Auto
to let the system determine the best quality
for the ca ll.
o
Second ISDN number
– Use two numbers only when the person
you are calling instructs you to do so.
o
Gateway extension
– If you need to dial an exte nsion, enter
the extension in t he second ent ry field. If your system is not
configured with a sec ond e ntry field, you can enter the extension
when the gateway prompts you.
3. Press
Call
on the remote control to place the call.
Call progress indicators appear on the screen to show that t he ca ll is in
progress. When the indicators turn green, the call is connected.
Calling fr om the Recent Calls List
You may be able to choose a number to call from a list of the sites you have
called recently. The Recent Calls screen provides details of all incoming and
outgoing calls, including the time of the calls.
To place a call f rom the Recent Calls screen:
1. Select
Recent Calls
from the Place a Call screen.
2. Scroll to the entry you want to ca ll.
3. Press
Call
to place the cal l.
To see more details about a call listed on the Recent Calls screen, highligh t the call
and press
Help
on the remote control.
Page 8

8
C
ALLING ANDANSWERING
Calling from the Contacts or Speed Dial List
You may be able to access calling information for specific sites using the Speed
Dial or Contacts list on the Place a Call screen.
To place a call using the Speed Dial or Contacts list:
1. Select
Speed DialorContacts
from the Place a Call screen.
2. Scroll to t he entry you want to ca ll.
3. Press
Call
to place the call.
Calling from the Directory
The directory is a list of names and numbers that’s stored locally on the VSX
system.
If the system is registered with a global directory, the directory also includes
entries from the global directory. Global entries are marked with
. For
both types of entries, the name appears with its correspondin g number, IP
addre ss, or both.
To place a call from the directory:
1. Press
Dir ectory
on the remote control.
2. Find the entry to call.
3. Press
Call
to place the call.
Depending on your system configuration, when you make a call using an entry with both
ISDN and IP dialing information, the system may prompt you to choose which way to place
the call.
Ending a Vi deo Call
To hang up from a call:
1. Press
Hang Up
on the remote control.
2. Confirm that you want to end the call.
If you don’t confirm th at you want to hang u p, the system disconnects the
call automatically after 60 seconds.
Page 9
9
G
ETTINGSTARTEDGUIDE FOR THE
VSX S
ERIES
Types of Video Calls You Can Make
Depending on yo ur system configuration, you may be able to make c alls using
ISDN, IP, SIP, or V.35. The VSX 60 00 allo ws only IP calls.
The following tab le lists some possible call combinations.
From
«
You can call
«
By dialing
«
ISDN ISDN Phone number
IP Phone number of the far-site gateway and
the extension (E .164 address) of the far
site.
Enter the extension after the gateway
number or wait until the gateway pr omp ts
you for the extensi on.
LAN Same LAN Alias, E.164 address, or IP address
Different LAN Access code of the near-site gateway, the
selected speed code, the ISDN number for
the far-site gateway, and the extension
(E.164 address) of the far site.
Enter the extension after the gateway
number or wait until the gateway prompts
you for the extensi on.
ISDN Access code of the near-site gateway, the
selected speed code, and the ISDN number
of the far site.
When you call an IP system through a gateway that requires an extensi on (E.164
address), enter the extension in the dialing field whenever possible. Check with your
network administrat or for the extension delimiter you will need to enter into the dialing
field. For example, some networks use ## to separate the extension from the IP
address.
When you include the extensi on, you will be given the option of saving both the number and
the extension in the directory when the call ends. If you enter the extension after the
gateway connects, then you can save only the gateway number when the call ends.
Page 10

10
C
ALLING ANDANSWERING
Placing Audio-only Calls and Addi ng Audi o-Only Sites
You may be able to use your VSX system to place an audio-only call, or you
can add an audio-only ca ll to a video conference. This lets you:
o
Use your system in the same way as a telephone.
o
Add audio-only participants to your v ideo calls.
o
Add video calls to your audio-only calls.
Other audio options are available if your conference room has a VSX video conferencing
system integrated with a SoundStation VTX 1000™ conference phone.
For more information about using the SoundStation VTX 1000 conference phone , see
Using the SoundStation VTX 1000 Conference Phone in Video Calls on page 28.
Placing an Audio-Only Ca ll
You can p lace an aud io-only call from VSX systems that have Analogue Phone or
Voice Over ISDN enab led.
To place an audio- only call from your syste m:
1. On the Place a Call screen, enter the number you want to call.
o
To pla ce a call within your PBX system, enter the last four digits of
the number.
o
To delete a digit, press
Delete
on the remote control.
2. Press
Call
to place the ca ll.
Adding an Audio-Only Call to a Video Call
To add an audio-only call after your video call connects:
1. Press
Call
on t he remote control.
2. Select
Add Call
from the Hang Up screen.
3. Use the number buttons on the remote control to enter the telephone
number of the audio participant that you want to add to your video
conference.
4. Press
Call
on the remote control.
5. After the audio ca ll connects, press
Near
or
Far
to return to
the video conference.
Page 11

11
G
ETTINGSTARTEDGUIDE FOR THE
VSX S
ERIES
Adding a Video Call to an Audio-Only Call
If you are already in an audio-only call, you can add a video call to y our call.
To add a video call after your audio-only call connects:
1. On the Place a Call screen, enter the number you want to call.
2. Press
Call
to plac e th e call.
Ending an Audio-Onl y Call
To hang up from an audio-o nly call:
1. Press
Hang Up
on the rem ote control.
2. Select the audio-only site from the Hang Up screen to hang up the call.
If the person on the telephon e hangs up first, you need to disconnect the call from the
VSX system, just as you would hang up a telephone receiver in a regular phone call.
Controlling What You See
Adjusting y our cameras lets you show con ference particip ants what you want
them to see. You can adjust cameras and other video sources before the
meeting starts and while the meeting is in progress.
Selecting and Adjustin g a Camera or Other V id eo Source
You can use the remote control to select the main camera or any other
near-site or far-site video sources, such as document cameras, laptops, VCRs
or DVD players.
You can also use the remote control to adjust the ma in came ra on VSX set-top
and component systems. If you have a VSX 3000 system, you must pan, tilt,
and focus the main camera manually. You can also adjus t any auxiliary
camera or far-site camera that supports pan, tilt, and zoom movement.
You can adjust the far-site camera only if the camera supports electronic pan, t ilt, and
zoom, and the far site system is configured to allow you to contr ol its camera.
C
ONTROLLINGWHATYOUSEE
Page 12

12
To select a near-site or far-site camera or other video source:
1. If you are in a call, press
Near
or
Far
to se lect either a nearsite or far-site camera or other video source. The icon on the screen
indicates which y ou can se lect:
If you see this, you can
control a ne ar-site camera
or video source
If you see this, you can
control a far-site camera or
video source
2. Press
Camera
on the remote control. Then press the number for the
camera or other video source you want to select at the near or far site.
For example, press1 to select the main camera.
The image from the camera or video source you selected appears on the
screen.
To adjust a camera using the remote control:
1. Press
Near
or
Far
to select either a near-site or far-site
camera.
2. Press the ar row bu ttons on the remote control to move t he camera up,
down, to the left, or to the right.
3. Press
Zoom
to zoom out or in.
Page 13

13
G
ETTINGSTARTEDGUIDE FOR THE
VSX S
ERIES
Setting and Using Camera Presets
Camera presets are stored camera positions that you can create ahead of time or
during a call.
Prese ts a llow you to:
o
Automatically point a camera at pre-defi ned locations in a room.
o
Select a video source such as a VCR or DVD player, a document camera, or
an auxiliary camera.
If your system’s main camera supports electronic pan, tilt, and zoom movement, you
can create up to 100 preset camera positions for the near site. Each preset stores
the camera number, its zoom level, and the direction it points (if appropriate). Nearsite presets are available for VSX set-top and component systems. They remain in
effect until you delete or change them.
Depending on configuration capabilities, you may be able to control the camera at
the far site. If far-site camera control is allowed, you can create up to 17 presets
for the far-site camera. T hese presets a re saved o nly for the duration of the call.
You may also be able to use presets that were created at the far site to control
the far-site camera.
To move the camera to a preset:
1. If a call is connected, press
Near
or
Far
to choose a near- si te or
far-site camera or other video source.
2. Press a number on the remote control.
The camera moves to the preset position for the camera or other video
source.
To view your near-site pr esets (VSX set-top and component systems):
o
Press
Preset
on the remote control.
Icons for presets 0-9 are shown on the screen. The colored icons in dicate
stored camera positions, and the gray icons indicate avai lable p resets.
To store a preset:
1. If you are in a call, press
Near
or
Far
to choose a near-site or
far-site camera or other video source.
2. If you selec ted a camera that supports electro nic pan, tilt, and zoom,
you can adjust the camera’s posit ion:
o
Press the arrow buttons on the rem ote control to move the camera up,
down, to the left, or to the right.
o
Press
Zoom
to zoom the came ra out or in.
3. Press
Preset
on the remote contro l.
Page 14
14
4. Press and hold a number to store the preset position. To store a
double-digit preset, hold the second number down. Any existing preset
stored at the number you enter is replaced.
The system uses preset 0 as the defa ult camera positio n.
To delete all presets:
1. If a call is connected, p ress
Near
to choose a near-s ite video
source.
2. Press
Preset
on the remote cont rol.
3. Press
Delete
to delete all preset s.
You cannot delete just one preset. Instead, override an existing preset with the new
camera position.
Switching Between Full Screen Video and the H ome Screen
Before the call connects, you see the near video in a small window on the Place a
Call (home) screen. When the call connects, t he system automatically shows the
video in the whole screen. You can swi tch back to t he Place a Ca ll screen during
a call, for examp le, if you need to ad just a user setting , and your syste m is
configured to allow you to do so.
To see the video in the full screen:
o
Press
Near
on the remote control.
To see the Place a Call screen:
o
Press
Home
on the remote c ontrol.
Showing, Moving, and Turning Off the PIP
During a call on a single-monitor system, the Picture-in-Picture (PIP) displays
what your main camera is send ing to the far site. (This lets you adjust the
came ra if you need to.) If the far site shows any type of conte nt, the content
appears in the main part of t he screen, and the PIP c hanges to show the people
at the far site.
During a call on a dual-monitor system, what you see on each monitor and in
the PIP depends on how the VSX system has been configured.
To show, move, or turn off the PIP during a call:
o
Press
PIP
on the remote control to display the PIP on screen.
o
While the PIP has a yellow border, press
PIP
repeatedly to move it
to different corners of the screen.
o
After a brief pause, the PIP border turns blue. Then, press
PIP
to turn the PIP off.
Page 15

15
To swap the vi ews shown in the PIP and the main screen:
1. If the PIP is not showing, press
PIP
on the remote control to
displa y the PIP on screen.
2. Press
Camera
and se lect the
Swap PIP
icon.
During calls us ing a single monitor and the Dual Monitor Em ulation feature
(split-screen vie wing), without content, you can use the P IP button to
scroll through the following screen layouts:
1. Near and far sites, sa me size, side by side
2. Far site big, near site s m all
3. Near s ite big, far site small
4. Near site, full screen
5. Far site, full screen
Page 16

16
Controlling What You Hear
Adjusting Volume
Use the remote control to raise or lower the volume of the sound you hear.
Changing the volume affec ts only the sound you hear at your site.
To adjust the volume:
Press
Volume
.
Muting the Microphone
You can mute the microphone if you do not want the far site to hear you. For
example, you might mute the microphone if you want to speak to someone
privately.
To mute or un-mute the micropho ne:
Press
Mute
on the remote control.
For VSX set-t op and component systems that use a Polycom microphone, you
can also mute the call by pressing
on the microphone.
Enjoying Stereo Audio in Vid eo Calls
If your video conferencing room is configured to use stereo sound, the left and
right microphone inputs are configured during system setup. It is important that
you do not move the microphones as this may detract from the stereo audio
experience.
Stereo audio is only used in video calls of 256 Kbps or hig her.
Page 17

17
Showing Content and Video Sources
You may be able to show the follow ing to the far s ites:
o
Any information stored on a lap t op or PC
o
A paper document or object placed on a document camera
o
A videotape or DVD
You can share one type of content or one video source at a time, and you can
switch to a different typ e of content or video source if you need to. Participants
at other sites can also sha re content or video sources.
Using a Document Camera or Microscope Camera
All VSX systems enable you to show different types of information to other
sites in a call, s uch as through a document camera or microscope camera.
Before the call begins:
1. Make sure the document camera is power ed on.
2. Position your document or object in the document camera or microscope.
To start showing a document or an object in a call:
1. Press
Camera
on the remote control.
2. Se lect a video source.
3. Press
on the remote control.
To stop showing a document or an object in a call:
1. Press
Camera
on the remote control.
2. S elect the main camera.
3. Press
on the remote control
Page 18

18
Using a VCR or DVD Player
All VSX systems enable you to show different types of information to other
sites in a call, s uch as through VCR, or DVD player.
Before the call begins:
1. Make sure the VCR or DVD player is connected and powered on.
2. Insert the videotape or DVD.
To start showing a videotape or DVD in a call:
1. Press
Camera
on the remote control.
2. Se lect a video source.
3. Press
on the remote control.
To stop showing a videotape or DVD in a call:
1. Press
Camera
on the remote control.
2. S elect the main camera.
3. Press
on the remote control
Page 19

19
Using the SoundStation VTX 1000 Conference Phone in
Video Calls
Your conference room may include a VSX video conferencing system
integrated with a SoundStation VTX 1000 conference phone. This confi gura tion lets
you use the video conferencing system and the conference phone together to place
and manage video and audio-only calls. If the system is configured correctly, “VSX
OK” appears on the conference phone display.
Placing a Video Call with the
SoundStation VTX 1000 Conference Phone
If your VSX video conferencing system and SoundStation VTX 1000 have been
configured to work together, you can use the conference phone to place video
calls.
To place a video call using the SoundSta tion VTX 1000 phone:
1. Leave the SoundStation VTX 1000 confere nce phone on hook.
2. On the conference ph one keypad, enter one of these:
o
The ISDN number (for example, 19784 44432 1) of the VSX system
o
The IP address (for example, 10.11.12.13) of the VSX system.
2. Press t he
VID CALL
soft key on the conference phone to place the call.
Dial a Call:
You can dial a call the conventional way, getting a dial tone first, or you can dial the
way cellular phones do, entering and editing all the numbers before you outpulse them,
as shown below.
Dial Tone Dialling:
1. Press the (Phone) button to get a dial tone.
2.
Dial the phone number. Each number is dialled when you press it.
Adding Sites to a Video Call Using the
SoundStation VTX 1000 Conference Phone
You can add video or audio-only sites to a video call using the SoundStation
VTX conference phone.
To add video or audio-only sites:
1. Place a video call to t he first site using the SoundStation VTX
conference pho ne or the video conferencing system.
2. On the conference phone, enter the number of the site you want to
add.
o
To call a video site, enter the number, and press the
VID CALL
soft key.
o
To call an audio-only site, enter t he number, and press the
Phone
button on the phone keypad.
Use the SoundStati on VTX 1000 conference phone to make volume
adjustme nts after adding an audio-o nly s ite to a video call.
Page 20

20
Muting the Audio in a Call that Includes
a SoundStation VTX Co nference Phone
You can use the mute button on the SoundStation VTX conference phone to
mute the audio in video calls.
To mute the audio in a call with the Sound Station VTX 1000
conference phone:
>>
Do one of the following:
1. Press the
Mute
button on the conference phone.
2. Press
Mute
on the remote control.
The red indicator lights on the conference phone show when the audio is muted. The
near site mute icon also appears on the monitor display.
Add ing Video to a SoundStation VTX 1000
Conference Phone Audio-only Call
If you are in an audio call with another SoundStation VTX 1000 conference
phone and the far site also has a VSX video conferencing system integrated
with a SoundStation VTX conference phone, you can switch from t he
audio-only call to a video call.
To add video to an audio call:
1. Place a call with your SoundStation VTX conference phone to the far
site’s conference phone.
2. When the aud io ca ll has connected, press the
ADD VIDEO
soft key on
the conferen ce phone.
You hear a ringing sound as the video portion of the call is added. The
SoundStation VTX conference phones are used as microphones for the
video call.
Ending a Call
To end a call using a VSX systeminteg rate d with a SoundStation VTX 1000
conference p hone
:
From the conference phone:
>> Press the
END V IDEO
soft key on the phone.
o
If the conference is a point-to-point video call, it will end immediately.
o
If the conference is a multi-point video call, the VSX Hang Up screen
appears on the monitor. In this case, select which site(s) to disconnect.
From the VSX system:
1. Press
Hang Up
on the VSX remote control.
2. On the VSX Hang Up screen, do one of t he following:
o
Select which site to disconnect.
o
Choose
Hang Up All
to end the call for all sites.
Page 21

21
Ending a Call with Audio-Only Participants
Your conference may include a mix of video participants and audio-only
participants. If an audio-only participant hangs up during the call, you need to
disco nnect the call from the conference. This is the same as hanging up a
telephone receiver in a regular phone call.
To disconnect the audio-only call:
1. Press
Hang Up
on the remote control.
2. If t he call is a mult ipoint ca ll, select
VTX Conference Phone
from the
Hang Up screen to clear t he aud io line.
Even if you hang up the video call or the audio-only site hangs u p, you still need to hang
up the audio-only call from your system. If you do not disconnect the audio-only call from
the VSX system, you will hear a tone from the telephone through the conference.
Video Conferencing Tips
Read through these quick tips for ideas on how to optimize your video
conferencing experience. You’ll find general tips for a better meeting, as well as
simple suggestions for improving video and audio quality , and for showing
documents.
Tips for Great Meetings
o
Make sure you have the video number( s) of the site you want to call
or that the site is listed in a directory.
o
Set your camera presets be fore you sta rt y our call so that you can
quickly use them during the call. (You can set up to 100 near-site
presets. Depending on the sys tem you call, you may also be able to use
the presets stored on the far-site system.)
o
Add peripherals to your system to expand its use. For example, you
can add a VCR if you want to show a videotape, or add a Visu al Concert
VSX or ImageShare II if you want to share data from a laptop or PC.
Connect and test your peripheral before any meeting.
Tips for Great Video
o
Avoid we aring b right colors, all- light or all-dark clothing, or very
“busy” patterns (such as s mall checks or narrow stripes). Light
pastels and muted co lors look the best on the screen.
o
If there are windows in the room, close any drape s or blinds. Daylight is
a variable light sour ce and can conflict with interior room lighting .
o
Use natural gestures when you speak.
o
When adjust ing your camera, try to fill the screen as much as
possible with people rather than with the table, chairs, walls, lights, or
the floor.
Page 22

22
V
IDEOCONFERENCINGTIPS
Tips for Great Audio
o
Speak in your normal voice without shouting.
o
Ask the peop le at the other sit e if they can hear you. H ave them
introduce themse lves so you can be sure that you can hear them.
o
Mute the microp hone before moving it dur ing a meeting.
o
Since t he audio has a very slight delay, you may want to pause briefly for
others to answer you or to make comments.
o
As wi th any meeting, try to limit side conversations.
VSX Set-Top and Component Systems
o
Place the microphone on the table in front of the people in the meeting. If
your room is very large, consider adding another microphone.
o
If your video conferencing room is configured to use stereo sound, the
microphones are positioned and configured during system setup. It is
important that you do not move them as this may detract from the stereo
audio experience.
o
Don’t place papers or ot her objects on or in the way of t he microphone,
and don’t rustle papers or tap on the microp hone or table.
Tips for Sho wing Conte nt
o
Check that yo ur computer has the applicat ion you need to show yo ur
documents, such as Microsoft® PowerPo int, Project, or Word.
o
For a smoother presentation, be sure your document is open and ready to
show. Test it before you start the video ca ll.
Page 23

23
Any problems?
Equipment faulty?
Need assistance or support?
Contact
For video-conferencing calling and equipment, contact
Telstra Conferencing on 1800 011 080 Option 3,3, i.e
• Codec or Video Camera
• Vi sual Concert
• The Visual Conference
• Pl asma Screen and Cart
• Document Camera or ELMO
• Conference Phone
For all other equipment , contact the WCMICS Directorate, i.e.
• PC
• Microscope & Camera
• Projector and Projector Screen
• Other room equipment
 Loading...