

Page 1
Polycom
®
RSS
™
4000 System
Getting Started Guide
5.0.0 | Oct. 2009 | 3150-30828-001
Page 2

Trademark Information
Polycom®, the Polycom “Triangles” logo, and the names and marks associated with Polycom’s products are
trademarks and/or service marks of Polycom, Inc., and are registered and/or common-law marks in the United
States and various other countries.
All other trademarks are the property of their respective owners.
Patent Information
The accompanying product is protected by one or more U.S. and foreign patents and/or pending patent
applications held by Polycom, Inc.
© 2009 Polycom, Inc. All rights reserved.
Polycom, Inc.
4750 Willow Road
Pleasanton, CA 94588-2708
USA
No part of this document may be reproduced or transmitted in any form or by any means, electronic or
mechanical, for any purpose, without the express written permission of Polycom, Inc. Under the law,
reproducing includes translating into another language or format.
As between the parties, Polycom, Inc., retains title to and ownership of all proprietary rights with respect to the
software contained within its products. The software is protected by United States copyright laws and
international treaty provision. Therefore, you must treat the software like any other copyrighted material (e.g.,
a book or sound recording).
Every effort has been made to ensure that the information in this manual is accurate. Polycom, Inc., is not
responsible for printing or clerical errors. Information in this document is subject to change without notice.
Page 3

Polycom® RSS™ 4000 Getting Started Guide – Version 5.0
Table of Contents
Accessory List··························································································1
General Safety Precautions·····································································1
First Time Installation and Configuration···············································2
Preparations ················································································2
Unpacking and Installing the Polycom® RSS™ 4000····························2
Initial Polycom® RSS™ 4000 IP Configuration····································3
Changing the initial IP address via a cross over LAN cable ··············3
Changing the initial IP address via an RS232 Console or Telnet·········5
Polycom® RSS™ 4000 Maximum Capacity············································7
Network TCP/UDP ports used by Polycom® RSS™ 4000·····················8
Notes Regarding On Demand Archive····················································9
i
Page 4
Polycom® RSS™ 4000 Getting Started Guide – Version 5.0
Accessory List
Table 1 Accessory List
Accessory Quantity
Power Cords 2
RJ45 Network cable 2
DB9 Console cable 1
General Safety Precautions
Follow these rules to ensure general safety:
4000 unit clean, free of clutter and well
Keep the ar
ventilated.
Decide on a
RSS™ 4000 unit and is near a grounded power outlet.
Use a regulating uninterruptible power supply (UPS) t
RSS™ 4000 unit from power surges and voltage spikes, and to keep it operating
case of a power failure.
ea around the Polycom® RSS™
suitable location for the equipment rack that will hold the Polycom®
o protect the Polycom®
in
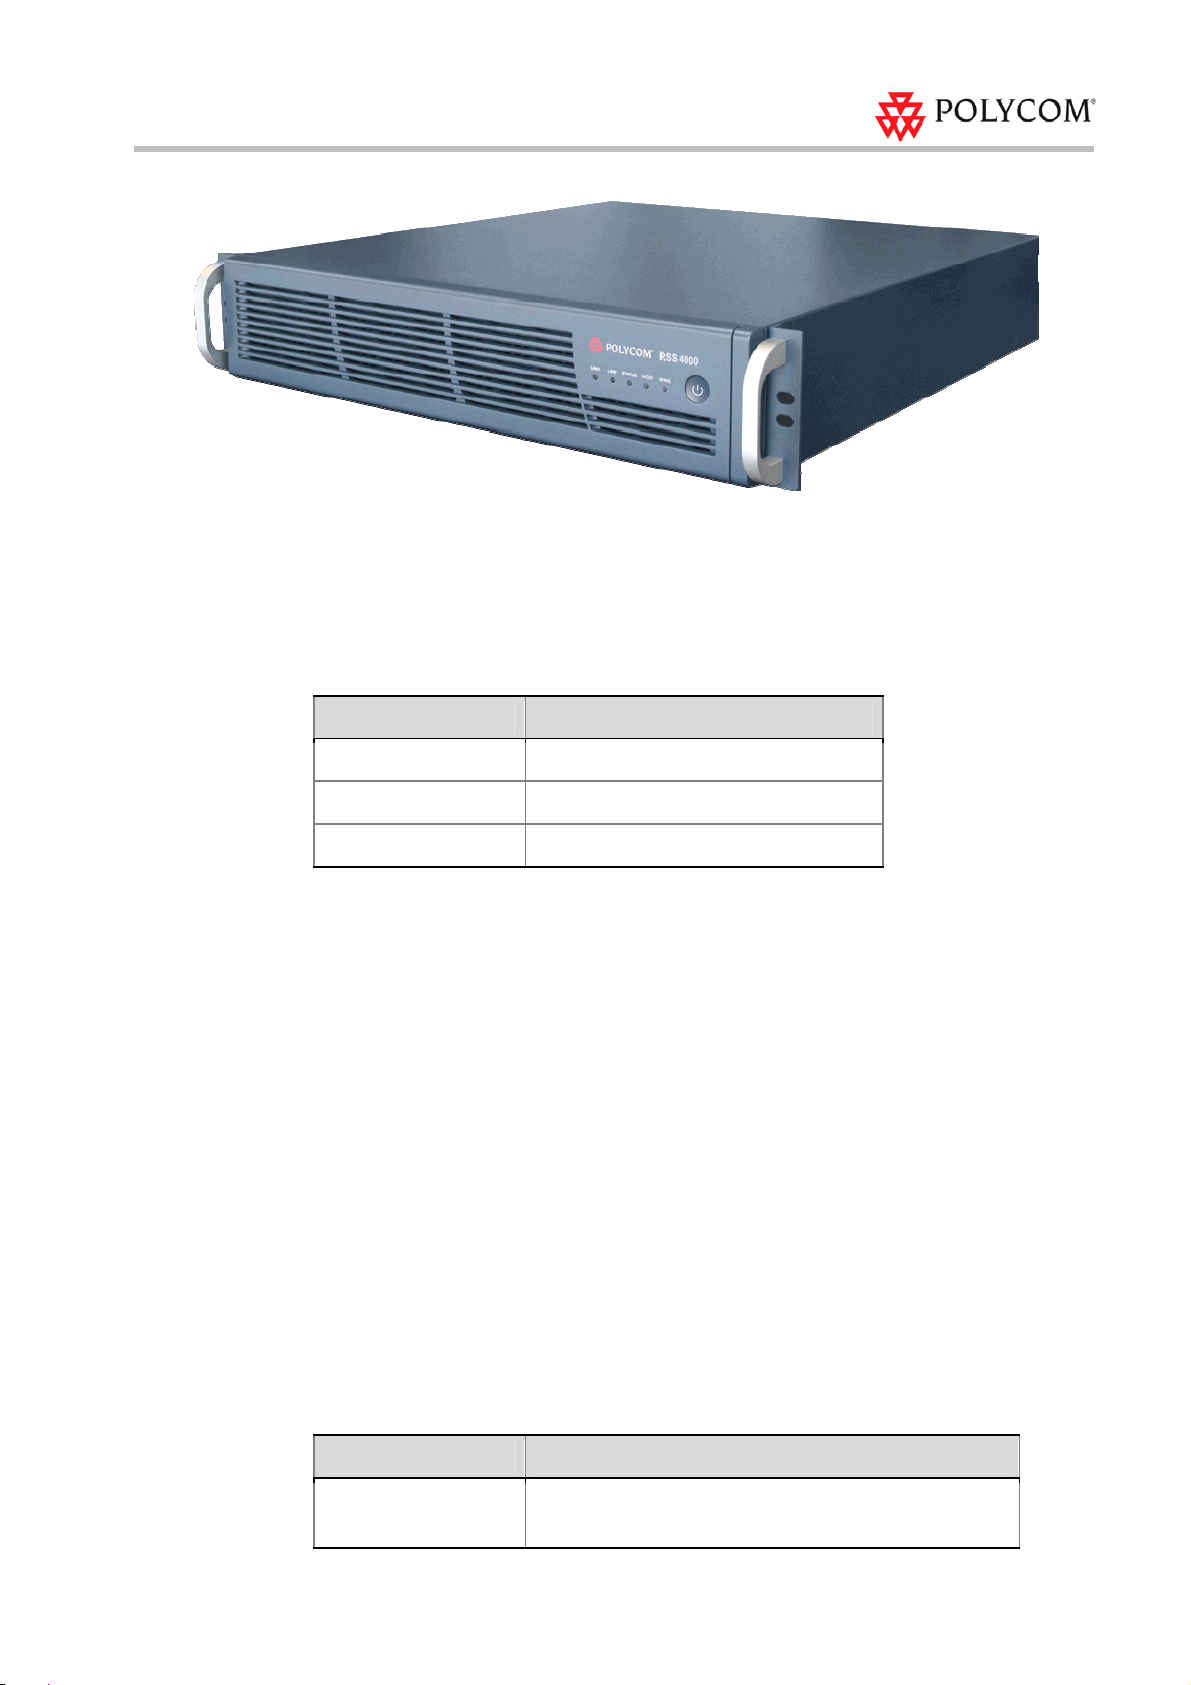
Table 2 Hardware Specification
Parameter Description
Hardware Capability
Intel Xeon 2.3
(Disk 1: 500GB / Disk 2(for mirroring): 500GB)
3GHzx2, 4G RAM, 500GBx2 Hard disk
1
Page 5
Polycom® RSS™ 4000 Getting Started Guide – Version 5.0
Parameter Description
Form Factor 2U 19” rack mount
Height 89 mm
Width 441 mm
Depth 485 mm
Gross Weight 19.5 kg
Power Supply
AC Voltage 100 - 240 VAC, 60-50 Hz, 10-4 Amps
Operation System Windows XP EK
700W ATX AC power supply w/PFC,
dundant Power Supply 1 + 1 Re
First Time Installation and Configuration
Preparations
Obtain
Polycom® RSS™ 4000 unit, Subnet Mask and Default Gateway IP addresses
Gatekeeper IP address, Prefix, and E.164 of the Polycom® RSS™ 4000.
Unpacking and Installing the Polycom® RSS™ 4000
the following information from your network administrator:
2
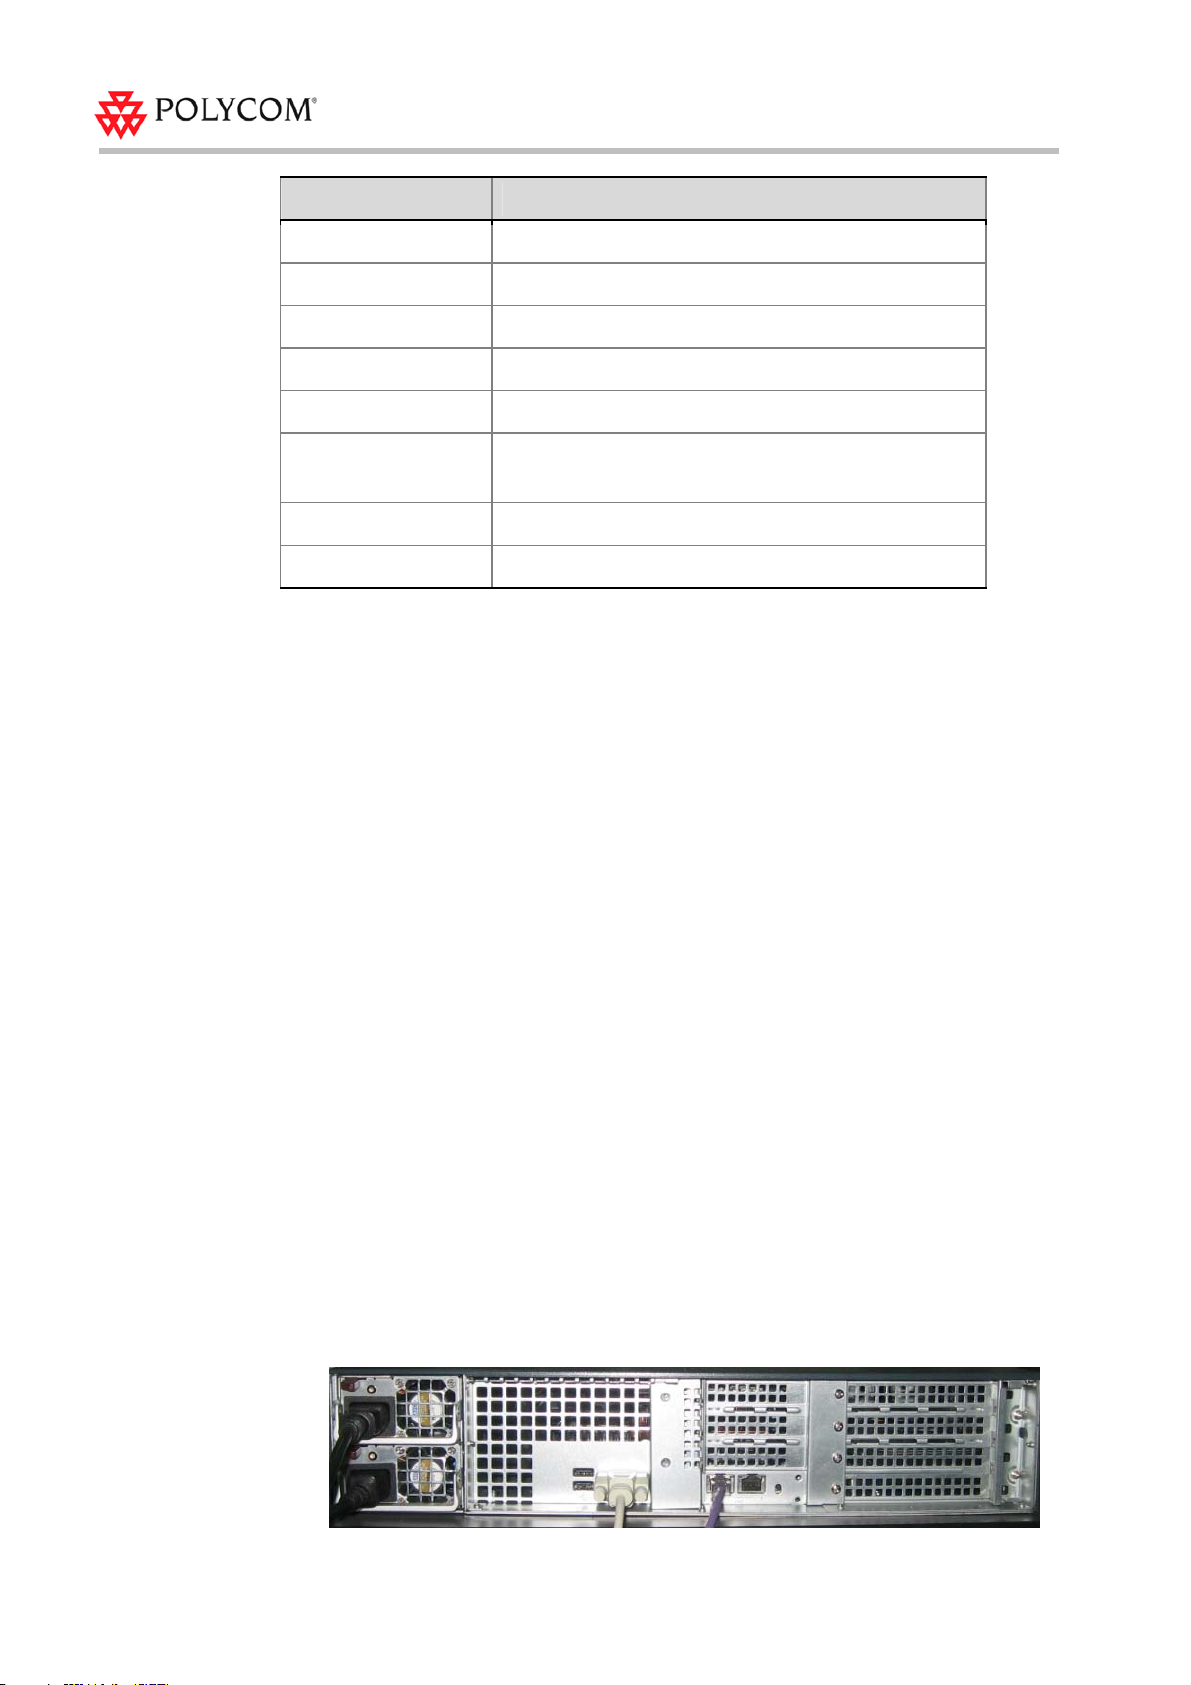
1 Pl
2 Insert each power cord connector into the rear of the unit and connect each t
3 Connect the LAN cable to LAN1 in the back of the system.
4 Turn on the power switch.
ace the Polycom® RSS™ 4000 unit on a stable flat surface in the selected
location.
appropriat
two power cords, BOTH power cords should be connected to the mains power
supply during normal operation.
ely rated socket outlet. The Polycom® RSS™ 4000 unit is supplied with
o an
Page 6

Polycom® RSS™ 4000 Getting Started Guide – Version 5.0
Initial
Plug Acts as Disconnect Device:
The socket outlets to which this apparatus is connected must be installed near the
equipment and must always be read ily accessible.
In order to fully isolate the equipment then both power cords should be disconnected
otherwise the system will remain energized.
Polycom® RSS™ 4000 IP Configuration
The system is shipped with a default IP configuration:
IP Addr
Subnet Mask: 255.255.255.0
Gateway: 192.168.1.1
There are two ways to change the initial IP address of th
able
Via a cross over LAN c
Via a RS232 or Telnet Console.
ess:192.168.1.254
e system:
Changing the initial IP address via a cross over LAN
1 Connect a cross over LAN ca
2 Set your laptop to the same segm
For example (in your laptop IP config setting):
ble to LAN1 in the Polycom® RSS™ 4000.
ent of the Polycom® RSS™ 4000.
cable
3
Page 7

Polycom® RSS™ 4000 Getting Started Guide – Version 5.0
3 Open a browser and go to: http://192.168.1.254
4 Login to the system
User name: POLYCOM, Password: POLYCOM
5 Go to System Configuration->IP Settings and set a static IP. Click Save and then
reset the system.
4
Page 8

Polycom® RSS™ 4000 Getting Started Guide – Version 5.0
Changing the initial IP address via an RS232 Console or Telnet
Another option to modify the IP address of the Polycom® RSS™ 4000 is using the
RS232 console.
Connect to the RS232 port – and activate the console (9600, 8bits)
Login: POLYCOM (initial password)
When you first login to the console, you will see the current IP address of the system.
Help
After the user have logged onto the system, enter "?" or "help" after the "#" to show the
available commands.
#?
Available commands:
show Show system information.
...
help or ? Show this message.
quit Logout.
#
IP settings
Enter the command in below format after the prompt "#" to set LAN 1 IP address:
set lan1 static <ip address> netmask <ip mask> [gw <gateway address>]
For example, set the IP address of the LAN1 interface to 172.21.103.129, subnet mask to
255.255.255.0, and the gateway address to 172.21.103.254:
# set lan1 static 172.21.103.129 netmask 255.255.255.0 gw
172.21.103.254
Reset login Password
Enter “reset password" after the prompt "#" and press Enter to reset the current
password to the default password (POLYCOM), allowing the user to reset the login
password.
5
Page 9

Polycom® RSS™ 4000 Getting Started Guide – Version 5.0
# reset password
Password has been successfully reset.
The same proce ss applies also for Telne t conne ction s.
Only one console session can be active at any given time (either Telnet or RS232 , not both).
The system is now ready for use. For additional configuration instructions, refer to the
user guide.
6
Page 10

Polycom® RSS™ 4000 Getting Started Guide – Version 5.0
Polycom® RSS™ 4000 Maximum
Capacity
Table 3 Maximum Capacity
Scenario Description Maximum Capacity
H.323
Connection
Single Point
Recording
Point to Point
recording
H323
Playback
Archive
playback
(WMV
Unicast)
Archive
playback
(Multicast)
How many H.323 devices can be
connected to Polycom® RSS™ 4000
simultaneously?
How many conferences can be
recorded simultaneously?
How many point to point calls can be
recorded (if both are dialing into the
Polycom® RSS™ 4000)?
How many recordings can be
simultaneously played back in H323?
How many streams/archives can be
simultaneously viewed (unicast)?
How many streams/archives can be
simultaneously viewed (multicast)?
15
15
4
15
If the playback was recorded at the
rate of :
[128k ~ 1024k] – It supports 200
simultaneous archived playbacks;
(1024k ~ 2048k] – It supports 100
simultaneous archived playbacks;
(2048k ~ 4096k] – It supports 50
simultaneous archived playbacks.
2
The number of H.323 connection includes that used for si ngle poin t re cord ing, point to poin t
recording, and H.323 archive p layback.
7
Page 11

Polycom® RSS™ 4000 Getting Started Guide – Version 5.0
Network TCP/UDP ports used by Polycom® RSS™ 4000
Table 4 TCP/UDP ports used by Polycom® RSS™ 4000
Usage Type Port Range
Manager TCP 81
Web TCP 80
https TCP 443
Trace UDP 30011
Telnet TCP 23
FTP TCP 21
FTP DATA TCP 100-1000
Gatekeeper UDP 1719
RAS UDP 1720
Endpoint/
H.323
Media
Q.931 Socket TCP 1720
H.245 Socket TCP 1730-1749
Live Broadcast TCP 1800-1819
Audio / Video Data UDP 2000-2199
On demand Protocol TCP 554
On Demand Archive TCP (optional) 554
On Demand Archive UDP(optional) Random (for source port)
8
Page 12

Polycom® RSS™ 4000 Getting Started Guide – Version 5.0
Notes Regarding On Demand Archive
The UDP ports used for on demand archives are randomly chosen. There are two
ways to configure firewalls and Windows Media Player for usage with Polycom®
RSS™ 4000 on demand archives.
1 Open an outbound UDP port range matching what is used by Windows Media
Player, or open all UDP ports outbound from Polycom® RSS™ 4000 to effectively
bypass the firewall for outbound traffic. Also open the port range used by
Windows Media Player for inbound traffic to the viewing PC. This range is
configurable in Windows Media Player, as seen in Figure 1 (Windows Media
Player
define the port range.
2 Disable UDP connections in Windows Media Player to force a TCP-only
connection. This configuration utilizes only TCP port 554. As seen in Figure 2,
disabling
all connections to use TCP 554 only.
defaults shown). The user can check RTSP/UDP, check ‘Use ports’ and
RTSP/UDP removes the user’s ability to specify a port range and forces
9
Page 13

Polycom® RSS™ 4000 Getting Started Guide – Version 5.0
10
Figure 1 Enable RTSP/UDP
Page 14

Polycom® RSS™ 4000 Getting Started Guide – Version 5.0
Figure 2 Disable RTSP/UDP
11
 Loading...