

Polk Audio Ultra Marine MM651UM, Ultra Marine MM6501UM, Ultra Marine MM840UM, Ultra Marine MM840UM-DVC, Ultra Marine MM1040UM Owner's Manual

MM6501
UM
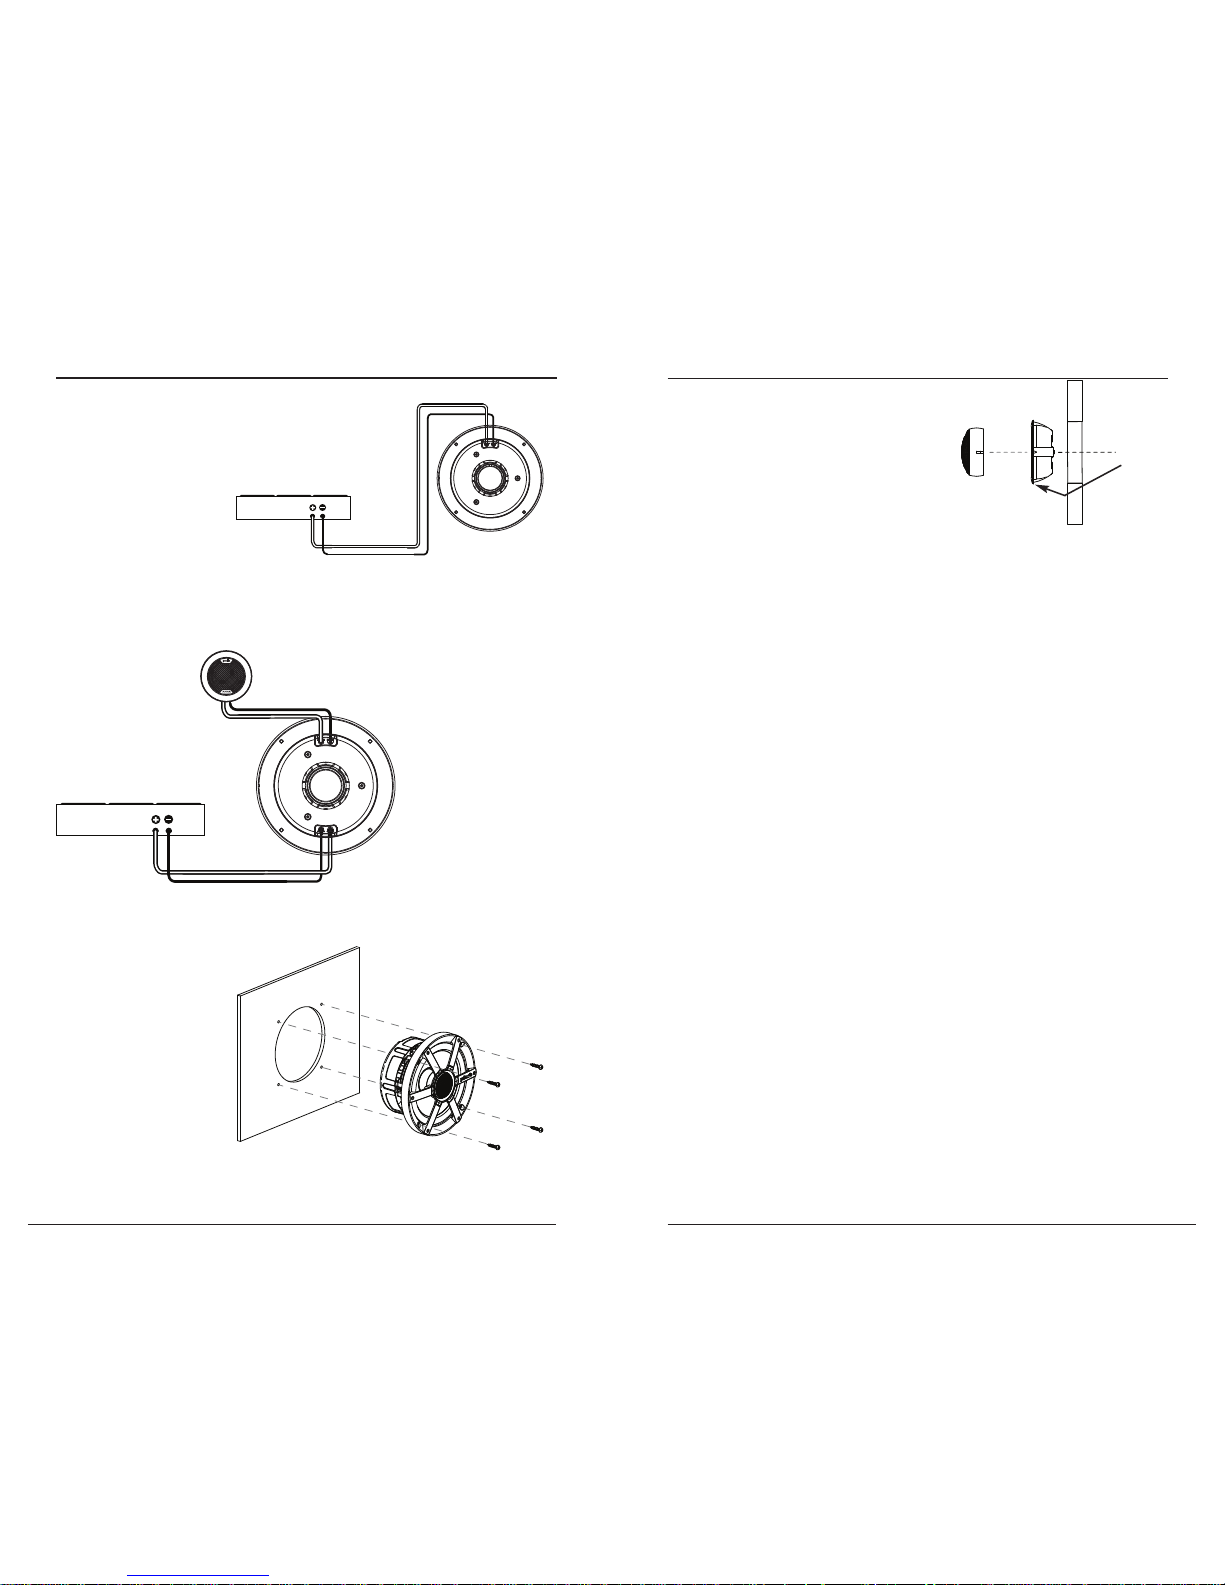
Figure 4
Flush Mount
TWEETER MOUNTING
1. Check for proper clearance: The flush mount
kit is 7/8" (22.2mm) deep.
2. Mark the center of the hole you want to cut.
Then cut a 2" (50.8mm) diameter hole using
a hole saw, drill bit or razor knife.
Note: The cup and spring clamp come preassembled as a single unit.
3. Route wires through the cutout and then through
the round opening in the bottom of the cup.
4. Press the flush cup/spring clamp assembly into
the cutout until the spring clamp arm's snap
into place.
5. Connect wires from the tweeter terminals for
the crossover to the tweeter itself using the
faston connectors. Connect the red wire from
the (+) positive terminal of the crossover tweeter
output to the red positive (+) wire from the tweeter.
Note: Use the included extension wires if the
tweeter leads aren't long enough.
6. Mount the tweeter by snapping it into the flush
mount cup.
ENGLISH
spring clip
crampon-ressort
abrazadera de resorte
federklemme
grampo de mola
staffa elastica
Amplifier
Coaxial speaker
Figure 1
MM651
UM
BASIC COAXIAL CONNECTION
Amplifier
Mid-Woofer
Tweeter
Figure 2
BASIC COMPONENT CONNECTION
INSTALLING MM6501
UM
– +
+ –
Figure 3
INSTALLING MM651
UM
& MM6501
UM
ROUND MODELS
+ –
FULL RANGE MM651UM & MM6501UM
 Loading...