

Polk Audio I-Sonic Digital Audio System Owner's Manual
I°Sonic
®
DIGITAL AUDIO SYSTEM
Owner’s Guide

Safety
Warning
Important Safety
Instructions—Read Before
Operating Equipment
his product was designed and manufactured to meet
T
strict quality and safety standards. There are, however,
some installation and operation precautions which you
should be particularly aware of.
1. Read Instructions. All the safety and operating instructions
should be read before the system is operated.
2. Retain Instructions. The safety and operating instructions
should be retained for future reference.
3. Heed Warnings. All warnings on the appliances and
in the operating instructions should be adhered to.
4. Follow Instructions. All operating and use instructions
should be followed.
5. Cleaning. Unplug the appliance from wall outlet before
cleaning. Do not use liquid cleaners or aerosol cleaners.
Use a dry cloth for cleaning.
6. Attachments. Do not use attachments not recommended
by the product manufacturer as they may cause hazards.
7. Water and Moisture. Do not use these appliances near
water—for example, near a bath tub, wash bowl, kitchen
sink, or laundry tub, in a wet basement, or near a swimming
pool, and the like.
8. Accessories. Do not place these appliances on an unstable
cart, stand, tripod, bracket, or table. The audio/video products
may fall, causing serious injury to a child or adult, and serious
damage to the products. Use only with a cart, stand, tripod,
bracket, or table recommended by the manufacturer, or sold
with the appliances. Any mounting of the appliances should
follow the manufacturer’s instructions, and should use
mounting accessories recommended by the manufacturer.
9. Ventilation. Slots and openings in the cabinet are provided for
ventilation and to ensure reliable operation of the appliances
and to protect them from overheating, and these openings
must not be blocked or covered. The openings should never
be blocked by placing the products on a bed, sofa, rug, or
other similar surface. This product should never be placed
near or over a radiator or heat register. This product should
not be placed in a built-in installation such as a bookcase
or rack unless proper ventilation is provided or the manufacturer’s instructions have been adhered to.
10. Power Sources. This product should be operated only from
the type of power source indicated on the marking labels.
If you are not sure of the type of power supply to your home,
consult your appliance dealer or local power company.
11. Grounding or Polarization. This product is equipped
ith polarized alternating-current line plugs (plugs having
w
one blade wider than the other). This plug will fit into the
power outlet only one way. This is a safety feature. If you
are unable to insert the plug fully into the outlet, try
reversing the plug. If the plug should still fail to fit,
contact your electrician to replace your obsolete outlet.
Do not defeat the safety purpose of the polarized plug.
12. Power Cord Protection. Power-supply cord should be
routed so that it is not likely to be walked on or pinched
by items placed upon or against it, paying particular
attention to cords at plugs, convenience receptacles,
and the point where they exit from the appliances.
13. Lightning. For added protection for this audio/video
product during a lightning storm, or when it is left
un-attended and unused for long periods of time,
unplug it from the wall outlet and disconnect
the antenna or cable system. This will prevent
damage to the product due to lightning and
power-line surges.
14. Power Lines. An outside antenna system should
not be located in the vicinity of overhead power lines
or other electric light or power circuits, or where it can
fall into such power lines or circuits. When installing
an outside antenna system, extreme care should
be taken to keep from touching such power lines
or circuits as contact with them might be fatal.
15. Overloading. Do not overload wall outlets and extension
cords as this can result in a risk of fire or electric shock.
16. Object and Liquid Entry. Never push objects of any kind
into this product through openings, as they may touch
dangerous voltage points or short out parts that could
result in a fire or electric shock. Never spill liquid of any
kind on this audio/video product.
17. Servicing. Do not attempt to service this product
yourself, as opening or removing covers may expose
you to dangerous voltage or other hazards. Refer all
servicing to qualified service personnel.
18. Damage Requiring Service. Unplug this product
from wall outlets and refer servicing to qualified service
personnel under the following conditions:
a. When the power supply cord or plug is damaged.
b. If liquid has been spilled, or objects have fallen
into the product.
2 Polk Audio Customer Service 800-377-7655 (Outside USA & Canada: 410-358-3600) I-Sonic: Safety Warning

c. If the product has been exposed to rain or water.
d. If the product does not operate normally by following
the operating instructions. Adjust only those controls
that are covered by the operating instructions, as an
improper adjustment of other controls may result
in damage and will often require extensive work
by a qualified technician to restore the product
to its normal operation.
e. If the product has been dropped or the cabinet
has been damaged.
f. When the product exhibits a distinct change in
performance—this indicates a need for service.
19. Replacement Parts. When replacement parts are
required, be sure the service technician has used
replacement parts specified by the manufacturer or that
the parts have the same characteristics as the original
part. Unauthorized substitutions may result in fire,
electric shock or other hazards.
20. Safety Check. Upon completion of any service or repairs
to this product, ask the service technician to perform
safety checks to determine that the products are in
proper operating condition.
21. Carts and Stands. The appliances should be used
only with a cart or stand that is recommended by the
manufacturer. An appliance and cart combination should
be moved with care. Quick stops, excessive force, and
uneven surfaces may cause the appliance and cart
combination to overturn.
22. THIS PRODUCT IS NOT INTENDED
FOR USE OUTDOORS.
NOTE:
This equipment has been tested and found to comply with the
limits for a Class B digital device, pursuant to part 15 of the FCC
Rules. These limits are designed to provide reasonable protection
against harmful interference in a residential installation. This equipment generates, uses and can radiate radio frequency energy,
and, if not installed and used in accordance with the instructions,
may cause harmful interference to radio communications. However, there is no guarantee that interference will not occur in
a particular installation. If this equipment does cause harmful
interference to radio or television reception, which can be
determined by turning the equipment off and on, the user is
encouraged to try to correct the interference by one or more
of the following measures:
Reorient or relocate the receiving antenna.
Increase the separation between the equipment and receiver.
Connect the equipment into an outlet on a circuit
different from that to which the receiver is connected.
Consult the dealer or an experienced radio/TV
technician for help.
Product Disposal. Certain international, national and/or local
laws and/or regulations may apply regarding the disposal
of this product. For further detailed information, please
contact the retailer where you purchased this product or
the Polk Audio Importer/Distributor in your country. A listing
of Polk Audio Importer/Distributors can be found on the
Polk Audio website www.polkaudio.com or by contacting
Polk Audio at: 5601 Metro Drive, Baltimore, Maryland 21215,
USA. Phone: +1-410-358-3600; in California: 1-800-377-7655.
Customer Service Hours of Operation Monday-Friday, 9AM-5:30 PM EST polkcs@polkaudio.com I-Sonic: Safety Warning 3

Table
Of Contents
2 Safety Warning
4 Table Of Contents
5 Introduction
5 I-Sonic®From Polk Audio
®
5 I-Sonic Technology
5 Product Features
5 For Your Records
6 Setting up Your I-Sonic
6 Unpack Your I-Sonic
6 Select The Location
7 Back Panel Hookups
7 Quick Set-Up
8 Special Features
8 Dock For Your iPod®and iPhone
®
8 iPod & iPhone Adapter Guide
8 Compatibility Chart
9 Enjoying Your I-Sonic
9 Using The Console Buttons
10 Using The Remote Control
11 Turning On The I-Sonic
11 Select A Source
12 Listening To The Radio
12 Tuning In A Radio Station
13 Seeking A Radio Station
13 Saving Or Deleting
A Preset Radio Station
13 Accessing A Preset Radio Station
14 Listening To Your iPod or iPhone
14 Connect Your iPod or iPhone
14 Play Your iPod or iPhone
14 Play/Pause
14 Next Track/Fast Forward &
Previous Track/Rewind
15 Using Auxiliary Input
15 Setting The Clock
16 Setting The Alarm
16 Alarm On/Off
17 Setting The Sleep Timer
17 Settings Menu
17 Bass,Treble, Brightness & Input Gain
18 Radio Reception & Antenna
18 AM Radio
18 FM Radio
18 Rural Conditions
18 Cable
18 Care & Maintenance
18 Maintaining Your I-Sonic
19 Trouble Shooting
56 Warranty
4 Polk Audio Customer Service 800-377-7655 (Outside USA & Canada: 410-358-3600) I-Sonic: Table Of Contents

Introduction
I-Sonic Digital Audio System
From Polk Audio
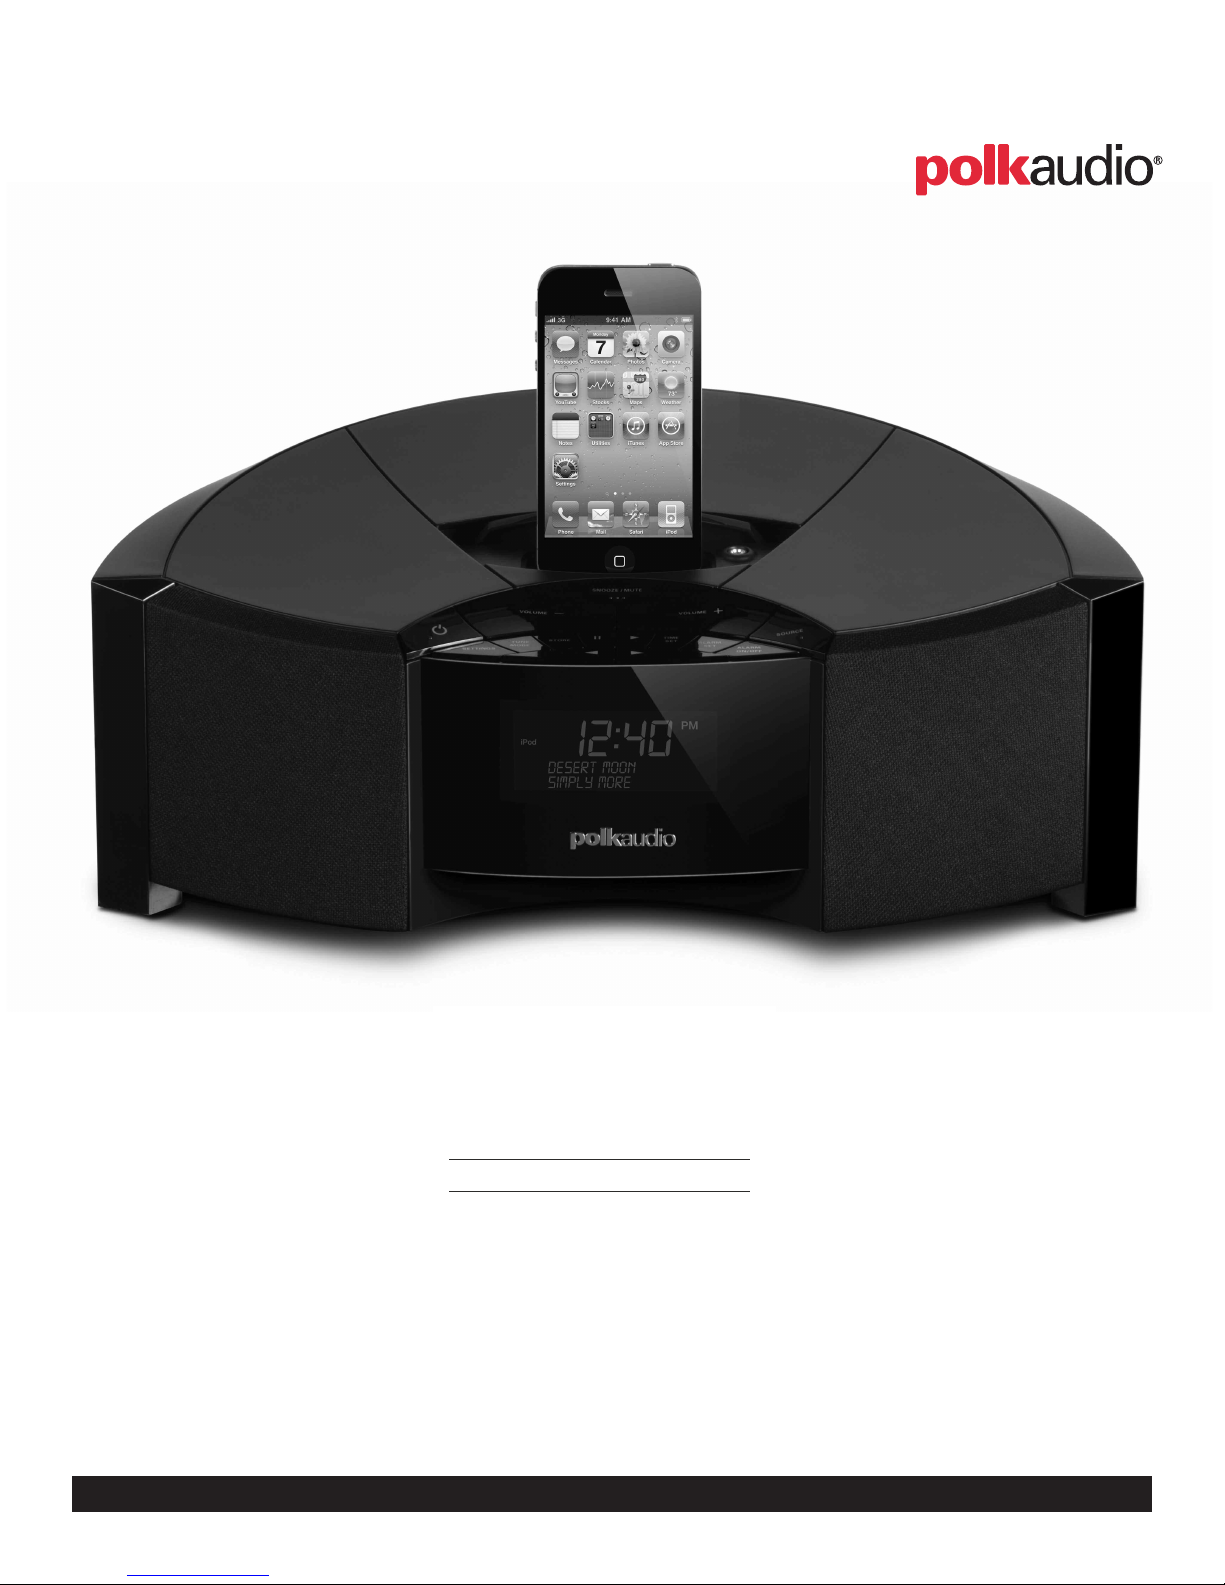
Thank you for purchasing the Polk Audio I-Sonic Digital Audio
System, an entertainment system capable of high quality, room
filling sound from the latest digital sources. The I-Sonic allows
you to enjoy your iPod or iPhone music libraries, AM/FM Radio,
or external audio sources in any room of your home.
Polk Audio has engineered acoustic systems for over 35 years
and developed the I-Sonic sound system to provide full bandwidth
audio performance, independent of the location of the product or
listener. Combining the I-Sonic 4-speaker array with our patented
PowerPort
the I-Sonic creates a beautiful, big, rich, room-filling stereo
sound throughout an entire room, no matter where you sit.
®
technology used in our premium sound systems,
I-Sonic
Technology
Four-speaker I-Sonic technology delivers a room-filling, stereo
soundstage 360° around the entertainment system. You will
hear big, lifelike sound everywhere in the room, even if you
are to the side or behind the unit. By manipulating the signals
to the speakers through a pattern of signal cancellation, reinforcement and delays, Polk Audio engineers created a larger
sound stage and more specific imaging. The result is a rich,
full stereo image projected all around the I-Sonic Digital Audio
System into the room, with the clarity and spacious sound
for which Polk Audio is known.
Product
Features
iPod/iPhone Dock—integrated into the top of the unit.
Polk Audio Patented I-Sonic Speaker Technology allows
stereo imaging on all sides of the entertainment system.
Polk Audio Patented PowerPort
for impressive bass performance.
LCD Display—Showing Artist, Title, Commercial fields.
Remote Control for all radio functions.
20 Presets for AM/FM.
Clock With Alarm & Sleep Timer.
Aux Input for easy connection of other devices.
Outputs— Headphone (mutes main speakers).
Compact Size: 14 1/4" W x 9 9/16" D x 4 15/16" H
(36.2 cm x 24.29 cm x 12.54 cm).
®
Bass Technology
For
Your Records
Serial Number:
Purchase Date:
Attach Your Receipt Here:
I-Sonic four-speaker array technology
delivers a room-filling, stereo soundstage
360° around the I-Sonic.
Customer Service Hours of Operation Monday-Friday, 9AM-5:30 PM EST polkcs@polkaudio.com I-Sonic: Introduction 5

SettingUpYour
I-Sonic Digital Audio System
Unpack
Your I-Sonic
Ensure that you have everything in your I-Sonic carton
to start enjoying your system. Inside you should find:
I-Sonic Digital Audio System
Remote Control (battery included)
Power Supply and Cord
AM Antenna
FM Antenna
Dock Adapters
Owner’s Guide
Online Registration Card
Important Note
If anything is missing or damaged, or if your I-Sonic fails
to operate, notify your dealer immediately. We recommend
keeping your original carton and packing materials in case
you need to ship the unit in the future. Contact Polk Audio
Customer Service 9am-5:30pm
(Outside USA & Canada: 1+ 410-358-3600), or email
polkcs@polkaudio.com.
EST 1-800-377-7655
Select
The Location
Place your I-Sonic on a flat surface such as a table,
countertop, TV stand, or bookshelf. In order to get the
maximum benefits of the I-Sonic, place the unit so
that the rear speakers are not blocked.
On A Table Or Shelf—preferred location, 6" - 12" from wall.
On A Corner Table—the closer to the wall the more bass
boost you will hear; you may want to reduce the bass
in the Settings Menu (See page 17).
In An Armoire Or Enclosed Shelf—the acoustic image may
be restricted because the back speakers are under the shelf;
this may also increase the bass output. You may want to
adjust a combination of bass and treble setting; for instance
reduce the bass and increase the treble in the Settings
Menu (See page 17).
6 Polk Audio Customer Service 800-377-7655 (Outside USA & Canada: 410-358-3600) I-Sonic: Setting Up Your I-Sonic

SERVICE
PORT
AUX
INPUT
AM
ANTENNA
FM
ANTENNA
24V DC, 2.09A
Back Panel
Hookups
1. External FM Antenna
2. External AM Antenna (Black Is Ground)
3. Aux Input (3.5 mm)
4. Power
Quick Set-Up
1. Connect The Power
Connect the power supply to an electrical outlet.
Connect the output of the power supply
to the I-Sonic.
2. Connect The Antennas
Connect the FM antenna
Connect the AM antenna—black is ground.
3. Set The Time
Press and release the “TIME SET” button
on the top of the console.
Use the adjust buttons
to choose 12HR or 24HR
()
clock type. Press and release the “TIME SET” button.
Use the adjust buttons
to set the hour.
()
Press and release “TIME SET” button.
Use the adjust buttons
to set the minute.
()
Press and release “TIME SET” button.
Use the adjust buttons
to select AM or PM.
()
Press and release the “TIME SET” button.
The clock is now set.
Customer Service Hours of Operation Monday-Friday, 9AM-5:30 PM EST polkcs@polkaudio.com I-Sonic: Setting Up Your I-Sonic 7
Special iPod & iPhone
Features Adapter Guide
Dock For
Your iPod and iPhone
The I-Sonic Digital Audio System features a digital audio compatible dock for your iPod and iPhone mobile digital device on the
op of the unit. The dock features the latest connectivity, allowing
t
all Apple DRM content playback for music files. Also, the I-Sonic
charges your iPod or iPhone device when it’s docked.
Phone, iPod, iPod classic, iPod nano, and iPod touch are trademarks of Apple Inc.,
i
registered in the U.S. and other countries. Made for iPod touch (1st, 2nd, 3rd, and
4th generation), iPod classic, iPod with video, iPod nano (1st, 2nd, 3rd, 4th, 5th,
and 6th generation), iPhone 4, iPhone 3GS, iPhone 3G, and iPhone.
Made for iPod” and “Made for iPhone” mean that an electronic accessory
“
as been designed to connect specifically to iPod or iPhone respectively,
h
nd has been certified by the developer to meet Apple performance standards.
a
Apple is not responsible for the operation of this device or its compliance
with safety and regulatory standards. Please note that the use of this
accessory with iPod or iPhone may affect wireless performance.
Be sure to use the dock adapter that matches your iPod
to ensure a proper fit and to prevent connector damage.
Adapter iPod Capacity
Number Description
1
2 iPod (3rd gen) 30GB & 40GB
3 iPod mini (2nd gen) 4GB & 6GB
4 iPod (4th gen) 20GB & 30GB
5 iPod (4th gen) 40GB
6 iPod color 20GB & 30GB
7 iPod color 40GB & 60GB
8* iPod nano 1GB, 2GB & 4GB
9* iPod classic 80GB, 120GB & 160GB
10* iPod video (5th gen) 60GB & 80GB
11* iPod nano (2nd gen) 2GB, 4GB & 8GB
12 iPhone 4GB, 8GB & 16GB
13* iPod nano (3rd gen) 4GB & 8GB
14* iPod touch 8GB & 16GB
15** iPhone 3G, iPhone 3GS 8GB & 16GB
16** iPod touch (2nd gen, 3rd gen) 8GB & 16GB
17** iPod nano (4th gen) 8GB & 16GB
18** iPod nano (5th gen) 8GB & 16GB
19** iPhone 4 16GB & 32GB
20** iPod touch (4th gen) 8GB & 16GB
iPod (3rd gen) 10GB,15GB & 20GB
iPod video (5th gen) 30GB
* Supplied with iPod.
** Supplied with Product.
8 Polk Audio Customer Service 800-377-7655 (Outside USA & Canada: 410-358-3600) I-Sonic: Special Features

Enjoying
14
15
SNOOZE/MU TE
VOLUME
TUNE
MODE
S
OURCE
STORE
TIME
SET
ALARM
SET
ALARM
ON/OFF
SETTIN GS
VOLUME
+–
Your I-Sonic
Using The
Console Buttons
On top of the I-Sonic Digital Audio System (DAS) you will see a
button array. The following list describes each button’s function:
1. Power ( )Button. Toggles the power between
“On” and “Standby.”
2. VOLUME +/- Buttons. Increases/decreases the volume level.
Also takes the I-Sonic DAS out of “Mute” if it’s engaged.
3. SNOOZE/MUTE Button.
During normal operation: Mutes the sound of any source.
When alarm is sounding: Turns off alarm for 10 minutes.
When in “Standby:” Changes the display brightness.
4. SOURCE Button. Selects the source you want to play:
AM, FM, iPod, or Aux.
5. SETTINGS Button. Adjusts bass level, treble level,
display brightness, sleep timer and Aux input gain.
6. TUNE MODE Button. Switches between Tune, Seek
and Preset tuning modes (see pp.12-13).
7. STORE Button. Saves stations into the next
available preset (see p.13).
Customer Service Hours of Operation Monday-Friday, 9AM-5:30 PM EST polkcs@polkaudio.com I-Sonic: Enjoying Your I-Sonic 9
8. Pause (
II ) Button. Pauses a track during
iPod or iPhone operation.
9. Adjust () Buttons. Changes selections
during I-Sonic system operation.
10. Play ( ) Button. Plays a track during
iPod or iPhone operation.
11. TIME SET Button. Sets the time (see p.15).
12. ALARM SET Button. Sets the alarm (see p.16).
13. ALARM ON/OFF Button. Turns the alarm on or off.
Note: When the alarm is on, the display will show
the alarm icon ( ).
14. Headphone Jack. When headphones are plugged
into this jack, the MAIN SPEAKERS will be muted.
15. Dock. The dock has a universal well and requires
the appropriate iPod or iPhone adapter. Use the
adapter that came with your device or use the
one included in the box specific to your iPod
or iPhone model (see p. 8).

PULL
Enjoying
Your I-Sonic
Using The
Remote Control
Most of the functions on your I-Sonic are conveniently
controlled by a compact remote control. The functions
are the same as the buttons on the radio unless indicated.
GENERAL
. POWER. Toggles the power between “On” and “Standby.”
1
2. DISP (Display). Adjusts display brightness.
3. MUTE
During normal operation: Mutes the sound of any source.
When alarm is sounding: Turns off alarm
for 10 minutes (snooze).
4. SOURCE SELECTION
FM: Selects FM radio as the source.
AM: Selects AM radio as the source.
AUX: Selects AUX as the source.
iPod: Selects your iPod or iPhone device as the source.
5. VOLUME (+/–). Increases/decreases the volume level.
TRANSPORT CONTROLS
6. Rewind (
track. Hold the button down to rewind the current track.
7. Play/Pause (
song on your iPod or iPhone.
8. Fast Forward (
Hold the button down to fast forward the current track.
I). A single press will go to the previous
II ). Plays or pauses the currently playing
I ). A single press will go to the next track.
Remove plastic tab to initiate battery.
RADIO TUNING CONTROLS
9. TUNE (). Adjusts the radio frequency
one interval at a time. To move quickly up or down
the band, press and hold the button.
10. SEEK (). Finds the next strongest radio
station signal above or below the current frequency.
11. PRESET (). Loads the next preset
station above or below the current station.
12. SLEEP. Puts unit into “Standby” after defined time period.
Choices are: Off, 15, 30, 45, 60, 75 and 90 minutes.
ALARM CONTROLS
13. SET. Sets the alarm (see p.16)
14. (–) Button. Decreases alarm time or other
selections such as source, etc.
15. (+) Button. Increases alarm time or other
selections such as source, etc.
16. ON/OFF. Turns alarm on or off.
10 Polk Audio Customer Service 800-377-7655 (Outside USA & Canada: 410-358-3600) I-Sonic: Enjoying Your I-Sonic
Turning On
FMRadio
12:00
AM
AMRadio
12:00
AM
iPod
12:00
AM
Aux In
12:00
AM
FM
AM
AM
AM
iPod
AM
AUX
AM
TUNE
TUNE
The I-Sonic Digital Audio System
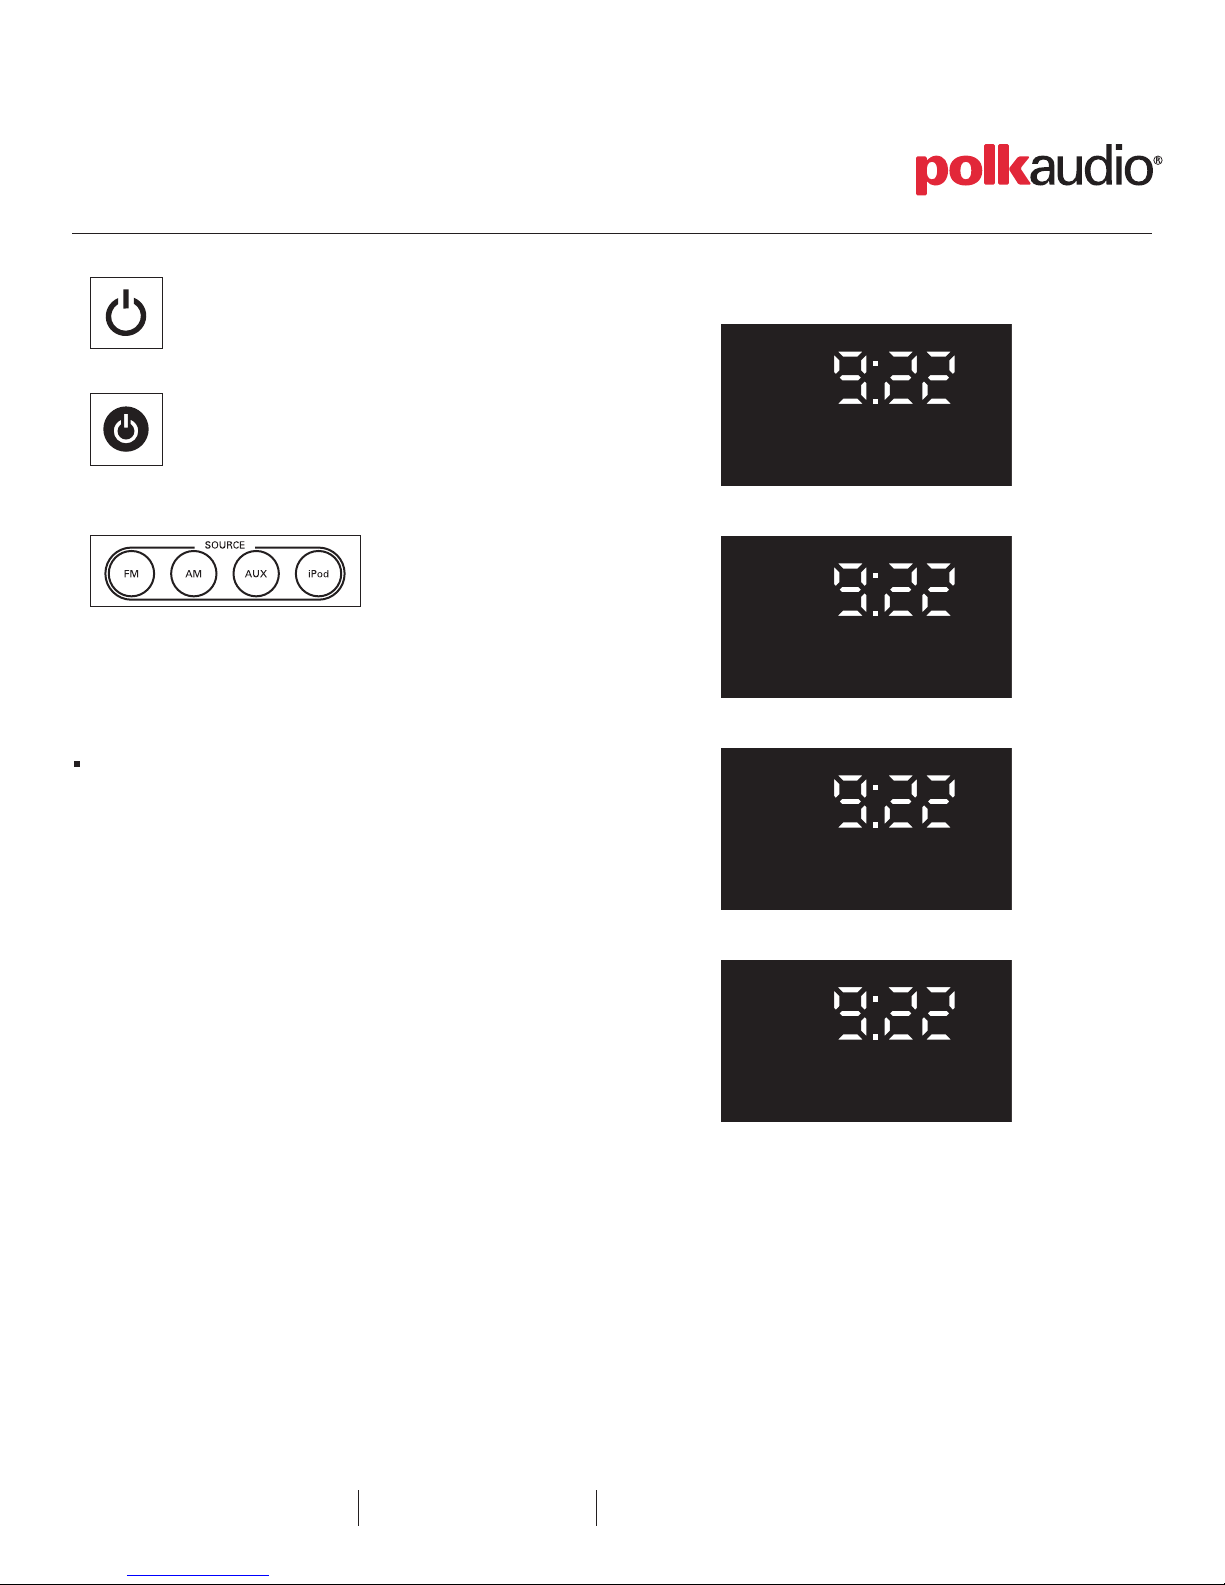
There are many ways to turn on the I-Sonic:
Console Power Button
Remote Power Button
ny Remote Source Button
A
Select A Source
Press the SOURCE button on the console or on
the remote to select the source you want to play.
Each press of the SOURCE button on the console
toggles to another source: AM – FM – iPod – AUX.
FM Radio Source
AM Radio Source
iPod Source
Customer Service Hours of Operation Monday-Friday, 9AM-5:30 PM EST polkcs@polkaudio.com I-Sonic: Turning On The I-Sonic 11
AUX Source
Listening
TUNE
MODE
FMRadio
12:00
AM
FM
AM
PRESET
ToThe Radio
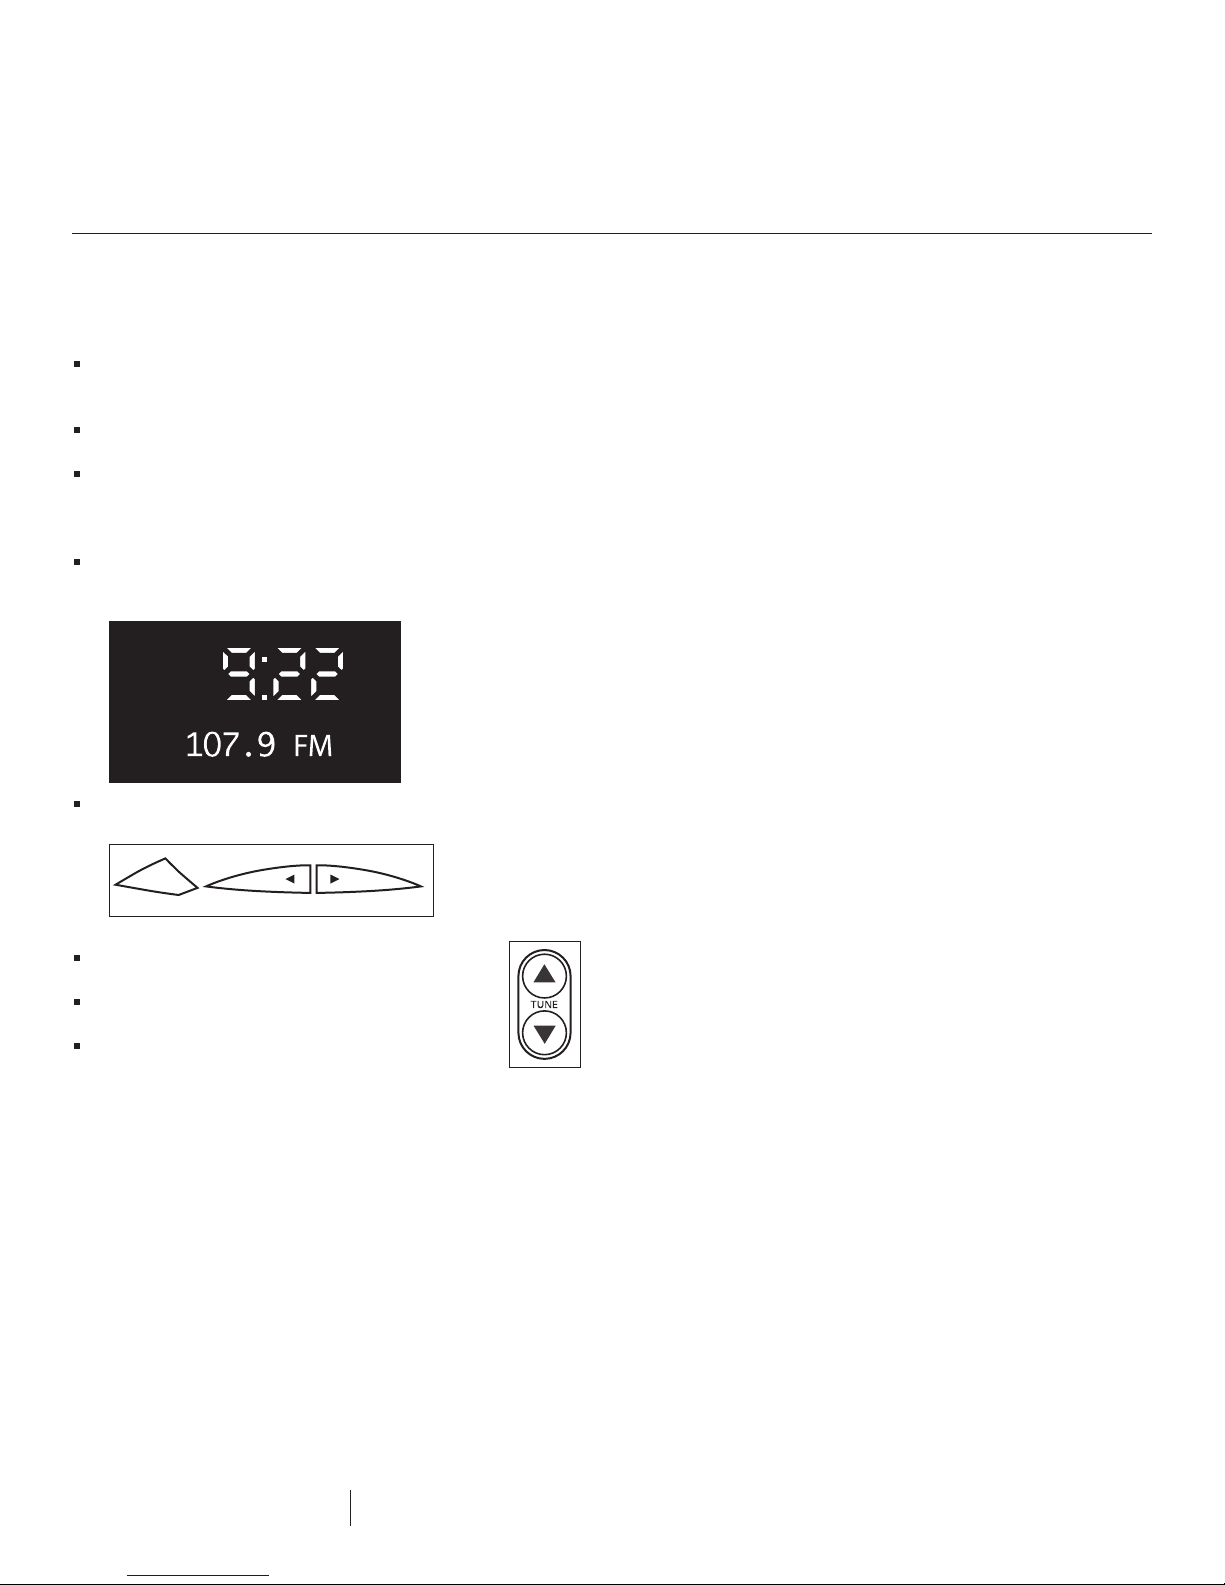
Tuning In A Radio Station
The I-Sonic Digital Audio System provides three different tuning
modes to help you find a radio station—Tune, Seek, and Preset.
Tune Mode: The adjust buttons () change the radio
frequency one interval at a time. Hold each button down
to quickly move up or down the frequency band.
Seek Mode: The adjust buttons () initiate a station
search, stopping at the next clear radio station.
Preset Mode: The adjust buttons () cycle through
your saved preset stations.
Using the Console:
Use the TUNE MODE button to select the desired
tuning mode (Tune, Seek, or Preset). The selected
mode is shown on the display.
Use the adjust buttons () to change
the radio frequency.
Using the Remote:
Use the TUNE buttons to change the radio
frequency one interval at a time (Tune Mode).
Use the SEEK buttons to initiate a station search
to the next clear radio station (Seek Mode).
Use the PRESET buttons to cycle through
your saved preset stations (Preset Mode).
12 Polk Audio Customer Service 800-377-7655 (Outside USA & Canada: 410-358-3600) I-Sonic: Listening To The Radio

Listening
TUNE
MODE
FMRadio
12:00
AM
FM
AM
PRESET
TUNE
MODE
T
UNE
M
ODE
FMRadio
12:00
AM
FM
A
M
SEEK
ToThe Radio
Seeking A Radio Station
Using The Console:
Press and release the TUNE MODE button to select
Seek Mode. Use the adjust () buttons to direct
he radio to find the next radio station below or above
t
the current frequency.
Using The Remote:
Press and release the SEEK buttons to find the
next strongest radio station signal above or below
the current frequency.
Saving Or Deleting
A Preset Radio Station
Using The Console:
Tune or Seek to a radio station you want to store.
Press and release the STORE button to bring up the list
of preset locations. Use the adjust () buttons to modify
the location (if desired). Press and release the STORE
button again to save the station in the selected location.
To delete a preset, tune to the preset station, then press
and hold the STORE button for 3 seconds and then release.
The station is removed from the preset list.
Note: Presets cannot be stored nor deleted from the remote.
Accessing A Preset
Radio Station
Note: The radio will move through the frequency band
(either up or down depending on which adjust button
you’ve pressed) until it locks onto a strong signal.
Customer Service Hours of Operation Monday-Friday, 9AM-5:30 PM EST polkcs@polkaudio.com I-Sonic: Listening To The Radio 13
Using The Console:
Press and release the TUNE MODE button to select
Preset Mode.
Use the adjust () buttons to load the next station from
your saved presets.
Using The Remote:
Press and release the PRESET () buttons to load the
next preset station above or below the current station.
Listening ToYour
iPod or iPhone
Connect
Your iPod or iPhone
To listen to the music on your iPod or iPhone:
1. Open the cover over the dock on the top of the I-Sonic.
2. Insert the dock adapter specific to your iPod or iPhone
model into the well (see p. 8)
3. Insert your iPod or iPhone device.
Note: Be sure to use the appropriate dock adapter to prevent
connector damage or damage to your iPod or iPhone casing.
For best sound performance, turn off your iPod or iPhone
EQ settings by following the instructions that were supplied
with your device.
Play
Your iPod or iPhone
Using The Console:
Press and release the SOURCE button until “iPod”
is illuminated in the display.
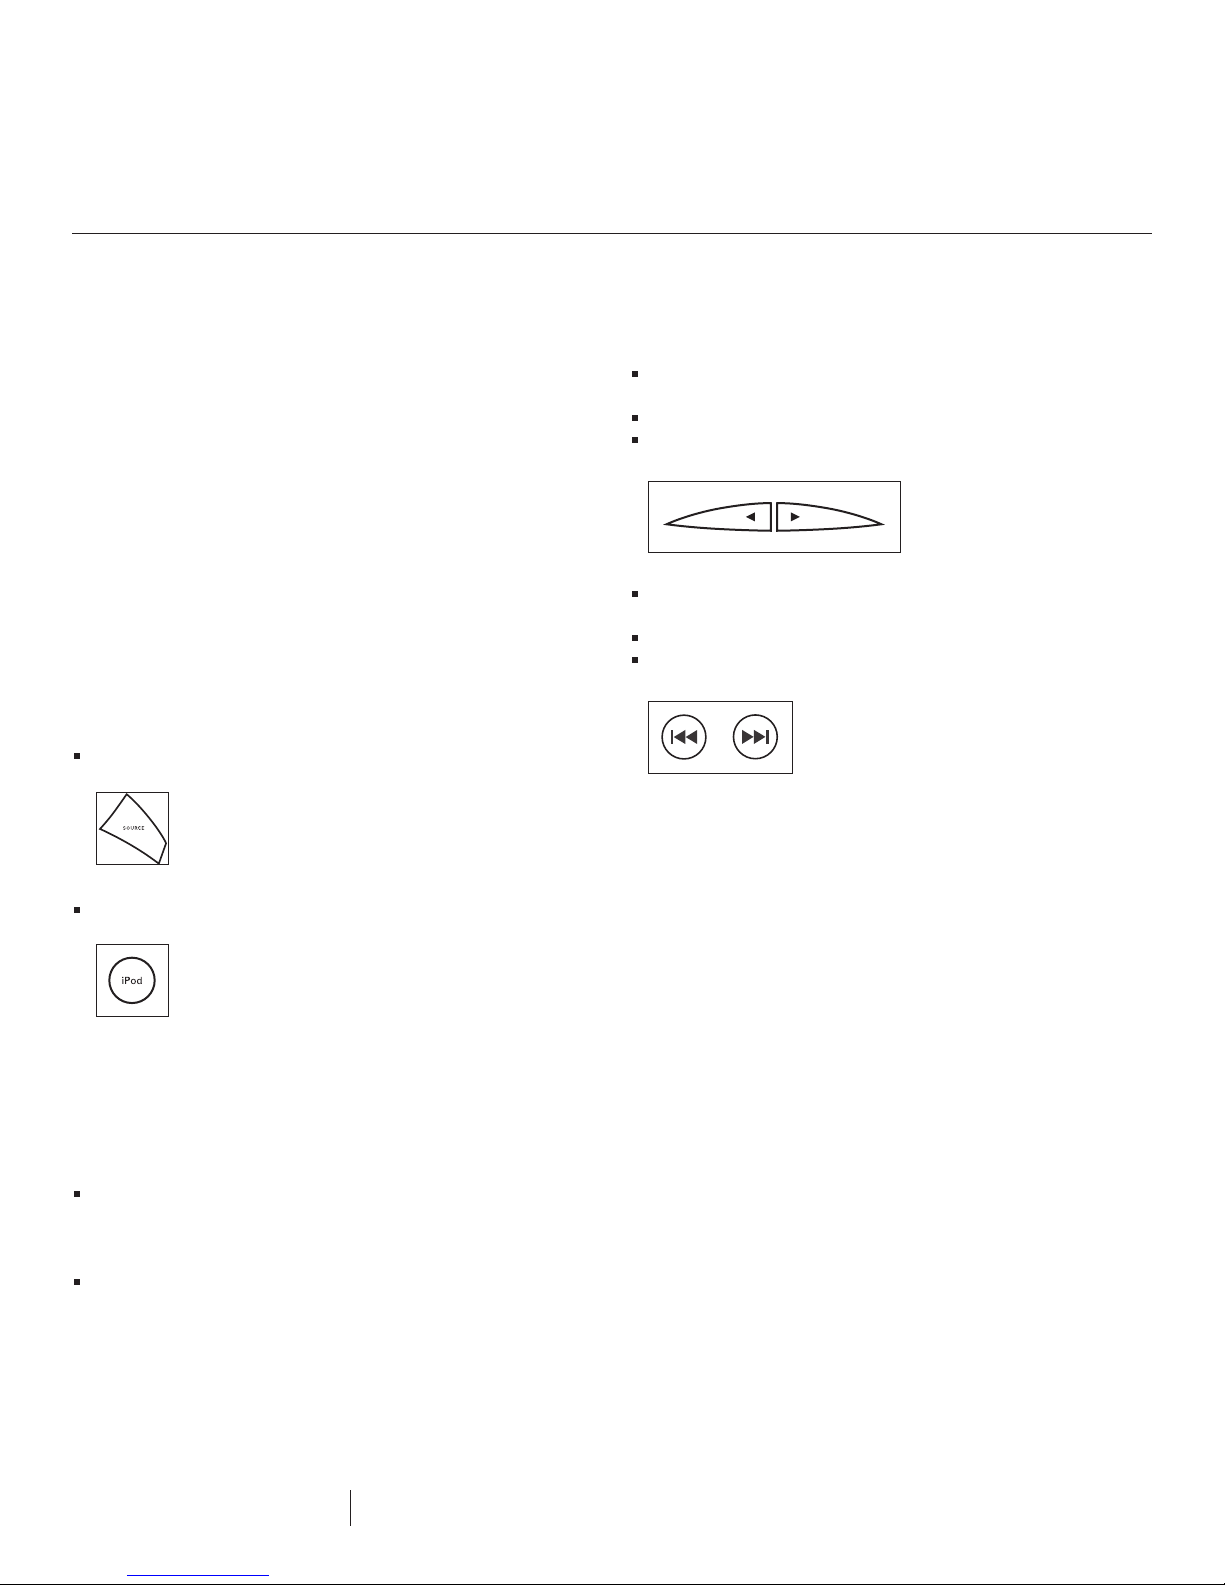
Next Track/Fast Forward
& Previous Track/Rewind
Using The Console:
Press and release the adjust () buttons to move
through your playlist.
A single press will go to the next or previous track.
Holding the button down will fast forward or rewind
the currently playing track.
Using The Remote:
Press and release the Fast Forward (
Rewind (
A single press will go to the next or previous track.
Holding the button down will fast forward or rewind
the currently playing track.
I) button to move through your playlist.
I ) or the
Using The Remote:
Press and release the iPod SOURCE button to select
the iPod or iPhone as your source.
Select the music, video, Playlist, or Podcast that you would
like to play. Press play on your iPod or iPhone device.
Play/Pause
Using The Console:
Press and release the Play () or Pause (
to play or pause a song on your iPod or iPhone device.
Using Your iPod Or The Remote:
Press and release the Play/Pause (
or pause a song on your iPod or iPhone device.
II ) buttons
II ) Button to play
14 Polk Audio Customer Service 800-377-7655 (Outside USA & Canada: 410-358-3600) I-Sonic: Listening To Your iPod Or iPhone

Using Setting
AUX
AM
Auxiliary Input The Clock
Aux Input
Connect your MP3 player, CD player, or other audio
device to the AUX INPUT on the rear of the I-Sonic.
Using The Console:
Press and release the SOURCE button until “AUX”
is illuminated in the display.
Using The Remote:
Press and release the “AUX“ button.
Using the Console:
Press and release the TIME SET button.
Use the adjust buttons () to choose 12HR
or 24HR clock type. Press and release the
TIME SET button to set the selection.
Use the adjust buttons () to set the hour.
Press and release the TIME SET button.
Use the adjust buttons () to set the minute.
Press and releases the TIME SET button.
Use the adjust buttons () to select AM or PM.
Press and release the TIME SET button.
The clock is now set.
Note: If the device you connect to the AUX input does not play
loud enough, you can change the gain level (See p. 17).
Customer Service Hours of Operation Monday-Friday, 9AM-5:30 PM EST polkcs@polkaudio.com I-Sonic: Using Auxiliary Input / Settings 15

Setting
The Alarm
Using the Console:
Press and release the ALARM SET button.
Use the adjust buttons () to set the hour.
Press and release the ALARM SET button.
Use the adjust buttons () to set the minute.
Press and release the ALARM SET button.
Use the adjust buttons () to select AM or PM.
Press and release the ALARM SET button.
Use the adjust buttons () to select
the source (Radio, iPod, or Tone). Press and release
the ALARM SET button.
For Radio source, use the adjust buttons ()
to select the station. Press and release the
ALARM SET button.
Use the adjust buttons () to select the volume.
Press and release the ALARM SET button.
The alarm is now set.
Using the Remote:
Press and release the SET button.
Alarm
On/Off
sing The Console:
U
Press and release the ALARM ON/OFF button to turn
the alarm on or off. Note: The alarm on indicator ()
will be illuminated in the display when the alarm is on.
Using The Remote:
Press and release the ALARM ON/OFF button to turn
the alarm on or off.
Use the adjust buttons
Press and release the SET button.
Use the adjust buttons
Press and release the SET button.
Use the adjust buttons (+/–) to select AM or PM.
Press and release the SET button.
Use the adjust buttons (+/–) to select
the source (Radio, iPod, or Tone).
Press and release the SET button.
For Radio source, use the adjust buttons
(+ / – ) to select the station. Press and release
the SET button.
Use the adjust buttons (+/–) to select the volume.
Press and release the SET button.
The alarm is now set.
(+ / – ) to set the hour.
(+ / – ) to set the minutes.
16 Polk Audio Customer Service 800-377-7655 (Outside USA & Canada: 410-358-3600) I-Sonic: Settings

Setting Settings
The Sleep Timer Menu
Using The Console:
The 4th press of the SETTINGS button will allow
you to set or disable the sleep timer. Use the adjust
() buttons to set the time interval. Choices are:
15, 30, 45, 60, 75, and 90 minutes. The sleep timer
ndicator ()will be illuminated in the display when
i
the timer is active.
Using The Remote:
Press and release the SLEEP button to set or
disable the sleep timer. Continue to press the
button to set the time interval. Choices are:
15, 30, 45, 60, 75, and 90 minutes.
Press and release the SETTINGS button to enter
into the menu.
Use the adjust buttons () to modify the bass level.
Press and release the SETTINGS button to set the selection.
Use the adjust buttons () to modify the treble level.
ress and release the SETTINGS button to set the selection.
P
Use the adjust buttons () to modify the display brightness.
Press and release the SETTINGS button to set the selection.
Use the adjust buttons () to set the sleep timer.
Press and release the SETTINGS button to set the selection.
Use the adjust buttons () to set the auxiliary input gain.
Press and release the SETTINGS button to set the selection.
Note: At the completion of any of the steps above
you can allow the menu to timeout if you do not
need to adjust any other settings.
Customer Service Hours of Operation Monday-Friday, 9AM-5:30 PM EST polkcs@polkaudio.com I-Sonic: Setting 17

Radio Reception Care &
& Antenna Maintenance
Even the best quality AM & FM tuners may have some
difficulty receiving analog AM and FM signals. Here are
some tips for getting the best possible radio reception
from your I-Sonic Entertainment Digital Audio System.
AM Radio
he I-Sonic has an external AM loop antenna. Be sure
T
to connect the wire marked in white to the white marked
terminal and the wire marked in black to the black marked
terminal. Move the antenna around to find the best reception
position. If your radio is located in a metal frame building,
there may be no reliable way to receive AM radio broadcasts.
FM Radio
The quality of FM reception is affected by many factors such
as distance, location of the radio transmission tower and your
proximity to large buildings, mountains and other large objects.
You will get better reception when the radio/antenna is placed
high in the house.
Rural Conditions
If you live far from radio transmitters you may not get the results
you want with any in-door antenna. The very best option is an
outdoor directional antenna specifically designed for FM with
a rotor for aiming the antenna. If you already have a roof TV
antenna you can tap into that although a specially designed
FM antenna is better.
Maintaining Your
I-Sonic
Use only a soft dry cloth to clean the system.
Do not use any liquid cleaning solutions, solvents,
chemicals, alcohol, ammonia, or abrasives.
Clean grilles with compressed air.
Clean iPod dock with compressed air.
Cable
Some cable TV companies broadcast FM signals on their cable
systems. Check with your local cable provider before attempting
to hook up your I-Sonic’s FM antenna jack to your cable system.
18 Polk Audio Customer Service 800-377-7655 (Outside USA & Canada: 410-358-3600) I-Sonic: Radio Reception & Antenna / Maintenance
 Loading...