

Page 1
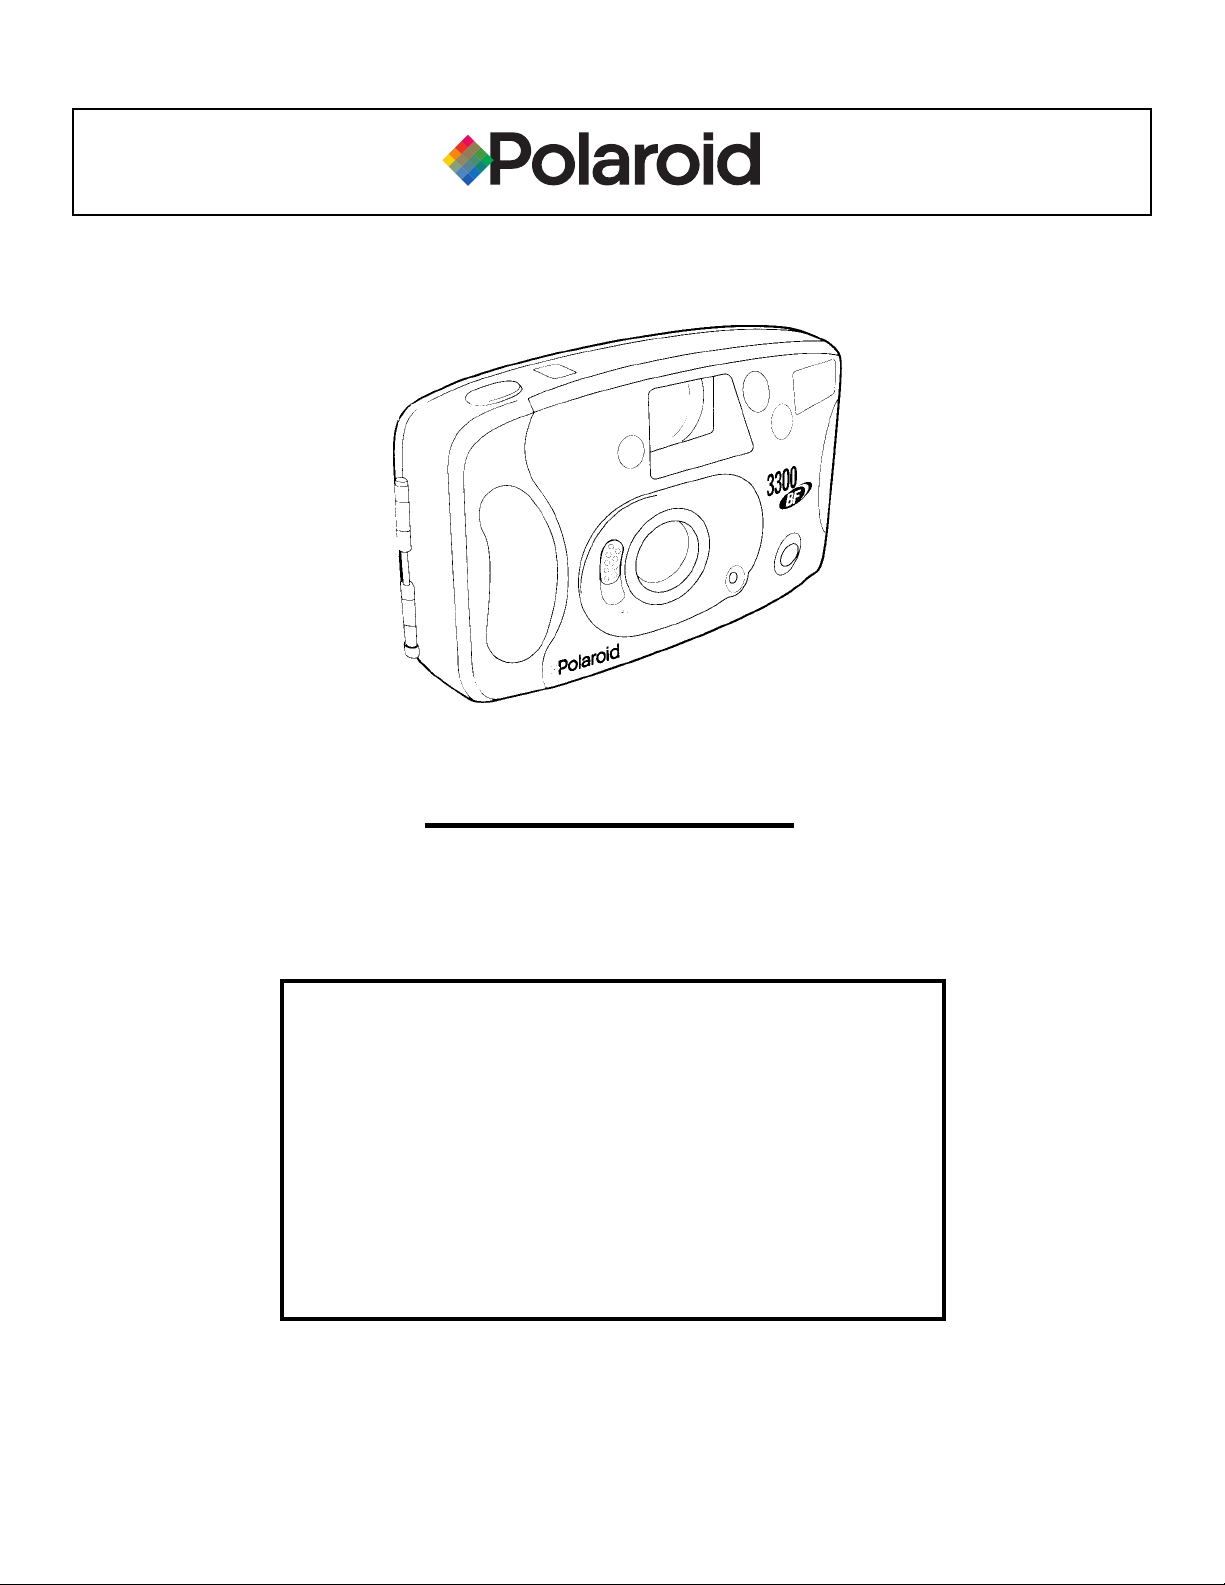
User Guide
3300
Contents
Attaching the Wrist Strap and Inserting the Batteries.................. 1
Loading the Film........................................................................ 1
Setting the Date and Time Imprint.............................................. 2
Holding the Camera................................................................... 3
Using the Camera....................................................................... 3
Indoor and Outdoor Pictures........................................................4
Backlighting................................................................................ 4
Rewinding and Removing the Film..............................................5
Care and Storage........................................................................5
BF
Page 2
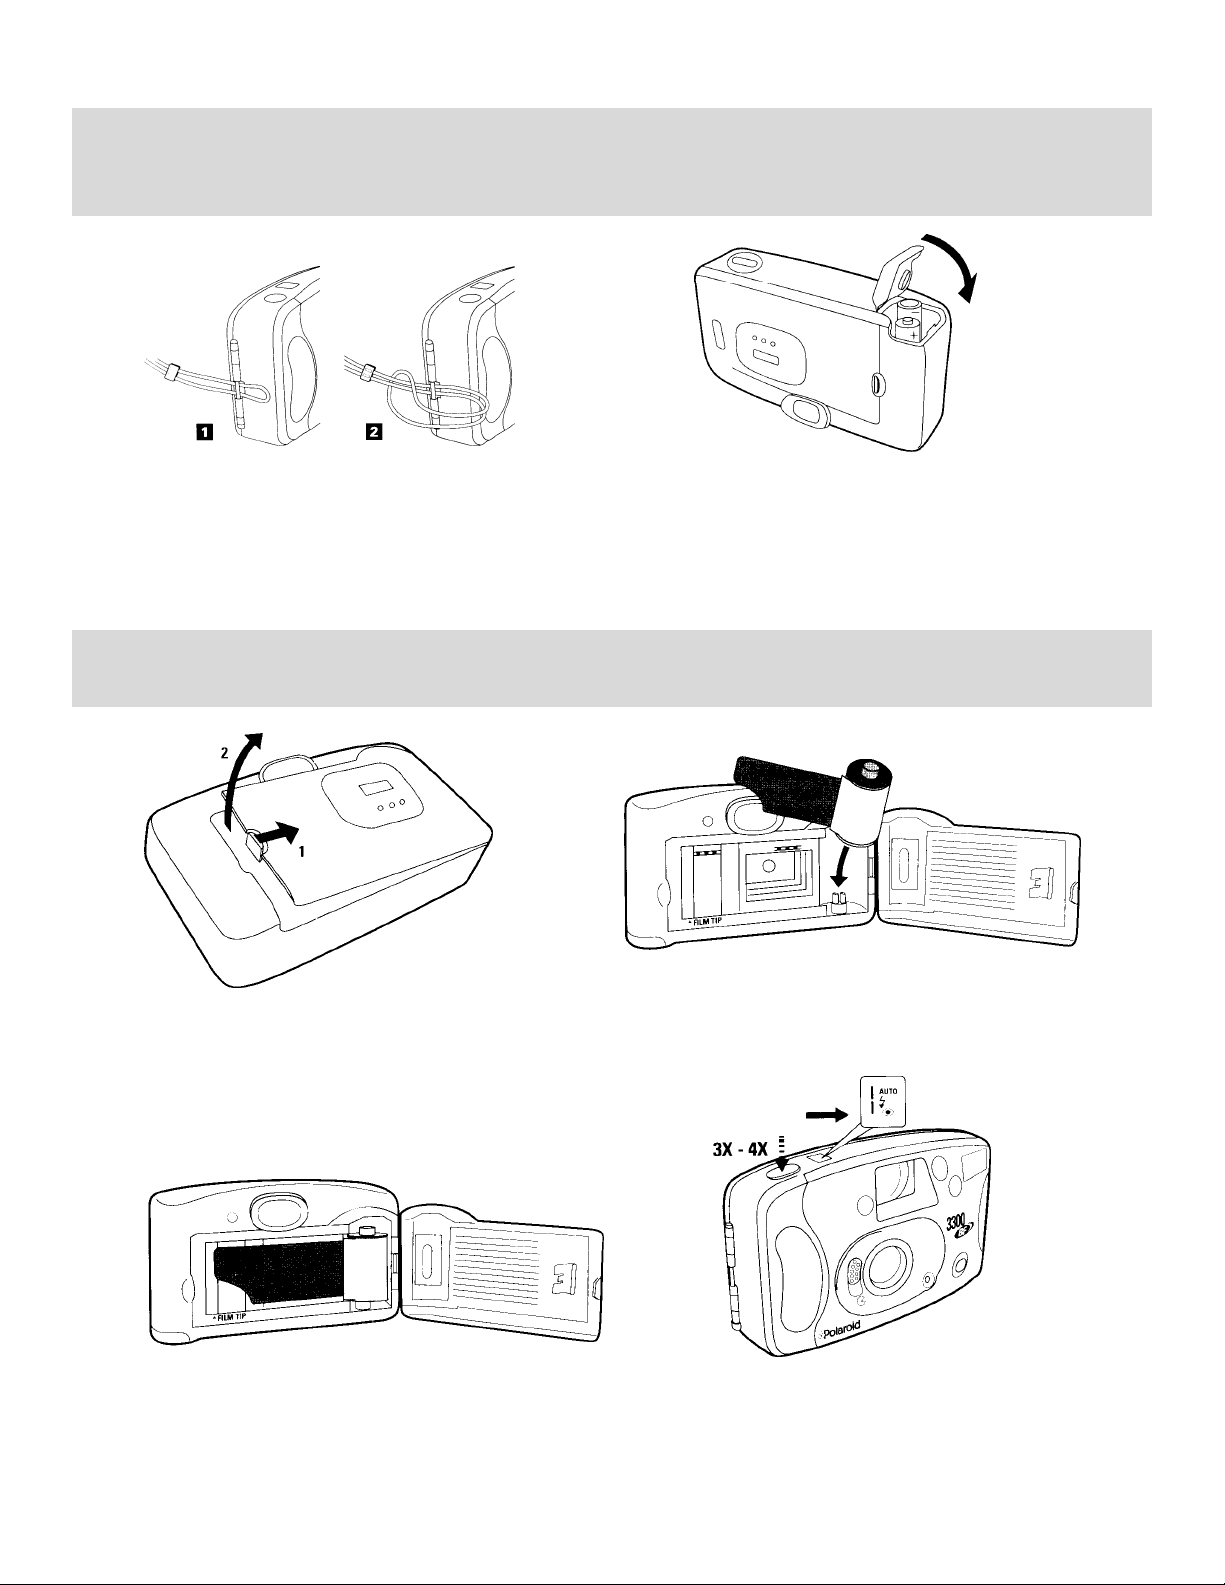
Attaching the Wrist Strap and Inserting the Batteries
Page 1
To attach the wrist strap, Insert the wrist strap
through the ring on the side of the camera (1).
Push the opposite end of the strap through the
loop and pull (2).
Loading the Film
1. To open the film compartment, push the latch in
the direction of the arrow (1) and lift open the
door (2).
To
insert the batteries, open the battery compartment
on the bottom of the camera. Insert two AA-batteries
(alkaline only) into the compartment as shown. Make
sure the ends of the batteries are positioned according to the markings (+) and (-) inside the compartment cover.
2. Insert a film cartridge into the chamber. Place the
flat end of the cartridge over the white post in the
chamber.
3. Pull the film leader until it reaches the film tip
indicator (▲ FILM TIP). The best method is to hold the
cartridge down with the right hand while pulling the film
with the left.
Close the film compartment door until it clicks.
4. Press the shutter button three (3x) or four (4x)
times until the number 1 appears in the status
window.
Page 3

Setting the Date and Time Imprint
This feature allows you to include an imprint of the date and time in the picture. Do this by using the MODE,
SELECT and SET buttons located on the film compartment cover.
buttons.
No Imprint in Picture
Use the tip of a ballpoint pen to depress the
Page 2
Month, Day and Y ear
Day, Month and Year
Y ear, Month and Day
Day and Time
Choosing the mode
Choose the MODE by repeatedly pressing
the MODE button until you reach the
desired format. Each time this button is
pressed, the format sequence will change
as shown at left.
Example: Setting the Year, Month and Day
To set the Year:
1. Press the SELECT button until the Y ear (YY) blinks.
2. Press SET repeatedly until you reach the desired Y ear.
To set the Month:
1. Press the SELECT button until the Month (MM) blinks.
2. Press SET repeatedly until you reach the desired Month.
To set the Day:
1. Press the SELECT button until the Day (DD) blinks.
2. Press SET repeatedly until you reach the desired Day.
Note: One 3 V lithium battery (CR2025) powers the
display. If the display becomes too dim to read, the
battery should be replaced.
Page 4

Holding the Camera
Page 3
For horizontal pictures, grip the
camera as shown.
Using the Camera
When positioning the camera for
vertical pictures, make sure the
flash is above the camera lens.
1. Slide the lens cover switch down. This will
move the cover away from the lens and turn the
camera ON.
2. The green “flash-ready” light will come on. If
the camera is inactive for period (about one
minute), the green light will go out. To reactivate
it, gently touch the shutter button (1/2). When
the green light glows, push the shutter button all
the way (1) to take the picture.
If your fingers block the flash, lens
or sensing device, the pictures will
be improperly exposed.
3. To close the lens cover and shutthe camera
OFF, slide the lens cover switch to the UP
position.
Page 5

Indoor and Outdoor Pictures
Page 4
Outdoors, the camera will
take sharp pictures from 4
feet (1.3m) to infinity.
The indoor flash range will vary
depending on the film type.
Backlighting
Backlighting
If bright sun is behind the subject
(facing the camera lens) the exposure
sensing device will be fooled and the
picture will come out too dark.
To compensate for this, press the “force
flash” button (1), and while holding the
“force flash” button (1) in, press the
shutter button (2).
The flash will fire, providing sufficient
illumination for proper exposure.
Page 6

Rewinding and Removing the Film
Page 5
1.T o activate the motorized rewind,
slide the rewind switch (located at
the bottom of the camera) in the
direction shown.
2. Open the film compartment
door and remove the film.
Care and Storage
Avoid wet, damp conditions and extreme heat
such as the trunk of the car.
3. Close the film compartment door.
Do not touch the camera’s viewfinder or flash.
Do not touch the lens. This will cause smudges
that may affect picture quality.
For additional information on Polaroid Cameras & Film,
call us toll-free at 1-800-343-5000.
Or, visit our website - www.polaroid.com
Use a clean, lint-free, non abrasive cloth to clean
the lens. Never use soap or solvents.
 Loading...