

Page 1
F11 Quick Start Guide
1
Moisten the electrode areas of the
strap under running water and make
sure that they are well moistened.
Attach the connector to the strap.
Position the letter L on the connector
next to the word LEFT on the strap
and snap the fastener.
Adjust the strap length to fit snug and
comfortably. Secure the strap around
your chest, just below the chest
muscles, and snap the second fastener.
Check that the wet electrode areas are
firmly against your skin and that the
Polar logo of the connector is in the
upright position.
ELECTRODES
FACE INSIDE
ELECTRODES
FACE INSIDE
STEP
1
STEP
2
STEP
3
STEP
4
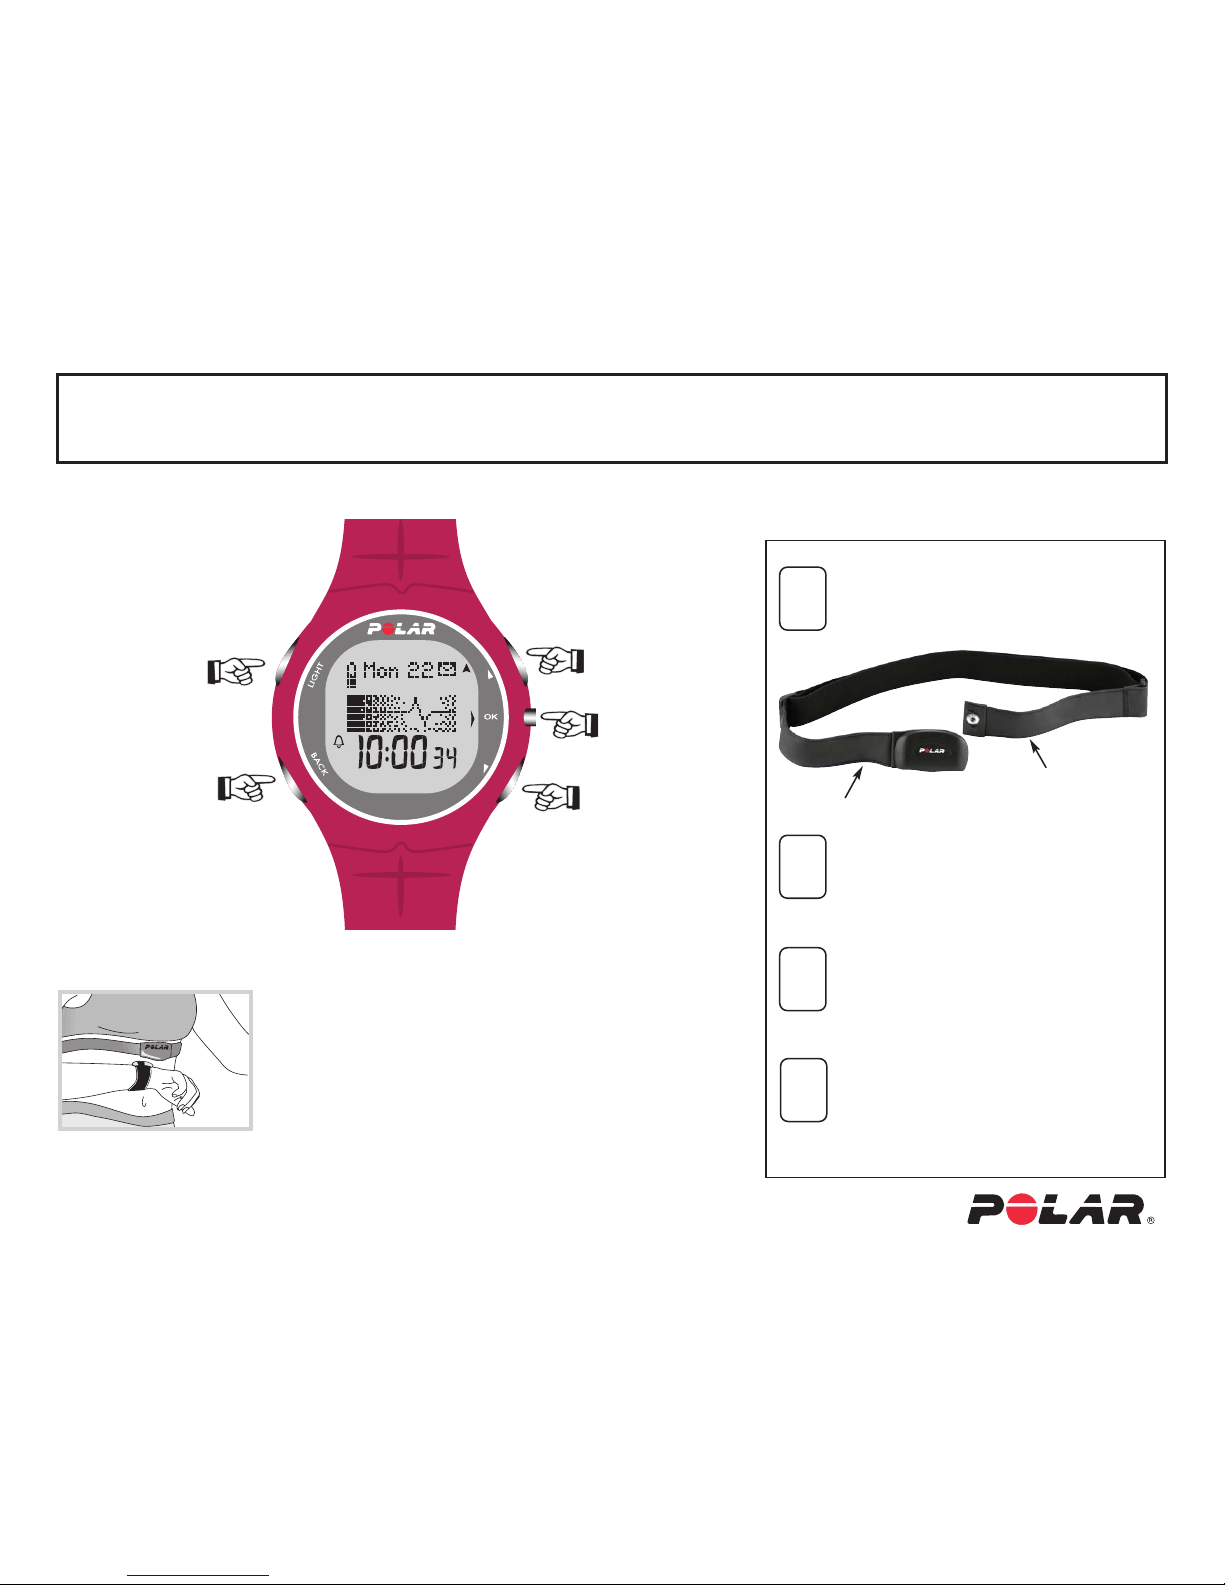
Press OK
Scroll UP
Scroll DOWN
Light Button
Back Button
Wrist Unit Buttons Putting on the Polar
WearLink™Transmitter
HEART TOUCH™
In the exercise mode, you can
see the time by bringing the
wrist unit near the Polar logo on
the transmitter.
www.polarusa.com
© 2005 Polar Electro Inc. HO 1880
Page 2
F11 Quick Start Guide
2
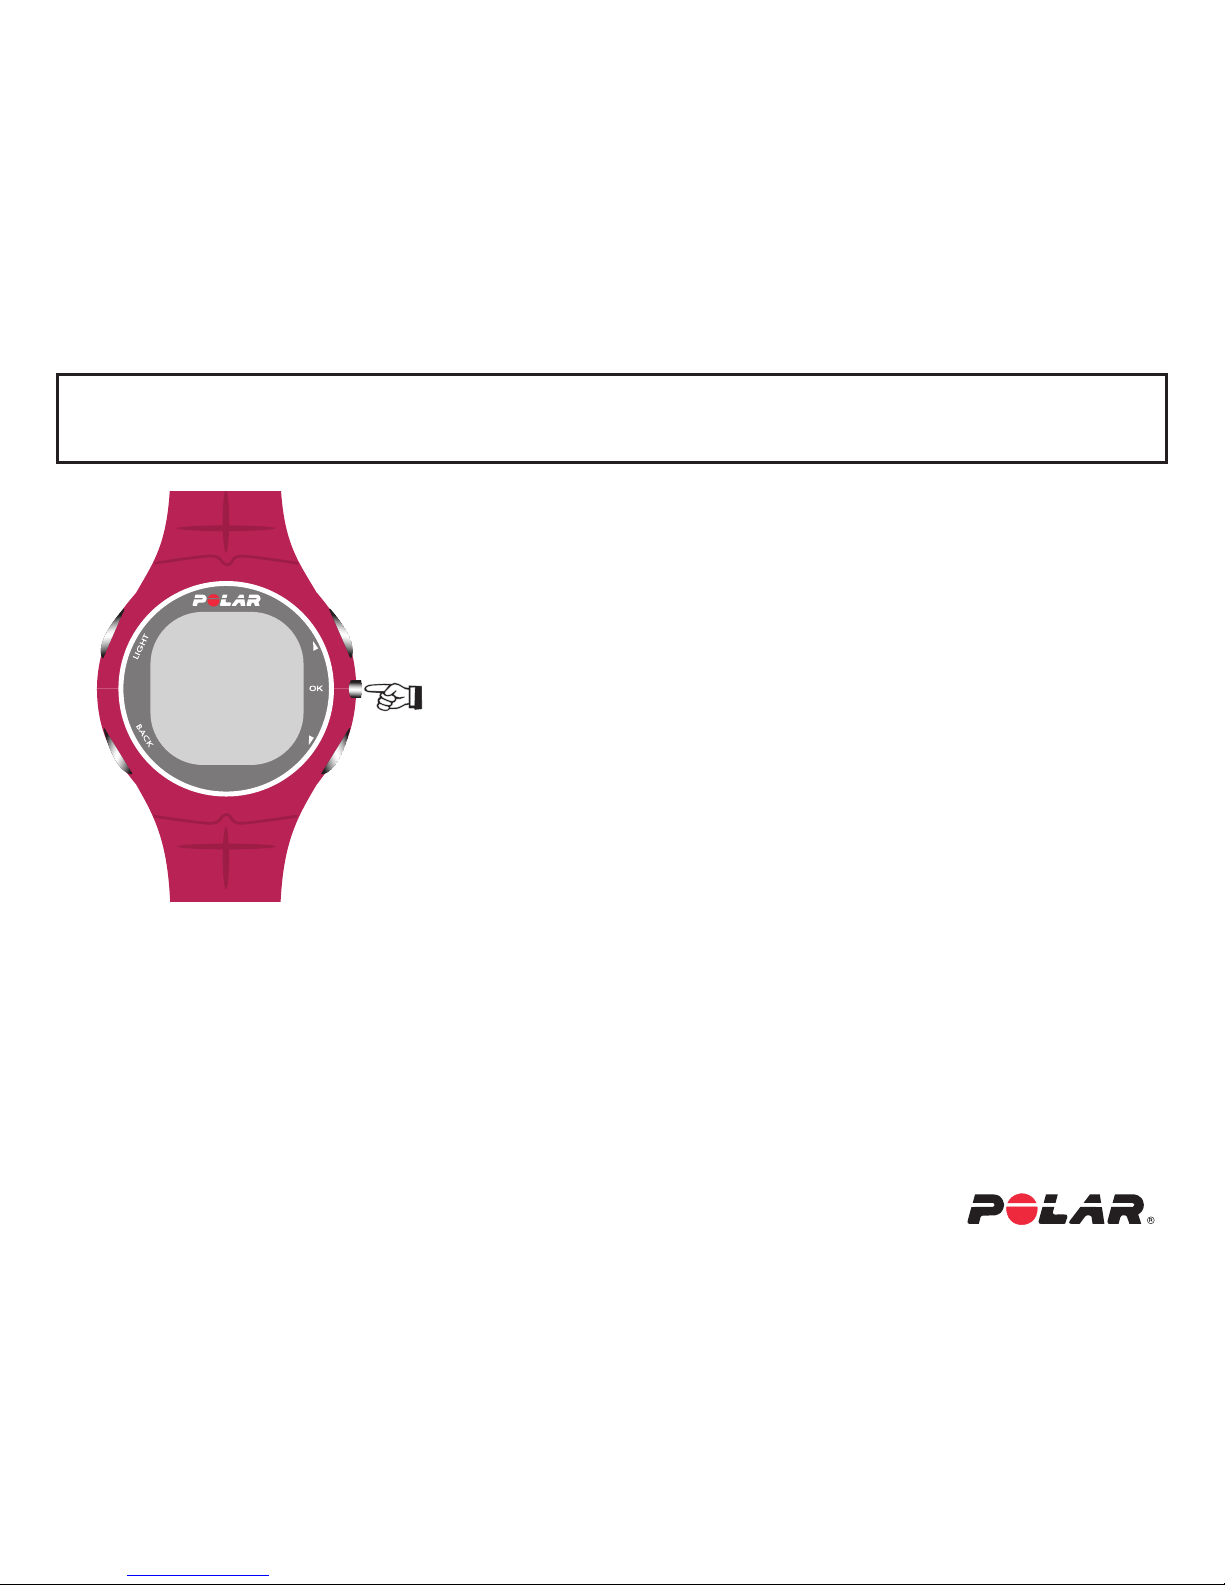
Switch the unit on by pressing the OK button
2x. “Welcome to Polar Fitness World” will
appear. Press the OK button 1x to select.
Language screen will appear. Using the
scroll buttons, select ENGLISH, DEUTSH,
ESPANOL, OR FRANÇAIS. Press the OK
button 1x to select.
Welcome
to
Polar
Fitness
World
Press 2X
Start with the Basic Settings. Press OK 1x.
1. TIME will appear. Scroll UP or DOWN to select.
12H or 24H. Press OK button 1x to select.
Scroll UP or DOWN to select MINUTE. Press OK button 1x to select.
2. DATE appears. Scroll UP or DOWN to select MONTH
Press OK button 1x to select.
Scroll UP or DOWN to select DAY. Press OK button 1x to select.
Scroll UP or DOWN to select
YEAR. Press OK button 1x to select.
3. UNITS will appear. Scroll UP or DOWN to select. KG/CM or LB/FT
Press OK button 1x to select.
4. WEIGHT appears. Scroll UP or DOWN to select your current weight.
Press OK button 1x to select.
5. HEIGHT appears. Scroll UP or DOWN to select FT.
Press OK button 1x to select Scroll UP or DOWN to select IN.
Press OK button 1x to select.
6. BIRTHDAY appears. Scroll UP or DOWN to select MONTH.
Press OK button 1x to select. Scroll UP or DOWN to select DAY.
Press OK button 1x to select. Scroll UP or DOWN to select YEAR.
Press OK button 1x to select.
7. SEX appears. Scroll UP or DOWN to select MALE or FEMALE.
Press OK button 1x to select.
8. SETTINGS
OK appears. Scroll UP or DOWN to select YES or NO. Press OK button
1x to select. If you select YES, your settings are accepted and you will be
returned to the Time of Day where you can begin exercising. If you select
NO, you can change your
BASIC SETTINGS. Press the BACK button until
you return to the SETTING you want to change.
Page 3
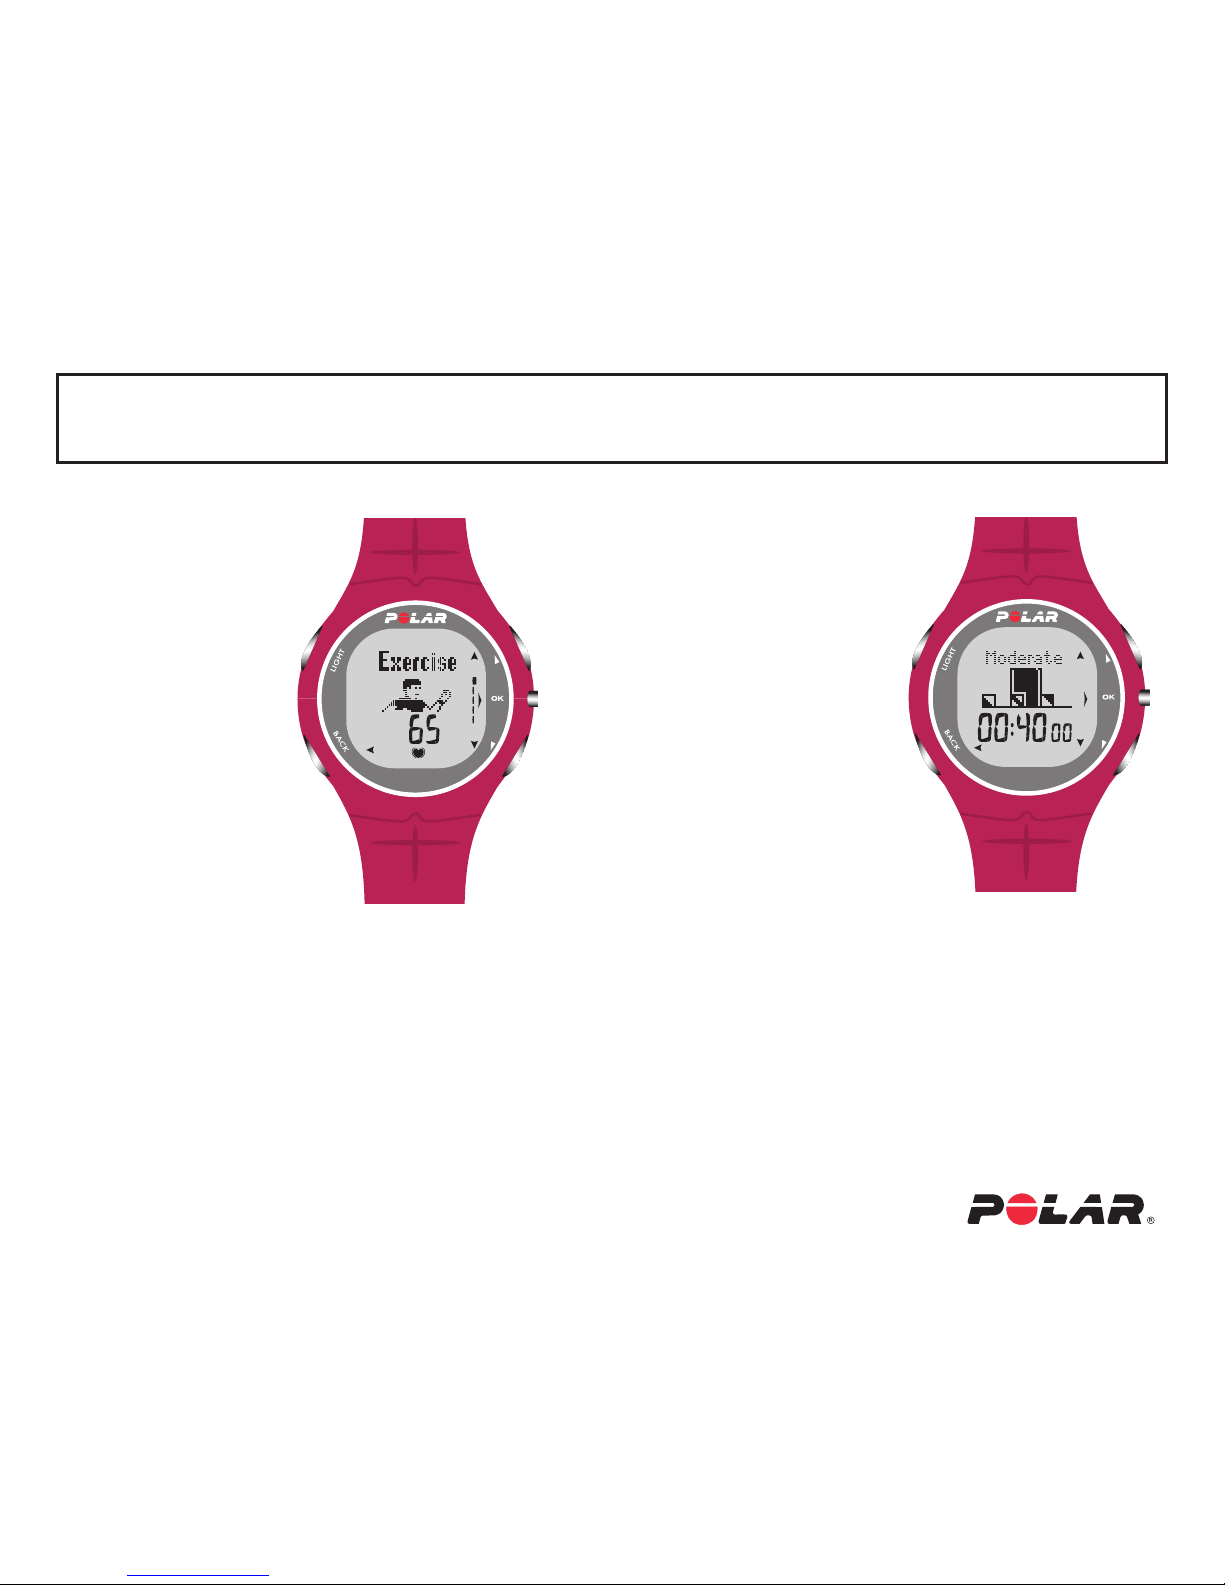
1. Start from TIME OF
DAY screen. Press OK
button 1x to select
2.
EXERCISE is
displayed. The wrist
unit will automatically
start to search for your
heart rate.
3. Once your heart rate
appears. Press OK
button 1x to select
4. Exercise and the name
of the next exercise
session alternate in
the top row. Scroll UP
or DOWN to Select START. Press OK button 1x to
start recording your exercise session. Exercise time
starts running.
5. To
STOP and exercise session, hit the back button
1x. Scroll UP or DOWN to select “Continue”,
“Exit” or “Settings” and press the OK button 1x.
A summary of your exercise session will appear. Hit
the back button to return to the time of day screen.
F11 Quick Start Guide
3
In the EXERCISE FILE you
can view detailed exercise
information of the exercise
session within the current
week such as; exercise duration,
calories burned, maximum and
average heart rate and exercise
time in different intensity zones.
IN the
DIARY FILE you can view
your weekly total values from
the twelve most recent weeks.
In the
TOTALS FILE you can
view your total cumulative
values, exercise count, time
and calories burned in several
exercises, starting from the previous reset.
Note: when the
FILE becomes full, the oldest info is replaced by
the most recent. If you want to save the exercise date for a longer
period, transfer the file to the
POLAR FITNESS TRAINER web
service by using FILE SEND menu. (Refer to page 74 in users’
manual for more info)
Recording an Exercise File Checking Saved Information - File
Page 4
F11 Quick Start Guide
4
Performing the Fitness Test
NOTE: Before you can perform the polar fitness test, you need to enter your
personal user information and long term physical activity level in the USER
SETTING. You will also need to have your Wearlink transmitter on and ready
as if you were to begin exercising.
To get reliable test results, the following basic requirements
apply. The test can take place anywhere — at the home, office,
or at a health club — as long as the atmosphere is peaceful.
There should be no disturbing noise, or other people talking to
you. Keep the test place, time of day and environment the same
every time the test is repeated.
• You should be relaxed and calm.
• Avoid eating a heavy meal or smoking 2-3 hours prior to testing.
• Avoid heavy physical exertion, alcohol, or pharmacological
stimulants prior to and on the day of the test.
• Lie DOWN and relax for 1-3 minutes before starting the test.
1. In the Time of Day screen Press OK button 1x.
EXERCISE is displayed
2. Scroll UP or DOWN until TEST appears.
Press OK button 1x to select
3. Scroll UP or DOWN to select TEST. Press OK button 1x to select.
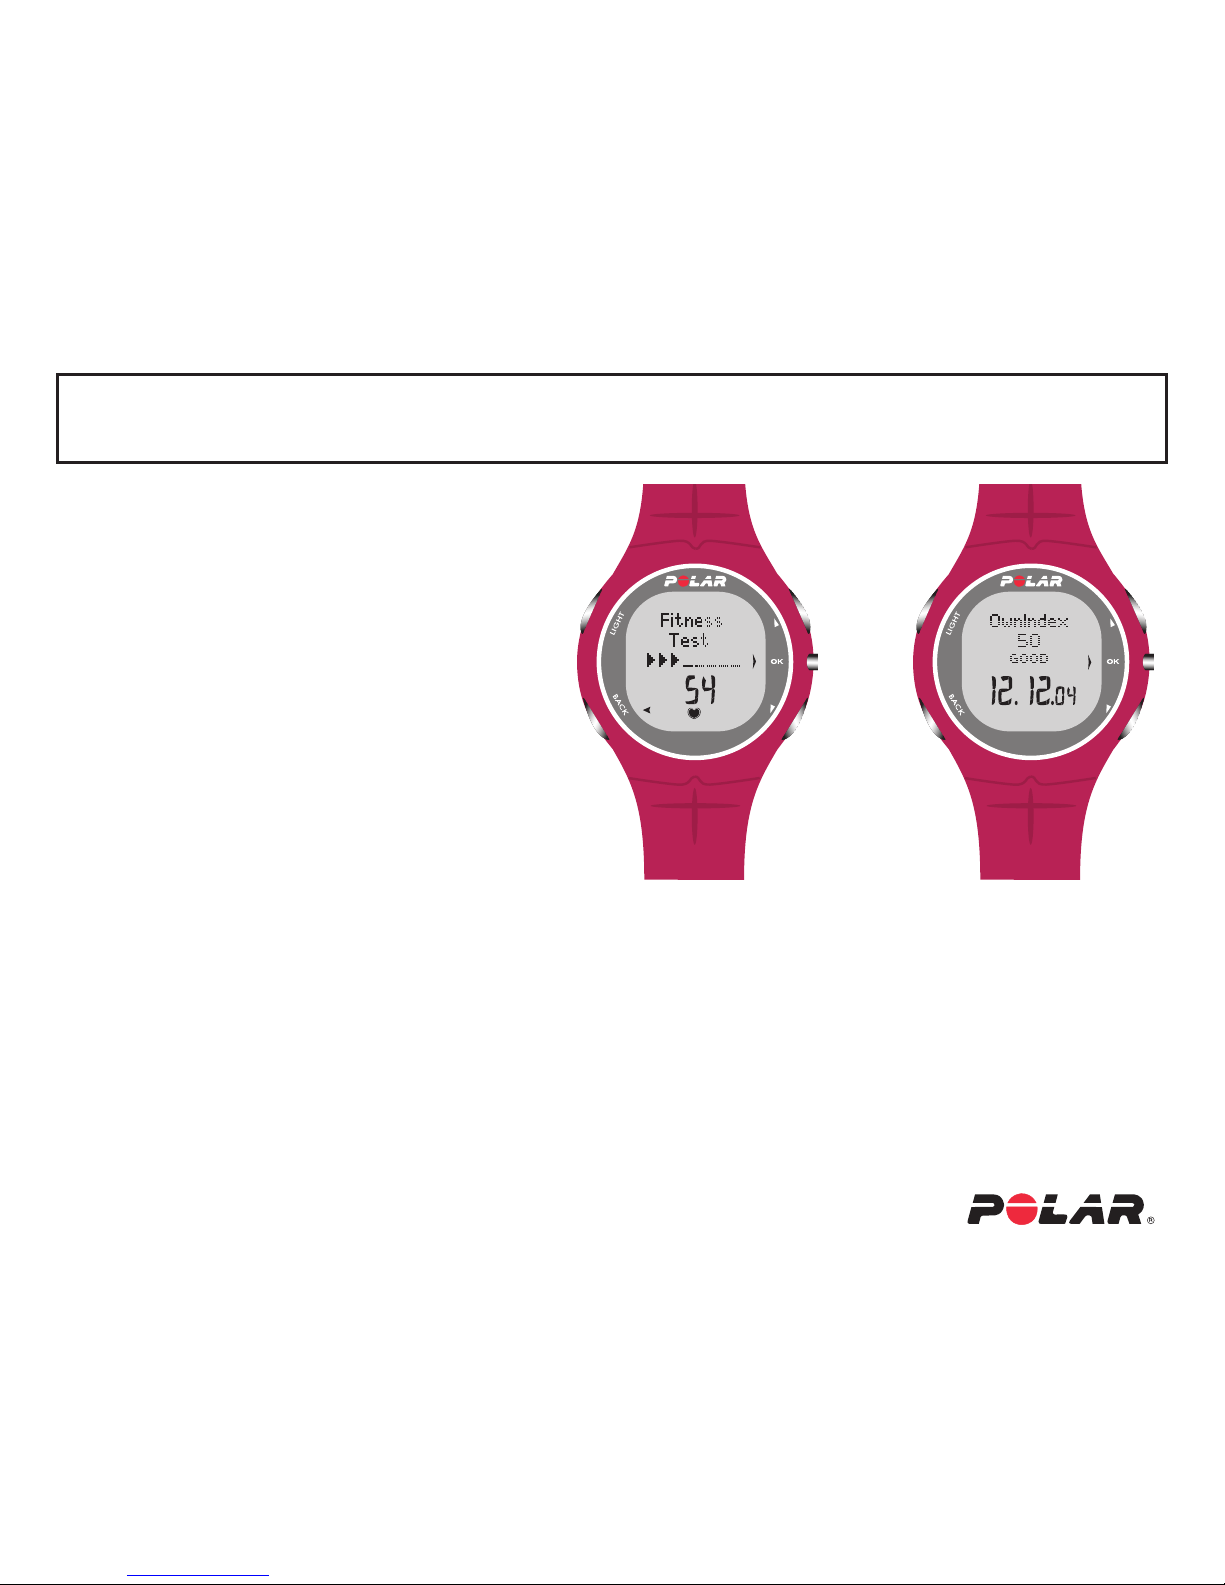
The test begins with
FITNESS TEST and your heart rate displayed on
screen. The increasing number of arrows indicates that the test
is in progress. Stay relaxed. Keep your hands beside your body and
limit body movements and communication with other people.
When the test is over, the following info is displayed. (See right
screen above)
4. Press OK button 1x. UPDATE USER SET is displayed.
5. Scroll UP or DOWN to select YES or NO.
Press OK button 1x to select. If you select YES, your
OwnIndex value is saved to your USER SETTINGS.
6.
Press and hold the BACK button to return to the
TIME OF DAY screen.
 Loading...