

Page 1
ROCKBRAWLER HI-LIFT JACK MOUNT
The Poison Spyder Customs RockBrawler HiLift Jack Mount is designed to easily mount a HiLift jack to the spare tire rack on a Poison Spyder
RockBrawler Rear Bumper. It is easy to install
with the right tools and good mechanical abilities.
If you are not condent in your mechanical skills,
please seek the help of a professional to perform
the installation. Please read through these entire
instructions before proceeding with installation.
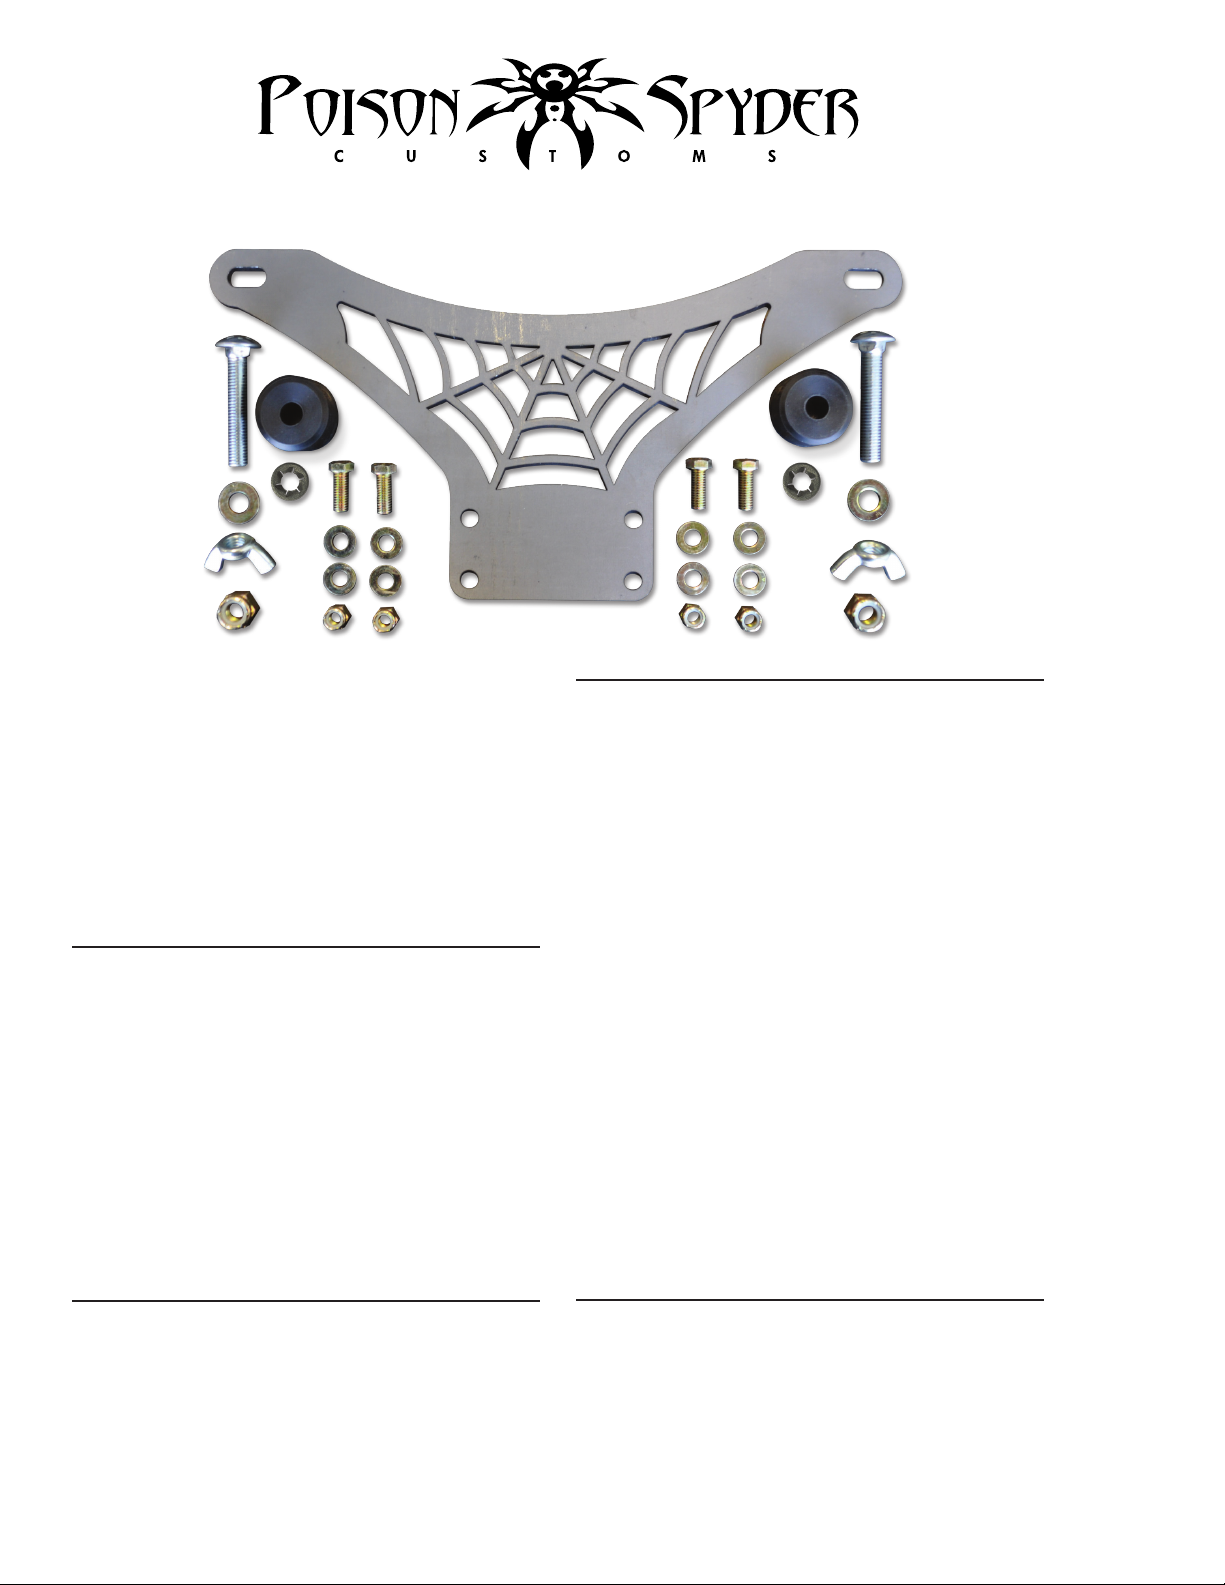
PARTS LIST
(1) RockBrawler Hi-Lift Jack Mount Plate
(4) Urethane Bushing
(2) 1/2-13 X 3” Carriage Bolt
(2) 1/2” Pushnut Bolt Retainer
(2) 1/2-13 Wing Nut
(2) 1/2-13 Nylon Insert Lock Nut
(4) 3/8-16 X 1” Gr8 Hex Head Cap Screw
(4) 3/8-16 Nylon Insert Lock Nut
(8) 3/8 Flat Washer
BEFORE YOU BEGIN
If your RockBrawler Hi-Lift Jack Mount came
as unpainted, bare steel, you will want to either
powder coat or paint the it prior to install. If
painting yourself, careful preparation will make a
big difference in the quality and longevity of your
paint job, even using “rattle can” aerosol paints.
Begin by thoroughly cleaning the bumper with
solvent or de-greaser, then make sure all residue
is removed. Even if you use cheap paint, try to
use a good quality primer. “Etching” primers are
best to use on bare, unpainted metal. Allow it to
properly dry before painting, and between paint
coats.
Note that you must already have both a
RockBrawler Rear Bumper with Tire Carrier and
a Hi-Lift jack. The Jack must have the lifting
mechanism at the bottom of its travel, with the
handle locked into place. The handle must
be secured by some mechanism such as the
urethane jack handle isolators that are available
at most 4X4 shops.
TOOLS NEEDED
• Primer, paint, cleaners (if painting)
• 9/16” end wrench, socket and ratchet
• 3/4” end wrench or socket and ratchet
(optional)
©2013 POISON SPYDER CUSTOMS, INC. • 951-849-5911 • WWW.POISONSPYDER.COM
INSTALLATION PROCEDURE
1. Park the Jeep on a at, level surface and
set the parking brake.
2. Remove the spare tire from the RockBrawler
Bumper Tire Carrier, if present.
3. Use the 3/8-16 Hex Head Cap Screws, Flat
Washers and Nylon Insert Lock Nuts to attach
INSTALLATION INSTRUCTIONS
Page 2
Poison Spyder Customs • ROCKBRAWLER HI-LIFT JACK MOUNT Page 2
the Hi-Lift Jack Mount to the top four bolt
slots on the RockBrawler tire carrier. It may
be necessary to lower the spare tire mount
if the top four bolt slots are not available.
Thoroughly tighten all four screws/nuts.
4. Insert the two carriage bolts into the slots
at either end of the Hi-Lift Jack Mount. The
heads of the carriage bolts should be on the
spare tire side of the jack mount (toward the
rear of the Jeep, if the tire carrier is latched
shut).Makesurethe atsunder theheads
of the carriage bolts correctly engage into the
slots.Notethatitmaybeatightt,andthe
carriage bolts might not fully seat until they
are tightened in later steps.
5. Install a 1/2” Pushnut Bolt Retainer (looks
like a thin metal washer with internal “teeth”)
onto each carriage bolt, with the teeth pointed
away from the bolt head. Push the retainers
all the way against the Jack Mount Plate.
6. Install a urethane bushing on to each
carriage bolt.
9. Decide whether to use the supplied 1/2-13
wing nuts or the 1/2-13 nylon insert lock nuts.
Install the nut of your choice and securely
tighten. Note that the urethane bushing will
compress, and the carriage bolts will seat
into the slots in the mount plate as the nuts
are tightened.
NOTE: Using the wing-nuts will be more
convenient, for those who access the Jack more
frequently. However, using the lock nuts will
be more secure, providing a measure of theft
deterrent. Choose whichever method suits your
needs best.
10. Grab onto the Hi-Lift jack and test that it
is securely mounted. Further tighten any
fasteners as needed.
11. Latch the tire carrier and re-install the
spare tire.
Congratulations, you have completed installation
of your RockBrawler Hi-Lift Jack Mount!
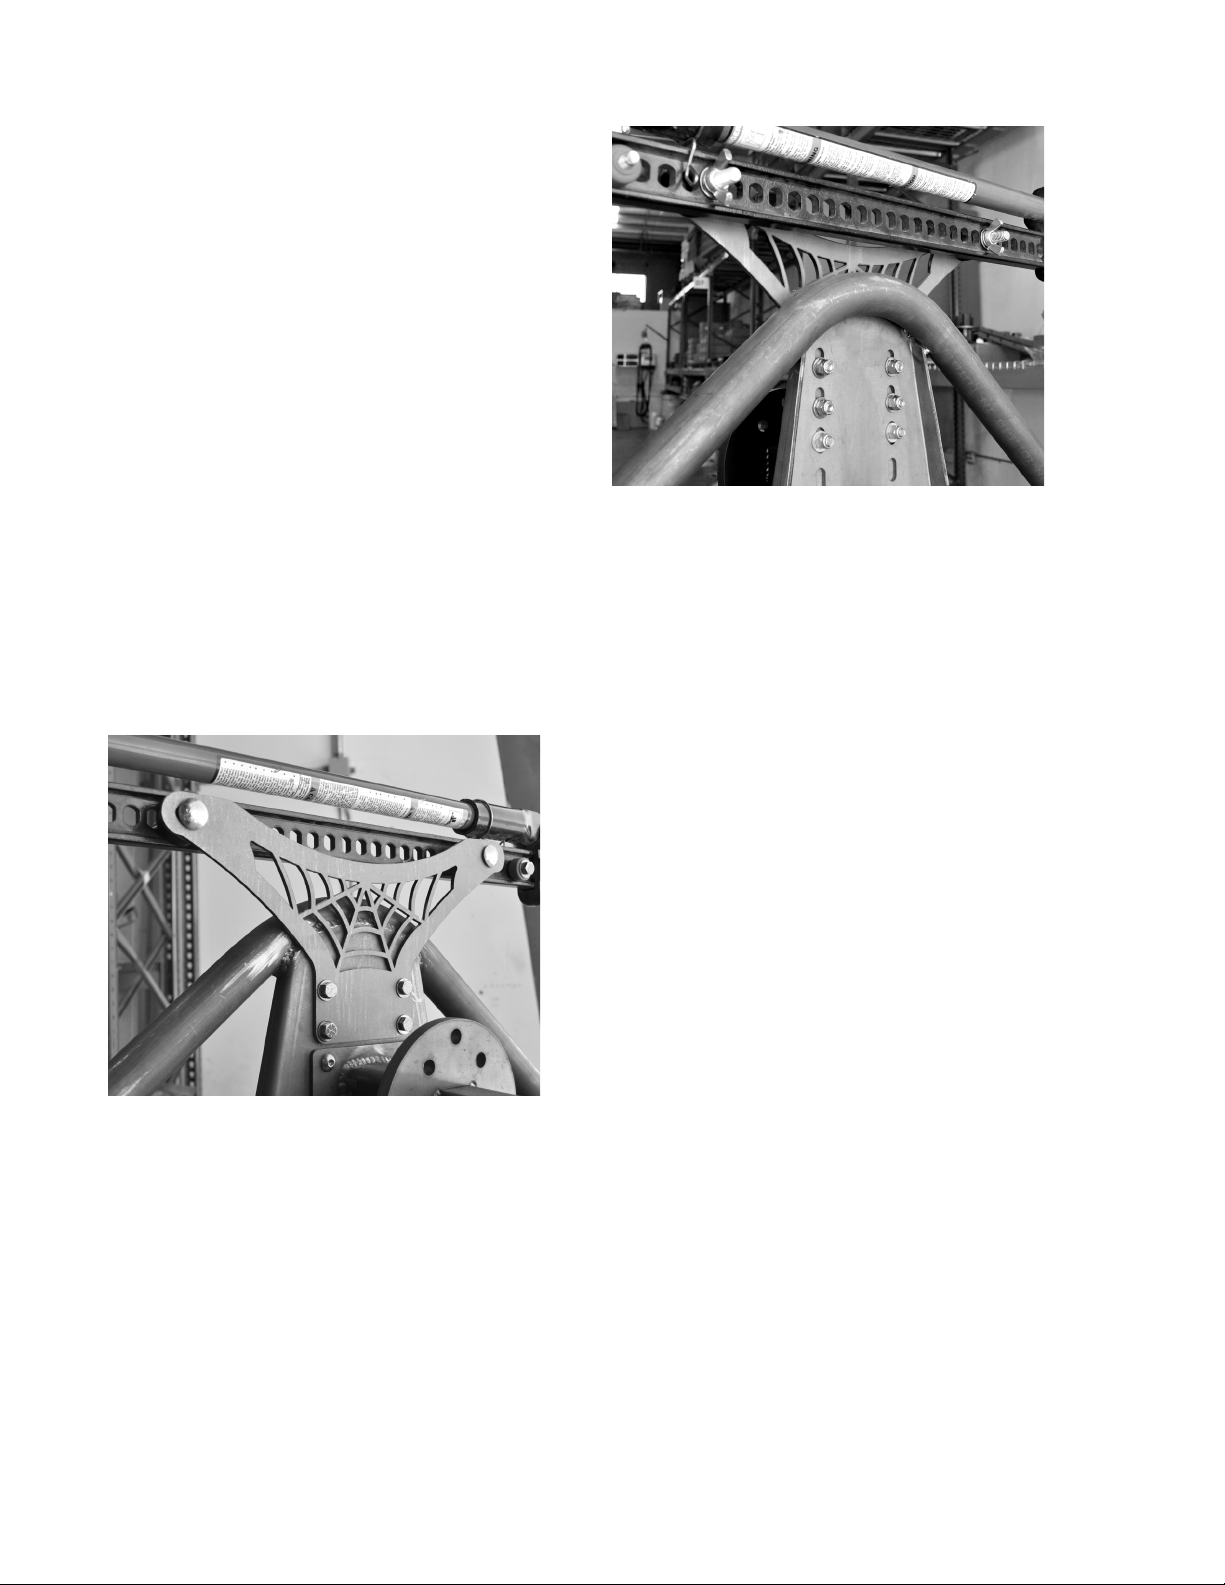
FIGURE 1
FIGURE 1
7. With the help of a friend, lift the Hi-Lift Jack
up on to the carriage bolts, while feeding
the threaded ends of the bolts into the slots
on the lifting bar of the Hi-Lift jack. Make
sure the jack is centered in relation to the
mount, with the lifting foot of the Jack pointed
downward. Make sure the carriage bolts are
going through correctly spaced holes in the
jack’s lifting bar, so that they are straight
(perpendicular to the mount).
8. Install a 1/2” at washer on to the threads
of each carriage bolt.
©2013 POISON SPYDER CUSTOMS, INC. • 951-849-5911 • WWW.POISONSPYDER.COM
INSTALLATION INSTRUCTIONS
Page 3

Poison Spyder Customs • ROCKBRAWLER HI-LIFT JACK MOUNT Page 3
WARRANTY
Poison Spyder Customs™ warranties all of the
products we sell and distribute for one (1) year
from the date of sale. These products will be
free from defects in material and workmanship
under normal installation, and use. Due to the
intended use the powder coat nish is warranted
for ninety (90) days. The nish warranty will not
cover a product if it has been damaged in any
way. Warranty is limited to repair or replacement.
Poison Spyder Customs™ does not offer any type
of labor or shipping allowance and all warranty
claims are subject to inspection by Poison Spyder
Customs™.
At the discretion of Poison Spyder Customs™, the
products in question can be repaired or replaced
when found defective. Prior to any replacement
or repair, written authorization must be obtained
from Poison Spyder Customs™. Failure to contact
us prior to having warranty work preformed will
immediately void all applicable warranties; and it
is then the sole responsibility of the customer to
remit any payment incurred.
The warranty expressed above is the sole
warranty of Poison Spyder Customs™, and any
other expressed or implied warranties are hereby
specically excluded and disclaimed.
HOLD HARMLESS AGREEMENT
In purchasing a Poison Spyder Customs
Product™ I release, waive, discharge and
covenant not to sue Poison Spyder Customs
ofcers, servants, agents, or employees
(hereinafter referred to as Releasees) from any
and all liability, claims, demands, actions and
causes of action whatsoever arising out of or
related to any loss, damage, or injury, including
death, that may be sustained by me (or anyone
else), any property belonging to me (or anyone
else), whether caused by the negligence of the
releasees or otherwise, while working on, using
or any activity related to this product.
I am fully aware of risks and hazards connected
with the use of a this product and I elect to
voluntarily engage in such use of this product
knowing that the use may be hazardous to
me and my property. I voluntarily assume full
responsibility for any risks of loss, property
damage or personal injury, including death, that
may be sustained by me (or anyone else), or
any loss or damage to property owned by me (or
anyone else), as a result of using this product,
whether caused by the negligence of releasees
or otherwise.
I further agree to indemnify and hold harmless
the releasees from any loss, liability, damage or
costs, including court cost and attorney fees, that
they may incur due to my use of a this product,
whether caused by negligence of releasees or
otherwise.
It is my express intent that this Release and Hold
Harmless Agreement shall bind the members
of my family and spouse, if I am alive, and my
heirs assigns and personal representative, if I am
deceased, and shall be deemed as a release,
waiver, discharge, and covenant not to sue the
above named releasees. I further agree that this
Waiver of Liability and Hold Harmless Agreement
shall be construed in accordance with the laws of
the State of California.
By accepting this product, I acknowledge and
represent that I have read the above Waiver
and Liability and Hold Harmless Agreement,
understand it and accept it voluntarily as my
own free act and deed; no oral presentations,
statements, or inducements, apart from the
foregoing written agreement, have been made;
I am at least eighteen (18) years of age and
fully competent; and I execute this Release for
full, adequate and complete consideration fully
intending to be bound by same.
If you do not agree with the preceding Hold
Harmless Agreement, you may return the product
and receive a full refund. Please, contact a Poison
Spyder Customs™ sales representative and they
will issue a call tag for the product in question.
Once the product has been received by Poison
Spyder Customs™ a full refund will be issued.
©2013 POISON SPYDER CUSTOMS, INC. • 951-849-5911 • WWW.POISONSPYDER.COM
INSTALLATION INSTRUCTIONS
 Loading...