


Valve Guide
Water droplet collision photos need to be taken in a darkened room. But it does not need to be
completely dark. You will need a camera, a speedlite flash, a tripod, and a magic arm to hold up the
valve and the Pluto Valve Kit.
Fill the tube with water so that the water level covers the bottom of the small tube. Never let the
water level goes below the bottom of the small tube, or else the valve will not be able to keep
constant pressure.
Insert and press the small tube. Make sure the air above the water and between the small tube and
the big tube will not leak.
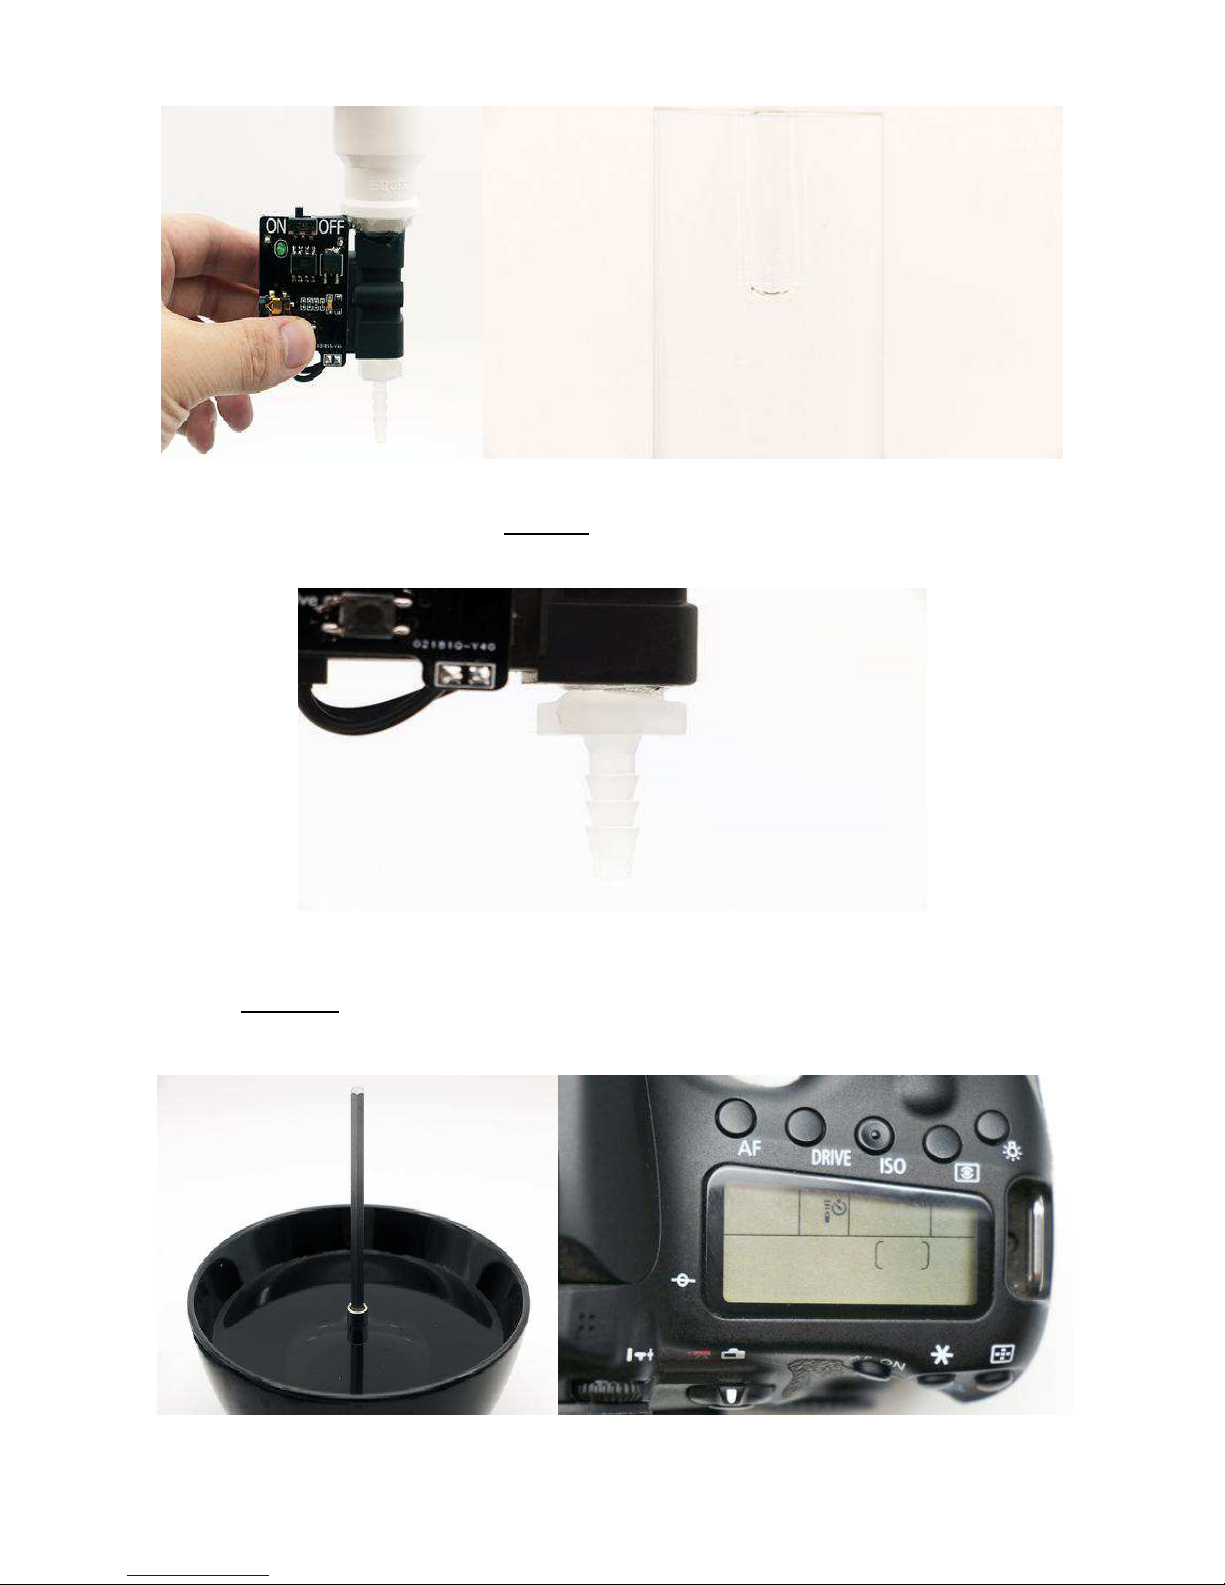
Turn on the valve. Click the button on the control board of the valve to purge water from the small
tube and purge the air from the valve. DO NOT press and hold the button for a long time, as it will
consume a lot of power and make the battery overheat. Try multiple, short clicks instead.
Turn on your camera. Frame and adjust focus. Put something at the position where the water drop
falls into the water to make focusing easier. Set the shutter speed to 1-2 seconds. Set the Drive
Mode to IR Remote. If your camera does not support IR Remote, then you will need to set off your
camera manually.

Connect the valve to the Aux port of your Pluto Trigger using the valve cable. Connect your flash to
the camera port of the Pluto Trigger. Point the IR emitter on the Pluto Trigger to your camera.
Turn on your Pluto Trigger. Launch the Pluto Trigger app on your phone. Set the IR settings to
match your camera model. Select Droplet mode from the menu. Press the start button to test. The
Pluto Trigger should send IR commands to trigger your camera, release two droplets and then
trigger your flash.

Next, we will calibrate the timings to capture droplet collisions. We will determine the Flash Delay
first. Set "Drop1 Size" to 10ms and "Drop2 Size" to 0, so that only one drop will be released. The
flash should be triggered when the first drop rebounds from the water and goes up to its highest
position. Click the auto-calibrate button to the right of the Flash Delay setting. Set "Step" to 5ms
and "Interval" to 5s, then click the Start Calibration button. Pluto Trigger will now take a photo
every 5 seconds and increase the Flash Delay by 5ms each time.
Monitor the screen of your camera. When the droplet reaches its highest point, stop the calibration.
Set the "Drop2 Size" to 10ms and calibrate the Drop2 Delay. The procedure is similar to that of the
Flash Delay calibration.
Now you're ready to make aesthetic collision with different water colors and lighting!
 Loading...