

Plugz Electric Bike Instruction Manual

1
CONTENTS
General Instructions
Assembly
Charging Instructions
Safe Riding Requirements
Riding Instructions
Maintenance
Troubleshooting

2
GENERAL INSTRUCTIONS
WELCOME TO PLUGZ…. AS EASY AS RIDING A BIKE BUT EASIER
FUN
We would like to thank you for buying a PLUGZ Electric Bike. You are one step closer
to a brand new way of commuting that is fast, fun and environmental friendly. Enjoy
it......
ENVIRONMENTAL FRIENDLY
PLUGZ Electric Bikes offer all the advantages of traditional bicycles combined with
cutting edge technology to ease the transition from carbon emission dependency into
a cleaner and healthier lifestyle.
SAFETY
We are committed to offering quality products with reliable components. Devices
mounted on the bikes should be used correctly for safe operation. It is up to you to
understand how the bike functions and the possible risks of cycling. In order to ensure
your safety during riding, please read this manual carefully . Safe operation is also very
important and should not be overlooked. Always wear a properly fitted helmet and
remember that your Plugz bike is intended for on-road use only
Special Instruction
This manual is to be used for general in for m ati on on the prod uc t an d it’s
operation, it cannot define the final standard of the product.
Please understand that your bike may be equipped with slightly different
components, due to technical improvements or change in specifications.
We do not recommend modifying any of the technical characteristics of
your Plugz bike.
We encourage you to register your bike on line at
http://www.plugz-bikes.com/bike-registration.php
BE SAFE – HAVE FUN
3
ASSEMBLY
General Assembly Instructions:
The front wheel; fenders; handlebar; pedals; seat post and saddle; front basket are
not assembled for shipping. They can be easily mounted as follows
:
Tools required: Spanne r; Allen key; Screwdriver
Front wheel: Set the front wheel hub stem in the
fork ends and then tighten the wheel, make sure
it’s perfectly aligned and secure. The quick
release mechanism must be seated squarely and
firmly tightened to ensure safety.
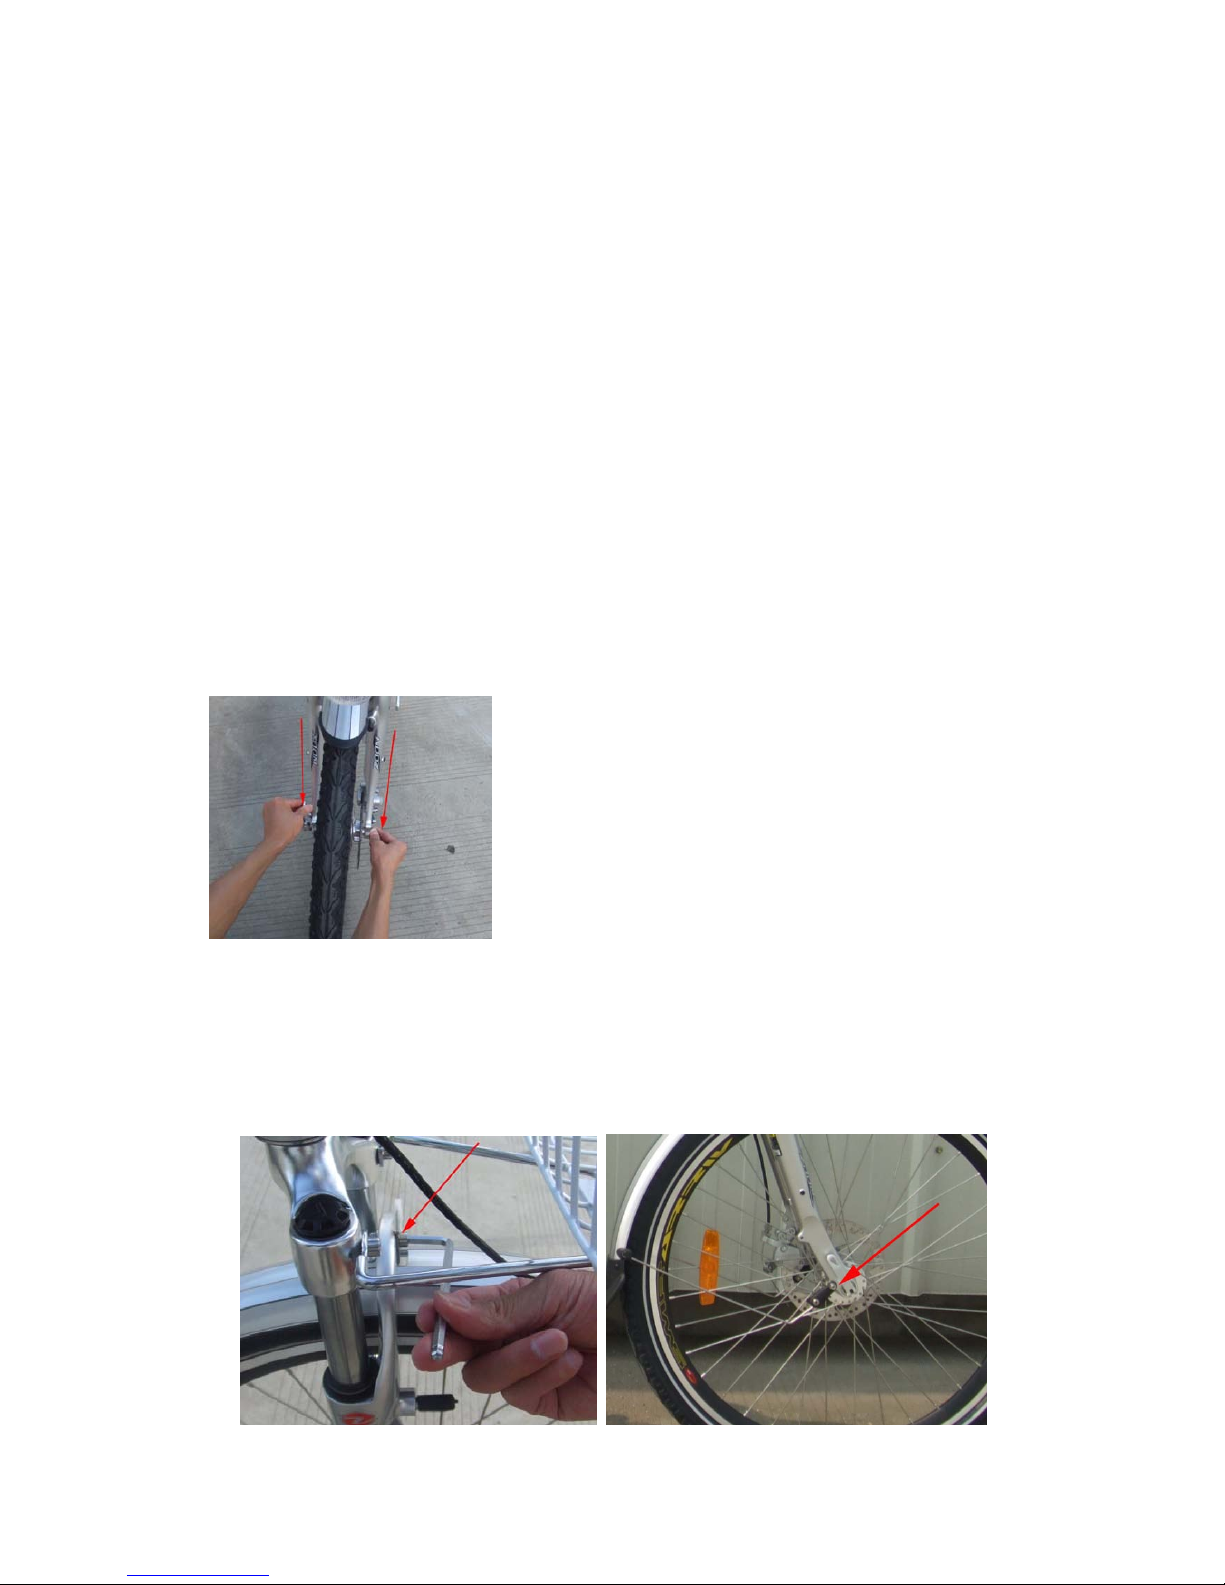
Front Fender: The fender supports attach to the bottom of the front fork, tighten
the Allen nut s on both sides. The bracket attaches to the Allen nut at the top of the
front fork. T ighten until all nuts are secured. The fenders are made of
polycarbonate and should not rattle when they’re securely fastened. They can be
adjusted by moving the position of the supports on the fender to avoid any
rubbing on the tire.
4
Handlebar / Stem / Headset: Stem and headset come pre-assembled. Loosen
the bolts on the stem, place the handlebar, center it and turn it until it is in your
preferred position, tighten the stem bolts simultaneously. Align the handlebar
perpendicularly to the front wheel, tighten the top stem bolt with a 6mm Allen key.
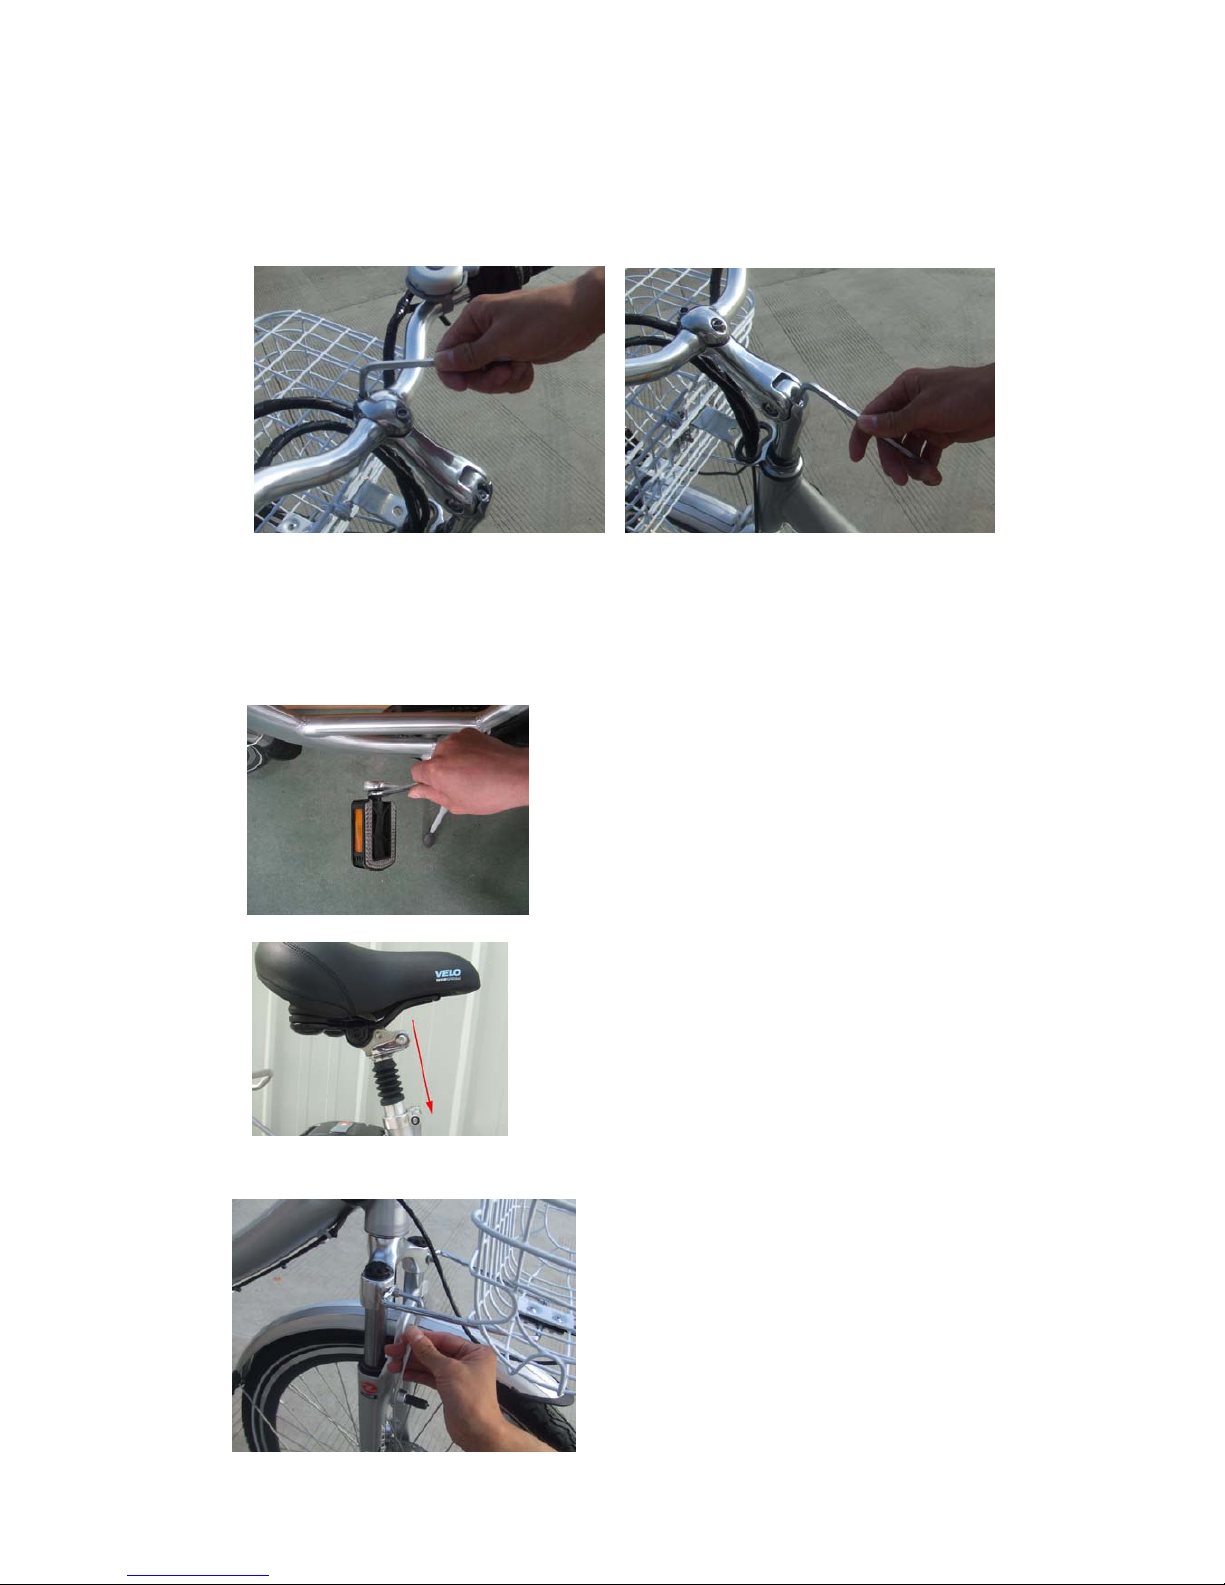
Pedals: The right-hand pedal (marked “R” on the pedal shaft) should be screwed
clockwise on the right-hand crank. The left pedal (marked “L”) should be screwed
counter-clockwise on the left-hand crank. Pedals should not be tightened firmly
but not excessively, as the crank threads are made of aluminum alloy. Use the
15mm spanner.
Seat post : Insert the seat post and saddle into
the seat tube, align set the hight and tighten the
quick release clamp.
Note! Do not adjust the seat post beyond its
maximum extension mark.
Basket:
Mount the bottom bracket on the fork with
the hex nut provided.
•Note the left and right of the pedal.
[L] Left [R] right
Attention: The threads will be stripped if
you attempt to mount the left pedal on the
right crank or the right pedal on the lef t
crank.
 Loading...