

Page 1
AGES: 3+
07809
PLAYSKOOL.COM
FOR NEW PRODUCTS AND OFFERS
PLAYSKOOL.COM
FOR NEW PRODUCTS AND OFFERS
Questions? Call: 1-800-PLAYSKL
© 2005 Hasbro. All Rights Reserved.
TM & ® denote U.S. Trademarks.
U.S. Patent No. 497956
07809 P/N 6468340001
Thank you for purchasing this
PLAYSKOOL brand product!
Requires 3 x 1.5V “AA” or R6 size batteries.
Alkaline batteries recommended. Phillips/
cross head screwdriver (not included)
needed to replace batteries.
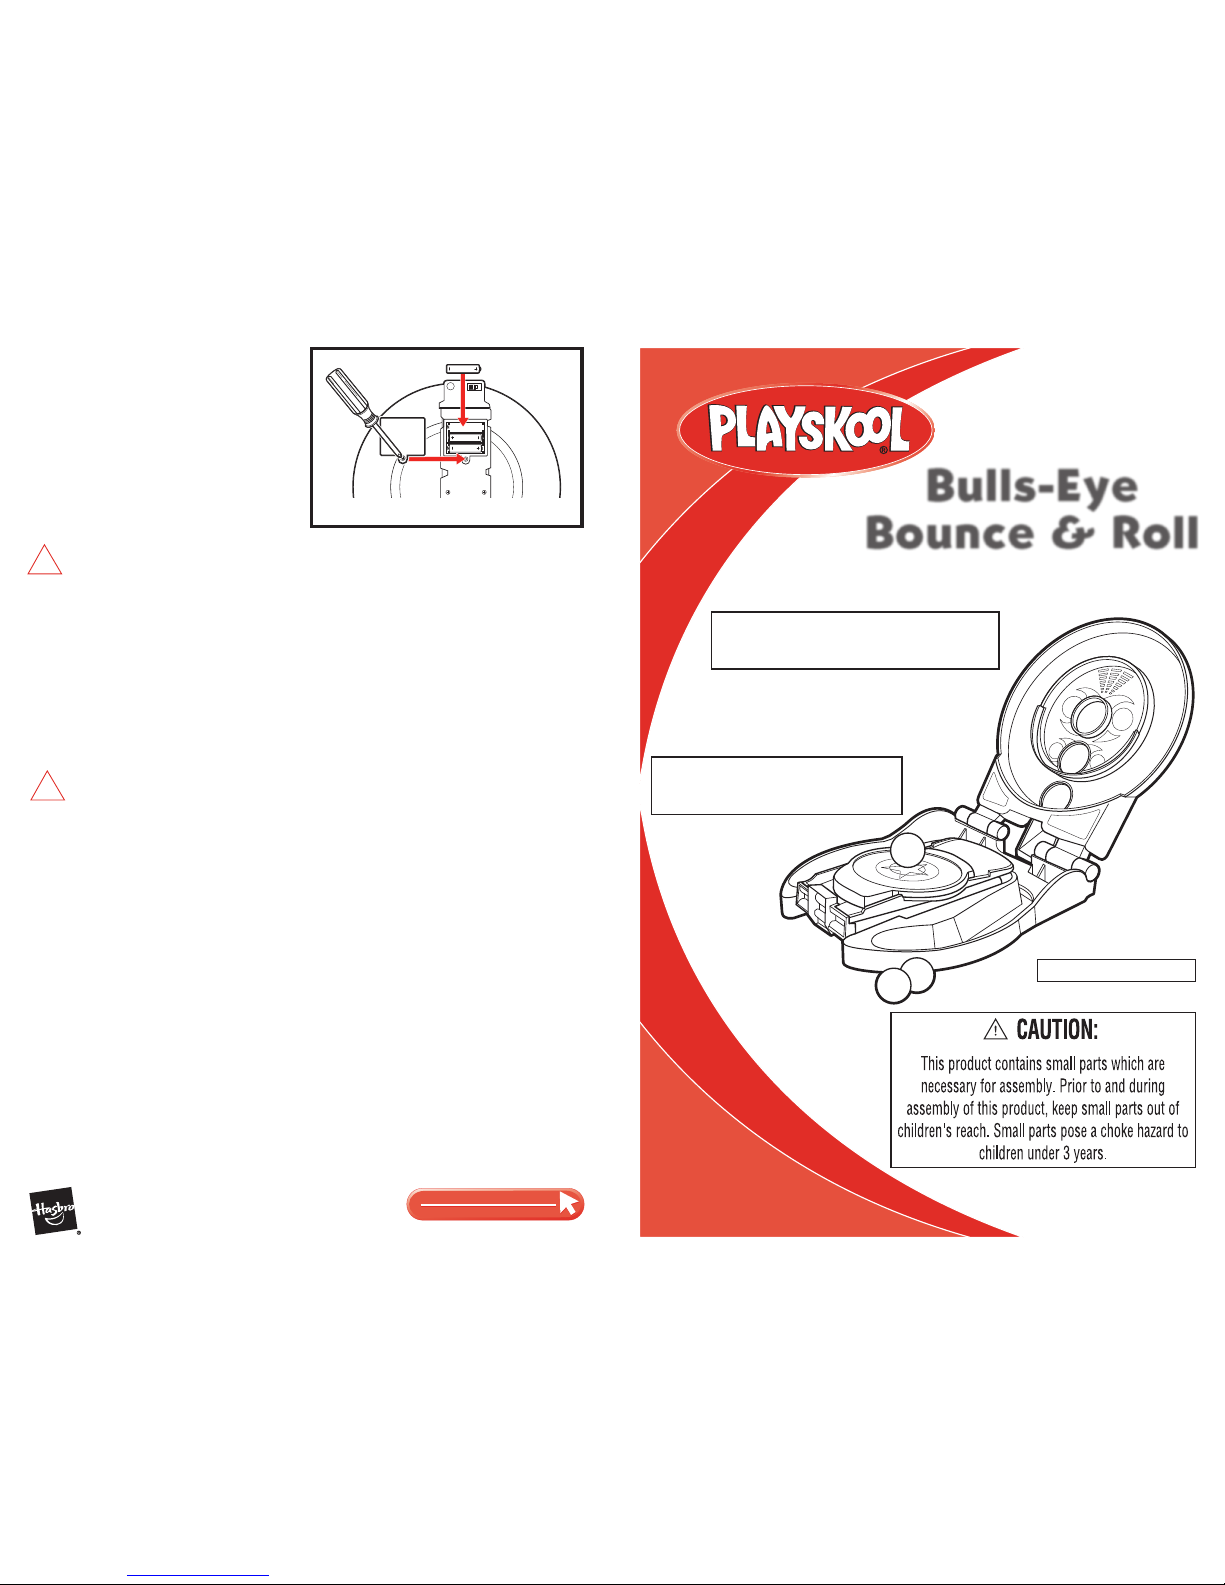
Use a Phillips/cross head screwdriver
(not included) to loosen screw in battery
compartment door (screw remains attached
to door). Remove door. Remove and discard
old batteries. Insert 3 x 1.5V “AA” or R6 size
batteries. Alkaline batteries recommended.
Replace door and tighten screw.
TO REPLACE BATTERIES
CAUTION: TO AVOID BATTERY LEAKAGE
1. Be sure to insert the batteries correctly and always follow the toy and
battery manufacturers’ instructions;
2. Do not mix old and new batteries or alkaline, standard (carbon-zinc)
or rechargeable (nickel-cadmium) batteries;
3. Always remove weak or dead batteries from the product.
!
IMPORTANT: BATTERY INFORMATION
Please retain this information for future reference.
Batteries should be replaced by an adult.
CAUTION:
1. Always follow the instructions carefully. Use only batteries specified and be sure to insert them
correctly by matching the + and – polarity markings.
2. Do not mix old batteries and new batteries, or standard (carbon-zinc) with alkaline batteries.
3. Remove exhausted or dead batteries from the product.
4. Remove batteries if product is not to be played with for a long time.
5. Do not short-circuit the supply terminals.
6. Should this product cause, or be affected by, local electrical interference, move it away from
other electrical equipment. Reset (switching off and back on again or removing and re-inserting
batteries) if necessary.
7. RECHARGEABLE BATTERIES: Do not mix these with any other types of battery. Always
remove from the product before recharging. Recharge batteries under adult supervision. DO
NOT RECHARGE OTHER TYPES OF BATTERIES.
!
FCC STATEMENT
This equipment has been tested and found to comply with the limits for a Class B digital device,
pursuant to Part 15 of the FCC Rules. These limits are designed to provide reasonable protection against harmful interference in a residential installation. This equipment generates, uses
and can radiate radio frequency energy, and, if not installed and used in accordance with the
instructions, may cause harmful interference to radio communications. However, there is no
guarantee that interference will not occur in a particular installation. If this equipment does
cause harmful interference to radio or television reception, which can be determined by tur ning
the equipment off and on, the user is encouraged to try to correct the interference by one or
more of the following measures:
• Reorient or relocate the receiving antenna.
• Increase the separation between the equipment and the receiver.
• Consult the dealer or an experienced radio/TV technician for help.
Bulls-Eye
Bounce & Roll
Includes: BULLS-EYE BOUNCE &
ROLL base, 1 small ring, 1 large ring,
1 chute, 1 chute bottom, 8 screws,
5 balls and instructions.
Recommended for indoor use, away
from direct sunlight, which interferes
with toy’s light technology.
Adult assembly required.
Phillips screwdriver (not
included) needed for assembly.
Class 1 LED Product
Page 2
TO ASSEMBLE:
Here are the easy-to-follow instructions for assembling
your BULLS-EYE BOUNCE & ROLL toy. Please follow
assembly instructions in proper order for best results.
A built-in announcer, electronic score keeping and
cool arcade action keep the fun in high gear – in either
bounce or roll mode! Here are some play suggestions to
get you started:
PLAY FEATURES
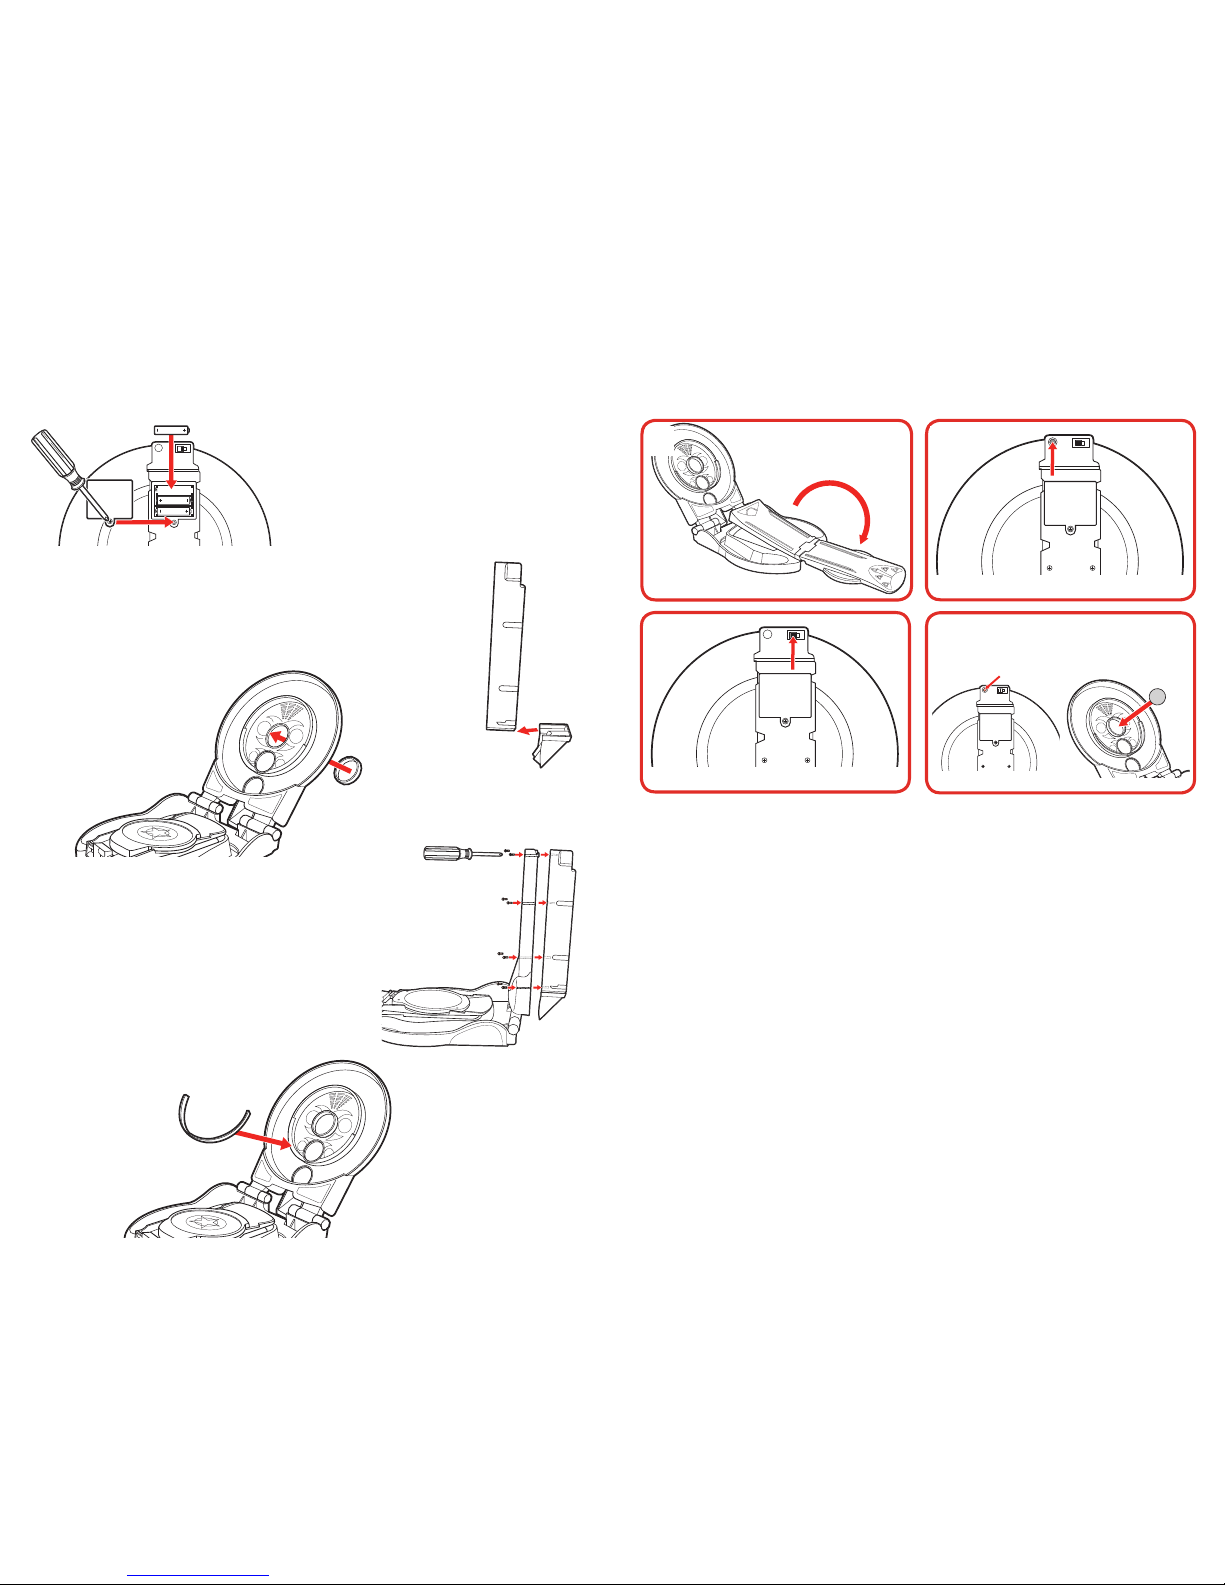
1. Remove the cover on the battery box located
on the back of the chute. Using a Phillips/cross
head screwdriver (not included), loosen the
screw in the battery compartment door (screw
remains attached to door). Remove door and
insert 3 x 1.5V “AA” or R6 size batteries. Alkaline
batteries recommended. Replace door, tighten
screw and place the battery box back in the
chute as shown.
2. Connect the chute bottom to the chute by sliding it onto the end
of the chute as shown. The chute bottom will snap into place.
1. 2.
3. 4.
NOW YOU’RE
READY TO GET
YOUR GAME ON!
1. Bounce or roll – it’s your choice!
The game base comes ready for “bounce” play. To use “roll” play, simply flip
the bounce target backwards as shown to set up the rolling ramp.
2. On the back of the BULLS-EYE BOUNCE target where the chute is mounted,
you will find a button that controls the game’s sound level. To play a
game with the announcer and score-keeper on, press the button once
for “Sounds On” mode or twice for “Sounds Medium” mode. Pressing the
button a third time will activate “Sounds Off” (quiet) mode.
3. Also on the back of the BULLS-EYE BOUNCE & ROLL base, you will find
a three-position switch. Put the switch in position to select one of the
following three games:
- Game 1 – Target Practice: This game allows you to roll or bounce the
balls into the holes with no time limit or cumulative score keeping.
- Game 2 – Match Me: In this game, the announcer will tell you which
target to hit. You can either roll or bounce to balls to hit the targets.
- Game 3 – High Score Challenge: It’s a race to get the high score! You’ll
have 45 seconds to roll or bounce for the new record!
4. After you are finished playing, the toy will automatically shut off. You can
resume play by pressing the “Sounds” button.
4. Connect the chute to the back of
the BULLS-EYE BOUNCE & ROLL base
by using the 8 screws (included).
You will need a Phillips/cross head
screwdriver to complete this step.
a b
3. Connect the small ring
to the back of the
BULLS-EYE BOUNCE &
ROLL base as shown.
The ring should snap
into place.
5. Connect the large ring
to the front of the
BULLS-EYE BOUNCE & ROLL
base as shown.
The ring should
snap into place.
 Loading...