

Page 1
Plantronics Inc
345 Encinal Street
Santa Cruz, CA 95060 USA
Tel: (831) 426-5858
www.plantronics.com
© 2004 – 2005 Plantronics, Inc. All rights reserved. Plantronics, the logo design, Plantronics and the logo design combined, and
Plantronics
Voyager are trademarks or registered trademarks of Plantronics, Inc. The Bluetooth name and the Bluetooth trademarks
are owned by Bluetooth SIG, Inc., and are used by Plantronics, Inc. under license. Patents U.S. 5,210,791;
Printed in USA. 69299-05 (9.05)
6,735,453;
Patents Pending.
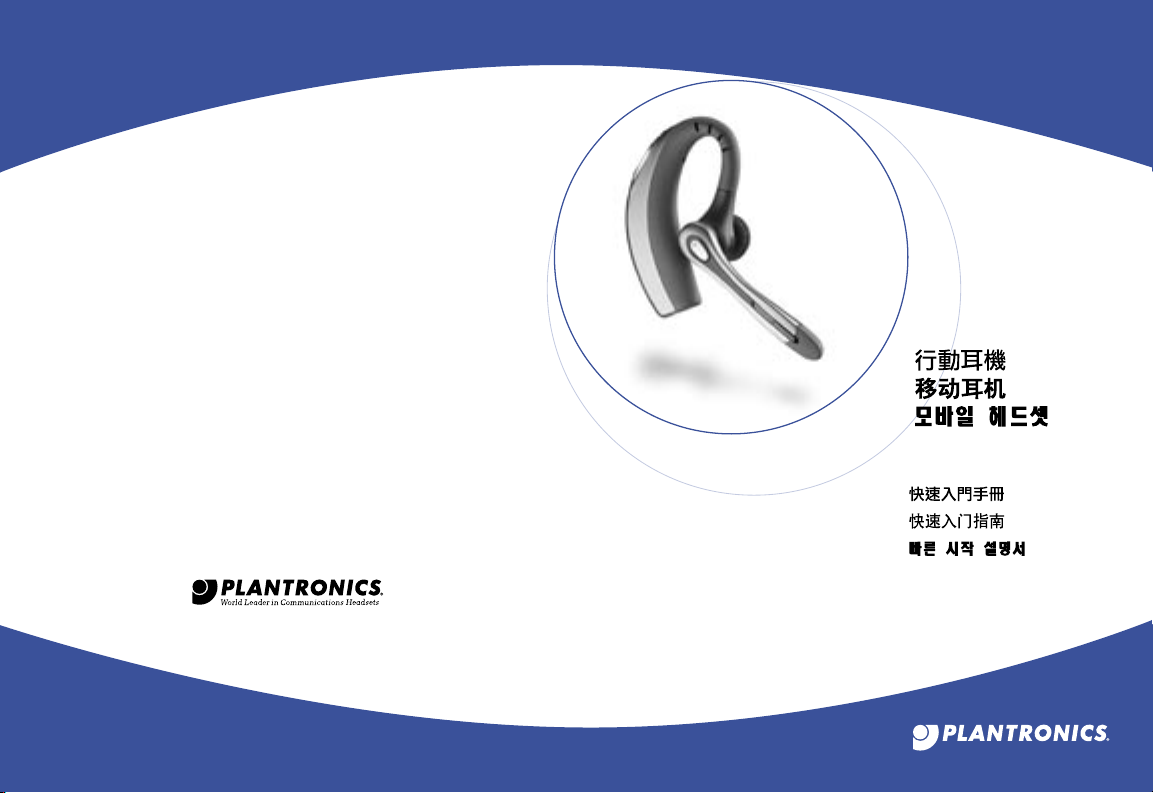
PLANTRONICS
VOYAGER™ 510
®
BLUETOOTH
HEADSET
Quickstart Guide
Page 2

2 3
WELCOME
FEATURES
EN This Quickstart Guide provides
instructions on the setup and usage
of your Voyager 510 Mobile Headset.
This product can be used as an audio
accessory for devices supporting
either the Headset or Hands-free
Bluetooth® Profiles.
Before getting started, please
review the Important Safety
Information booklet included in your
package.
For additional help, service, or
support information, refer to your
product Warranty card, or visit
www.plantronics.com.
EN 1
Microphone
2 Call Control Button
3 Eartip
4 Listen Volume Adjust Buttons +/-
5
Power/Mute Button
6
Status Indicator Light
7
Horizontal Boom Adjustment
8
Charge Connection
9
AC Mains Charger
Page 3

4 5
CHARGING
POWER ON/OFF
EN Connect the supplied wall charger
to AC power and then to your
headset. The Status Indicator will be
illuminated red while charging and
change to blue when the headset is
fully charged. The headset must be
charged for a minimum of 1 hour
prior to use – 3 hours to fully charge.
Do not use the headset while
charging and do not connect the
charger while the headset is in
use.
EN Press and hold the Power/Mute
Button for three seconds (long press)
to turn the headset on or off.
EN The Status Indicator flashes blue
when the headset is on. When the
battery becomes low, the indicator
will flash red.
Page 4

6 7
BLUETOOTH PAIRING
BLUETOOTH
BLUETOOTH PAIRING
BLUETOOTH
EN Before using your headset for the first
time, you must pair it with another
Bluetooth device, such as a mobile
phone. Follow the steps beginning
on the next page for most devices.
You can also refer to your phone user
guide or visit ww w.plantronics.com.
EN 1. Turn on both devices.
2. Place the headset in pairing mode
by simultaneously pressing and
holding the Call Control Button and
the Listen Volume Adjust Button
marked + (volume up). Release the
buttons when the Status Indicator
begins to flash red then blue.
EN Use your phone’s menu to search for
Bluetooth audio devices and select
“PLT 510” when it appears on the
display.
Note: In some circumstances the
pairing process can take up to 2
minutes to complete.
EN When then phone display asks for
a passkey, enter: 0000. The Status
Indicator flashes blue, once the
headset is successfully paired. If
pairing fails, try again following the
steps beginning on page 6.
If the headset stops responding
to button presses, you must reset
the headset. To reset the headset,
long press (3 seconds) the MUTE
and VOLUME DOWN buttons
simultaneously.
Page 5

8 9
USING YOUR HEADSET
USING YOUR HEADSET
EN
To answer or end a call, short press the
Call Control button. (Less than 0.8 sec.)
EN
To place a call using voice dialing,
press and hold the Call Control
Button for 2 seconds. If you are on a
call using your phone handset, you
can transfer the call to your headset
by a short press of the Call Control
button.
EN The following additional features may
be available if your phone supports the
Hands-free Profile. Not all phones support
Hands-free Profile. Refer to your phone
user guide for additional information or
visit www.plantronics.com.
Call Transfer back to phone – To transfer
a call from your headset back to your phone,
press and hold the Call Control button. You
will hear a tone. When you hear a second
tone, the transfer has been completed and
you can release the button.
Call Reject – To reject a call without
answering when the handset is ringing,
press and hold the Call Control button. You
will hear a tone. When you hear a second
tone, the call has been rejected and you can
release the button.
Last Number redial – To redial the last
number, quickly press the Call Control
button twice. You will hear a tone on each
press. When you hear a further tone, the last
number has been redialed.
Page 6

10 11
USING YOUR HEADSET
FITTING YOUR HEADSET
EN
During a call, press the Listen
Volume Adjust Buttons to adjust the
volume.
EN During a call, shor t press the
Power/ Mute Button to mute the
microphone. When muted, the
headset will sound two tones every
30 seconds. To take the microphone
off mute, press the button again.
EN Rotate the microphone horizontally
and vertically as illustrated, to select
your left or right ear. The illustration
shows conversion from right to left
ear wearing. Reverse the procedure to
convert from left to right ear wearing.
EN
Slide the headset over and behind
your ear. Then, press gently towards
your ear for a snug fit. Adjust the
microphone position so that it is
directed towards your mouth as
illustrated.
Page 7

12 13
REPLACING YOUR EARTIP
REGULATORY NOTICE
REMOVING THE EARTIP
FITTING A NEW EARTIP
EXPOSURE TO RADIO FREQUENCY
The radiated output power of this internal wireless radio is far below the FCC radio frequency
exposure limits . Nevertheles s, the wireless radio shall be used as described in the manual.
The internal wireless radio operates within guidelines found in radio frequency safety standards and
recommendations, which reflect the consensus of the scientific community.
Plantronics therefore believes the internal wireless radio is safe for use by consumers. The level
of energy emitted is far less than the electromagnetic energy emitted by wireless devices such
as mobile phones. However, the use of wireless radios may be restric ted in some situations or
environments, such as aboard airplanes. If you are unsure of restric tions, you are encouraged to ask
for authorization before turning on the wireless radio.
NOTE: Modifications not expressly approved by Plantronic s, Inc. could void the user’s authority to
operate the equipment.
Page 8

14 15
根據交通部低功率管理法規定:
第十二條 經型式認證合格之低功率射頻電機,非經許可,公司、商號或使用者均不得擅自
變更頻率、加大功率或變更原設計之特性及功能。
第十四條 低功率射頻電機之使用不得影響飛航安全及干擾合法通信;經發現有干擾現象
時,應立即停用,並改善至無干擾時方得繼續使用。
前項合法通信,指依電信規定作業之無線電信。低功率射頻電機須忍受合法通信
或工業、科學及醫療用電波輻射性電機設備之干擾。
REGULATORY NOTICE
REGULATORY NOTICE
This device complies with Part 15 of the FCC Rules. Operation is subject to the following two conditions:
1. This device may not cause harmful interference; and
2. This device must accept any interference received, including interference that may cause
undesired operation.
This equipment has been tested and found to comply with the limits for a Class B digital device,
pursuant to Part 15 of the FCC Rules. These limits are designed to provide reasonable protection
against harmful interference in a residential inst allation. This equipment generates, uses and can
radiate radio frequenc y energy and, if not installed and used in accordance with the instruc tions,
may cause harmful inter ference to radio communications. However, there is no guarantee that
interference will not o ccur in a particular installation.
If this equipment do es cause harmful interference to radio or television reception, which can
be determined by turning the equipment off and on, the user is encouraged to try to correc t the
interference by one or more of the following measures:
• Reorient or relocate the receiving antenna.
• Increase the separation between the equipment and receiver.
• Connect the equipment into an outlet on a circuit different from that to which the receiver is
connected.
FCC REGISTRATION INFORMATION
ONLINE PRODUCT REGISTRATION
EN REGISTER YOUR PRODUCT ONLINE.
This is not a condition of your
warranty, but will assist us in
providing the best possible service
and technical support for your
product. Visit www.plantronics.com/
productregistration.
w w w. p lan t ro n i cs. c om /
productregistration
CMII ID: 2005DJ0689
 Loading...