

Page 1

Wireless Presentation Gateway
WPG-110
User Manual
Version: 1.00
Date: March 04, 2008
Page 2

Copyright
Copyright © 2008 by PLANET Technology Corp. All rights reserved. No part of this publication may
be reproduced, transmitted, transcribed, stored in a retrieval system, or translated into any language or
computer language, in any form or by any means, electronic, mechanical, magnetic, optical, chemical,
manual or otherwise, without the prior written permission of PLANET.
PLANET makes no representations or warranties, either expressed or implied, with respect to the
contents hereof and specifically disclaims any warranties, merchantability or fitness for any particular
purpose. Any software described in this manual is sold or licensed "as is". Should the programs prove
defective following their purchase, the buyer (and not PLANET, its distributor, or its dealer) assumes
the entire cost of all necessary servicing, repair, and any incidental or consequential damages resulting
from any defect in the software. Further, PLANET reserves the right to revise this publication and to
make changes from time to time in the contents hereof without obligation to notify any person of such
revision or changes.
All brand and product names mentioned in this manual are trademarks
and/or registered trademarks of their respective holders.
Federal Communication Commission Interference Statement
This equipment has been tested and found to comply with the limits for a Class B digital device,
pursuant to Part 15 of FCC Rules. These limits are designed to provide reasonable protection against
harmful interference in a residential installation. This equipment generates, uses, and can radiate radio
frequency energy and, if not installed and used in accordance with the instructions, may cause harmful
interference to radio communications. However, there is no guarantee that interference will not occur in
a particular installation. If this equipment does cause harmful interference to radio or television
reception, which can be determined by turning the equipment off and on, the user is encouraged to try
to correct the interference by one or more of the following measures:
1. Reorient or relocate the receiving antenna.
2. Increase the separation between the equipment and receiver.
3. Connect the equipment into an outlet on a circuit different from that to which the receiver is
connected.
4. Consult the dealer or an experienced radio technician for help.
FCC Caution
To assure continued compliance. (example-use only shielded interface cables when connecting to
computer or peripheral devices). Any changes or modifications not expressly approved by the party
responsible for compliance could void the user’s authority to operate the equipment.
This device complies with Part 15 of the FCC Rules. Operation is subject to the Following two
conditions: ( 1 ) This device may not cause harmful interference, and ( 2 ) this Device must accept any
interference received, including interference that may cause undesired operation.
Federal Communication Commission (FCC) Radiation Exposure
Statement
Page 3

This equipment complies with FCC radiation exposure set forth for an uncontrolled environment. In
order to avoid the possibility of exceeding the FCC radio frequency exposure limits, human
proximity to the antenna shall not be less than 20 cm (8 inches) during normal operation.
R&TTE Compliance Statement
This equipment complies with all the requirements of DIRECTIVE 1999/5/CE OF THE EUROPEAN
PARLIAMENT AND THE COUNCIL OF 9 March 1999 on radio equipment and telecommunication
terminal Equipment and the mutual recognition of their conformity (R&TTE)
The R&TTE Directive repeals and replaces in the directive 98/13/EEC (Telecommunications Terminal
Equipment and Satellite Earth Station Equipment) As of April 8, 2000.
Safety
This equipment is designed with the utmost care for the safety of those who install and use it.
However, special attention must be paid to the dangers of electric shock and static electricity when
working with electrical equipment. All guidelines of this and of the computer manufacture must
therefore be allowed at all times to ensure the safe use of the equipment.
WEEE regulation
To avoid the potential effects on the environment and human health as a result of the
presence of hazardous substances in electrical and electronic equipment, end users of
electrical and electronic equipment should understand the meaning of the crossed-out
wheeled bin symbol. Do not dispose of WEEE as unsorted municipal waste and have to
collect such WEEE separately.
Revision
User’s Manual for PLANET Wireless Presentation Gateway
Model: WPG-110
Rev: 1.0 (March. 2008)
Part No. EM-WPG110
Page 4

WPG-110 User Manual
Contents of Table
1. OVERVIEW..................................................................................................................................5
2. QUICK START.............................................................................................................................8
3. CLIENT UTILITY .....................................................................................................................11
3.1 Starting Program.....................................................................................11
3.2 Login........................................................................................................12
3.3 Buttons Description.................................................................................12
3.4 Start / Stop Present a tion..........................................................................14
3.5 Start / Stop Playing Video........................................................................14
3.6 Open Admin W eb Page............................................................................15
3.7 Searching Server.....................................................................................16
3.9 Make PnS Token.....................................................................................17
3.10 System Information.................................................................................18
3.11 About........................................................................................................19
3.12 Exit Program...........................................................................................19
4. WEB MANAGEMENT..............................................................................................................21
4.1 Home Page ..............................................................................................21
4.2 Download Software.................................................................................21
4.3 Conference Control.................................................................................22
4.4 Login W eb Admin....................................................................................24
4.5 System Status...........................................................................................25
4.6 Network Setup.........................................................................................26
4.7 Projection Setup......................................................................................28
4.8 Change Passwords ..................................................................................29
4.9 Reset to Default.......................................................................................29
4.10 Firmware Upgrade..................................................................................30
4.11 Reboot System .........................................................................................31
4.12 Logout......................................................................................................32
WALL MOUNT INSTRUCTIONS.....................................................................................................33
SPECIFICATION.................................................................................................................................34
TROUBLESHOOTING.......................................................................................................................36
- -
4
Page 5

WPG-110 User Manual
1. Overview
WPG-110 is an easy installation, convenient operation and user friendly
projecting device. With the WPG-110, your Projector becomes a wired,
wireless device / resource that PCs / Notebooks will be easier to project screen
to the Projector.
Plug & Play
WPG-110 is a plug-and-play device which is easy to install and connect with.
Any Notebooks/PCs with built-in Centrino or Wi-Fi card can easily download
utility and connect to WPG-110.
Flexibility
WPG-110 is compatible to all kinds of projectors, using wire-line or wireless
connection, to display presentations. Instantly project your screen to the
projector with just one mouse click. No more cable swapping hassles.
Performance
WPG-110 has the ability to deliver real time animation screens for up to
1024x768 resolutions in 32-bit color depth. It also provides friendly web-based
administrating UI for easy configuration and wireless security setups.
Security
Support Login code to protect other users from accessing presentation
contents. During presentation, screen images can also be protected by WEP
64/128 encryption.
Conference control
Supporting multi-users to switch presentation, any member at the conference
can easily login to presentation server and switch the computer’s screen to
Projector without moving the computer to Projector.
- -
5
Page 6
WPG-110 User Manual
One button operation
User-friendly graphic interface to allow users to use it without any training.
Intelligent searching function
After executing WPG-110 utility, it will automatically search all available
WPG-110 within the wireless LAN cover range. Users don’t need
to do any
other setting, without worrying about the operation procedures.
Conference and Video projection
Allow users to have a presentation, it can be used for play video as we
WPG-110 supports popular video formats, wh
ich makes it suitable for
Enterprise, Presentation and Home Theater.
ll. The
- -
6
Page 7

WPG-110 User Manual
¾ Features
Wireless presentation, no more cable swapping.
Video projection, projecting your video file on the screen through
WLAN/LAN.
Compatible to all projectors with standard VGA connectors.
One-Click to switch presenters’ displays.
Real time display for PowerPoint presentations, images and
applications.
Supports OS: Window 2000 (up to SP4), XP(up to SP2),
Vista(32/64bits)
Number of Conference control up to 20 users.
Supports display resolutions up to 1024x768 with 32-bit color.
No installation CD required, software is directly downloaded from the
device.
Provide session security login and wireless WEP key to protect
presentation contents.
Conference control function is provided for the host to moderate a
meeting.
Provide friendly web-based user interface for easy configuration.
Support static-IP and DHCP server.
¾ Packet Content
1 x WPG-110 box
1 x Dipole Antenna
1 x CD ROM (User’s Guide included)
1 x 5V DC Power adapter
1 x Quick Installation Guide
1 x Wall mount kit
- -
7
Page 8
WPG-110 User Manual
2. Quick Start
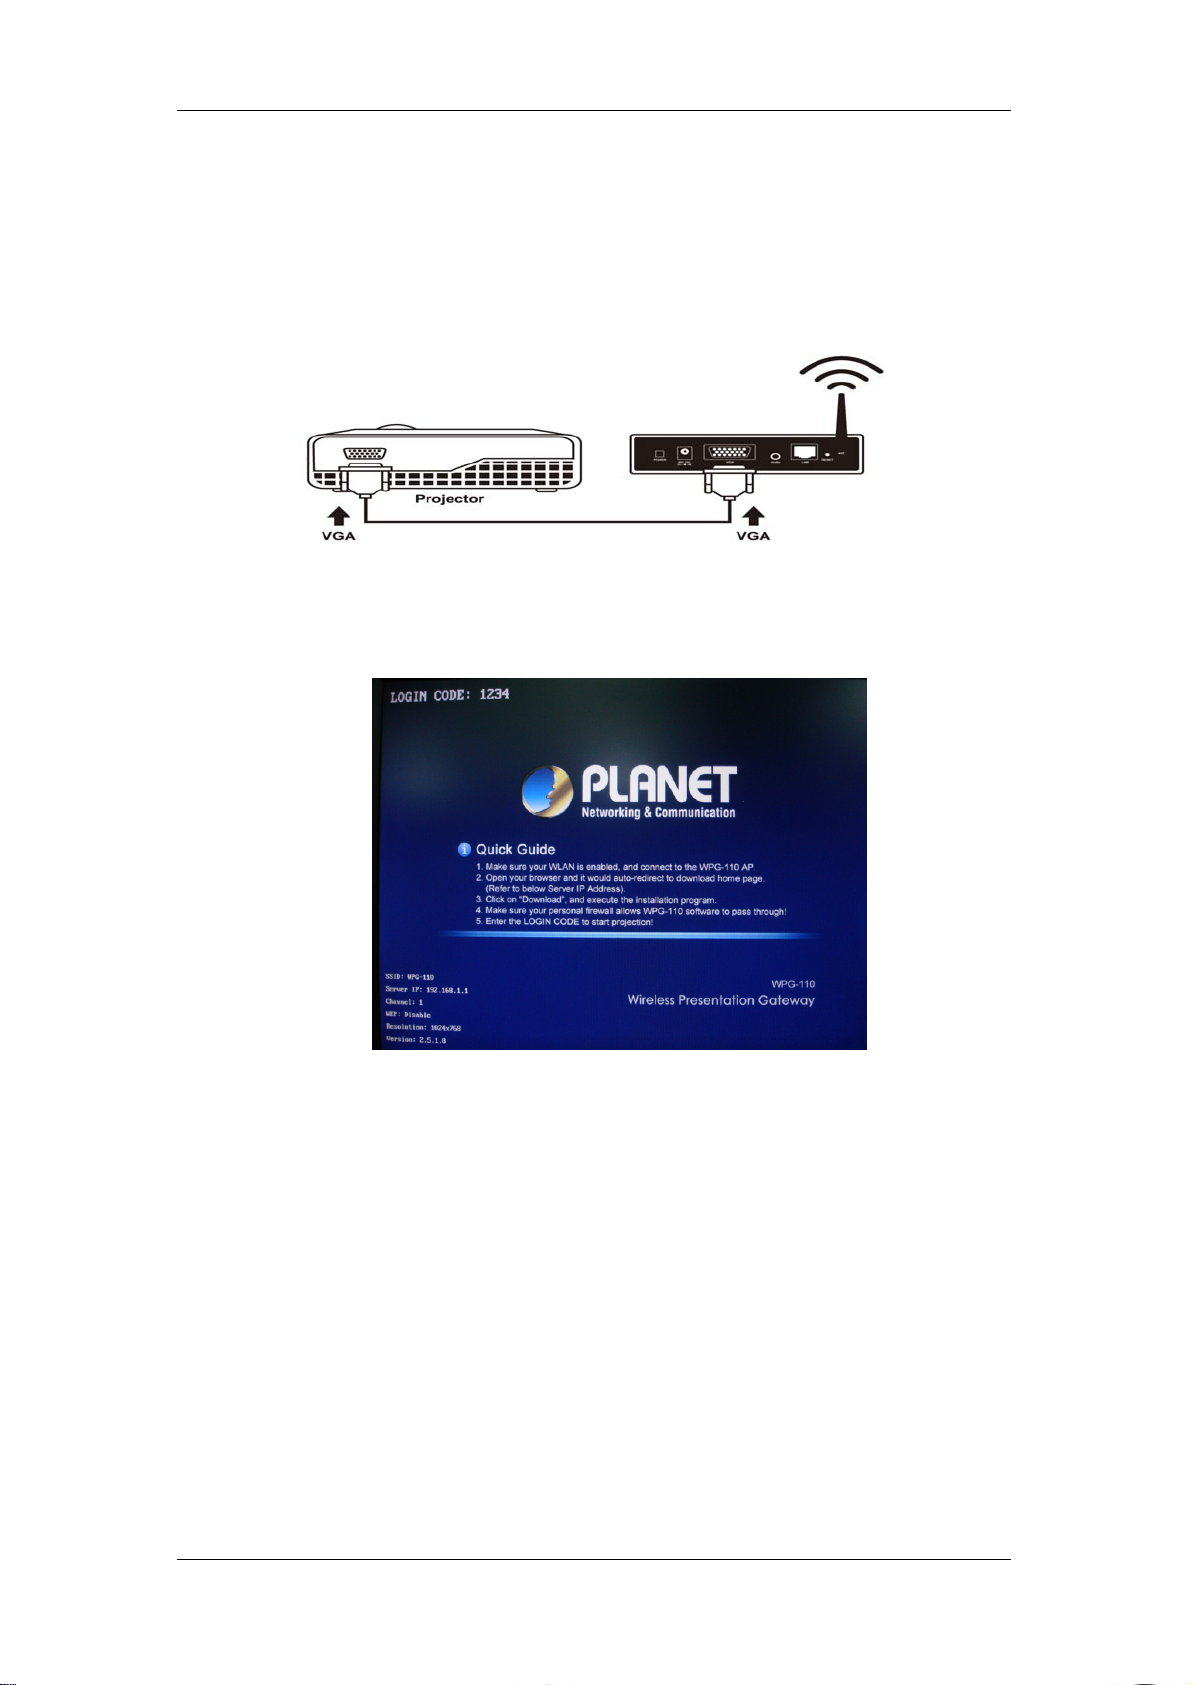
1) Connect the VGA cable of projector to the VGA connector on WPG-110
and power on the projector.
2) Turn on WPG-110.
♦ When Projector shows the default menu on the screen as below, it indicates the
WPG-110 box is ready now.
3) Make sure your PC LAN port or WLAN interface is enabled already, and
connect your PC with WPG-110 box (wireless default SSID is WPG-110).
4) Open your browser and enter the WPG-110 IP address to get in WPG-110
web home page.
- -
8
Page 9
WPG-110 User Manual
♦ The default IP address of WPG-110 is DHCP allocated. If you connect to the
network that has DHCP server, it will provide you a dynamic IP automatically;
otherwise, its default IP address is 192.168.1.1. If you have modified the IP
address, you can refer to the IP address shown on the left-down corner of
projector screen.
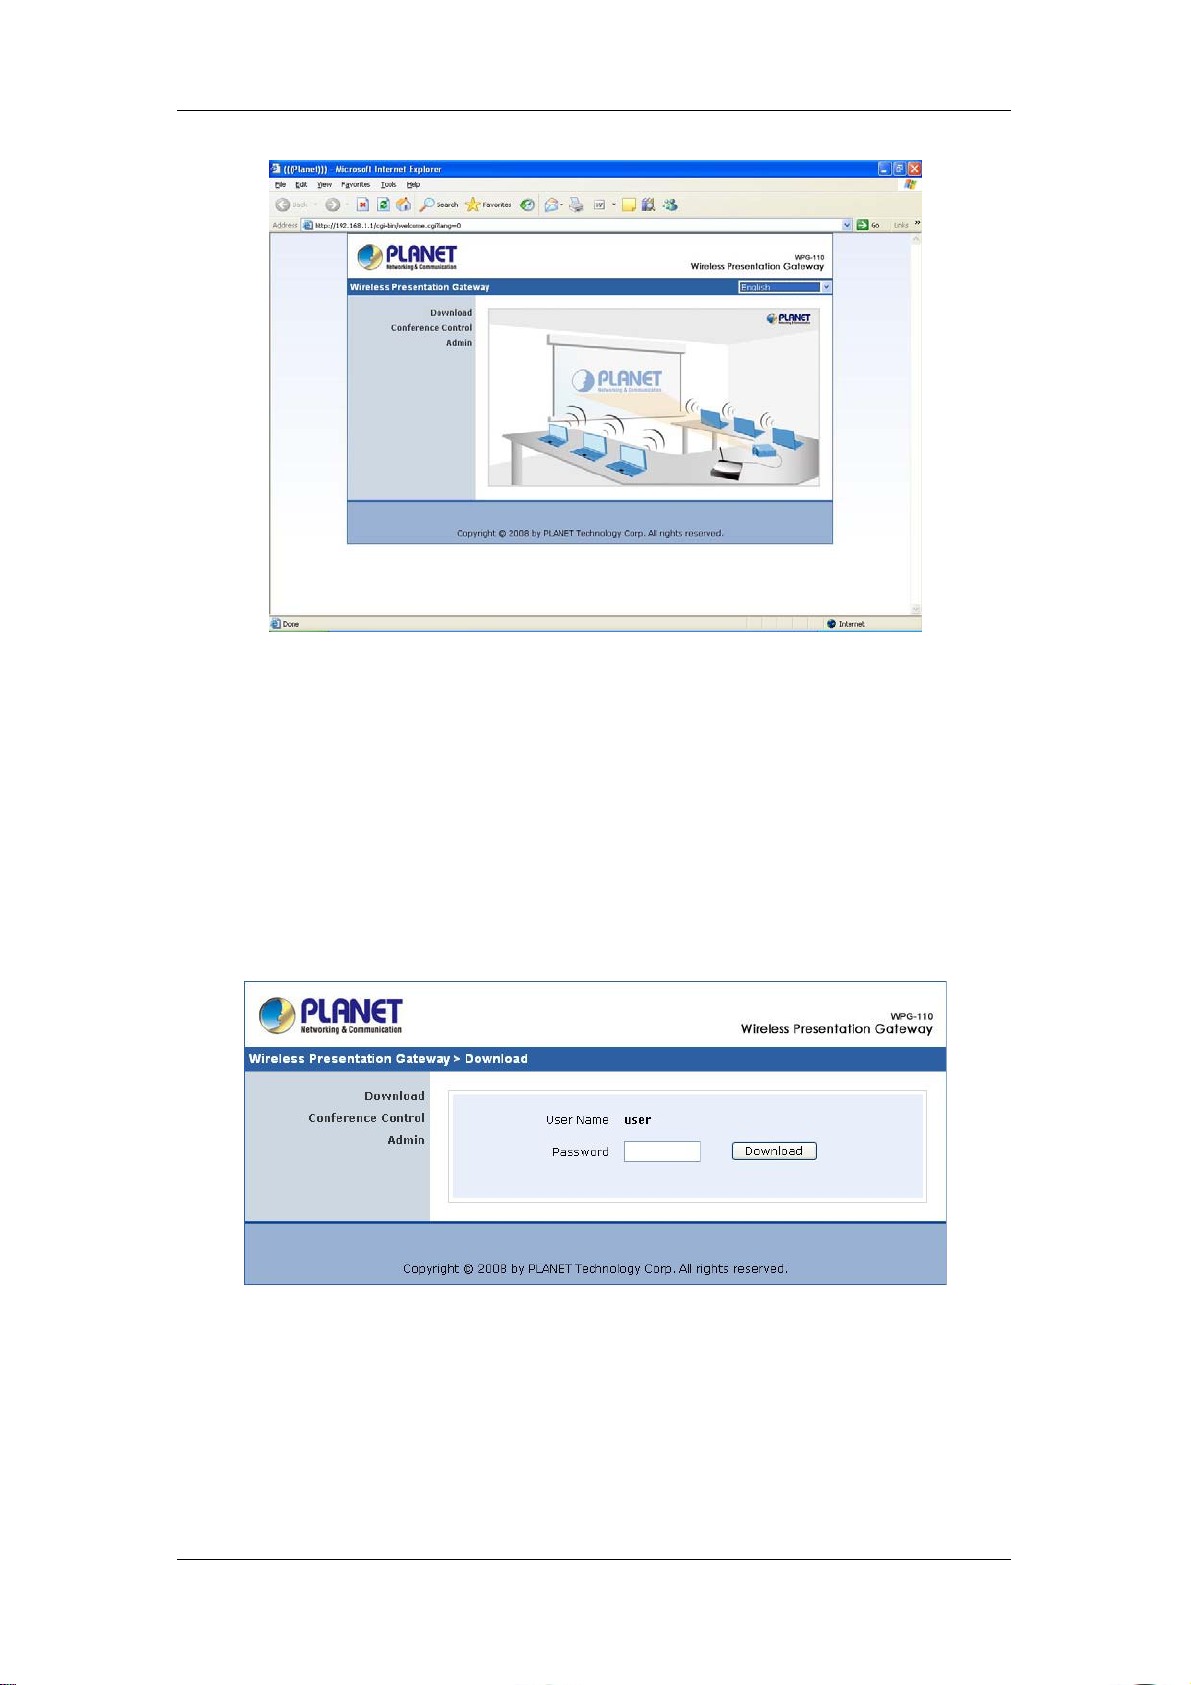
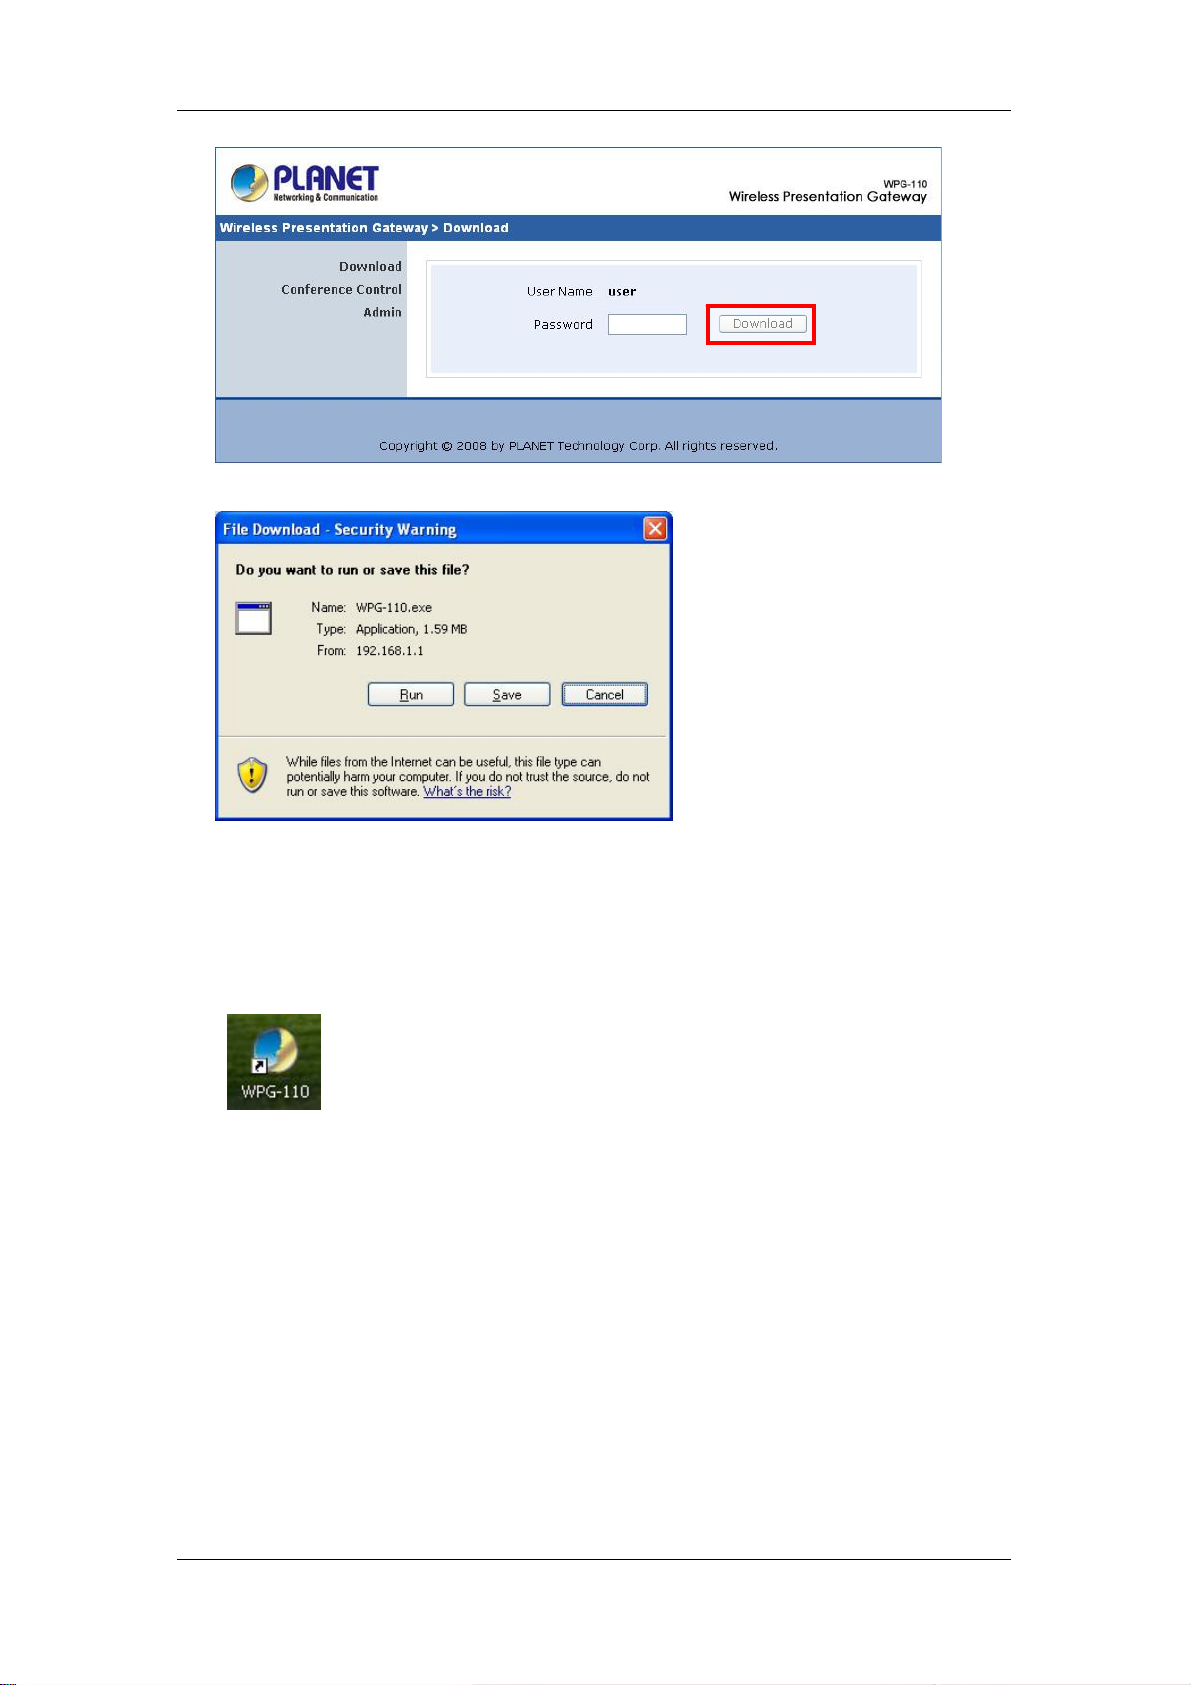
5) Please select “Download” option from left panel and press “Download”
button. The Password is empty..
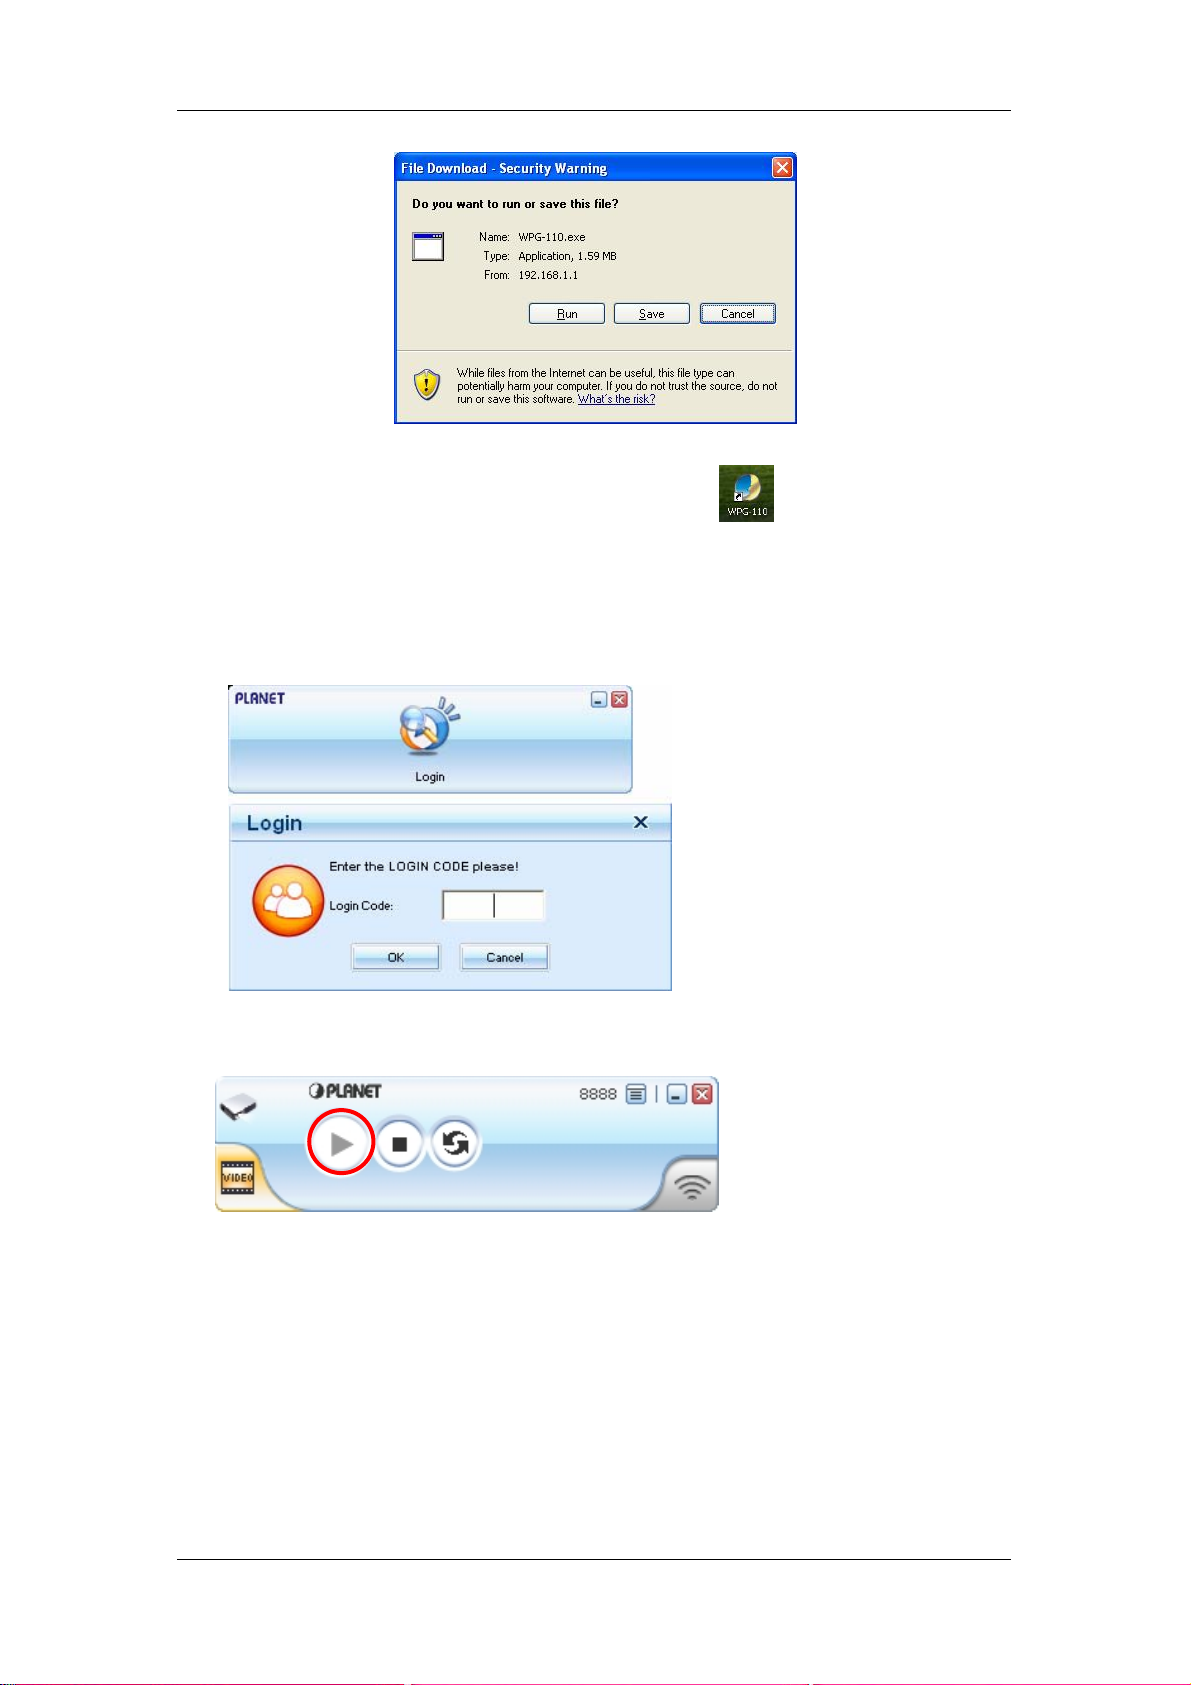
6) You will see a file download dialog box appear, directly press “Run” to
execute the installation program.
- -
9
Page 10
WPG-110 User Manual
7) After install the program, WPG-110 shortcut will come out on the
desktop.
8) If there is any firewall, please make sure your personal firewall has
allowed WPG-110 software to pass through.
9) Enter the LOGIN CODE and press “OK”.
♦ You can see the login code on the projector screen
10) Click the “Play” button to start projection!
- -
10
Page 11
WPG-110 User Manual
3. Client Utility
3.1 Starting Program
After you download WPG-110 Windows program via web page successfully,
follow the steps below to start.
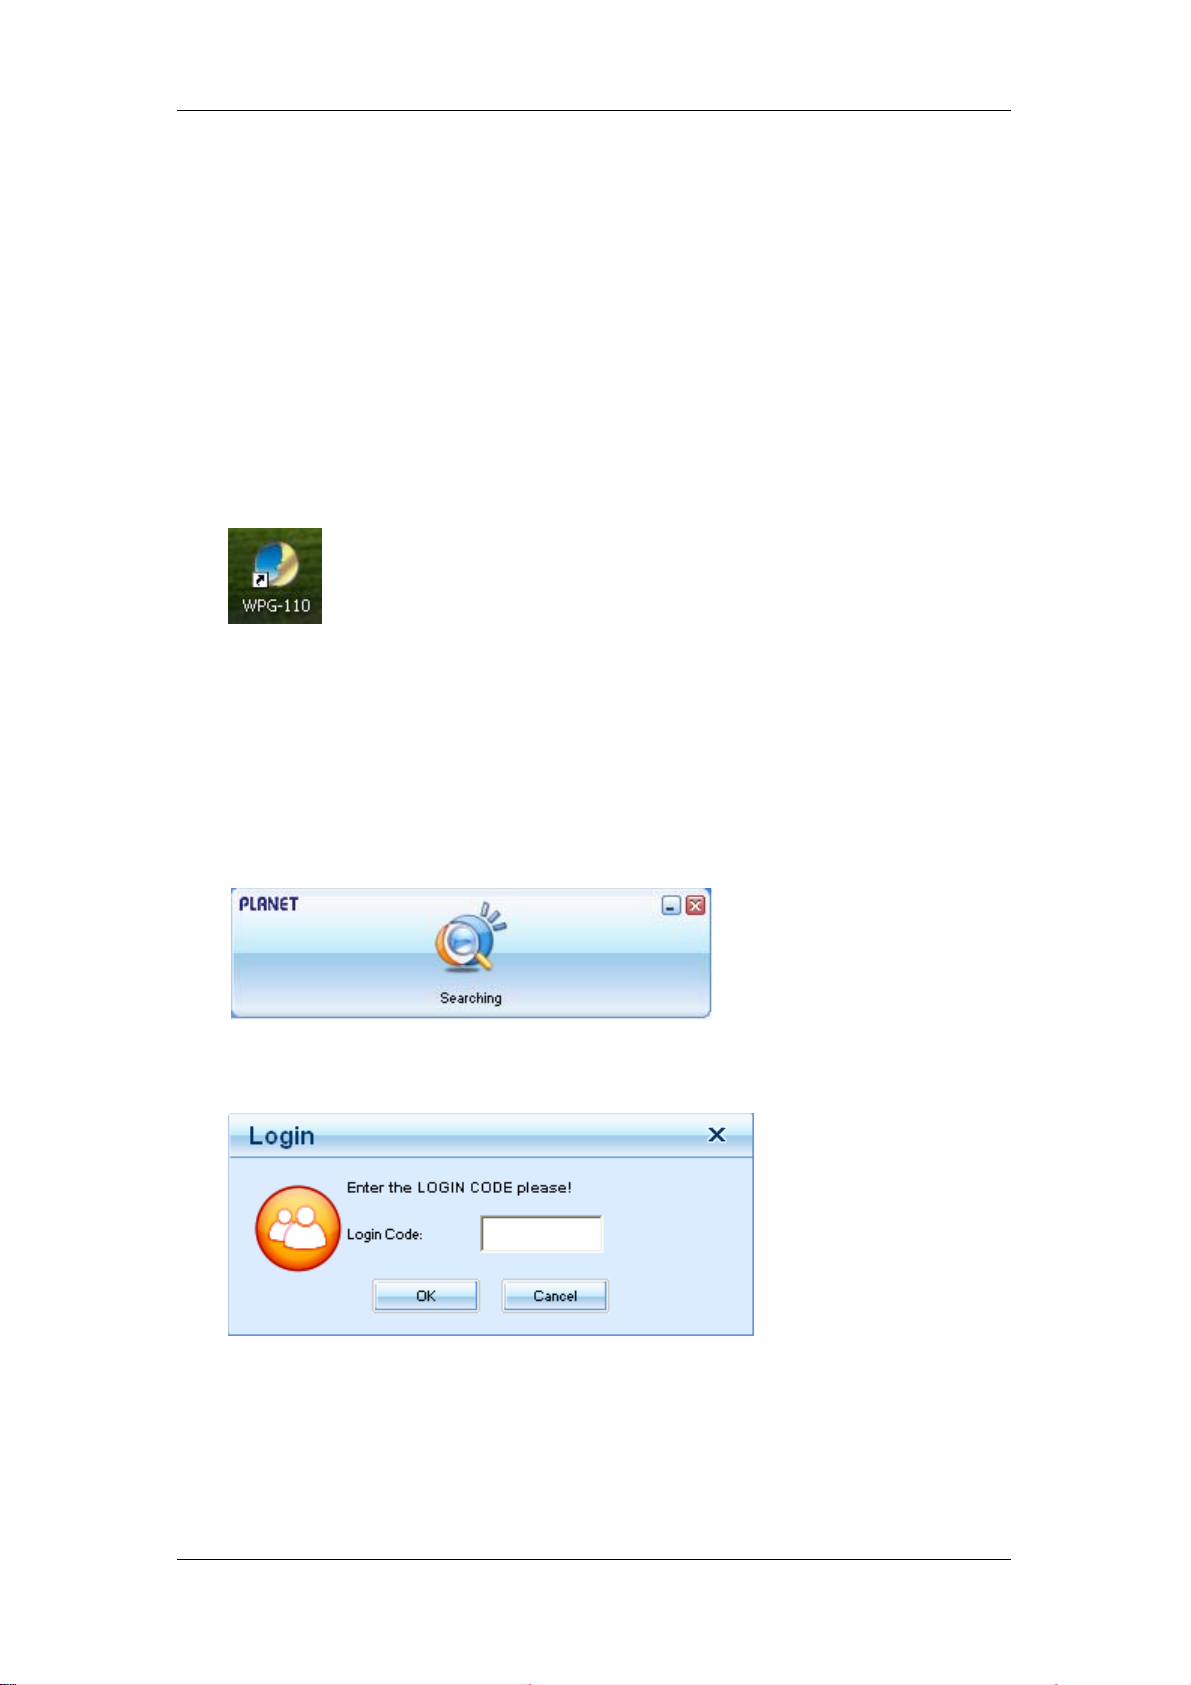
1) Click WPG-110 icon to execute the program.
2) The program starts to search for WPG-110 automatically,
3) If WPG-110 is found, the “Login Code” dialog box will pop up on the PC
screen.
4) If not, the utility will enter “Disconnected state” and “Reconnect” button
shown for you to try again.
z Searching for WPG-110
z WPG-110 box is found and enter login code to start.
z Failed to find WPG-110
- -
11
Page 12

WPG-110 User Manual
3.2 Login
1) After “Login Code” dialog box shown, enter login code to start presentation.
2) You can see the login code shown on the projector screen.
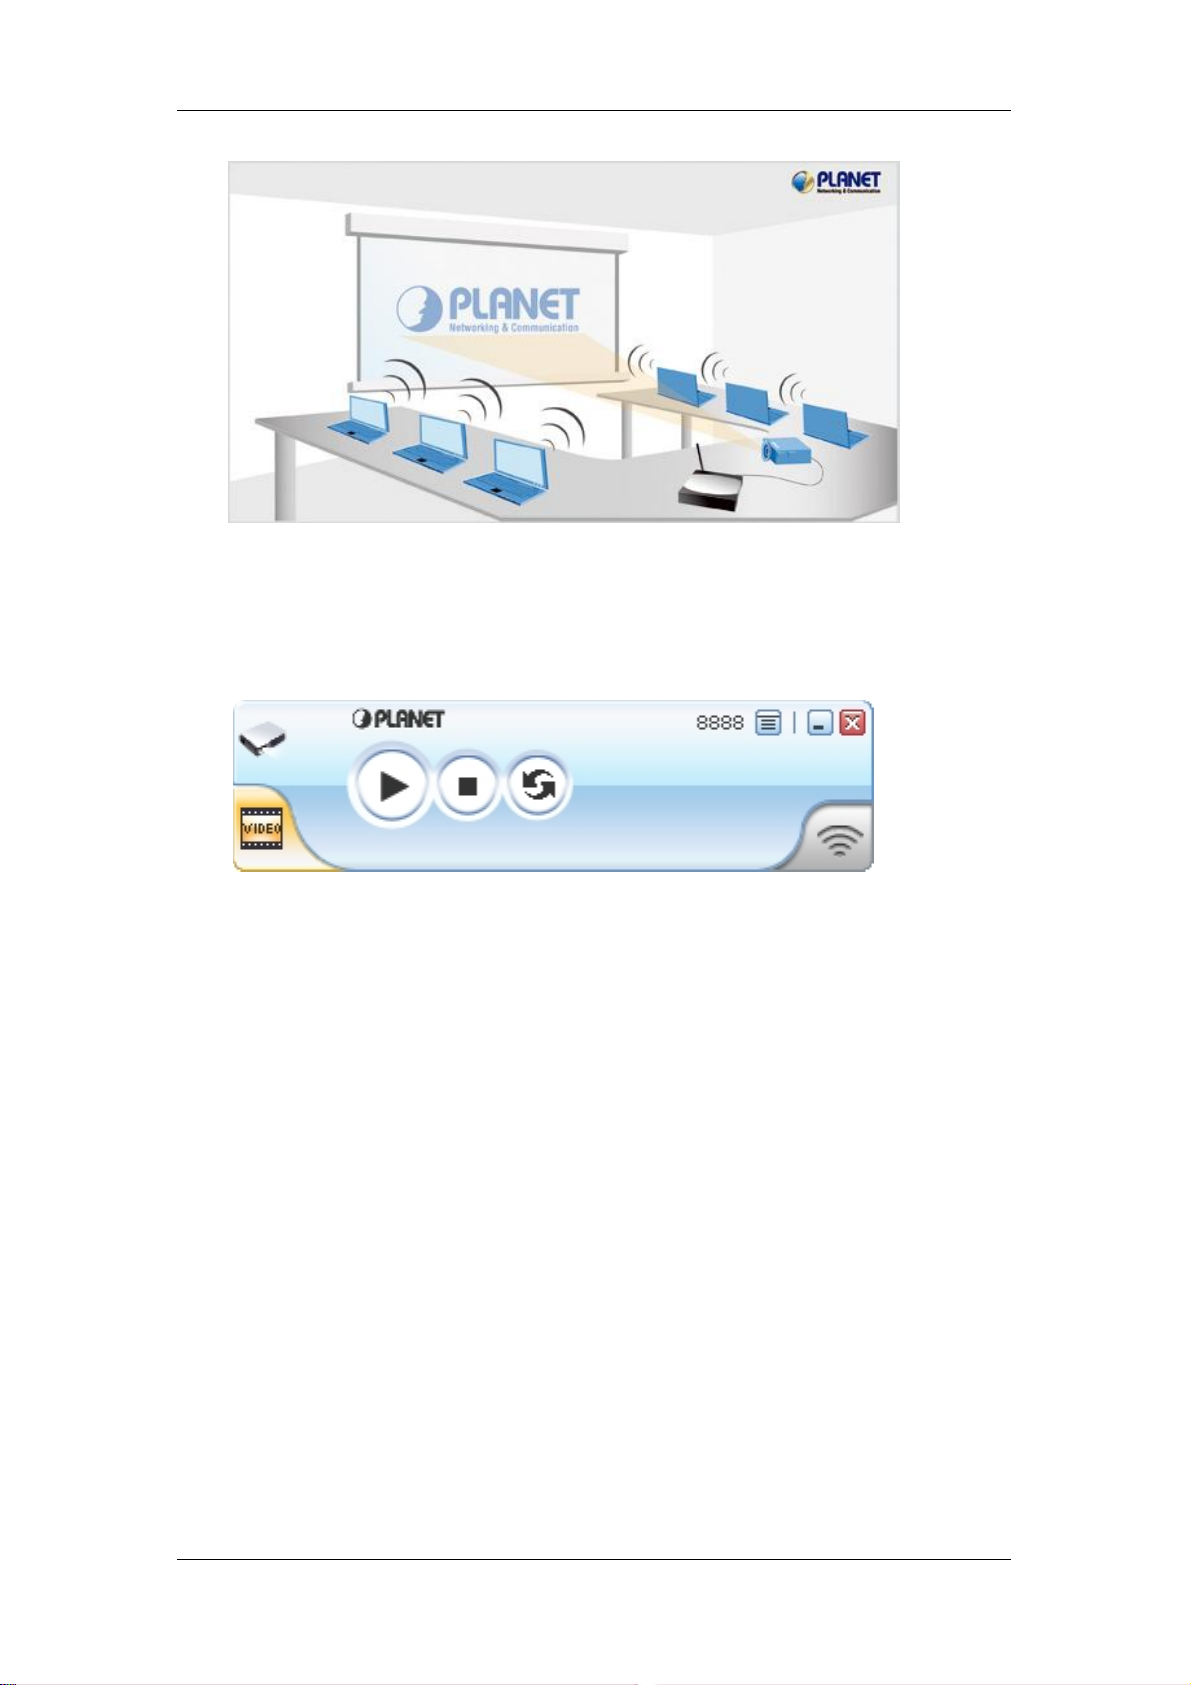
3.3 Buttons Description
1) After login successfully, you will see main operating screen of WPG-110
application.
) Click following buttons to manipulate WPG-110 Application.
2
Presentation Mode
- -
12
Page 13

WPG-110 User Manual
Video Mode
Start projecting
Stop projecting
Refresh projecting screen
Server Login Code
Function menu
While projecting in progress, this icon is blinking
Start playing video
Stop Playing Video
Pause Playing Video
Open Video File
Audio volume OFF
Audio volume strength bar
Audio volume strength bar
Video time bar
While playing video, it will be blinking
Function menu
Minimize the program
E
xit the program
- -
13
Page 14

WPG-110 User Manual
3.4 Start / Stop Presentation
Click to start presentation.
Click to stop presentation.
Click to pause presentation, that will hide any activities of your PC
screen. Once you click “Play” button again, screen projection will be resumed.
3.5 Start / Stop Playing Video
Click to switch to Video Mode.
Click
to open the video file and submit to play it.
- -
14
Page 15

WPG-110 User Manual
* Supported Video Format: MPG, MPEG, DAT, VOB, WMV9, ASF.
3.6 Open Admin We b Page
Click to open function menu and select “Web Admin” management web
page. The detailed functions will be described on next chapter.
- -
15
Page 16

WPG-110 User Manual
3.7 Searching Server
Click “Search Server” to search for WPG-110.
If there is no available WPG-110, the utility will show the result below:
3.8 Repeat
Click “Repeat” to enable/disable video repeat capability.
- -
16
Page 17

WPG-110 User Manual
3.9 Make PnS Token
“Make PnS Token” allows you to copy WPG-110 utility to the USB drive. Click
“Make PnS Token” to start the wizard.
USB Auto Setup Wizard:
- -
17
Page 18

WPG-110 User Manual
3.10 System Information
Click “Info” to show system information. It includes product model number, IP
address and other information.
- -
18
Page 19

WPG-110 User Manual
3.11 About
Click “About” to show model name, firmware version of machine and the
information of Planet Corp
3.12 Exit Program
Click “Exit” to terminate the program
- -
19
Page 20

WPG-110 User Manual
Or Click to terminate the program.
- -
20
Page 21

WPG-110 User Manual
4. Web Management
4.1 Home Page
1. The default IP address of WPG-110 is DHCP allocated. If you connect to
the network that has DHCP server, it will provide you a dynamic IP
automatically; otherwise, its default IP address is 192.168.1.1. If you have
modified the IP address, you can refer to the IP address shown on the
left-down corner of projector screen.
2. Make sure your PC connect to WPG-110 via wired or wireless interface
(SSID: WPG-110) successfully.
3. Then you will see the WPG-110 home screen.
4.2 Download Software
1. Access “Download” page.
2. Press “Download” button to download Utility, the default password is blank.
- -
21
Page 22
WPG-110 User Manual
3. You can save the utility to your local drive or execute it directly.
4. Follow Installation Wizard instructions to proceed till the installation process
complete.
5. If Windows firewall is enabled, the “Windows Security Alert” will pop up.
You can press “Unblock” button to continue installation.
6. Once installation complete, a utility shortcut come out on the screen.
4.3 Conference Control
This function allows you to host a meeting smoothly without projector cable
swapping and each participant can show their presentation easily.
1. Access “Conference Control” page.
2. Enter password, the default value is “trainer”, and then press [Login].
3. After login, you can see a User List on the screen which indicates all of
users connected to WPG-110.
- -
22
Page 23

WPG-110 User Manual
4. There are three columns, “Computer Name”, “Play Control” and “IP
Address”.
z Computer Name: The name of PC connected to WPG-110.
z Play control:Show current user’s projecting status.
Start projecting
Stop projecting.
z IP address:The IP address of PC
Note: 1. The maximum user number in a conference is 20.
2. The conference mode only available in Presentation.
3. When the WPG-110 is in conference control mode, only the
conference admin can assign the person to present.
- -
23
Page 24
WPG-110 User Manual
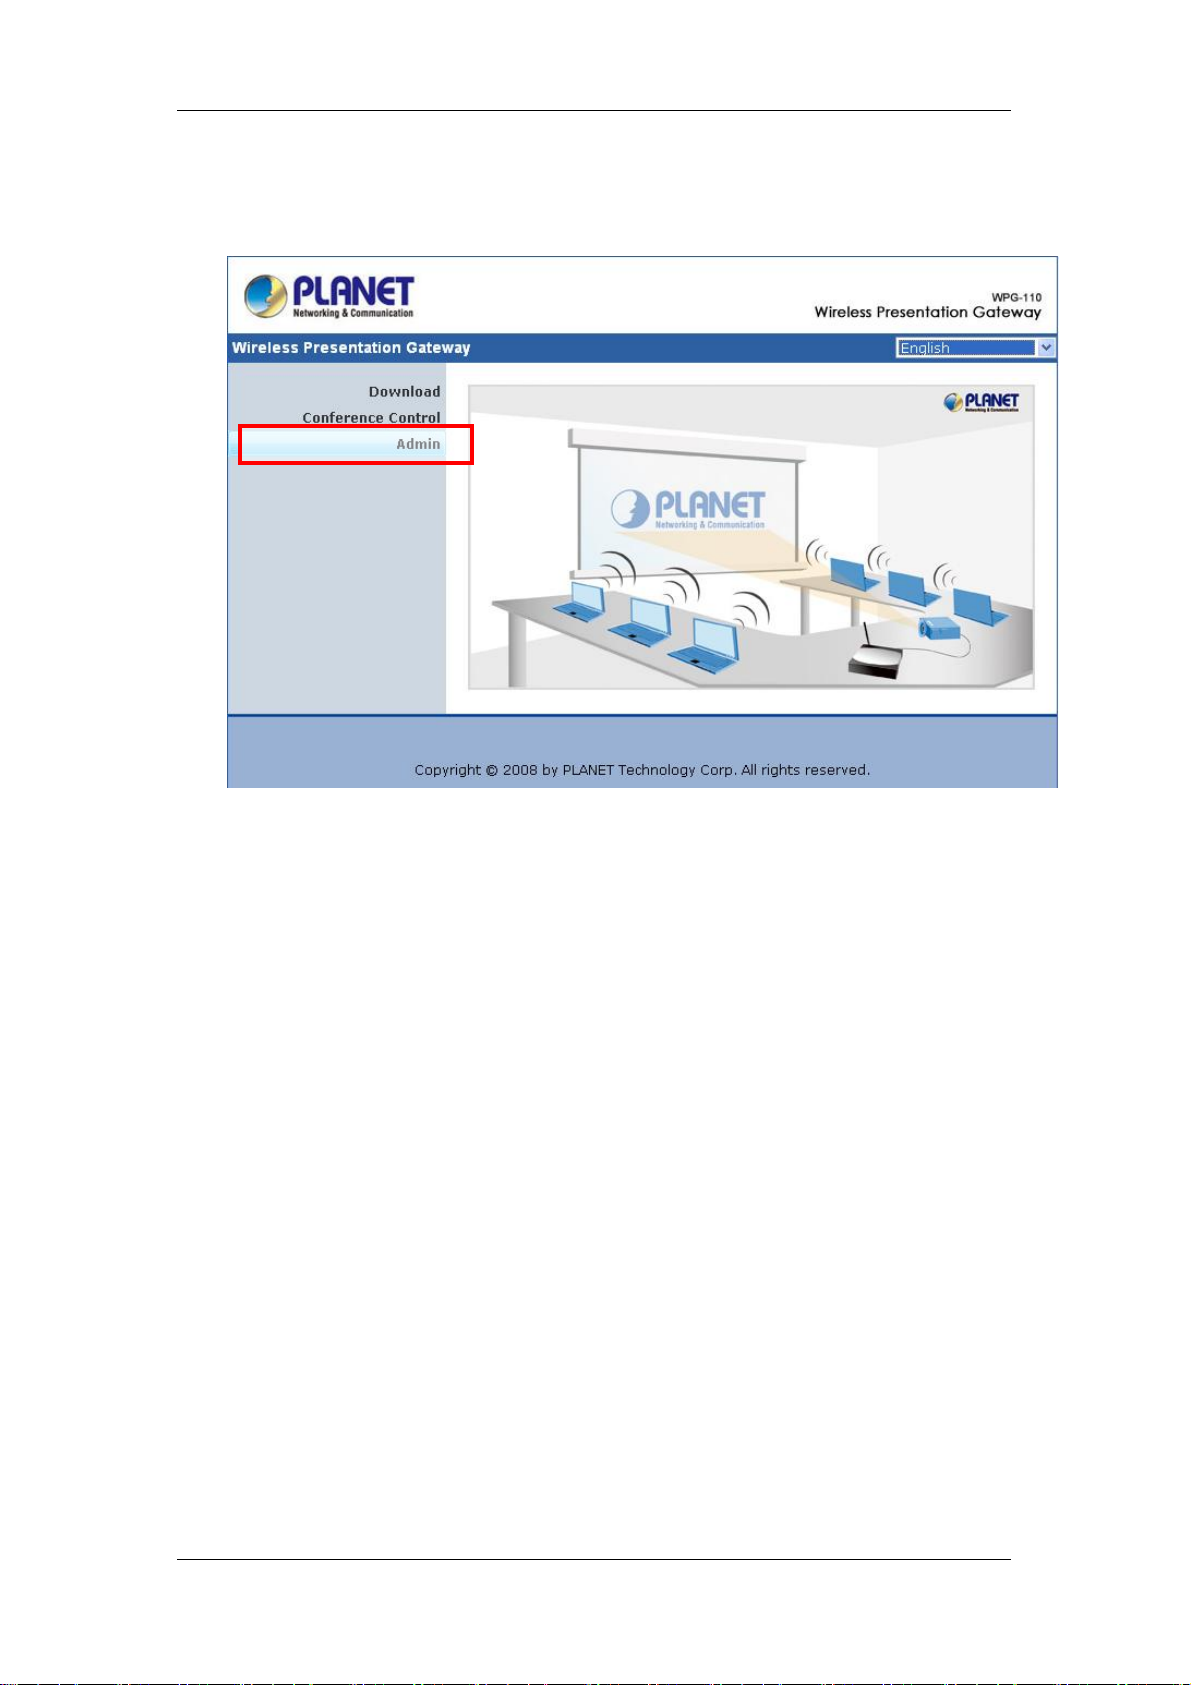
4.4 Login Web Admin
1. Access “Admin” page.
2. Key in the password to log in, the default value is “admin”.
- -
24
Page 25
WPG-110 User Manual
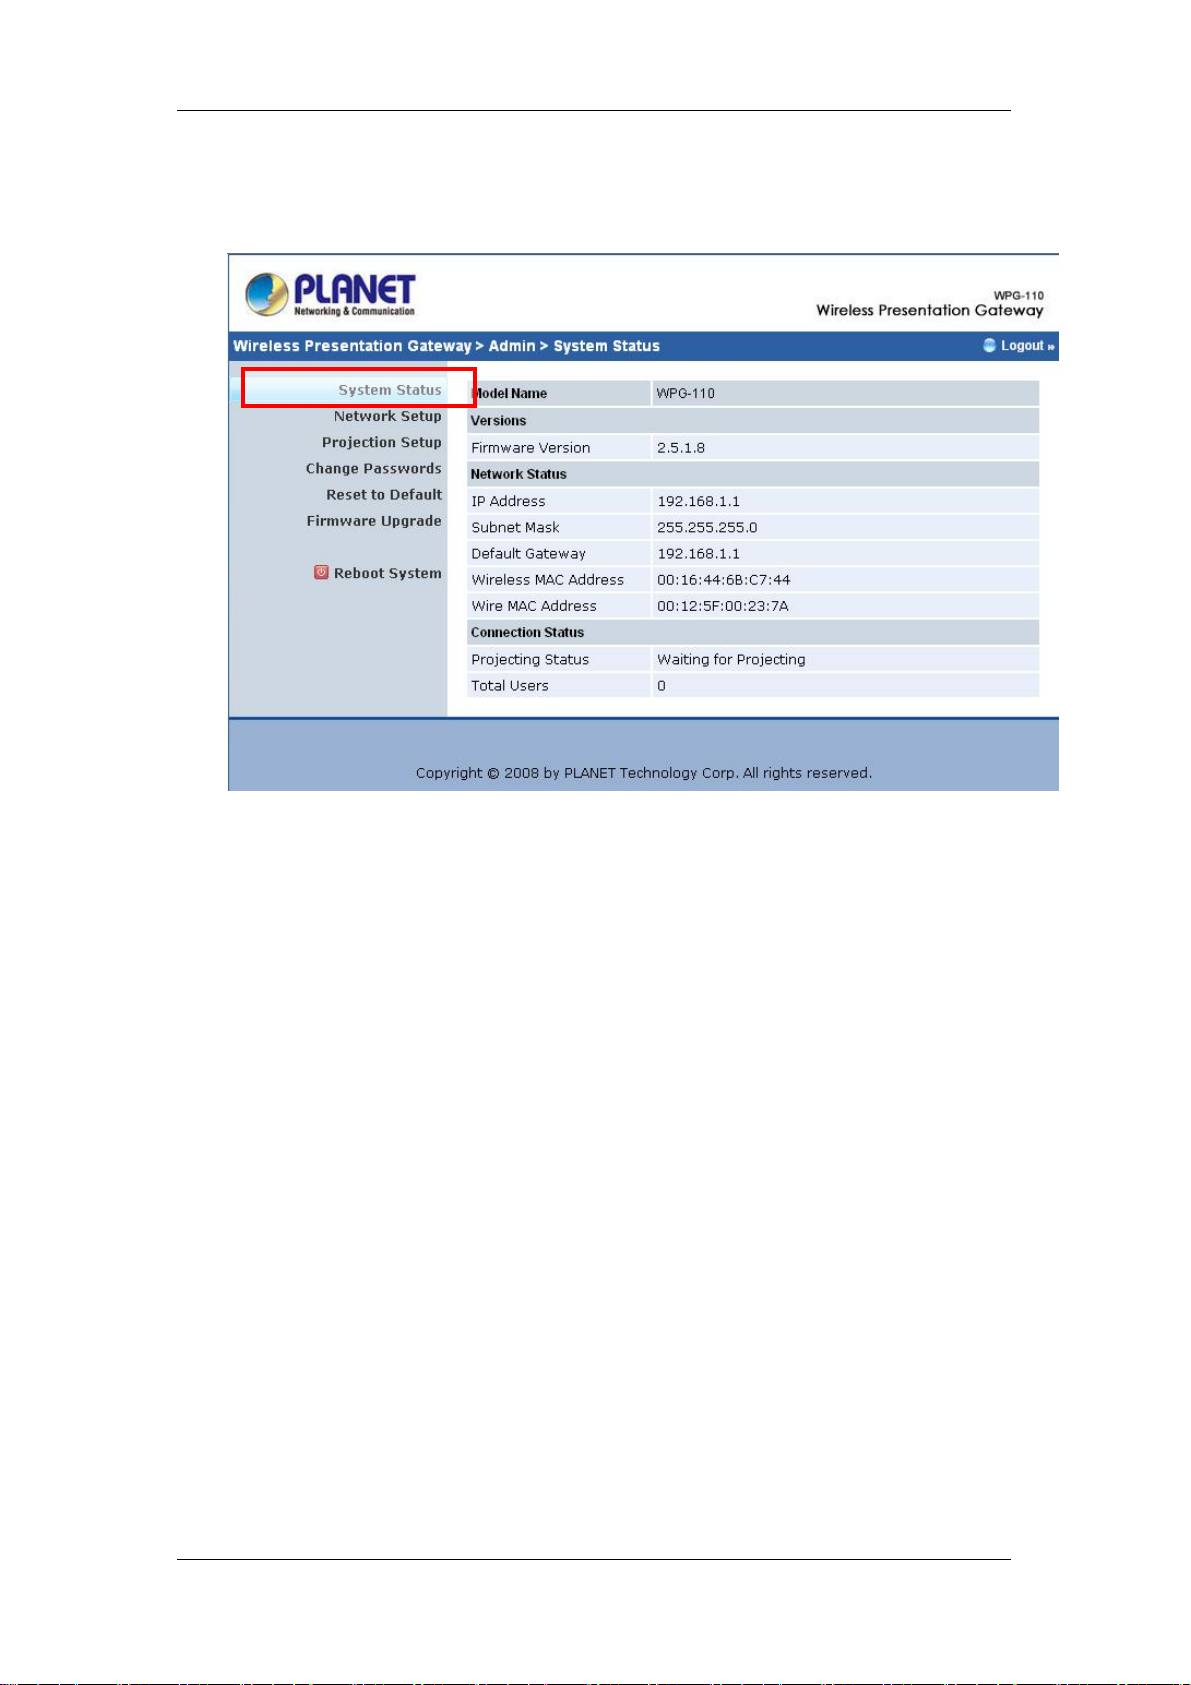
4.5 System Status
The [System Status] page shows current system status.
Model Name: Product model name
Versions:
1. Firmware version no.: Product firmware version number.
2. Software version no.: Windows client utility version number.
Network Status:
1. IP address:IP address of WPG-110.
2. Subnet Mask : Subnet Mask of WPG-110.
3. Default Gateway : The gateway address of WPG-110.
4. Wireless MAC address: The MAC address of WPG-110
wireless interface.
5. Wire MAC Address: The MAC address of WPG-110 wire
interface.
Connection Status:
1. Projecting status: which is “Waiting for projecting” or
“Projecting”
2. Total Users: It shows how many users login into WPG-110.
- -
25
Page 26

WPG-110 User Manual
4.6 Network Setup
There are many kinds of operating configurations as below:
Auto-Configuration Network Setup>
<
The default network setting of the WPG-110 is DHCP client. When the
WPG-110 is connected to a LAN that already has a DHCP server present, the
it obtains an IP address from the server. When the WPG-110 is connected to
a LAN that does not have a DHCP server, it becomes the DHCP server in the
network.
IP Setup
You can select “obtain IP address automatically” or “Use the
following IP address”
♦ IP Address
♦ Subnet Mask
♦ Default Gateway
If you don’t know how to configure, you can ask your computer
administrator or ISP provider.
- -
26
Page 27

WPG-110 User Manual
DHCP
Server
Setup
Wireless
Setup
You can select “auto” or “Disable” DHCP Server
♦ Start IP: The start IP address of DHCP Server.
♦ End IP: The end IP address of DHCP Server.
Wireless LAN:
Allows you to Enable/Disable wireless function.
Region:
Default value is “Worldwide”. Choose where your location is.
SSID:
The default SSID is WPG-110. You also can change SSID name.
The max Length of string is 32 bytes.
SSID Broadcast:
If enable this option, every wireless station located within the
coverage of WPG-110 can discover it easily. If you are building a
public wireless network, enabling this feature is recommended. In
private network, “disable” SSID can provide better security.
Channel:
Gatekeeper
Channel: to set fixed channel or Auto. The “Auto” means after power
on WPG-110, it will scan all of wireless channel and select the clear
one automatically.
WEP:
You can select one of four format keys: 128-bit (ASCII: 13 chars)/
64-bit (ASCII: 5 chars)/ 128-bit (Hex: 26 digits)/ 64-bit (Hex:10 digits)
to encrypt transmitted data.
Key:
ASCII Characters (alphanumeric format) or Hexadecimal Digits (in
the “A-F”, “a-f” and “0-9” range) to be the WEP Key.
Gatekeeper is designed for ensuring the enterprise network security
within WPS box
♦ “All Block” can block Guest Users(through wireless) to
access all office network(LAN),
♦ “All Allow” can pass Guest Users(through wireless) to
access all office network
♦ “Internet Only” can block Guest Users (through wireless)
from office network (LAN) but still reserve internet
connection capability.
<Apply >: Confirmation and Save modifications
- -
27
Page 28

WPG-110 User Manual
<Cancel>: Cancel all the modifications
4.7 Projection Setup
♦ <Resolution>: WPG-110 supports SVGA(800*600),
XVGA(1024*768), and WXVGA(1280*768).
♦ <Color Depth>: WPG-110 supports output with Normal(16bit) or
High(32 bit) color depth. It depends on your screen settings.
♦ <Screen Refresh Rate>: This is VGA output refresh rate, provides
60 Hz and 75Hz to suit for different kinds of projectors.
♦ <Login Code>: To select <Disable>, <Random> or <Use the
following code>. If you select <Disable> then WPG-110 will not ask
you for entering login code before doing presentation. Select
<Random> when start the machine, it will provide a random number
to you. The default is <Use the following code:1234>
<Apply>:Confirmation and Save modifications
<Cancel>: Cancel all the modifications
- -
28
Page 29

WPG-110 User Manual
4.8 Change Passwords
♦ <Enter New Password>: Enter new password you want to change for
each category.
♦ <Confirm New Password>: Double confirm new password.
♦ <Apply>: Confirmation and Save modifications.
4.9 Reset to Default
- -
29
Page 30

WPG-110 User Manual
<Apply>: Confirmation and action.
*** Another way to restore Factory Default Settings:
1. Power off WPG-110.
2. On the rear panel, press [Reset] button and Hold.
3. Turn on WPG-110 box.
4. Wait for over 10 seconds and relief [Reset] button.
5. It will take effect to restore factory default settings.
4.10 Firmware Upgrade
1. Firstly, you have to get latest firmware image file from your vendor.
2. Click <Browse> to specify file name you want to upgrade.
3. Click <Upgrade> to start.
4. A warning message shown and count down counter on the screen.
5. After a few minutes, a complete message shown on the screen.
6. Restart WPG-110 to take effect.
- -
30
Page 31

WPG-110 User Manual
Warning: Don’t power off WPG-110 while firmware upgrade in
progress; otherwise the WPG-110 will be damaged and have to return it to
your vendor for fixing.
4.11 Reboot System
♦ <Reboot>: reboot system immediately.
- -
31
Page 32

WPG-110 User Manual
4.12 Logout
Click [Logout] button, to back home page.
- -
32
Page 33

WPG-110 User Manual
5. Wall Mount Instructions
1. Remove the rubber foots at back plane side.
2. Screw mounting screws on unit.
3. Use screws to fix mount bracket on the wall.
4. Hang up unit on mounting bracket.
- -
33
Page 34

WPG-110 User Manual
6. Specification
Standards IEEE802.3, 10Base-T; IEEE802.3u, 100Base-TX;
Auto-MDI/MDI-X
Channels 11 (US, Canada), 13 (Europe) and 14 (Japan)
Data Rate Wireless: up to 54Mbps
LAN: 10/100 Mbps with auto MDI/MDIX
Operating Type Access Point mode
Management Web Configuration
Security IEEE standard 64/128 bit WEP
Antenna 1 x Detachable antenna with SMA connector
Transmission
Power
Receiving
Sensitivity
Connect Distance Up to 300 feet/100 meters, depends on environment
Resolution
Supported OS Windows 2000, XP, Vista(32/64bits)
Number of
conference control
Power 5V DC, 2.5A
Interfaces Power switch
14dBm typical
-65dBm @ 54Mbps
-80dBm @11Mbps at 10-5 BER
800 * 600 (SVGA),
1024 * 768 (XGA),
1280 * 768 (WXGA)
(16/32 bits)
20 users
DC Jack
15-pin VGA
Audio
RJ-45
Reset button
LEDs Power, WLAN, LAN
Dimension 138mm(W) x 113mm(D) x 37mm(H)
Weight 350g
Environmental
Conditions
- -
Operating temperature: 0~40℃
Storage temperature: -10 ~60℃℃
Operating humidity: ≦90%
34
Page 35

WPG-110 User Manual
Storage humidity: ≦80%
Certification FCC, CE
- -
35
Page 36

WPG-110 User Manual
Troubleshooting
Q1. If I upgrade the firmware, can I use older client utility ?
A: : After you did firmware upgrade complete, you should download Client
utility from WPG-110 to replace older one; otherwise it might cause working
improperly because version compatibility issue.
Q2. Why my PC and WPG-110 connection is established but client utility
can’t find server box ?
A: (1) Check if your firewall blocks the client utility. If so, add this program to
your exception list and try again.
(2) Make sure client utility you are using now is downloaded from this
current WPG-110.
Q3. How do I know firmware upgrade is completed?
A: (1) While you are doing firmware upgrade, remember DON”T TURN
OFF WPG-110. Or the device will be damaged permanently..
(2) While firmware upgrade in progress, the POWER LED will be “RED”
color and LAN LED will be blinking. Once upgrade completes, the POWER
LED will turn into yellow color and LAN LED will be green color.
- -
36
 Loading...