

Page 1

PCMCIA
Fax Modem
ENW-5601
Installation Guide
1
Page 2

INTRODUCTION
The ENW-5601, 56k PCMCIA Fax Modem is a credit-card-size Type
II PC card that complies with the PCMCIA 2.1 standards.
The ENW-5601 is Bell, ITU-T (formerly CCITT) compliant and
Hayes AT command compatible, so that it can be used worldwide with
today’s popular communication software programs. You will be able
to send and receive faxes to/from any Group 3 compatible fax machine.
Using standard phone lines, the data communication functions of the
modem will enable you to successfully hook up to the Internet,
transmit E-mail, send and receive information and communicate with
other PCs, Bulletin Board Services (BBS) or computer networks such
as Compuserve
Specifications
Data:
V.90, V.34bis, V.34, V.32bis, V.32, V.22bis, V.22, and V.21,
Bell 212A and Bell 103
Fax:
V.17, V.29, V.27ter, and V.21 channel 2 Group 3 send and
receive facsimile
Error Correction:
V.42 and MNP 2-4
Data Compression:
V.42bis and MNP 5
Communication software compatible commands:
Hayes compatible enhanced "AT" command set
Fax Service Class 1 commands
Built-in DTE interface:
DTE speed up to 115,200 bps
16C550 UART interface
1
Page 3

System Requirements
§ A notebook or desktop computer with PCMCIA type II or III slot.
§ A telephone line with RJ-11 jack.
§ A CD-ROM drive.
§ Windows 95, 98 or Windows NT pre-installed.
2
Page 4
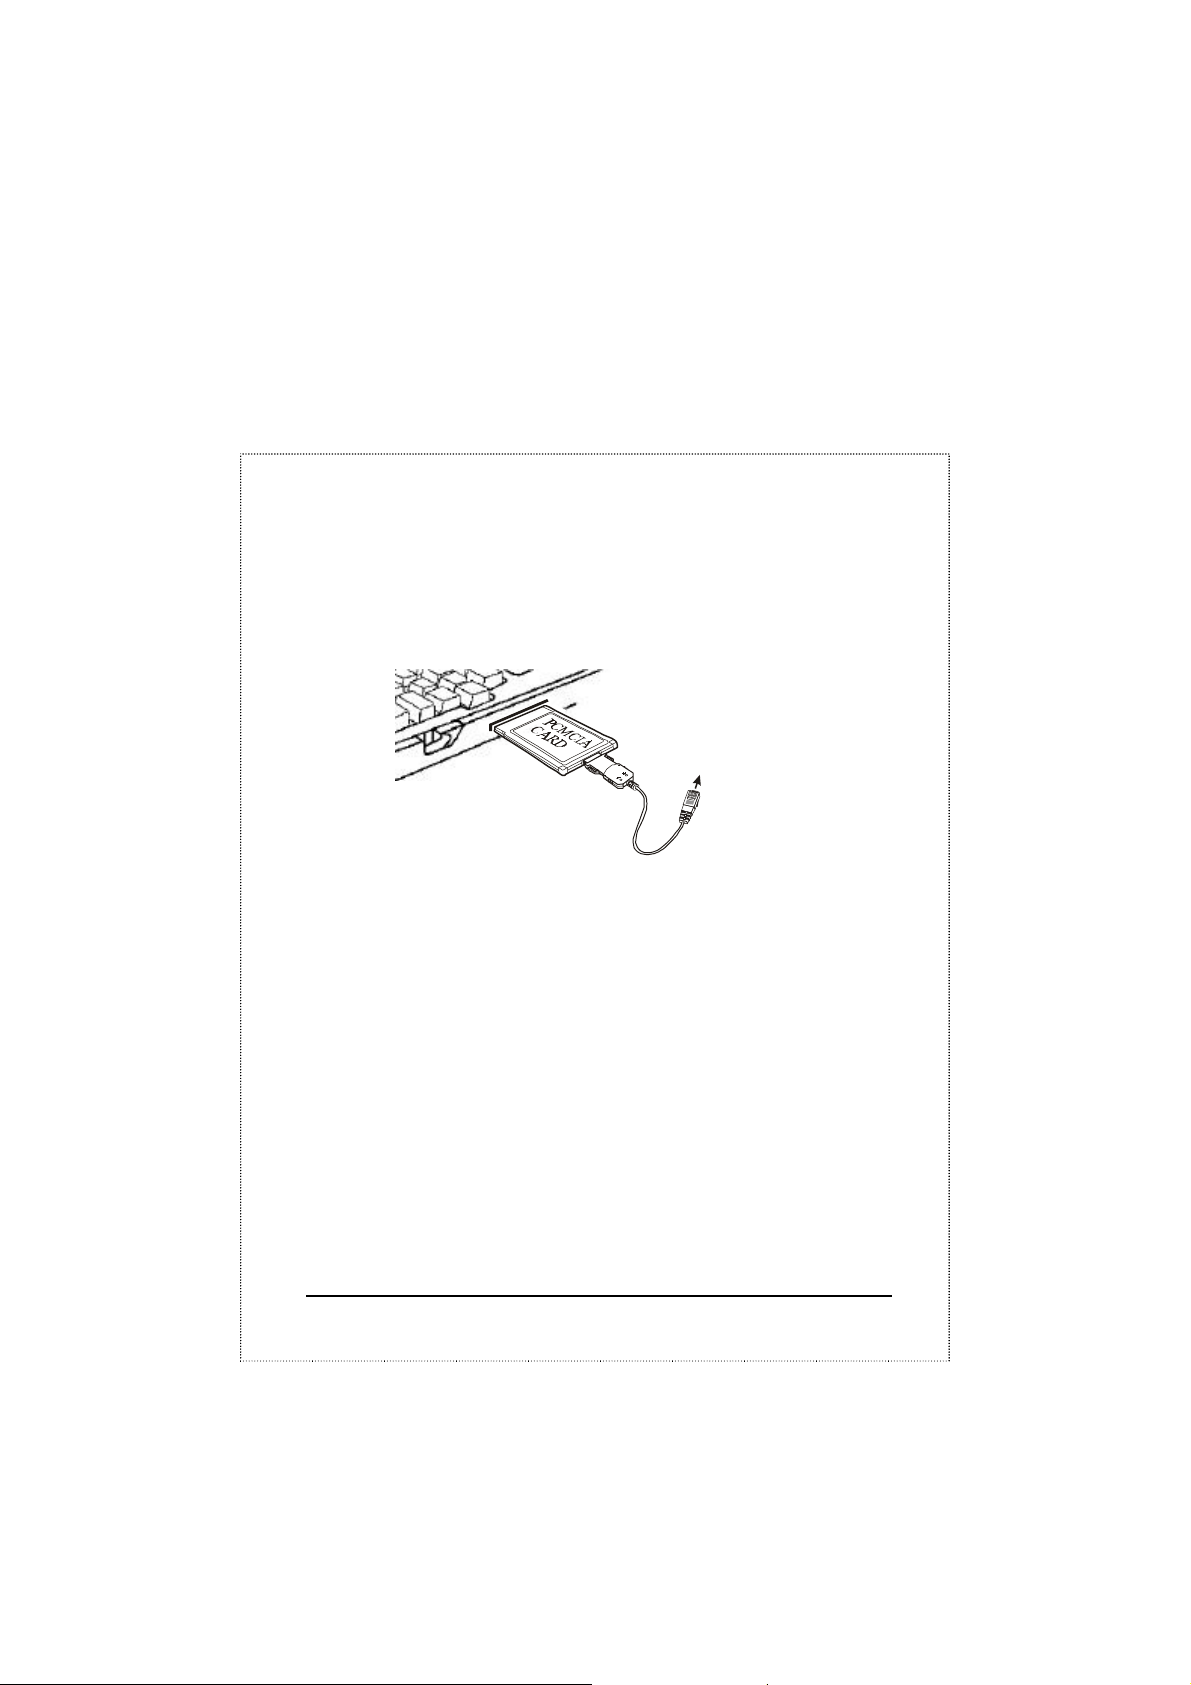
HARDWARE INSTALLATION
Notebook
Connects to RJ-11 phone jack
1. Locate the PCMCIA slot of your system.
2. Align the ENW-5601 PC Card toward the PCMCIA slot. Push
evenly and steadily until it is seated.
3. Connect the other end of the PC Card cable to the telephone line
outlet.
4. You are now ready to continue the software installation.
For Windows NT does not support “Hot Insert/Remove” , be
sure to complete the hardware installation as described
above before you start Windows NT and software
installation.
3
Page 5
SOFTWARE INSTALLATION
Installation for Windows 95
1. As soon as the PCMCIA Fax Modem 56K PC is inserted into the
PCMCIA slot, Windows automatically detects the new hardware
device and prompts the following message.
2. Insert the device driver compact disc into your CD-ROM drive.
When the following dialog box appears, click the Other
Locations button.
4
Page 6

3. Type the CD-ROM drive letter followed by driver\win95. Or you
may click the Browse button to select the driver\win95 folder in
your CD-ROM drive. Click OK.
4. When the following figure appears, click Finish. The Installation
program will continue.
5
Page 7

5. When the following figure appears, click OK to continue.
6. Repeat Step 3 as described above.
7. Follow the on-screen instruction to continue.
6
Page 8

8. When finished, press Finish to complete the installation.
Remember to restart Windows 95 to activate the new device.
7
Page 9
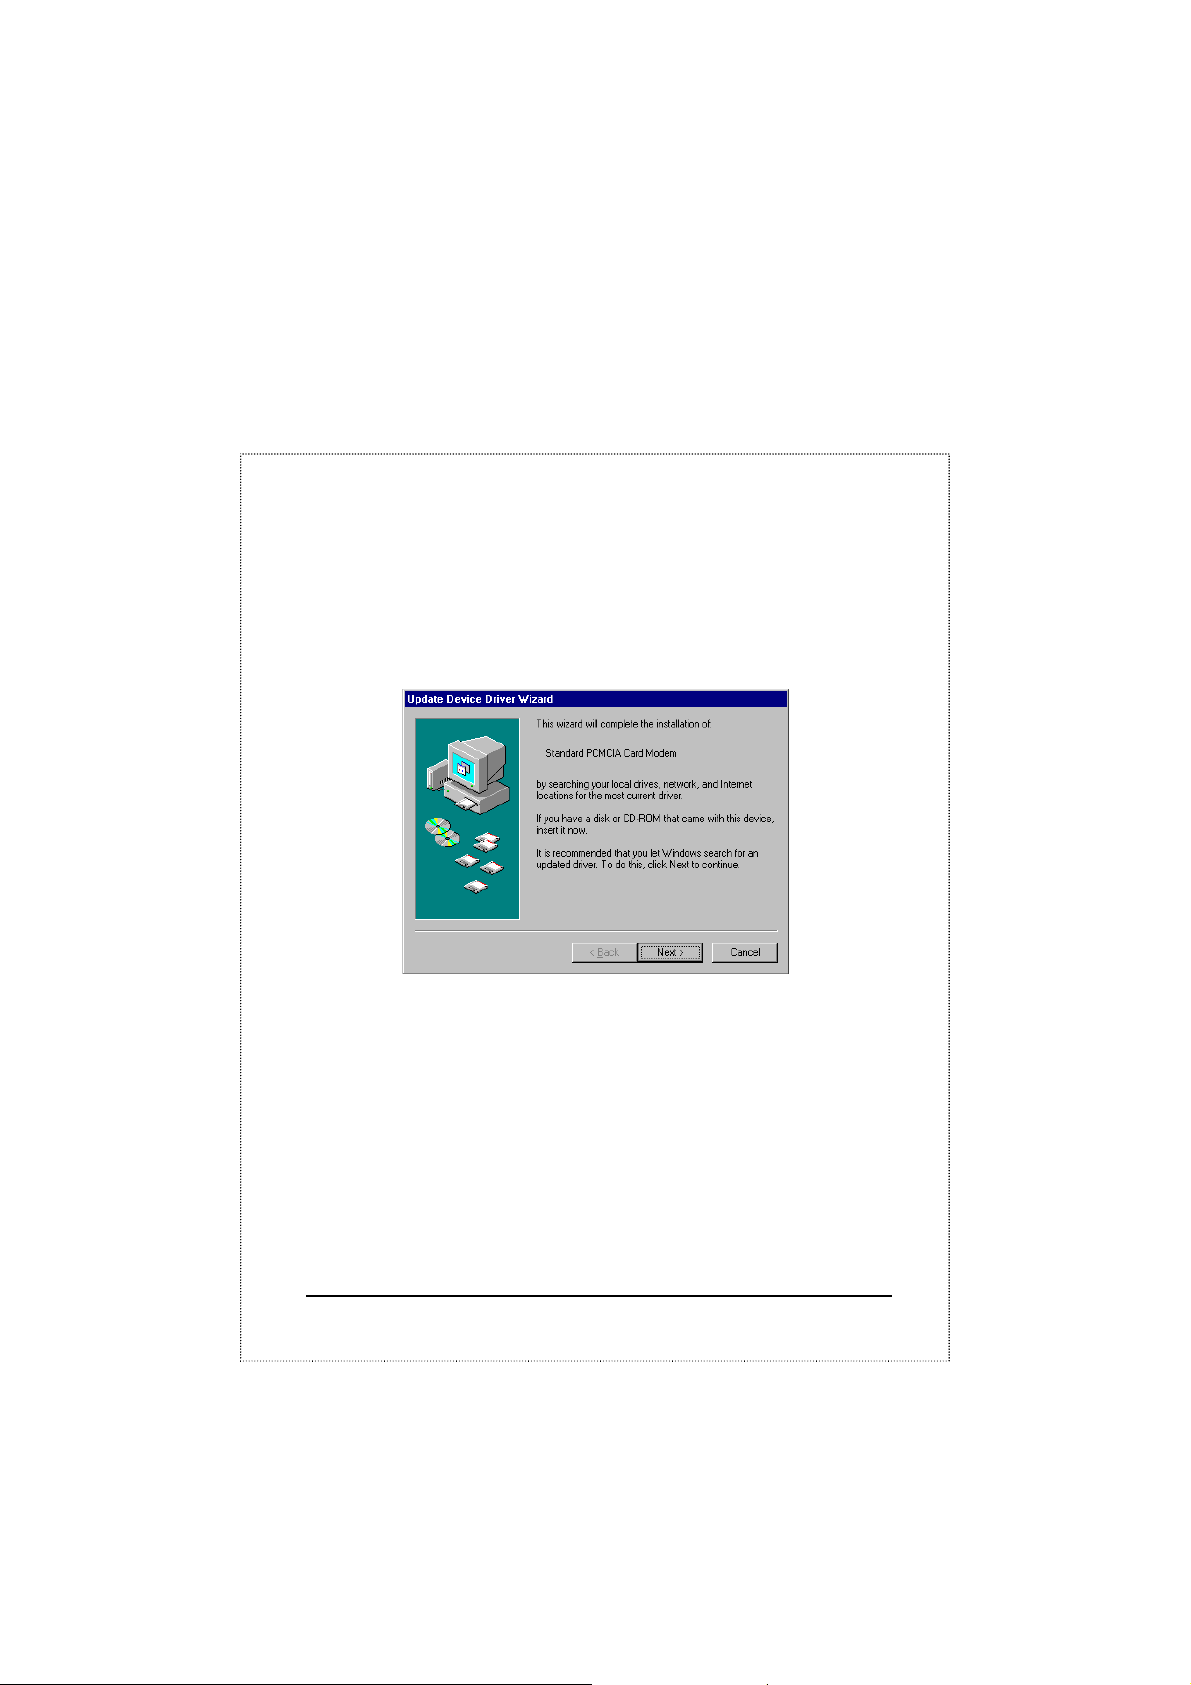
Installation for Windows 98
1. As soon as the PCMCIA Fax Modem 56K PC is inserted into the
PCMCIA slot, Windows automatically detects the new hardware
device and the following message will be prompted.
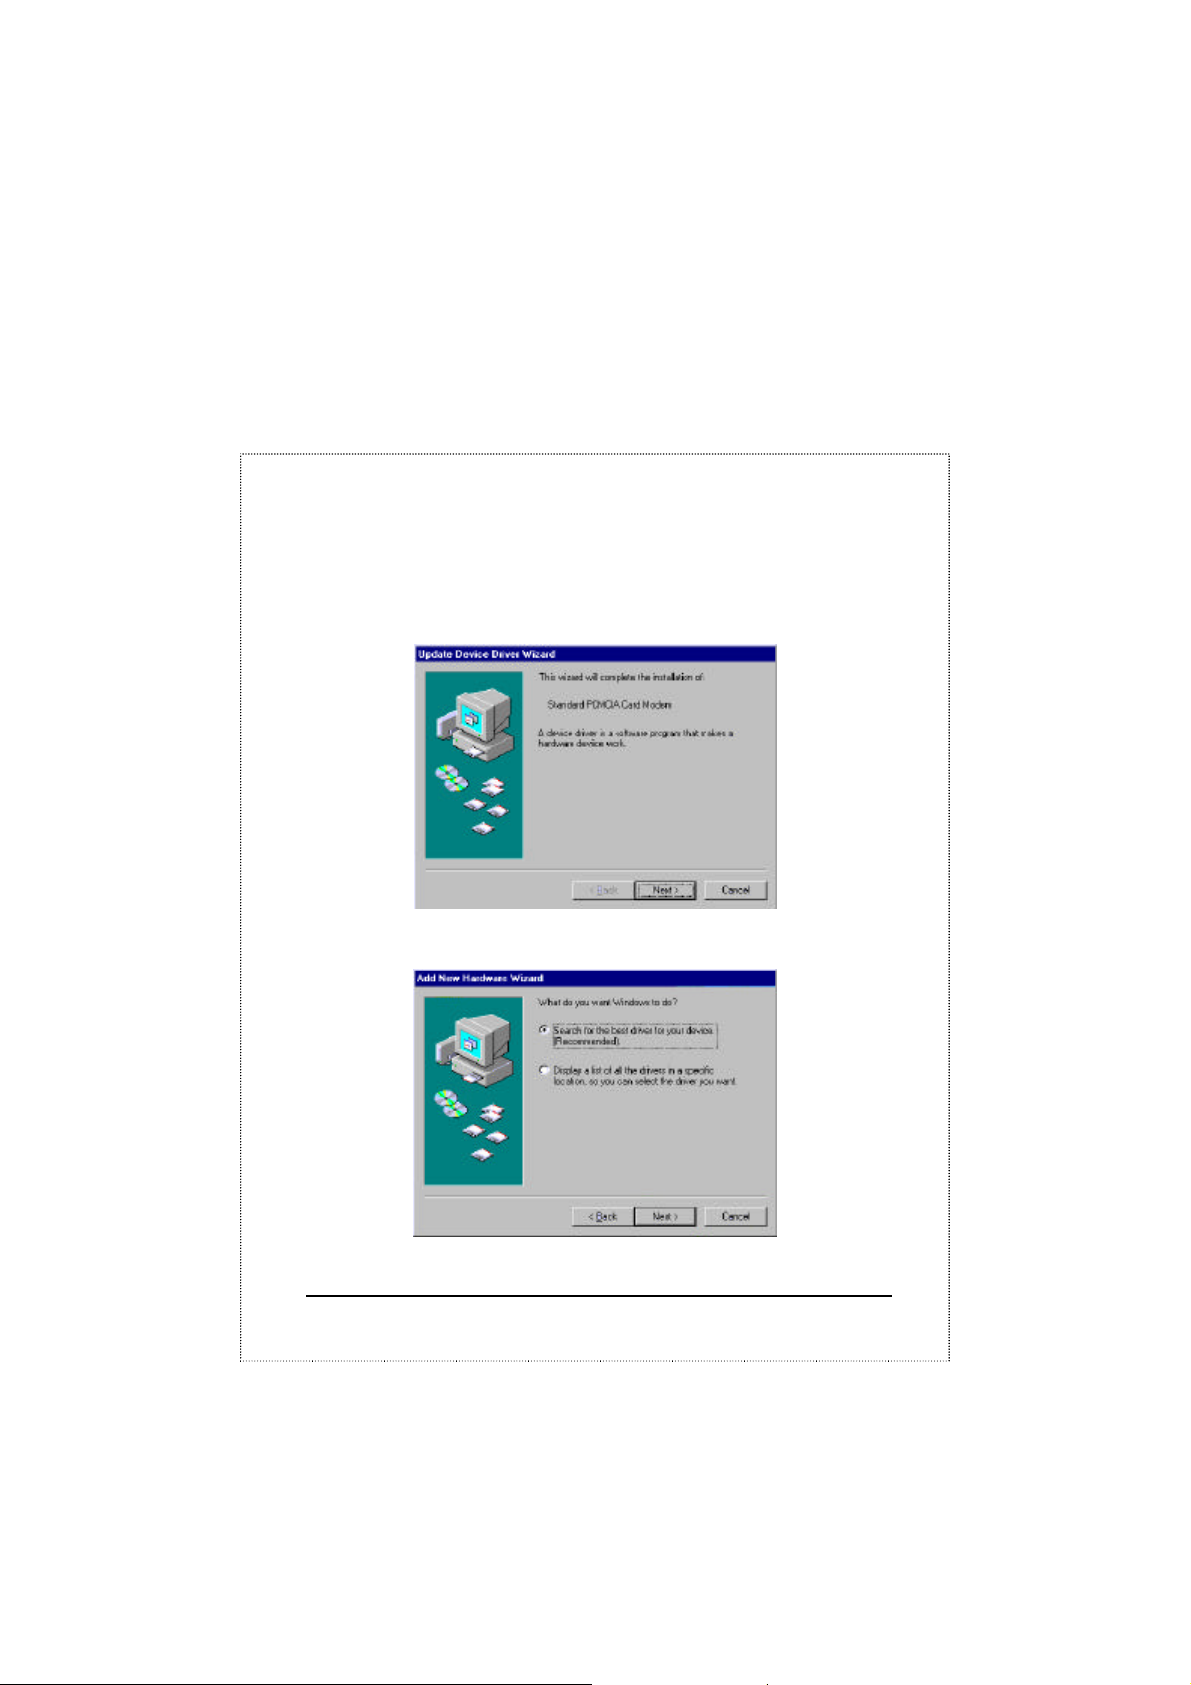
2. Insert the device driver compact disc into your CD-ROM drive.
When the following dialog box appears, click Next.
3. Select Specify a location when the following figure appears.
Enter the CD-ROM drive letter followed by driver\win98. Click
8
Page 10

Next. Or you may click the Browse button to select the
driver\win98 folder in your CD-ROM drive.
4. When the following figure appears, click Finish. The Installation
program will continue.
9
Page 11

5. Follow the on-screen instruction to proceed.
10
Page 12

11
Page 13

6. The installation program will proceed automatically. Click Finish
to complete the installation.
12
Page 14

Installation for Windows NT
1. Before you start Windows NT, make sure the PCMCIA Fax
Modem 56K PC Card has been properly inserted into the free
PCMCIA slot of your computer.
2. Load the device driver compact disk in the CD-ROM drive.
3. Start Windows NT.
4. Go to My Computer.
5. Click the CD-ROM drive. Click the driver\winnt folder. Or you
may click the Browse button to select the CD-ROM drive and the
driver\winnt folder.
6. Double-click setup.exe. The installation program will proceed
automatically.
13
Page 15

Part No: EMQ-5601
 Loading...