

Page 1
1. Introduction
XGS3-42000R
Layer 3 4-Slot Chassis Switch
0
1
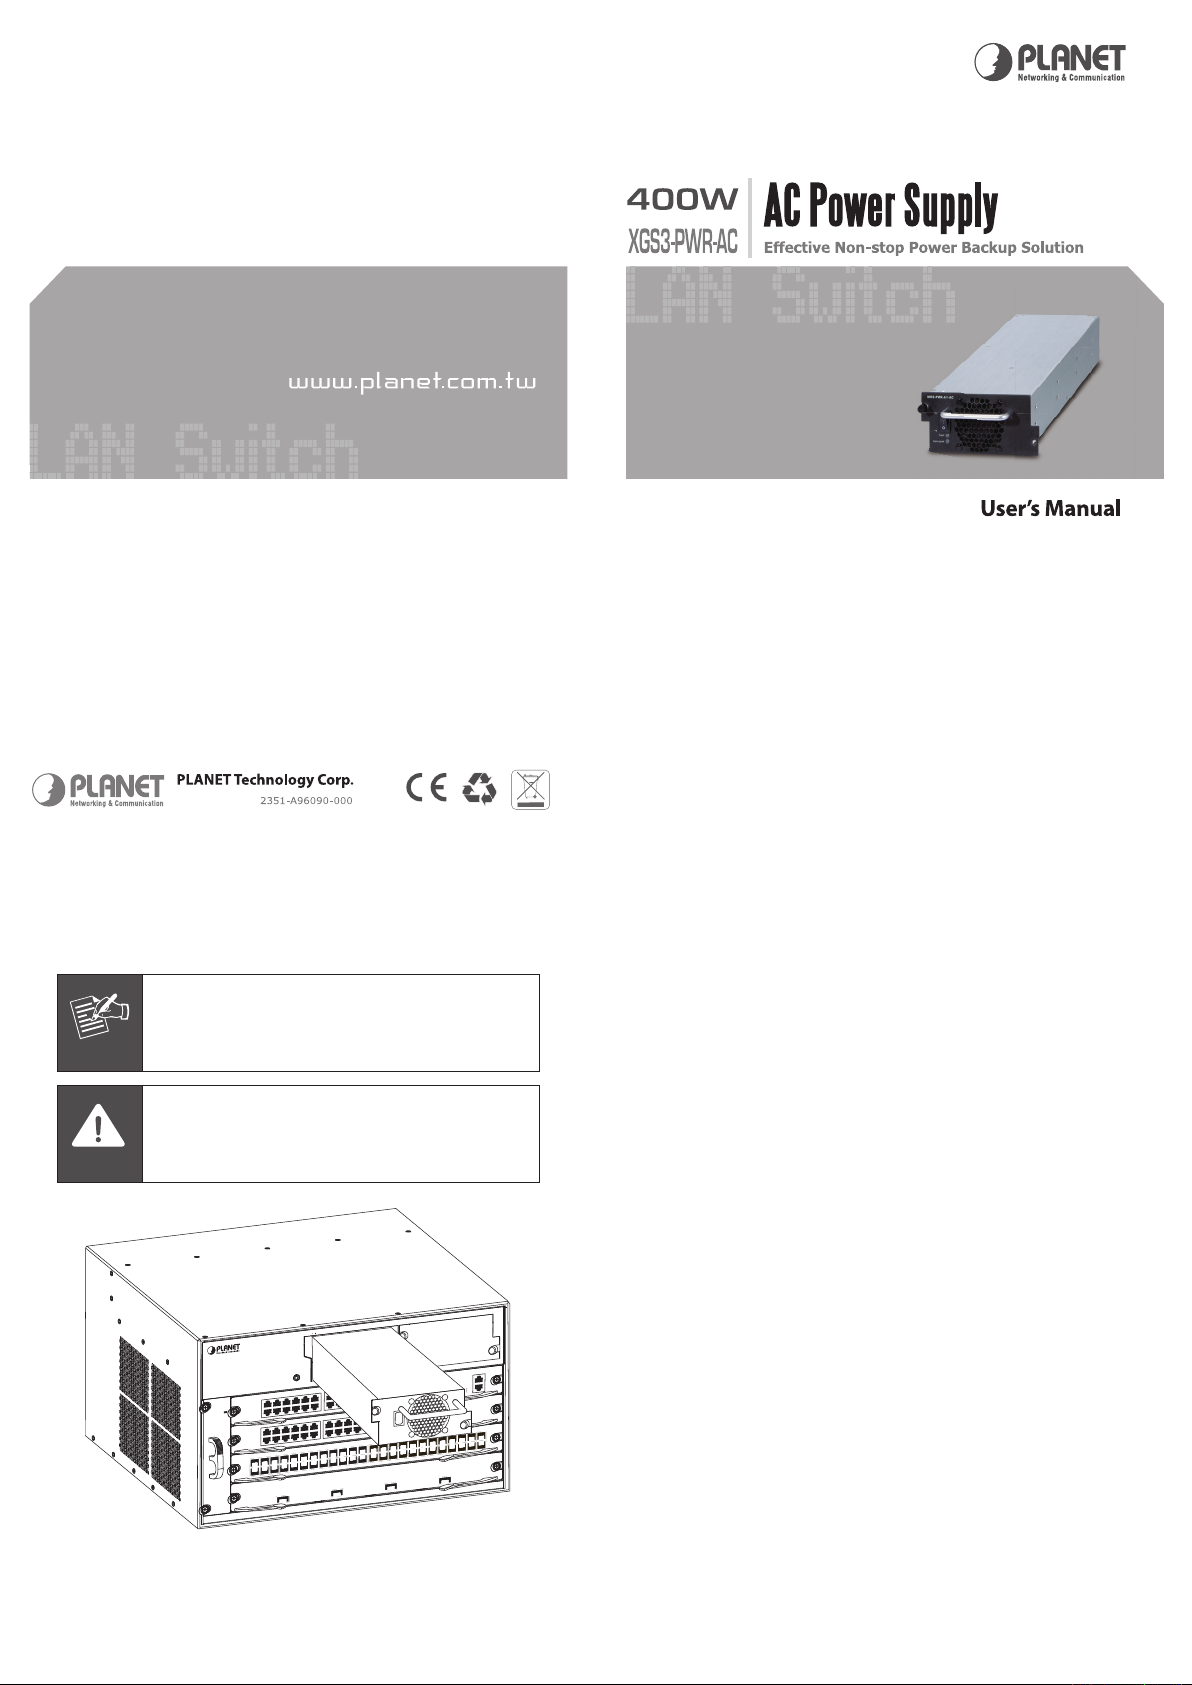
XGS3-PWR-AC
ON
OFF
Fault
Output goo
d
Power socket
for power 1
Power socket
for power 2
AF 5541584845454
Power socket for
power 2
Power socket for
power 1
Note
2
1
3
4
XGS3-42000R
Layer 3 4-Slot Chassis Switch
0
1
XGS3-PWR-AC
ON
OFF
Fault
Output goo
d
Caution
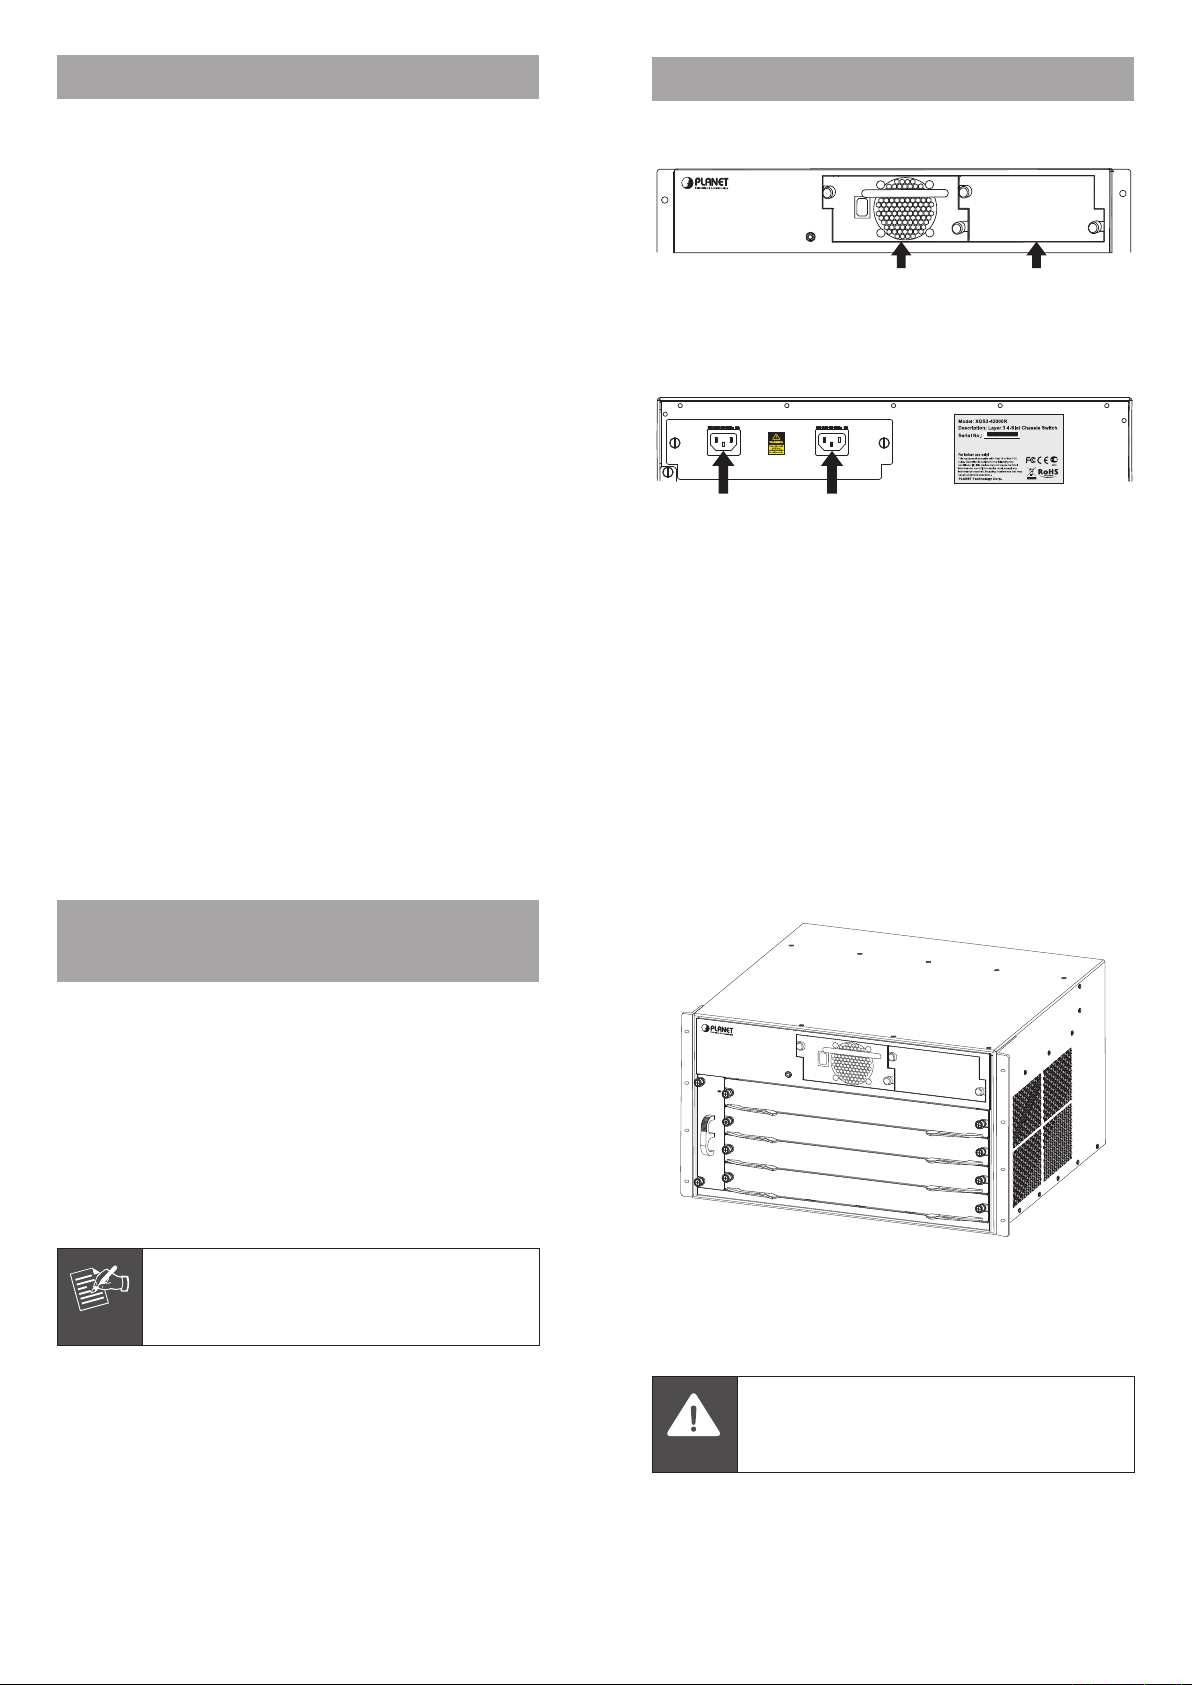
2. Physical Description
Thank you for purchasing PLANET 400 Watts 100~240V AC
Redundant Power Supply Unit for XGS3-42000R:
XGS3-PWR-AC: 400 Watts AC power supply unit for XGS342000R
Front panel
Figure 1. Power slots of XGS3-42000R
Rear panel
Figure 2. Power sockets of XGS3-42000R
– 1 – – 2 –
3. Install and remove the redundant
power supply unit
Before installation, please be sure to read this user’s manual
carefully to complete machine installation. This manual
shows how to quick install and remove the XGS3-PWR-AC
from XGS3-42000R.
The XGS3-42000R equip with one 100~240V AC power
supply unit in its standard package, the XGS3-42000R and
also provide one spare power supply unit slot for option
redundant power supply unit for XGS3-PWR-AC installation.
The XGS3-PWR-AC shall enhance the reliability of XGS342000R.
The XGS3-42000R supports hot-swapping and
power redundancy backup. This secondary AC
power module can direct slid in to the Chassis
while the System is operating.
Figure 3. Front panel of XGS3-42000R
To install the XGS3-PWR-AC into XGS3-42000R, please
fasten the hand screw clockwise after slide in the XGS3PWR-AC to the XGS3-42000R.
Pleaes slid in the XGS3-PWR-AC module
before plug-in the rear power cord.
– 3 – – 4 –
Page 2
To remove the XGS3-PWR-AC from XGS3-42000R, please
Note
Caution
2
1
3
4
XGS3-42000R
Layer 3 4-Slot Chassis Switch
XGS3-M24GX
2
PWR
RUN
Master
FAN
1
4
3
6
5
8
7
10
9
12
11
14
13
16
15
18
17
20
19
22
21
24
23
14
13
16
15
18
17
20
19
22
21
24
23
25
XFP
25
Ethernet
LNK
ACT
Console,
9600, N, 8, 1
XGS3-S24G
2
PWR
RUN
1
4
3
6
5
8
7
10
9
12
11
14
13
16
15
18
17
20
19
22
21
24
23
14
13
16
15
18
17
20
19
22
21
24
23
XGS3-S48GF
2
1
4
3
6
5
8
7
10
9
12
11
14
13
16
15
18
17
20
19
22
21
24
23
26
25
28
27
30
29
32
31
34
33
36
35
38
37
40
39
42
41
44
43
46
45
48
47
PWR
RUN
XGS3-S4XG
1
LNK
ACT
2
LNK
ACT
3
LNK
ACT
4
XFP
XFP
XFP
XFP
LNK
ACT
O
I
XGS3-PWR-AC
ON
OFF
Fault
Output good
loose the hand screws counter clockwise and pull out the
XGS3-PWR-AC from the XGS3-42000R.
Please put back the front cover after the
XGS3-PRW-AC module is removed.
Please plug-out the power cord before plugout the XGS3-PRW-AC.
Figure 4. Install / remove the XGS3-PWR-AC
– 5 – – 6 –
– 5 – – 6 –
 Loading...