

Page 1

300Mbps Hotspot Wireless Subscriber Gateway
WSG-500
Quick Installation Guide
Page 2

Table of Contents
1. Requirements .............................................................................................. 3
2. Package Contents ........................................................................................ 4
3. WSG-500 .................................................................................................... 5
4. Installation .................................................................................................. 7
5. Hardware Connection and Installation ............................................................ 8
6. Conguration of Your WSG-500 ....................................................................10
Page 3
1. Requirements
Hint
Cable modem or DSL/ADSL modem. l
Network cables. l
Use standard 10/100Base-TX network (UTP) cables with RJ45 connectors. l
Subscriber PC installed with Wireless adapter that complied with 802.11b, l
802.11g or 802.11n.
Workstations of subscribers running Windows 2000/XP, MAC OS9 or later. l
Linux, UNIX or other platform compatible with TCP/IP protocols. l
<Optional> Account generator (Model No.: WSG-ACG5). l
Mac platform should be OS9 or later in order to have DHCP client
support.
3
Page 4

4
2. Package Contents
1 x WSG-500 unit l
1 x Power Adaptor l
1 x User’s Manual CD l
1 x Quick Installation Guide l
1 x RJ-45 Cable l
1 x RS-232 l
2 x Antenna l
1 x Ground Wire l
1 x Screw Package l
Page 5
5
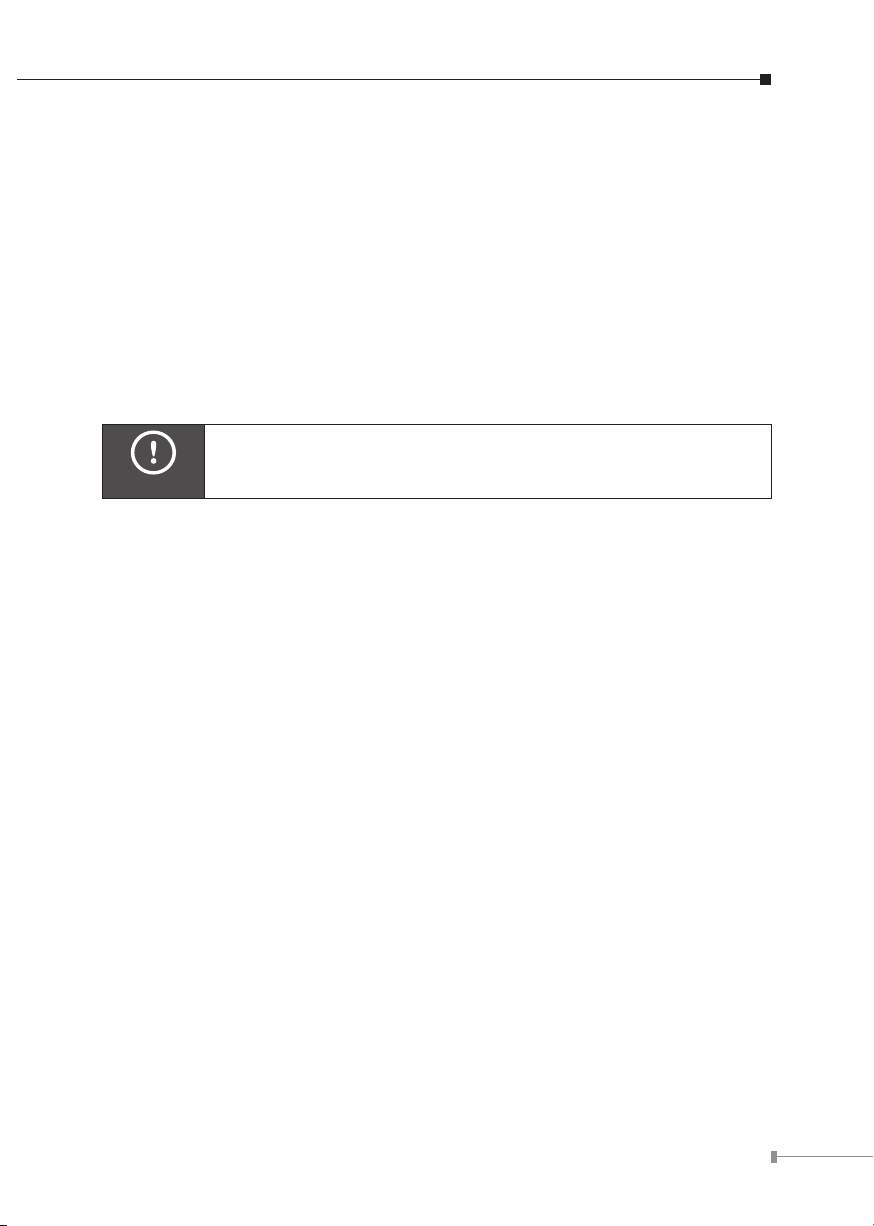
3. WSG-500
Overview Top Panel
The top panel of PLANET WSG-500 is shown below.
Front Panel
The Front panel of PLANET WSG-500 is shown below.
LED Denition
LED Color Status LED Description
Blue
PWR
WAN Blue
LAN 1
LAN 2
WLAN Blue
Blue
Off
On
Off
On
Flashing
Off
On
Flashing
Off
On
Flashing
The device is turned off
The device is turned on
The WAN is not connected.
The WAN has a successful (10/100Mbps)
Ethernet connection.
The WAN is sending or receiving packet.
The LAN is not connected.
The LAN has a successful (10/100Mbps)
Ethernet connection.
The LAN is sending or receiving packet.
The wireless is not ready.
The wireless is ready.
The wireless is sending or receiving packet.
Page 6

6
Blue
INTERNET
Blue
WES*
Blue N/A For future usage only.
USB*
Remark: WES is a future supported feature.
Off
On
For indicating WES status during WES setup:
WES Start
WES Negotiate
WES Fail
(Negotiate
Timeout)
WES Success
The WAN is not connected to the internet.
The WAN is connected to the internet.
Master Slave
LED ashing
slowly
LED ashing
slowly
LED OFF LED OFF
LED ON for
over 5 seconds
LED ashing quickly
LED ashing quickly
LED ON for over 5
seconds (after Master
displays WES Success)
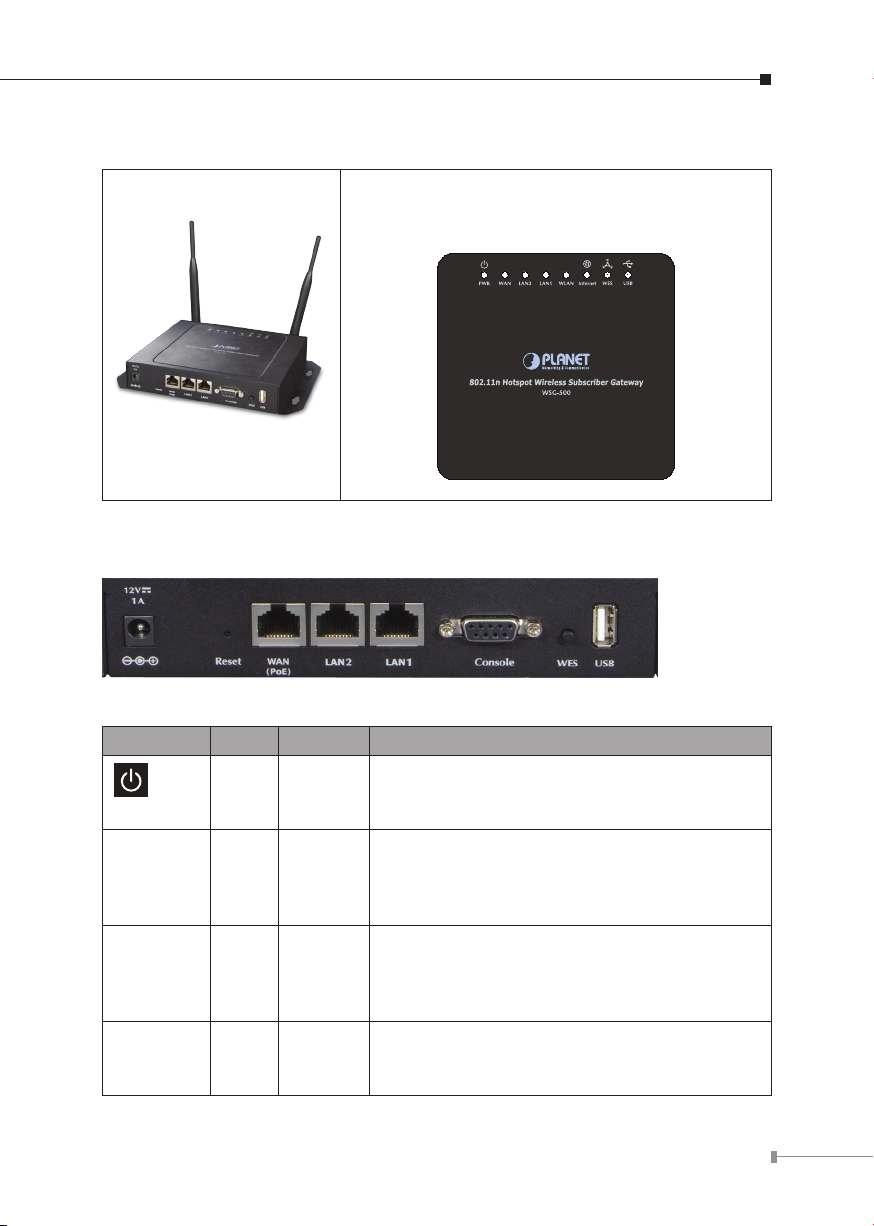
Port Indication
Power Reset WAN LAN 2 LAN 1 Console WES USB
Printed on
Housing
Interface Power Button RJ-45 RJ-45 RJ-45 RS-232 Button USB
12V/1A Reset WAN (PoE) LAN2 LAN1 Console WES USB
Power
Reset
WAN
(PoE)
LAN2
LAN1
Console
WES*
USB*
The power adaptor plugs here.
Used for restarting the system.
One RJ-45 port is used for connecting xDSL or Cable Mode to the
Internet/Intranet.
Used for Connecting to the public LAN. It can be chosen to require
authentication to access network resource and the Internet.
Used for Connecting to the private LAN. Authentication is not
required to access the network resource from here.
Used for conguring the system via Hyper Terminal.
Used for starting WES (WDS Easy Setup) process. For future usage.
For future usage only.
Page 7

7
4. Installation
Hint
The followings are instructions for setting up PLANET WSG-500. Refer to the
illustration and follow the simple steps below to quickly install your Wireless
Subscriber Gateway.
Connecting the Antennas
PLANET WSG-500 provides two antenna connectors on the rear of the unit for
wireless subscribers.
Installation Requirement
Before installing PLANET WSG-500, make sure your network meets the following
requirements.
System Requirements
PLANET WSG-500 requires one of the following types of software:
Windows 95/98/NT/2000/XP l
Any TCP/IP-enabled systems like Mac OS and UNIX (TCP/IP protocol installed) l
Standard phone line for xDSL modem or coaxial cable for Cable modem for l
Internet access
Web Browser Software l
(Microsoft I.E 4.0 or later version or Netscape Navigator 5.0 or later version) l
One computer with an installed 10Mbps, 100Mbps or 10/100Mbps Ethernet card l
UTP network Cable with a RJ-45 connector (Package contents) l
Mac platform should be OS9 or later in order to have DHCP client
support.
Page 8

8
5. Hardware Connection and Installation
Internet
Public Zone
Private Zone
WSG-500
Mobile Guests
Administration
Laptop
PoE Switch
ADSL/Cable
Modem
Smart Phone
Laptop
Administrator
Clerk
Smart Pad
100Base-TX UTP
PoE
100Base-TX UTP with PoE
Telephone wire
2.4GHz 802.11n
N
N
N
N N
N
N
PoE
Ticket
Generator
Printer
Physical Installation
Physical connection of WSG-500
Page 9

9
1. Ensure the WSG-500 and the Cable/DSL modem are powered OFF before
Hint
commencing. Leave your Cable/DSL modem connected to its wall socket (phone
line or cable input).
2. Use Ethernet cables to connect to the LAN2 port on the front panel. Connect
the other end of the Ethernet cable to an AP or Switch. (Note: Authentication is
required for the clients to access the network via LAN2 port. The LAN port with
authentication function is referred to as Public LAN).
3. Use Ethernet cables to connect to the LAN1 port on the front panel. Connect the
other end of the Ethernet cable to a PC. (Note: Authentication is NOT required
for the clients to access the network via LAN1 port. The LAN port with authenti-
cation function is referred to as Private LAN).
4. Connect your Cable/DSL Modem to the WAN port on the front panel. Use the
cable supplied with your Cable/DSL modem. If no cable was supplied with your
modem, use a standard network cable. Please make sure the connection is
established (LED is on).
5. Connect the Power Adapter. Use only the unit provided.
6. Power ON. The PWR LED should stay on (If your network is connected, the
WAN/WLAN/LAN LED will be on, too).
7. Power on the PC that connected to the WSG-500.
1. Please consult your ISP personnel to obtain proper Internet
connection related information, and input carefully.
2. If Internet connection cannot be established, please check the
WAN LED display, inserted parameters or contact the ISP service
staff for support information.
3. Account Generator WSG-ACG5 is an optional device.
4. It is recommended that you leave IP settings on subscriber PC
as automatically assigned. By machine default configurations,
WSG-500 will act as a DHCP server, and it will assign PC the
necessary IP settings.
Page 10

10
6. Conguration of Your WSG-500
Getting Started
The WSG-500 supports web-based conguration. After completing the hardware
installation, WSG-500 can be congured through a PC by using web browser.
To access the web management interface, connect the PC and WSG-500 in advance
via the Private Port of WSG-500. Then, launch the web browser and enter the IP
address of the gateway for that port in the address eld then press Enter. Default
IP address of the default gateway of the Private Port is https://192.168.1.254
(Note: https is used for a secured connection).
The administrator login page will appear. Enter default username “admin” & default
password “admin” in the User Name and Password elds. Click Enter to login.
After logging into WSG-500 successfully, a web management interface with a
welcome message will appear.
Click Setup Wizard to help you complete the conguration.
Setup Wizard
Step 1: General
l
Enter a new password for the admin account and retype it in the verify password eld (Twenty characters maximum and no spaces allowed).
Page 11

11
Select a proper time zone in the drop-down menu, and enter the URL of a NTP l
server to set up the system time.
The clients will be redirected after logging into the system successfully. Enable l
portal URL and congure a desired website here.
Click “Next” to continue. l
Step 2: WAN and Wireless Interfaces
Select a proper type of Internet connection for WAN interface from the following l
three available connections: Static, Dynamic, or PPPoE. The following example is
for Dynamic.
Page 12

12
Select desired wireless Band, Channel, and ESSID for public zone. l
Click l “Next” to continue.
Step 3: Authentication Settings for Public Zone
The clients in public zone shall log in the system before using network service if l
Auth Required is enabled.
When Auth Required is enabled, a default authentication server shall be cong- l
ured. Select Server 1 (LOCAL) in Default Auth Server for example.
Use default or set your desired Postx, apply a Policy if needed. l
Click Create button to add an on-demand account to the database. l
Page 13

13
Enter the Username (e.g. “testuser”) and Password (e.g. testuser), then click l
Create button.
Click l “Close” and “Next” to continue.
Page 14

14
Step 4: Conrm and Restart
Click Finish to save current settings and restart the system. l
A Conrm and Restart message will appear on the screen during the restarting
process. Please do not interrupt the system until the Administrator Login Page
appears.
Page 15

15
User Login
Hint
1. Connect a client device (e.g. laptop, PC) to the LAN2 port or wireless interface
of WSG-500.
2. The client device will obtain an IP address automatically via DHCP from
WSG-500. Open a web browser on a client device, access any URL, and then the
default User Login Page will appear.
3. Enter the Username and Password of an on-demand account previously generated via Setup Wizard (e.g. “testuser@ondemand” as the Username and
“testuser” as the Password), then click Submit.
1. The format of a full (valid) username is userid@postfix, where
“userid” is the user ID and “postfix” is the name of the selected
authentication option.
2. Exception: The postfix can be omitted only when the default
authentication option is used. For example, “ONDEMAND” is the
default authentication option at this system; therefore, you may
enter either “testuser” or “testuser@ondemand” in the Username
field.
Page 16

Congratulations!
The Login Success Page will appear after a client has successfully logged into WSG-
500 and has been authenticated by the system.
The appearance of Login Success Page means that WSG-500 has been installed
and congured properly.
After these steps, your WSG-500 is able to establish Internet connection. More
machine congurations and information can be found in the user’s manual CD,
please be sure to check the user’s manual for more understandings. If you have
any other questions, please contact the local dealer where you purchasing this
product.
16
 Loading...