

Page 1
Internet Video Conference Phone
ICF-1600
User’s manual
Version 1.0
Page 2

Copyright
Copyright (C) 2008 PLANET Technology Corp. All rights reserved.
The products and programs described in this User’s Manual are licensed products of PLANET Technology, This
User’s Manual contains proprietary information protected by copyright, and this User’s Manual and all
accompanying hardware, software, and documentation are copyrighted.
No part of this User’s Manual may be copied, photocopied, reproduced, translated, or reduced to any electronic
medium or machine-readable form by any means by electronic or mechanical. Including photocopying, recording,
or information storage and retrieval systems, for any purpose other than the purchaser's personal use, and without
the prior express written permission of PLANET Technology.
Disclaimer
PLANET Technology does not warrant that the hardware will work properly in all environments and applications,
and makes no warranty and representation, either implied or expr essed, with respect to the quality, performance,
merchantability, or fitness for a particular purpose.
PLANET has made every effort to ensure that this User’s Manual is accurate; PLANET disclaims liability for any
inaccuracies or omissions that may have occurred.
Information in this User’s Manual is subject to change without notice and does not represent a commitment on the
part of PLANET. PLANET assumes no responsibility for any inaccuracies that may be contained in this User’s
Manual. PLANET makes no commitment to update or keep current the information in this User’s Manual, and
reserves the right to make improvements to this User’s Manual and/or to the products described in this User’s
Manual, at any time without notice.
If you find information in this manual that is incorrect, misleading, or incomplete, we would appreciate your
comments and suggestions.
CE mark Warning
The is a class B device, In a domestic environment, this product may cause radio interference, in which case the
user may be required to take adequate measures.
WEEE Warning
To avoid the potential effects on the environment and human health as a result of the presence of
hazardous substances in electrical and electronic equipment, end users of electrical and electronic
equipment should understand the meaning of the crossed-out wheeled bin symbol. Do not dispose of
WEEE as unsorted municipal waste and have to collect such WEEE separately.
Trademarks
The PLANET logo is a trademark of PLANET Technology. This documentation may refer to numerous hardware
and software products by their trade names. In most, if not all cases, their respective companies claim these
designations as trademarks or registered trademarks.
2
Page 3

Revision
User’s Manual for PLANET Internet Video Conference Phone:
Model: ICF-1600
Rev: 1.0 (May, 2008)
Part No. EM-ICF-1600V1
3
Page 4

TABLE OF CONTENTS
Safety Instructions ................................................................................ 6
Chapter 1 Introduction.......................................................................... 7
Overview............................................................................................................................7
Package Content...............................................................................................................7
Physical Details.................................................................................................................8
Chapter 2 Preparations & Installation................................................ 10
Physical Installation Requirement................................................................................10
Basic Operating Instructions ....................................................................................12
Chapter 3 Network Service Configurations....................................... 16
Configuring Network and monitoring your Video Phone ..........................................16
Network Setup (On LCD Screen).............................................................................16
Network Setup (Web Interface)................................................................................23
Chapter 4 VoIP Setup........................................................................... 25
Configuration VoIP and System Settings for your Video Phone................................25
VoIP Setup (On LCD Screen)...................................................................................25
VoIP Setup (Web Interface) ......................................................................................27
Data / Time Setup .....................................................................................................28
Accepting and Making Phone Call...........................................................................30
Holding and Transferring a Call...............................................................................37
Auto Call Forwarding...............................................................................................39
Auto Call Rejection (DND Function).......................................................................40
Call Waiting..............................................................................................................41
Adjust Handset / Headset / Speakerphone Volume ..................................................41
Selecting Default Audio Codec................................................................................42
Chapter 5 Advanced Configurations.................................................. 44
Manages your Address Book and video phone settings ..............................................44
Address Book edits...................................................................................................44
View Call Records....................................................................................................46
Personalize – Change Screen Saver..........................................................................46
Change V ideo Preference .........................................................................................48
Change Display Language........................................................................................50
View System Status ..................................................................................................50
Video Privacy ...........................................................................................................51
Shutdown..................................................................................................................52
Chapter 6 Web Browser Operates...................................................... 53
Using Web Brow ser........................................................................................................53
Appendix A........................................................................................... 57
Firmware Upgrade.........................................................................................................57
4
Page 5

Appendix B........................................................................................... 59
FAQ ..................................................................................................................................59
Appendix C........................................................................................... 61
ICF-1600 Specifications .................................................................................................61
5
Page 6

Safety Instructions
Please follow the following safety instructions while you’re using this video phone, or you could damage this phone
and yourself.
1. Do not place this phone in high-humid and / or hot environment, like bathroom or kitchen. Please refer to the
specification of this phone to understand the environmental requirements of this phone.
2. This phone is designed for indoor use; do not use this phone at places like garden or any other outdoor
environment.
3. Do not point the video camera to strong light; it will damage the image sensor.
4. If you want to place this phone at high places, please make sure that the phone is properly secured. Falling
down from high places will damage this phone!
5. Do not drag any connected cord with force; the terminal and cord will be damaged.
6. Only use dry cloth with water to clean this phone; do not use alcohol or other chemical solution to clean this
phone.
7. There’s no user-serviceable part inside this phone; if the phone is not working properly, please contact the
dealer of purchase to ask for help.
8. Do not set the volume control of handset or headset to a too high setting; high volume could damage your ear
if you use this phone for too long time.
9. Do not put the phone and / or A/C adapter on paper, cloth, or other flammable materials.
10. If you smell something strange or even see smoke coming out from the phone or A/C adapter, disconnect the
power cord immediately, and call your dealer of purchase for help.
6
Page 7

Chapter 1
1
Introduction
Overview
PLANET’s latest Video Conferencing product, ICF-1600, brings you a vivid video conferencing
experience through the Internet. Neither the PC nor the complex web camera is required for Internet
video communications. Furthermore, the ICF-1600 has a built-in 7” LCD monitor in a telephone form
factor ideal for desktop use.
The ICF-1600 is compliant with SIP standard, which brings you a seamless conferencing experience
with other SIP compliant video conferencing systems, voice gateway, IP phones, ATA and IP PBX
System. With SIP Proxy Server and MCU support, the ICF-1600 from PLANET makes quick and
cost-effective communications possible for you and your business partners.
The ICF-1600 has multiple video inputs which can be used to connect to external cameras for group
meetings and/or a document camera for showing det ailed do cument s or photog raphs. With up to 30 f p s
frame rate, outstanding picture and sound quality, the PLANET Internet Video Conferencing Phone
offers you a superior communications experience via the Internet.
Key Features
• 7” Color TFT LCD display with video/audio output function
• Max. 30 Frames per Second
• Built-in Web Browse for Internet navigation
• Personalize phone ring tone and screensaver
• User-friendly GUI/Web-based Management
VoIP Features
• Video Conferencing H.263 / Mpeg 4 compliant with Auto-Negotiation
• Speak Phone function for Hands-Free operation
• SIP Outbound Proxy, STUN (RFC3489)
• Call Wait / Forward / Transfer support
• G.711, G.729 AB, G.723 voice codec
Package Content
The contents of your product should contain the following items:
¾ Video IP Phone unit
¾ Power Adapter
¾ Quick Installation Guide
¾ User’s Manual CD
¾ RJ-45 cable x 1
Page 8
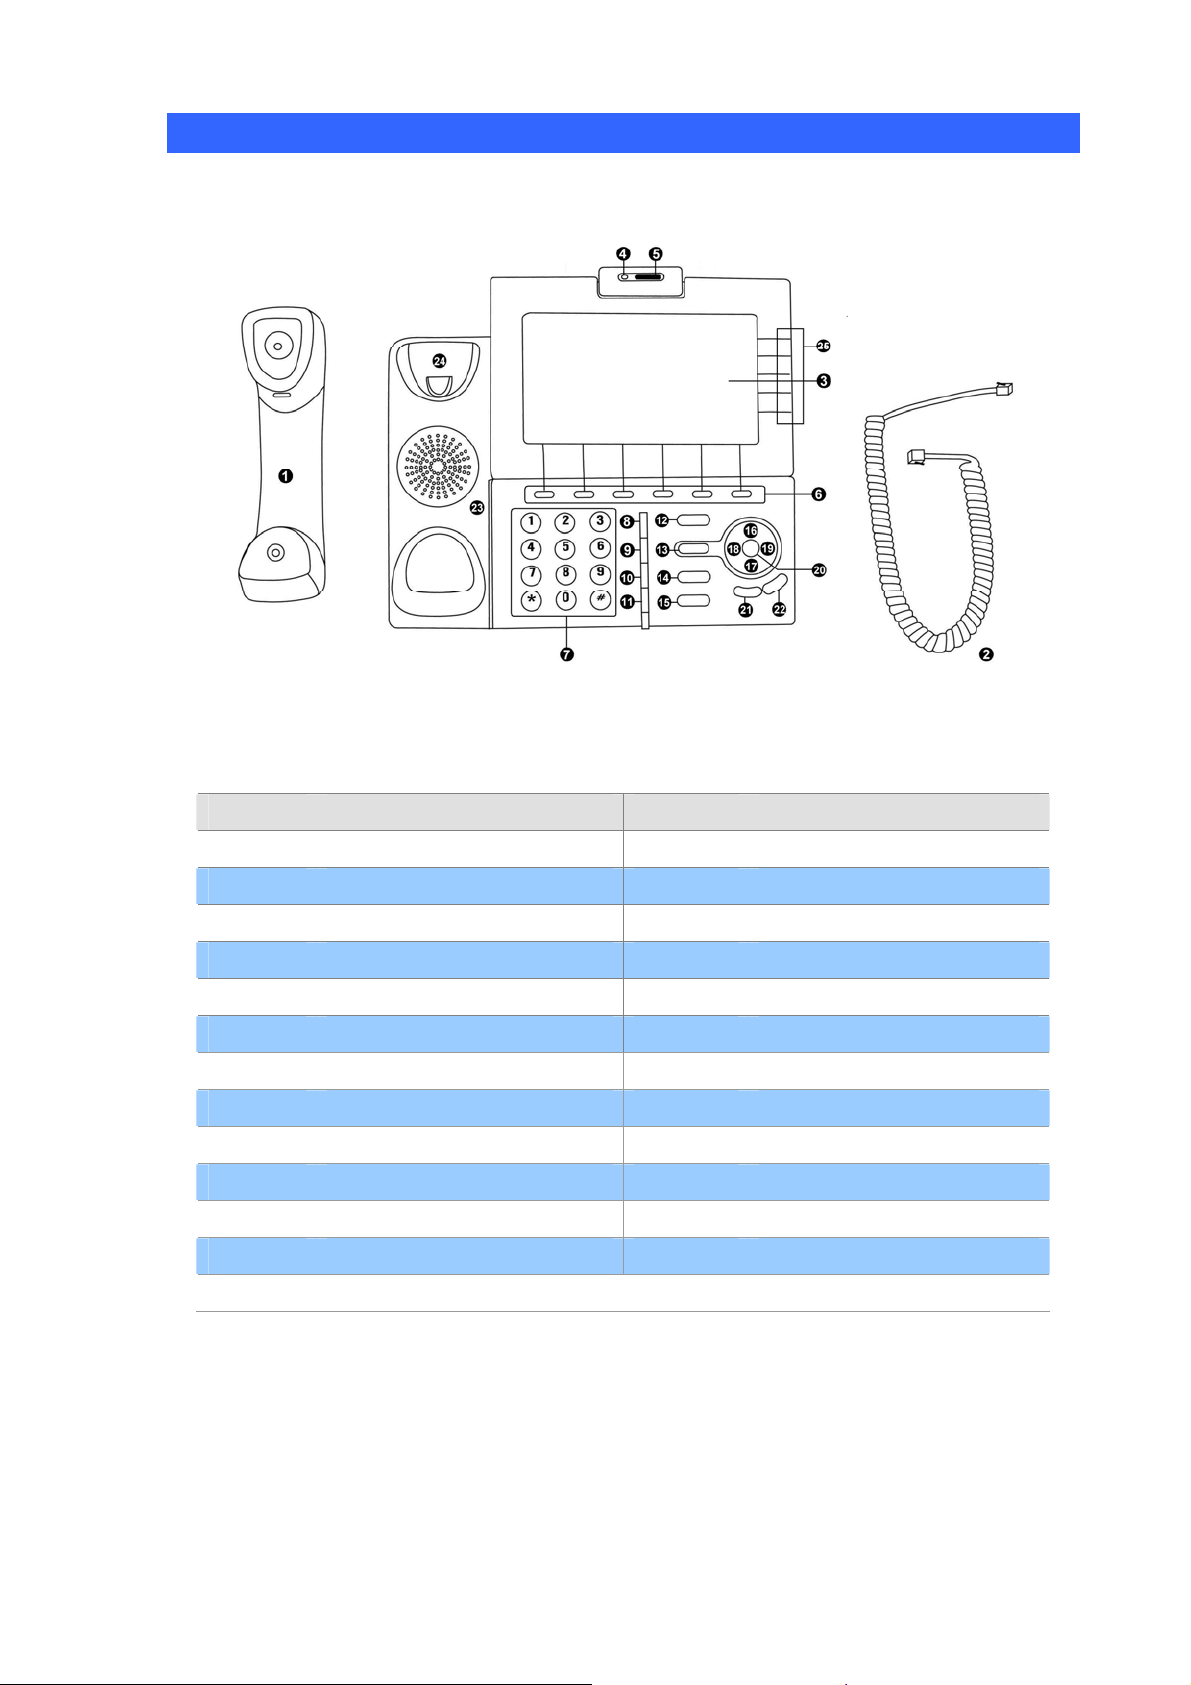
Physical Details
The following figure illustrates the components of ICF-1600:
Figure 1. All keys of ICF-1600
Item No. Description Item No. Description
1
3
5
7
9
11
13
15
17
19
21
23
25
Handset
LCD Display
Camera Lid
Numeric Keypad
Brightness Down
TV-Out Switch
Camera Key
Speaker Key
Down Key
Right Key
Volume Down
Speaker
Soft Key A to E (Located on the right of LCD display)
2
4
6
8
10
12
14
16
18
20
22
24
Handset Cord
Video Camera
Soft Key 1 to 6
Brightness Up
Redial Key
Mute Key
Headset Key
Up Key
Left Key
OK Key
Volume Up
Hook
8
Page 9
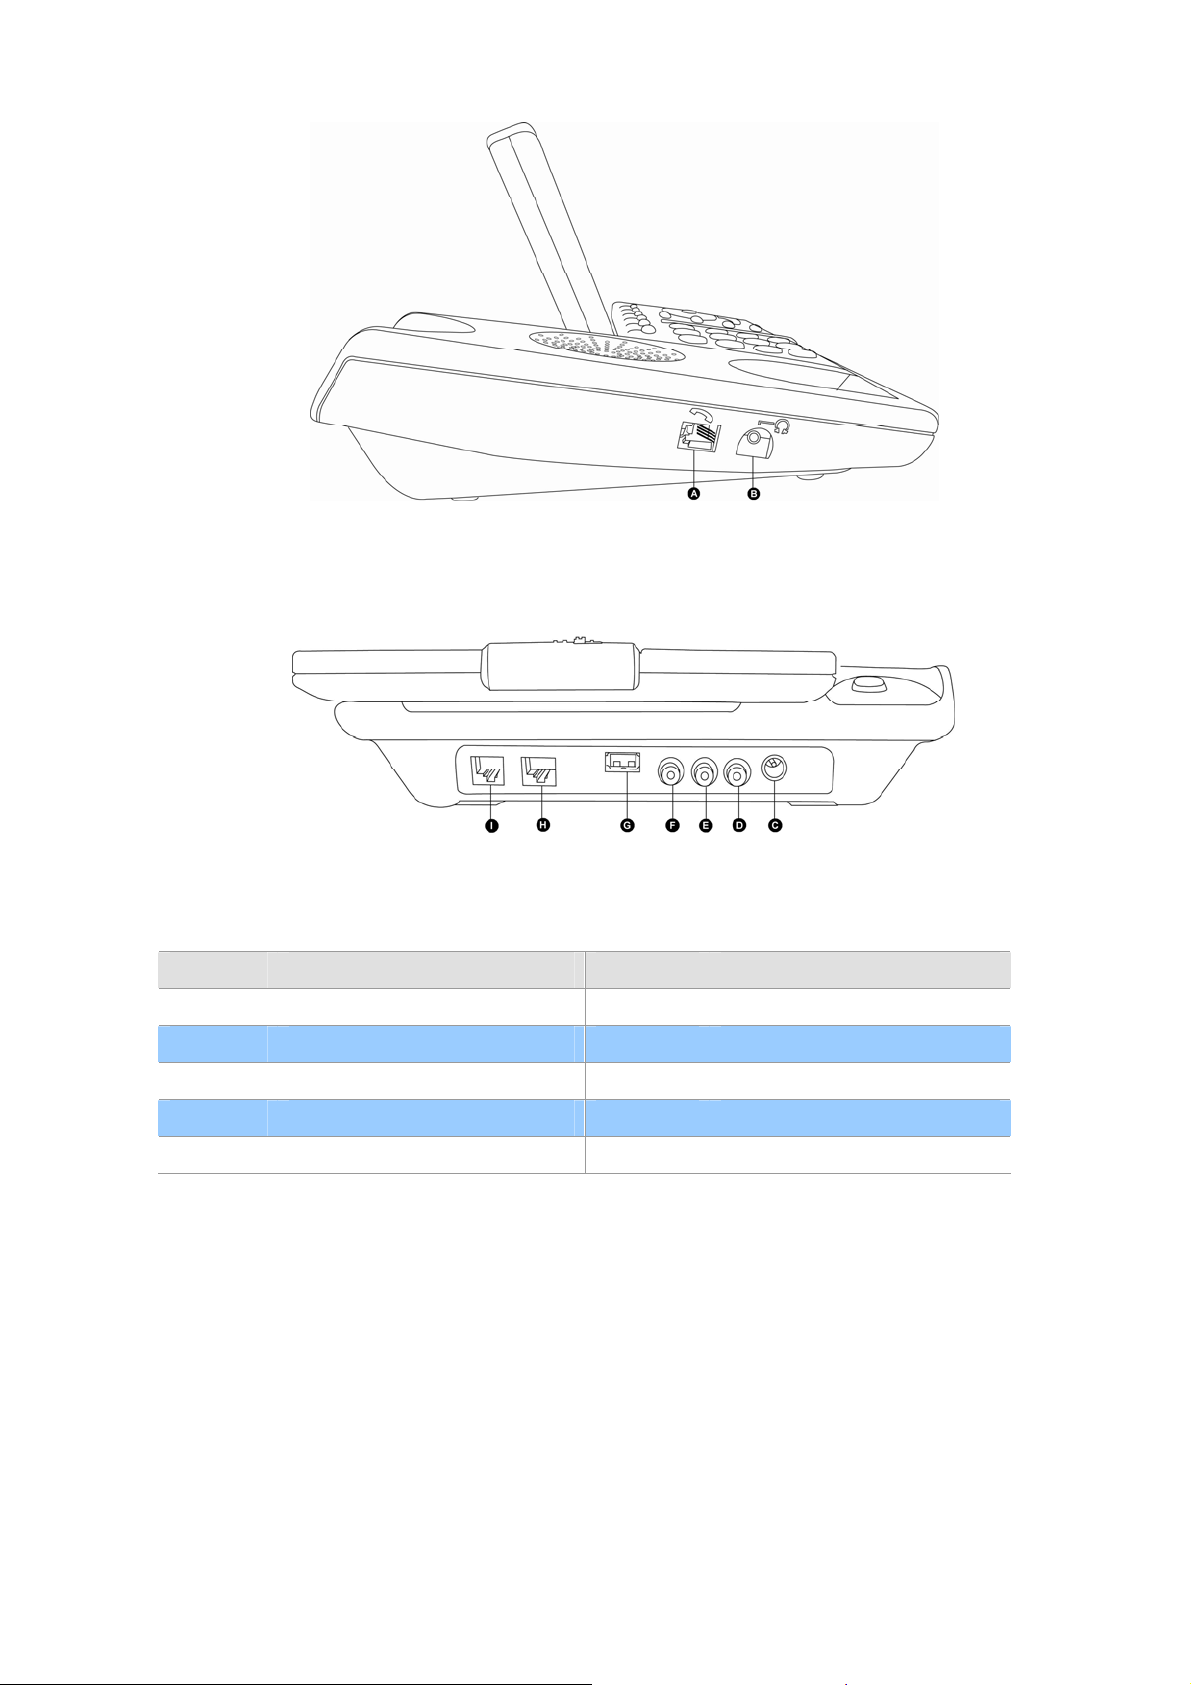
Figure 2. Left views of ICF-1600
Figure 3. Rear views of ICF-1600
Item No. Description Item No. Description
A
C
E
G
I
Handset Jack
Power Jack
Audio Output – Left
USB Jack
Network Jack - PC
B
D
F
H
Headset Jack
Audio Output – Right
Video Output
Network Jack – LAN
9
Page 10
Chapter 2
Preparations & Installation
Physical Installation Requirement
This chapter illustrates basic installation of ICF-1600
• Physical basic Install
• Basic operating.
• TCP/IP protocol must be installed on PC.
Please follow the following instructions to install ICF-1600 video phone:
(1) Unpack the package and check if there’s anything missing
2
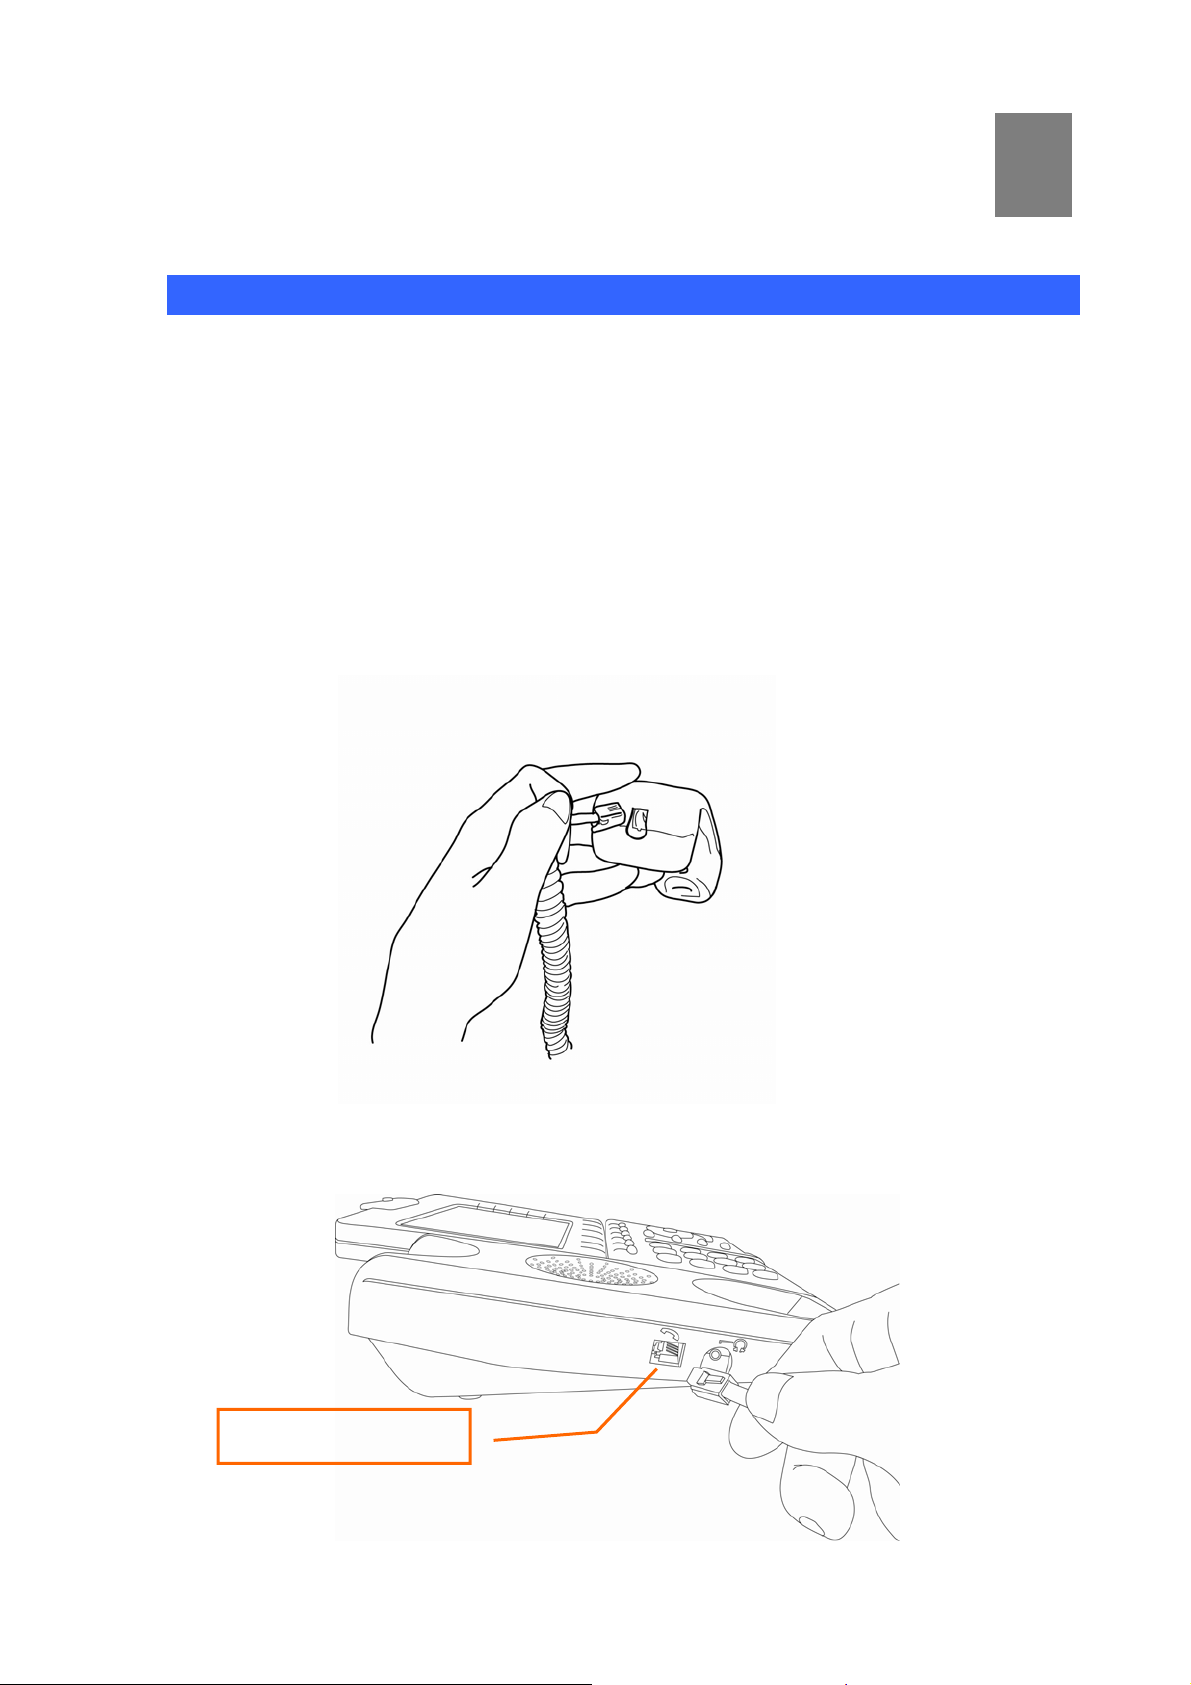
(2) Insert the handset cord to the handset, as shown on the picture.
(3) Insert the other end of handset to the handset jack <A>, and put the handset on the phone.
Handset
10
Page 11
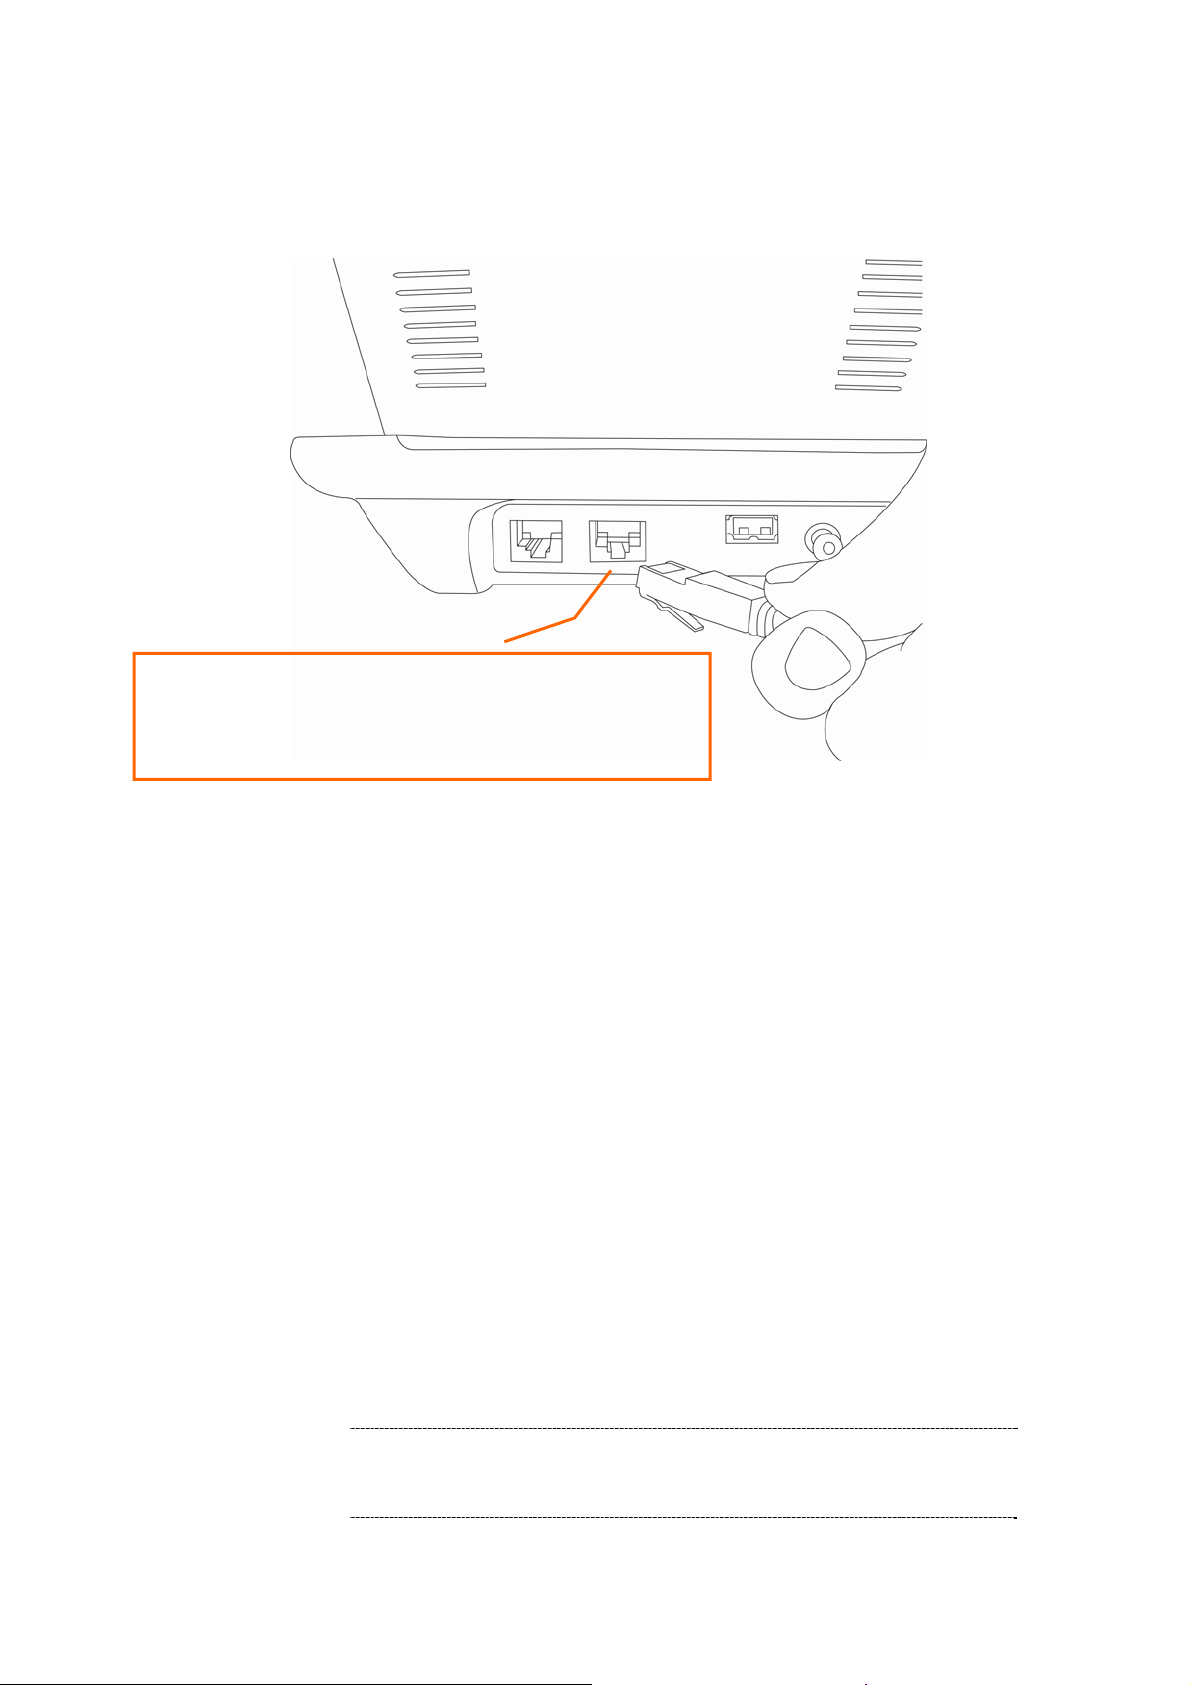
(4) Connect the Ethernet cable to the LAN Ethernet jack <H>, and connect the other end of
Ethernet cable to your LAN (Local area network).
Plug the Ethernet cable into the back of the base station.
Plug the other end of the Ethernet cable into your already
prepared network connection.
(5) If you have a computer or other network device, you can connect its Ethernet cable to PC
Ethernet jack <I> on this phone, then your PC or network device can be connected to the LAN
via this phone.
(6) [Optional] This IP phone supports standard USB mouse. You can connect a USB mouse to
the USB port, this also can help to quick select the button on the screen.
You can skip this step if you don’t want to use mouse with this phone.
(7) [Optional] Build the connection between your TV set and this video phone by A/V cable
(package not included, please buy it separately). A/V cable is color-coded (yellow for video,
white for left audio channel, and red for right audio channel), please connect this IP phone
and your TV set’s A/V connector according to the color shown on the A/V cable.
You can skip this step if you don’t want to use TV with this phone.
ÍNote
If your TV set only has 1 audio input (mono speaker), please
connect the left audio channel (white color-coded) of this
phone to your TV set.
11
Page 12
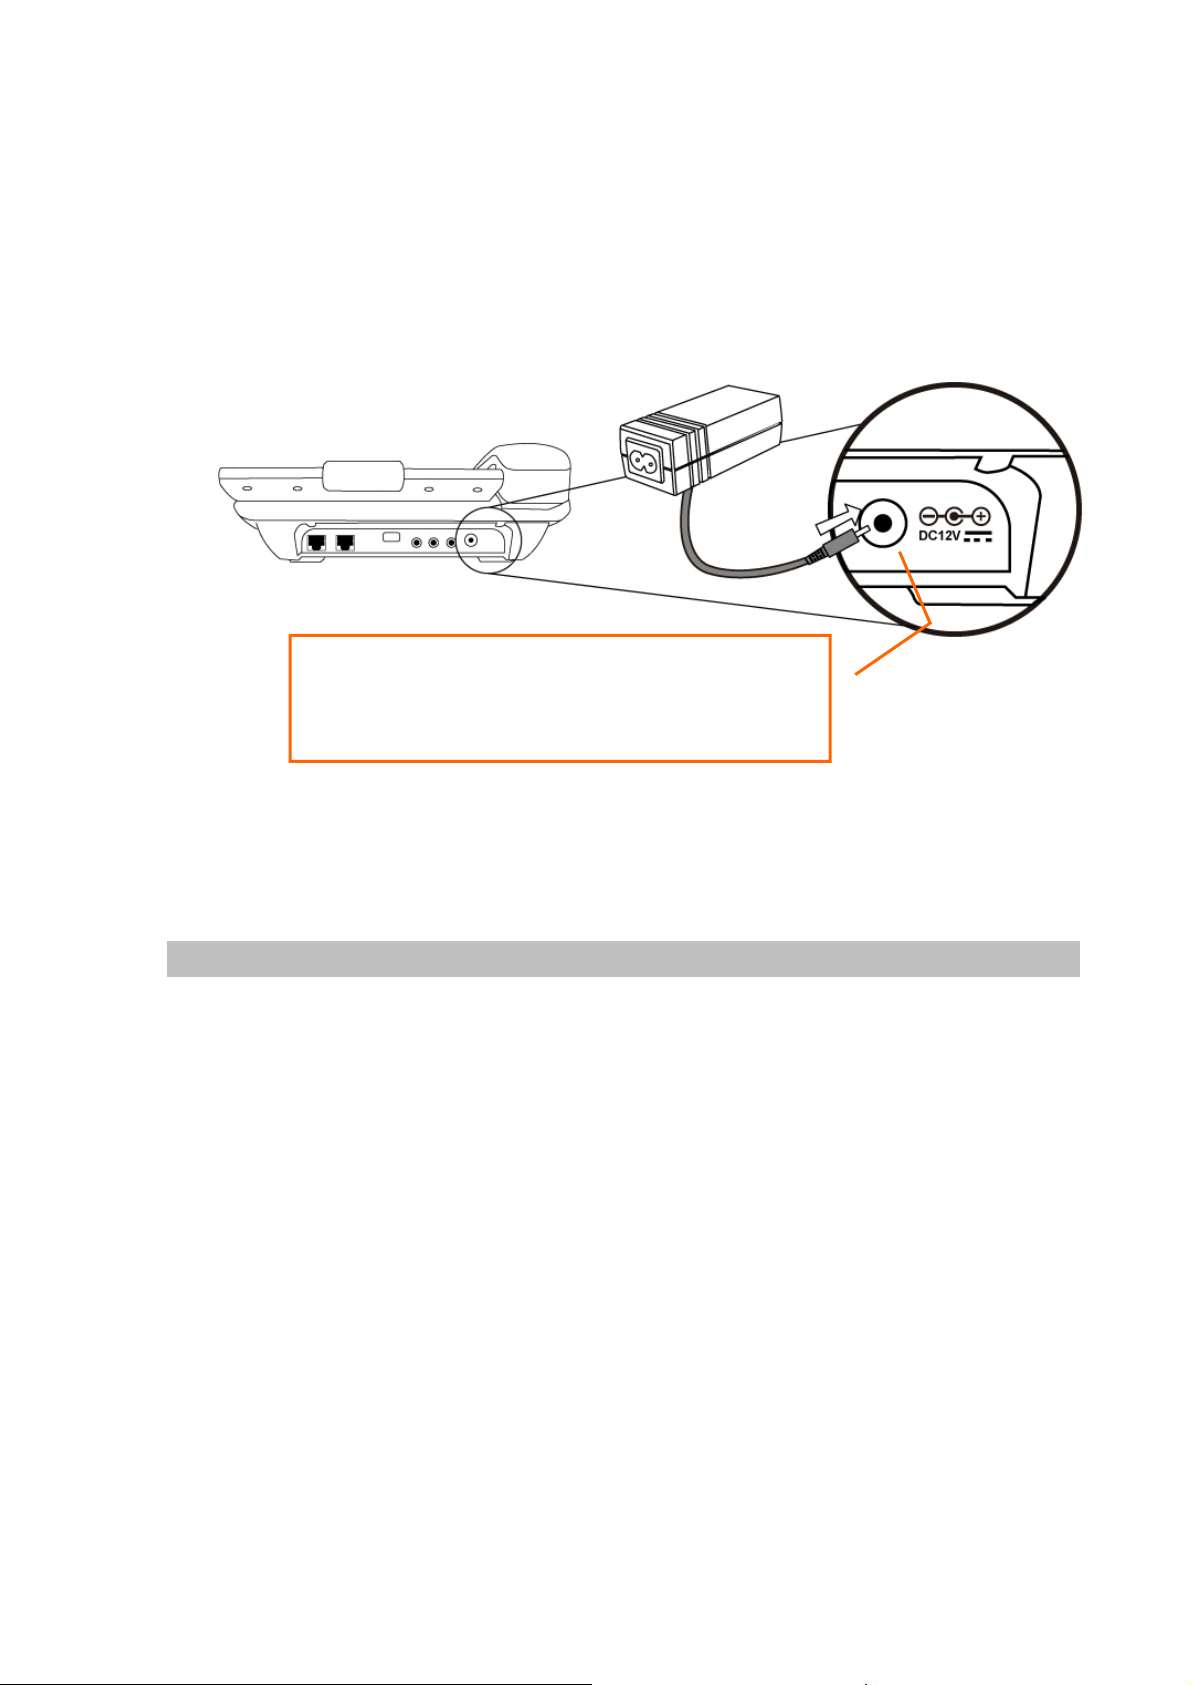
(8) Insert the power plug of A/C adapter to the power jack.
NOTE: Use only the power adapter shipped with the
(9) Please check the LCD display of this IP phone, there should be something displayed on the
LCD in 1 or 2 minutes.
If not, please re-check all procedures listed in this section, or contact your dealer of purchase
for help.
Power Adapter (12V DC)
unit to ensure correct functionality.
Basic Operating Instructions
Using Soft Keys
There are 11 soft keys on this IP phone (Soft Keys 1 to 6, and A to E). Unlike other keys, the function of
soft key is not always the same. It will change in different menu. The function of soft key in every menu
will be displayed on the corresponding area of LCD display.
12
Page 13
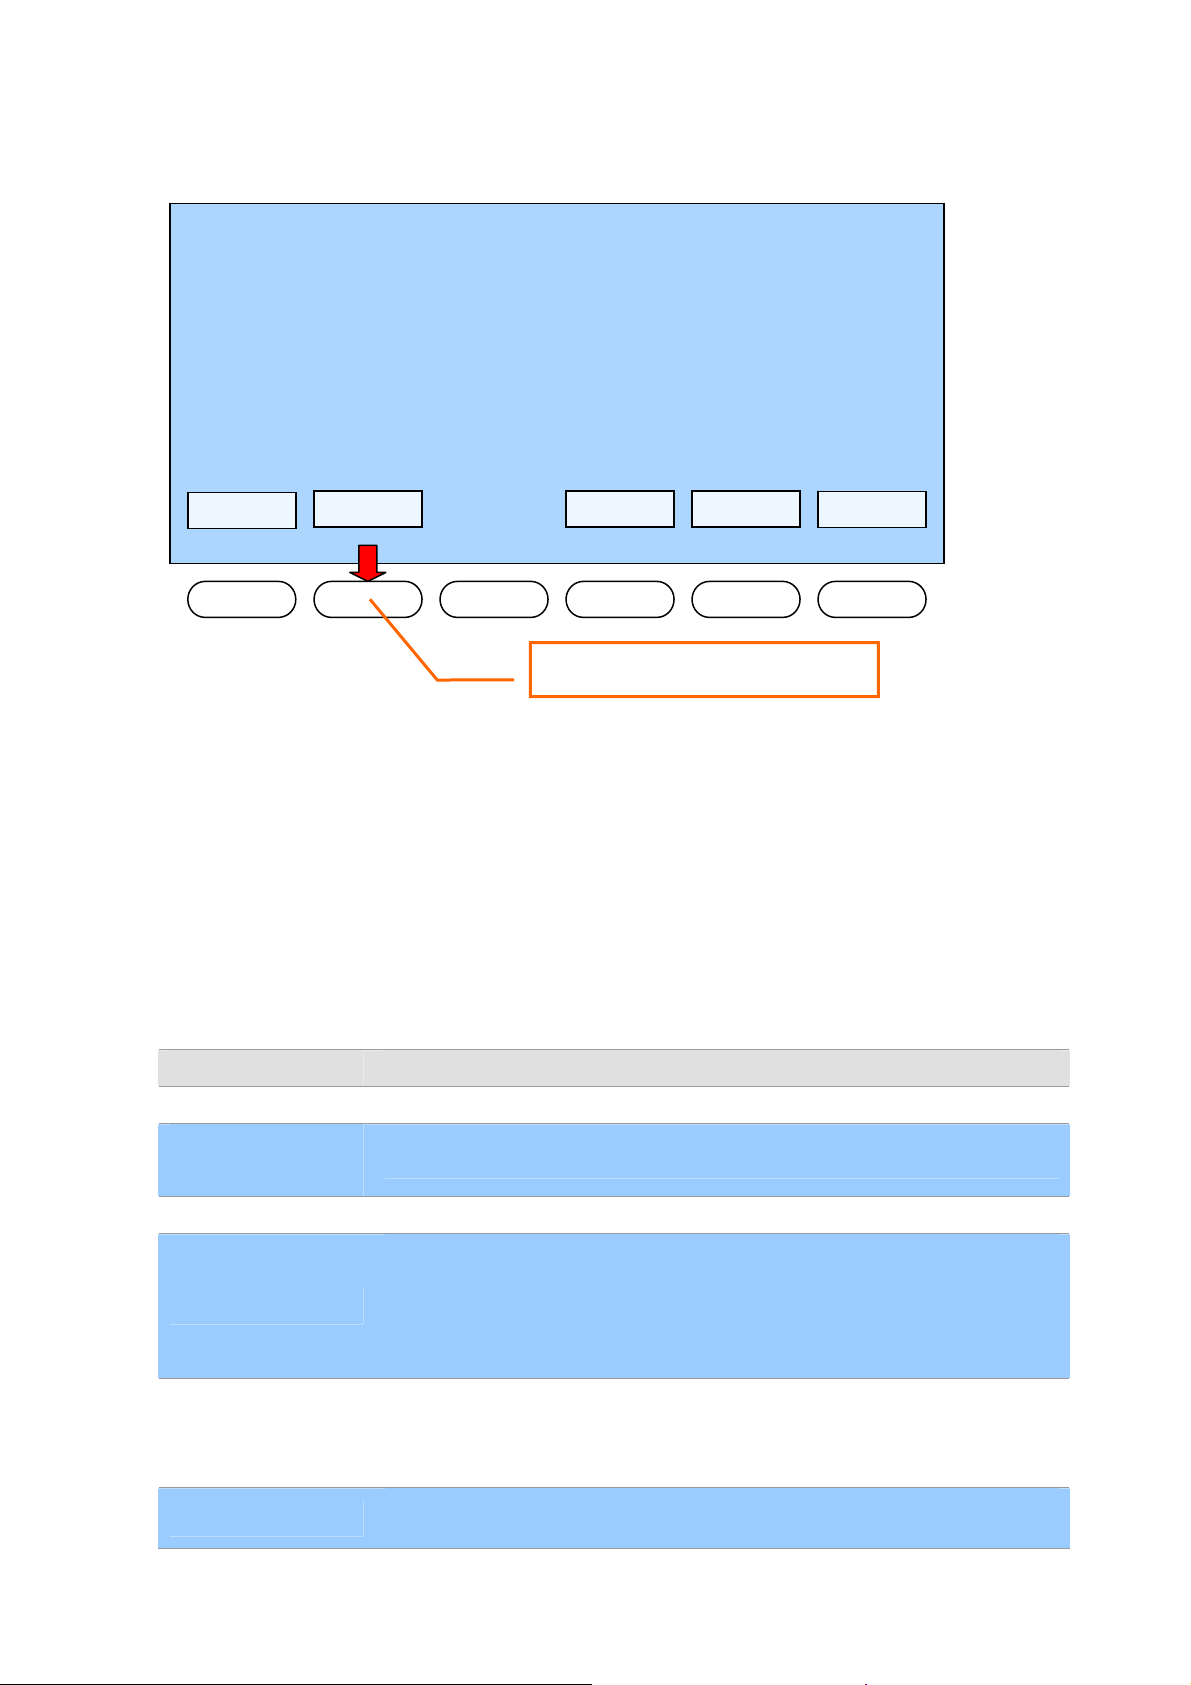
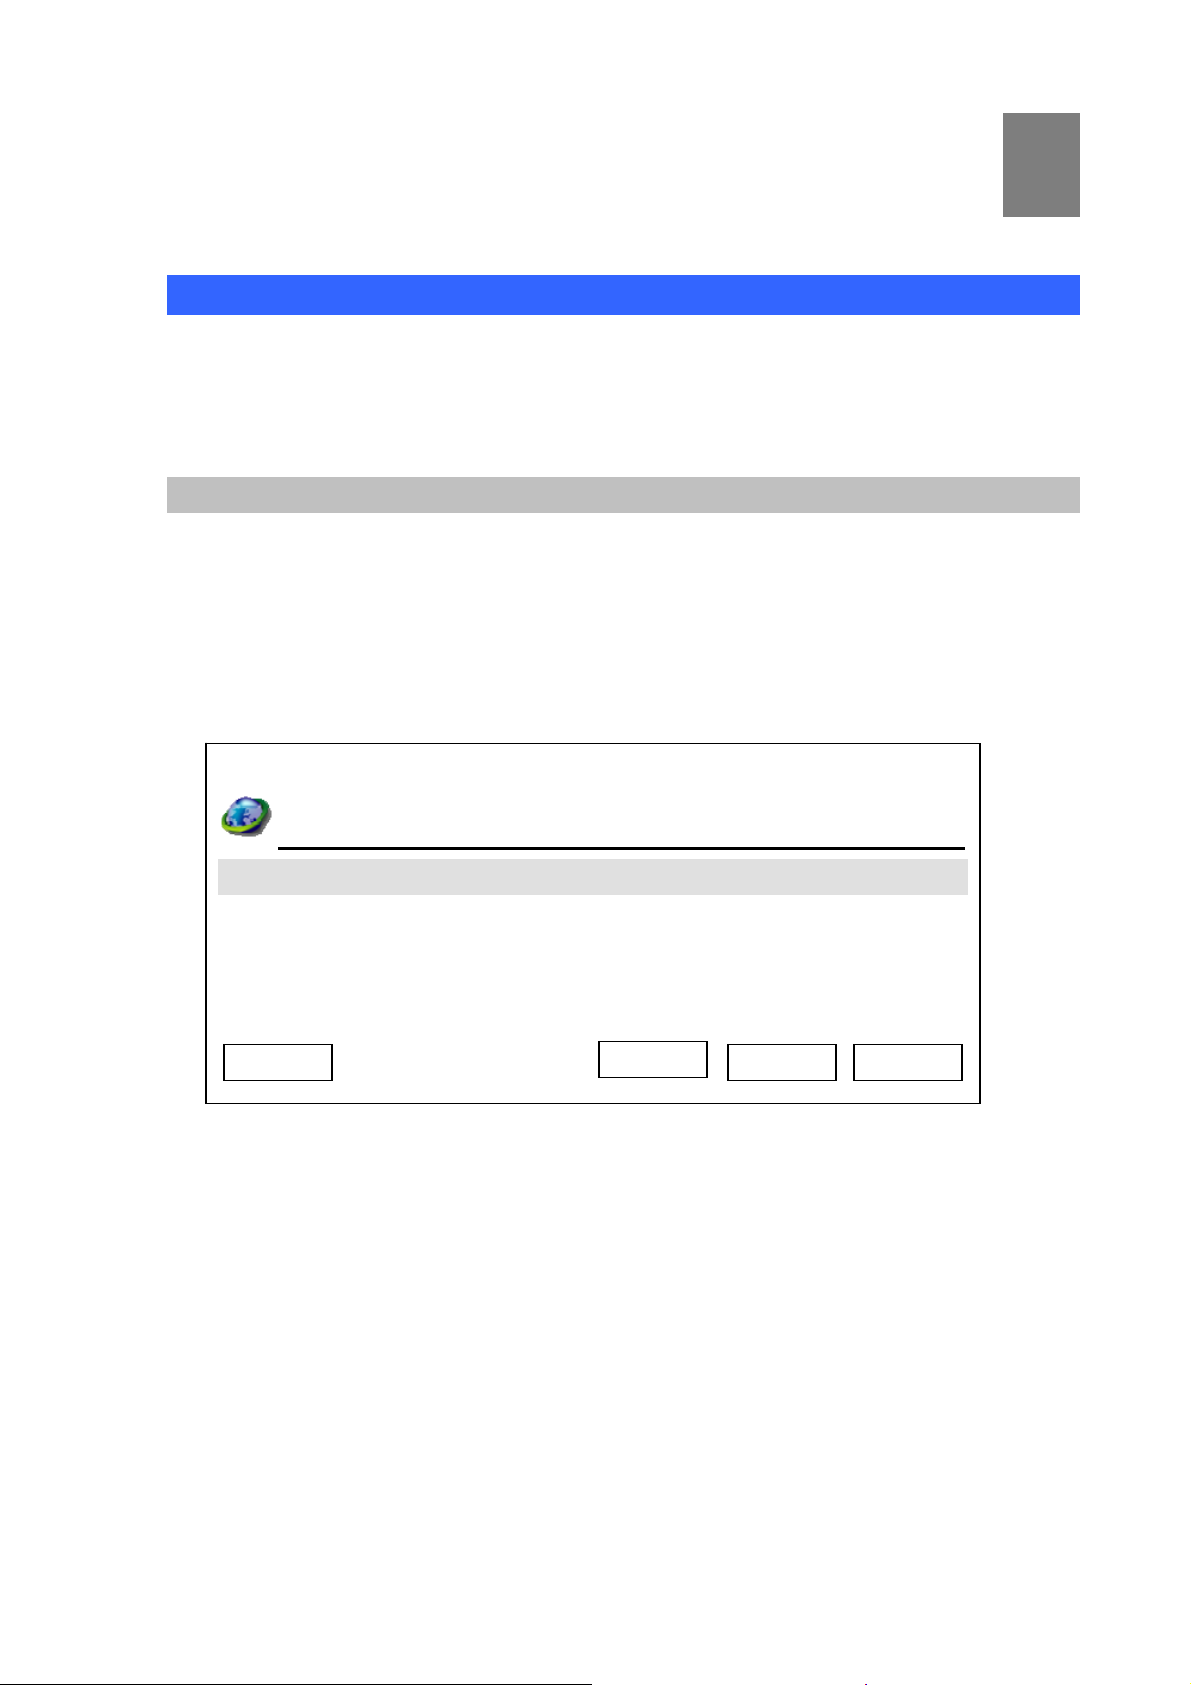
For example, there are 5 soft keys available on main menu:
03:00 01/01/2008 PLANET 1101
Shutdown
Recent Redial Main Menu
SNDT
If you want to execute “Redial” function, just press the second soft key from the lef t. There are
also 5 soft keys located on the right side of LCD display; you can use them just like the soft
keys below the LCD display.
Using Hard Keys
There is another kind of keys on your PLANET video IP phone, which are called as “Hard
Keys”. The function of these keys is always the same. Please refer to the table listed below for
detailed descriptions of hard keys:
Item Description
Press this key for “Redial”!
Numeric Keypad
Brightness
Up/Down
Redial Key
TV-Out Switch
Mute Key
Camera Key
Used to input numbers, alphabet, and special characters like * and #.
Adjust the brightness of LCD display by these two keys immediately.
Press this key to redial the last number dialed.
Press this key to toggle TV-out function of this phone. When TV-out function
is activated, nothing will be displayed on LCD display, and the content of
LCD display will be displayed on the TV set connected to this phone instead.
Press this key again to deactivate TV-out function.
Press this key to activate mute function. When mute is activated, remote
party will not hear anything from you. Mute key will be illuminated when mute
function is activated, press this key again to deactivate mute function.
Press this key to switch built-in camera on / off. You can switch camera on or
off during a call, so remote party will or will not see your image. You can also
13
Page 14
press this call when no call is in progress, and you can see your own image
taken by camera. Camera key will be illuminated when camera function is
activated, press this key again to switch camera off.
Press this key to use headset to make or answer phone call, a headset must
be connected to this phone before you press this key, or you will not be able
Headset Key
Speaker Key
Navigation Keys
OK
Volume Key
to hear anything during the call. Headset key will be illuminated when
headset function is activated, press this key again during the call to
terminate the call, or you can press headset key to transfer the call to
headset when you’re using handset or speakerphone.
Press this key to use speakerphone to make or answer phone call, Speaker
key will be illuminated when speakerphone function is activated, press this
key again during the call to terminate the call, or you can press speaker key
to transfer the call to speakerphone when you’re using handset or headset.
You can use these 4 keys to move cursor or light bar on LCD display to
select the item you want.
Press this key to make affirmative answer to a question, or enter a submenu.
You can adjust the volume of ring tone directly by these 2 keys when the
phone is not in use, and you can adjust the volume of handset / headset /
speakerphone when they are in use.
Using 5-way Joystick
There is a special set of keys on this phone (keys <21> to <25>), which is called as “5-way
joystick” (Four directions and ‘OK’). You can use left, right, up, and down key to move cursors
on LCD display, and press OK key to decide.
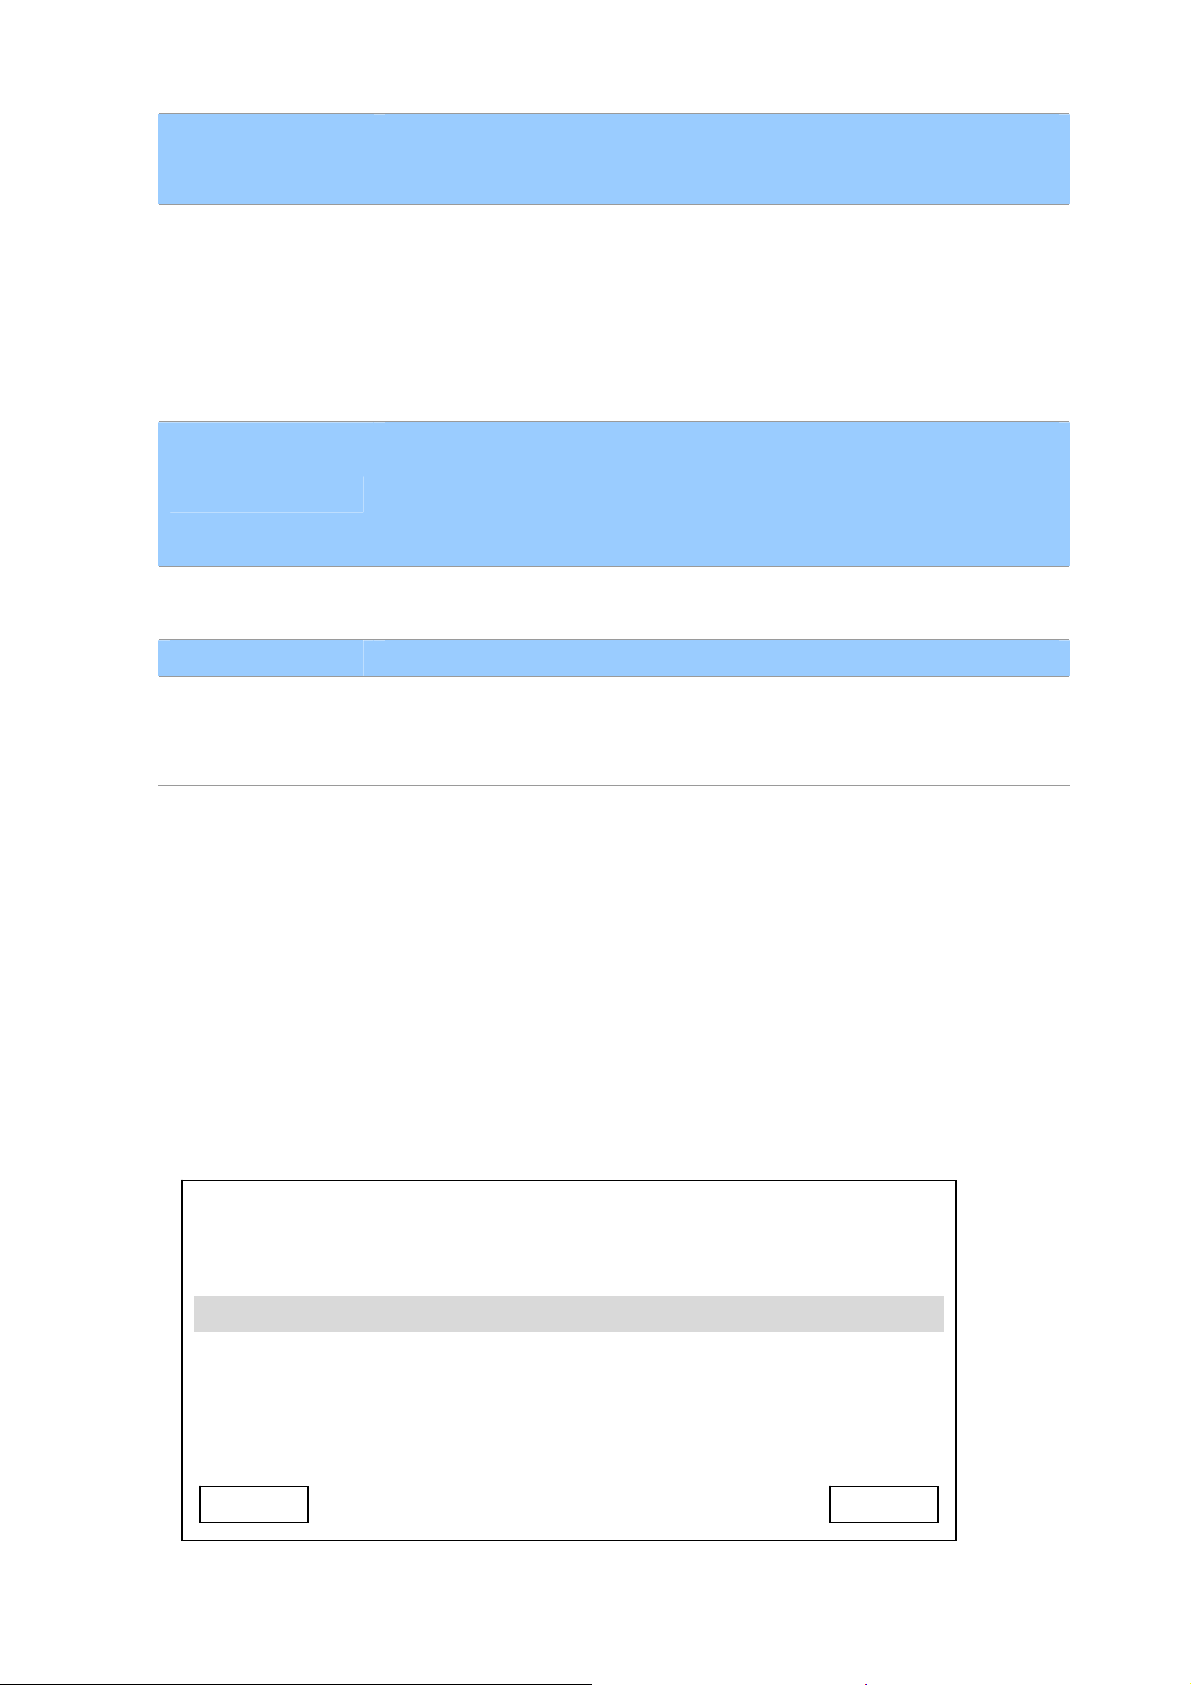
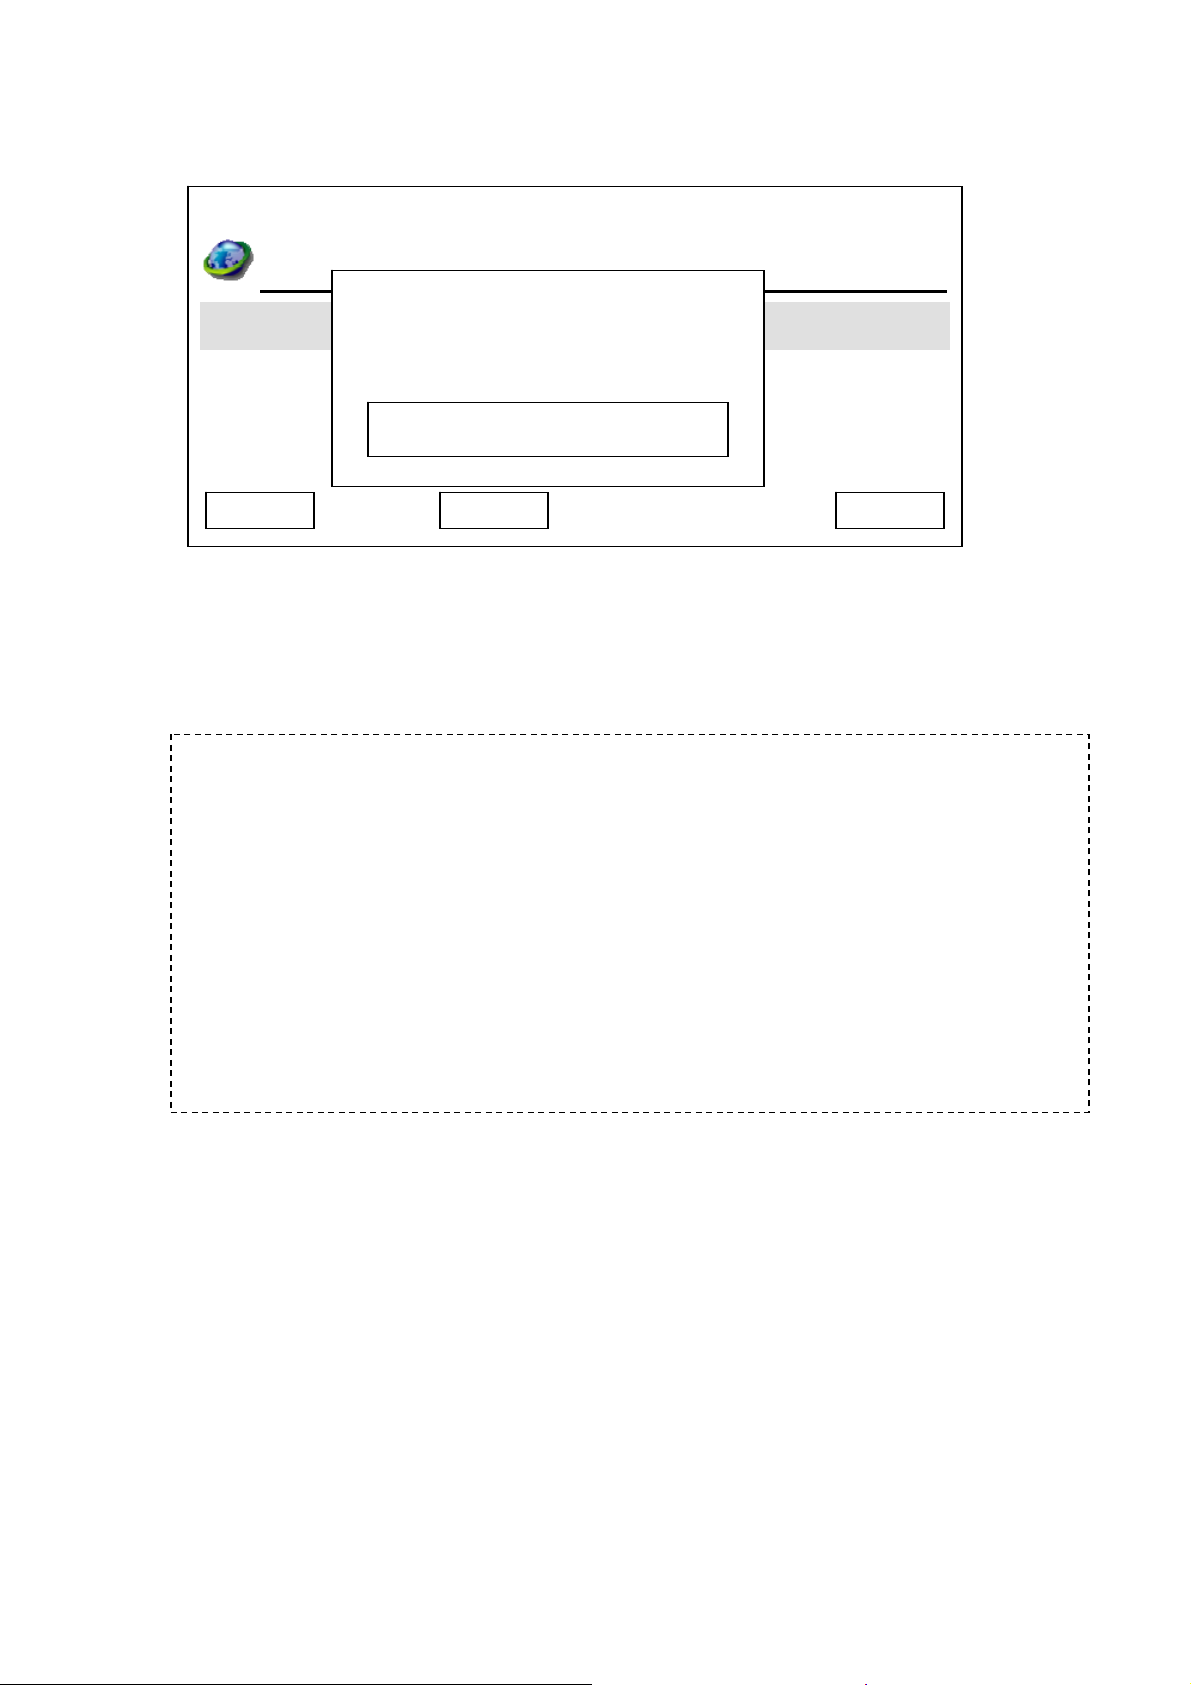
For Example, in main menu:
03:00 01/01/2008 PLANET 1101
Main Menu
Address Book
Call Records
Settings
Select Exit
14
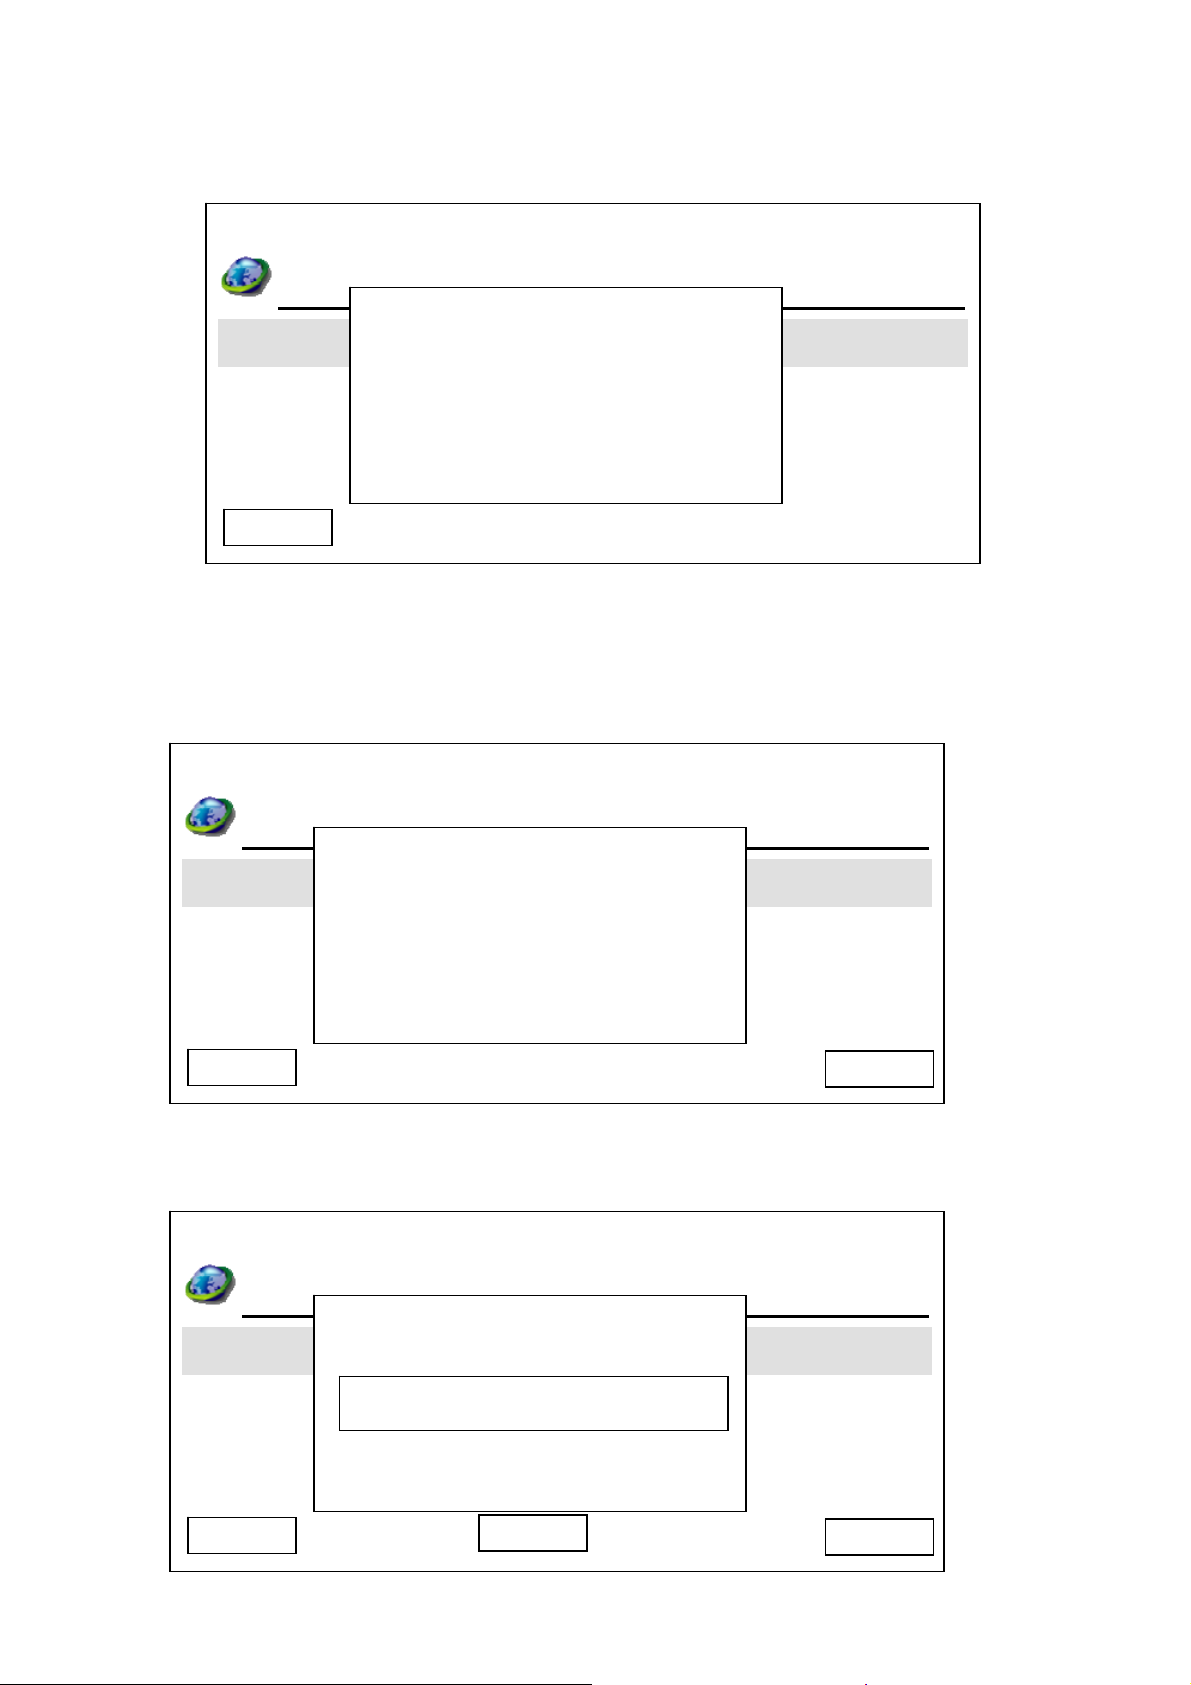
Page 15
You can press down key to move the cursor down, and the display on LCD display will
become:
03:00 01/01/2008 PLANET 1101
Main Menu
Address Book
Call Records
Settings
When the item you want to select is highlighted, press OK key (or “Select” soft key) to select it.
If you want to back to previous menu, press “Exit” or “Back” soft key.
Select Exit
Return From Screen Saver
To protect the LCD display panel, a built-in screen saver will be activated af ter a cert ain perio d
of time. You’ll see several color pictures displayed alternately. To return to normal state, simply
press any key on the phone, and the key you pressed will not function when screen saver is
activated.
15
Page 16
Chapter 3
3
Network Service Configurations
Configuring Network and monitoring your Video Phone
The ICF-1600 integrates LCD display and web-base GUI that can cover most configurations and
machine status monitoring. You can configure and check machine status from 7” LCD display or the
GUI system.
Network Setup (On LCD Screen)
Before you can use ICF-1600, a valid IP address is required. Please follow the following instructions to
setup IP address:
1. Press “Main Menu” key to enter main menu, then use up / down key and OK key to go “Setting” ->
“Device Configurations” -> “LAN Configuration”.
03:00 01/01/2008 PLANET 1101
LAN Configuration
Device Name
MAC Address
DHCP
2. Please use up / down key to select the setup item you wish to set, then press “OK” key. You can
press “Next” key to jump to next page for more setup items, and press “Previous” to back to first
page.
DNS Server
Exit
IP Address
Next
Figure 7. LAN Configuration
Back Select
16
Page 17
Device Name:
03:00 01/01/2008 PLANET 1101
LAN Configuration
g Time Zone Settin
Device Name
Day Light Saving Enabled
Synchronization
PLANET
Date Format
Cancel
Delete
Save
Please input the device name of this video phone here. You can use numeric keypad to input alphabet
and number, to erase a character, press “Delete” key; to save new device name, press “Save” key. Or
you can press “Cancel” key to keep original device name unchanged.
Hint: How to input number, and alphabet?
Every number key in numeric keypad area represents a set of number, and / or
alphabet. You can press a key repeatedly to select next character for that key. For
example, you can press “2” key for 3 times repeatedly to get “c”, and press “5” key
for 5 times to get “J”. If you pause between keystrokes, a character will be entered
into field, so you can input a new character.
The character set of every key is listed as follow (left to right):
1: 1 2: a b c 2 A B C 3: d e f 3 D E f
4: g h I 4 G H I 5: j k l 5 J K L 6: m n o 6 M N O
7: p q r s 7 P Q R S 8: t u v 8 T U V 9: w x y z 9 W X Y Z
0: 0
MAC Address:
MAC address is the network identification of this video phone and can not be changed. However, you
can select “MAC Address” item to view the MAC address of ICF-1600.
DHCP:
You can activate or deactivate dynamic host configuration protocol (DHCP) function of this phone, so
this phone can obtain a valid IP address from the DHCP server on your LAN. To use this function, a
working DHCP server must be available. If you’re not sure, please ask your network administrator.
17
Page 18
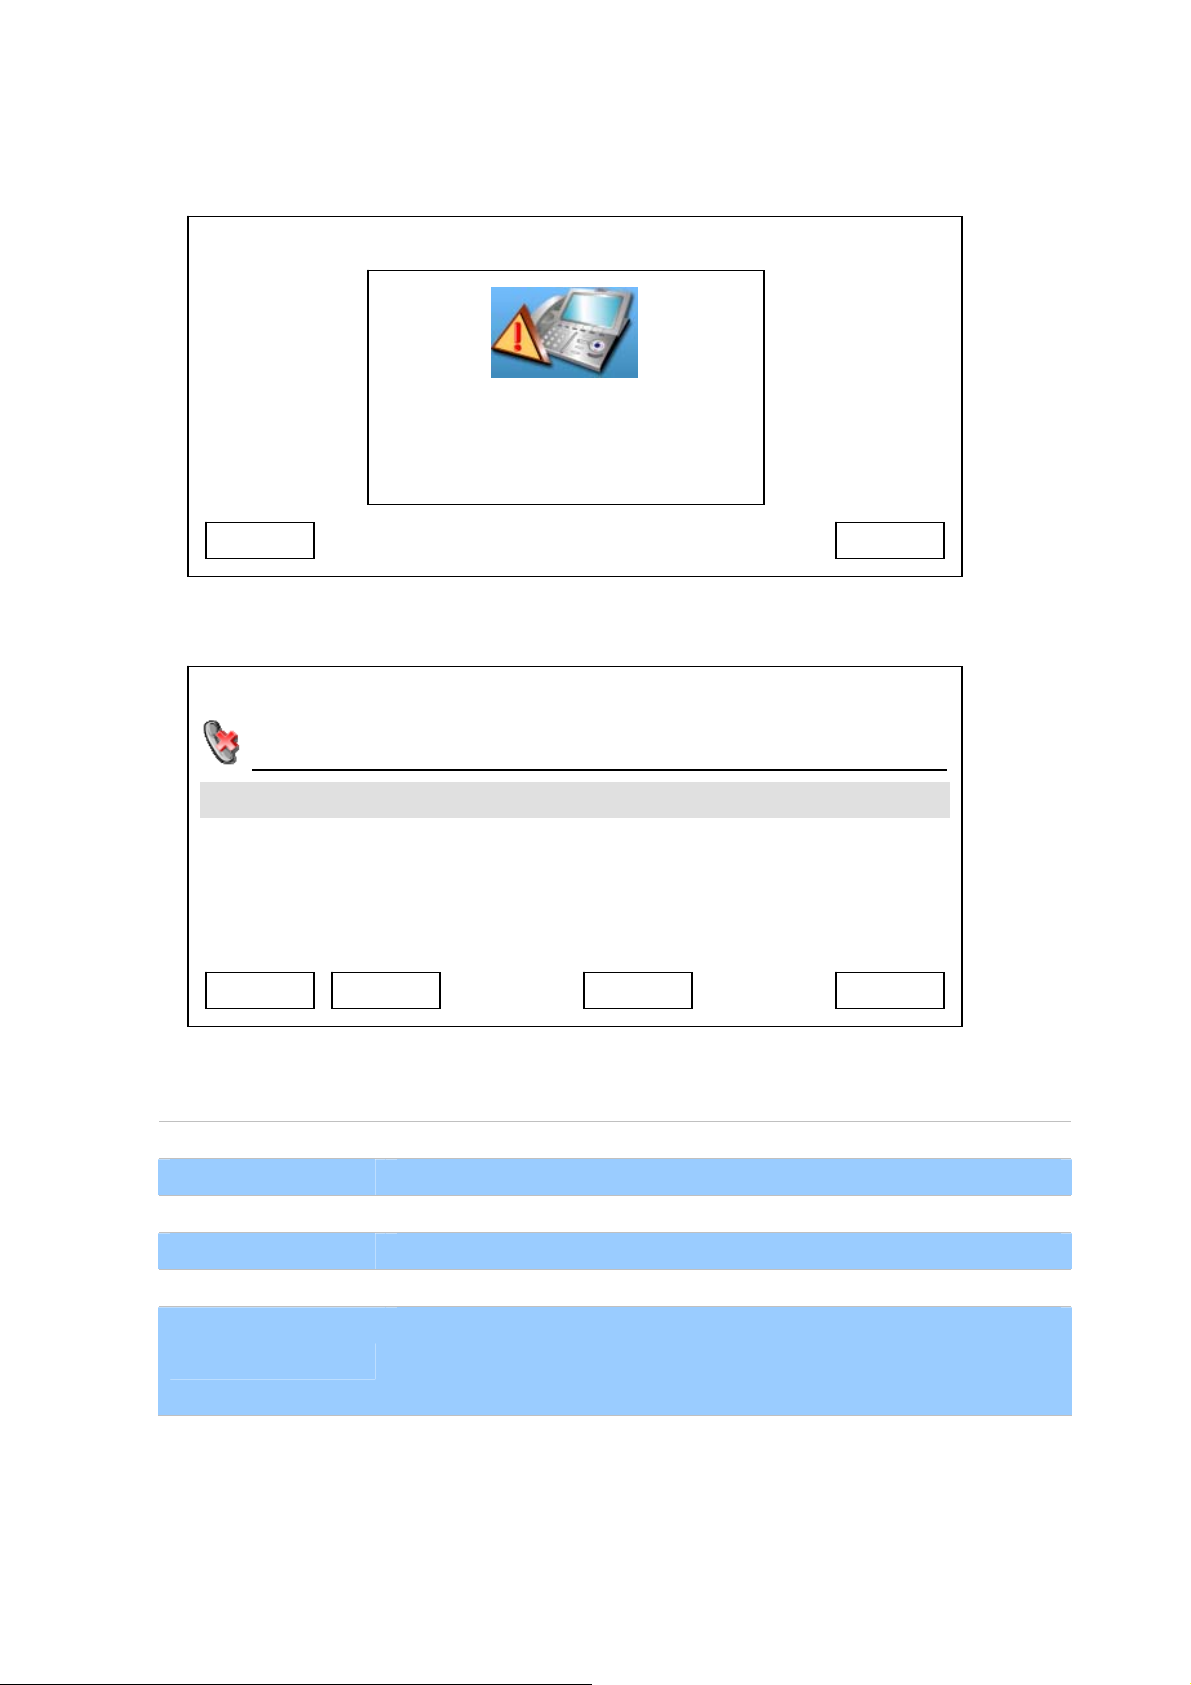
When you selected ‘DHCP’ and pressed ‘OK’ key, and the phone is already configured to use DHCP,
the following message will appear:
03:00 01/01/2008 PLANET 1101
LAN Configuration
Time Zone Setting
Day Light Saving Enabled
Synchronization
Cancel
Please press ‘OK’ or ‘Cancel’ to exit. If you wish to deactivate DHCP function, please following the
instructions given in ‘IP address’ section to input IP address manually, and DHCP function will be
disabled.
The following message indicates that DHCP function is currently disabled:
03:00 01/01/2008 PLANET 1101
LAN Configuration
Time Zone Setting
nabled Day Light Saving E
Synchronization
Cancel
DHCP Enabled
Date Format
Enable DHCP?
Date Format
YES
If you still wish to use manually-assigned IP address, please press ‘Cancel’; if you wish to enable
DHCP function, please press ‘Yes’, and the following message will appear:
03:00 01/01/2008 PLANET 1101
LAN Configuration
g Time Zone Settin
Day Light Saving Enabled
n Synchronizatio
Cancel
Admin Password
System Is Going To
Reboot!
Date Format
Delete
Save
18
Page 19
Please input correct admin password (default value is ‘123456’), and then press ‘Save’ key. This pho ne
will reboot after you pressed ‘Save’ key, please wait for few minutes until reboot procedure is complete.
IP Address:
When you select IP address, current network setting will be displayed. If you need to change the IP
address of this phone, please press “Edit” key after you select this item and you’ll see the following
information displayed on LCD display:
03:00 01/01/2008 PLANET 1101
IP Address
192.168.1.25
Subnet Mask
255.255.255.0
Default Gateway
192.168.1.254
Exit Delete
Save
Please press up/down key to select the item you wish to set, and input the setting information by
numeric keypad (press “*” key for dot), to erase a character, press “Delete” key; to save new device
name, press “Save” key. Or you can press “Cancel” key to keep original IP address information name
unchanged. A fter you pressed ‘Save’ key, you’ll be prompted to setup DNS server address:
03:00 01/01/2008 PLANET 1101
IP 地址
192.168.1.25
255.255.255.0
子网掩码
默认网关
192.168.1.254
Do you want to set
DNS?
Cancel
Yes
19
Page 20
After you pressed ‘Yes’ key, you’ll be prompted to setup DNS server’s IP address:
03:00 01/01/2008 PLANET 1101
Primary DNS
192.168.1.254
Secondary DNS
192.168.1.253
Exit Delete
Please setup the IP address of DNS server, if you didn’t setup the IP address of DNS server, many
functions of this phone may not working properly. If you don’t know the IP address of DNS server,
please ask your Internet service provider or network administrator. You can press ‘Delete’ to remove an
inputted character. Press ‘Save’ key to keep changes or press ‘Exit’ to keep original settings.
Save
After you pressed ‘Save’ key, you’ll be prompted to input admin password:
03:00 01/01/2008 PLANET 1101
LAN Configuration
g Time Zone Settin
Admin Password
Day Light Saving Enabled
n Synchronizatio
Cancel
Input correct admin password (default value is ‘123456’) and press ‘Save’ to reboot the phone, or press
‘Cancel’ to abort.
System Is Going To
Reboot!
Date Format
Delete
Save
DNS Server:
DNS server address can be modified by web interface only (see n ext section). Ho wever, you can select
this item to view the DNS setting, and press “Cancel” key to back to previous menu.
TFTP Server:
20
Page 21

TFTP Server is used to upgrade the firmware of this video phone. You can check the address setting of
TFTP server by selecting this item. Press “Cancel” key to back to previou s men u.
03:00 01/01/2008 PLANET 1101
LAN Configuration
g Time Zone Settin
TFTP Server
y Light Saving Enabled Da
192.168.1.3
Synchronization
Cancel
PPPoE:
This phone supports PPPoE (PPP over Ethernet) protocol, if your Internet service provider requires you
to connect to Internet by PPPoE, you can use this function to establish Internet connection.
If PPPoE is not configured currently , the following message will appear, to ask you if you want to enable
and setup PPPoE:
Date Format
Yes
21
Page 22

A
03:00 01/01/2008 PLANET 1101
LAN Configuration
Time Zone Setting
PPPOE Disabled
Synchronization
Cancel
Day Light Saving E nabled
Do you want to
set PPPOE?
Date Format
Delete
Save
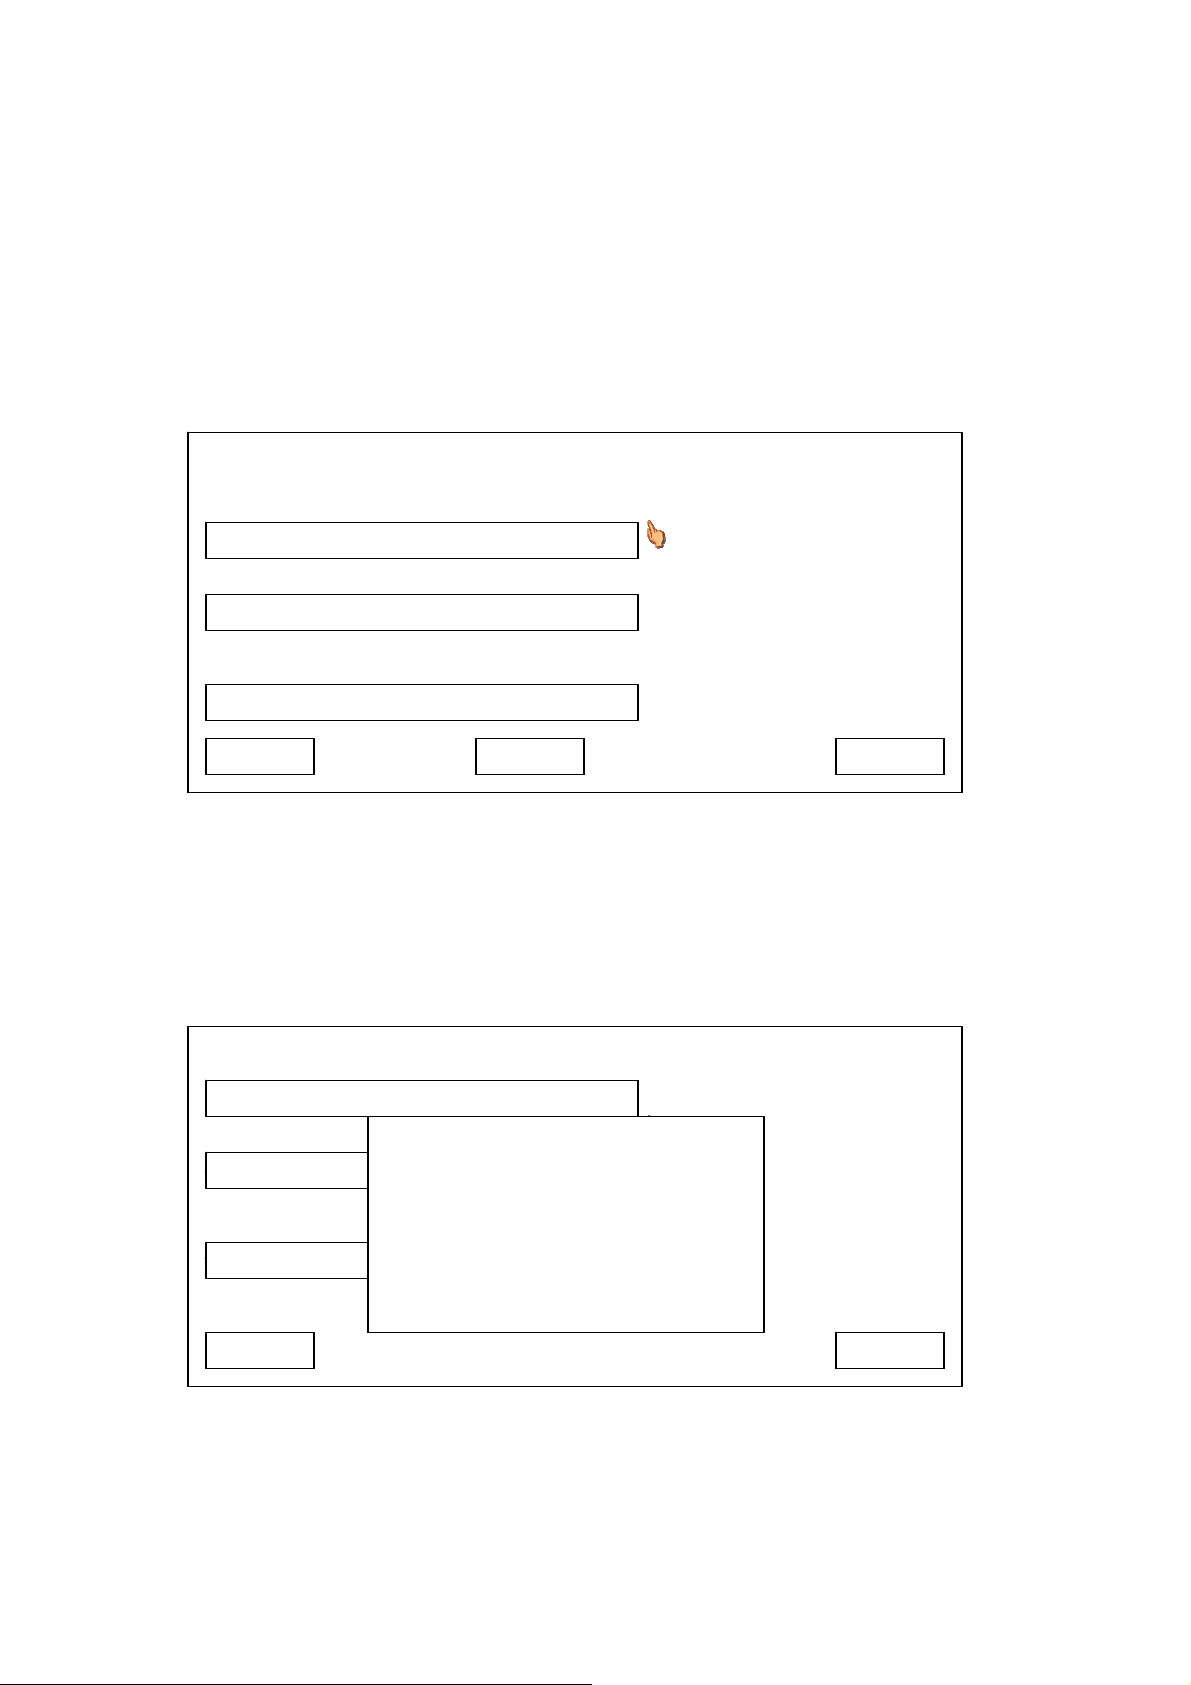
If you want to enable PPPoE now, please press ‘Yes’ key , and you’ll be prompted to input PPPoE user
name and password:
03:00 01/01/2008 PLANET 1101
User Name
IMT
Password
DELETE
ABC 1
2 a b c A B C
Please use up / down key to move hand icon, and press ‘OK’ key to input PPPoE user name or
password. Please note that you can only input English alphabets or numbers here. After you inputted
user name or password, please press ‘OK’ key agai n to quit text input mode (the text input bar at the
bottom of display will appear), then press ‘Save’ key to save current settings. If you changed your mind
and want to keep PPPoE settings untouched, please press ‘Exit’.
22
Page 23

If you changed PPPoE settings, you’ll be prompted to input admin password:
03:00 01/01/2008 PLANET 1101
LAN Configuration
g Time Zone Settin
Day Light Saving Enabled
n Synchronizatio
Cancel
Admin Password
System Is Going To
Reboot!
Date Format
Delete
Save
Network Setup (Web Interface)
To start ICF-1600 web configuration, you must have one of these web browsers installed on computer
for management
• Microsoft Internet Explorer 6.0 or higher with Java support
Default LAN interface IP address of ICF-1600 is 192.168.0.1. You may now open your web browser,
and insert http://192.168.0.1 in the address bar of your web browser to logon ICF-1600 web
configuration page.
ICF-1600 will prompt for logon username/password, please enter: root / null (no password) to continue
machine administration and then follow the following instructions.
23
Page 24

Device name:
name of this IP phone, like “PLANET” or any word you like.
TFTP Server:
Input the address of TFTP server here. If you don’t have one, just lef t it
blank.
ÍNote
Please locate your PC in the same network segment
(192.168.0.x) of ICF-1600. If you’re not familiar with
TCP/IP, please refer to related chapter on user’s manual
CD or consult your network administrator for proper network
configurations.
Click “Basic Setting” link on
the left, then click “LAN
Configuration”.
Please input the following
information, and click
“Apply” button on the
bottom of page to save
changes:
Static IP:
Use static IP mode. Please
input IP address, subnet
mask, and default gateway
here.
DHCP :
Use DHCP, obtain IP
address information from
server automatically.
PPPoE :
Use PPPoE mode. Please
input username and
password, and select
authentication type here
(ISP name is optional).
DNS Server :
Please input the IP address
(not host name) of DNS
server here. At least one
DNS server is required, and
this option is only available
in static IP mode.
24
Page 25

Chapter 4
4
VoIP Setup
Configuration VoIP and System Settings for your Video Phone
VoIP server plays an important role in VoIP environment, it helps all IP phones to communicate with
each other. VoIP server settings should be provided by service provider, please obtain them from your
VoIP service provider first.
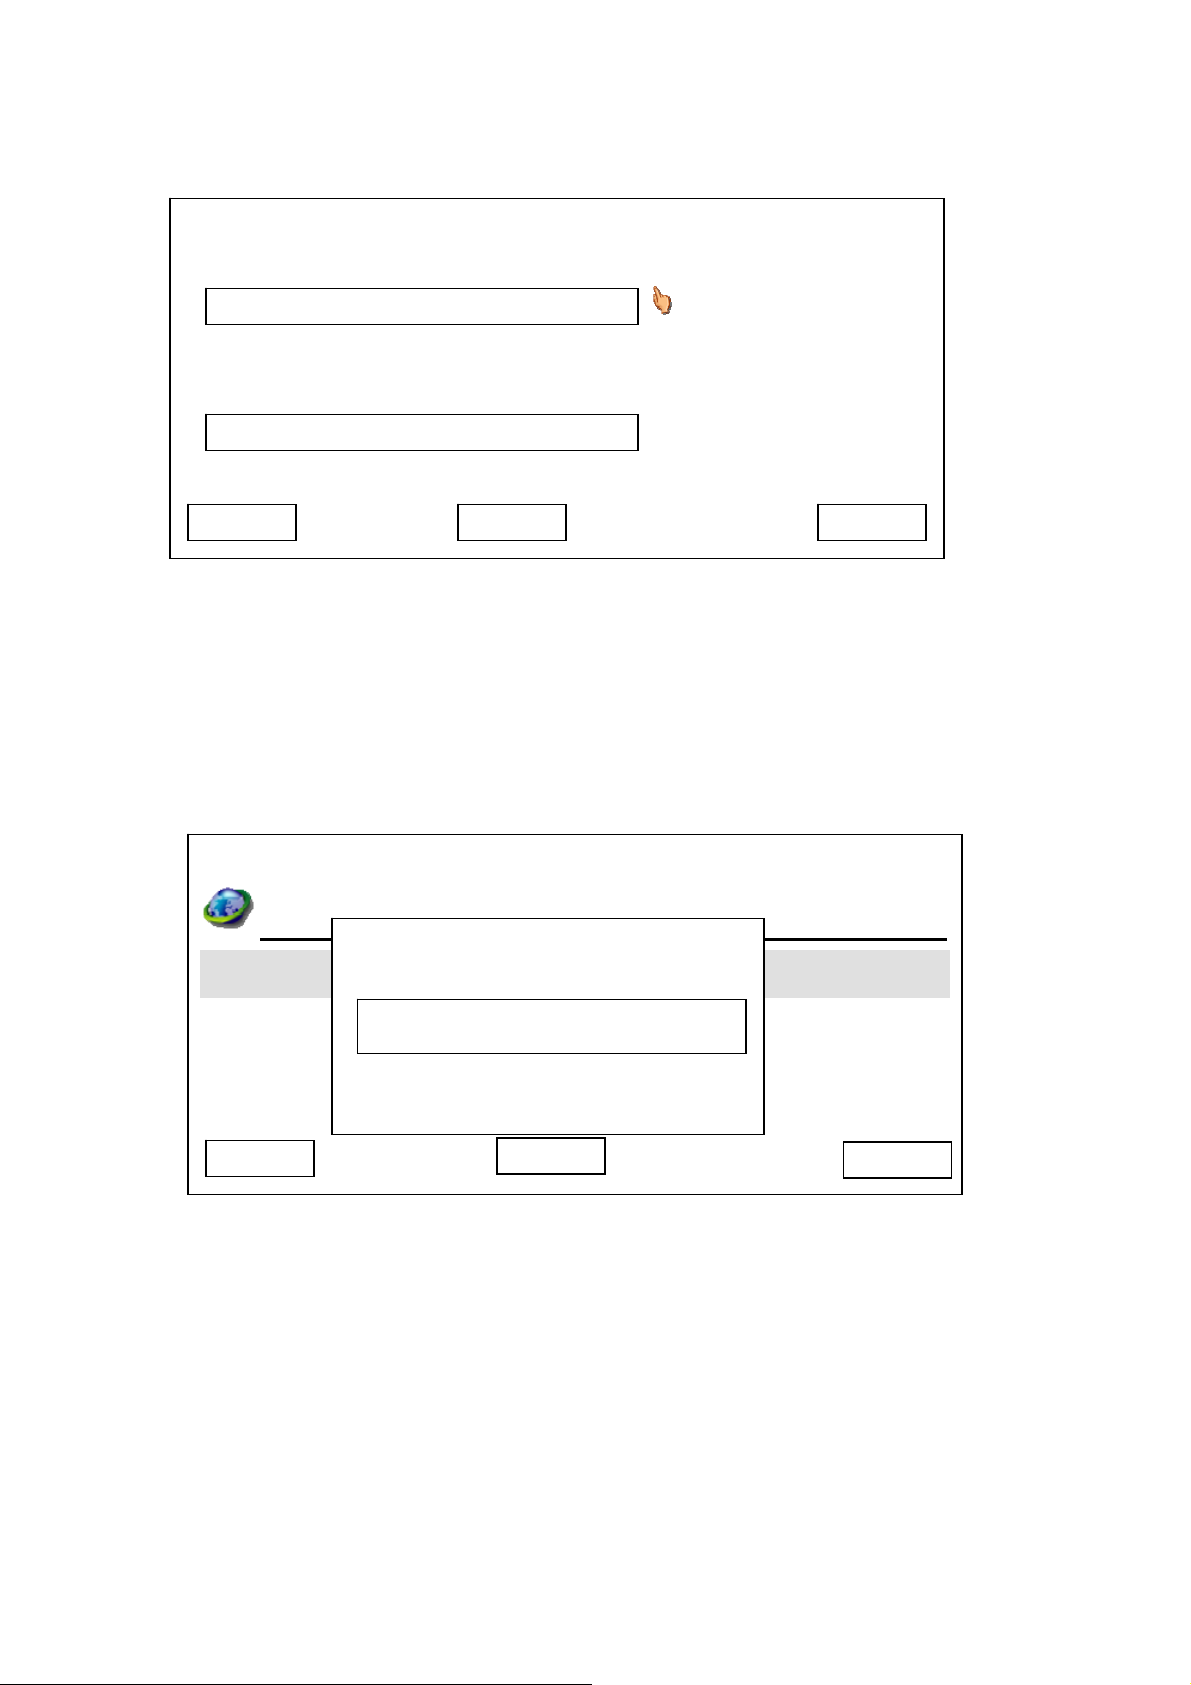
VoIP Setup (On LCD Screen)
1. Press “Main Menu” key to enter main menu, then use up / down key and OK key to go “Setting” ->
“Device Configurations” -> “SIP Configurations”.
03:00 01/01/2008 PLANET 1101
SIP Configurations
SIP Registration
SIP Proxy Server
Exit Select Back
2. Please use up, down, left, and right key to move cursor to the setup item you wish to set, then input
value by numeric keypad. You can press ‘Delete’ key to erase existed characters. After all required
values are entered, please press ‘Save’ key to save change.
03:00 01/01/2008 PLANET 1101
SIP Registration
Phone Number Authentication User
1101
SIP Register Server Password
192.168.1.2
ms
Exit Delete Save
1101
****
25
Page 26

If any setting in this menu is changed, and ‘Save’ key is pressed, you’ll be prompted to enter admin
password to prevent unauthorized access. Please enter admin password by numeric keypad, then
press ‘Save’ key. The phone will reboot and changes will take effect after reboot procedure is
complete.
03:00 01/01/2008 PLANET 1101
SIP Registration
Phone Number Authentication User
1101 1101
SIP Register Server Password
192.168.1.2
ms
Admin Password
******
System Is Going To
Reboot!
****
Save Delete Exit
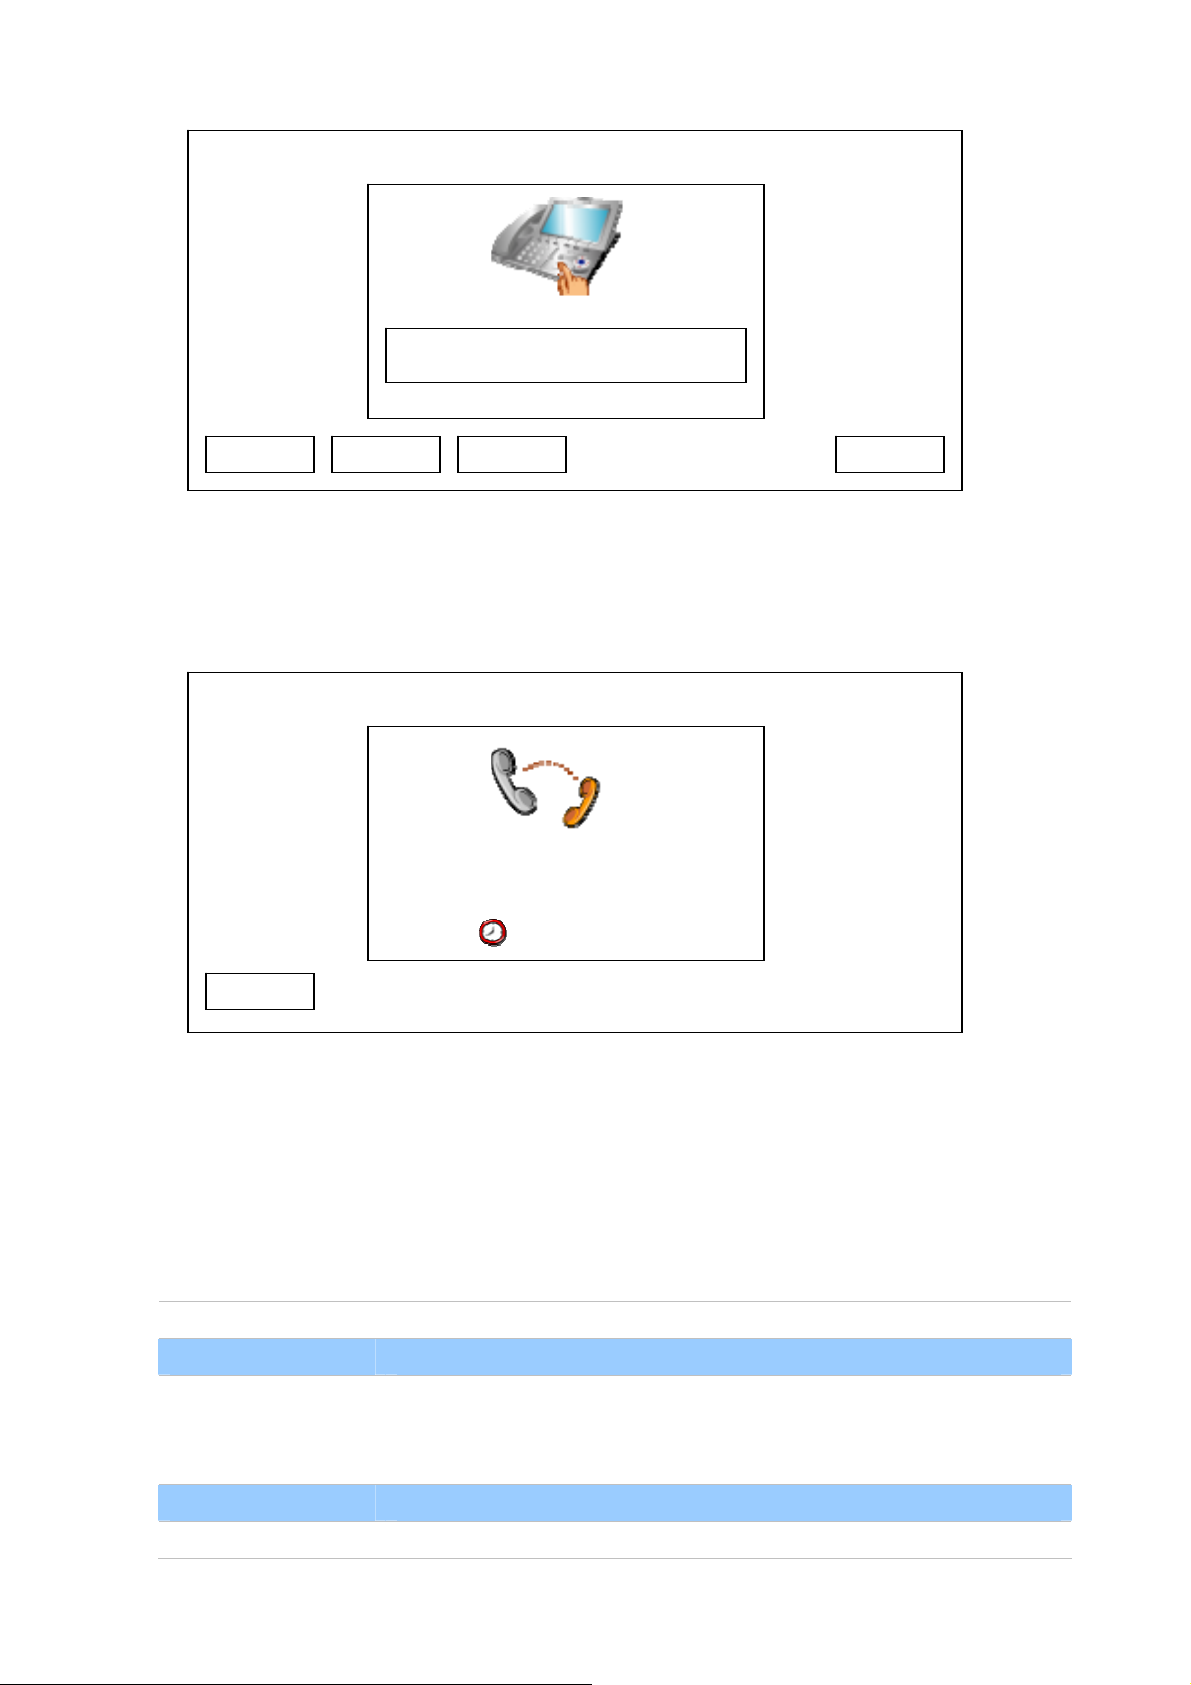
After you pressed ‘Save’ key, the following message will appear:
The phone is not re-configuring, please wait for 10 to 15 seconds.
3. If SIP proxy server is required in your network environment, please proceed to section 2-5 and use
web interface to setup SIP proxy server. You can check current SIP proxy server setting by
selecting ‘SIP Proxy Server’ in step 1.
System Configuring…
26
Page 27
Please ask your service provider or network administrator to know if you need SIP proxy server or
not.
03:00 01/01/2008 PLANET 1101
SIP Configurations
SIP Proxy Server
Time Zone Setting
Da ving Enabled y Light Sa
Synchronization
Date Format
Cancel
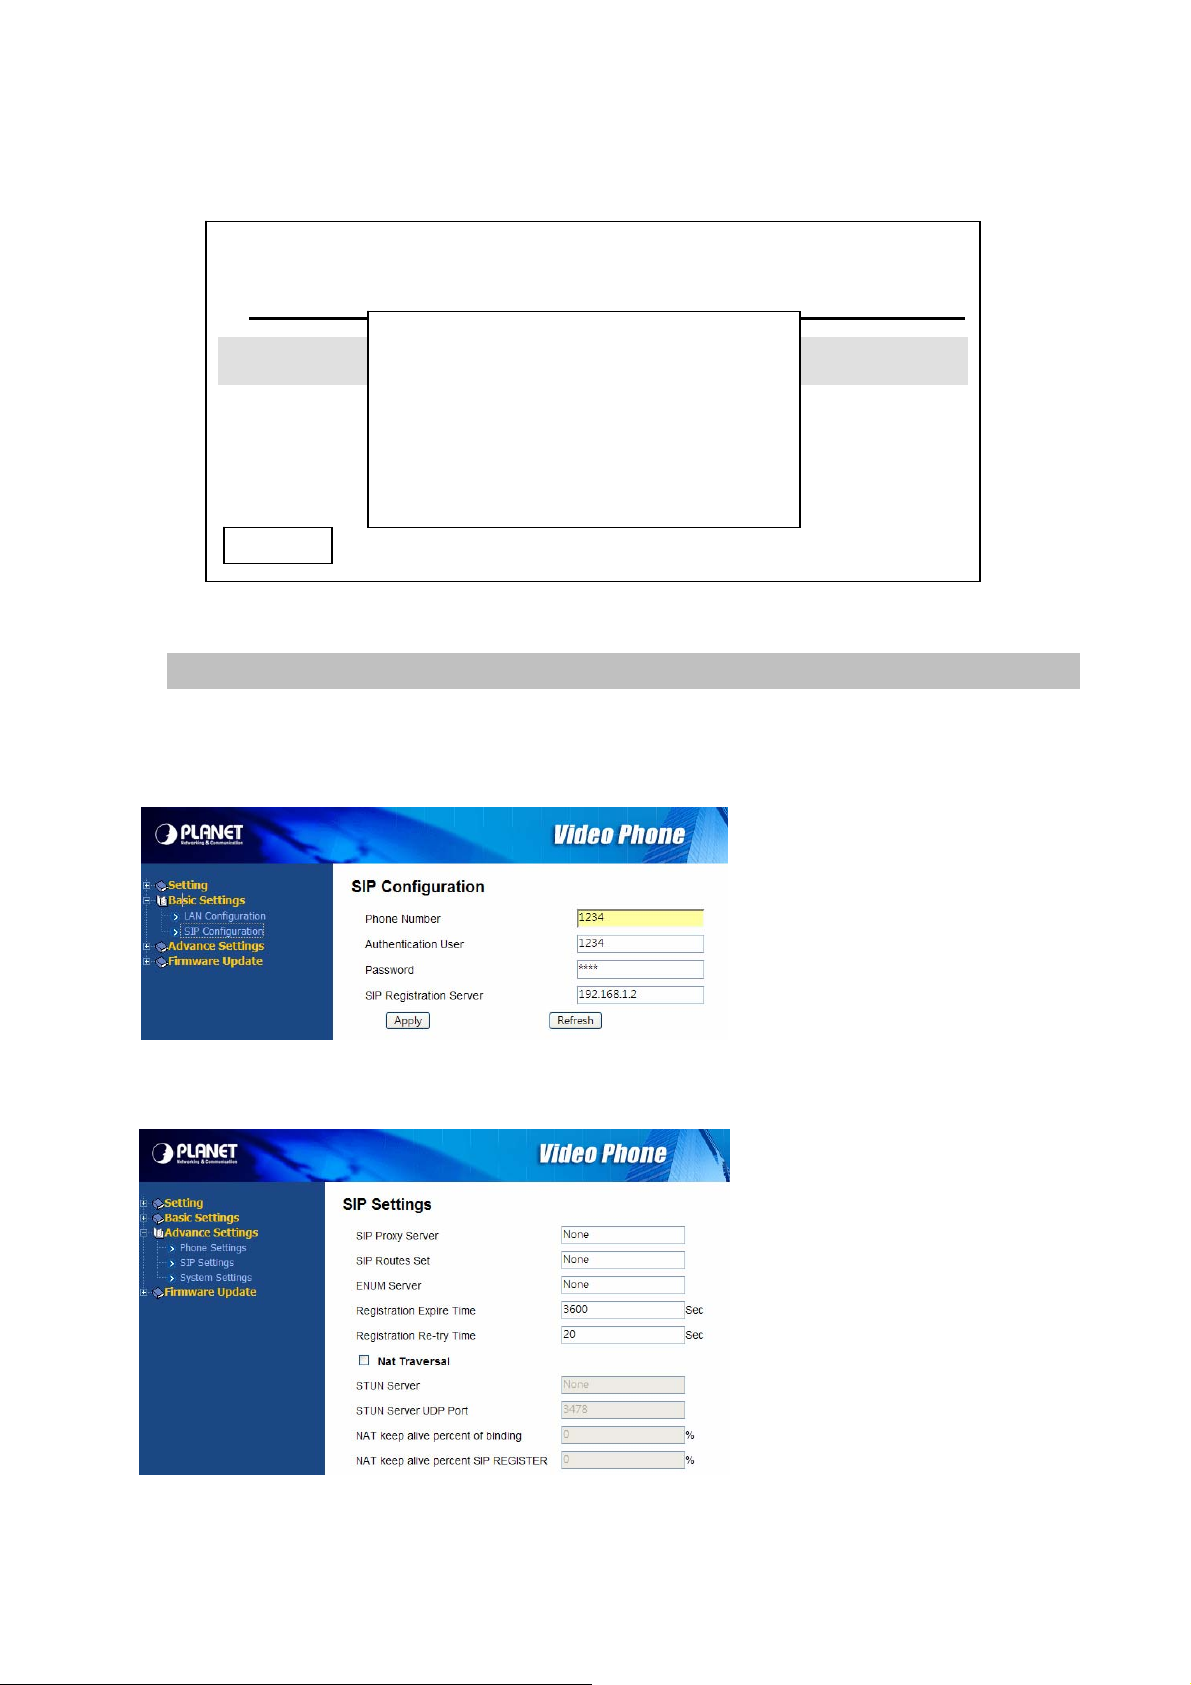
VoIP Setup (Web Interface)
Please refer to previous section to connect to the IP phone by web browser, login onto web interface,
and then follow the following instructions to configure VoIP setting:
None
Click “Basic Setting” link on the left, then
click “SIP Configuration”. Please input
the phone number, use r na me,
password, and the IP address / host
name of SIP registration server, then
click “Apply” button to save changes.
If the use of SIP proxy server and STUN
server is required in your LAN or
requested by service provider, please
click “Advance Settings” link on the left,
and then click “SIP Settings”. All
advanced settings about SIP proxy
server and STUN server can be found
here.
Please fill all fields in this page, and then
click “Apply” button to save changes.
27
Page 28

Data / Time Setup
Time and date will be displayed on the upper-left corn er of LCD display, and it will be synchronized with
SIP server automatically, so you don’t need to input current date and time by yourself. However, there
are several options available. Please follow the following instructions to change these options:
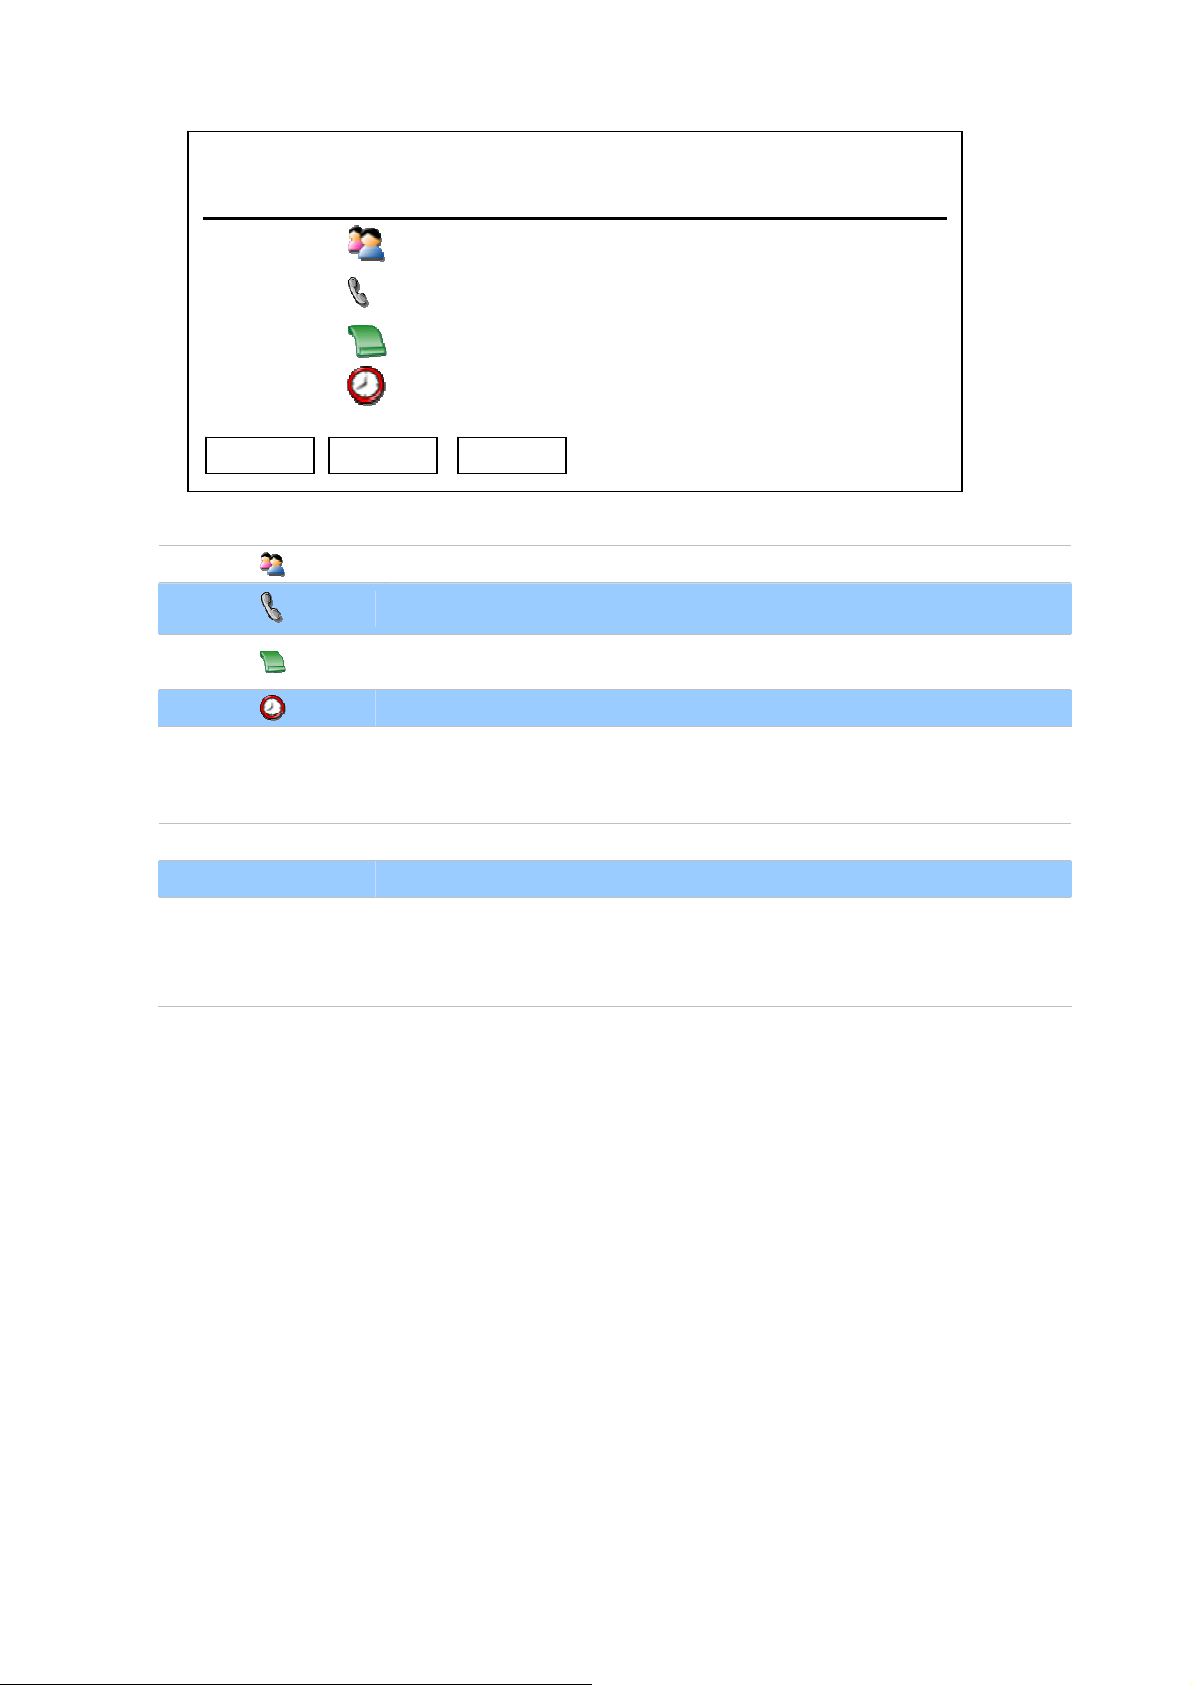
1. Press “Main Menu” key to enter main menu, then use up / down key and OK key to go “Setting” ->
“Initial Setup” -> “Time Settings”.
03:00 01/01/2008 PLANET 1101
Initial Setup
Video Preference
Time Settings
Audio Preference
Language Settings
Main Menu Exit
2. There are four options here, as shown on LCD display. You can change time zo ne setting in “Time
Zone Setting”. Each page has 4 time zones; you can press “Up” and “Down” key to select time zone,
and if the time zone is not displayed, press :”Previous” and “Next” key to switch to previous or next
page, then press “OK” or “Select” key to save setting, to abort, press “Cancel” key.
03:00 01/01/2008 PLANET 1101
Time Settings
T Setting ime Zone
D ving Enabled ay Light Sa
Synchronization
Cancel Select
3. You can also activate or deactivate daylight saving. Select “Day Light Saving Enabled” item and
GMT +8
GMT +9
GMT +10
GMT +11
Date Format
Back Next Previous
you can enable or disable daylight setting here.
28
Page 29

03:00 01/01/2008 PLANET 1101
Time Settings
Time Zone Setting
aving Enabled Day Light S
Synchronization
4. This phone will obtain current date and time automatically. Howeve r, if you found the date and / or
Cancel
time is incorrect, you can force the phone to get date and time from time server again. To do so,
simply select “Synchronization” item, then press “Yes” button.
03:00 01/01/2008 PLANET 1101
Enable
Disable
Date Format
Select
5. This phone provides 4 date and time display format to choose from. If you want to change display
Time Settings
tting Time Zone Se
g Enabled Day Light Savin
Synchronization
Cancel
format, select “Date Format” item, then pick a date / time format.
03:00 01/01/2008 PLANET 1101
Are You Sure To
Synchronize The
Time With Server
Now?
Date Format
Yes
Time Settings
hh:mm mm/dd/yy
Time Zone Setting
AM hh:mm mm/dd/yy
ving Enabled Day Light Sa
mm/dd hh:mm:ss
Synchronization
mm/dd AM hh:mm:ss
Cancel
Date Format
Yes
29
Page 30

ÍNote
6. This phone also supports NTP (Network Time Protocol) function, and you can set default NTP
server here, so this phone will synchronize its time with time server to keep correct time. Default
time server is ‘time.nist.gov’, you can use this setting. However, if you wish to use your own time
server, please select ‘NTP Server’ and input the NTP server address, then press ‘Save’ to use new
NTP server.
03:00 01/01/2008 PLANET 1101
Time Settings
Hint: The Character in date/time format represents:
hh:mm:ss = hour:minute:second mm/dd/yy = mouth/date/year.
g Time Zone Settin
Day Light Saving Enabled
hronization Sync
Cancel
NTP Server
time.nist.gov
Date Format
Delete
Save
Accepting and Making Phone Call
Before user can accept and make phone call, please check the icon located at the left corner of LCD
display:
If you see this icon on the left of LCD display, the
registration to VoIP Server is not successful,
please re-check SIP settings, and make sure
that VoIP server is rea chable by the network you
connected to.
If you see this icon on the left of LCD display, the
connection between the phone and network is
lost. Please re-check or re-build the network
connection, until this icon is disappeared.
30
Page 31
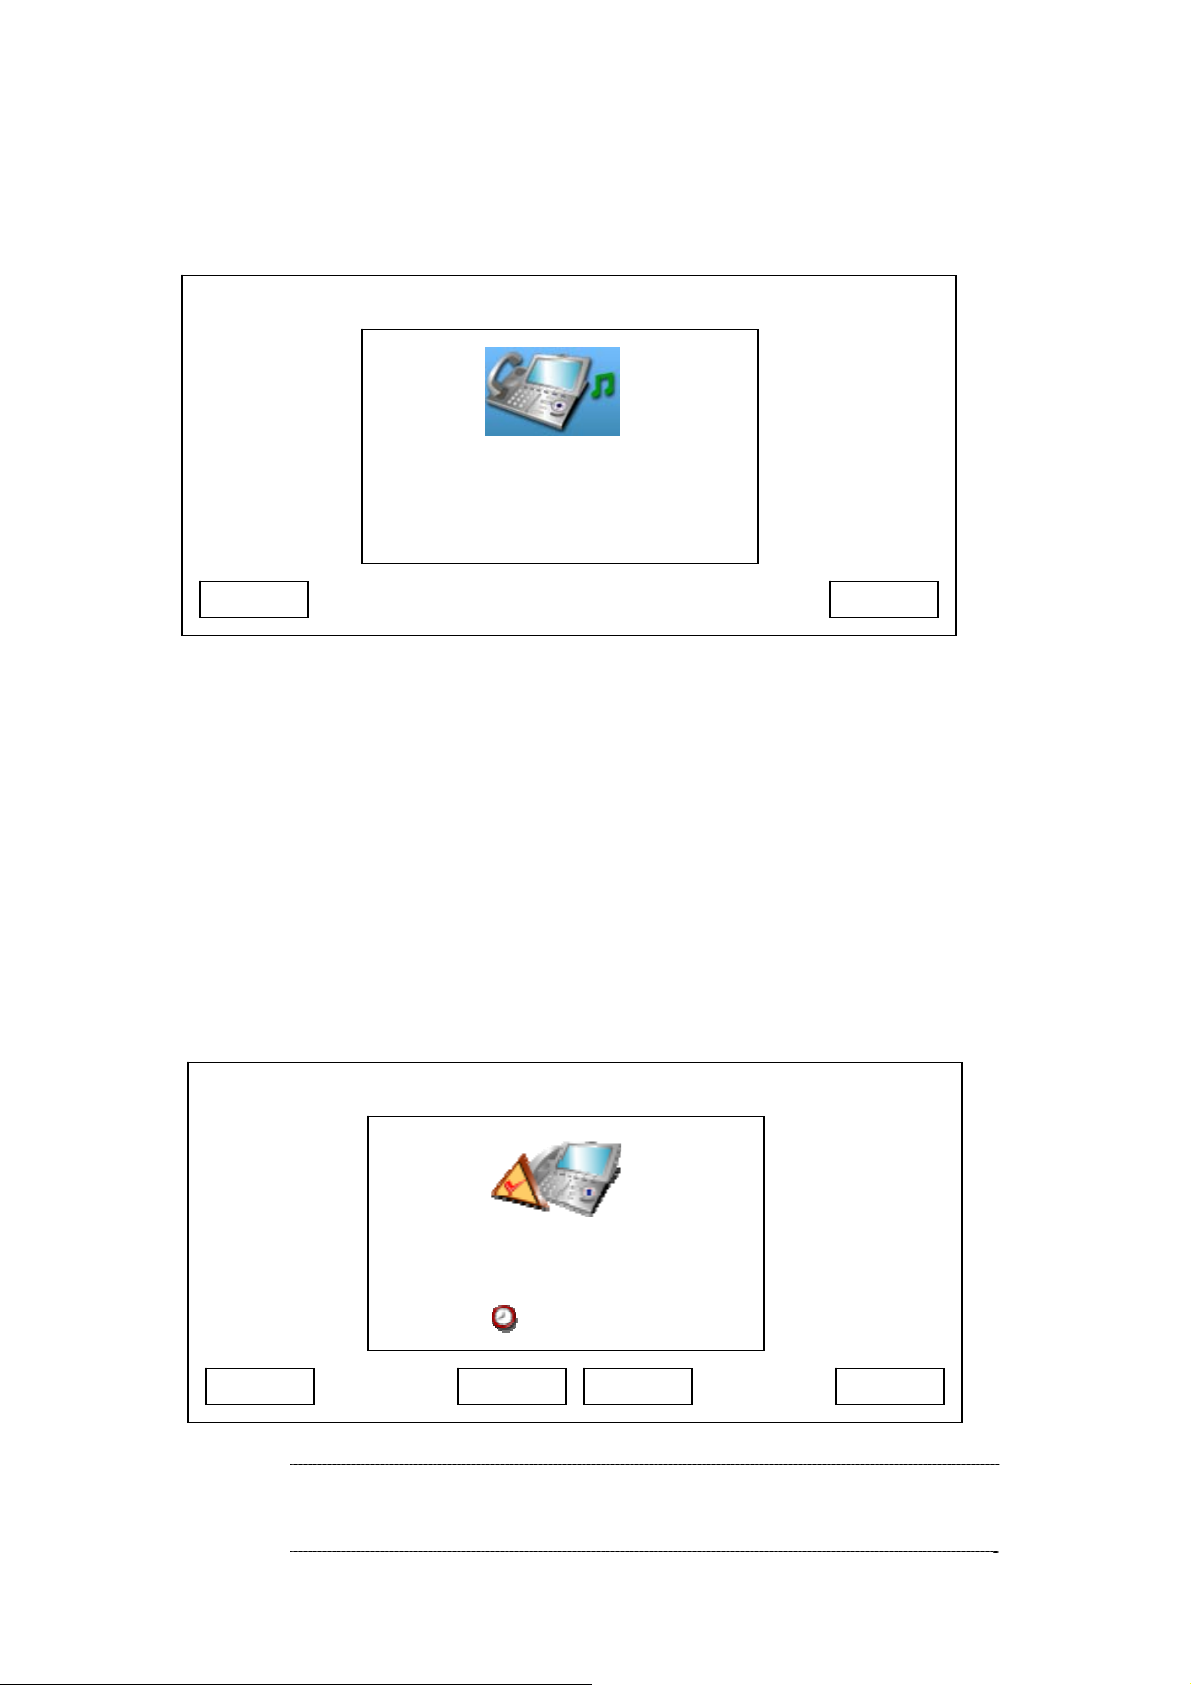
To accept phone call:
When someone’s calling, you’ll hear ring tone, and see the following message
displayed on LCD display, and the message indicator will flash:
03:00 01/01/2008 PLANET 1101
Calling
Reject Answer
The phone number of remote party will be displayed on LCD display (Name of remote party will be
displayed too, if the phone number is present in address book). When you got a call, you have 3
choices:
A. Pick up the handset to use handset to answer the call
B. Press “Speaker” or “Answer” key to use speakerphone
to answer the call. You can also press “Headset” key to answer the phone by headset, if you
have a headset and it’s connected.
C. If you don’t want to accept the call, you can press “Reject” key,
or you can just ignore it until the ring stops by itself
From Albert H. 1 102
After you answered the call, the following information will be displayed on LCD display:
03:00 01/01/2008 PLANET 1101
00:11:50
Connected
Albert H. 1102
Video On Addr BookHold Disconn
ÍNote
The name of remote party will be displayed only when the phone
number and user’s is stored in the phone book of this video.
If not, “Unknown” will be displayed instead.
31
Page 32
The name and phone number of remote party will be displayed, and a timer will start counting until the
call is ended. If no one answers the call, the number of missed calls will be displayed on LCD display:
03:00 01/01/2008 PLANET 1101
Missed Calls
You have 1 missed calls
Exit
View
You can press “Exit” to remove the message from LCD display, or press “View” to see detailed
information about missed calls:
03:00 01/01/2008 PLANET 1101
Missed Calls
Albert H. 1102
Unknown 1103
Exit Detail Dial Next
You can use following keys to view missed call records:
Up / Down key Select record
Exit key Quit missed call record and back to “Call Records” menu.
All key Records” menu.
Dial key Dial selected phone number.
Next / Previous key Move to next or previous page of missed call record.
View detailed information about selected call. If you pressed “Detail” key in
Detail key
missed call menu, you will see following information displayed on LCD
display.
32
Page 33
03:00 01/01/2008 PLANET 1101
Call Detail
Albert H.
1102
00:00:00
00:42:40 01/01/2008
Delete Dial Exit
There are four items in this menu, they are:
And you can use these keys in this menu:
Exit Back to previous menu
Dial Dial the number of remote party
Delete Delete this call record. When you press this key, a message window will
Name of remote party
Phone number of remote party
Time and date called
Duration of call
appear on LCD display and ask for confirmation. You can press “Yes” key to
confirm, or press “Cancel” key to abort.
To make phone call :
There are 3 ways to make an outgoing phone call:
a. Lift handset to use handset
b. Press “Speaker” key to use speakerphone
c. Press “Headset” key to use headset (headset must be
connected to the phone first)
And you’ll see following message displayed on LCD display:
33
Page 34
03:00 01/01/2008 PLANET 1101
Cancel
Save Delete Redial
Please dial the phone number you want to reach now, and wait for the call to be connected. You can
append a “#” key after the number you dial, this will shorten the time you need to wait. You’ll he ar
ring-back tone while this phone is contacting remote party, and see the following message displayed on
LCD display:
03:00 01/01/2008 PLANET 1101
Connecting…
Albert H. 1102
00:00:00
Disconn
The timer will only start counting after your remote party answers the call. If you want to abort before
remote party answers the call, you have 3 ways:
a. Put handset back
b. Press “Speaker” or “Headset” key (if you’re using speakerphone or headset)
c. Press “Disconn” key
Or you can press following keys after you lift handset / press “Speaker” or “Headset” key:
Cancel Cancel the dial-out
Redial Redial last dialed phone number automatically
Dial After any number is entered, the second softkey will become “Dial”. You can
press this key after all number has been entered, this will shorten the time
you need to wait.
Delete Romove a dialed number
Save Save the phone number you just entered to address book
34
Page 35
After you pressed “Save” key, you’ll see following message displayed on LCD display:
03:00 01/01/2008 PLANET 1101
Add New Entry
Sex: ○ ●
Name:
Number:
You will see a hand icon displayed on LCD display, which indicates the field you’re currently entering
data, and you can press up / down key to move hand icon and select the field you want to enter data:
Sex Press left / right key to choose sex of this person
Name Press number keys 0 to 9 to input the name of this person
Number Press number keys 0 to 9 to input the phone number of this person
You can press “Delete” key to remove a character or number, and press “Save” key when you finish.
You can also press “Cancel” key to return to previous menu.
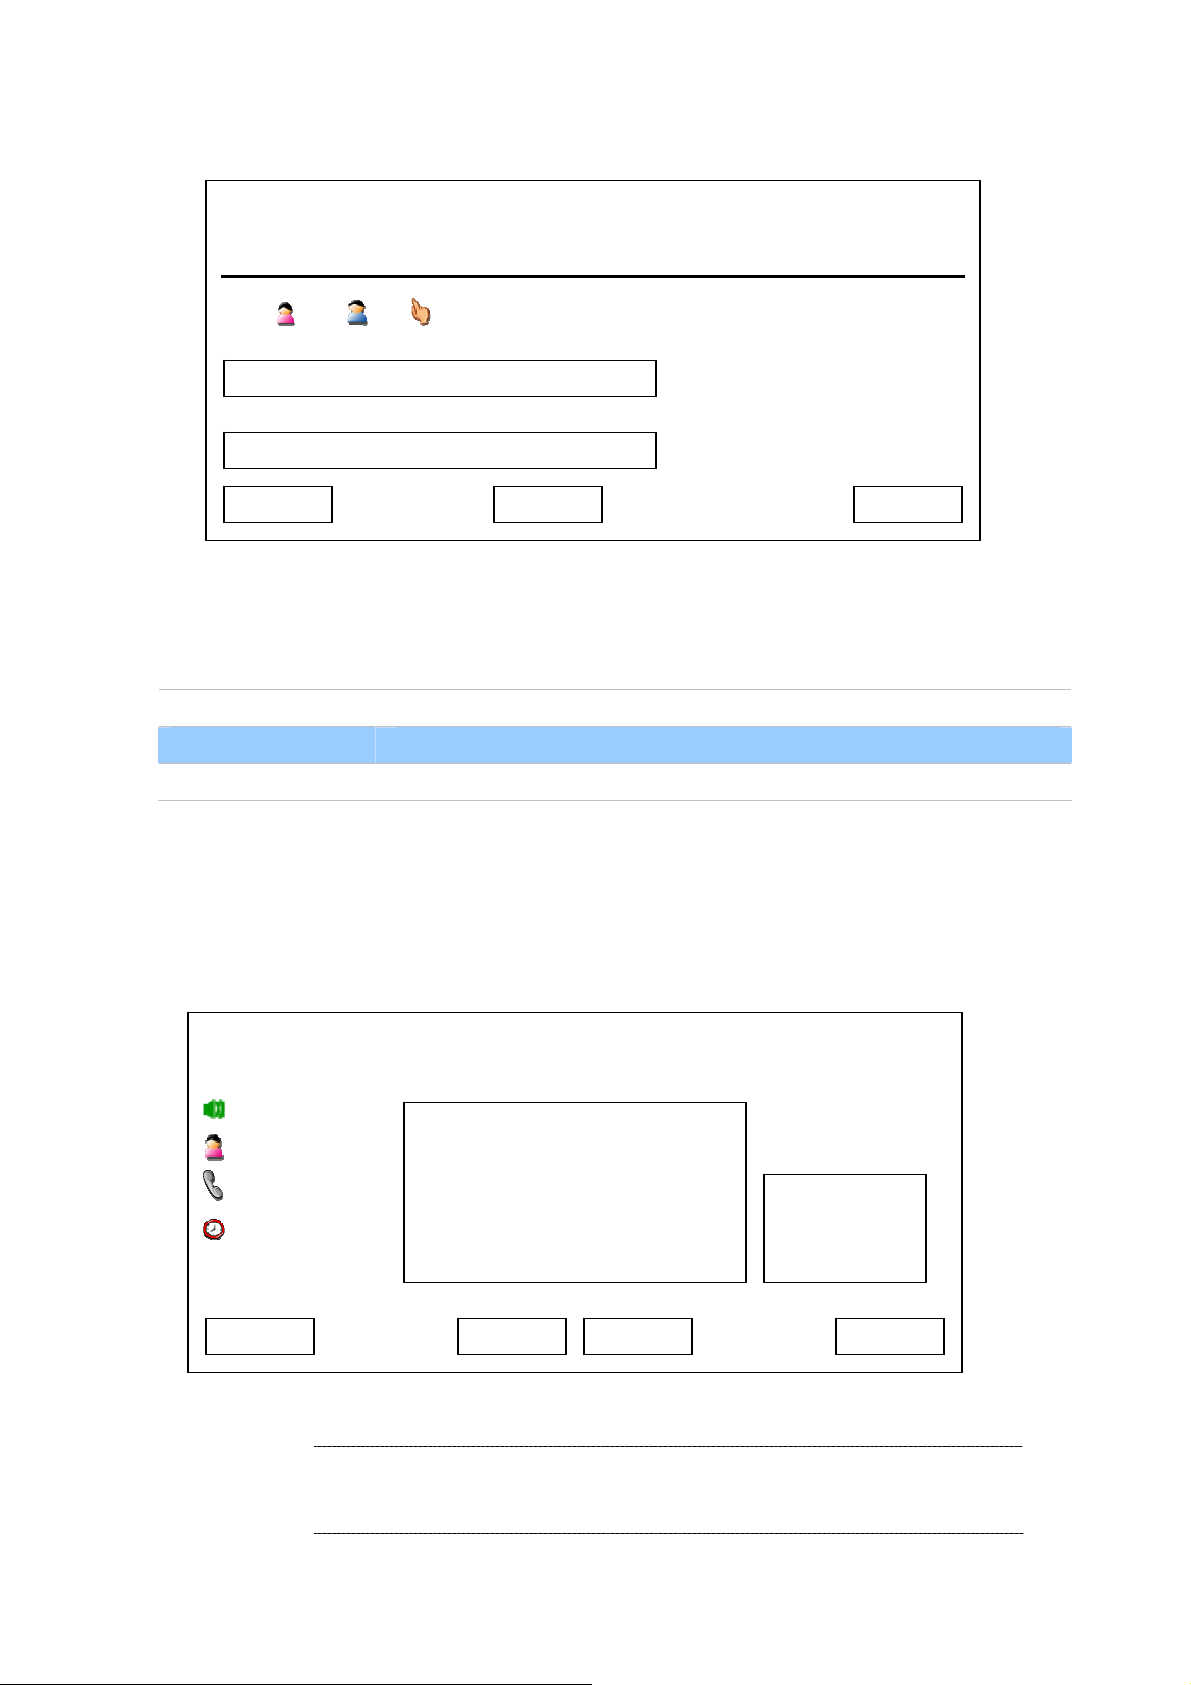
After the remote party answers the call, you’ll see following message displayed on LCD display:
Exit Delete
03:00 01/01/2008 PLANET 1101
Line1
Linda
1103
A
00:06:07
Save
B
Disconn
ÍNote
Addr Book Video Off Hold
If you don’t want to be seen by remote party, you can push the
camera lid to the left, to prevent your image being sent
accidentally.
35
Page 36

There are 2 video display areas on LCD display: Area “A” displays the image of remote party, and area
“B” displays the image of you. If remote party does not support video, nothing will be displayed in area
A; if you switched video off, nothing will be displayed in area B. When both remote party and you switch
video off / do not support video, the LCD display will be look like this:
03:00 01/01/2008 PLANET 1101
Connected
Albert H. 1102
00:25:13
Disconn Hold Addr Book Video On
And there are 4 information items on LCD display, which are:
You can use these keys during the call:
Disconn Ends the call
Hold Put remote party on hold, and remote party will not hear anything from you
Line number in use
The name of remote party
The phone number of remote party
Call timer
during hold. Refer to chapter 2-8 for detailed information.
Addr Book Go to address book menu. Refer to chapter 3-1 for detailed information
Video On / Off Start or stop sending video. When remote party does not support video, or
network is slow, you can switch video off to save bandwidth, which will
improve audio quality.
Mute Switch the microphone off, remote party will not hear anything from you; to
resume, press “Mute” key again.
Camera Switch the camera on your phone on or off
Headset Switch to headset during a call if you’re using headset or speakerphone.
Speaker Switch to speakerphone during a call if you’re using headset or handset.
36
Page 37

If the remote party is unreachable:
If you dialed a wrong phone number, remote p arty is busy, or there’s any technical problem with remote
party, you’ll see the following message displayed on LCD display. Please re-check the phone number
again, or try again later.
(Press “Exit” key to remove the message)
03:00 01/01/2008 PLANET 1101
Call Failed
Albert H 1103
Cancel
ÍNote
If ICF-1600 is connected to TV, you can press “TV-OUT” key to
display the image of LCD display on television. Please note
that nothing will be displayed on LCD display when you’re using
TV-Out function, and this is not a malfunction.
Holding and Transferring a Call
When a call is established, “Hold” key will appear on LCD display. Detailed descriptions will be
discussed in this chapter.
Holding a call
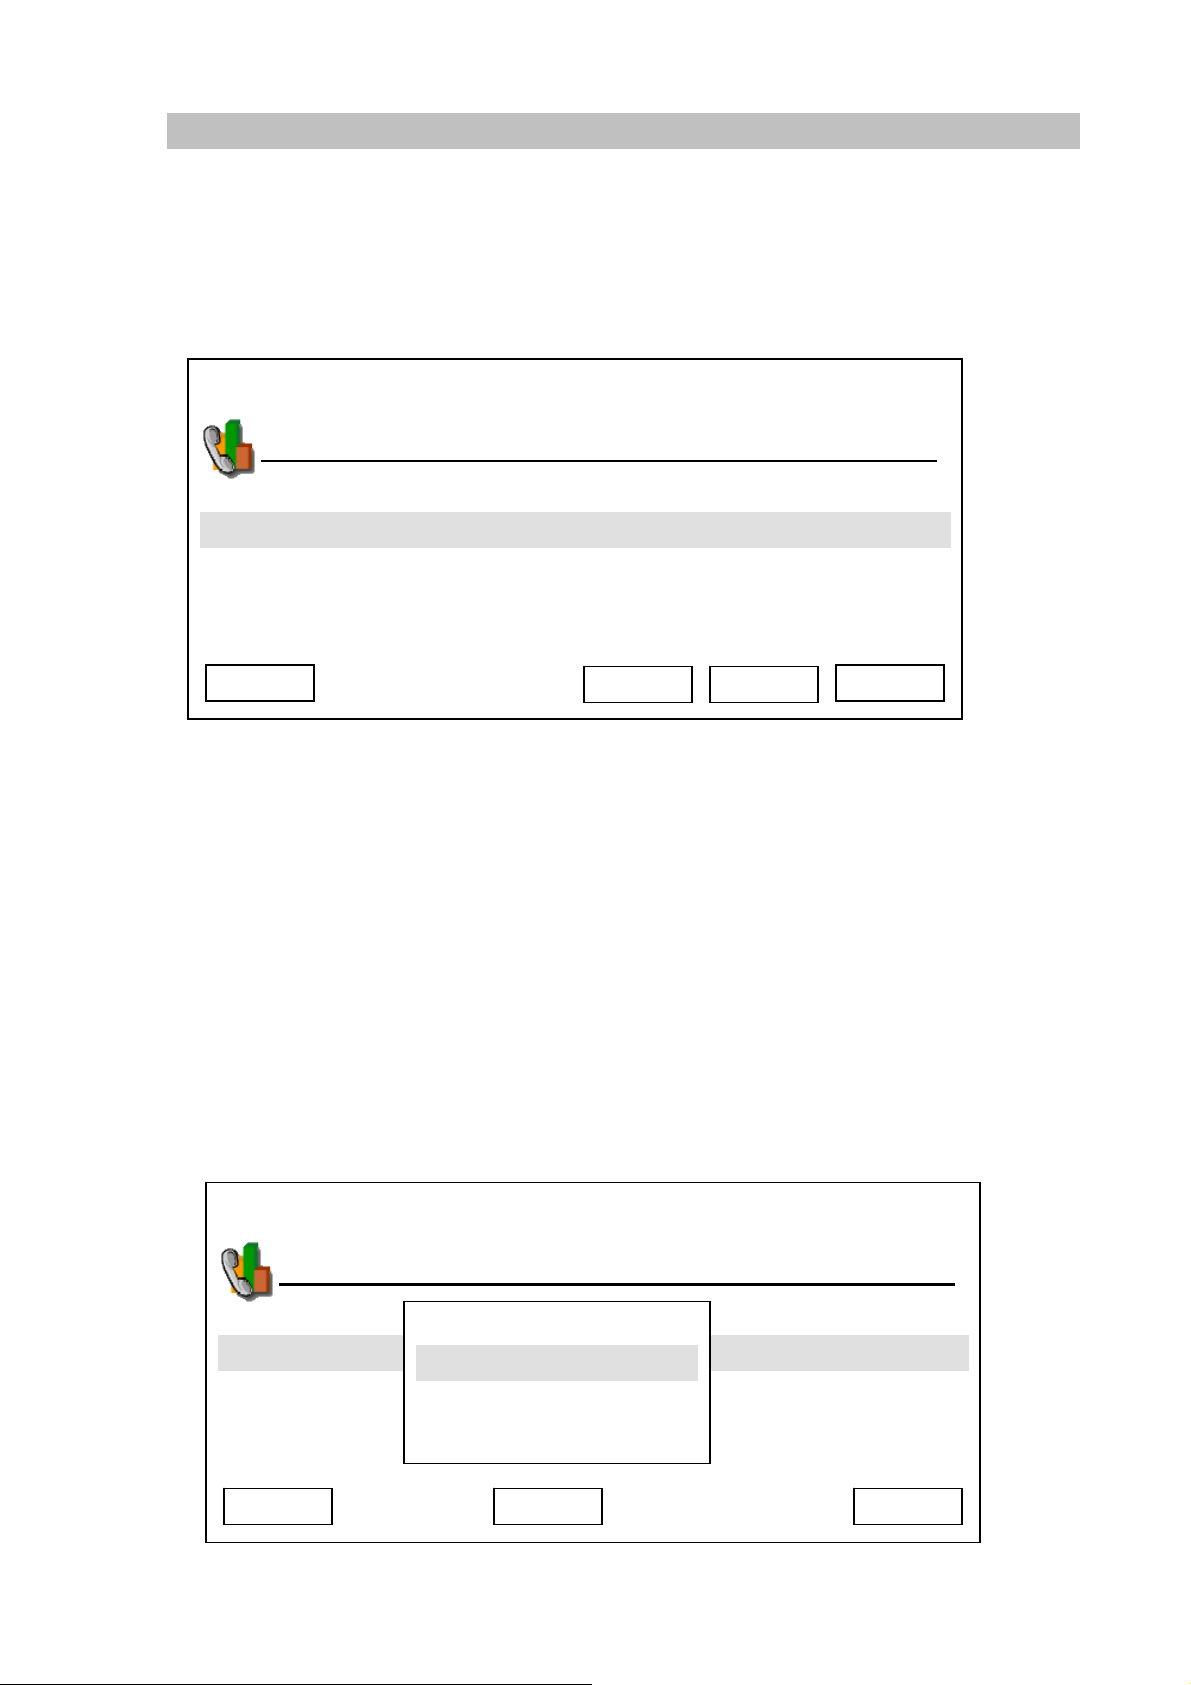
During a call, press “Hold” key, and the following message will be displayed on LCD display:
03:00 01/01/2008 PLANET 1101
Disconn
Hold
Albert H. 1102
00:25:13
Resume Transfer
Addr Book
2nd Line
37
Page 38

During hold, remote party will not hear anything from you, and you can use these keys during hold:
Disconn Ends the call
Transfer Transfer the call to another number (see below)
Resume Resume the call (cancel hold)
Addr Book Go to address book menu, refer to chapter 3-1 for detailed information
2nd line Make an outgoing phone call to another number, and keep remote party on
hold until the second call ends (see below)
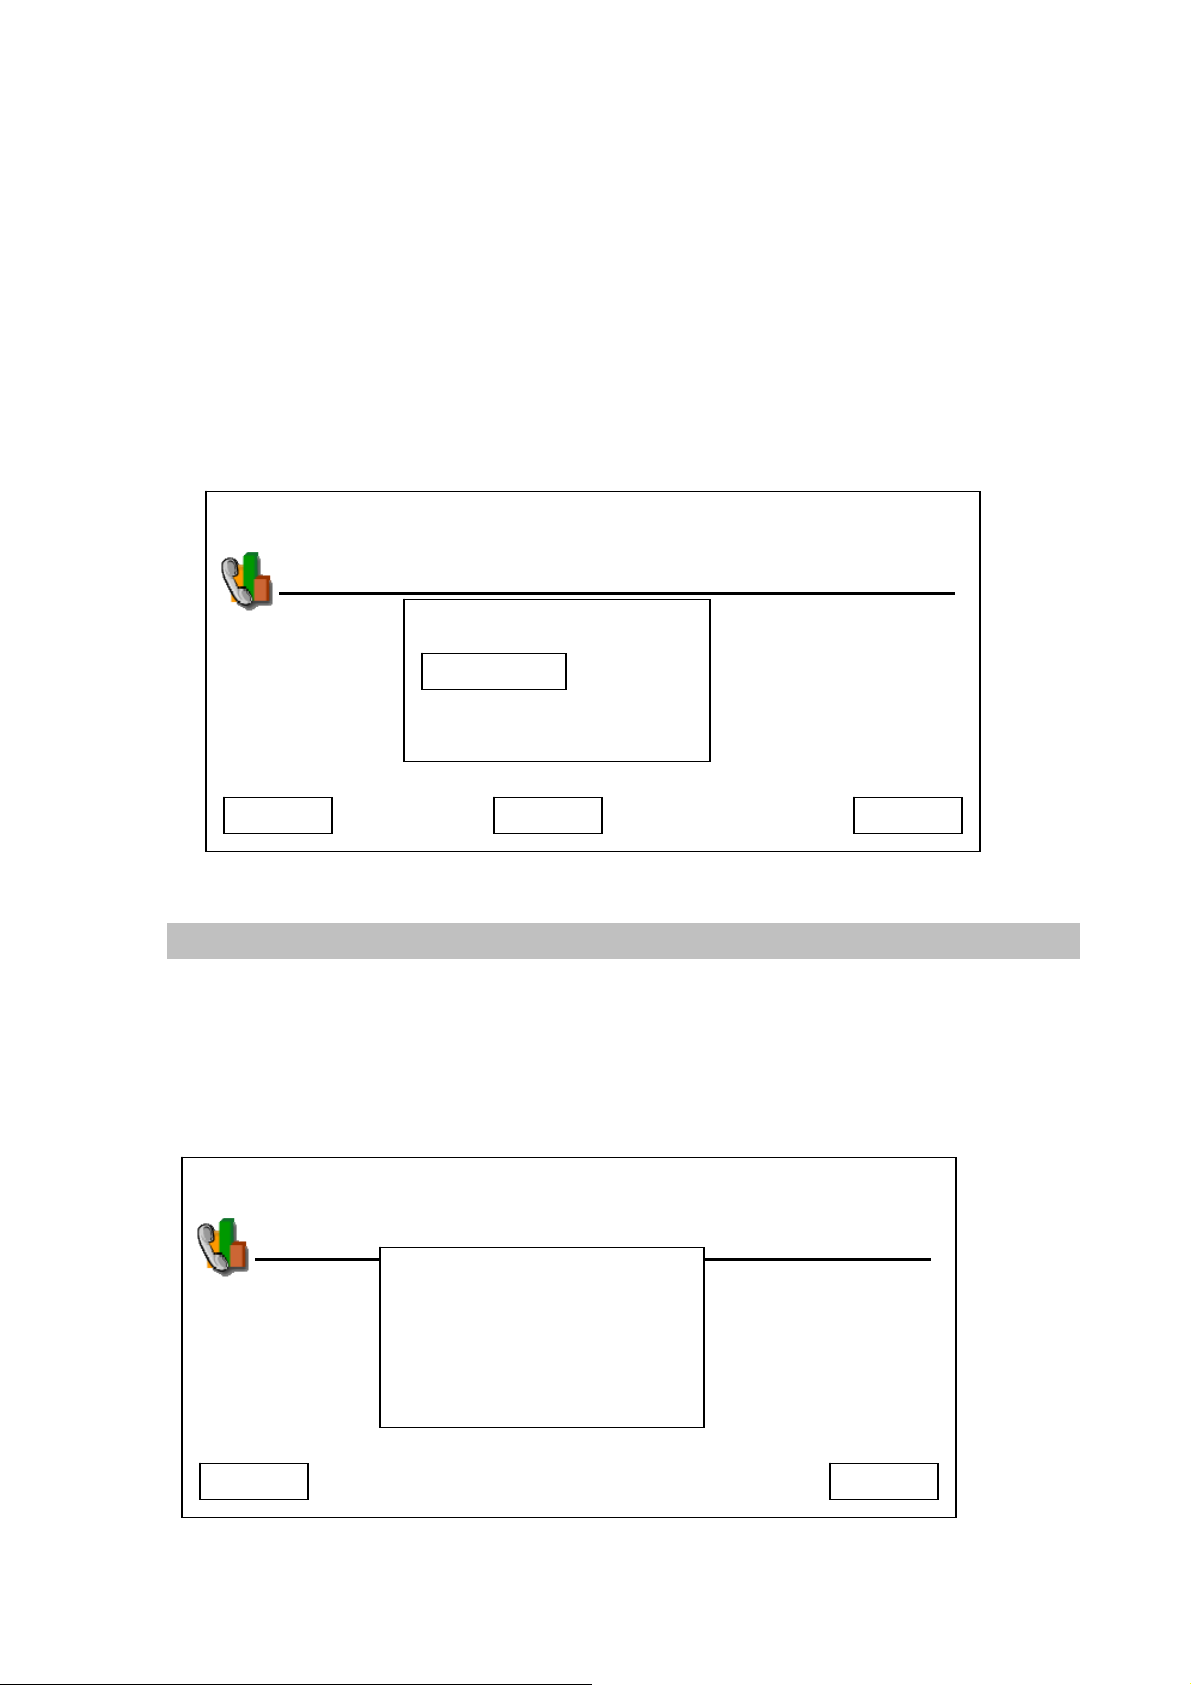
When you press “Transfer” key, you’ll see following message displayed on LCD display:
03:00 01/01/2008 PLANET 1101
Call Hold
Linda
1105
00:25:13
You can transfer current phone call to another phone number. To do so, input phone number you wish
to transfer to, and press “Transfer” key. You can press “Delete” key to remove a number, or press
“Cancel” to abort and return to previous menu.
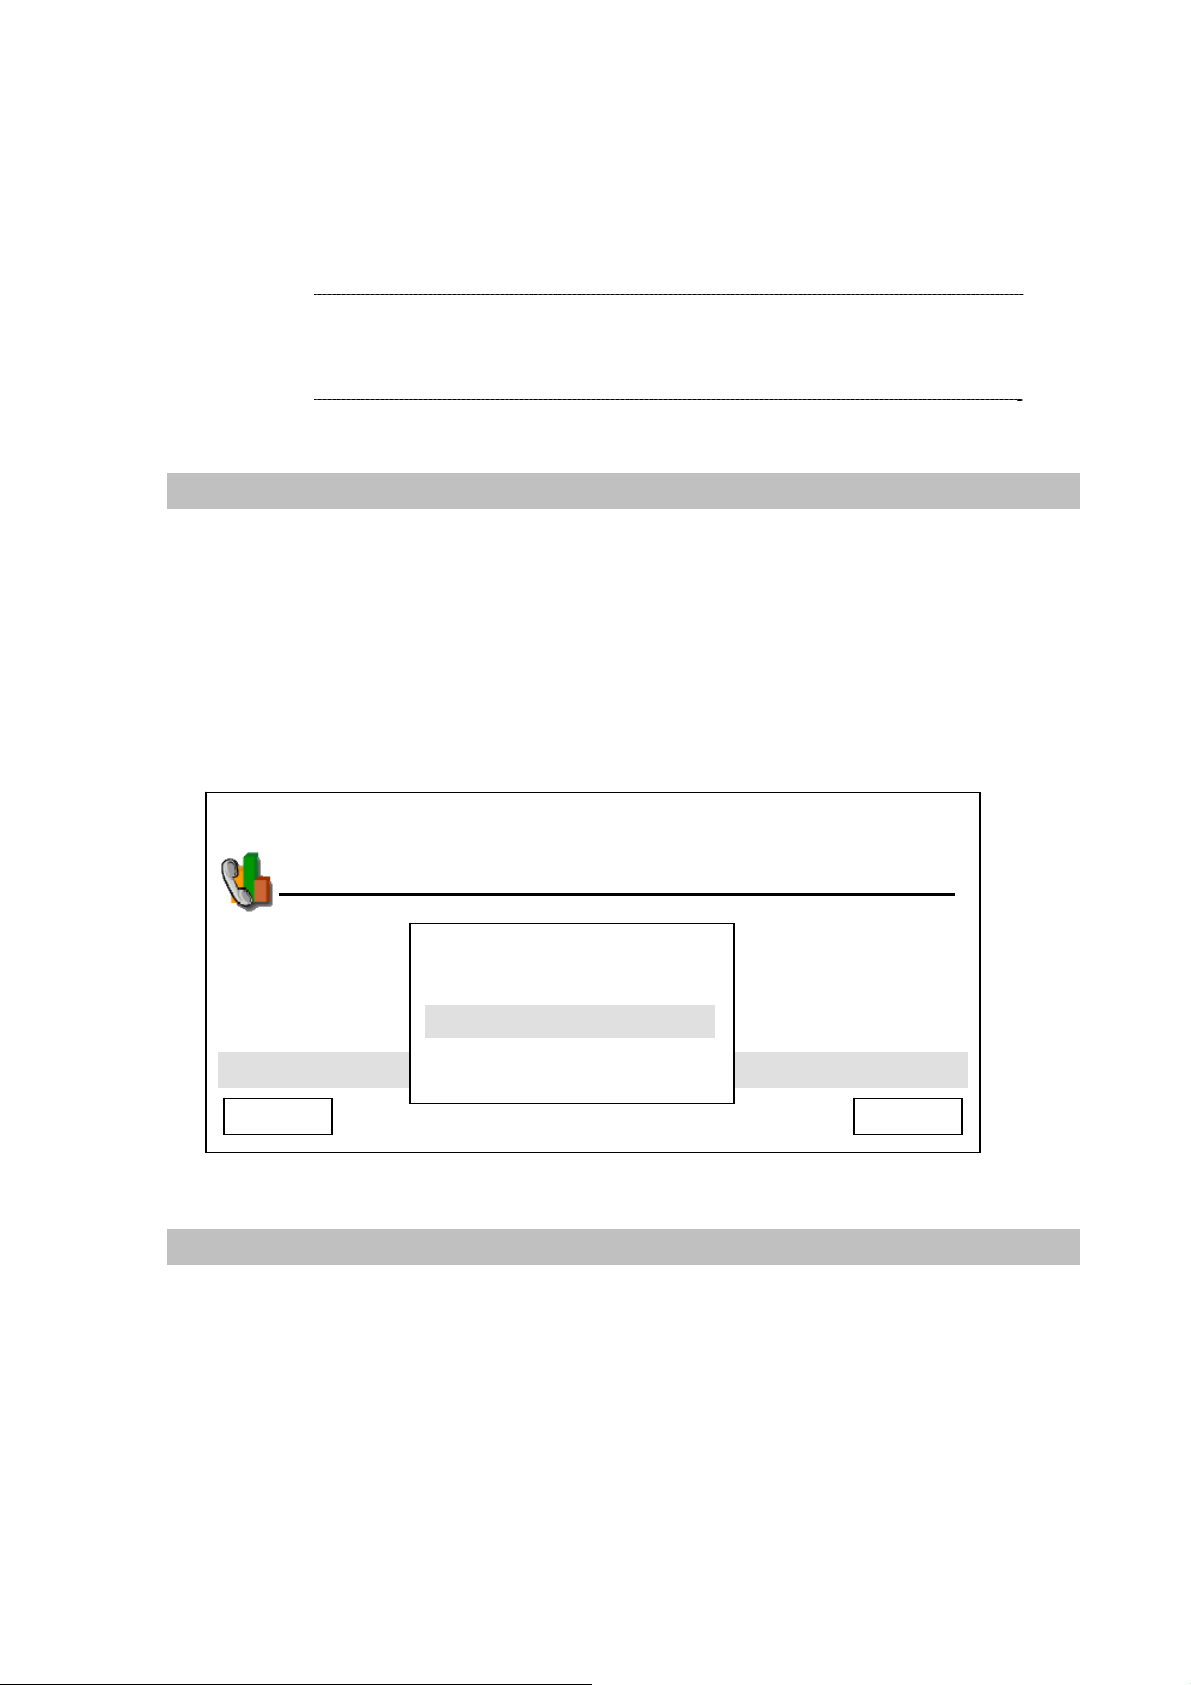
If you press “2nd line” key, the following message will be displayed on LCD display:
03:00 01/01/2008 PLANET 1101
Call Hold
Linda
1105
00:25:13
Cancel
Dial Delete
Transfer Delete Cancel
You can make outgoing phone call to a new phone number here, and the remote party will be still on
hold. After you entered the phone number, press “Dial” key. You can press “Delete” key to remove a
number, or pr ess “Cancel” to abort and return to previous menu. When the second call end, you’ll back
to hold menu.
38
Page 39
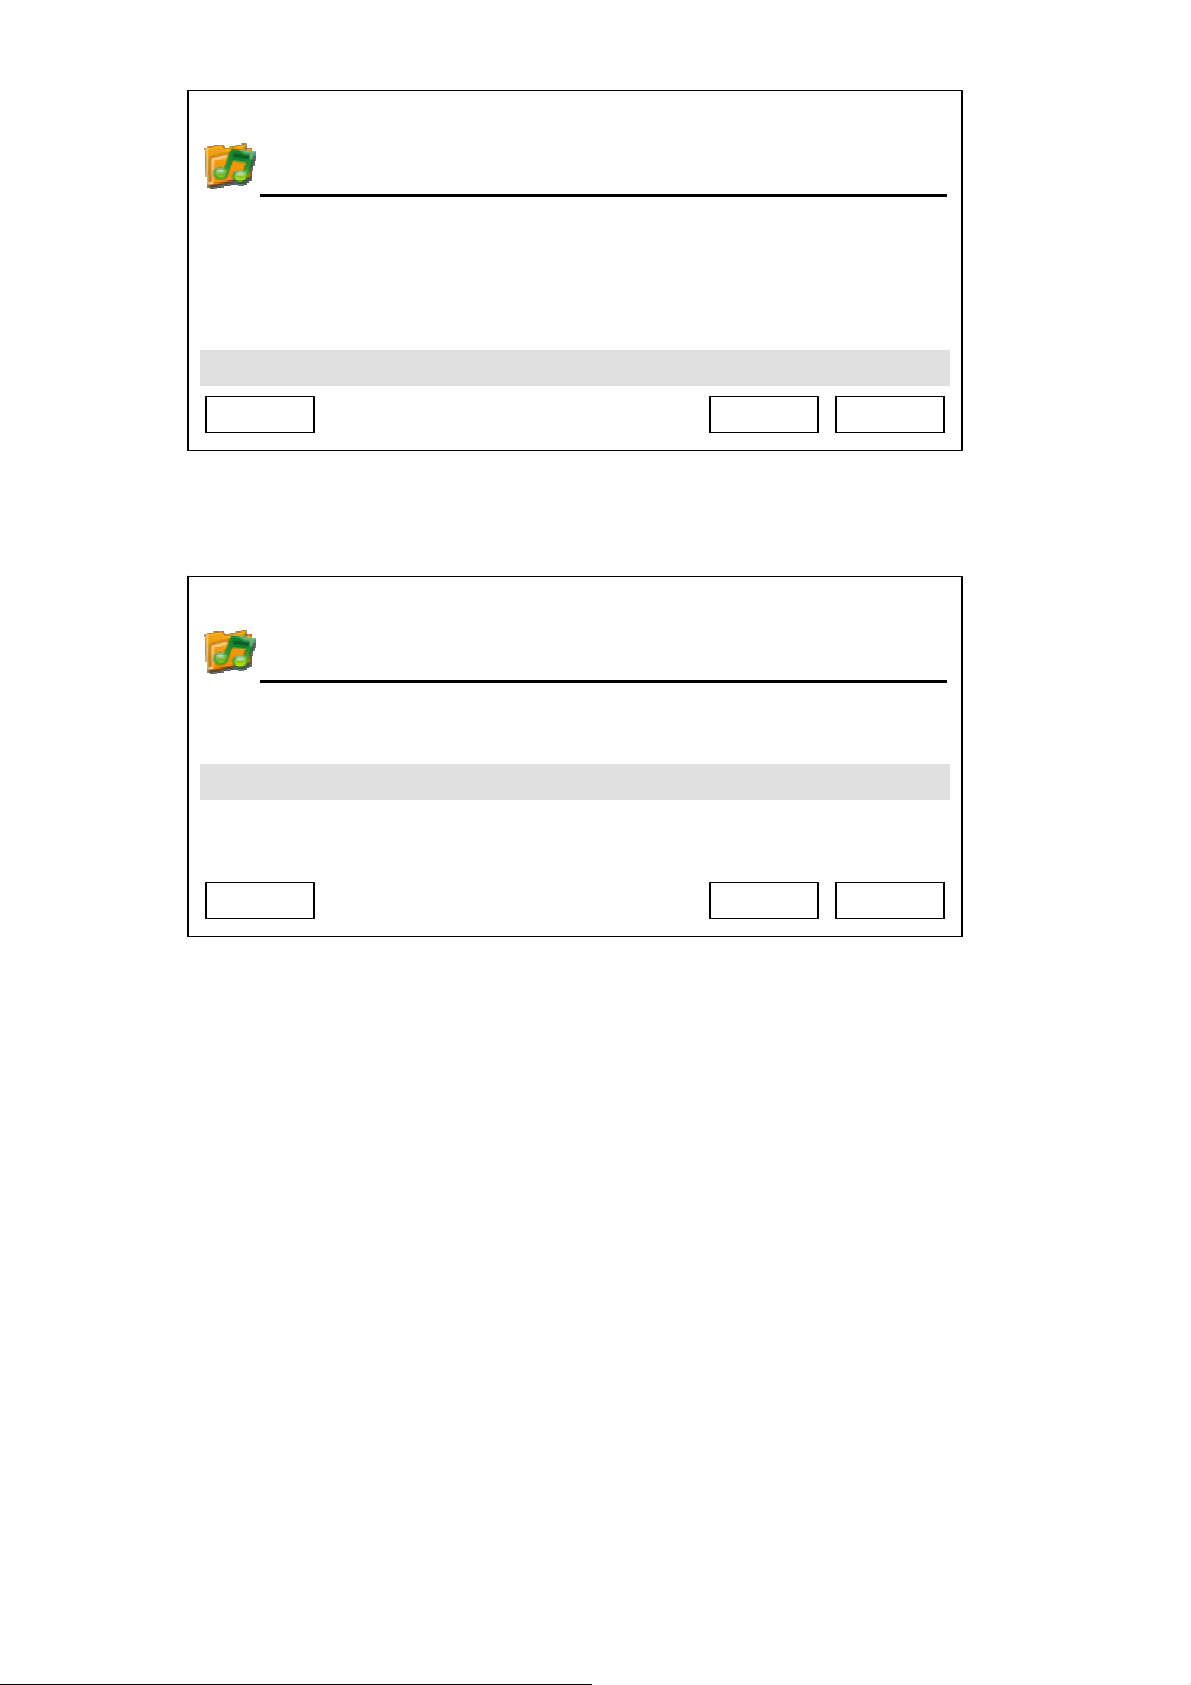
Auto Call Forwarding
If you’re away from your phone, you can use this function to forward all incoming call to a new phone
number, so you can accept phone call on another phone:
1. Press “Main Menu” key to enter main menu, then use up / down key and OK key to go “Setting” ->
“Phone Settings”
03:00 01/01/2008 PLANET 1101
Phone Settings
Do Not Disturb
Unconditional Forwarding
No Answer Forwarding
Busy Forwarding
Call Waiting
Exit Select
Back Next
There are 3 kinds of call forwarding:
a. Unconditional forwarding: Forwards every phone call to another phone number, regardless
the state of this phone
b. No answer forwarding: Only forwards incoming phone call to another phone number when no
one answers the phone
c. Busy forwarding: Only forwards incoming phone call to another phone number when the
phone is in use
Please select the forwarding type you wish to use by up / down key, and press “OK” key to setup:
When you select any of forwarding type, you’ll see the following message displayed on LCD display:
03:00 01/01/2008 PLANET 1101
Phone Settings
Do Not Disturb
Unconditional Forwarding
N ing o Answer Forward
Busy Forwarding
Call Waiting
Enable
Disable
Target Number
Delete Save Cancel
39
Page 40
Press up / down key to enable / disable call forwarding. If you select “Enable”, you’ll be prompted to
enter target phone number. Press “Save” after your choice is made, and you can press “Delete” to
remove a number you entered, or press “Cancel” to abort and back to previous menu.
For no answer forwarding, default ringing timeout setting is 30 seconds, which means if no one answer
the call within 30 seconds, no answer forwarding function will be activated. You can change this setting
by following procedures:
Press “Main Menu” key to enter main menu, then use up / down key and OK key to go “Setting” ->
“Phone Settings” -> “Ringing Timeout”, then press “OK” key.
Please press “Delete” key to remove numbers, and input a new timeout setting by numeric keypad,
then press “Save” key to save changes.
03:00 01/01/2008 PLANET 1101
Phone Settings
Ringing Time Out
Sec
Cancel Save
Delete
Auto Call Rejection (DND Function)
If you don’t want to accept call because of certain reason, you can activate Auto Call Rejection (DND)
function: This function rejects all incoming call automatically, remote party will think your phone line is
busy. You will not be able to accept any incoming phone call in this mode.
To activate DND function, please follow the following instructions:
03:00 01/01/2008 PLANET 1101
Phone Settings
Cancel
Enable
Disable
Call Waiting
Select
40
Page 41
Press “Main Menu” key to enter main menu, then use up / down key and OK key to go “Setting” ->
“Phone Settings” -> “Do Not Disturb”, you’ll be prompted to select “Enable” or “Disable” DND mode.
Press up / down key to make choice and press “OK” or “Select” to save change, or press “Cancel” to
abort and back to previous menu.
ÍNote
It’s not recommended to switch the phone off or disconnect
network cable if you just don’t want to accept call, because
you can still check the phone number of incoming call in DND
or ringer mute mode.
Call Waiting
When the phone is in use, this phone allows another incoming call to interru pt the pro gressing call, an d
you can decide you want to accept new call or not. You can also decide to use this function or not.
Press “Main Menu” key to enter main menu, then use up / down key and OK key to go “Setting” ->
“Phone Settings” -> “Call Waiting”, you’ll be prompted to select “Enable” or “Disable” call waiting. Press
up / down key to make choice and press “Select” to save change, or press “Cancel” to abort and back
to previous menu.
03:00 01/01/2008 PLANET 1101
Phone Settings
Call Waiting
Cancel Select
Disable
Enable
Adjust Handset / Headset / Speakerphone Volume
If you think the volume of handset, headset, or speakerphone is too high or too low, you can adjust its
volume setting.
Please lift handset, or press headset / speaker key, and the press “Volume Up” or “Volume Down” key.
You’ll see the following message displayed on LCD display. Please press volume up / down key to
adjust volume, and press “OK” key to accept new volume setting, or press “Cancel” to keep volume
setting untouched.
41
Page 42

03:00 01/01/2008 PLANET 1101
Call Waiting
0
Headset Volume
Cancel
- + OK
ÍNote
You can also adjust volume of handset, headset, or speakerphone
during a call
You can also change volume setting in audio preferences menu:
Press “Main Menu” key to enter main menu, then use up / down key and OK key to go “Setting” ->
“Initial Setup” -> “Audio Preference”.
03:00 01/01/2008 PLANET 1101
Audio Preference
Ring Tone
Handset Volume
Headset Volume
Speaker Volume
Exit Select Back
Audio Codec Priority
Please select a setup item you wish to set, and then press “OK” key. You can adjust the volume by left /
right key, - / + key, or volume up / down key. Remember to press “OK” key to save change, or press
“Cancel” key to keep volume setting untouched.
Selecting Default Audio Codec
This phone supports G711A, G711U, and G729 audio codec. If you want to change the priority of audio
codec, please follow the following instructions:
1. Press ‘Main Menu’ key to enter main menu, then use up/down key and ok key to enter ‘Settings’ ->
‘Initial Setup’ -> ‘Audio Preference’, then select ‘Audio Codec Priority’.
42
Page 43
03:00 01/01/2008 PLANET 1101
2. Please select the audio code you wish to set as highest priority (will be used first), then press
Audio Preference
Ring Tone
Handset Volume
Handset Volume
Speaker Volume
Audio Codec Priority
Exit Back Select
‘Select’ key. If you wish to keep original setting untouched, please press ‘Exit’ or ‘Back’ key.
03:00 01/01/2008 PLANET 1101
Audio Preference
G711A
G711U
G729
Exit Back Select
43
Page 44

Chapter 5
5
Advanced Configurations
Manages your Address Book and video phone settings
This phone has an internal address book; you can add all frequently called phone numbers into
address book to save dialing time and help you to memorize lots of phone number.
Address Book edits
Press “Main Menu” key to enter main menu, then press “OK” key when “Address Book ” is selected.
03:00 01/01/2008 PLANET 1101
Address Book
Albert 2101
Linda 2102
Jackie 2103
Bart 2104
Mary 2105
Exit Dial Next Menu Go To
You can press these keys in address book:
Exit Leave address book and back to main menu
Dial Dial selected address book item
Next / Previous Move to next / previous page
Menu Add, edit, or delete an address book item (See below)
Go To Search for a user name
When you press “Menu” key, you’ll be prompted to select add, edit, or delete:
44
Page 45

New
You can add a new person to your address book:
03:00 01/01/2008 PLANET 1101
Add New Entry
Sex: ○ ●
Name:
Number:
Exit Delete Save
You will see a hand icon displayed on LCD display, which indicates the field you’re currently entering
data, and you can press up / down key to move hand icon and select the field you want to enter data:
Sex: Press left / right key to choose sex of this person
Name: Press number keys 0 to 9 to input the name of this person
Number: Press number keys 0 to 9 to input the phone number of this person
You can press “Delete” key to remove a character or number, and press “Save” key when you finish.
You can also press “Cancel” key to return to previous menu.
ÍNote
Please refer to chapter 2-7 for instructions on how to enter
alphabets and numbers
Edit
You can edit the content of an existed address book item, please use up / down key to select an
address book item first, and then press “Menu” -> “Edit”. You’ll be prompted to modify the information of
selected address book item, press “Save” to save changes, or press “Exit” to keep selected item
untouched.
Delete
You can delete an unwanted address book item by this function. To do so, please use up / down key to
select an address book item first, and then press “Menu” -> “Delete”. You’ll be prompted to confirm
delete, press “Yes” to confirm, or “Cancel” to abort.
45
Page 46

View Call Records
This phone can keep the record of calls. To view these records, follow the following instructions:
Press “Main Menu” key to enter main menu, then use up / down key and OK key to go “Setting” -> “Call
Records”. There are 3 types of call record:
a. Received calls: The record of all incoming phone calls
b. Dialed calls: The record of all outgoing phone calls
c. Missed calls: The record of all missed calls
Please use up / down key to select the type of call record you wish to view, and press “OK” key.
03:00 01/01/2008 PLANET 1101
And you can use these keys in call record:
Exit Leave address book and back to main menu
Dial Dial selected address book item
Next / Previous Move to next / previous page
Detail View the detailed information about selected call record, including date and
Received Calls
Albert 1101
Linda 1102
Jackie 1103
Bart 1104
Mary 1105
Exit Dial Next Detail
time called and duration
Personalize – Change Screen Saver
When the phone is not in use after a certain period of time, screen saver will be activated automatically
to prevent “screen burn-in” from happening. This is very important when you connect this phone to CRT
monitor or Plasma TV without burn-in repair function.
If you want to change screen saver type, follow the following instructions:
Press “Main Menu” key to enter main menu, then use up / down key and OK key to go “Setting” ->
46
Page 47

“Personalize” -> “Screen Saver”. Please use up / down key to select a screen saver, you can press
“Preview” key to preview the screen saver you selected, during preview you can press “Cancel” to
return to screen saver menu, then press “Select” to save change, or you can press “Exit” to abort.
03:00 01/01/2008 PLANET 1101
Screen Saver
Screen Saver2
Screen Saver3
Screen Saver4
You can also change the time to wait before screen saver is activated or just shutdown the LCD display
to save energy:
Press “Main Menu” key to enter main menu, then use up / down key and OK key to go “Setting” ->
“Phone Settings” -> “Timeout To Screen Saver”, then press “OK” key. You can use up / down key to
select to use ‘Screen Saver’ or ‘LCD OFF’. If you select ‘LCD OFF’, LCD display will be switched off
after the amount of time you specified here.
If you want to change the time that this phone waits before screen saver activates, please press
“Delete” key to remove numbers, and input a new timeout setting by numeric keypad, then press “Save”
Screen Saver1
Back Exit Preview Select
key to save changes. If you don’t want to deactivate screen saver, you can input ‘0’. Please note that
valid wait time is from 3 to 999 (minutes), you can’t input a number less than 3 here.
03:00 01/01/2008 PLANET 1101
Phone Settings
Chime 2
C ime 3 h
C im h e 4
Exit Save Delete
Screen Saver
Chime 1
LCD OFF
Min
3
47
Page 48
Change Video Preference
To display the best quality of image on the LCD display of ICF-1600, please a djust the video preferen ce
to meet your environment requirement.
Press “Main Menu” key to enter main menu, then use up / down key and OK key to go “Setting” ->
“Initial Setup” -> “Video Preference”.
03:00 01/01/2008 PLANET 1101
Video Preference
LCD Settings
Video Quality
Video Resolution
Camera Frequency
TV Output Format
Exit Back Select
Please use up / down key to select a setup item to set, then press “OK” key:
LCD Settings:
There are 2 sub items inside this setting item; they are “Brightness” and “Contrast”. Please select the
item you wish to set, and press left / right key or - / + key to adjust. You can see the change on LCD
display when you press the key, when you’re satisfied with new brightness or contrast setting, press
“OK” key, or press “Cancel” key to keep original setting;
Video Quality:
You can adjust the quality of sending image here, there are 3 options: Low Quality, Standard, and High
Quality. Please use up/down key to select a quality setting, and press “Select” or “OK” key to save
change you made. You can also press “Back” or “Exit” to keep original setting. Please note that the
phone will reboot when a new video quality setting is made.
Video Resolution:
You can also adjust the resolution of sending image here, there are 3 options: Low Quality, Standard,
and High Quality. Please use up/down key to select a quality setting, and press “Select” or “OK” key to
save change you made. You can also press “Back” or “Exit” to keep original setting. Please note that
the phone will reboot when a new video resolution setting is made.
48
Page 49

ÍNote
Camera Frequency:
If you’re using fluorescent light in the room, you may need to adjust camera frequency, or the image
could be flashing. There are 3 options: Auto, 50 Hz, and 60 Hz. In most cases you can select “Auto”, or
you can select a proper setting according to the frequency of your utility power.
03:00 01/01/2008 PLANET 1101
Your remote party may not be able to display your image if you’re
using a different video quality or resolution.
TV Output Format
You can select the video output format of this phone (PAL or NTSC). IF you’re using this phone in
China, please select ‘PAL’; if you’re using this phone in Taiwan, United States, or Japan, please select
‘NTSC’.
Camera Frequency
Auto
50 Hz
60 Hz
Exit Back Select
03:00 01/01/2008 PLANET 1101
TV Output Format
PAL
NTSC
Exit Back Select
49
Page 50
Change Display Language
There are several language interfaces available in this phone. If you want to change display language,
follow the following instructions:
Press “Main Menu” key to enter main menu, then use up / down key and OK key to go “Setting” ->
“Initial Setup” -> “Language Settings”. Please use up / down key to select a language from language list,
and press “Select” to save change, or press “Exit” to leave language setting untouched.
03:00 01/01/2008 PLANET 1101
Language Setting
Simplified Chinese
English
Exit
Select Back
View System Status
You can check various status of this phone by accessing “System Status” menu:
Press “Main Menu” key to enter main menu, then use up / down key and OK key to go “Setting” ->
“System Status”, then you’ll see 3 status items:
a. Web Access Enabled: You can check the status of internal web service, and you can also
enable / disable web access by pressing up / down key, and press “Select” to save change, or
press “Cancel” to abort and back to previous menu
b. Model Information: The model number of this phone will be displayed, press “Cancel” or “OK”
key to back to previous menu.
c. Model Version: The version number of internal firmware will be displayed, press “Cancel” or
“OK” key to back to previous menu.
50
Page 51

03:00 01/01/2008 PLANET 1101
System Status
Web Access Enabled
Model Information
Firmware Version
Exit Back Select
Video Privacy
If you don’t want to be seen by your remote party accidentally, you can do this by disabling built-in
camera:
Press “Main Menu” key to enter main menu, then use up / down key and OK key to go “Setting” ->
“Phone Settings” -> “Video Privacy”, you’ll be prompted to select “Enable” or “Disable” camera. Press
up / down key to make choice and press “Select” to save change, or press “Cancel” to abort and back
to previous menu. Please note that the phone will reboot if the setting is changed.
03:00 01/01/2008 PLANET 1101
ÍNote
Phone Settings
Enable
Disable
Select Cancel
If you just want to disable camera for a while, you can move
the camera lid to left position.
51
Page 52

Shutdown
This phone operates like an ordinary computer and it will need to save information during operation. A
proper shutdown procedure is required to keep this phone working properly.
When you need to remove the power from the phone, please press ‘Shutdown’ key in main menu:
03:00 01/01/2008 PLANET 1101
SNDT Redial Recent Main MenuShutdown
You’ll be prompted to confirm shutdown:
03:00 01/01/2008 PLANET 1101
System Shut Down?
Yes Cancel
52
Page 53

Chapter 6
Web Browser Operates
6
Using Web Browser
This phone provides a simple web browser; you can use it to get many kinds of information from
internet. Please click ‘SNDT’ key in this phone’s main menu, and connect to our webpage:
03:00 01/01/2008 PLANET 1101
Shutdown SNDT Redial Recent
The location of SNDT key
Main Menu
After web browser has been started, the following menu will be shown:
Back Stop Home Refresh Quit Forward
53
Page 54

The descriptions of every key is listed as follow:
Back Back to previous page. If no previous page is available, nothing will happen
when you press this key.
Forward If you used ‘Back’ key to back to previous page, you can use this key to
proceed to next page. However, if you never used ‘Back’ key, nothing will
happen when you press this key.
Stop Press this key to stop downloading webpage.
Refresh Download current webpage again. If you found that some contents are not
displayed in current webpage, you can press ‘Refresh’ button to download
webpage again.
Quit Quit web browser and back to standard phone menu.
How to select items on webpage?
When you’re using web browser on computer, you’ll use mouse; when you’re using the web browser of
this phone, please use direction keys (up, down, left, and right) to select items.
All selectable items on current webpage will be indicated by a movable square, like:
Back Forward Stop Quit Refresh Home
The picture shown above indicates that ‘ ‘ is selected currently, and you can press ‘right’ key to select
‘ ‘ item. By using direction keys, you can select every item on webpage. If the item you wish to select is
not displayed, you can use direction keys to move the webpage, so the contents not currently shown on
display will appear.
When you want to select a certain item in current webpage, press ‘OK’ key, just as you use mouse to
click an item on webpage.
54
Page 55

How to select item in dropdown menu?
A
When you wish to select an item in a dropdown menu, you can move the square to the dropdown menu
you wish to select, then click ‘OK’ key. The color of dropdown menu will change, and you can use right /
down key to select item in downward direction, or use up / left key to select item in upward direction.
When the item in dropdown menu is selected, press ‘OK’ key.
How to click a button?
Move the square to the button you wish to click, and then press ‘OK’ key.
How to input text?
When you move the square to text entry box, please click ‘OK’ key to start to input text. A text entry bar
will appear at the bottom of display:
The picture shown above indicates the phone has been entered text entry mode. The ‘A’ character
located at the bottom-left corner of display indicates that the phone is in alphanumerical text entry
mode now. You can press a number key on numeric keypad, and the corresponding alphabet and
number will be shown (the following picture shows the choices you’ll have after ‘2’ has been pressed).
DELETE
ABC 简
DELETE
2 a b c A B C
55
Page 56

You can use left / right key to select the character you wish to input, and then press ‘OK’ to input the
character you selected. If you selected wrong character, you can press ‘DELETE’ key to remove it (to
return to previous step).
If you wish to input numbers by numeric keypad directly, press ‘简中->1’ key, and the phone will enter
number input mode:
DELETE
123 A
You can press number keys to input numbers directly.
You may noticed that an underline will appear under the text you inputted; when you finished with text
input, you can press ‘OK’ key again (don’t press any number keys) to quit text input mode, and the
underline under the text will appear.
56
Page 57

Appendix A
A
Firmware Upgrade
If you want to upgrade the firmware of this phone, please follow these instructions:
.
ÍNote
failed upgrade attempt may cause phone malfunction, if this
happens, please contact your dealer of purchase to ask for help.
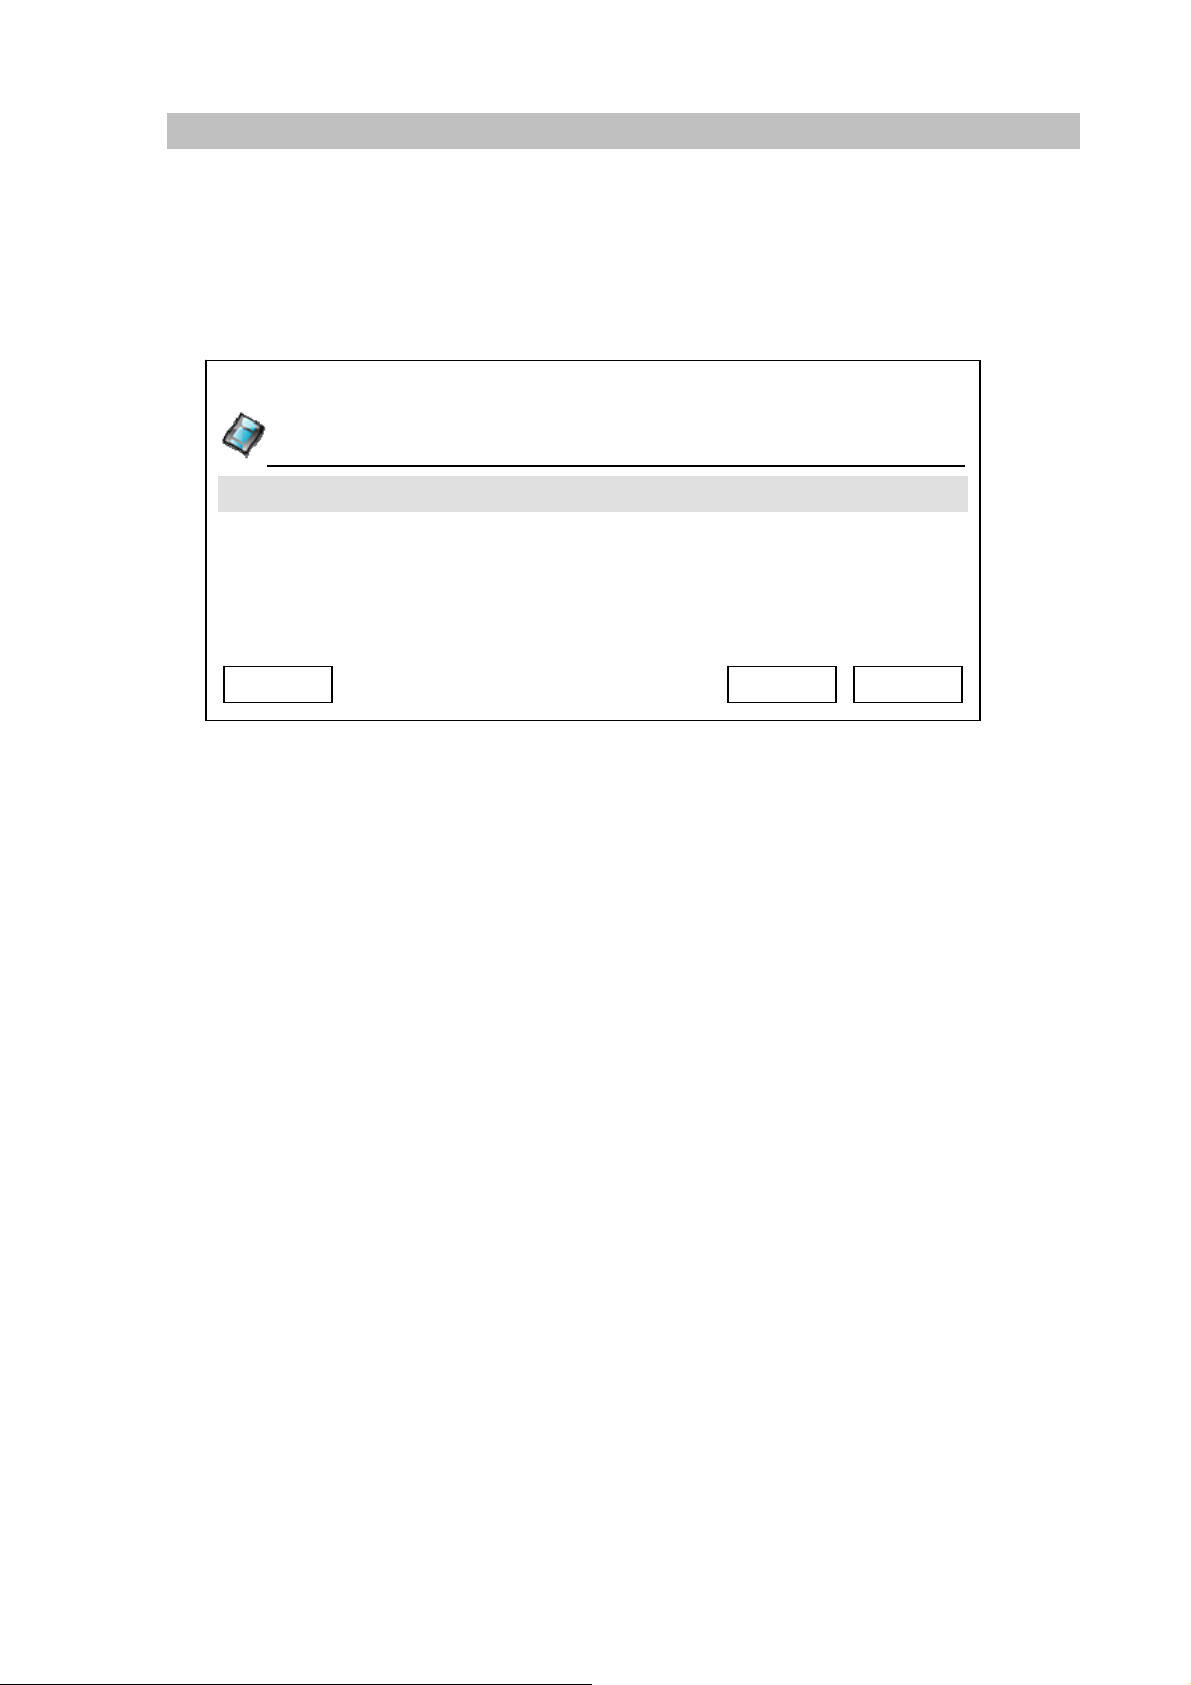
Connect to ICF-1600 by the web
browser on your computer, enter
username and password, and press
“Login” to login.
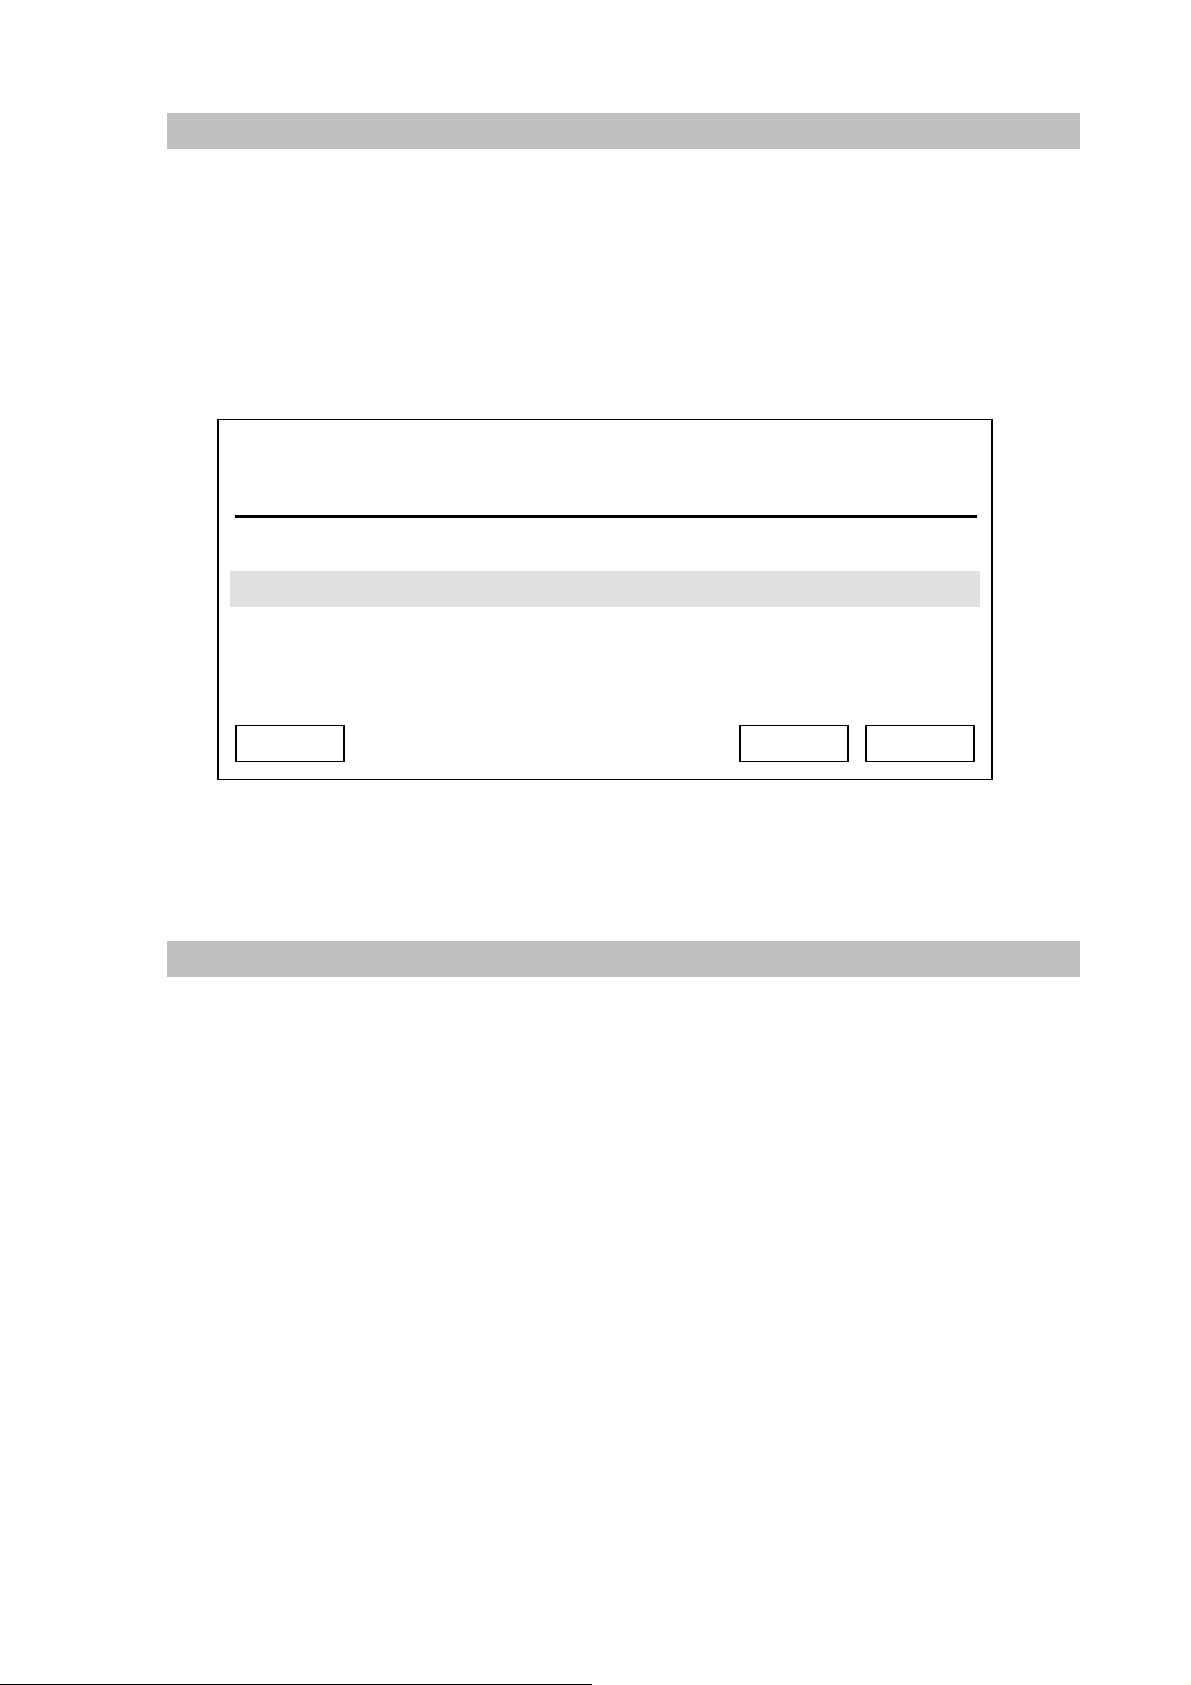
Click “Basic Settings” link on the left,
then click “LAN Configuration”.
Please fill the TFTP address (provided
by service provider) in “TFTP Server”
field, then click “Apply”.
Page 58
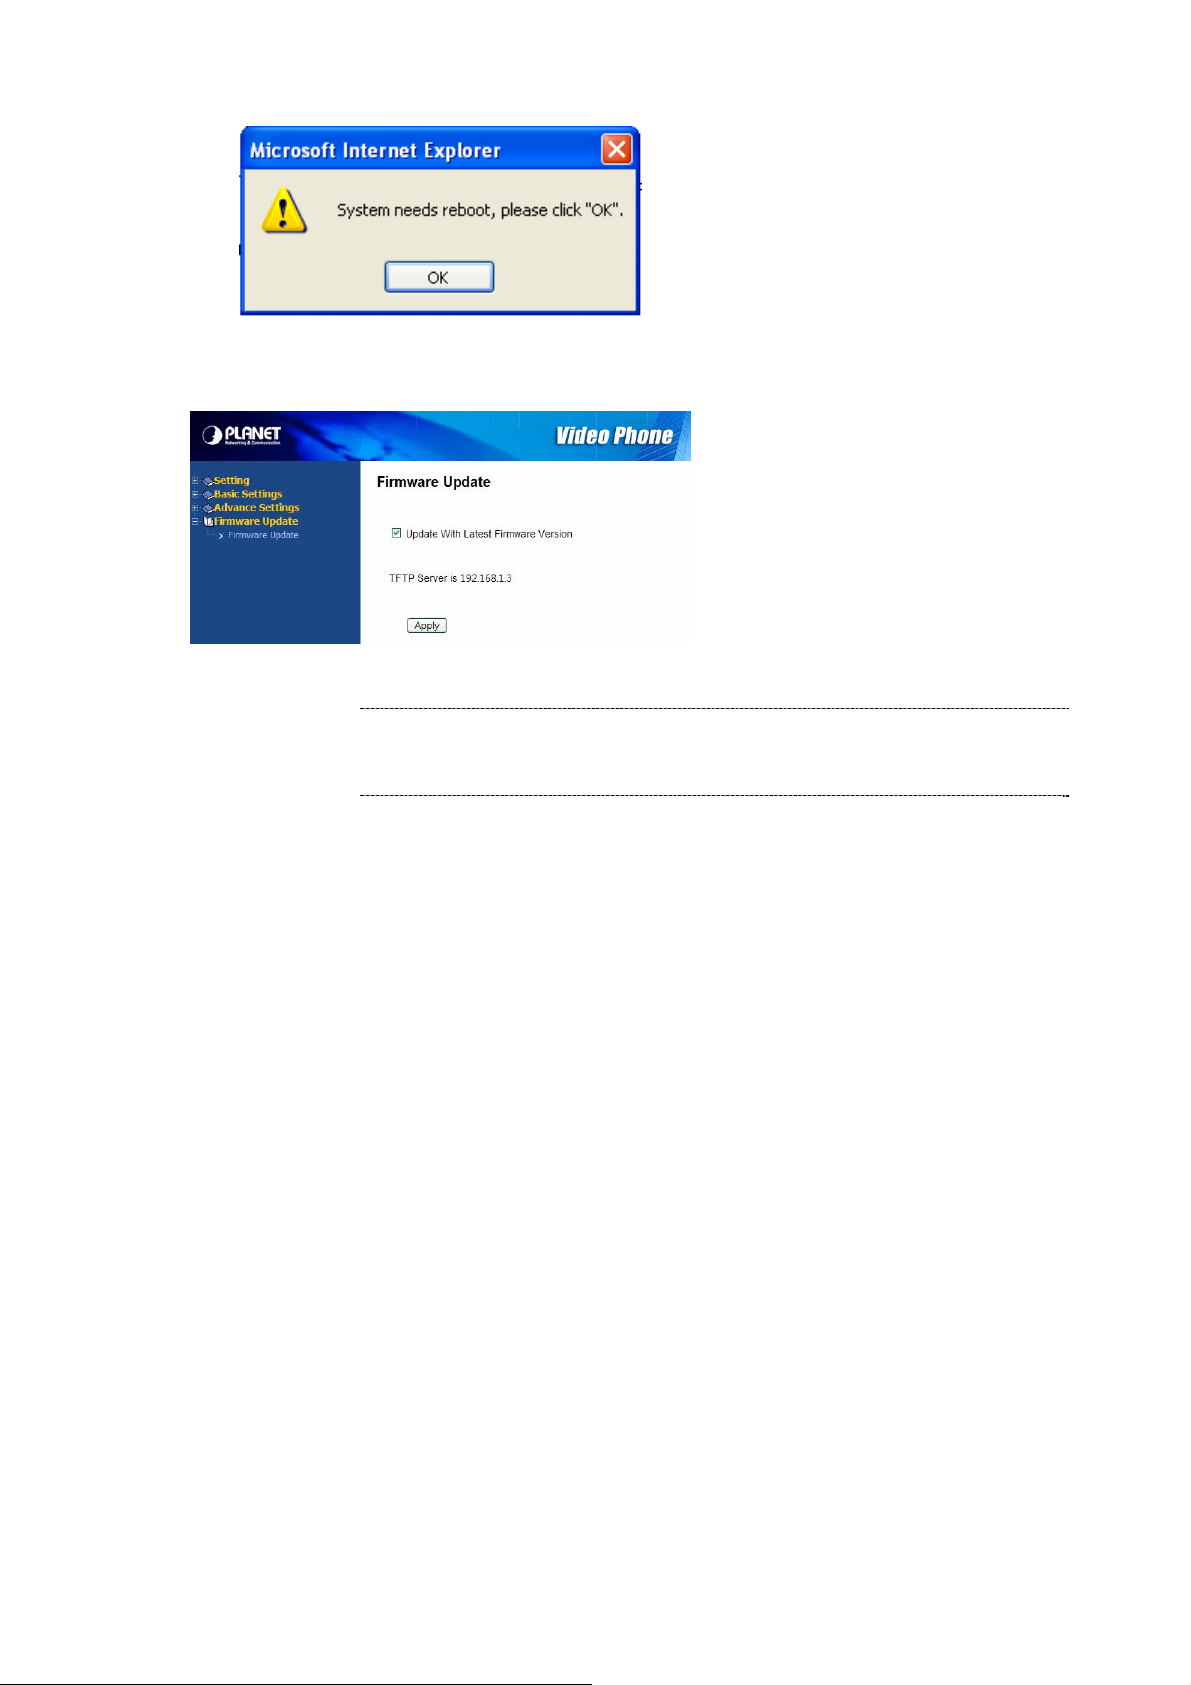
Press “OK” when you see this popup
window, and your phone will reboot.
Please connect to ICF-1600 by the web
browser again, click “Firmware Update”
link on the left, then check “Update With
Latest Firmware Ve rsion” box, and press
“Apply”.
ÍNote
Do not remove network cable or power adapter during upgrade
or firmware upgrade may fail, and cause malfunction.
After the firmware is upgraded, the phone will reboot. You can refer to the instructions given in
chapter 3-7 to check the new firmware version.
58
Page 59
Appendix B
s
f
o
e
FAQ
Q1: Nothing is displayed on LCD display, or malformed text / graphic is displayed.
A:
• Check the connection between power jack of A/C adapter and the phone. Make sure it’
securely connected.
• Plug the A/C adapter into power outlet on the wall, if it’s not plugged in.
• Please check the status of power outlet, maybe it’s not powered.
• Disconnect the power jack and A/C adapter, and reconnect it again after about 10
seconds.
• Press “SPEAKER” or “HEADSET” button on the phone, or lift handset. If you can hear
dial tone, please return this IP phone to your dealer.
• Press key once, make sure the phone is not in TV-OUT mode.
• If you just tried to upgrade firmware and you see malformed text displayed on LCD
display, contact your dealer for assistance.
• If the problem can not be solved by solutions listed above, please contact your dealer o
purchase for assistance.
Q2 : I can not hear dial tone.
A:
• Please check the cable connection between IP phone and handset.
• Replace the cable used to connect IP phone and handset with a new one. (If you don’t
have another cable, bring the old cable to a telephone / computer store and show them,
they can help).
• If you can’t hear dial tone from handset, try to press ‘SPEAKER’ button on the phone, t
see if you can hear the dial tone. Please also check the connection cable between
handset and the phone
• Try a higher volume setting.
• Try solutions of last scenario.
• Contact your dealer if above solutions don’t work.
Q3 : I can hear dial tone in the handset, but I can not place / accept phone call.
A:
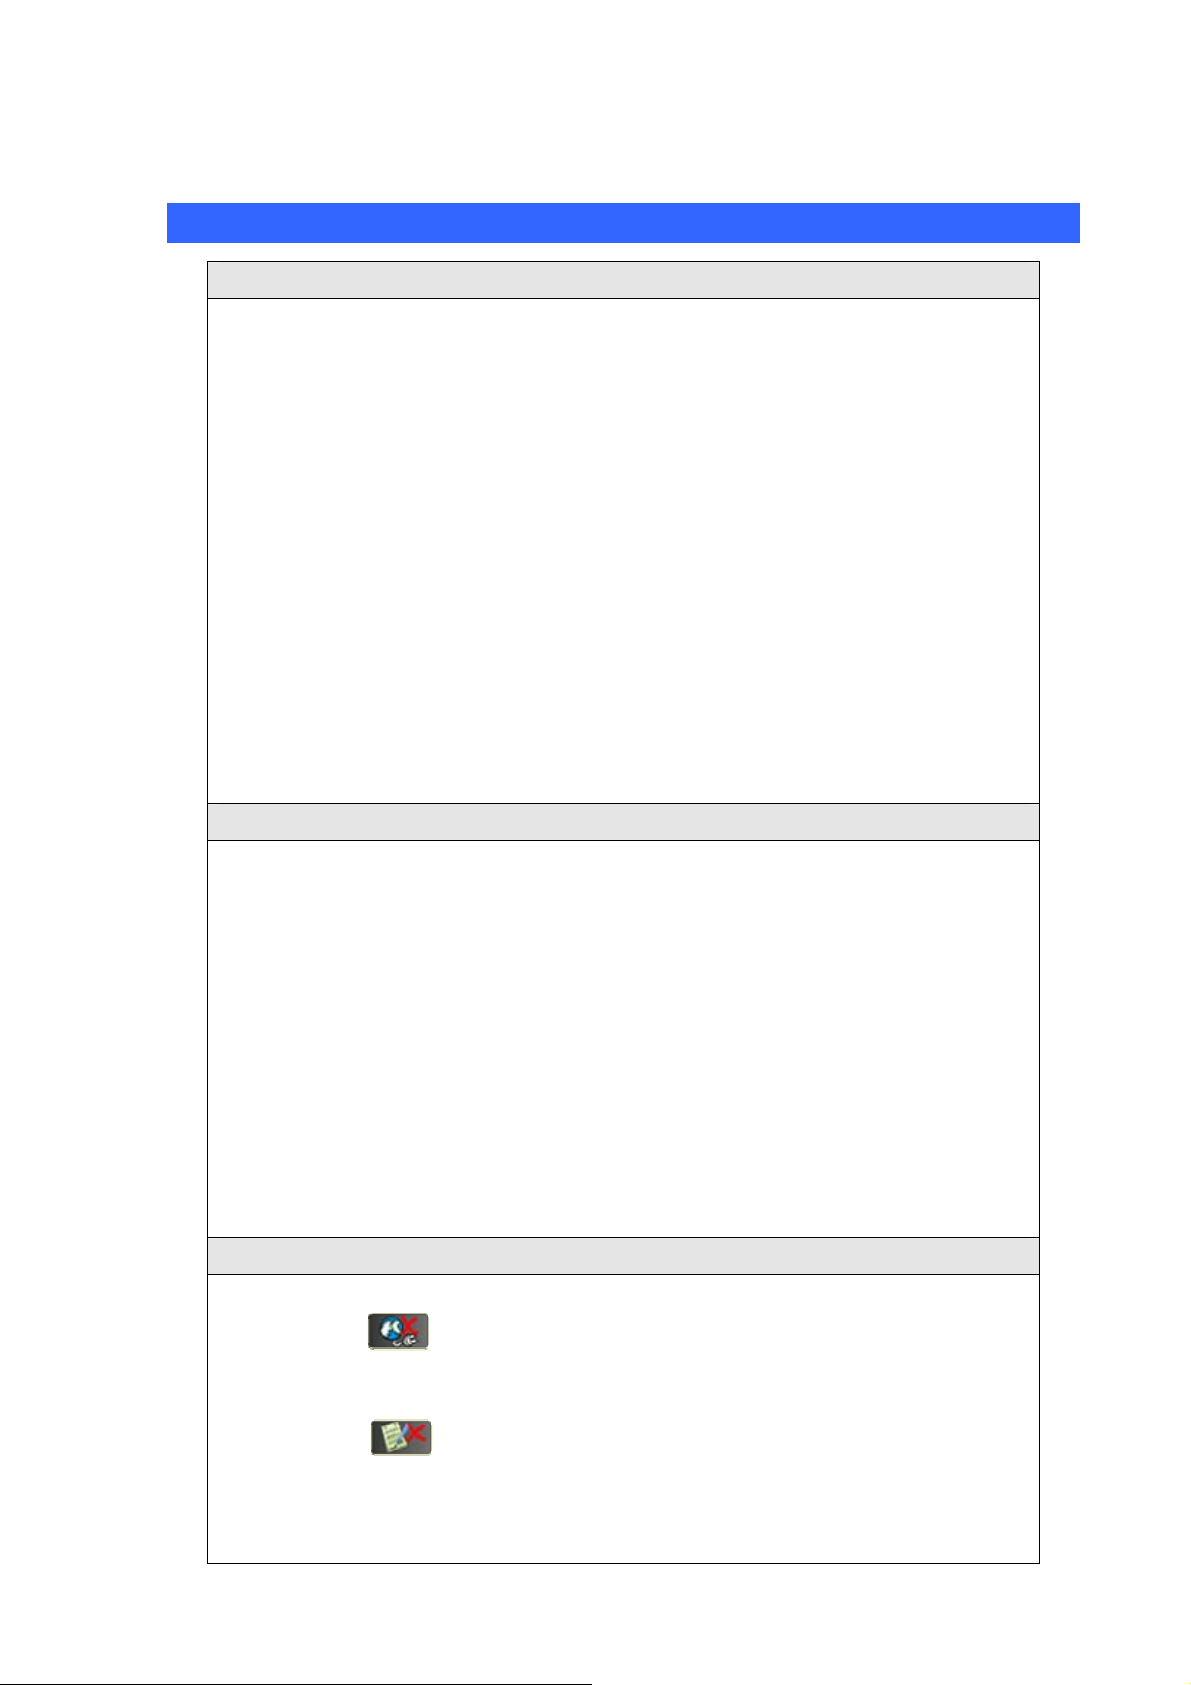
• If you see icon displayed on the left corner of LCD display, please re-check th
network connection. If the network is working, please contact your service provider and
check service availability.
• If you see icon displayed on the left corner of LCD display, the phone is not
registered to VoIP server. Please re-check SIP setting of this phone, and make sure
VoIP server is reachable by the network you connected to.
• Please contact your VoIP service provider and / or ISP to ask for service availability.
Page 60

• Please contact your dealer of purchase if this problem can not be solved by solutions
listed above.
Q4 : I can not see my image / remote p arty can not see my image / malformed image is
displayed.
A:
• Make sure the camera lid is in right position, not left.
• Make sure you set the “video privacy” setting to “OFF”
• If you think the image is flashing, please try a different camera frequency (refer to
section 3-5 for details)
• If you see strange color / malformed image displayed, please contact the dealer of
purchase for help.
60
Page 61

ICF-1600 Specifications
Appendix C
Product
Model
Hardware
Port
Camera
Audio/Video Input
Audio/Video Output
Protocols and Standard
Standard
Video Standard
Audio Standard
Internet protocol
Internet Video Conferencing Phone
ICF-1600
2 x 10/100Mbps RJ-45 port
CMOS module, 300K pixels QCIF, 30fps, Camera door
1 telephone handset
1 built-in microphone
1 USB 1.1
1 built-in 7” TFT LCD, adjustable angle
1 pair RCA Audio/Video output
1 built-in speaker
SIP 2.0 RFC 3261
H.263, MPEG4
G.711a/u, G.723.1, G.729A/B
TCP/IP, UDP, RTP/RTCP
Echo cancellation
LAN standard
Phone Features
Keys
Audio Features
G.167
IEEE 802.3 Ethernet
IEEE 802.3u Fast Ethernet
1 Speaker phone Key
1 Headset Key
1 Volume Up & Down key s
1 Picture in picture enable key
1 Camera mute key
1 LCD/TV display toggle key
1 LCD Brightness Up & Down Keys
5 Speed dial Buttons
6 Soft keys
Silence Suppression
Comfort noise generation(CNG)
voice activity detection (VAD)
In-band DTMF & Out-of-band DTMF (RFC 2833)
Call progress tone generation
Acoustic Echo Cancellation
Page 62
Dynamic Jitter buffer
Three-way audio conferencing
Two-way Video Call
PIP(Picture in Picture)
LCD Brightness Adjustment
Video Features
Message &
Configuration Service
Network and Configuration
Internet Connection Type
Management
Dimension (W x D x H)
Operating Environment
Power Requirement
EMC/EMI
LCD Contrast Adjustment
LCD/TV Display Switch
Video Privacy (Audio Only)
Video Mute
Remote Video Display On/Off
Address Book
Phone setting
Network setting
Call records
Local Clock setting
Fixed IP, DHCP, PPPoE
LCD / Keypad UI
Web (HTTP)
262 mm x 230 mm x 95 mm
0~40 degree C, 5~95% humidity
12 V DC
CE, FCC
62
Page 63

EC Declaration of Conformity
For the following equipment:
*Type of Product
*Model Number : ICF-1600
* Produced by:
Manufacturer‘s Name : Planet T echnology Corp.
Manufacturer‘s Address: 11F, No 96, Min Chuan Road
Hsin Tien, Taipei, Taiwan , R. O.C.
is herewith confirmed to comply with the requirements set out in the Council Directive on the
Approximation of the Laws of the Member States relating to Electromagnetic Compatibility
Directive on (89/336/EEC,92/31/EEC,93/68/EEC).
For the evaluation regarding the EMC, the following standards were applied:
Responsible for marking this declarati o n i f the:
: Internet Video Conferencing Phone
Emission: EN 55022:1998+A1:2000 + A2:2003, Class B
(CISPR 22:1997+A1:2000+A2:2002、
AS/NZS CISPR 22:2004)
EN 61000-3-2:2000, EN 61000-3-3:1995 + A1:2001
Immunity: EN 55024:1998 + A1:2001 + A2:2003
IEC 61000-4-2:2001
IEC 61000-4-3:2002
IEC 61000-4-4 Ed2:2004
IEC 61000-4-5 Ed2.0:2005
IEC 61000-4-6 Ed2.1:2004
IEC 61000-4-8:2001
IEC 61000-4-11 Ed2:2004
⌧ Manufacturer Authorized representative established within the EU
Authorized representative established within the EU (if applicable):
Company Name: Planet Technology Corp.
Company Address: 11F, No.96, Min Chuan Road, Hsin Tien, Taipei, Taiwan, R.O.C
Person responsible for making this declaration
Name, Surname Jonas Yang
Position / Title : Product Manager
Taiwan
29 May., 2008
Place Date Legal Signature
PLANET TECHNOLOGY CORPORATION
e-mail: sales@planet.com.tw http://www.planet.com.tw
11F, No. 96, Min Chuan Road, Hsin Tien, Taipei, Taiwan, R.O.C. Tel:886-2-2219-9518 Fax:886-2-2219-9528
 Loading...