

Page 1

`
IP Surveillance
Application Program
Ai-See
User’s Manual
Version: 1.00
Date: July. 2007
1/17
Page 2

Copyright
Copyright © 2007 by PLANET Technology Corp. All rights reserved. No part of this publication
may be reproduced, transmitted, transcribed, stored in a retrieval system, or translated into any
language or computer language, in any form or by any means, electronic, mecha nical, magnetic,
optical, chemical, manual or otherwise, without the prior written permission of PLANET.
PLANET makes no representations or warranties, either expressed or implied, with respect to
the contents hereof and specifically disclaims any warranties, merchantability or fitness for any
particular purpose. Any software described in this manual is sold or licensed "as is". Should the
programs prove defective following their purchase, the buyer (and not PLANET, its distributor, or
its dealer) assumes the entire cost of all necessary servicing, repair, and any incidental or
consequential damages resulting from any defect in the software. Further, PLANET reserves the
right to revise this publication and to make changes from time to time in the contents hereof
without obligation to notify any person of such revision or changes.
All brand and product names mentioned in this manual are trademarks and/or
registered trademarks of their respective holders.
Federal Communication Commission Interference Statement
This equipment has been tested and found to comply with the limits for a Class B digital device,
pursuant to Part 15 of FCC Rules. These limits are designed to provide reasonable protection
against harmful interference in a residential installation. This equipment generates, uses, and
can radiate radio frequency energy and, if not installed and used in accordance with the
instructions, may cause harmful interference to radio communications. However, there is no
guarantee that interference will not occur in a particular installation. If this equipment does cause
harmful interference to radio or television reception, which can be determined by turning the
equipment off and on, the user is encouraged to try to correct the interference by one or more of
the following measures:
1. Reorient or relocate the receiving antenna.
2. Increase the separation between the equipment and receiver.
3. Connect the equipment into an outlet on a circuit different from that to which the receiver is
connected.
4. Consult the dealer or an experienced radio techni cian for help.
FCC Caution
To assure continued compliance. (example-use only shielded interface cables when connecting
to computer or peripheral devices). Any changes or modifications not expressly approved by the
party responsible for compliance could void the user’s authority to operate the equipment.
This device complies with Part 15 of the FCC Rules. Operation is subject to the Following two
conditions: ( 1 ) This device may not cause harmful interference, and ( 2 ) this Device must
accept any interference received, including interference that may cause undesired operation.
Federal Communication Commission (FCC) Radiation Exposure Statement
This equipment complies with FCC radiation exposure set forth for a n uncontrolled enviro nment .
In order to avoid the possibility of exceeding the FCC radio frequency exposure limits, human
proximity to the antenna shall not be less than 20 cm (8 inches) during normal operation.
1/17
Page 3

R&TTE Compliance Statement
This equipment complies with all the requirements of DIRECTIVE 1999/5/CE OF THE
EUROPEAN PARLIAMENT AND THE COUNCIL OF 9 March 1999 on radio equipment
and telecommunication terminal Equipment and the mutual recognition of their
conformity (R&TTE)
The R&TTE Directive repeals and replaces in the directive 98/13/EEC
(Telecommunications Terminal Equipment and Satellite Earth Station Equipment) As of
April 8,2000.
Safety
This equipment is designed with the utmost care for the safety of those who install and use it.
However, special attention must be paid to the dangers of electric shock and static electricity
when working with electrical equipment. All guidelines of this and of the computer manufacture
must therefore be allowed at all times to ensure the safe use of the equipment
.
CE Mark Warning
This is a Class A product. In a domestic environment, this product may cause radio interference,
in which case the user may be required to take adequate measures.
WEEE Regulation
To avoid the potential effects on the environment and human health as a result of the
presence of hazardous substances in electrical and electronic equipment, end users
of electrical and electronic equipment should understand the meaning of the
crossed-out wheeled bin symbol. Do not dispose of WEEE as unsorted municipal
waste and have to collect such WEEE separately.
Revision
User’s Manual for PLANET IP Surveillance Application Program
For Model: ICA-310, ICA-312, ICA-350, ICA-610, ICA-651, IVS-110
Rev: 1.0 (July. 2007)
Part No. EM-AISEE
2/17
Page 4

Table of Content
1. Introduction...................................................................................................4
1.1 Overview..............................................................................................4
1.2 Features...............................................................................................4
1.3 System Requirement ............................................................................4
1.4 Compability IP cameras .......................................................................5
2. Software Installation......................................................................................5
3. Configuration Utility.....................................................................................10
3.1 Main Console.....................................................................................10
3.2 Playback.............................................................................................12
3.3 Schedule............................................................................................13
3.4 Configuration......................................................................................14
3.5 Recording...........................................................................................16
3.6 Snapshot............................................................................................17
3.7 E-Map.................................................................................................17
3/17
Page 5

1. Introduction
Ai-See is a multi-camera video surveillance application that enables you to set up a
comprehensive and effective surveillance system quickly and easily. Ai-See allows you to track
workstations and individual users that may use multiple PC’s on your network. It is scalable from
cameras to up to 16 cameras.
1.1 Overview
This user’s manual explains how to operate the Ai-See from a computer. Basically, the user’s
manual is written to be read on the computer display. However, users might consider printing it out
to access easily and read it before you operate the Ai-See.
1.2 Features
• Multiple cameras support up to 16 cameras.
• Supports IP cameras and Internet video servers
• Pan/Tilt/Zoom (PTZ) support for many IP cameras
• Multi-profile encoder supports MPEG-4 and M-JPEG video compression simultaneously
• Allows for multiple recordings to occur at the same time from different cameras
• Integrate cameras located at remote site and accessed via the Internet or a LAN
1.3 System Requirement
The system consumes huge of computation power to decode and record multiple video streams
from IP cameras. Therefore, bear in mind that much faster CPU speed and higher system memory
will be very useful to handle and process multi-channel video streams. Here is a minimum
recommendation of system requirement as below:
System Requirement for Ai-See Application Program
Support OS Win 2000, Win XP
System Hardware CPU: Pentium 4, 2.8GHz or fast
Memory Size: 1GB or higher
VGA card resolution: 1024 x 768 or above
VGA card memory: 64 MB or higher
Sound card: Necessary
Free space of hard disk: 10G or higher
Power supply: 300W or above
Also it does strongly recommend that close the other application un-necessarily programs while
running Ai-See to monitor and record video stream from IP cameras.
4/17
Page 6
1.4 Compatibility IP cameras
Camera Type
Speed Dome Camera ICA-601
ICA-651
PT Camera ICA-500
Infrared Camera ICA-350
ICA-310
ICA-312
Video Server IVS-110 IVS-100
CMOS Camera ICA-108
ICA-108W
ICA-600
ICA-650
ICA-300
ICA-302
2. Software Installation
1. Insert the bundled IP Camera CD disk into the CD-ROM drive to launch the autorun program.
Once completed, a welcome menu screen will appear.
Click the “Ai-See” hyperlink, the below InstallShield Wizard dialog box will appear.
Note: If the welcome screen does not appear, click “St art” at the t askbar. Then, select “Run” and
type “D:\Utility\ai-see.exe”, assume “D” is your CD-ROM drive.
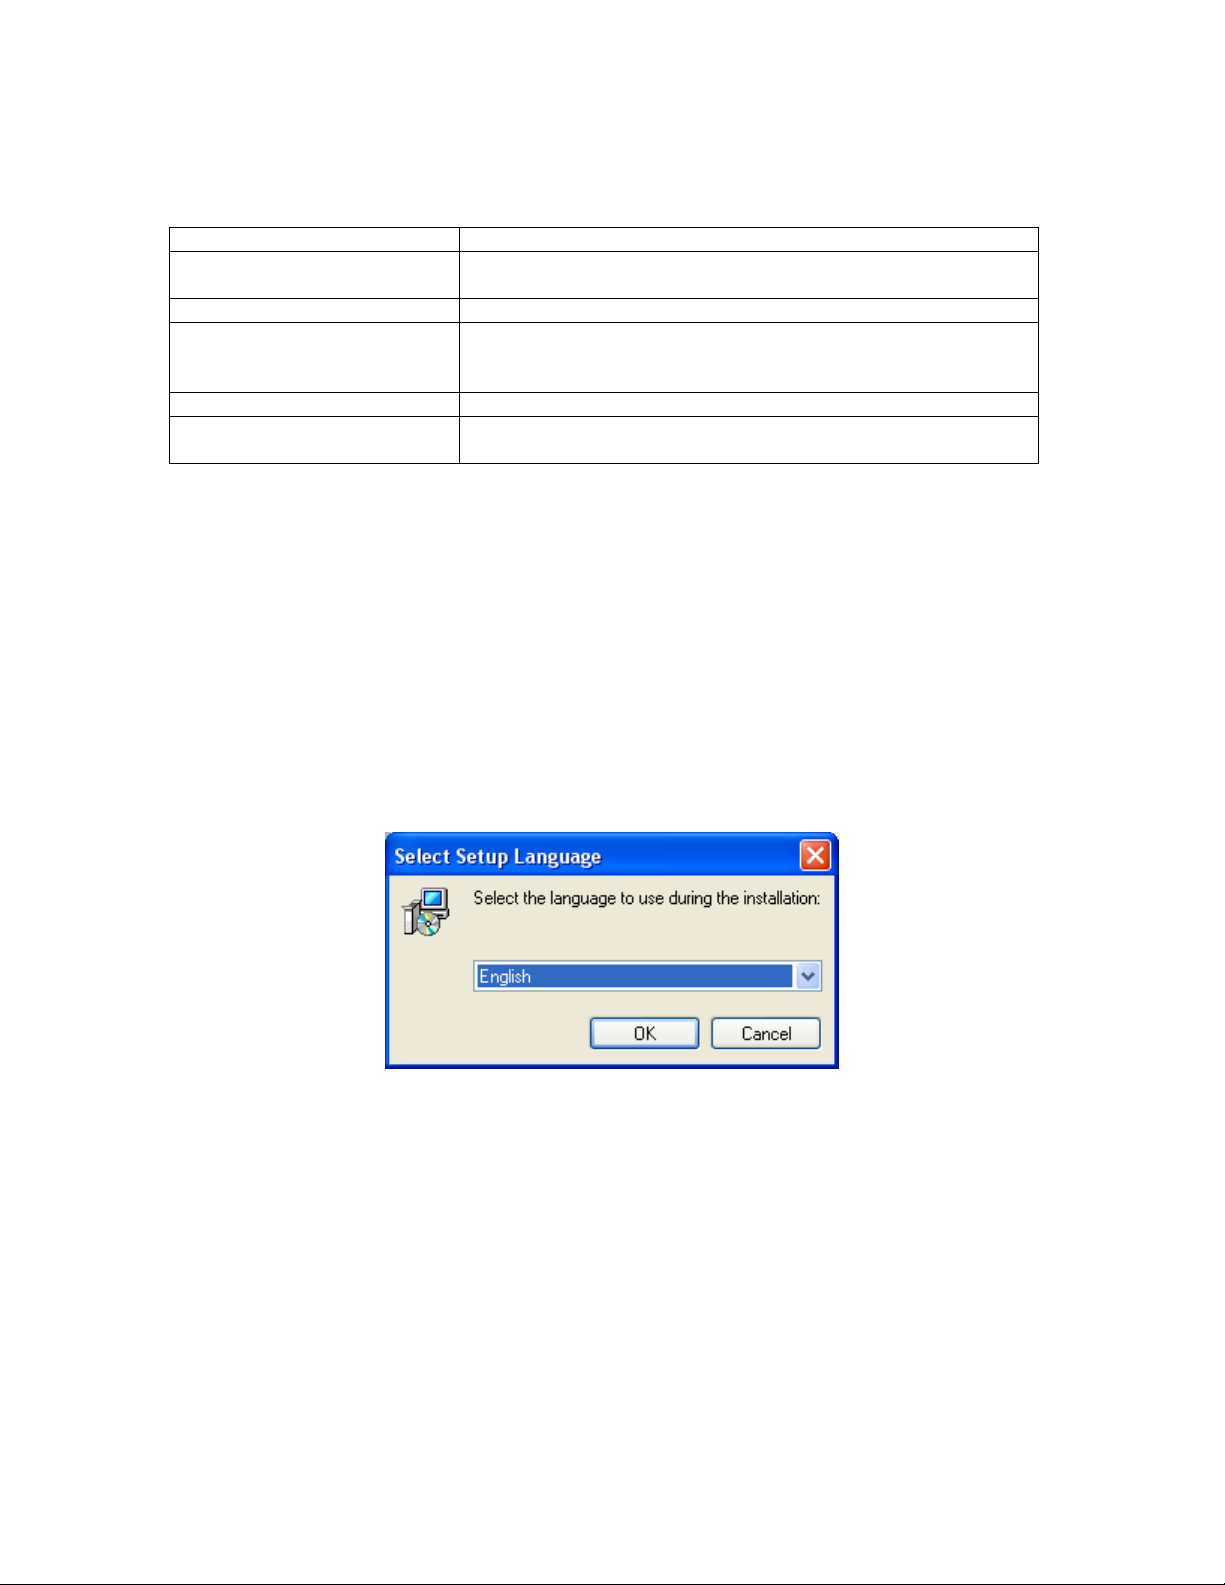
2. Selects the language which you want, Ai-See is current including two languages - English and
French.
5/17
Page 7

3. The “Welcome to the Ai-See Setup Wizard” will display on the screen and click “Next” to
continue.
4. Please read the license agreement and then check “I accept the agreement” if you are agreed
and click “Next” to continue installation
6/17
Page 8

5. Please click “Next” to install with original settings, or you may click “Browse…” button to assign
a install folder then press “Next” to continue.
6. Please click “Next” to install with original settings, or you may click “Browse…” button to rename
the program’s shortcut of Start Menu then press “Next” to continue.
7/17
Page 9

7. You may create a desktop icon or not and click “Next” to continue installation. If you don’t need
the icon on desktop, please un-check it.
8. The “Ready to Install” dialog box will show you the configuration of this installation. If the
configuration is fine, please click “Install” to continue.
8/17
Page 10

When the installation finished, the completing screen will pop-up as below. Click “Finish” button to
complete this setup program.
9/17
Page 11

p
g
3. Configuration Utility
User can double-click this icon on your system desktop to start Ai-See. Another way
to start the Ai-See that click on Start > Program > Ai-See > Ai-See
3.1 Main Console
Viewing Window
Screen Division Camera Number
Information Window
PTZ Camera Control
E-Ma
Power Off
Schedule Config Recordin
Power OffPlayback
10/17
Page 12

The main operation menu is show above. The major f unction and icons are described below:
Viewing Window: All monitored cameras will be shown on the window by setting. There are
six kinds of layout can be chosen.
Screen Division: Allocate the sub-screen displays of cameras by clicking on the icon of
desired layout. The layout of the screen has the following modes:
z Single: Only one camera displays video.
z 2x2: The screen is divided into 4 camera sections.
z 6: The screen is divided into 6 camera sections.
z 3x3: The screen is divided into 9 camera sections.
z 10: The screen is divided into 10 camera sections.
z 4x4: The screen is divided into 16 camera sections.
Camera Number: Click the camera number to select the desired camera. Then user can
activate the “Config”, “Recording”, or “Snapshot” functions for this camera.
Power Off: Exit Ai-See application program.
PTZ Camera Control: Control the movement of installed PTZ camera to move the camera
direction to the up / down / left / right and zoom out on the image.
Information Window: Show the system information includes date, time, and free HDD space.
Playback: Click the icon to invoke the default media player to play the recorded video files.
Schedule: Schedules recording time table for cameras.
Config: To setup the parameters of selected camera, users need to click the desired camera
first.
Snapshot: Click the icon to start video recording or stop it and save it into “Video” folder.
E-Map: Press this button to do central location management for 16 cameras.
11/17
Page 13

3.2 Playback
Playback
Click the “Playback” icon on main menu to playback the recorded video file. User should pick
up a recorded file from recording video folder. Then the system will invoke system default
media player to play the recorded file as below
Note that the codec format of recorded file is MPEG-4 for video and G.726 for audio. User
might need to get the properly video codec and install them into your system if has not installed
yet. Otherwise, your default media player might not be able to playback the recorded file.
Please update your media player.
12/17
Page 14

3.3 Schedule
Schedule
Click the “Schedule” icon on main menu and get the Schedule menu to setup the time
schedule for video recording , it has support up to 4 schedules.
To setup the time schedule for camera(s), here are related parameters:
Enable: Check it to enable this schedule.
Sun, Mon, … , Sat: Pick up the working day(s) within this week.
Start time and End time: Set the start time and end time of schedule.
Cam: Select the working camera for this schedule. Note that user can repeat to select multiple
cameras with same schedule without limitation.
Rec: Check it to enable recording function for the selected camera.
Save: Click “Save” button to save the settings.
13/17
Page 15

g
3.4 Configuration
Confi
Number
Button
Please select the camera that you would like to configure with the camera number button.
Then click the “Config” on the main menu, the below IP camera setting menu will pop up. You
14/17
Page 16

can modify the selected IP camera settings within the dialog box.
Camera: Assign the camera in the different section.
Host: Fill up the IP address of the targeted camera.
Port: Fill up the video streaming port of the targeted camera. (Default: 5000)
User Name: Fill up the user name of the targeted camera. (Default: “admin”)
Password: Fill up the password of the targeted camera. (Default: empty)
Profile: Select the video profile of the targeted camera. (Default: MPEG4 QVGA)
Record Path: Assign the path and folder in which the system saves the recorded files.
Space Threshold: IF free space is not enough, Ai-See will delete the oldest recording file and
keep recording.
Audio: Check the audio will enable the volume.
Volume: This is one control bar for volume. Scroll this control bar to adjust the audio attribute.
15/17
Page 17

3.5 Recording
Number
Record
Please select the camera that you would like to record with the camera number button. Then
click the “Record” on the main menu, click the “Recording” icon to start record video stream,
press this button again will stop recording and save the record file into “Video” folder. The
recorded video file will be segmented automatically per 5 minutes. Therefore, it will be 12
recorded files per hour . There will be a red spot on the window of recording camera to indicate
this camera is recording.
Button
16/17
Page 18

3.6 Snapshot
Snapshot
Please select the camera that you would like to capture with the camera number button. Then
click the “Snapshot” on the main menu, click the “Snapshot” icon will capture a screen image
and save the file into “Snapshot” folder. The captured file will be saved as JPEG format.
Number
Button
3.7 E-Map
17/17
Page 19

Load Map Image: Choose a proper file or map layout to load.
Add Camera: You can select camera 1 to 16 which you want to add in the in pull-down list and
press “Add Camera” button.
When you double click the camera icon on the map, t he scree n will be di spl ay in the rig ht sid e.
18/17
 Loading...