

Page 1

Page 2
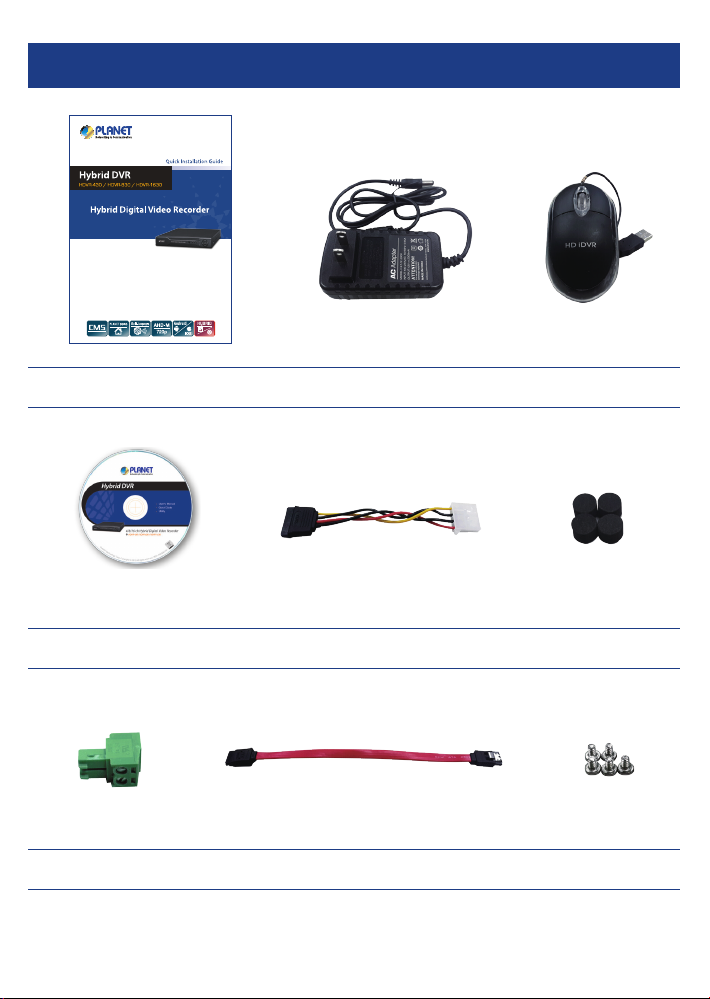
Contents
Quick Installation Guide x 1 Power Adapter x 1 USB Mouse x 1
CD Disk x 1 SATA Cable x 1 Foot Pad x 4
RS485 Connector x 1 SATA Power Cable x 1 Screw Kit x 1
SATA cable and SATA power cable are included in the HDVR
*
Page 3
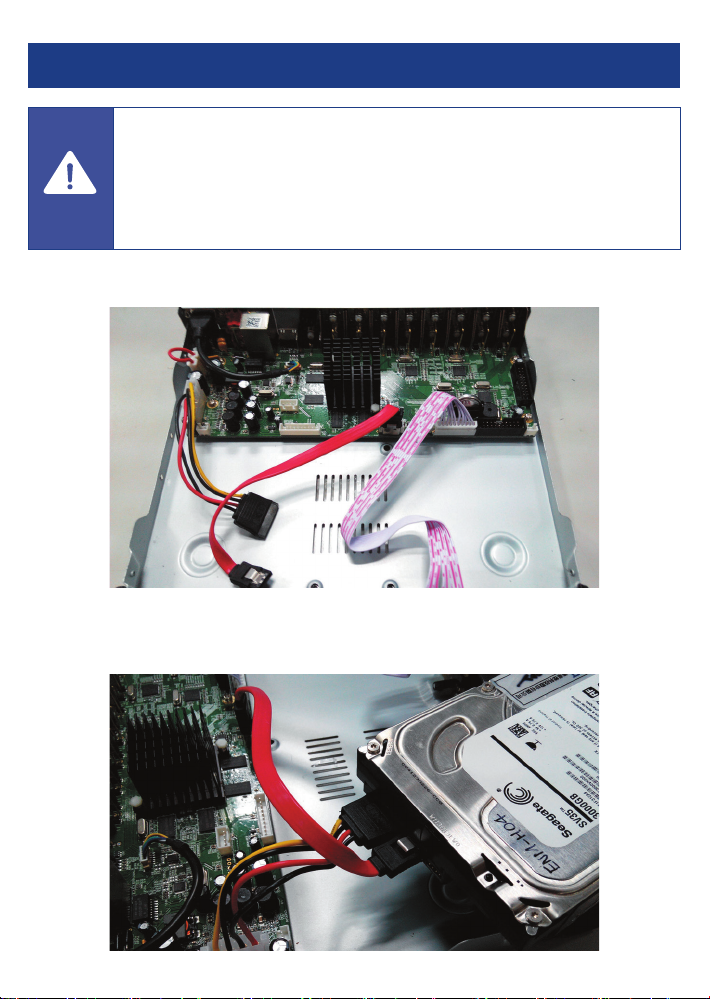
Hard Disk Installation
Before installing the HDD, please make sure there is no pre-congured
partition in this HDD. If yes, please delete all the partitions before the
Caution
Step 1: Remove the upper case.
Step 2: Plug the HDD power cable and SATA cable into the slot of the PCBA board and the
installation.
HDD, respectively, making sure the connections are well done.
Page 4

Step 3: Please align the screw holes on the HDD with those on the HDVR case and secure
them with the given screws.
Step 4: After the HDD is secured, it should look like the one in the pictures (front and
back) below:
Page 5

Hardware Connection
Name Description
V1-V16 Composite video broadcast signal (CVBS) input interface.
A1-A4 The input interface of the audio signal.
A-OUT The output interface of the audio signal.
LAN The network interface of RJ45.
HDVR-430
HDVR-830
HDVR-1630
HDMI The output interface of the HDMI video signal.
VGA The output interface of the VGA video signal.
Power 12V DC, 2A
485+/485- The interface of the alarm input, the alarm output and RS485.
Page 6

Searching and Login
Note
Please install the utility from the CD and launch it to search the HDVR. After clicking the
IP Search, you can see the HDVR online. The HDVR should be located and its IP address
should be displayed.
If the HDVR is not displayed after the search, you could try to click the Add Device button
to enter the IP address to search it.
Finally, you could double-click the IP address or click the WebBrowse button to enter the
Web UI of the HDVR.
System Login Window
Page 7

Web UI Login Window
Note
To enter the main menu and set up the HDVR, the default IP address is 192.168.0.20. And
both the default User Name and Password are "admin".
For more detailed information, please refer to the user’s manual on the CD.
Page 8

Note
 Loading...