

Planar UltraRes Quick Start Manual

UltraRes Quick Start Guide
Introduction
Once the UltraRes display has been installed and mounted, there are several
important steps that you need to take in order to get the display up and running. This
document is intended to give you a quick overview of the steps needed to connect
cables, turn on your display and attach sources. For more in-depth information, see
the Installation Guide that is on the USB drive in your accessory kit box.
1 Using the supplied AC power cord, connect one end to a grounded outlet and the
other to the AC power input next to the I/O panel the bottom of the UltraRes
display.
2 The IR module has and LED status and an IR receiver on the same module. In
order for the remote control to work, you need to connect the wired IR module to
the display, also on the bottom of the I/O panel. Then place the IR receiver in the
desired place on or near the display.
008-0161-00A 1
UltraRes Quick Start Guide
3 Turn the power switch on. The display should now be in stand-by mode and the
4 Install the UltraRes Control software on your Windows PC. This software is
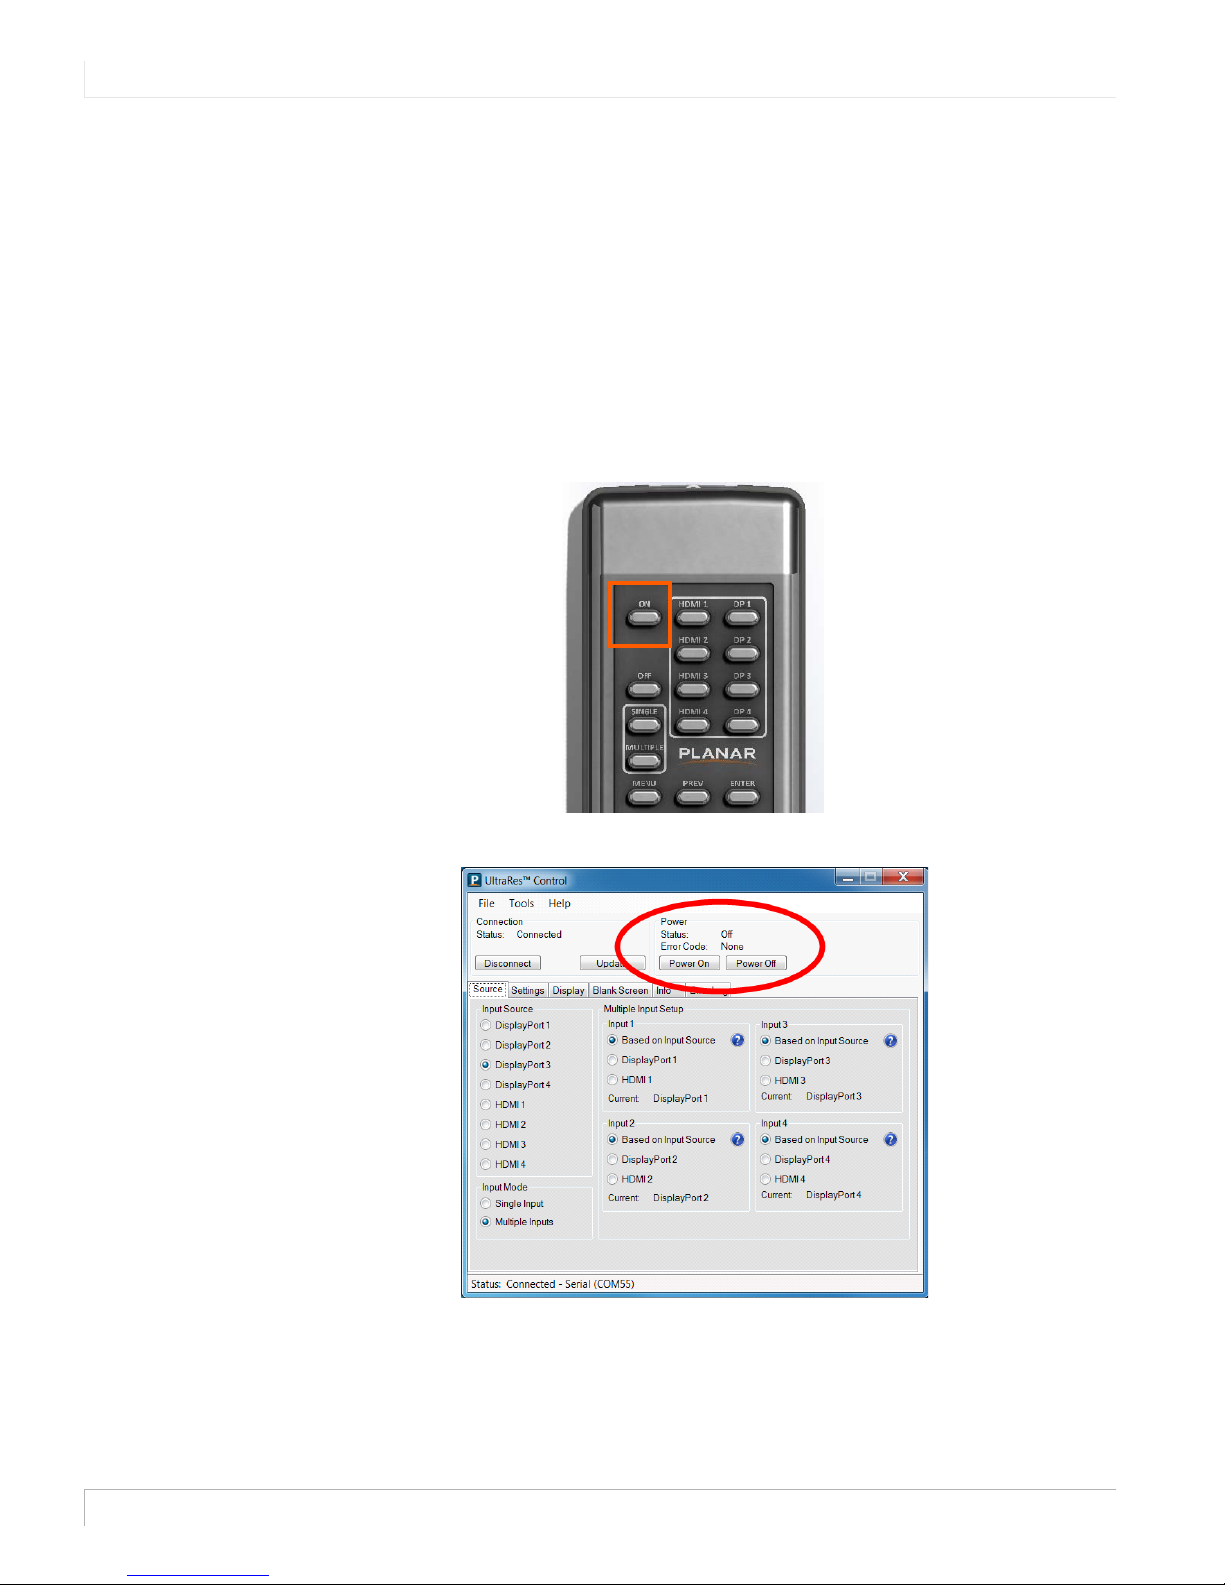
5 Turn on the display using one of two methods:
wired IR module LED should show solid blue.
contained on the USB drive in your accessory kit box. Follow the automatic
prompts. For more information about this software, see the Installation Guide on
the USB drive that is included in your accessory kit box. Connect a USB cable from
the PC to the display. In the UltraRes Control software, click the Connect button
to establish a connection to the display.
• Pressing the power button on the remote control, point it at the IR receiver.
• Using the UltraRes Control software, select the Power On button.
6 Using either method in the previous step, the IR receiver LED should blink and
then turn off. The display should change from a black screen to blue.
2
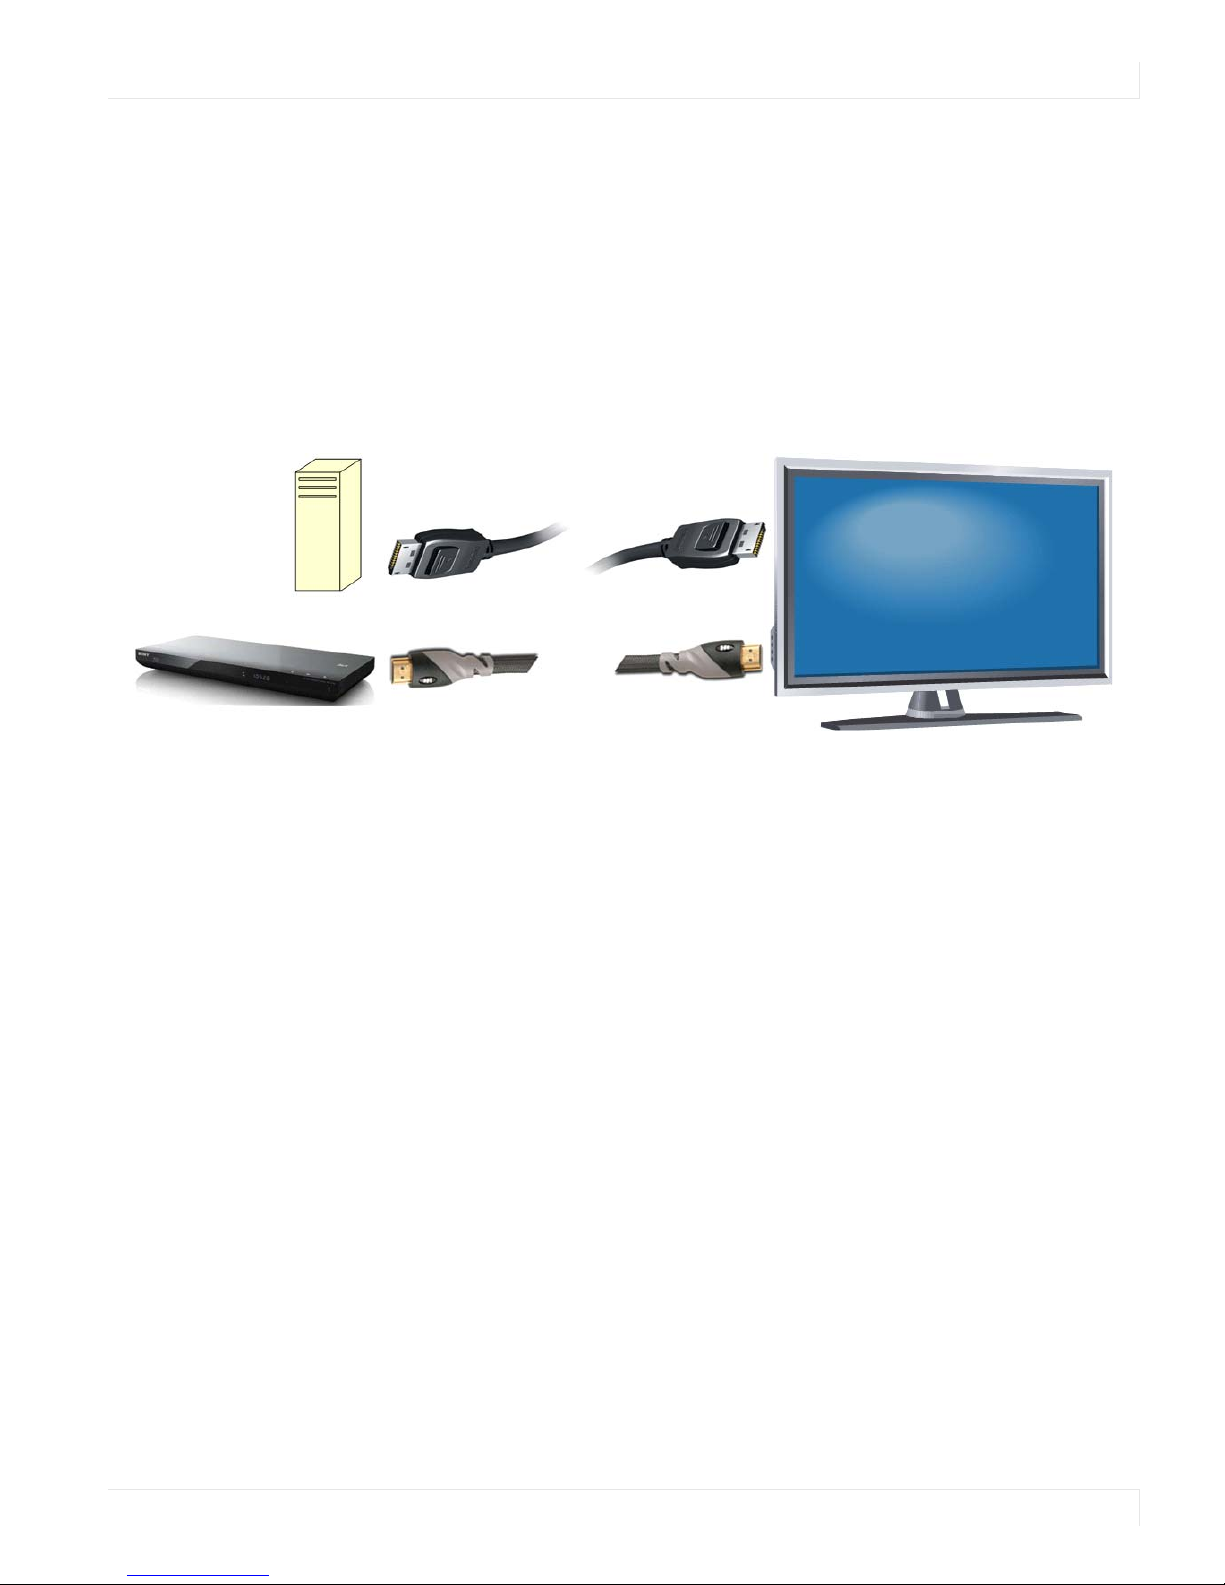
Setting Up UltraRes Using Single Inputs
Instead of having one central device into which you can connect and define your
source inputs, single source setup requires connecting from a single-headed source
to the display. For example, connecting one input directly from a Blu-ray player into
the 84” display.
The example below uses the following:
• PC with 4K @ 24/25/30HZ output
• 4K Blu-ray player
UltraRes Quick Start Guide
The following formats are supported for single inputs:
• (1x) DisplayPort or HDMI 4K @ 24/25/30Hz
• PC with DisplayPort 1.1a or 1.2 output
• 4K Blu-ray player
There are two preferred ways in which you can select individual inputs. They are
described on the following pages.
3
 Loading...