

Pixel Magic SDI Capture Card Owner's Manual

User's Manual
for
SDI Capture Card
PMS Video Ltd.
Doc No: PMS-UM0001 Rev. 1.1
Last Update: 25/2/2004
1. Introduction:
The SDI (Serial Digital Interface) Capture Card is a standard PCI 2.1 input card, which can capture standard
SDI video signal for further processing. Thanks to the SDI technology, picture quality can be kept during
data transmission for a long distance from a SDI source to the SDI capture card. The combination of SDI
Capture Card and the DScaler software turns a personal computer into a high performance digital video
processor / scaler and delivers unprecedented high quality video in home theaters at a very reasonable
price.
NOTE: The provided driver and software are under GNU General Public License (GPL). Software support is
not provided by PMS Video Ltd.
2. Features:
-32-bit PCI bus mastering, Plug-n-Play compliant
-1 SDI input with BNC male connector
-SDI formats supported: 480i (NTSC) and 576i (PAL)
-Easy to install
-Fully compatible with the DScaler software
-Status LED turns on when standard SDI signal is detected
-Supports Microsoft Windows 98/ME/2000/XP
3. System Requirements for Optimum Performance:
-Intel Pentium 400MHz or higher, or compatible computer
-1GHz or faster CPU is highly recommended for typical usages
-One available PCI 2.1 compliant slot
-An AGP video card
-DRAM: 128MB or more
-Extra disk space: 10MB or more
-Microsoft Windows 98/ME/2000/XP
-Graphic subsystem with DirectX 8.0 or higher
4. Specifications:
-One Serial Digital Interface (SDI) Input
-One SDI Input LED Indicator
5. Hardware Installation:
1. Turn off your computer FIRST. Remove the case and insert this SDI capture card into your
computer's PCI slot. Make sure the adapter card is well seated in the slot before fasten it with
screws. Finally, replace case.
2. Connect the SDI port to the SDI source (ex. SDI Converter DIY kit) using a BNC cable.
3. Start transmitting from your SDI source and the LED on the SDI capture card should light up
indicating that it is receiving SDI signal from the SDI source.
4. After finishing the above procedure, you may begin to install the drive and software.
6. Software Installation:
6.1 DScaler 4.1.X Installation
1. After turn on your computer, place the Utility CD into the CD-ROM. If you don't have the CDROM,
please download the driver from PMS Video’s web site.
2. When the New Hardware Found message appears, choose "Cancel" for all. (i.e. Normally, we do
not need to install the device driver because DScaler can drive the SDI card directly. Please refer
to the appendix in case you want to install the driver for any reason.)
Note: To permanently stop the pop-up message of “New Hardware Found” each time boot-up,
please go to “My Computer > Property > Hardware > Device Manager” and you should see the
device with a ? mark. This is possibly the unknown devices of the SDI card. Right click the ? mark
device and select Disable. Then right click it again and select Enable. Then Windows won't find
the 2 devices again and ask for driver when next boot up.
3. Double Click the "DScaler.exe" program. If you don't have the CDROM, please download the driver
from PMS Video's web site.
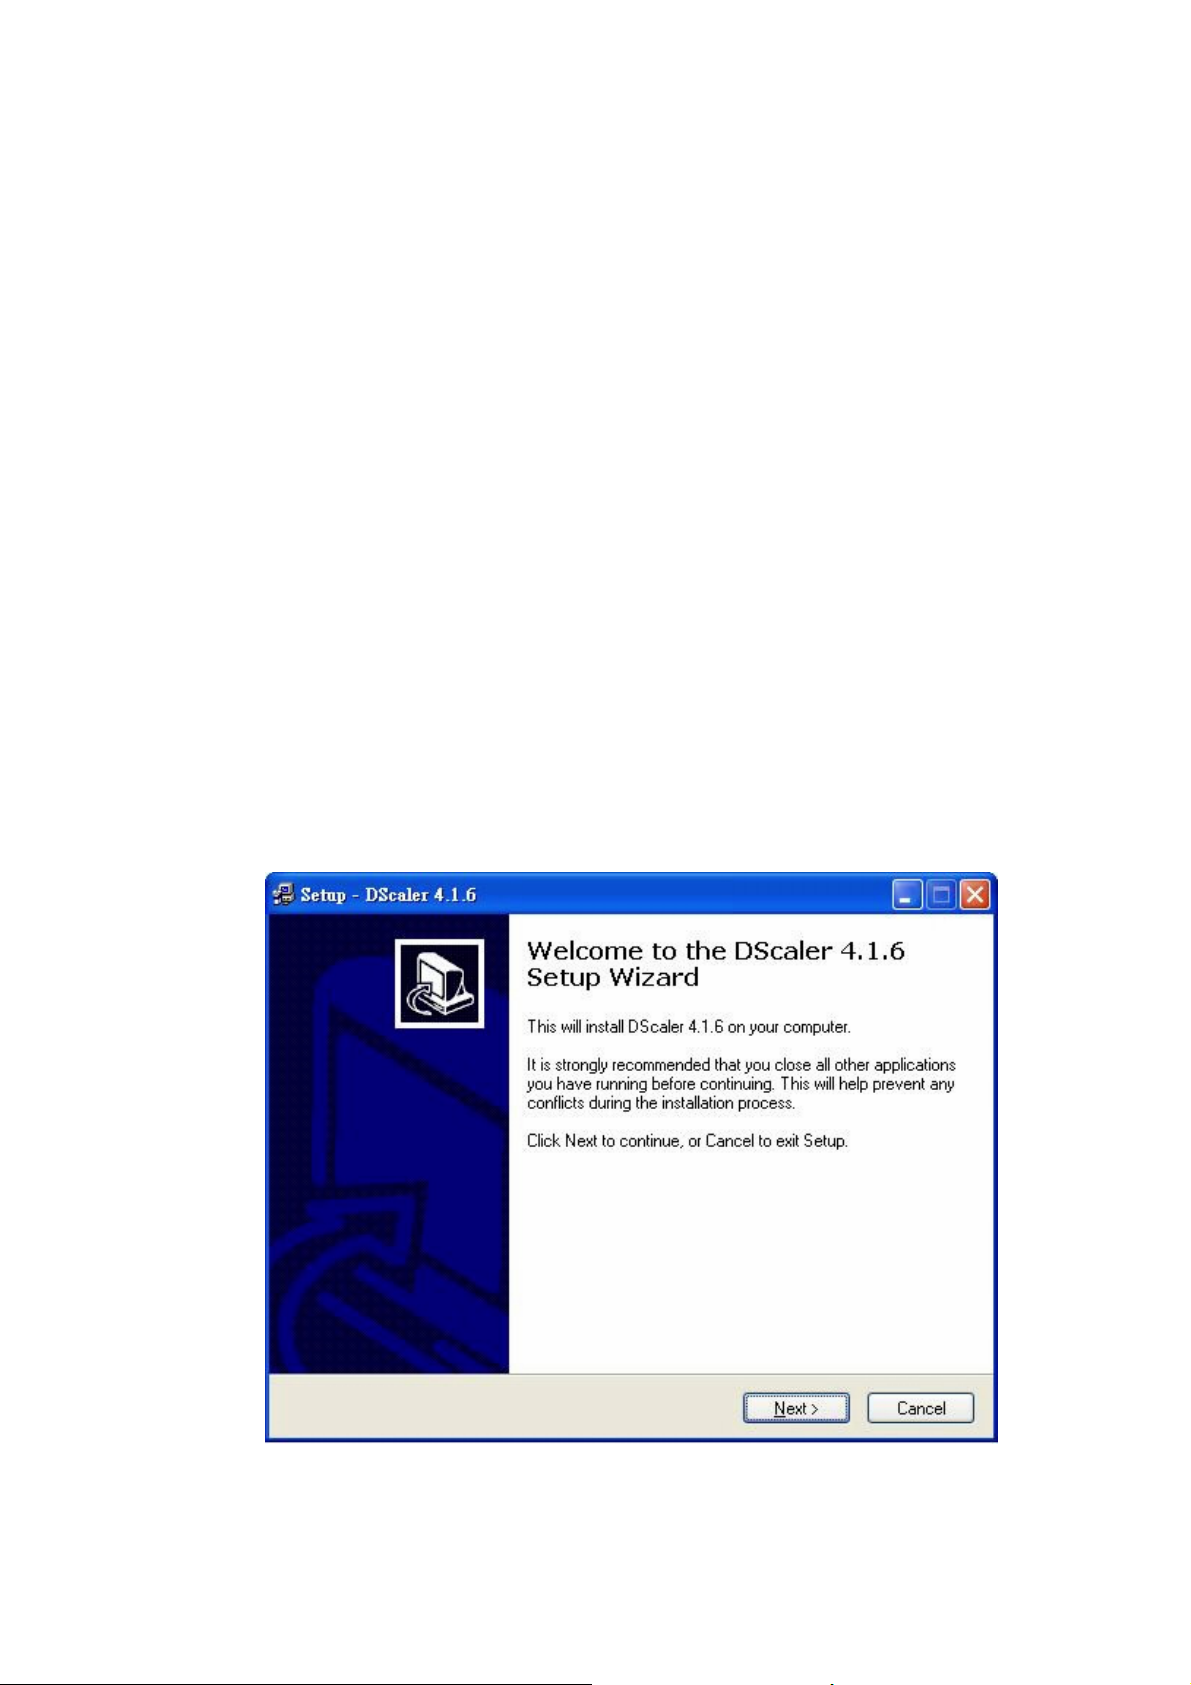
4. Click "NEXT" to continue.
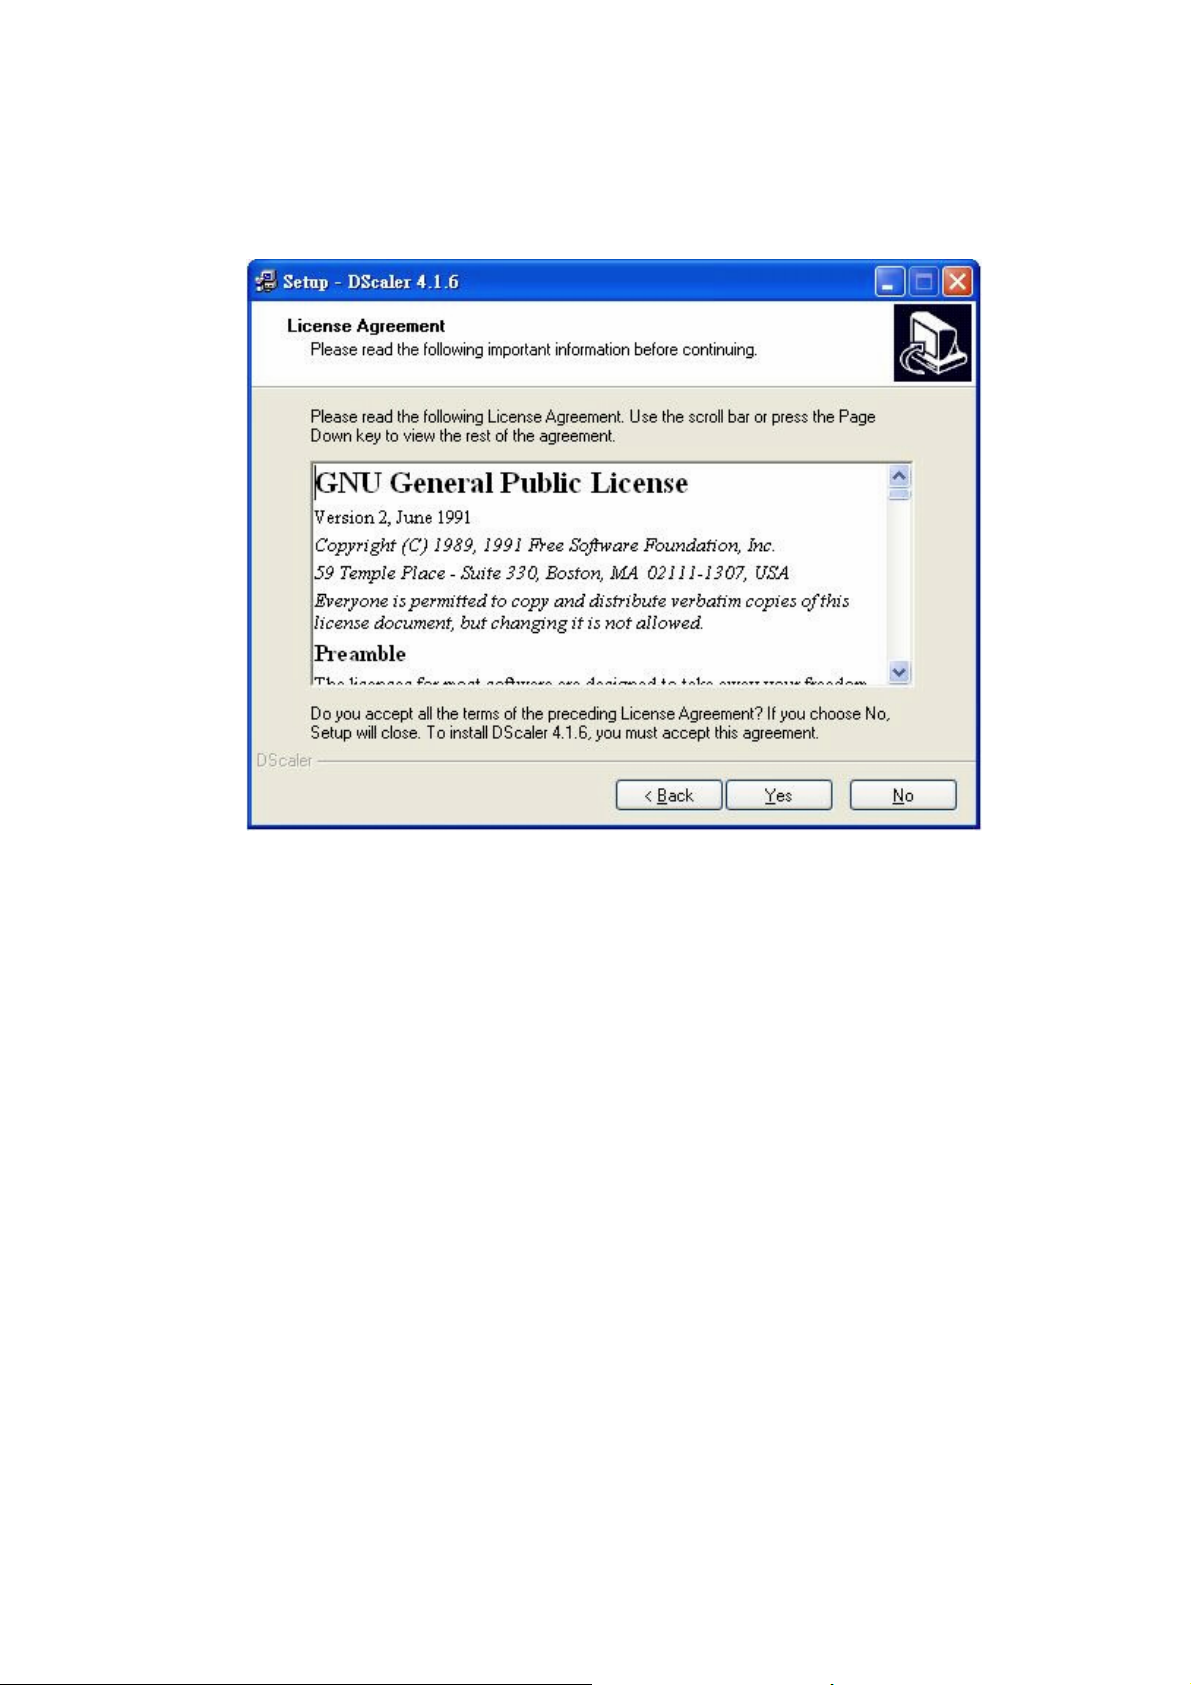
5. Click "YES" after reading the license agreement.
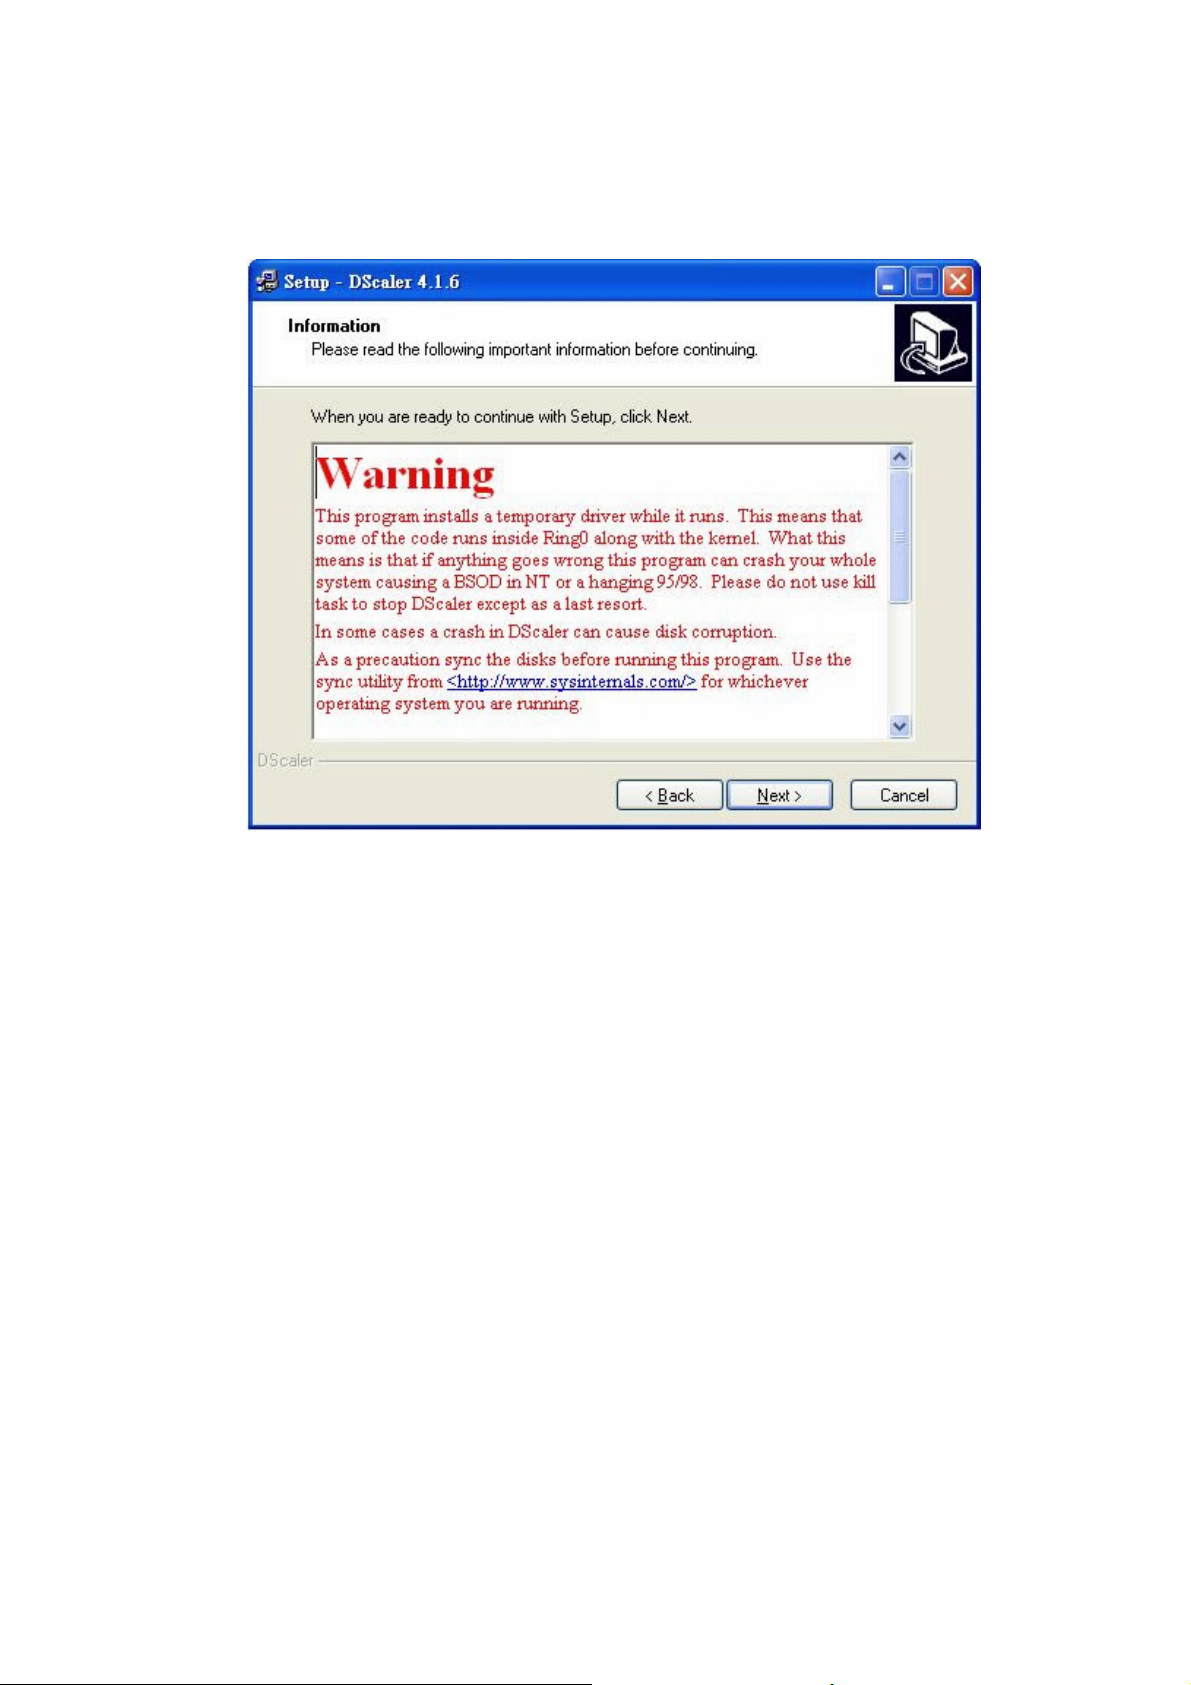
6. Click "NEXT" after reading the warning message.
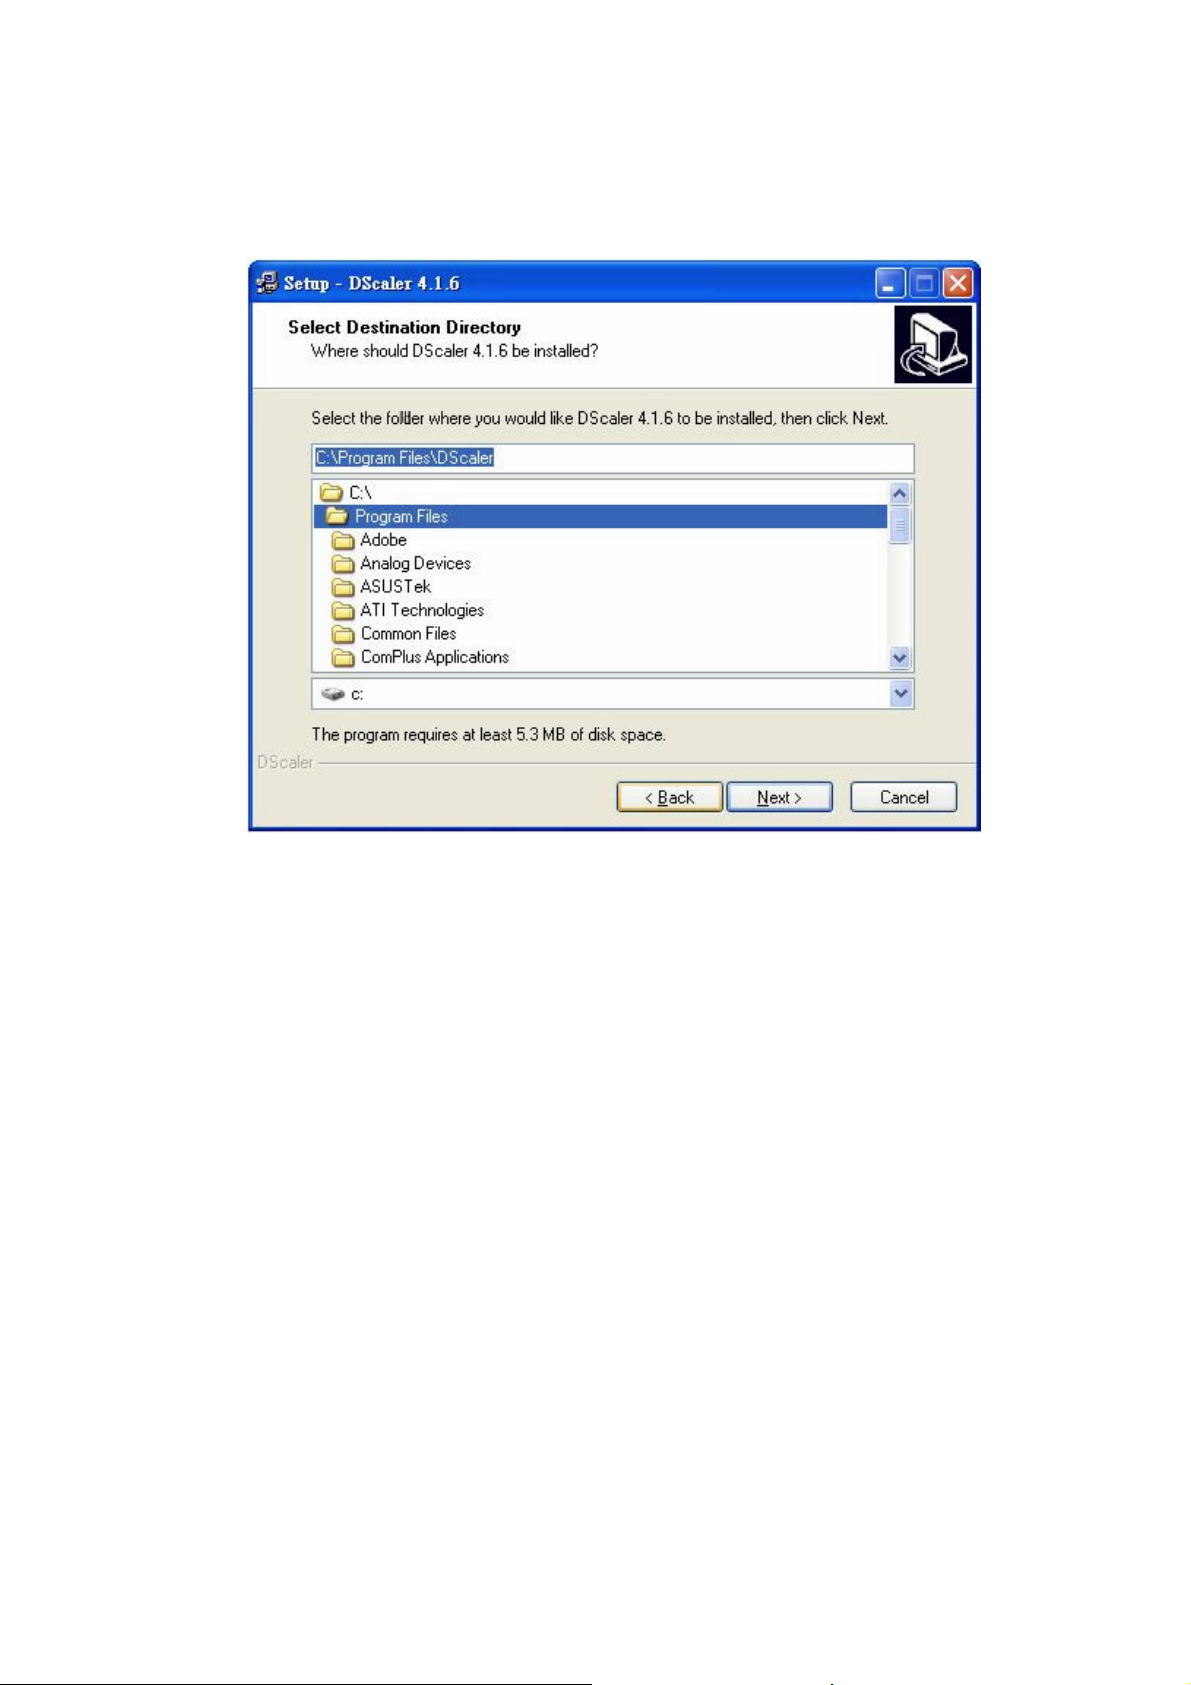
7. Click "NEXT" after choosing the folder for installation.
 Loading...