

Page 1

User's Manual
for
PDI Capture Card + Xcard Combo
PMS Video Ltd.
Doc No: PMS-UM0004 Rev. 1.3
Last Update: Feb 24, 2004
1. Introduction:
PDI Capture Card:
The PDI (Parallel Digital Interface) Capture Card is designed to work with the Realmagic Xcard or 100%
compatible MPEG2/MPEG4 decoder card. This solution combines the power of hardware MPEG
decoding, sophisticated deinterlacing, video processing and scaling capability of the DScaler software,
and represents a revolution in the HTPC (home theater PC) history. The result turns a personal
computer into a high performance digital media player and video processor/scaler and delivers
unprecedented high quality video in home theaters at a very reasonable price.
Xcard:
Sigma Designs’ REALmagic Xcard™ sets the new standard for multimedia playback on your PC, turning
it into a state-of-art Home Theatre PC (HTPC). Experience viewing your DVD and DivX™ video
collection on your television or HDTV with the highest quality visual and audio experience possible and
the convenience of remote control. Progressive DVD playback and our new Xmedia player navigation
software completes the ultimate home theatre experience.
NOTE: The provided driver and software are under GNU General Public License (GPL). Software
support is not provided by PMS Video Ltd.
2. Features:
PDI Capture Card:
-32-bit PCI bus mastering, Plug-n-Play compliant
-26-pin connector compatible with the digital video output of Realmagic Xcard
-PDI formats supported: 480i (NTSC) and 576i (PAL)
-Easy to install
-Fully compatible with the DScaler software
-Supports Microsoft Windows 98/ME/2000/XP
Xcard:
-Enjoy DVD-Video, DivX™ video, and Superbit™ DVD movies using your current television and
surround sound system.
-Also plays Super VideoCD (SVCD), VideoCD (VCD) and MPEG-4, MPEG-2 and MPEG-1 files.
-Provides advanced audio output features such as Dolby® Digital or DTS® surround sound (through
S/PDIF) for high fidelity sound reproduction.
-Includes our new Xmedia player software and remote control to provide familiar VCR-like controls to
your DVD, DivX™ video, SVCD and VCD movies.
-Compatible with Microsoft® Windows® 98SE, Me, 2000 and XP.
Page 2

3. System Requirements for Optimum Performance:
-Intel Pentium 400MHz or higher, or compatible computer
-1GHz or faster CPU is highly recommended for typical usages
-One available PCI 2.1 compliant slot
-An AGP video card
-Plug and Play BIOS support
-Installation software requires DVD-ROM or CD-ROM drive
-DVD-Video playback requires DVD-ROM drive
-Remote control receiver requires available serial port
-DRAM: 128MB or more
-Amplified stereo speakers (surround sound receiver and speakers required for surround sound)
-Extra disk space: 10MB or more
-Microsoft Windows 98/ME/2000/XP (English version is highly recommended)
-Graphic subsystem with DirectX 8.0 or higher
4. Specifications:
PDI Capture Card:
-One Parallel Digital Interface (PDI) Input
Xcard:
-One Parallel Digital Interface (PDI) Input
-S-video output (NTSC/PAL)
-VGA output
-Stereo analog line output (mini-jack)
-S/PDIF digital audio output (RCA)
Page 3
5. Hardware Installation:
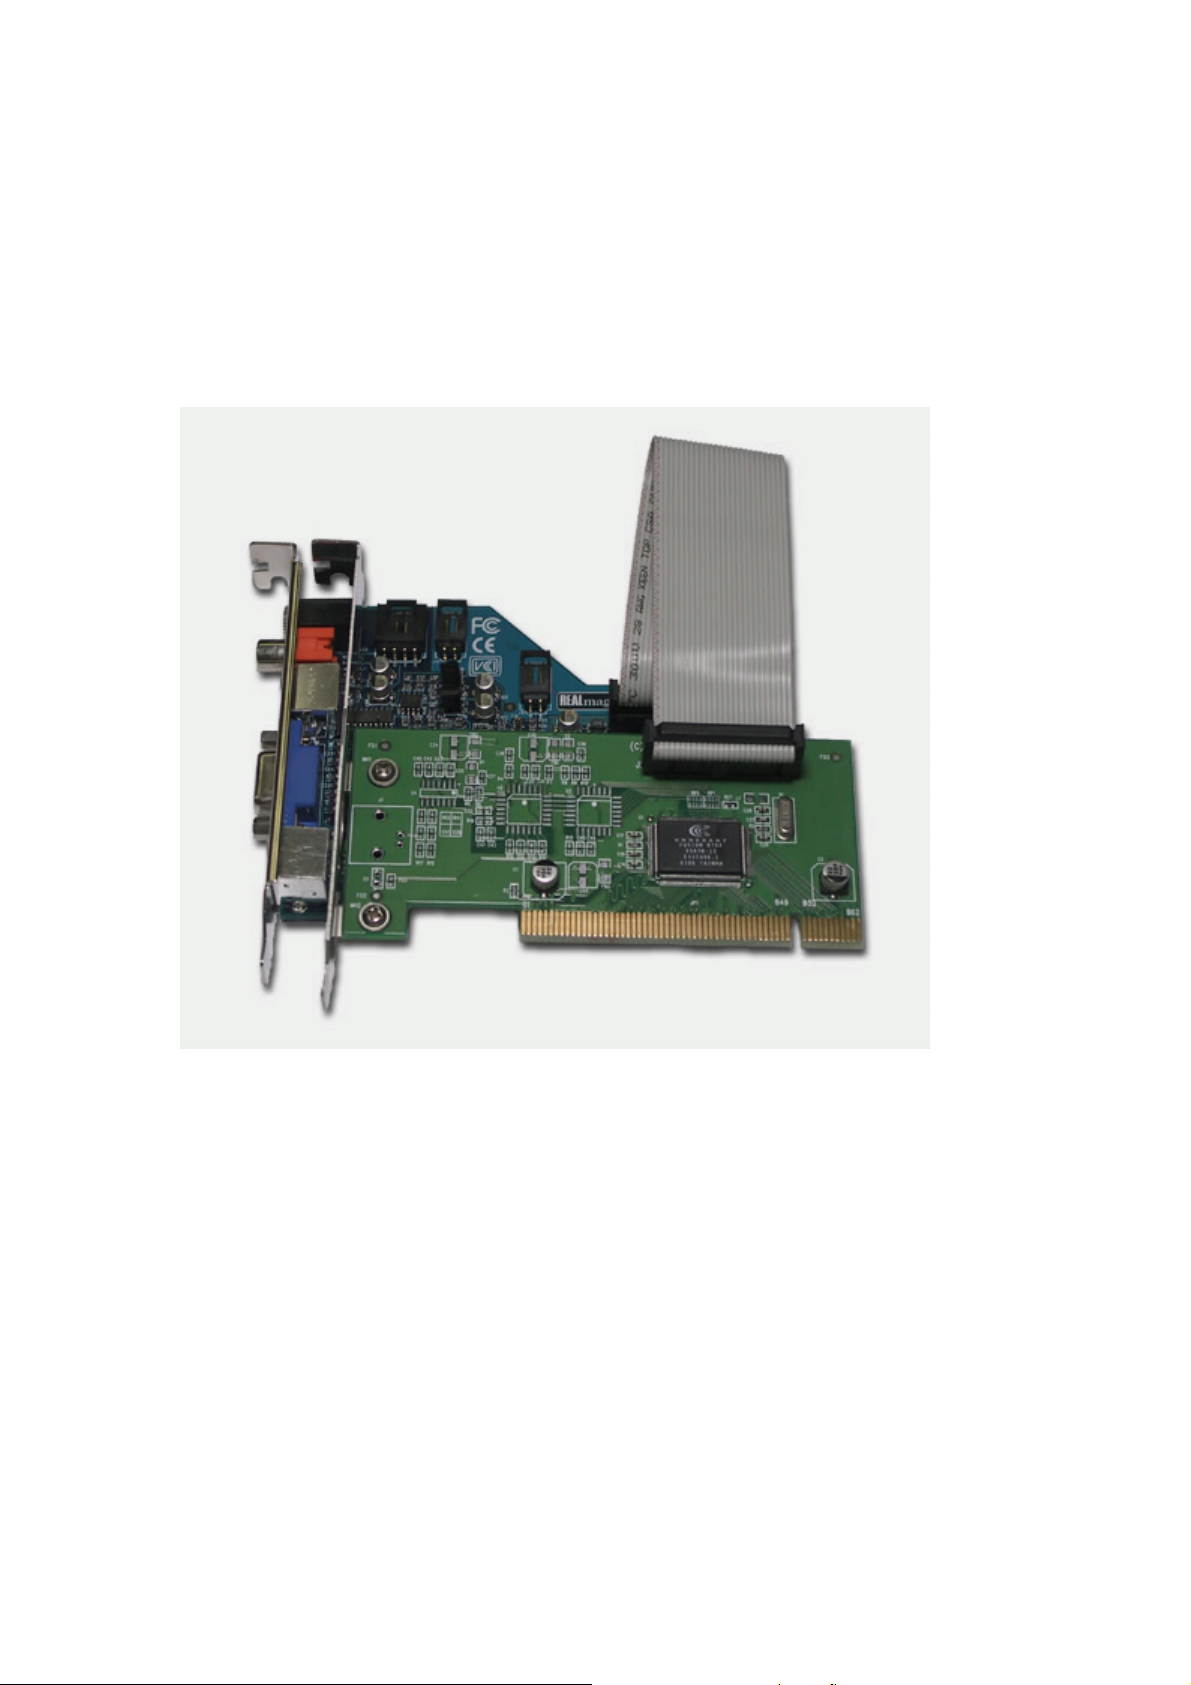
1. Turn off your computer FIRST. Remove the case cover and insert this PDI capture card and
Xcard into your computer's PCI slot.
2. Connect the PDI Capture Card to the Realmagic Xcard through the 26-pin ribbon cable
shipped with the PDI Capture Card + Xcard Combo. The red line of the ribbon cable should be
at the left as shown in the following picture.
3. Make sure the adapter card is well seated in the slot before fasten it with screws. Finally,
replace case.
4. Connect the Remote Control Serial Port to one serial port at PC.
5. After finishing the above procedure, you may begin to install the driver and software.
Page 4

6. Software Installation:
6.1 REALmagic Xcard (Driver) Installation
1. In Windows, go to "Control Panel", "System", "Hardware", then "Device Manager".
2. Double "Multimedia Controller", Click "Reinstall Driver...".
3. Choose the option Driver from disk provided and then click "OK".
4. Make sure the dialog specifies the correct disk drive letter (for example, D:\ ) and location (use
the Browse dialog), and click "OK" to install the appropriate drivers and software for the
REALmagic Xcard to your hard disk. For
example, installing to Windows 98SE will use the driver location:
D:\Xcard-Driver & Applications\Windows 98SE & Me\Driver.
5. When the installation is complete, the Windows desktop will appear.
6.2 REALmagic Xcard (Application) Installation
1. Run the appropriate REALmagic Xcard Application Setup program. For example, installing to
Windows 98SE will use the application location under:
D:\Xcard-Driver & Applications\Windows 98SE & Me\Application\Disk1\
(where D: is the CD-ROM drive letter). The Welcome dialog box appears.
2. Click the "Next" button. The REALmagic Xcard Setup dialog appears.
Page 5
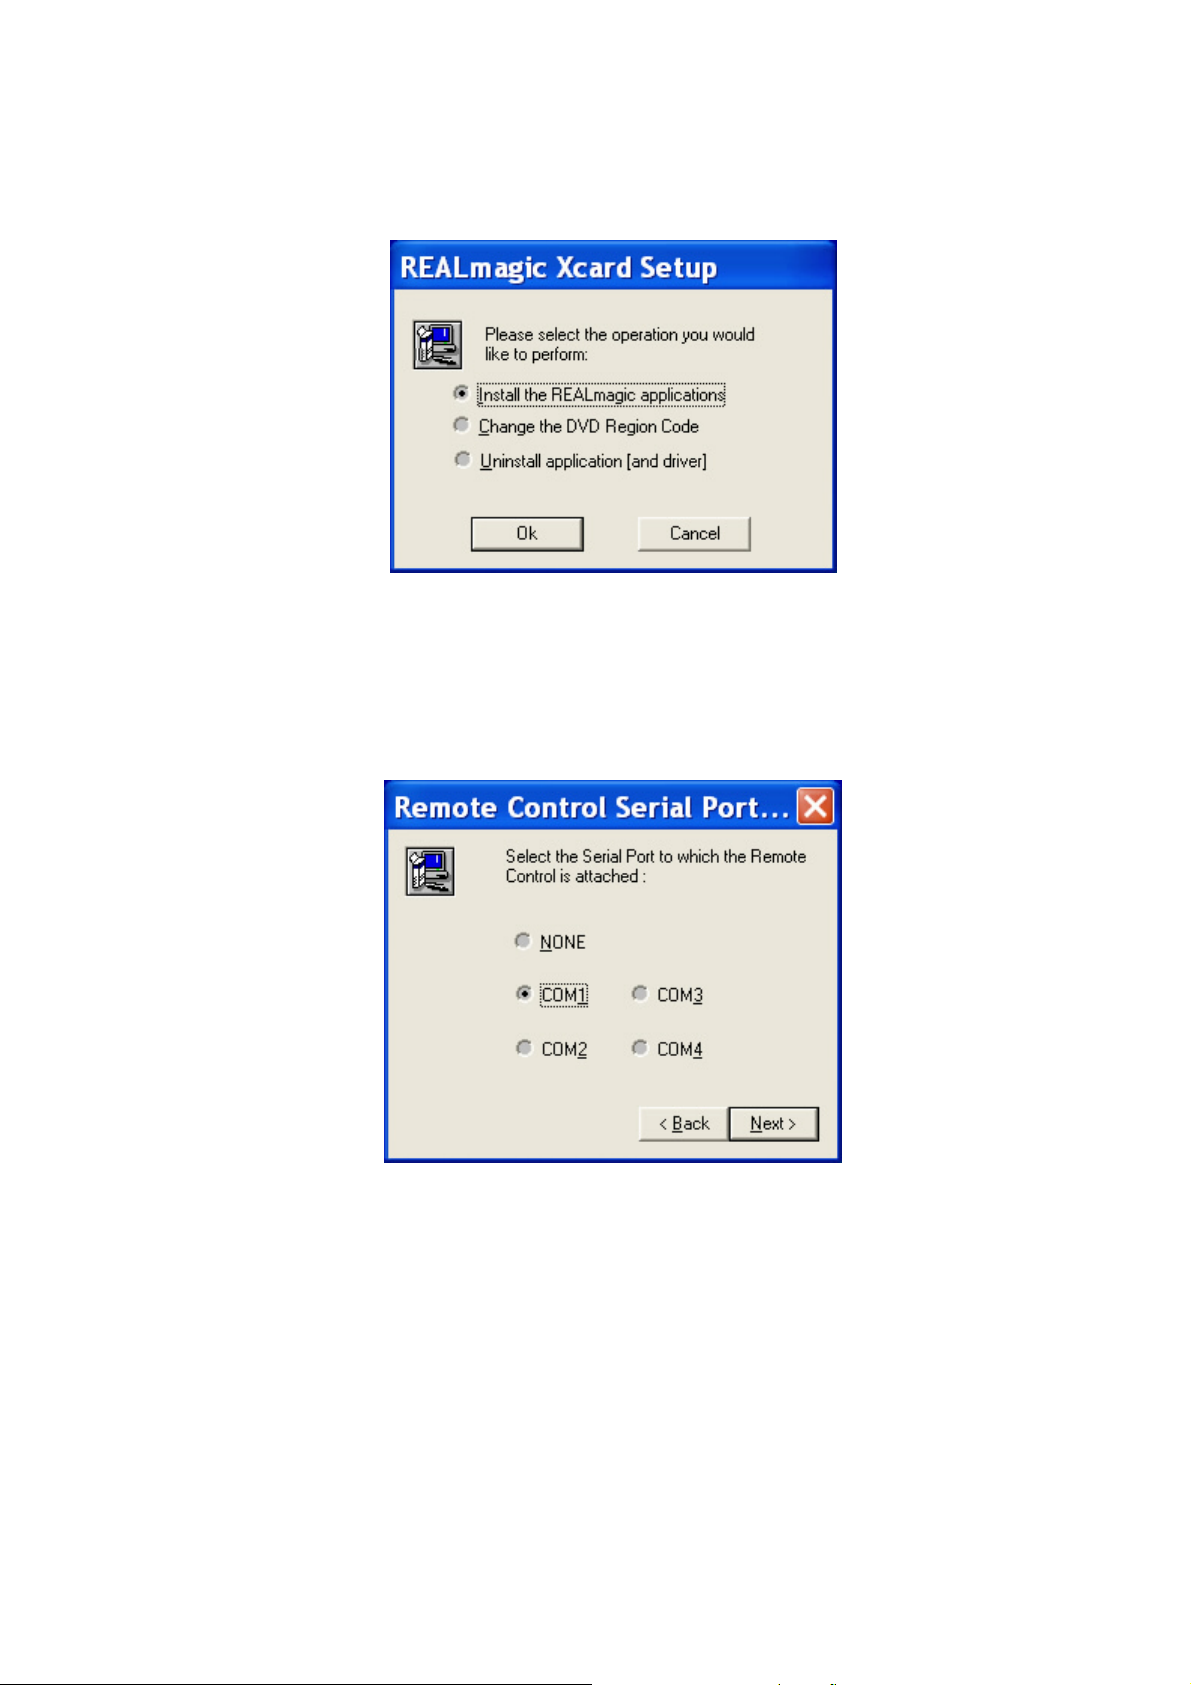
3. Click on the "Install the REALmagic applications" radio button (default) and then "OK".
4. Click on the COM1 radio button (or COM2, COM3, or COM4, depending on how your remote
control is connected to the computer) and then click Next. The Choose Destination Location
dialog appears.
Page 6
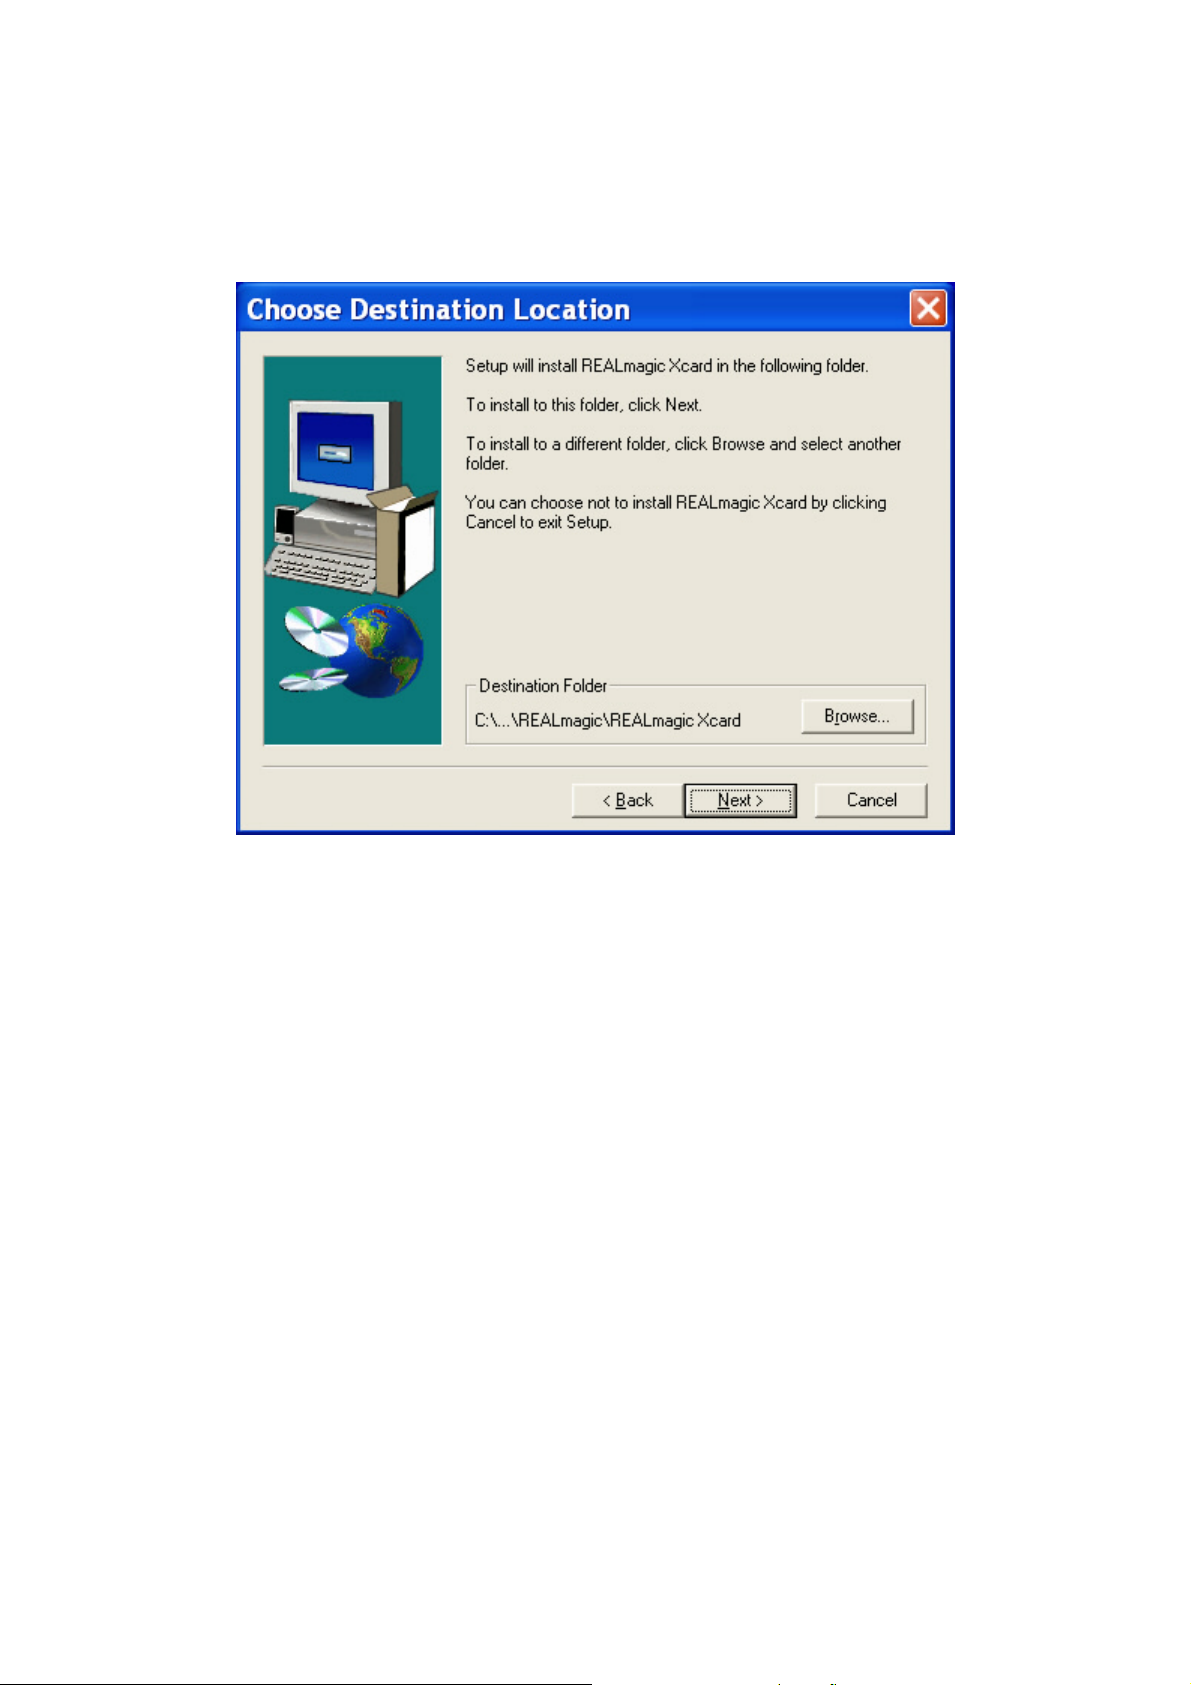
5. Click "Next" unless you wish to specify an alternative destination folder in which to install files.
To specify an alternative destination, click "Browse", and navigate to the desired folder and
then click "Next".
Page 7
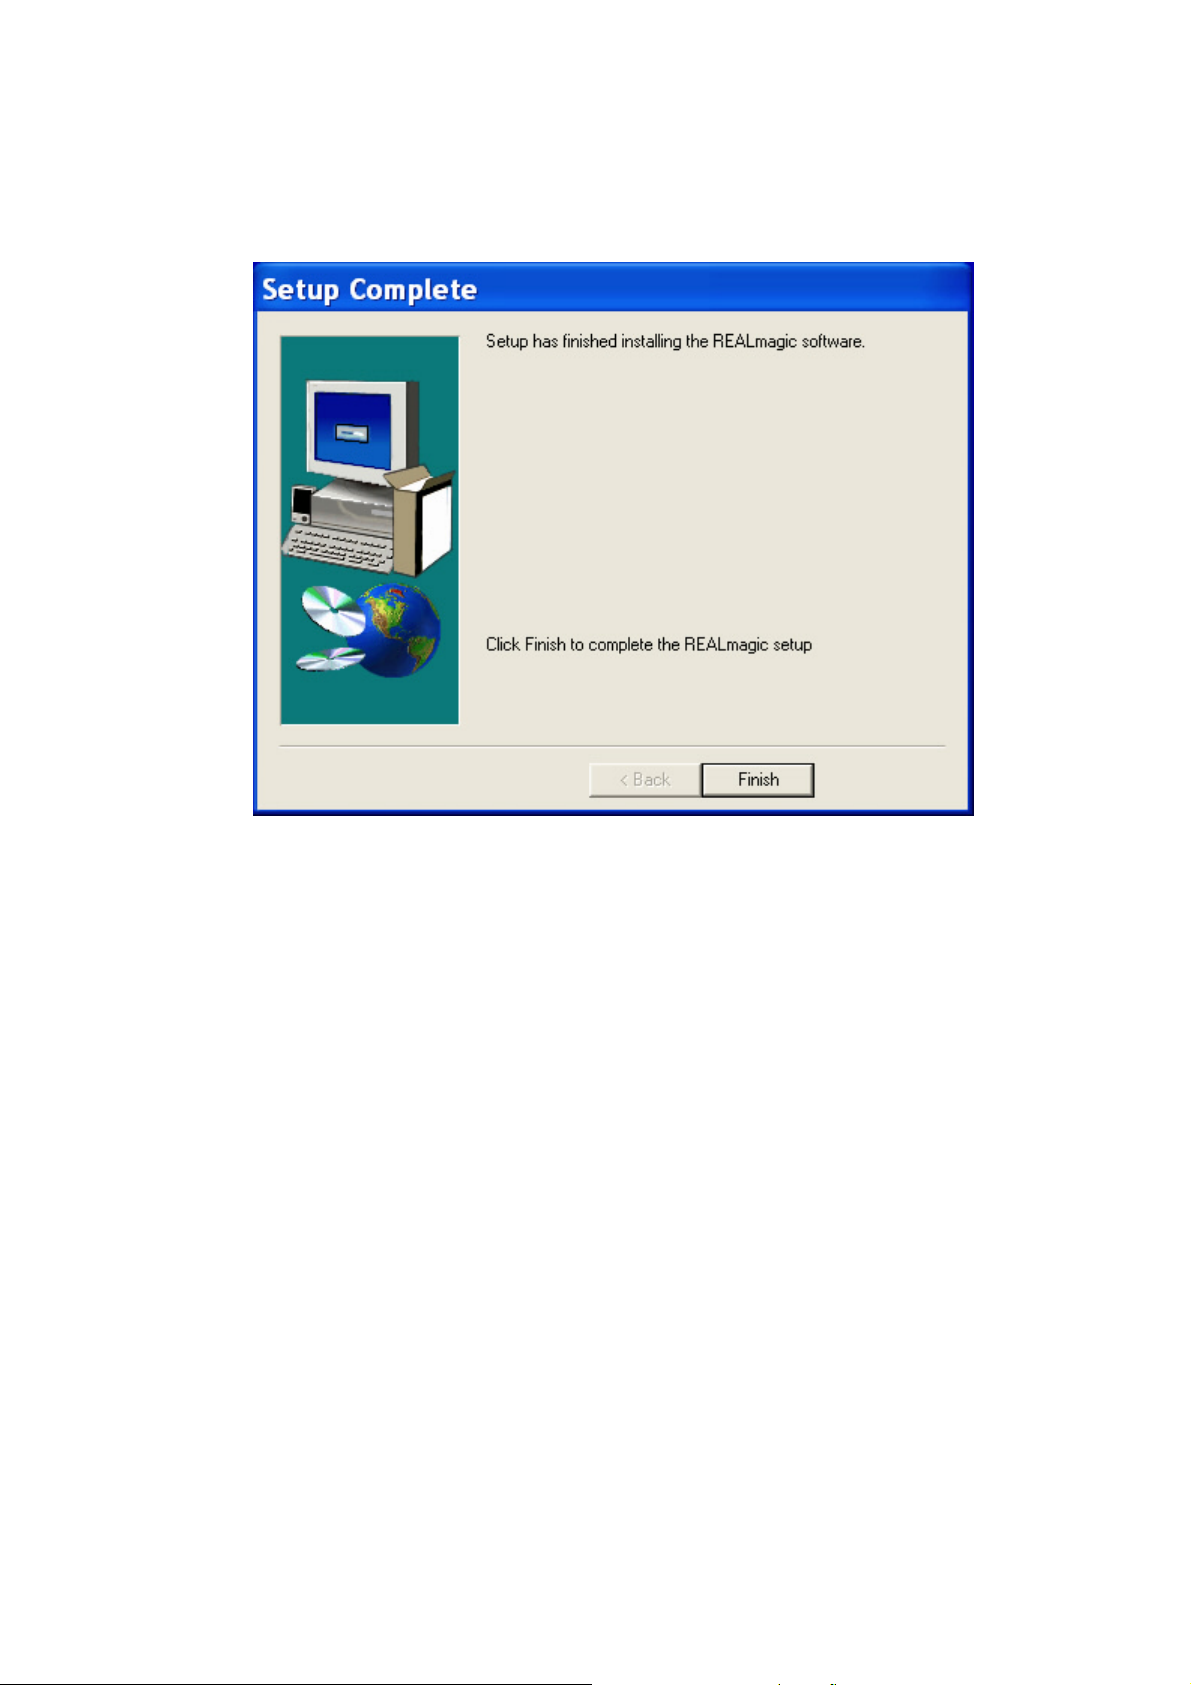
6. REALmagic Setup installs the program files. When installation is completed, the Setup
Complete dialog appears. Click "Finish".
Page 8

6.4 DScaler 4.1.X Installation
1. After turn on your computer, place the Utility CD into the CD-ROM. If you don't have the CDROM,
please download the driver from PMS Video’s web site.
2. When the New Hardware Found message appears, choose "Cancel" for all. (i.e. Normally, we do
not need to install the device driver because DScaler can drive the PDI card directly. Please refer to the
appendix in case you want to install the driver for any reason.)
Note: To permanently stop the pop-up message of “New Hardware Found” each time boot-up, please go
to “My Computer > Property > Hardware > Device Manager” and you should see the device with a ?
mark. This is possibly the unknown devices of the PDI card. Right click the ? mark device and select
Disable. Then right click it again and select Enable. Then Windows won't find the 2 devices again and
ask for driver when next boot up.
3. Double Click the "DScaler.exe" program under "PMS_Video-Driver & Application". If you don't
have the CDROM, please download the driver from PMS Video's web site.
4. Click "NEXT" to continue.
Page 9

5. Click "YES" after reading the license agreement.
Page 10
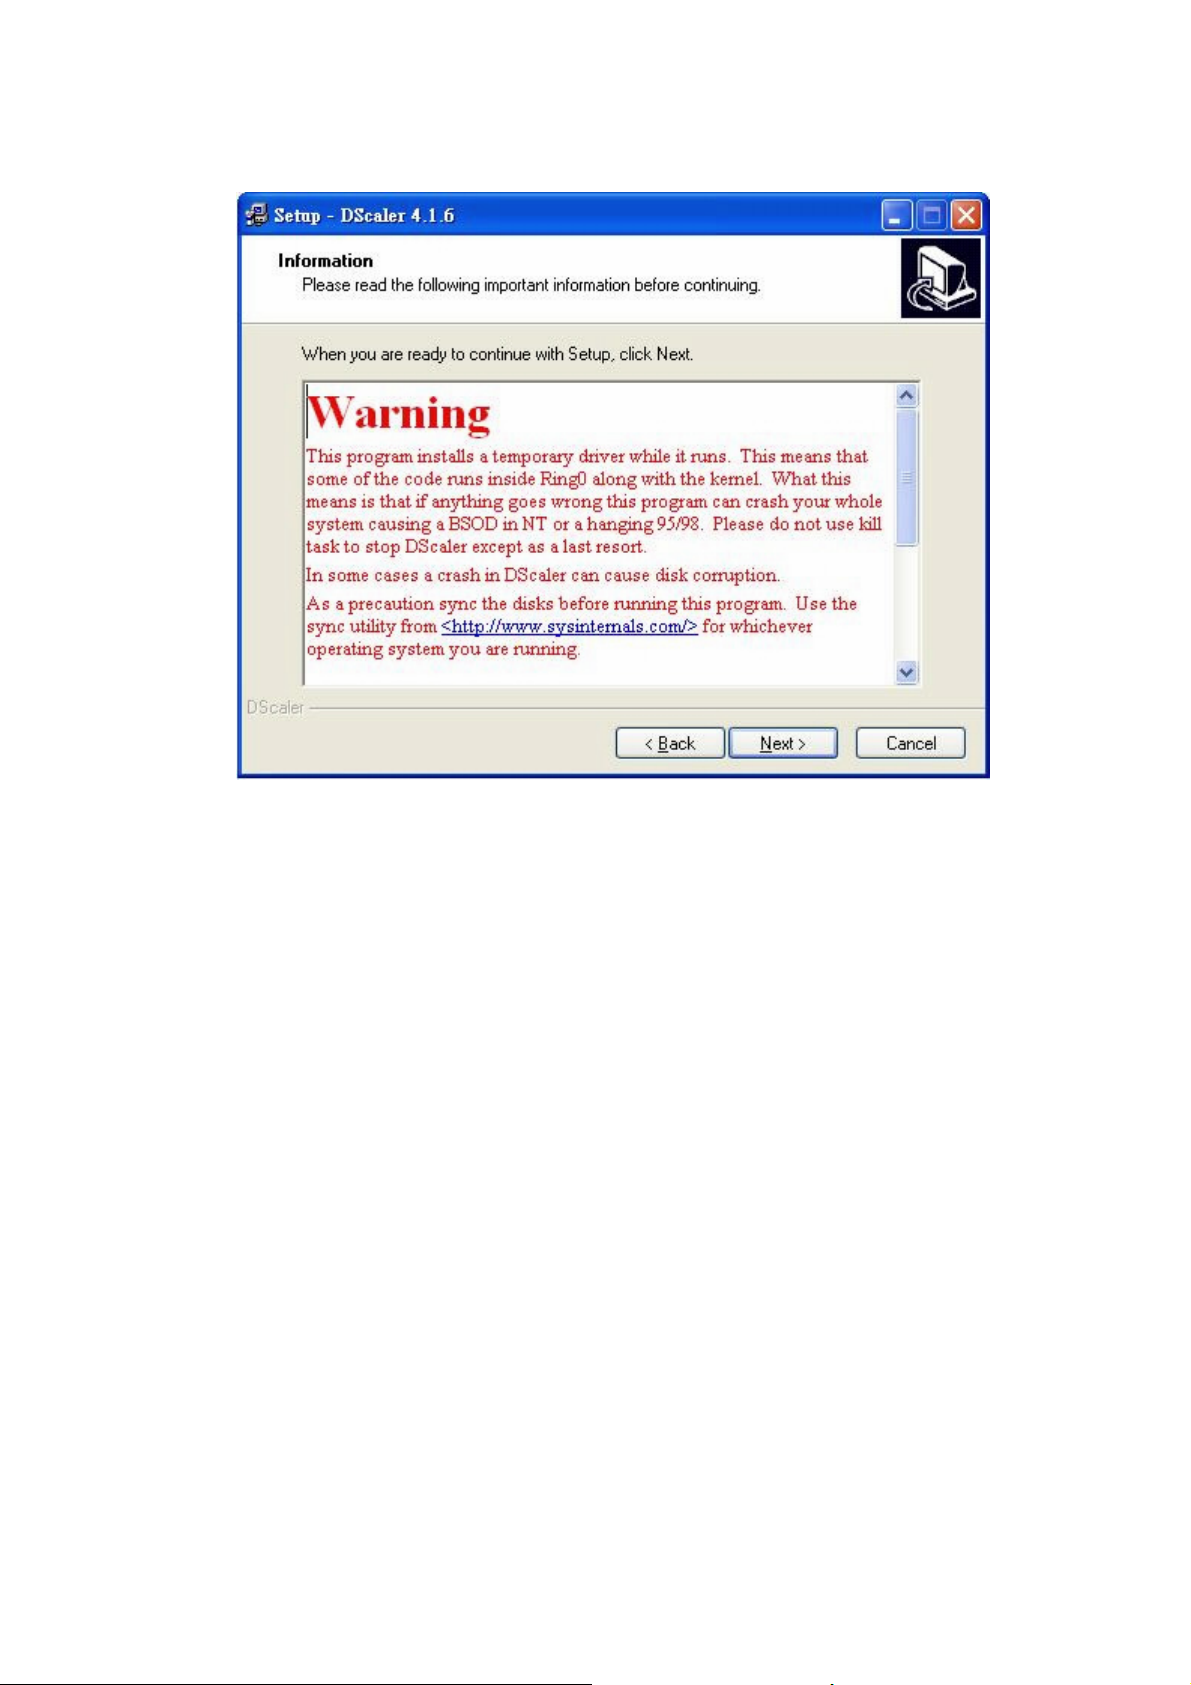
6. Click "NEXT" after reading the warning message.
Page 11
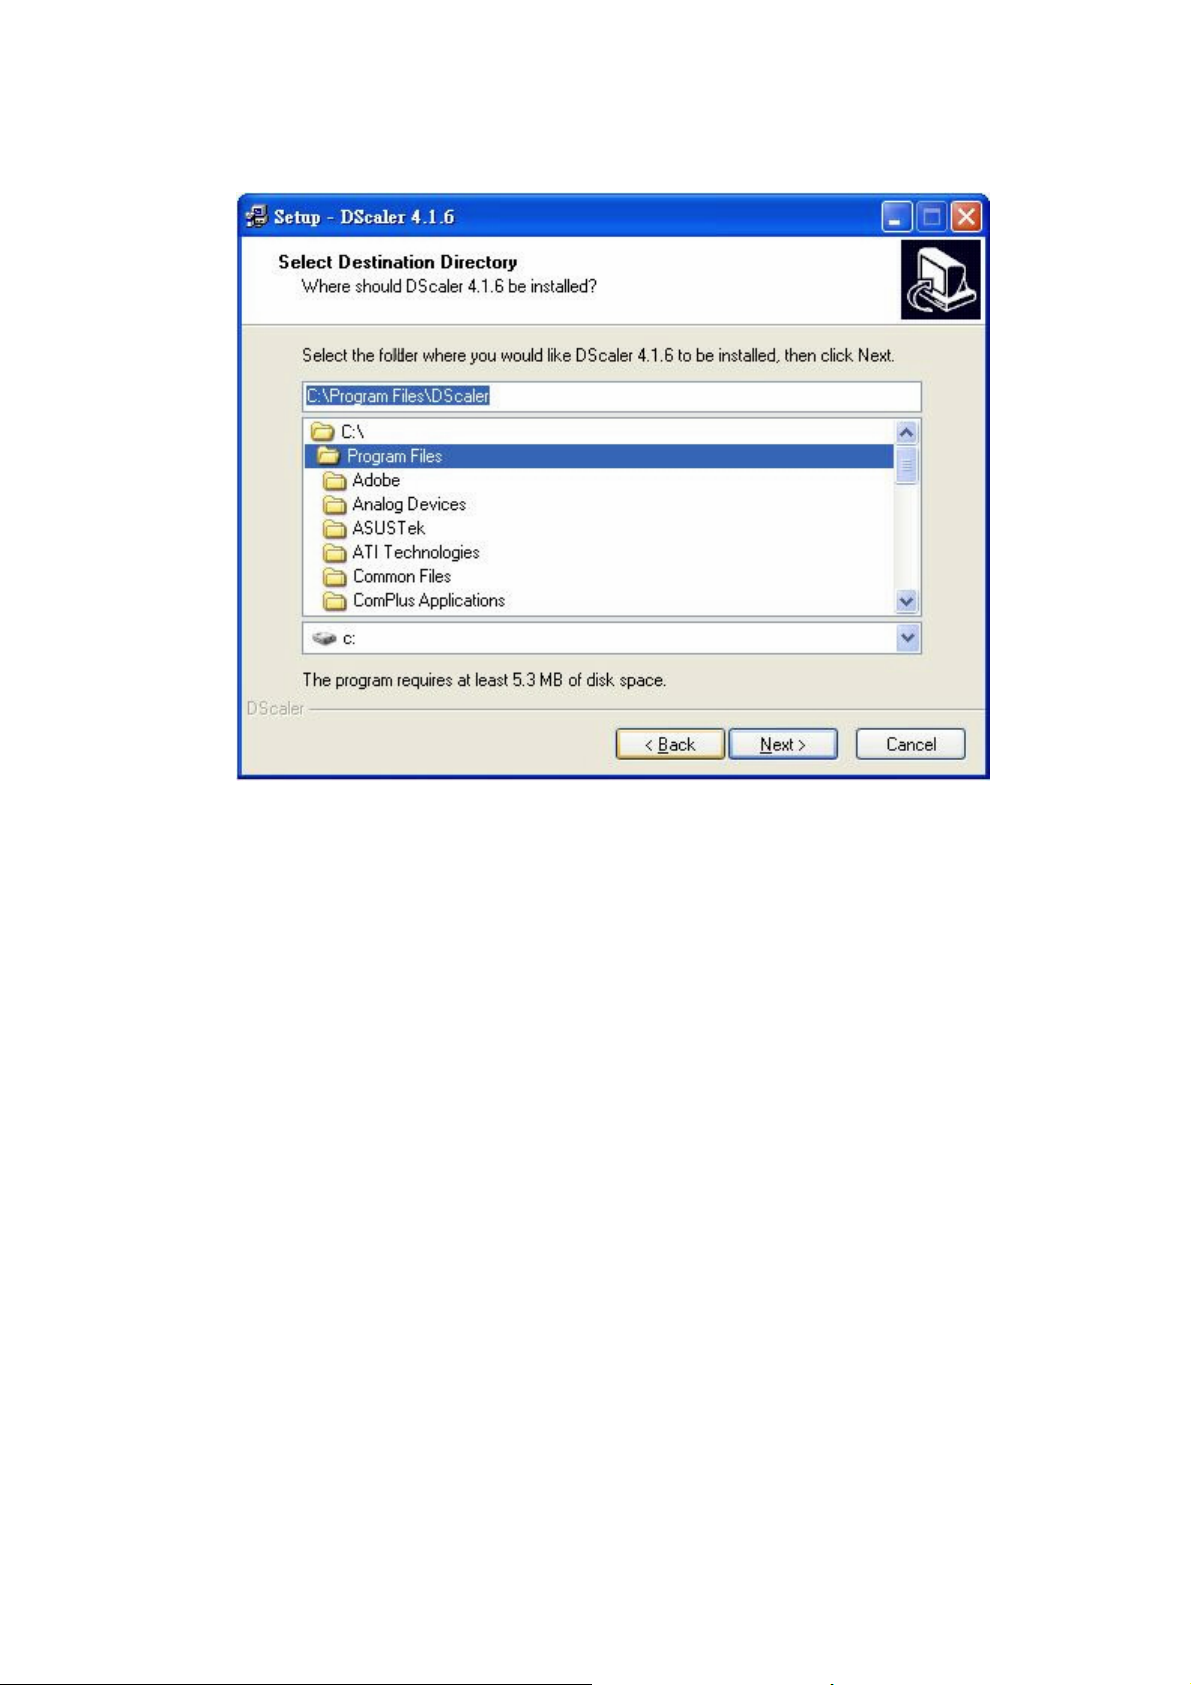
7. Click "NEXT" after choosing the folder for installation.
Page 12

8. Choose "Full installation", then Click "NEXT".
Page 13

9. Select or create the Start Menu folder for DScaler shortcuts, then Click "NEXT".
Page 14

10. Choose to/not to create desktop icon and quick launch icon, then Click "NEXT".
Page 15
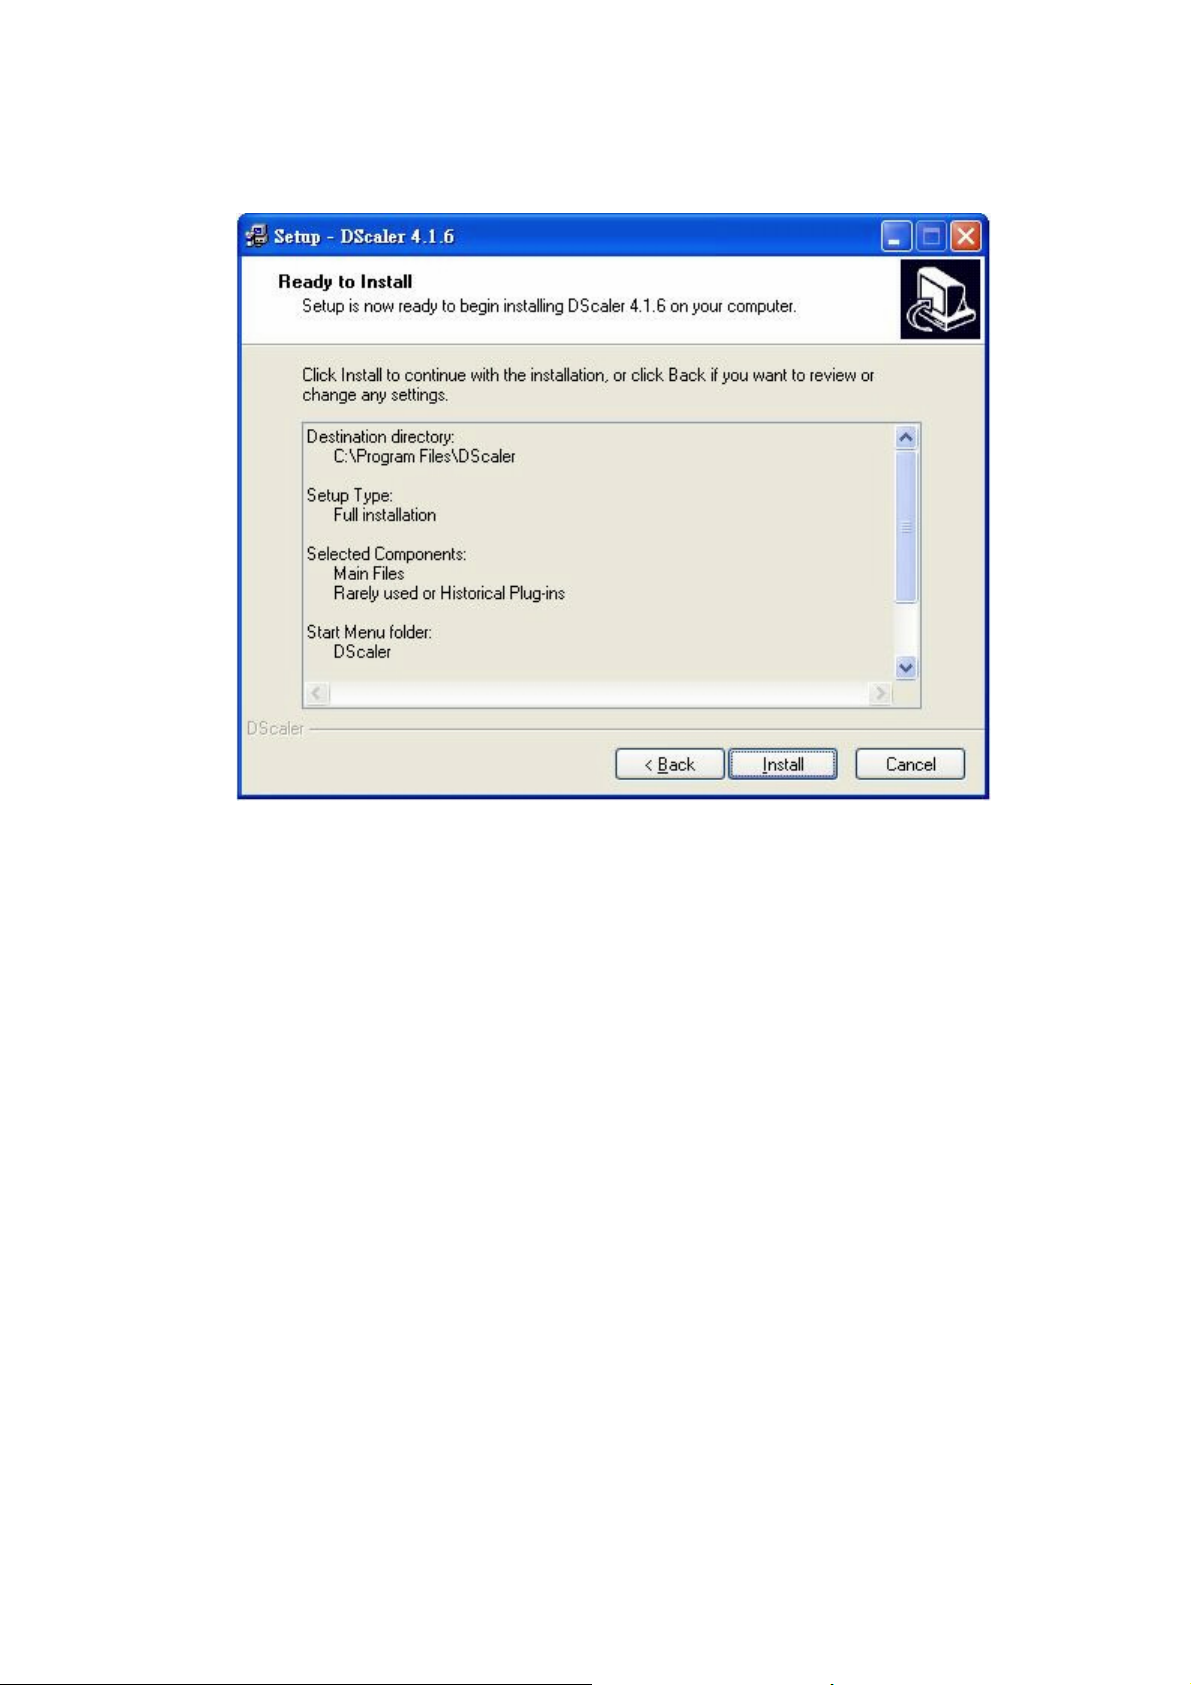
11. Click "Install".
Page 16

12. Choose to/not to launch DScaler program after finishing installation, then Click "Finish".
Page 17

7. DScaler Setting:
1. Set CPU information after launching DScaler for desire performance.
Page 18
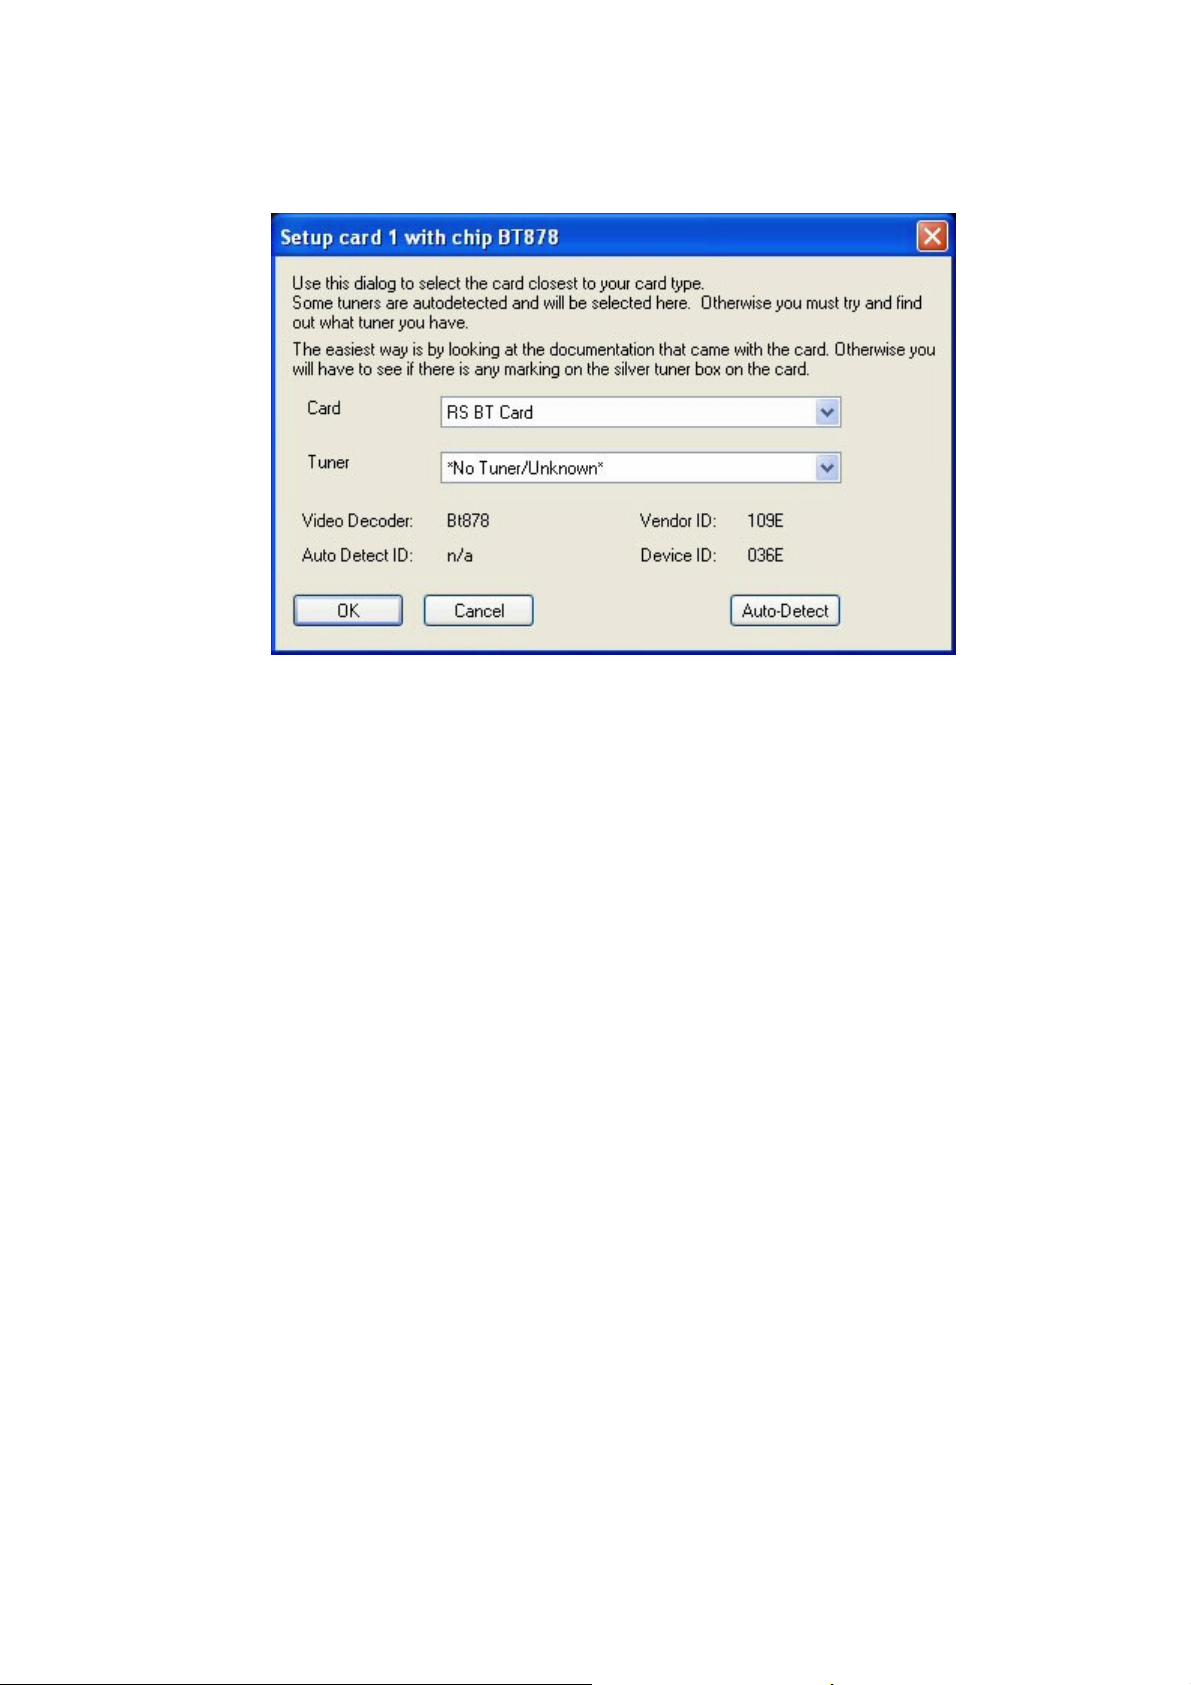
2. Select "BT Card" on the menu bar, then Choose "Setup Card / Tuner ...".
3. Select "RS BT Card", then Click "OK".
4. Select "BT Card" on the menu bar, Select "Video Input", then Choose ANY of the CCIR.
(Note: Any of the CCIR can take the PDI input signal, but the video adjustment setting for
each CCIR can be different. Therefore, the four CCIRs can be treated as four profiles.)
5. Then you need to set the "Video Adjustments" of DScaler to match your display. If you don't
bother to fine tune the parameters by yourself, you may use this set of recommended
setting: Brightness= 9, Contract= 116, Hue= -30, Color U= 126, Color V= 126. (Please set the
Brightness in "Video Adjustment" of the Xcard player to 500 for optimal result, the default
value is 600)
Page 19

8. X-Card Setting:
You can set the "Video Adjustment" of XMedia to the following for optimal picture quality.
1. Brightness = 500
2. Contrast = 500
3. Saturation = 500
Also, please set the “TV Display Ratio” to “4:3 TV” and the “Preferred 16:9 Display mode” to “Wide”. For
best video quality, you are recommended to adjust the aspect ratio in DScaler, instead of XMP.
Now please sit back, relax and enjoy your favorite movies.
Page 20

Appendix
Installation of the SweetSpot PDI Deluxe Driver
(Note: This driver is also valid for both SDI/PDI Capture Card. After installing this driver, the
SDI/PDI/PDI Deluxe Card can be used for some video capture applications, instead of only
for DScaler application)
1. After turn on your computer, place the Utility CD into the CD-ROM. If you don't have the
CDROM, please download the driver from PMS Video's web site.
2. Double Click the "sweetspot_wdm_driver.exe" program to start the driver installation
program.
3. Click "Install"to start the driver installation process.
4. Choose "Continue Anyway" to continue the installation.
5. Choose "Continue Anyway" to continue the installation.
Page 21

6. Click "OK" to complete the driver installation and reboot the computer.
 Loading...