

Page 1
32897
V0210
33104 V0812
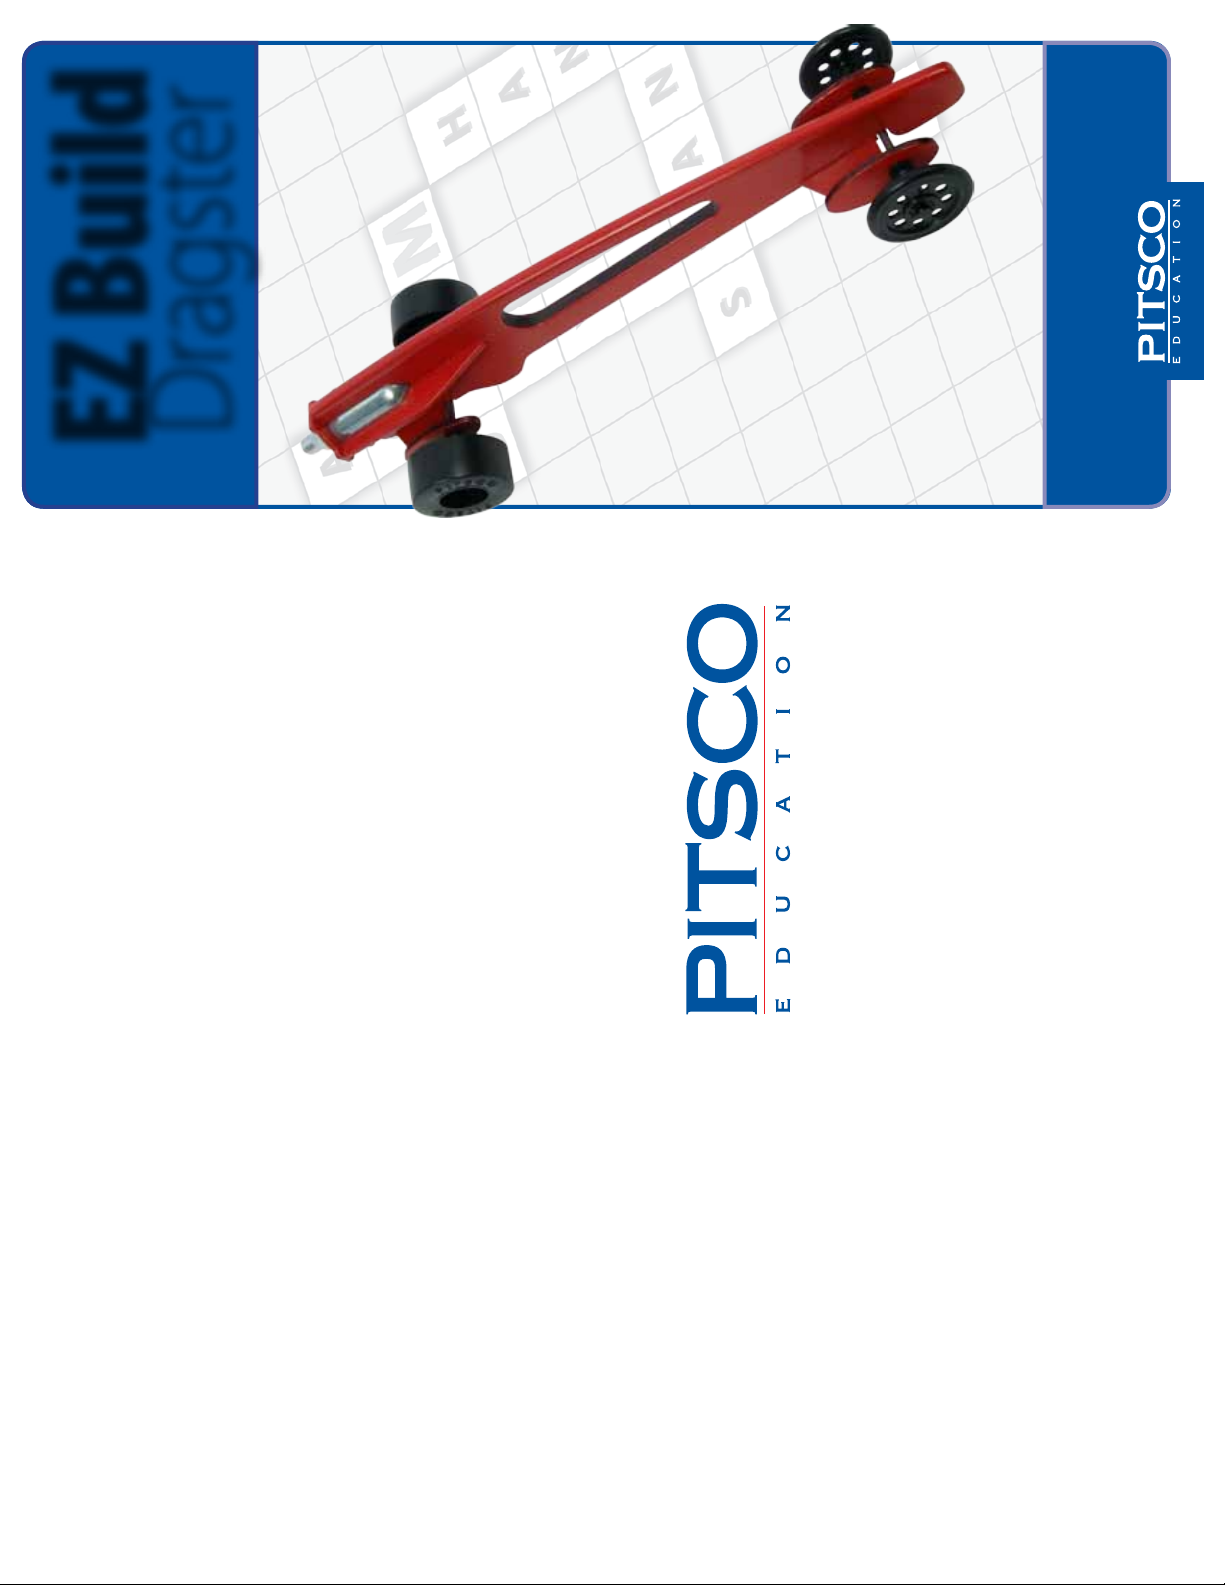
EZ Build
Dragster
shop.pitsco.com
Toll-Free Orders 800-835-0686
P.O. Box 1708 • Pittsburg, KS 66762
User Guide
Page 2
The EZ Build CO2 Dragsters are ideal for schools that want to demonstrate the technology and science
of the dragster activity – but without the need for hand tools.
Cut with a laser, the parts of these dragsters are precise and, when built with construction glue and
following proper construction steps, are as tough and durable as most other dragsters built with standard
methods and materials. We tested these dragsters, and they were still going strong after 100 launches
with eight-gram cartridges.
Though students do not need hand tools, they can still opt to round the edges with sandpaper and give
their dragster a custom nish.
There are four dierent kit designs to choose from, but they all assemble the same. Thus, the instructions
that follow can be used with any of the four designs.
Included Materials
• Basswood sheet with laser-cut parts • 2 screw eyes
• Plywood sheet with laser-cut parts • 2 axles
• 4 screws • 2 front wheels
• 4 axle bushings • 2 rear wheels
• 8-gram CO
cartridge
2
Also Required (not included)
• Pitsco CO2 race system (such as the Impulse GII, Pulse II, i-race, Palm Racer, or EZ Start systems)
• White construction glue, such as HD Bond Adhesive
• Very small Phillips screwdriver
• Sandpaper
• Paint (optional)
• Small nail or T-pin (optional)
Building the Dragster Body
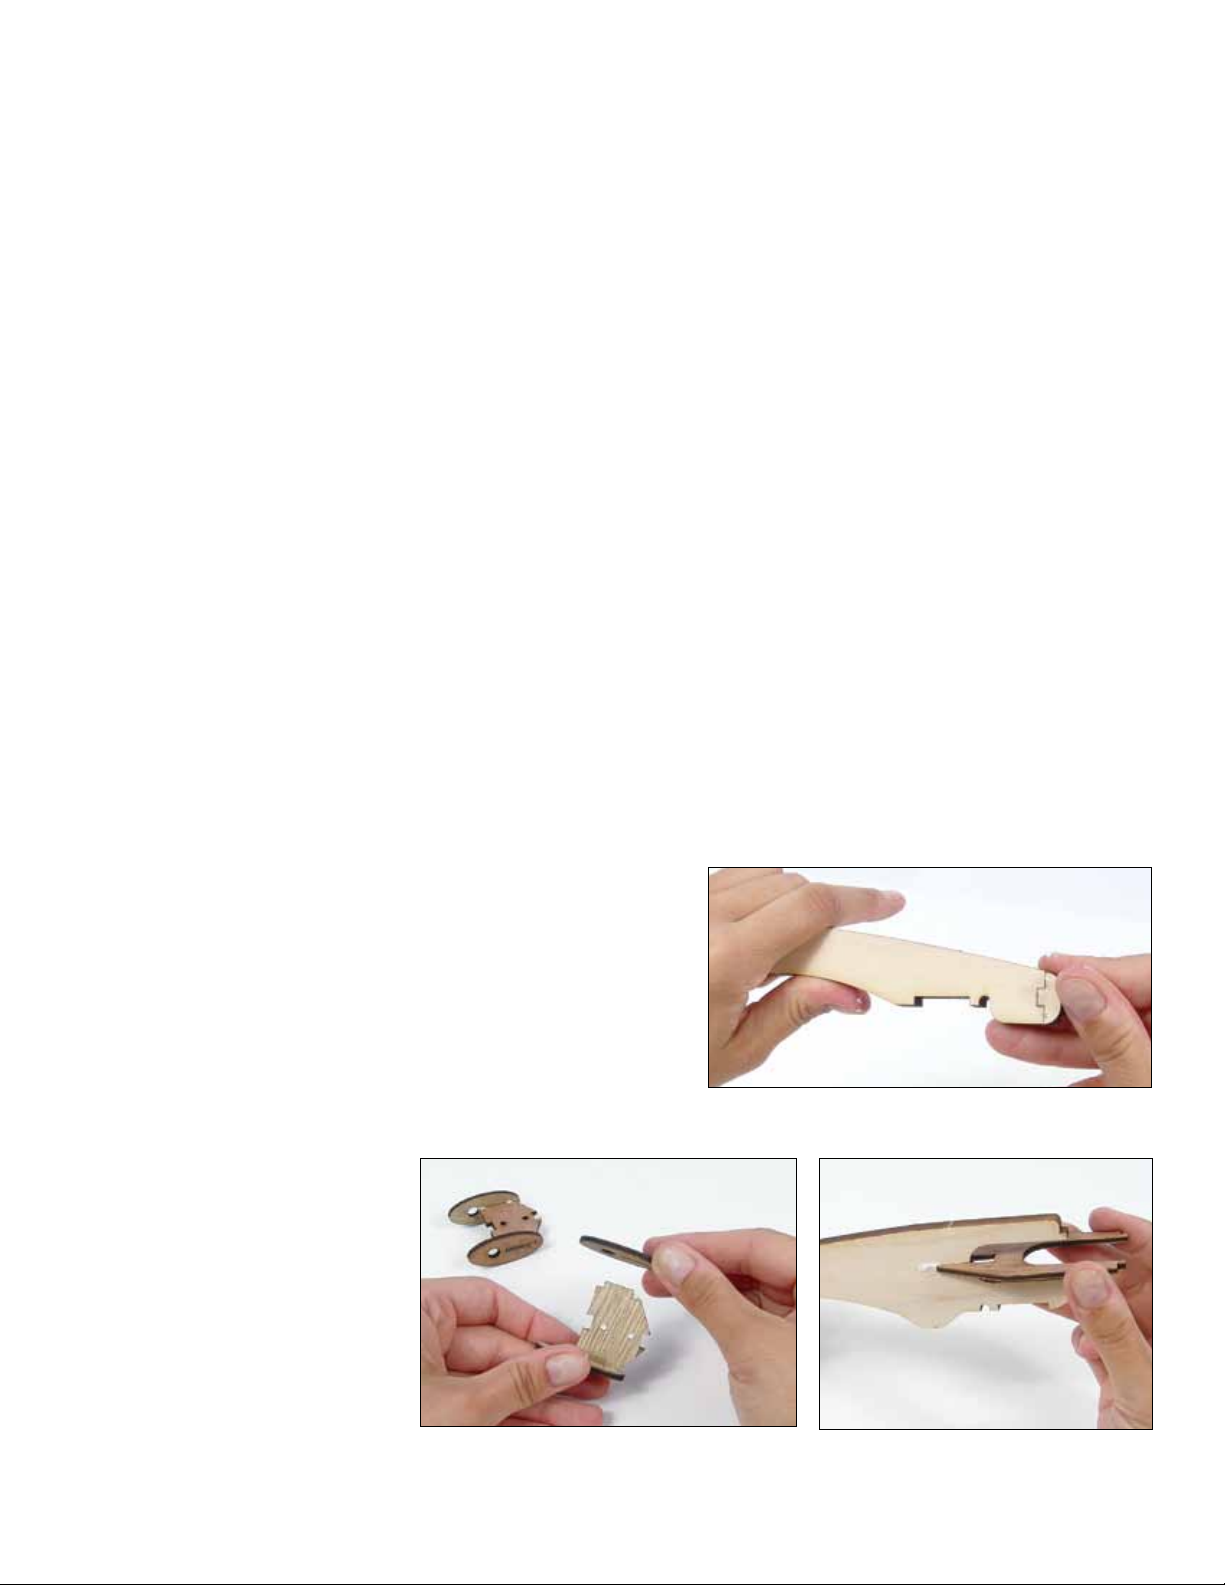
1. Pop out the dragster body and nose from the basswood
sheet. Glue the nose onto the front of the body so the
marks on the two pieces form an X (Figure 1).
2. Pop out the pieces from the plywood sheet. Take the
two Part 2 and four Part 1 pieces. Glue a Part 1 over
each notched side of a Part 2 – but make sure the axle
hole on each Part 1 is
aligned with the at end of
Part 2 (Figure 2). Let these
two assemblies dry.
Figure 1
3. Take Part 4 and slip it into
the groove on the back of
the dragster body (Figure
3). Make sure Part 4 is
pushed all the way into the
body so it is ush with the
back of the dragster.
Figure 2
EZ Build Dragster Kit User Guide 33104 V0812
Figure 3
Page 3
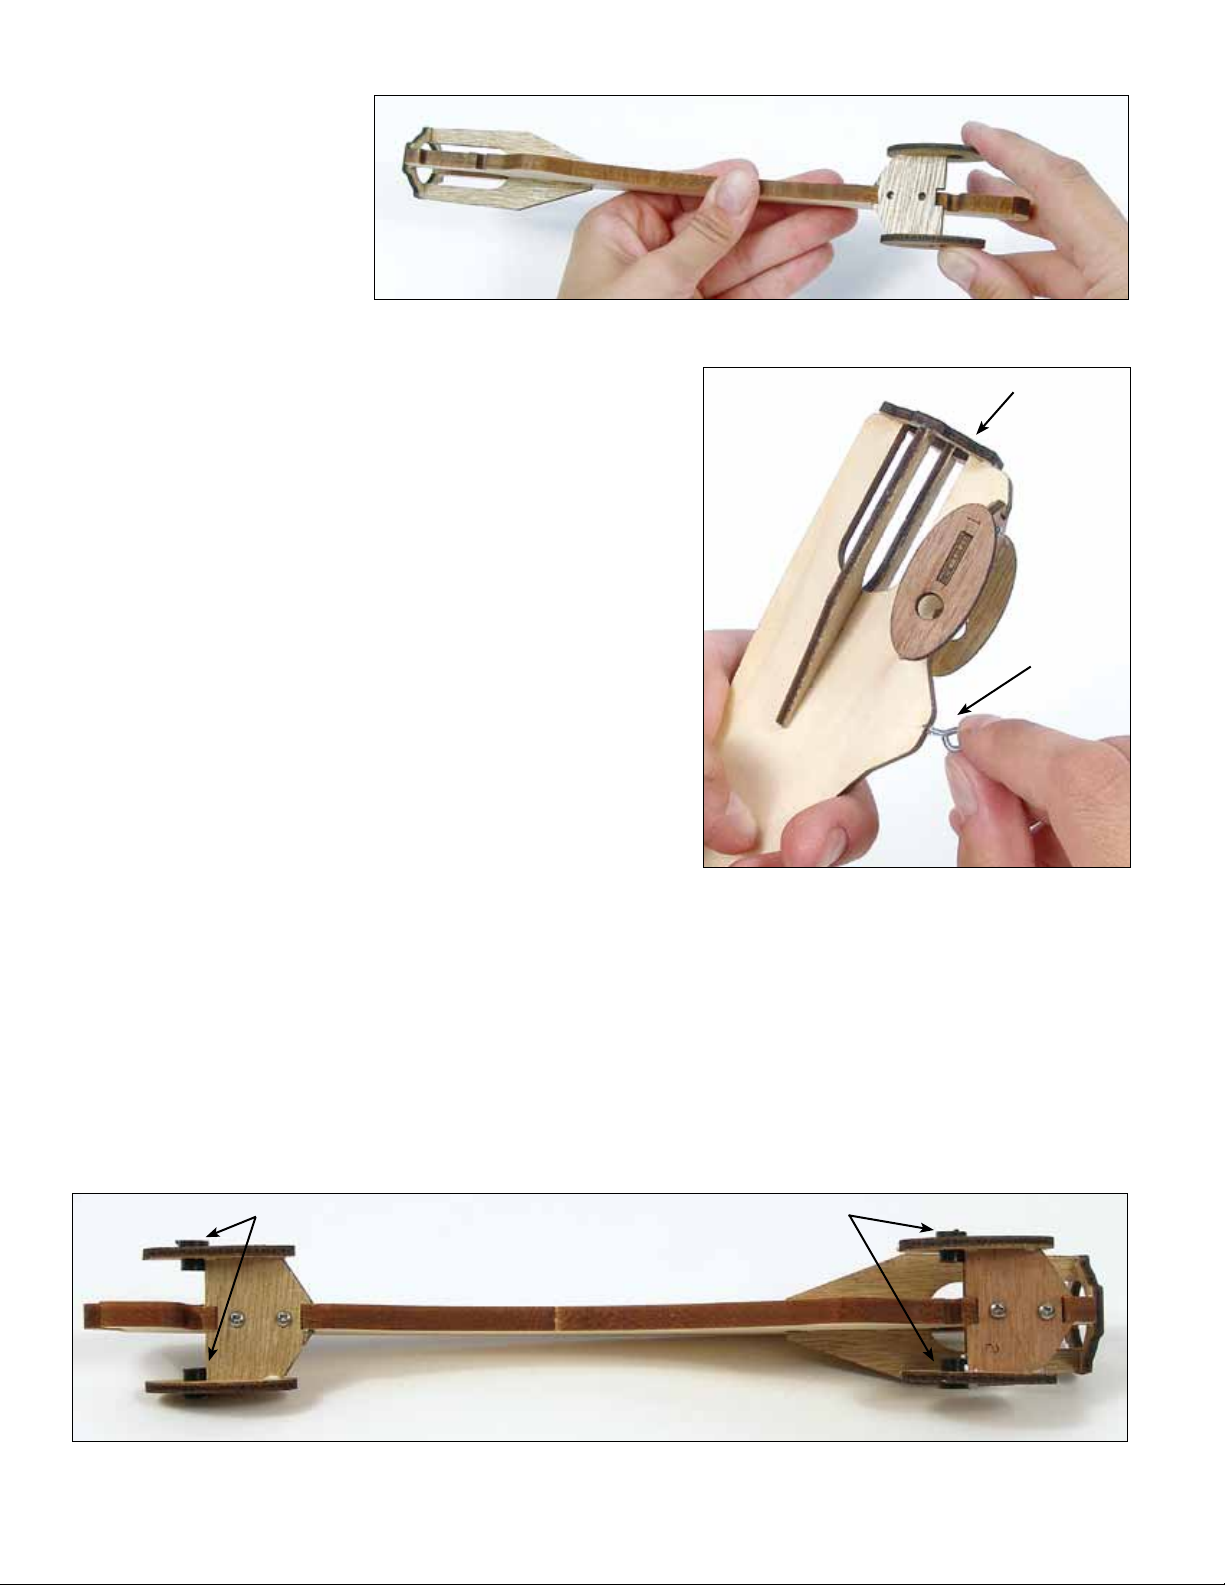
4. Apply glue in the
notches on the
underside of the
dragster. Place the
Part 1 and 2 assemblies
into these notches so
the axle holes are closer
to the dragster’s nose
(Figure 4). Be sure not
to get glue into the
axle holes. Before the glue dries, tighten the screws into
the predrilled holes on the underside of the Part 1 and 2
assemblies. Let the dragster dry completely.
5. Take Part 5 and glue it over the four pieces that extend
from the back of the dragster. Make sure the wide
notches line up with the basswood body pieces and the
narrow notches line up with Part 4 (Figure 5).
6. If you wish to nish the dragster, do so at this time. You
can sand down the edges for a smoother look and apply
coats of paint or another nish as desired.
Figure 4
Part 5
Screw eye
7. Screw in the screw eyes under the body. The screw eyes
go on the lowest points on the underside of the dragster.
One goes in front of the rear wheel axle holes (Figure 5)
and the other before of the front wheel axle holes. Make
sure the screw eye is centered on the thickness of the
body, and that it is inserted straight into the wood so the
point of the screw eye does not poke out the side of the
Figure 5
body. The holes of the screw eye should face the length of
the body. Tip: If you have trouble getting the screw eyes in, try making a small hole with
a small nail or T-pin where the screw eye will go, and then put in the screw eye.
Adding the Axles and Wheels
1. Remove the axle bushings from the font and remove any burrs with sandpaper. Push an axle bushing
into each axle hole on the dragster (Figure 6). Make sure the wide end of the bushing is on the outside
of the dragster body.
Axle bushings
Axle bushings
Dragster front
Dragster back
Figure 6
EZ Build Dragster Kit User Guide 33104 V0812
Page 4
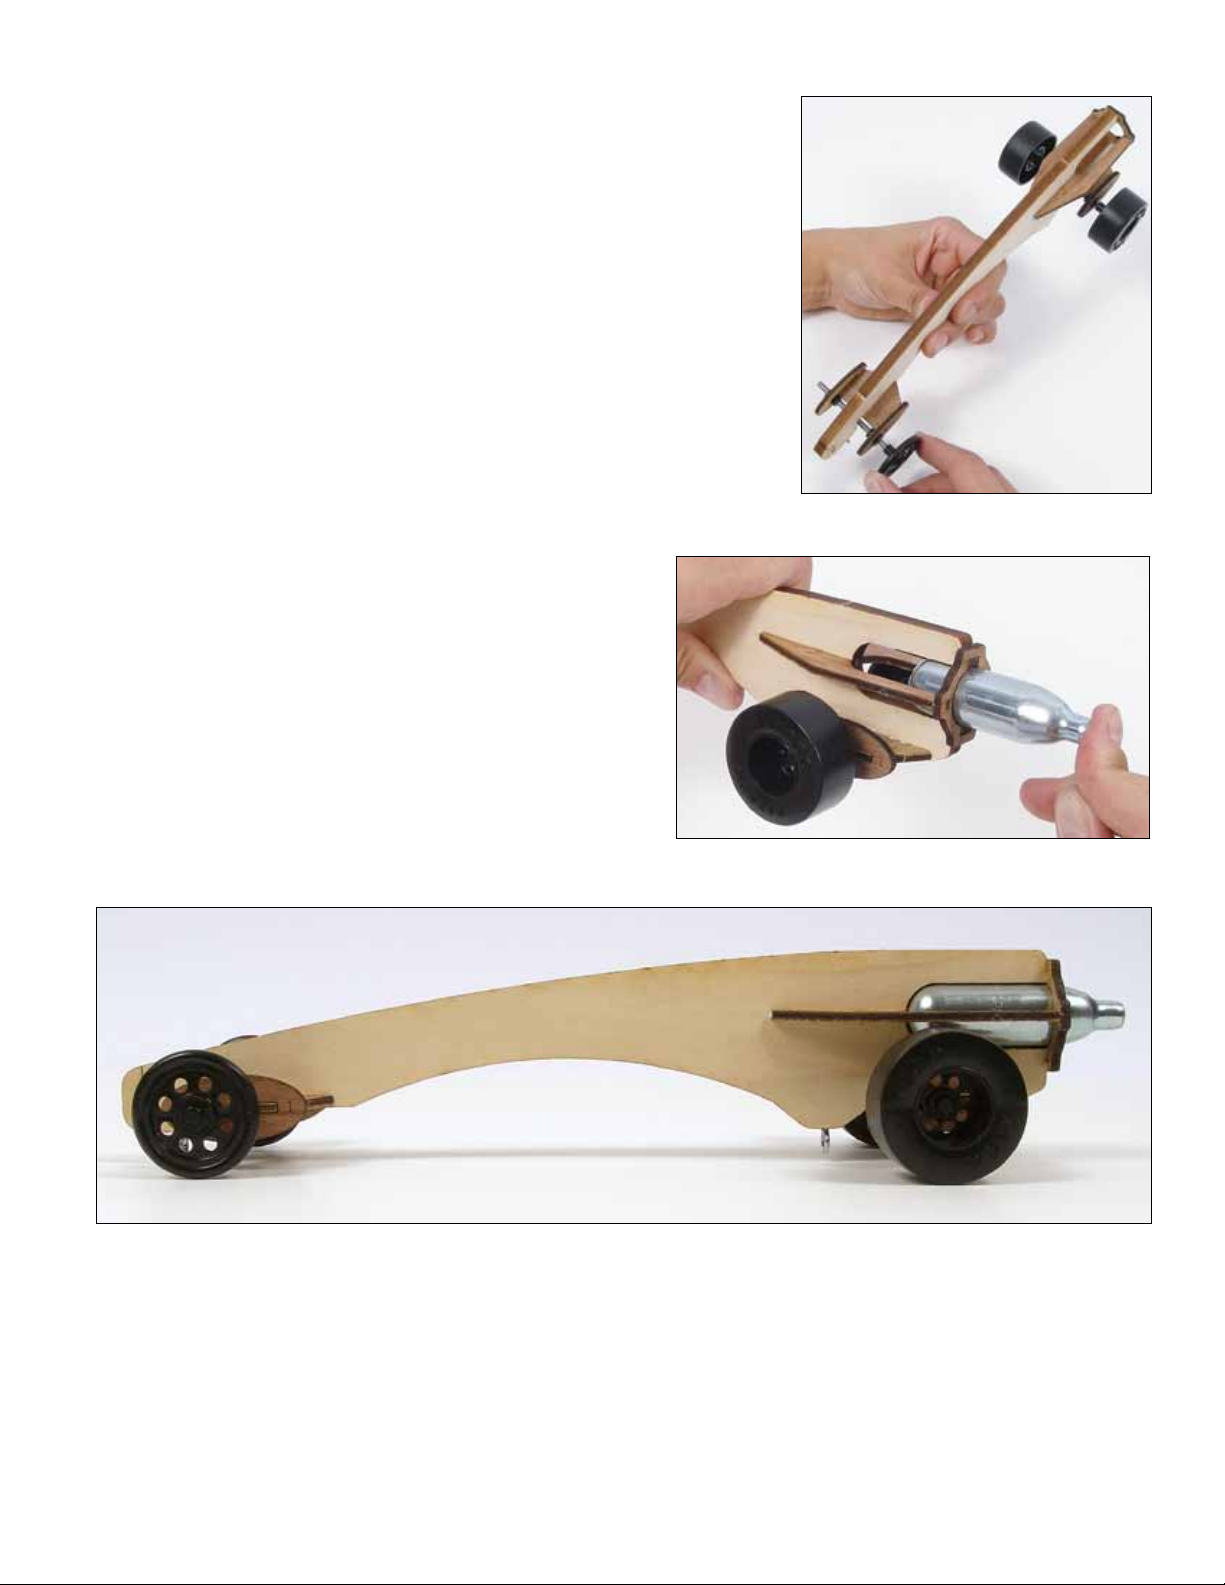
2. Take one axle and push a rear wheel onto one end. Push
the other end through the axle bushings at the back of the
dragster. Place the other rear wheel on this end of the axle.
3. Take the other axle and push a front wheel onto one end. Push
the other end through the axle bushings at the front of the
dragster (Figure 7). Place the other front wheel on this end of
the axle.
Operating Your Kit
1. Place a four- or eight-gram CO2 cartridge in the rear of the
dragster (Figure 8). Make sure the cartridge is all the way in
and ts snugly.
2. Run the car on the track as you would race any dragster on
your racing system.
Figure 7
Figure 8
A completed EZ Build Dragster.
EZ Build Dragster Kit User Guide 33104 V0812
 Loading...