

Page 1
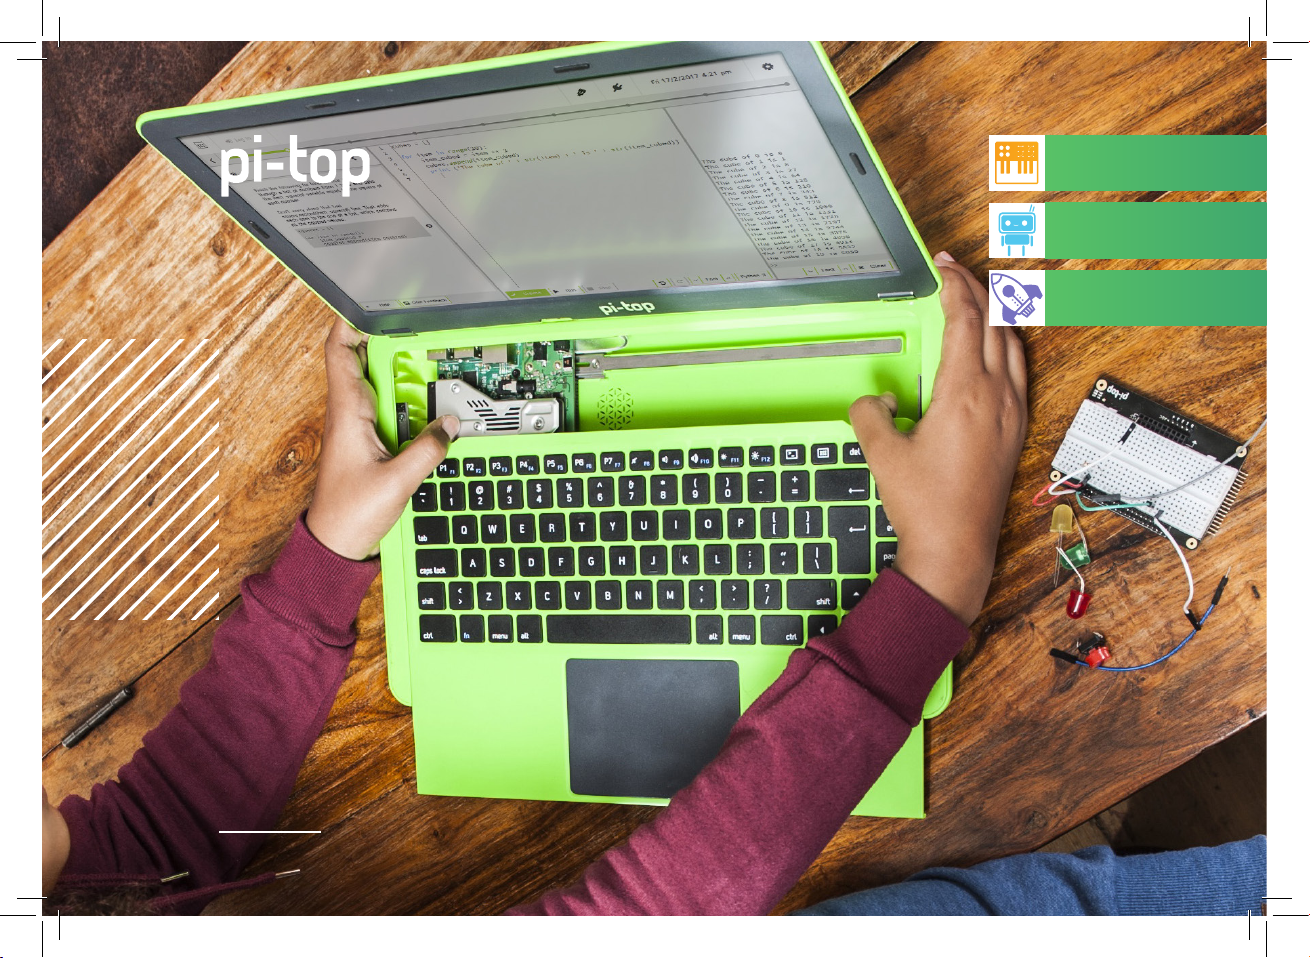
INVENTOR
MUSIC MAKER
SMART ROBOT
SPACE RACE
GUIDE
BE INSPIRED
1
Page 2

Page 3
CONTENTS
Message for inventors
01
How to use this guide
02
Components
03
pi-topPROTO+
04
Inventor’s Journey
05
Basics of Coding
Let there be light!
07
Button Down
08
You Got the Measure of it
09
Be like a Bat
10
Make Some Noise
11
Music Maker
Don’t Push Me
12
Melody Madness
13
Make Some Wubs
14
What’s a Theremin?
15
Sonic Synth
16
Space Race
Rapid Reflexes
17
Fingers of Fury
18
Tap Tap Revolution
19
Keep it Steady
20
Space Race
21
Smart Robot
Hello World
22
Clappy Hands
23
Feed Me
24
Chatter Box
25
It’s ALIVE!
26
Troubleshooting
27
Community + Share
28
Continue your Journey
29
Glossary
30
Page 4

1
Innovators have conquered the deepest seas, traversed the highest
mountains, harnessed the energy from the Earth and sent humanity
to space all in the pursuit of discovery. We are all capable of
extraordinary feats, driven by curiosity and adventure into the
unknown. At pi-top we believe every single person can become a
great innovator if given the chance to ignite their own passion in the
undiscovered.
There are no dreams too large, no innovation unimaginable and no
frontiers beyond our reach, if only we try.
pi-top
Page 5
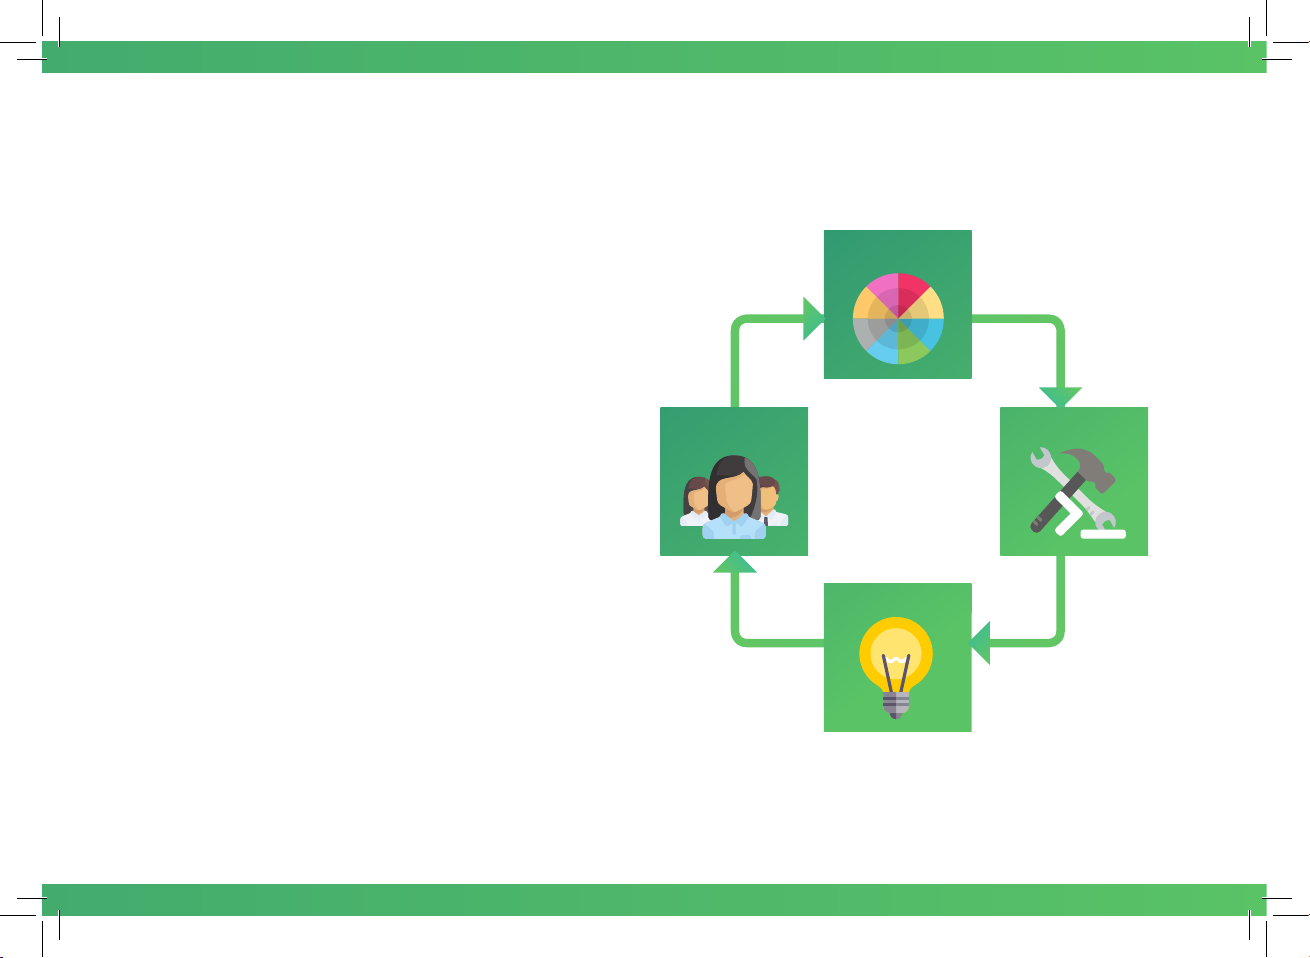
How to use this guide
Choose an Inventor Journey
Select one of the pathways to create your own amazing
inventions. Use the inventor journey pathways to build
up your knowledge to make your final project.
Code & Build
Follow the step-by-step guide in pi-topCODER
to code and build your invention.
Expand
Use your imagination and creativity to build on
your creation and invent something new! Add new
components and code to expand on functionality in
all different ways.
Share
Share your incredible invention with the rest of the pi-top
community and show what you’ve invented.
SHARE
CHOOSE
CODE &
BUILD
EXPAND
2
Page 6
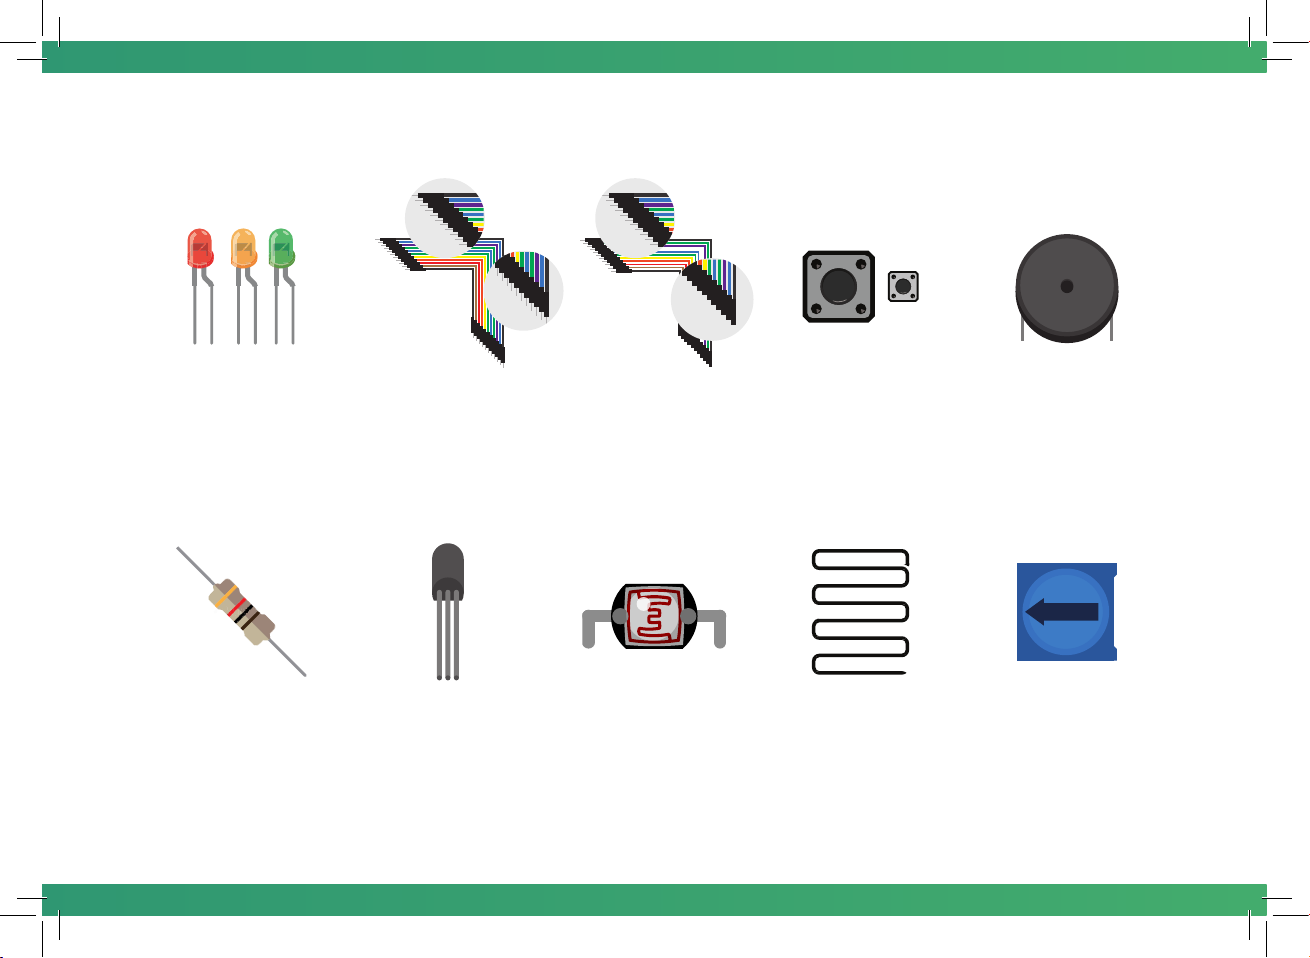
Components
LEDs
LEDs (light-emitting
diodes) are little
devices that emit light
when electric current
flows
through them.
Resistor
Control the amount
of electricity that
flows through a
circuit.
3
A Jumper Cables
These cables are
electrical wires to direct
the flow of electricity.
You can connect them
on your pi-topPROTO+.
Temperature
Sensor
This will change its
resistance depending
on the temperature
around it.
B Jumper Cables
These cables are
used to connect the
Raspberry Pi GPIO pins
to your pi-topPROTO+
ADC pins.
Light Sensor
Detect amount
of light - useful
for robots to
interact with their
environment!
Button
Allow or block
electricity flow
around a circuit
- connect or
disconnect things!
Metal Wire
Electricity flows
through a metal wire.
So, this is a useful
tool for lots of your
projects!
Buzzer
Buzzers will make
a loud noise when
electricity passes
throught it!
Variable Resistor
A variable resistor
is a special type of
resistor which allows
you to control the
amount of electricity
that flows through it.
Page 7
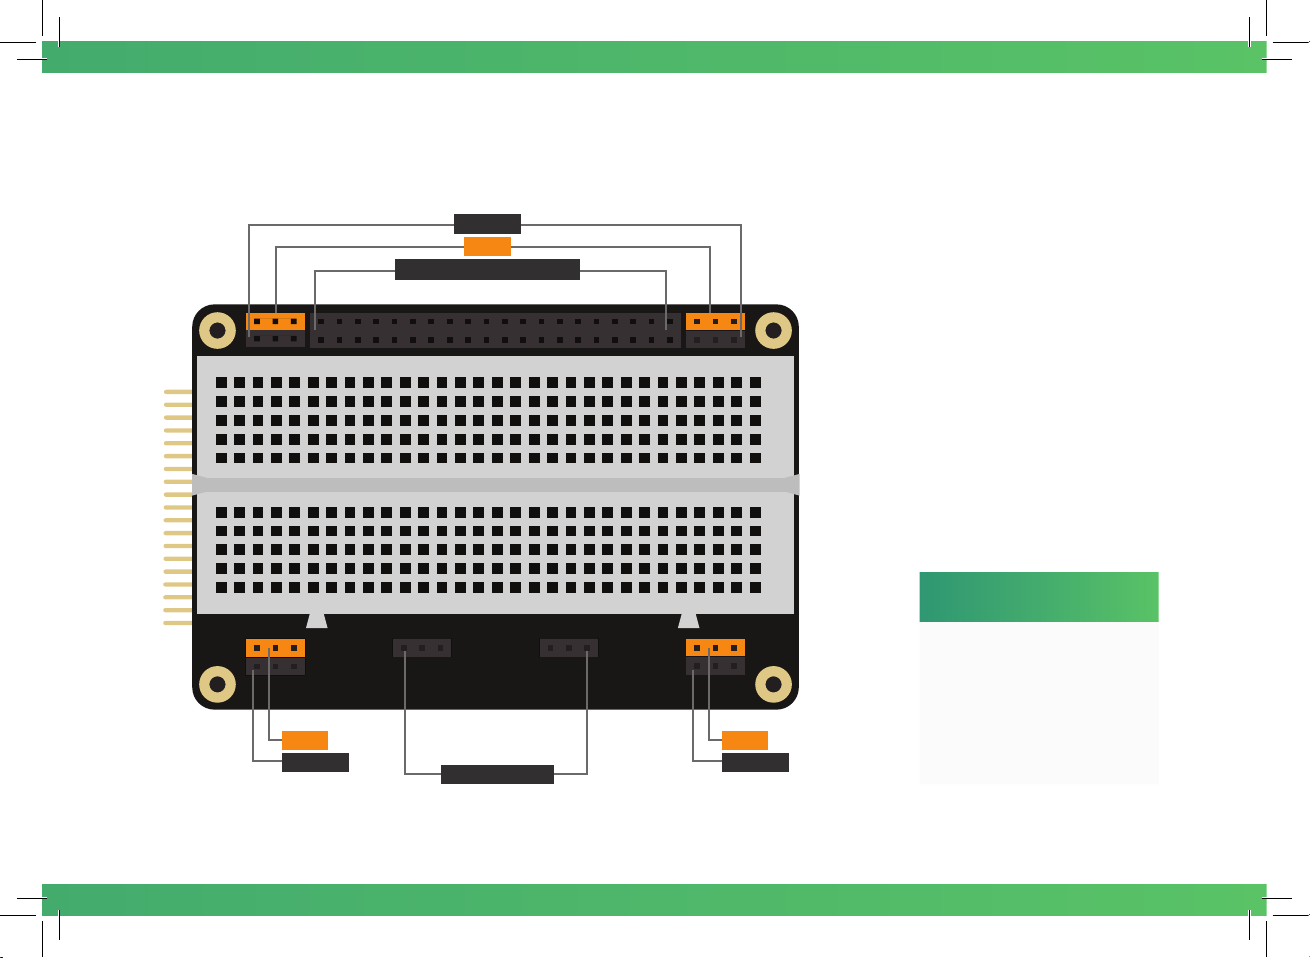
pi-topPROTO+
Raspberry Pi GPIO pins
Ground
VCC
Analogue pins
pi-topPROTO+ is a prototyping
board (the platform) for all your
inventions. The breadboard, in
the middle, allows you to plug
in your LEDs, Buzzers, Buttons
and more.
The GPIO pins (general purpose
input/output) are used as the
physical interface for your
Raspberry Pi and the outside
world. Follow the pi-topCODER
app’s step-by-step building
instructions and bring your
inventions to life!
Getting Stuck?
To learn the basics on
how the pi-topPROTO+
works, check out the
VCCVCC
GroundGround
breadboard lesson plan
in the pi-topCODER app.
4
Page 8
Inventor’s
Journey
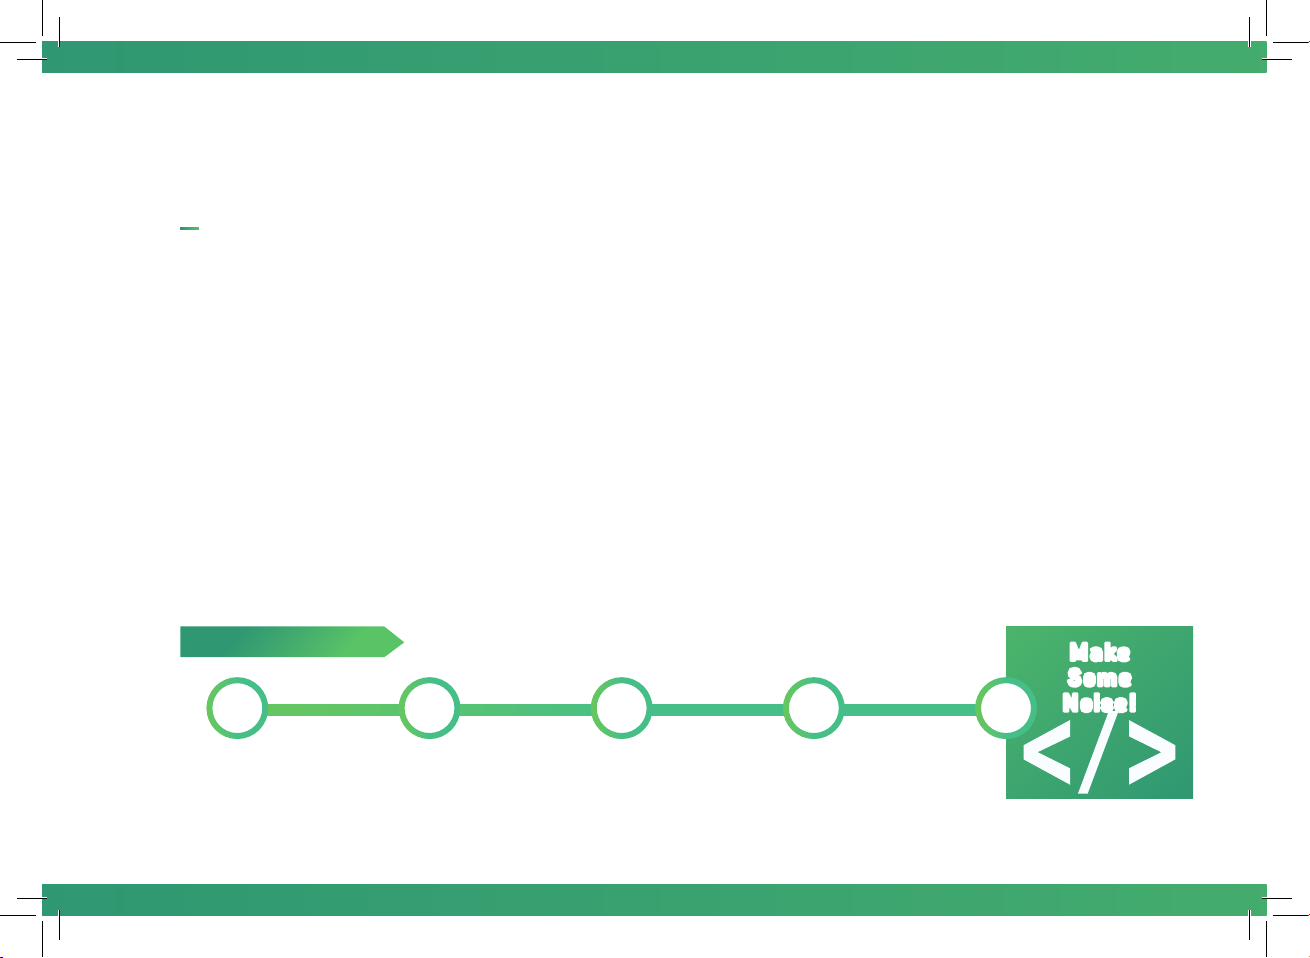
Power on your pi-top - you should be greeted with
pi-topDASHBOARD. From here, it is easy to launch
pi-topCODER, where you’ll find all the step-by-step guides
you need.
First, follow the basic pathway (outlined below) to build
your fundamental understanding. Then, follow one of
the inventor’s journey pathways to design and build new
inventions!
Let There be
5
Basics of Coding
1 2 3 4 5
Light!
Button
Down
You’ve Got
the Measure
of it
Be like a Bat
Make
Some
Noise!
Page 9
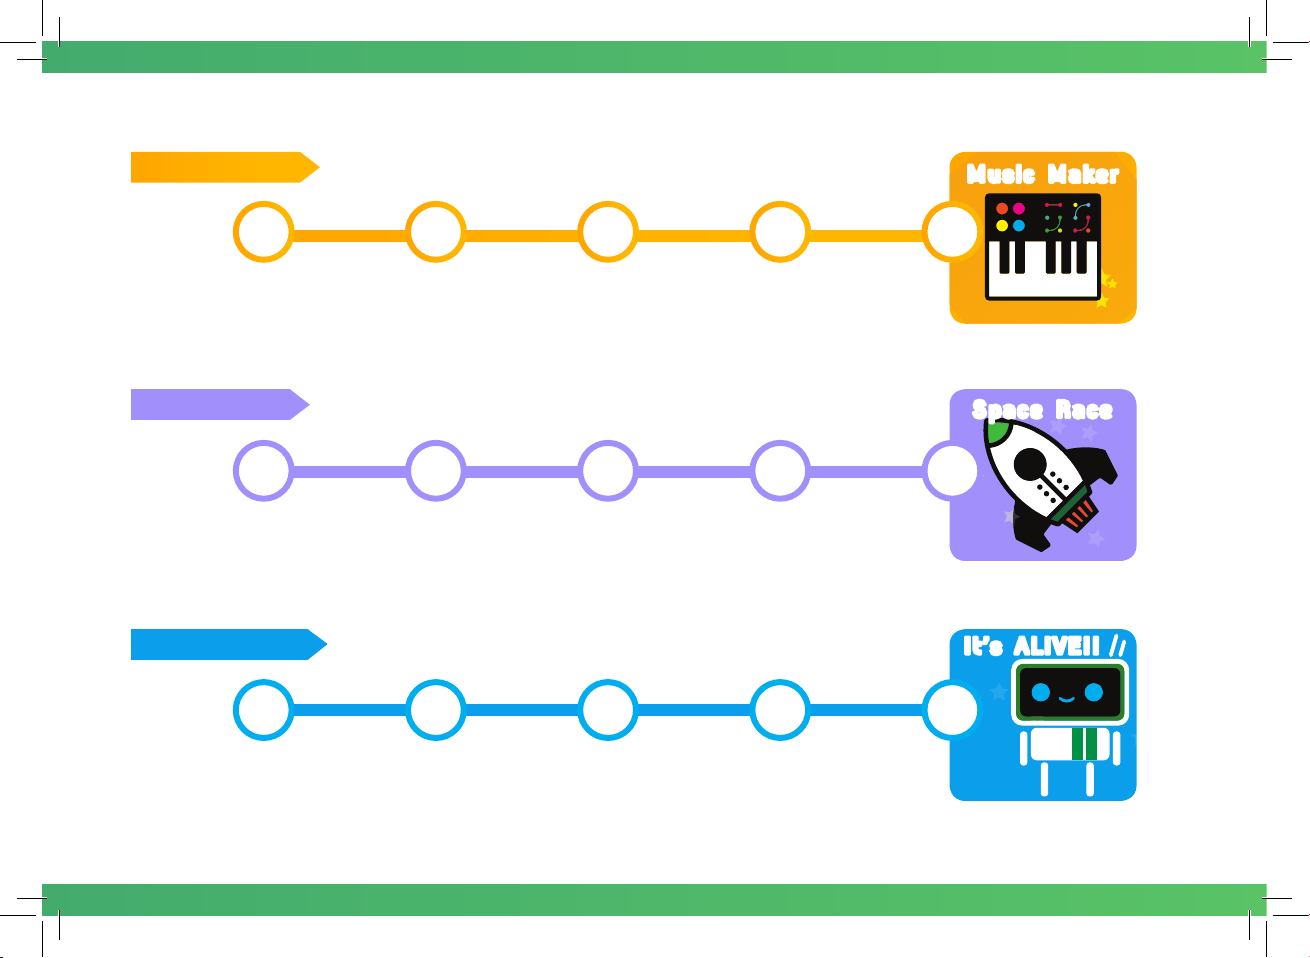
Music Maker
1 2 3 4 5
Music Maker
Don’t
Push Me
Space Race
1 2 3 4 5
Rapid
Reflexes
Smart Robot
1 2 3 4 5
Hello World Clappy
Melody
Madness
Tap Tap
revolution
Hands
Make Some
Wubs
Double Click
King
Feed Me Chatter Box
What’s a
Theremin?
Keep it
Steady
Space Race
It’s ALIVE!!
6
Page 10
Let There be Light!
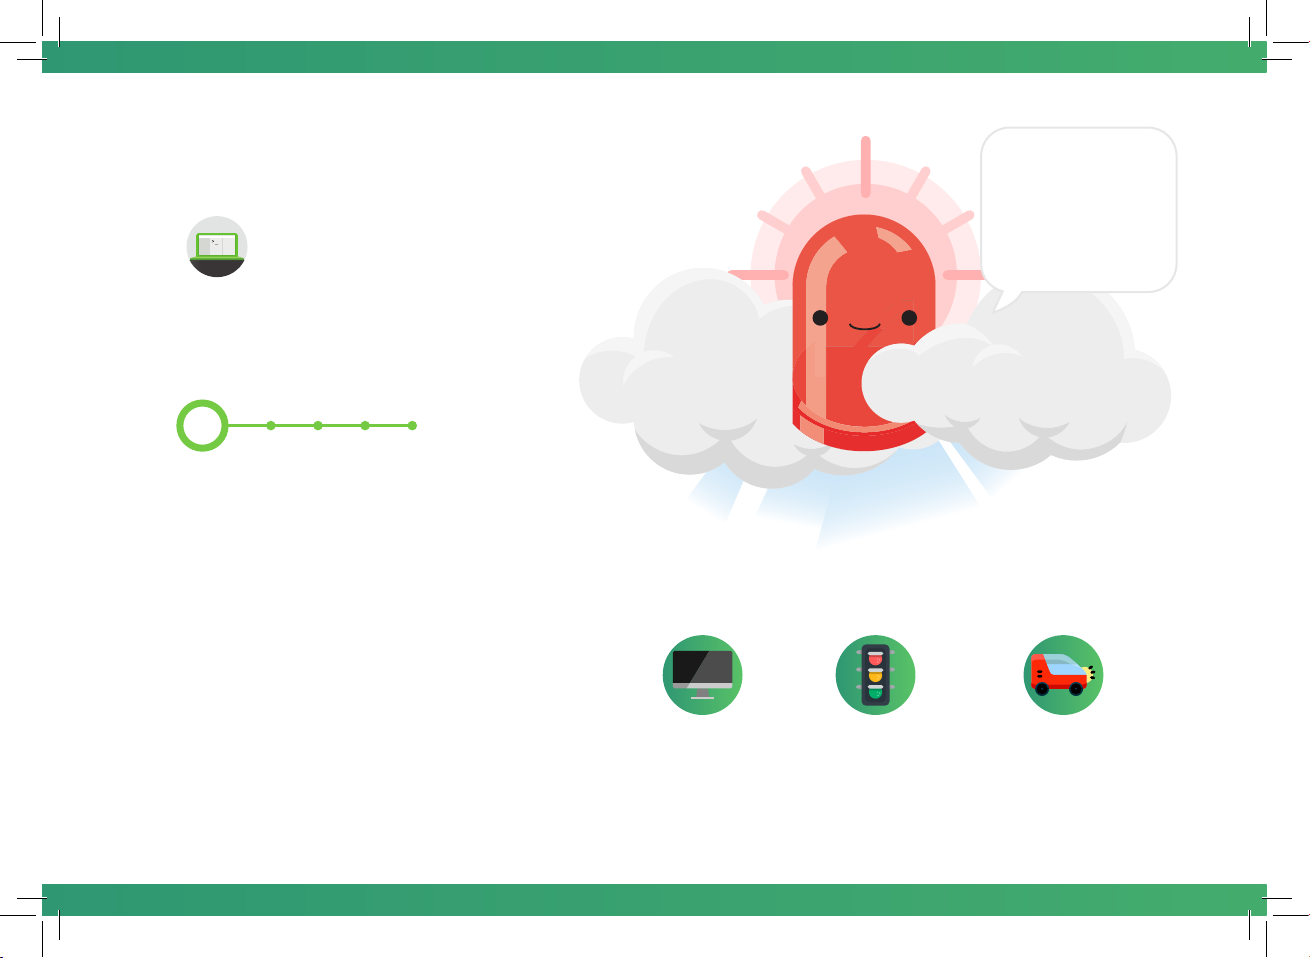
Let’s build your first electronic
circuit. Add some code to turn on
a light. The light is an LED which
stands for ‘light emitting diode’.
Inventor’s Journey
1
This is the first step
to building your first
invention which is
powered by your
pi-top laptop. The
power (electricity) is
an output.
Challenges
Can you make it blink faster?
Can you use other components?
7
Real-life Applications
Computer
Monitor
Traffic Lights Car lights
Page 11
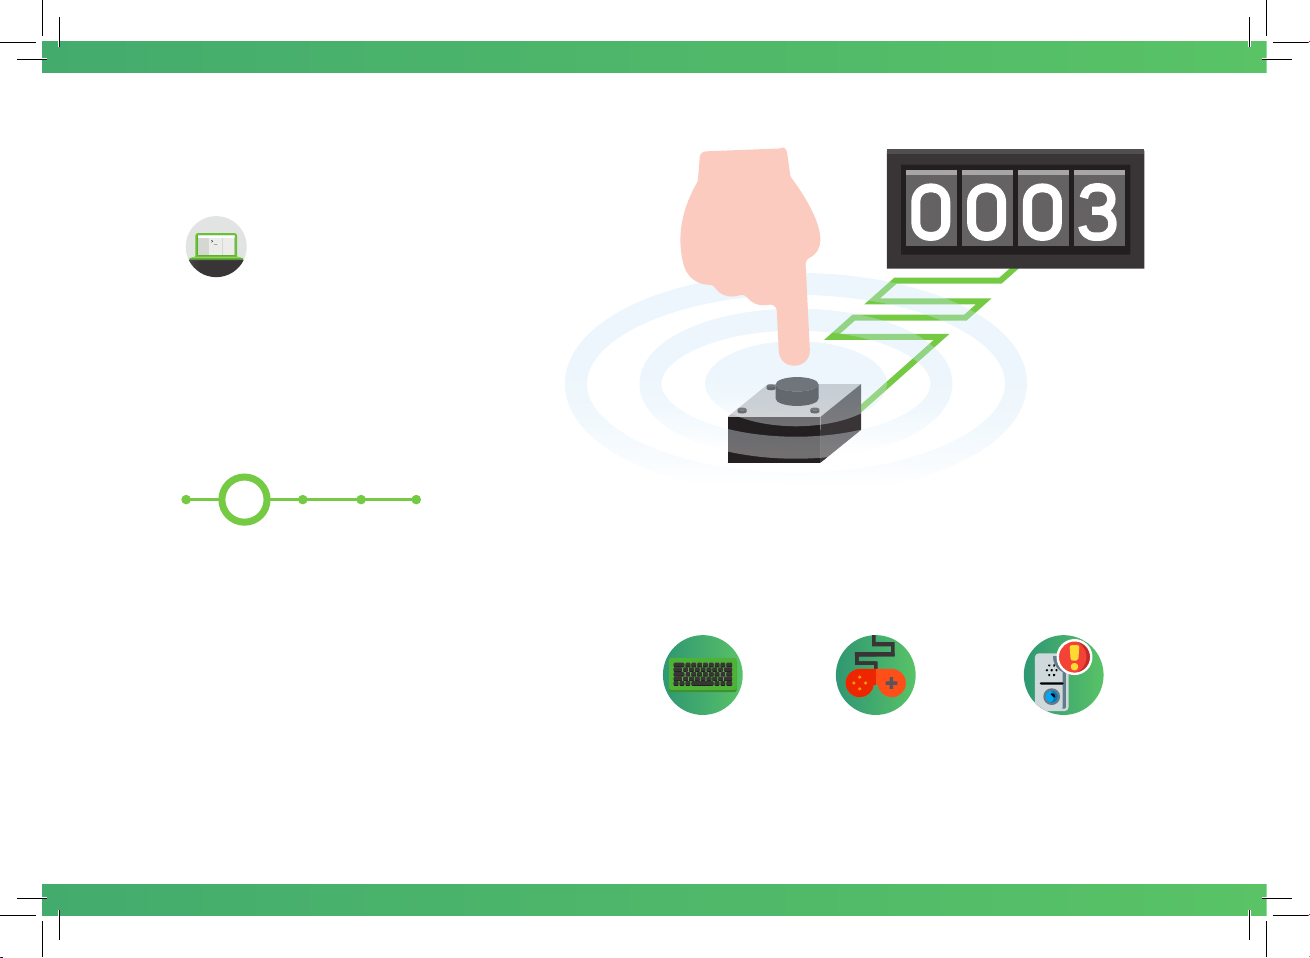
Button Down
This is wher
respond by pressing a button, this is called
an INPUT. This is one way we can make the
digital world, a computer for instance,
interact with the physical one, your finger in
this case. It could be the switch that makes
your doorbell ring.
Inventor’s Journey
e you’re going to make your code
2
Challenges Real-life Applications
Create a click counter for
the button
Keyboard Gaming
Controller
Doorbell
8
Page 12
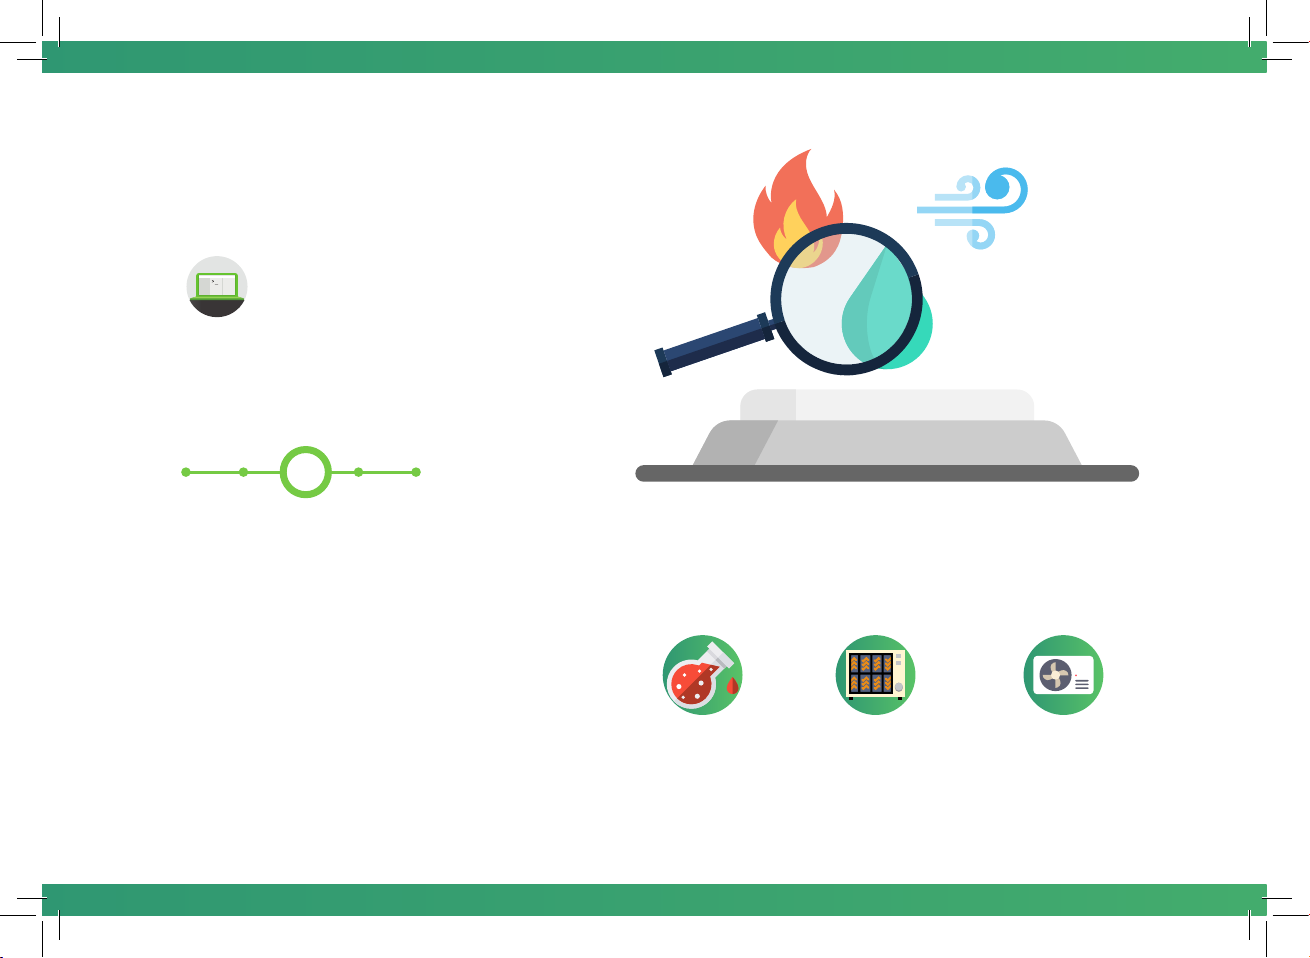
You’ve Got the
Measure of it
Sensors which aren’t just on or off
are called analogue, for example,
light. It’s not just dark or light, it can
be dim. We’re going to learn how to
measure these values.
Inventor’s Journey
3
Challenges Real-life Applications
Can you measure the temperature? Can
you measure how much a variable resistor
turned?
9
Science
Lab
Oven
Temperature
Air
Condition
Page 13
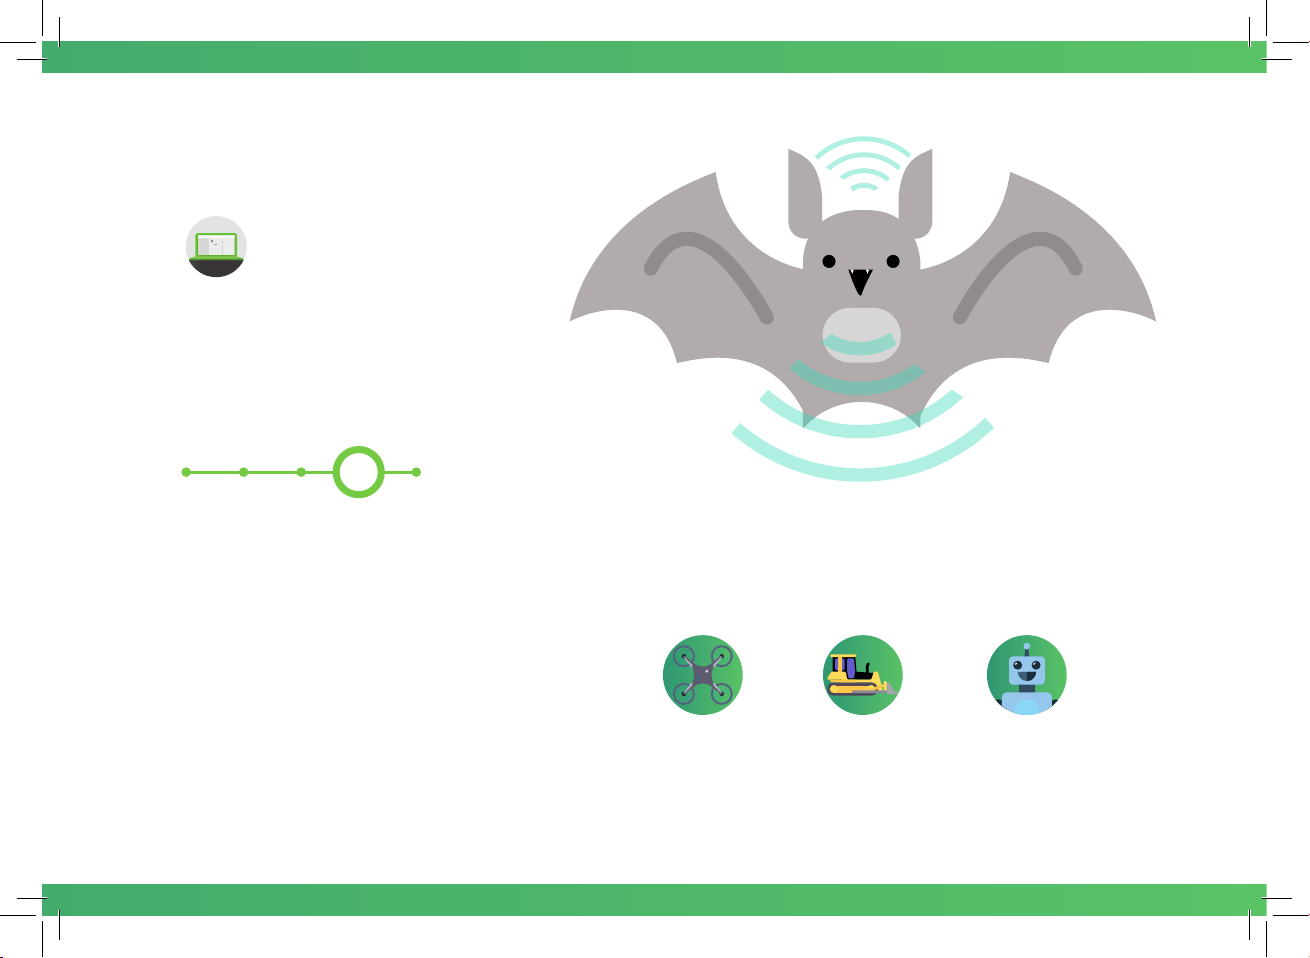
Be like a Bat
Using an ultrasonic sound sensor
we can send out a signal and
time how long it takes to come
back. Using this information we
can measure how far away an
object is. Here we’ll learn how to
measure that distance.
Inventor’s Journey
4
Challenges Real-life Applications
Can you make an LED light turn on if the
distance is too close?
Drone
to keep height
Parking
Sensor
Robot
10
Page 14
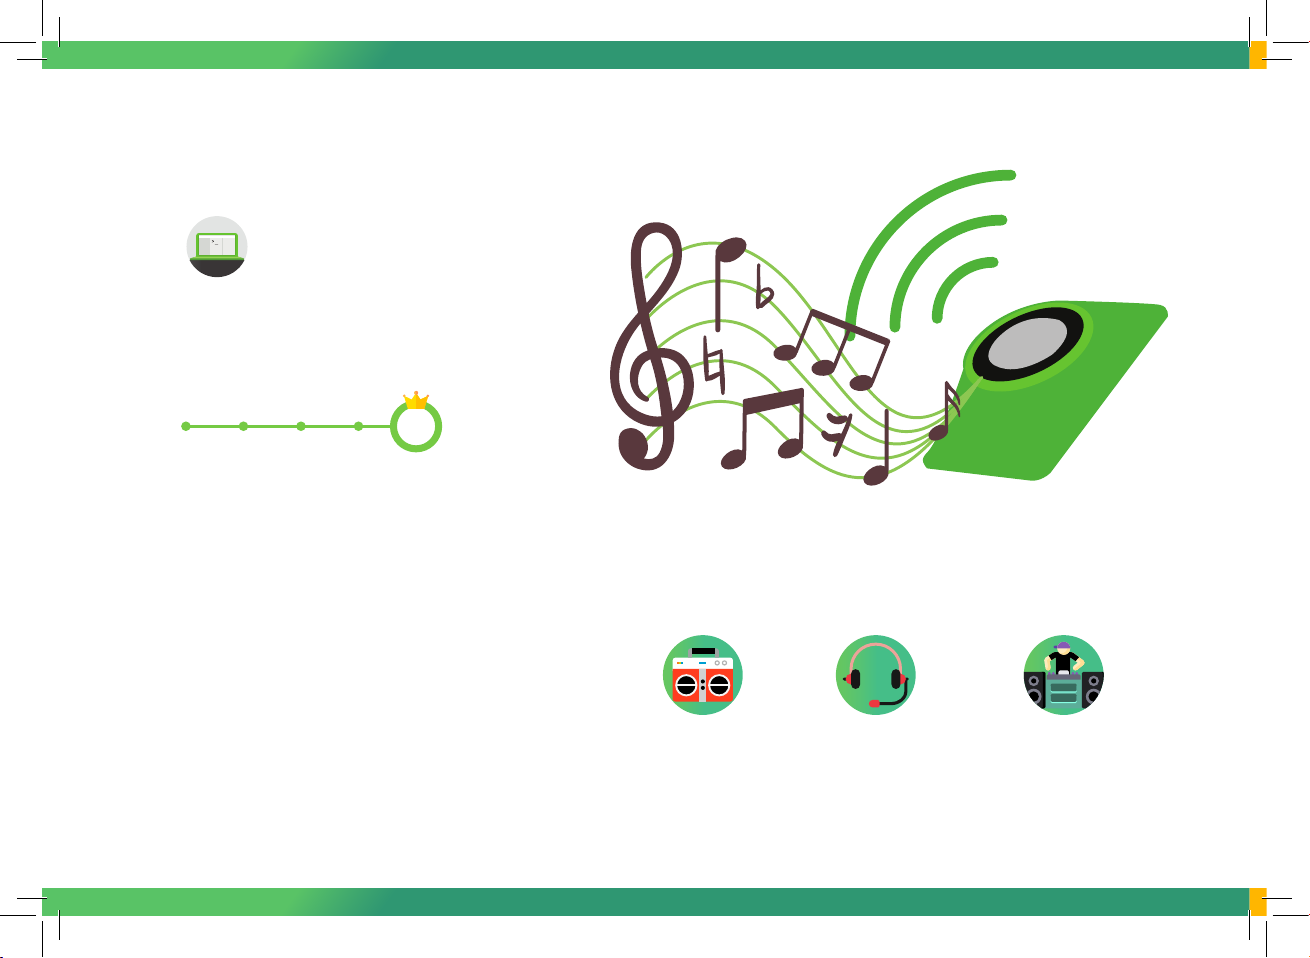
Make Some Noise
All music star
Use a pi-topSPEAKER or plug in your
speaker to create your own orchestra
of funny sounds.
Inventor’s Journey Completed!
ts with a single sound.
5
Challenges Real-life Applications
How many different sounds can
you make as you create your own
music?
Boombox DJ concertHeadphones
11
Page 15
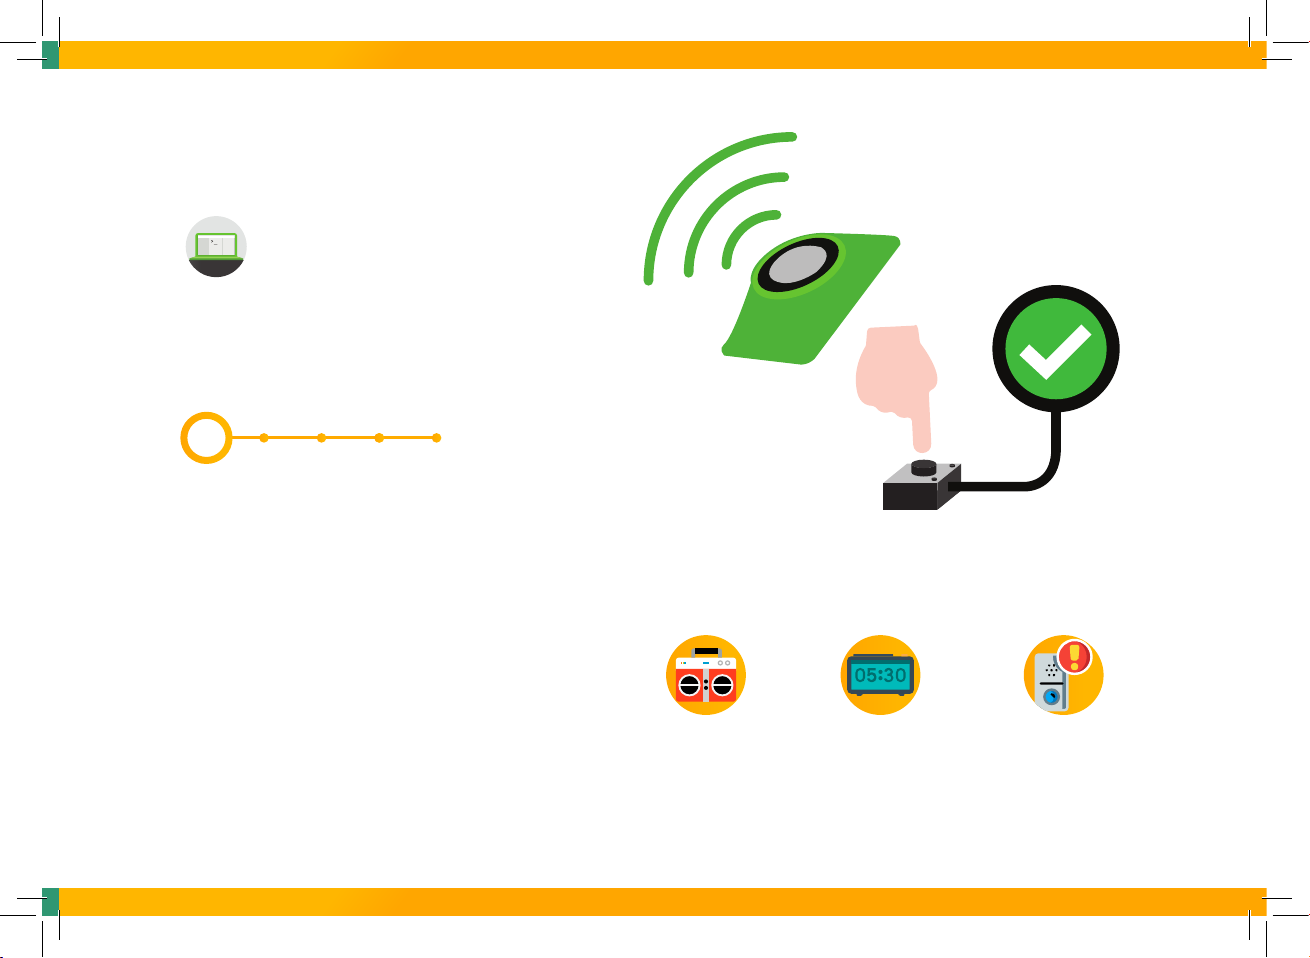
Don’t Push Me
At its most basic form, a musical
instrument makes a single sound when
you hit a key, or pluck a string. Let’s
use a button to get your new
instrument to make a sound.
Inventor’s Journey
1
Challenges Real-life Applications
Can you get it to play different
sounds every time you press the
button?
Boombox Alarm Doorbell
12
Page 16
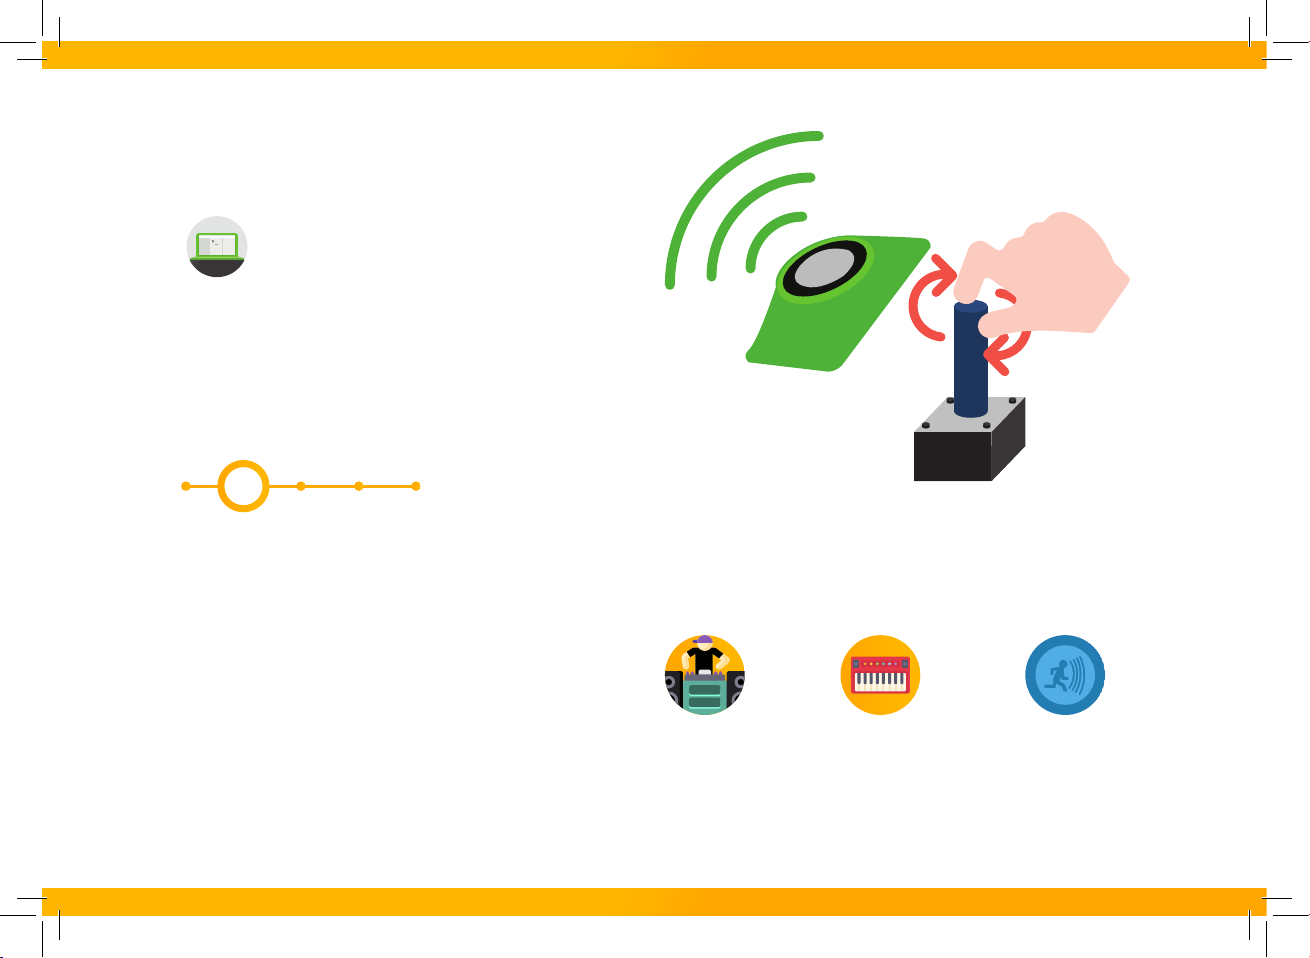
Melody Madness
Music is made out of melodies, and
melodies are made out of notes. Using
the variable resistor we can change the
tone to create different notes, to make
a whole tune! The change in tone is
called a change in frequency.
Inventor’s Journey
2
13
Challenges
Can you make your pi-top play
twinkle twinkle little star?
Real-life Applications
DJ concert
Electric Synth Alarm System
Page 17
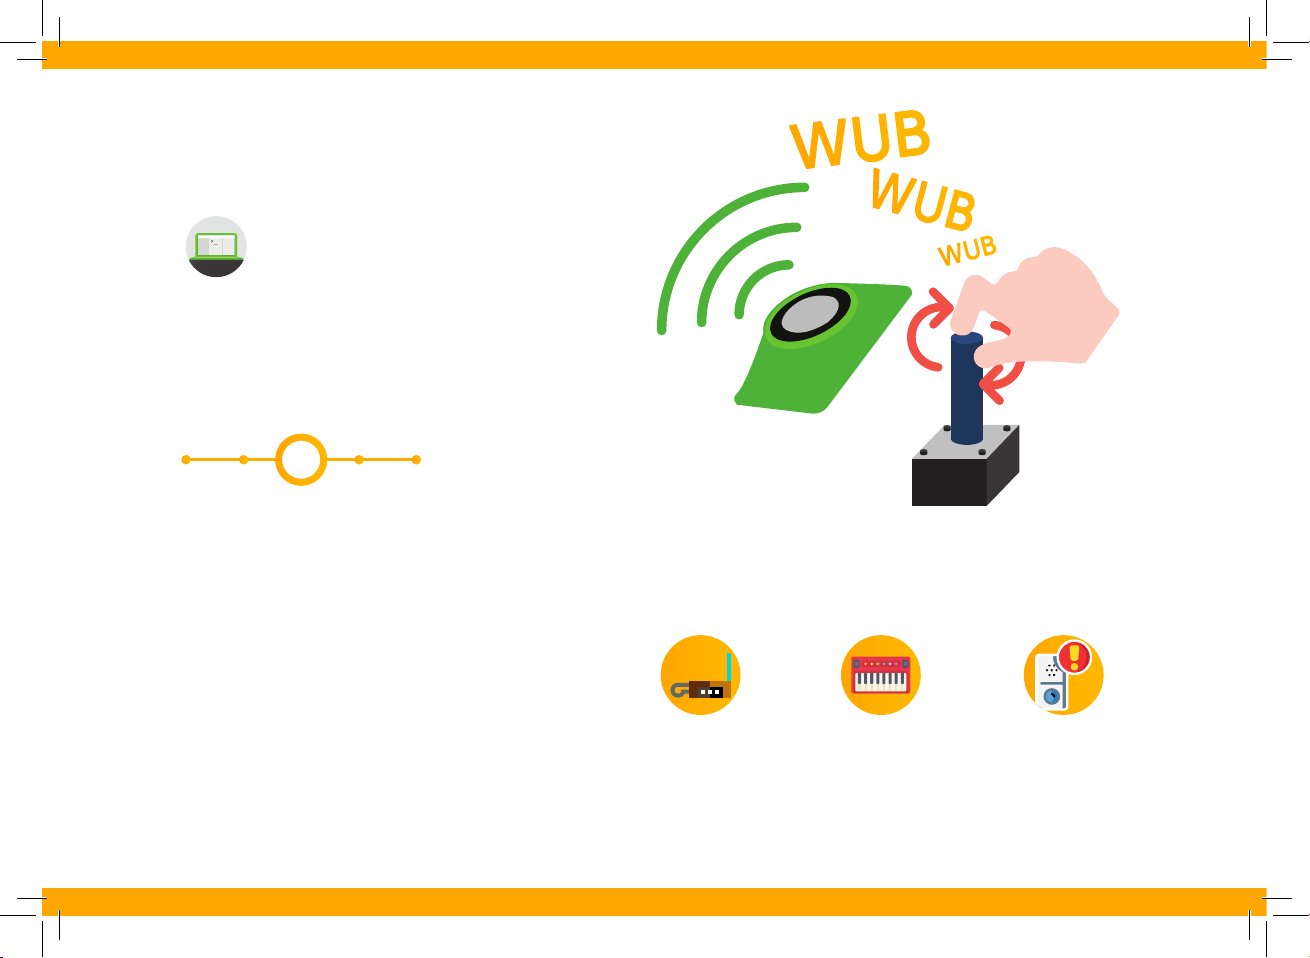
Make Some Wubs
In earlier lessons we made a light
dimmer, let’s use that same knowledge
to change the frequency of a tone
ourselves! This allows us to build the
basics of a musical instrument.
Inventor’s Journey
3
Challenges Real-life Applications
Can you make it so that the speaker only
plays 4 different notes? Can you limit your
programme so that certain frequencies play
a single note rather than a range of notes
e.g. 0-100 = c?
Theremin Electric Synth
Doorbell
14
Page 18
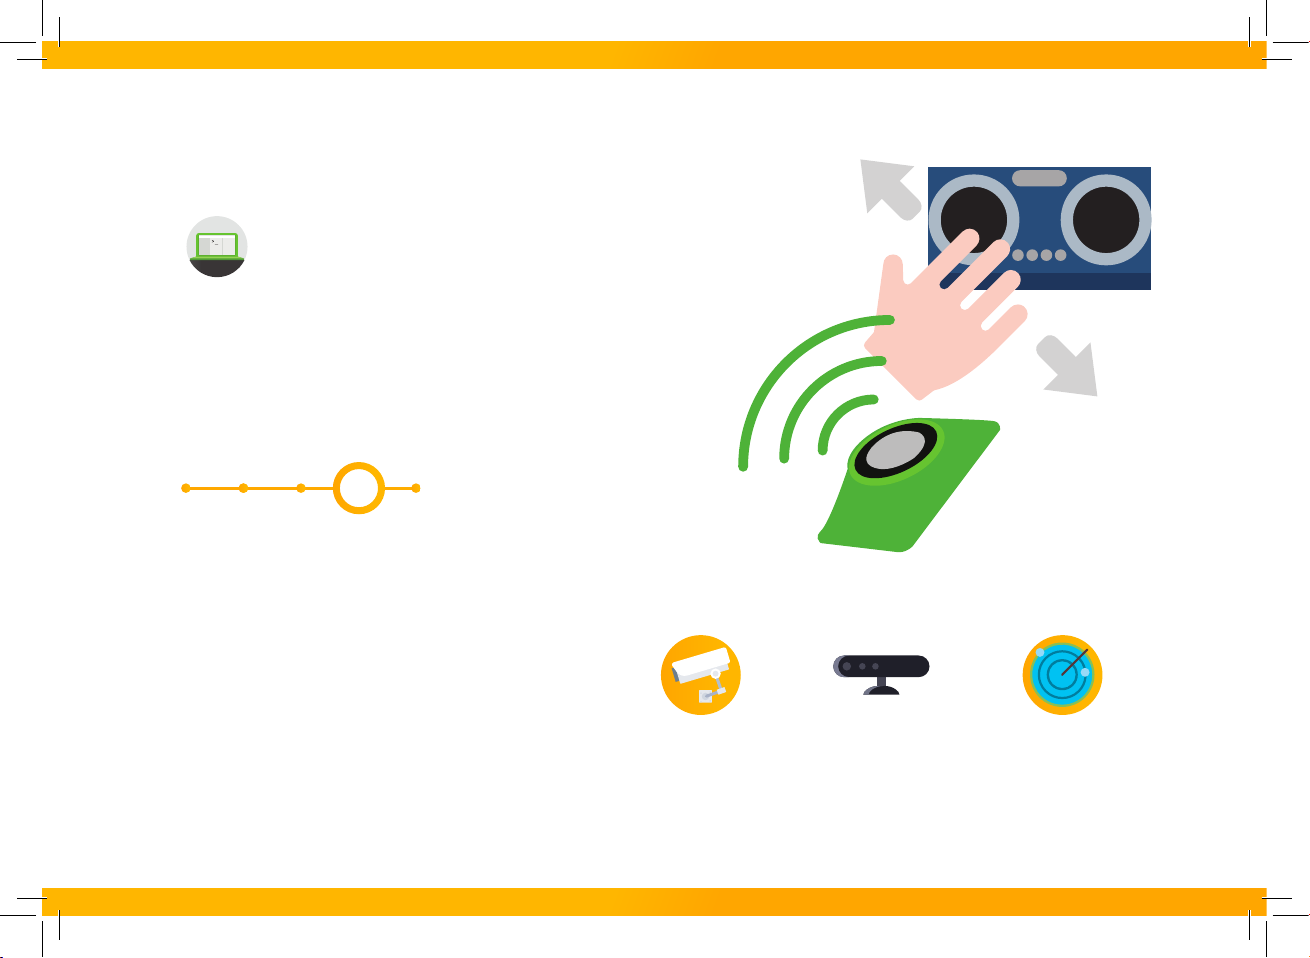
What’s a Theremin?
A Theremin is a musical instrument which makes
sounds without even touching it, pretty cool eh! You
control it by moving your hand closer to, further away
from or along a sensor. Use your hands to make your
own hands-free instrument! You can turn our distance
sensor into a Theremin to make your own beats.
Inventor’s Journey
4
15
Challenges
Can you make it only play defined
musical notes.
Real-life Applications
Motion
Sensing
KinectTM
RadarMicrosoft
Page 19
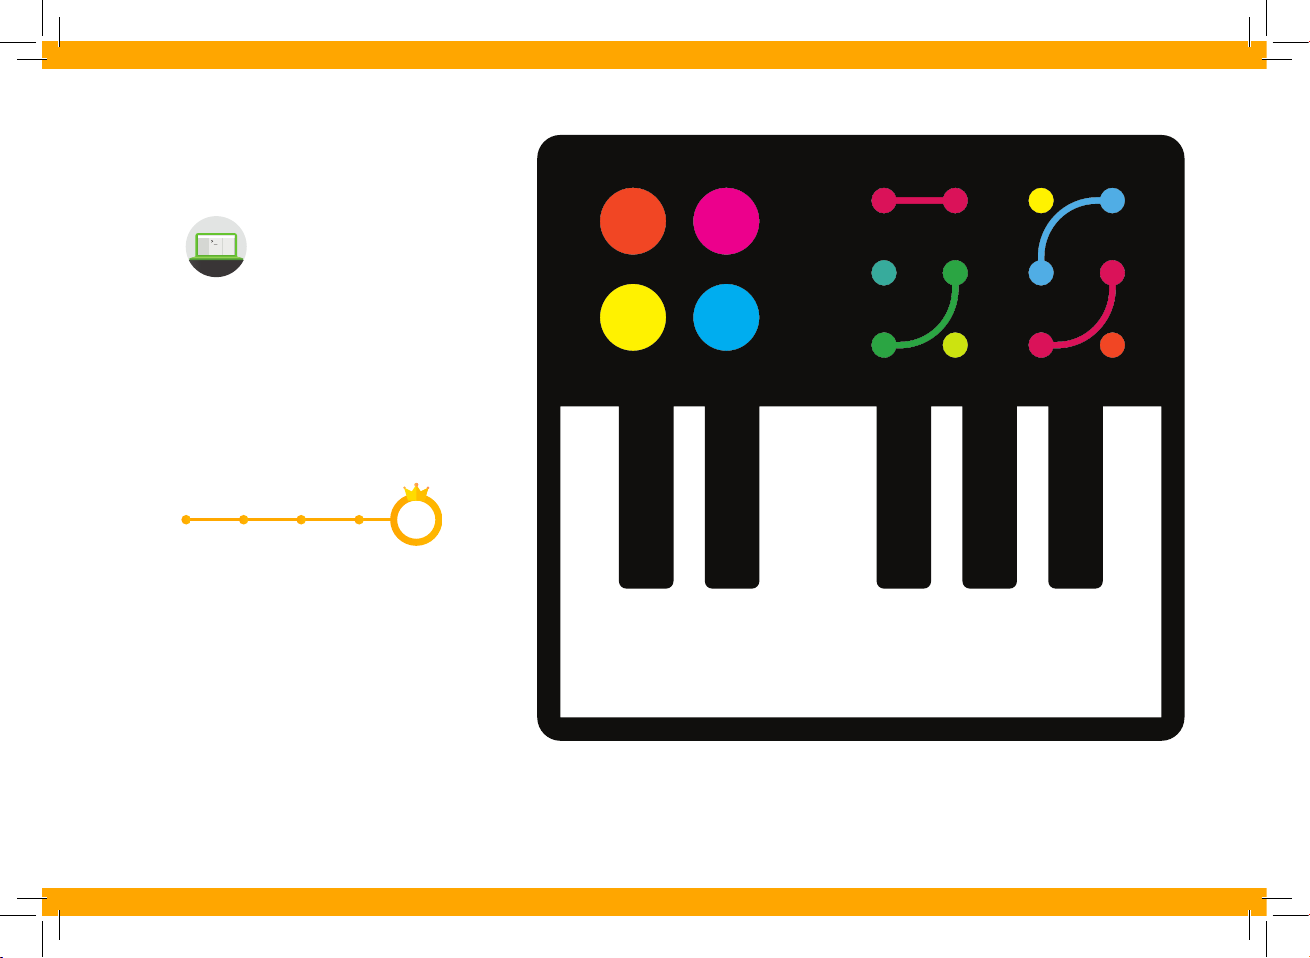
Sonic Synth
Combine all the previous
inventions into one, and
make an instrument which
is truly unique.
Inventor’s Journey Completed!
5
Challenges
Can you put a beat to your
song? Get your friend over and
make an orchestra!
16
Page 20
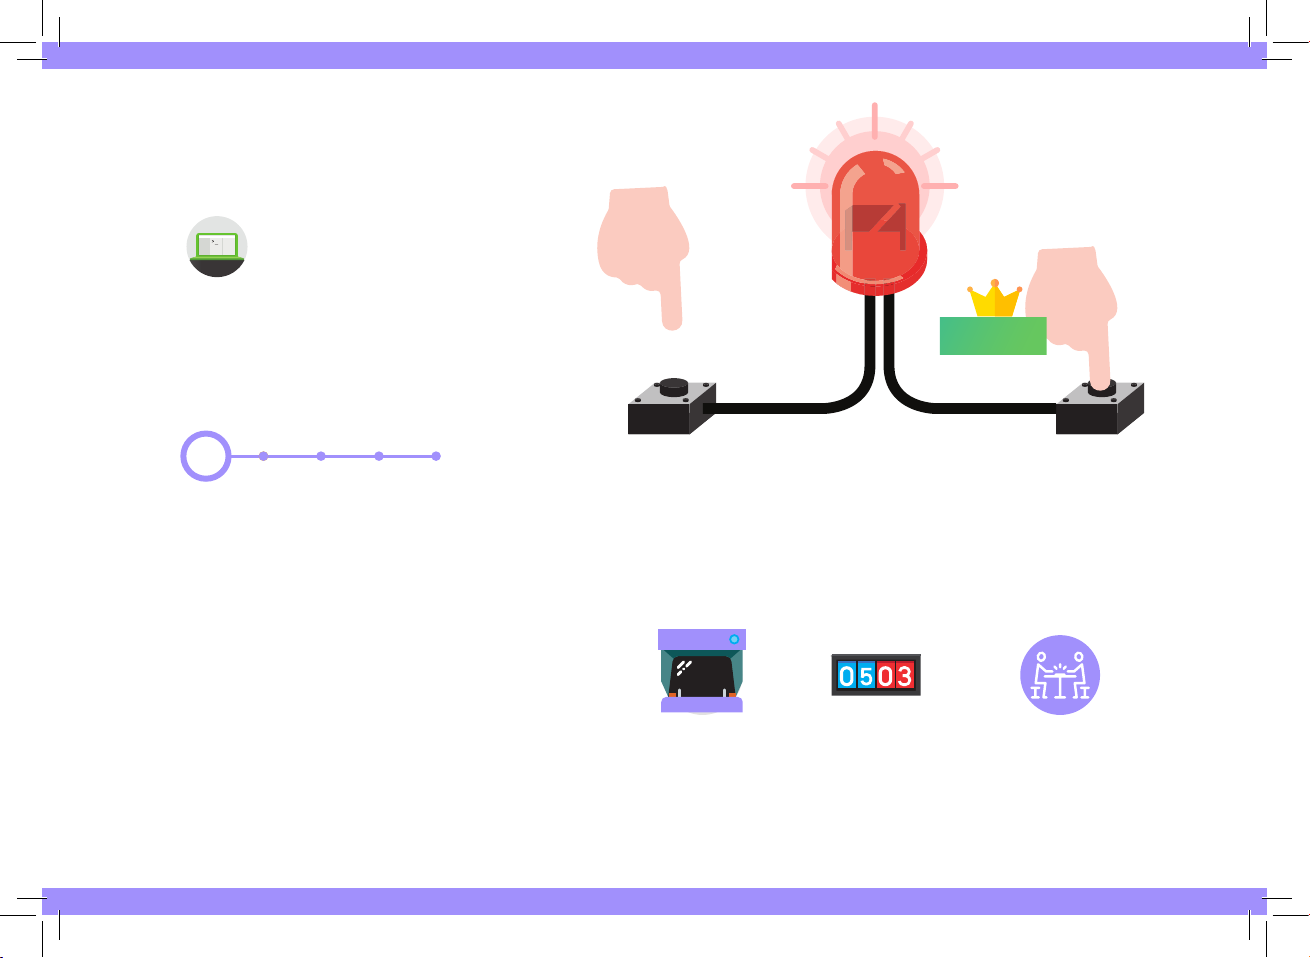
Rapid Reflexes
Test your reactions against
your friends. With just a few
components you can code a
game to determine who is the
fastest!
Inventor’s Journey
1
Challenges Real-life Applications
Make a game for 3 people?
Make a game best of 3.
WINNER
17
Arcade
Games
Sport
Competitions
Board
Games
Page 21
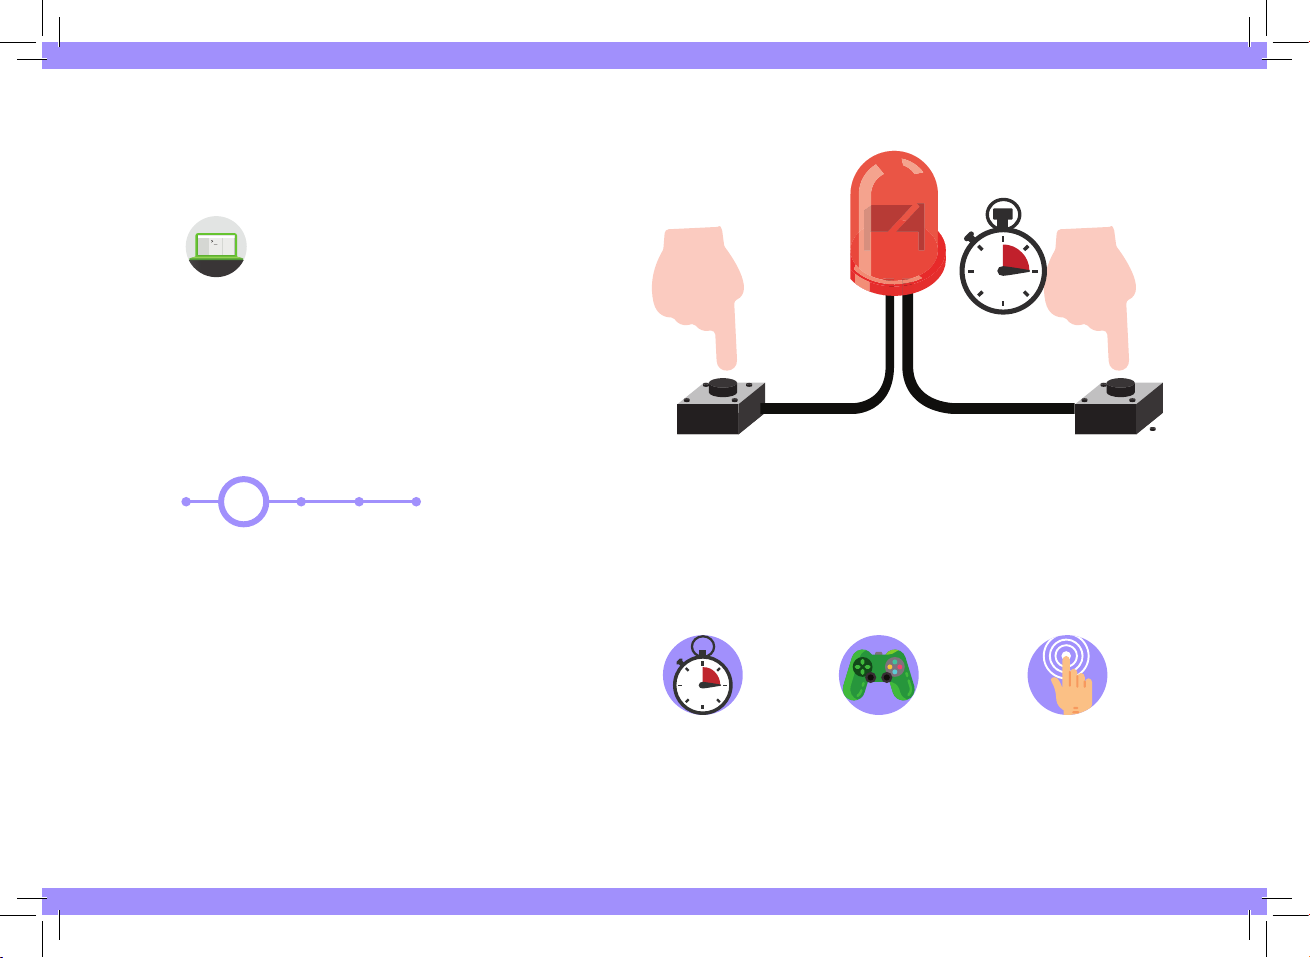
Fingers of Fury
How accurately can you time 10 seconds
without using a watch? Now that you
can detect a button press and the time
that is taken to press it, let’s write a
program which can identify which of two
players pushes their button closest to 10
seconds after the game starts.
Inventor’s Journey
2
Challenges Real-life Applications
Can you print a timed
scorecard for this game?
Stopwatch
Video
Games
Finger
Drumming
18
Page 22
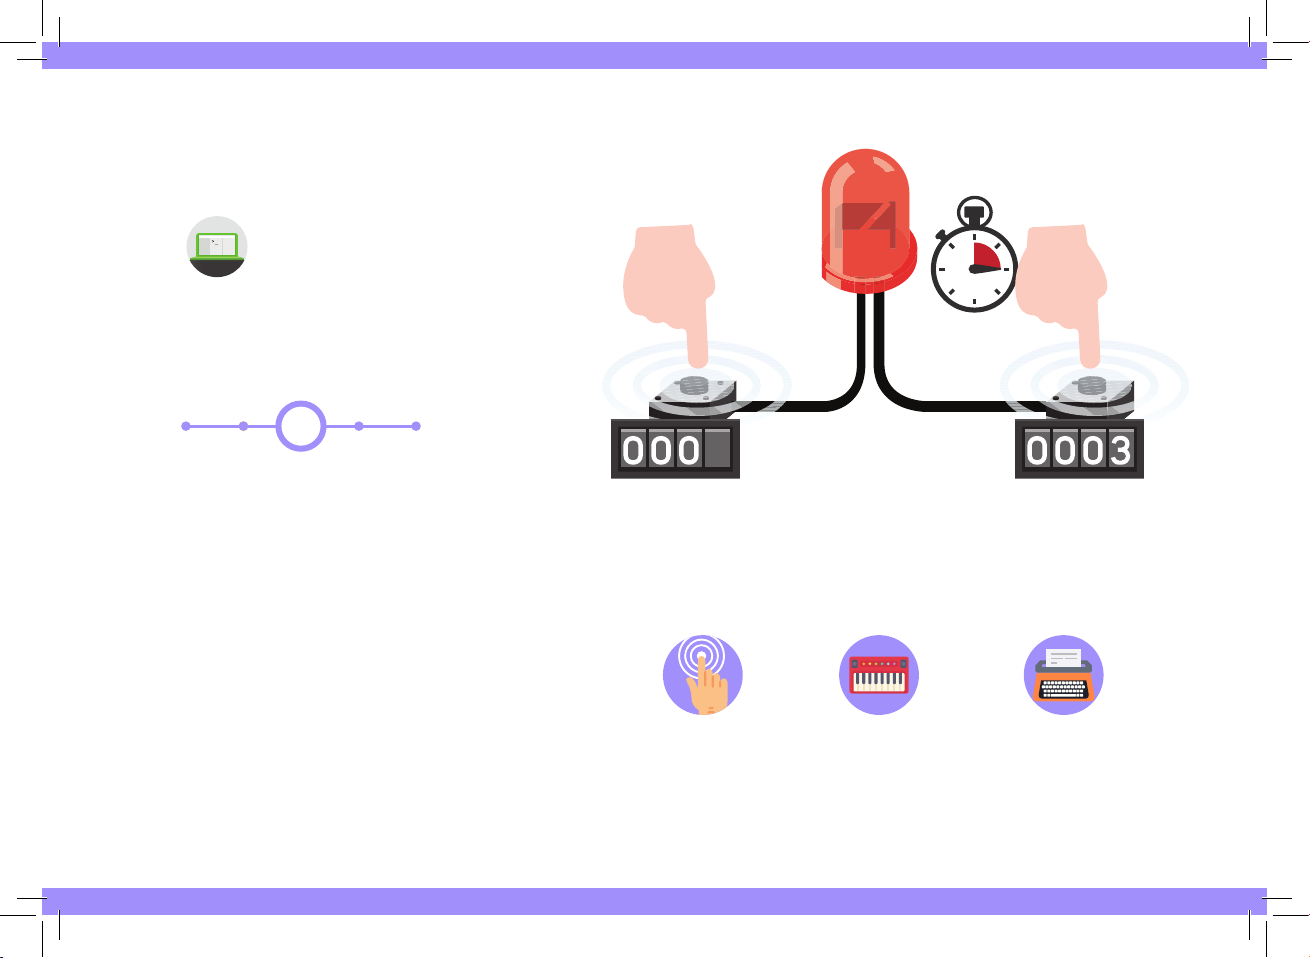
Tap Tap Revolution
Challenge yourself to press
the button as many times
as possible in 5 seconds.
Inventor’s Journey
3
4
19
Challenges
Can you make the game end if you
can’t complete it in under 10s?
Can you make it so your player
incurs time penalties every time
they touch the wire?
Real-life Applications
Finger
Drumming
Electric
Synth
Typing
Speed
Page 23
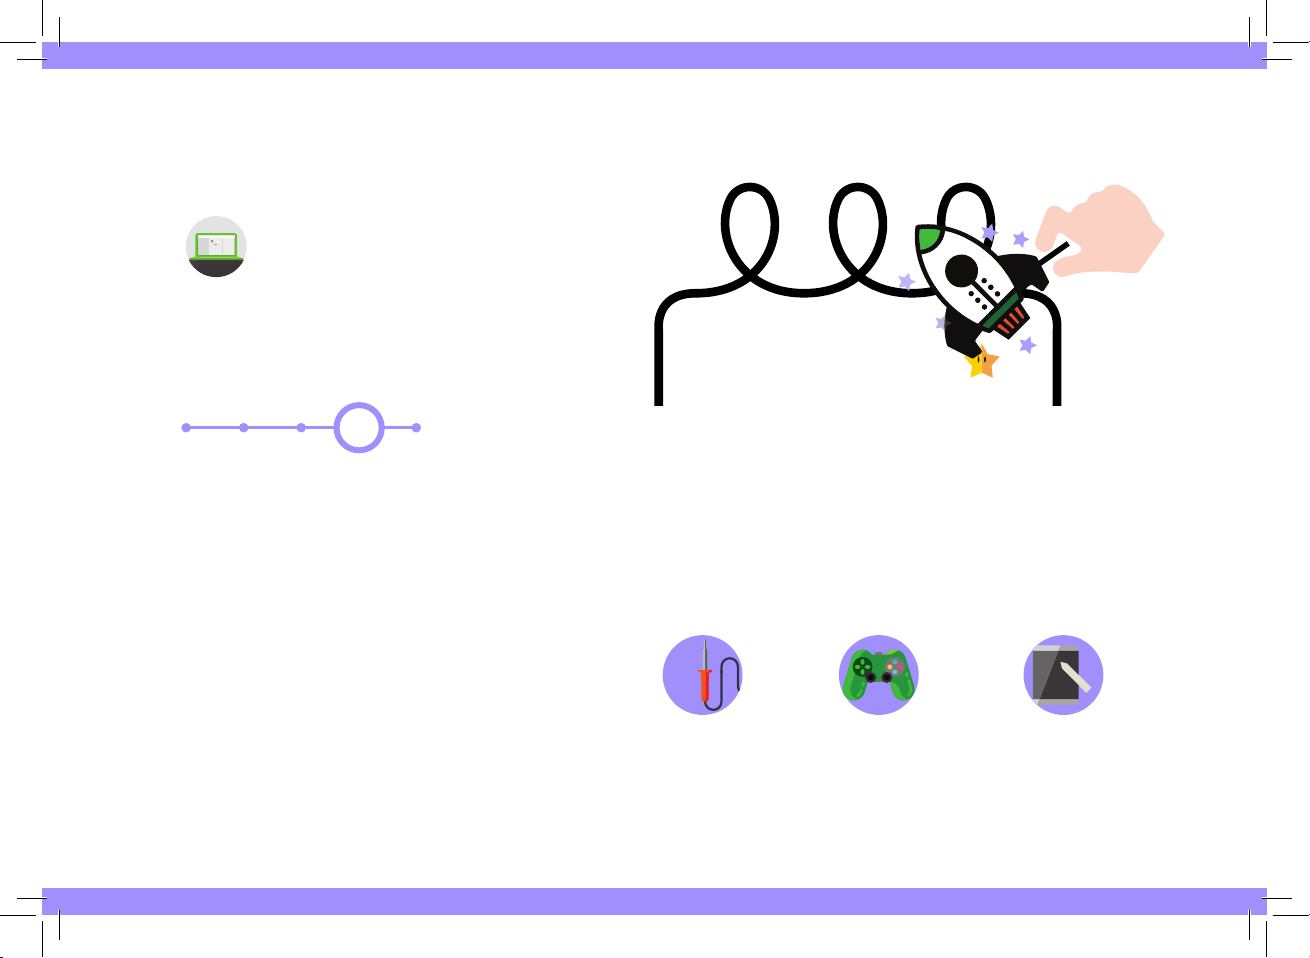
Keep it Steady
Add a feature to give players a helping
hand. When you press the invisibility button
you can touch the wire as many times as
you like for two seconds.
Inventor’s Journey
4
Challenges
Can you write your code, so that it
randomly chooses the time that
invisibility mode will last for? C
you add a sound effect to the
invisibility effect?
an
Real-life Applications
Soldering
Circuits
Video
Games
Tablet
Caligraphy
20
Page 24
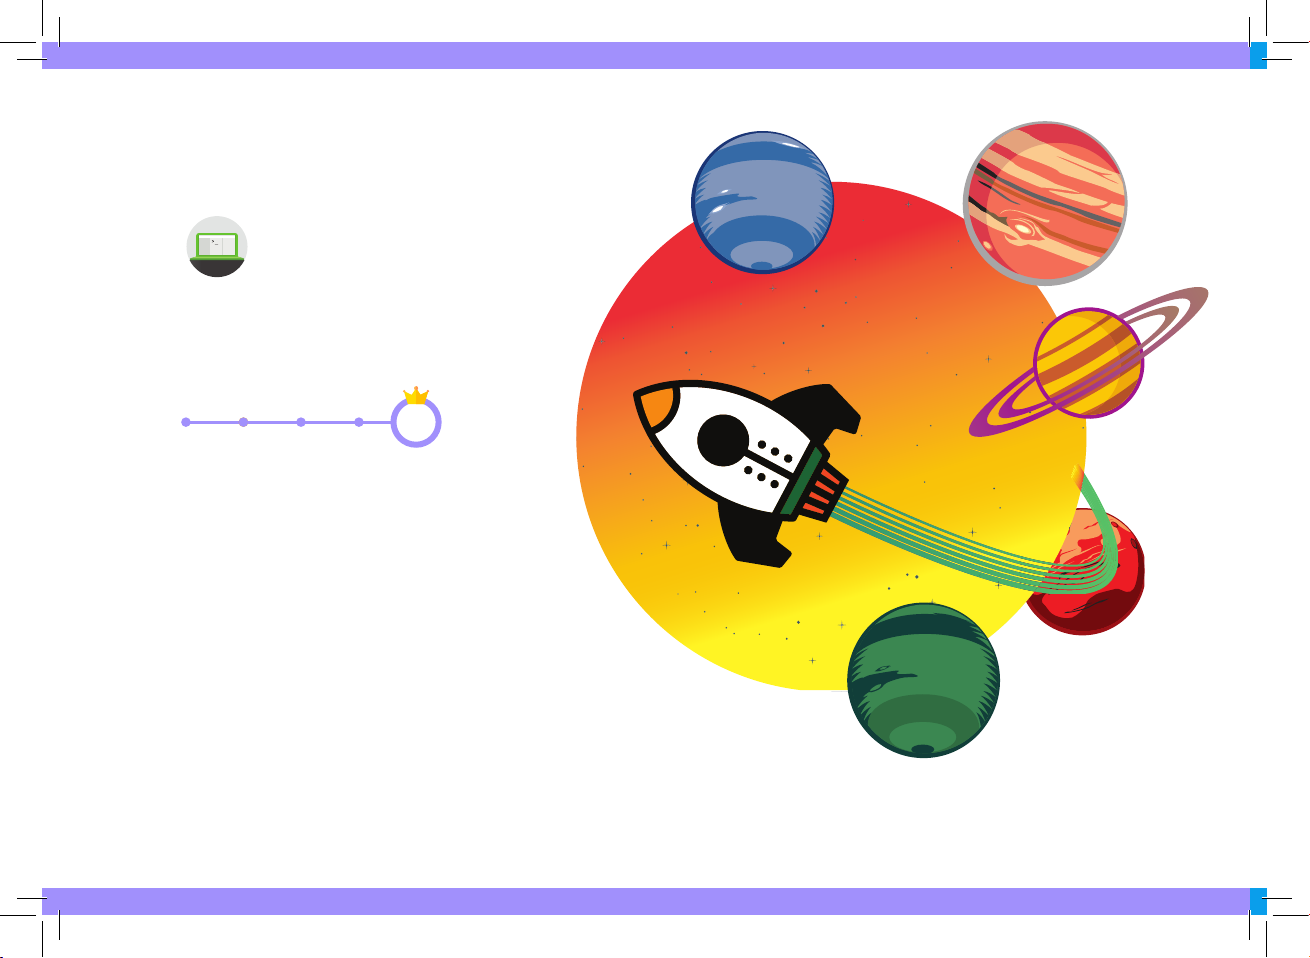
Space Race
Upgrade the steady hand game to
count how many times you have
touched the wire, and add a shield
to your spaceship.
Inventor’s Journey Completed
5
Challenges
Each touch adds 5s to the total time.
21
Page 25
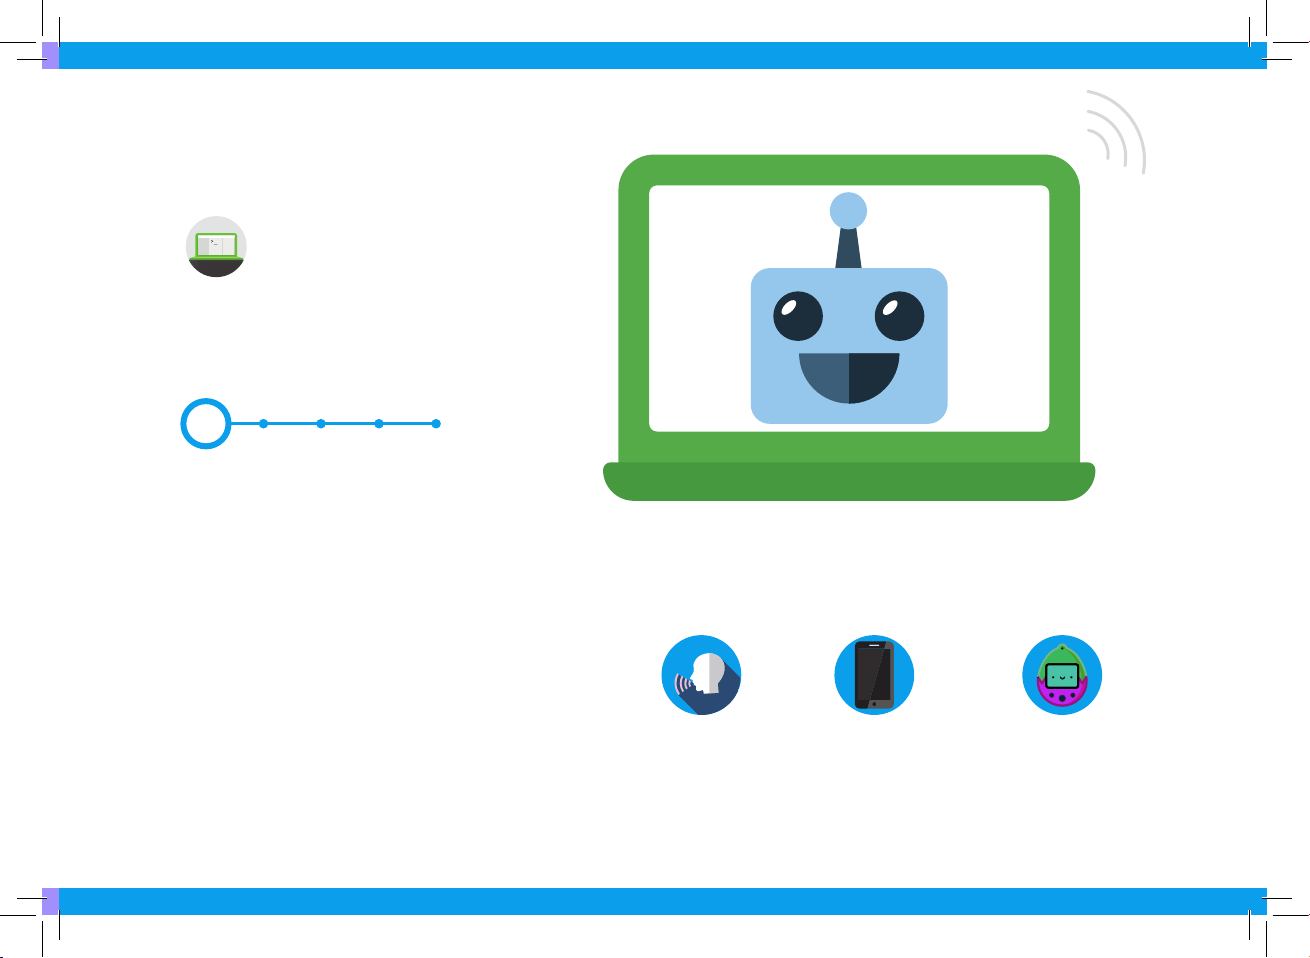
Hello World
Bring your smart robot to life with
a voice and glowing ears. It will
be able to talk to you and show
emotions!
Inventor’s Journey
1
Challenges Real-life Applications
Can you make the eyes flash when
there is a particularly loud noise?
Voice
Assistant
Automated
Support
Virtual
Pet
22
Page 26
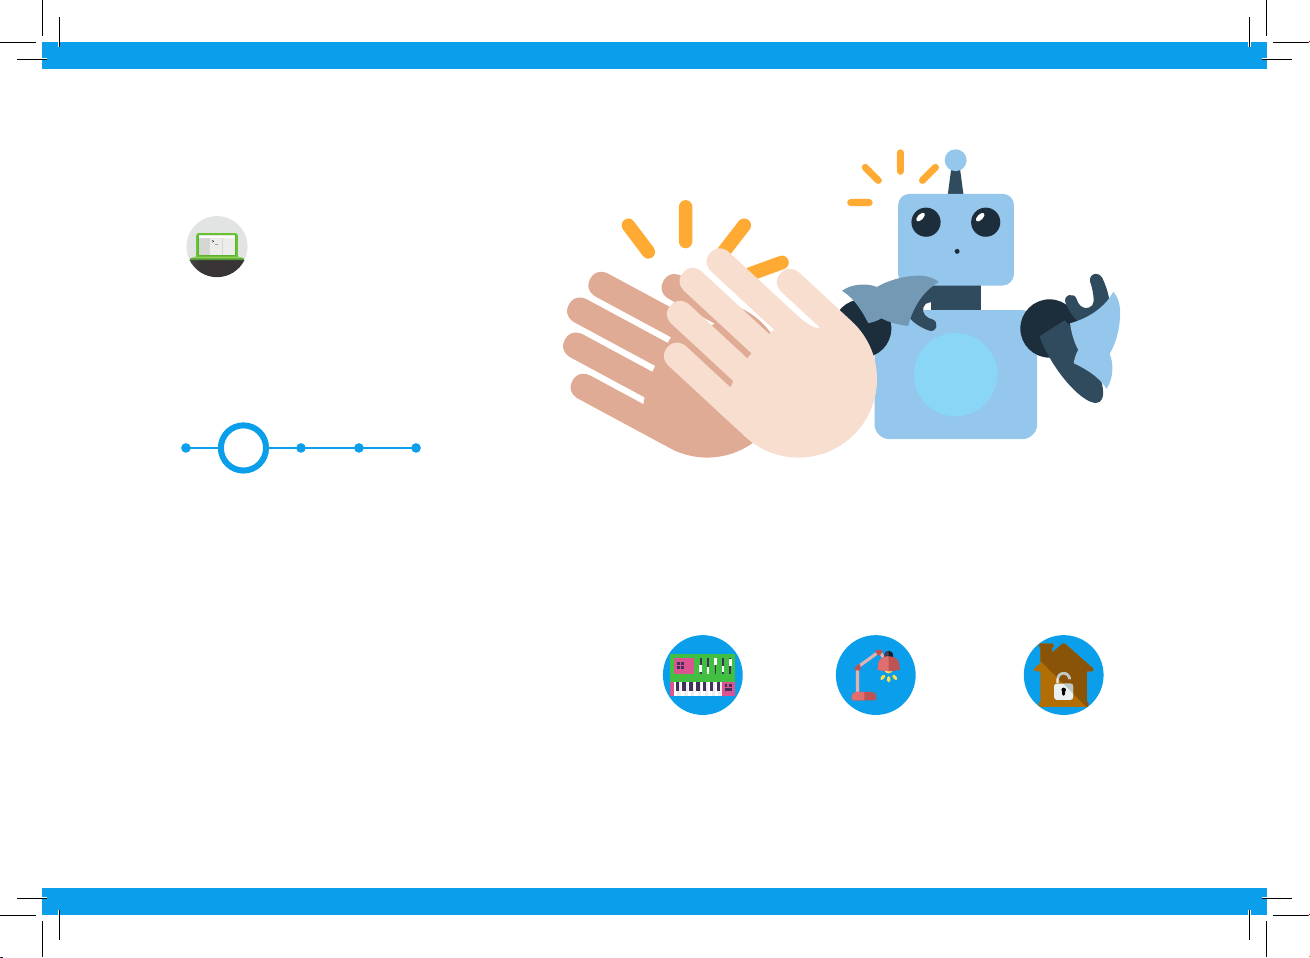
Clappy Hands
Make your robot react to
noise in its environment.
Clap to make it react with a
funny noise or phrase!
Inventor’s Journey
2
23
Challenges
Can you make the LEDs light up when
you clap? Can you make the greeting
appear only to people who clap three
times?
Real-life Applications
Noise
Detector
Smart
Lamp
Home
Security
Page 27
Feed Me
Use the light sensor to detect
when you put food over the
robot’s mouth feeding it with
more power!
Inventor’s Journey
3
Challenges
Can you make your thermometer
play a sound after the temperature
has been at a certain level for a
period of time?
Real-life Applications
Autonomous
Vehicle
Astrophysics Smart
Clocks
24
Page 28
Chatter Box
Using the ultrasonic range sensor, your
smart robot can sense when people
approach your smart robot. Make your
robot greet them with a funny greeting!
01001000 01100101
01101100 01101100
01101111 00100000
01010111 01101111
01110010 01101100
01100100.........
Inventor’s Journey
4
Challenges Real-life Applications
Can you make the greeting
appear only to people who clap
three times?
25
Parking
Sensor
Roller
Coasters
Aviation
Safety
Page 29
It’s ALIVE!
Bring the whole smart r
together by combining all the
functionality and adding
additional input for interaction!
Inventor’s Journey Completed!
obot
5
26
Page 30

Troubleshooting
GPIO pins are not working.
Is there power running
through the pi-topPROTO+?
There is no power running
through my components.
My keyboard and trackpad
are not working.
My LED is not lighting
up.
Button not working? Try using a jumper cable to bypass the button (connect it to the start of the next component). If
Need more help? Still stuck? Please don’t hesitate to email us at [email protected]
Is your pi-topPROTO+ aligned with the correct pins? Check that the 34 pin connector is properly
aligned with the 34 pin connected in the pi-top.
i. Ensure jumper cable connects from the 3v3 GPIO to the breadboard on the row with the first
component.
ii. Ensure the final component on the inventor’s kit has a jumper cable that connects to the
Ground GPIO on the breadboard.
Make sure the USB dongle in the pi-top is properly inserted into the Raspberry Pi as this is what
communicates with the Keyboard and Trackpad.
i. The 3v3 power connects to the positive side (longer leg) and the Ground should be connected
to the negative side (shorter leg).
ii. Other components with directional problems:
iii. Diodes, Buttons
the circuit works, then there is a problem with the Button which can be solved by disconnecting
it and rotating it 90 degrees.
or send us a tweet to @GetPitop.
27
www.pi-top.com
Page 31
Facebook
@GetPitop
#daretoinvent
Community +
Share your Invention
Tag us and use the hashtag
#daretoinvent to share your
inventions with our community.
www.pi-top.com
PinterestInstagram
Twitter
28
Page 32
Continue Your
Inventor’s Journey
Now that you have f inished all of the inventor
journeys there are a wealth of resources online
which you can use to continue building, inventing
and discovering new projects.
pi-topCODER Raspberry Pi website MagPi
pi-topCODER has a wealth
of resources in addition to
the inventors pathways.
The Raspberry Pi website has
a wealth of resources which
you can explore.
https://www.raspberrypi.org
This is the official
Raspberry Pi Magazine
and is full of great
projects! You can find it
online or in a store.
29
Page 33

Glossary
Raspberry Pi
GPIO Pins
ADC
pi-topPROTO+
LED
pi-topCODER
CEEDuniverse
A small credit card sized computer, it is the brain of the pi-top and runs the entire computer.
The General Purpose Input Output Pins directly interact with the Raspberr y Pi. You can code
them to do almost anything!
The Analogue to Digital Converter enables the Raspberry Pi to receive signals from the analogue
world. It is part of pi-topPROTO+.
pi-topPROTO+ is a prototyping board (the platform) for all your inventions which connect to the
magnetic modular rail. It’s made with a breadboard and has a lot of useful pins such as the
GPIO pins or ADC pins.
Light Emitting Diode, this is a little light commonly used in electronics. You have to be careful
to plug it in the correctly!
A platform on pi-topOS which you can use to learn how to build and program awesome
projects.
pi-top’s very own space exploration game, while discovering new planets and strange creatures
you will learn about science, technology and learn how to code.
30
Page 34
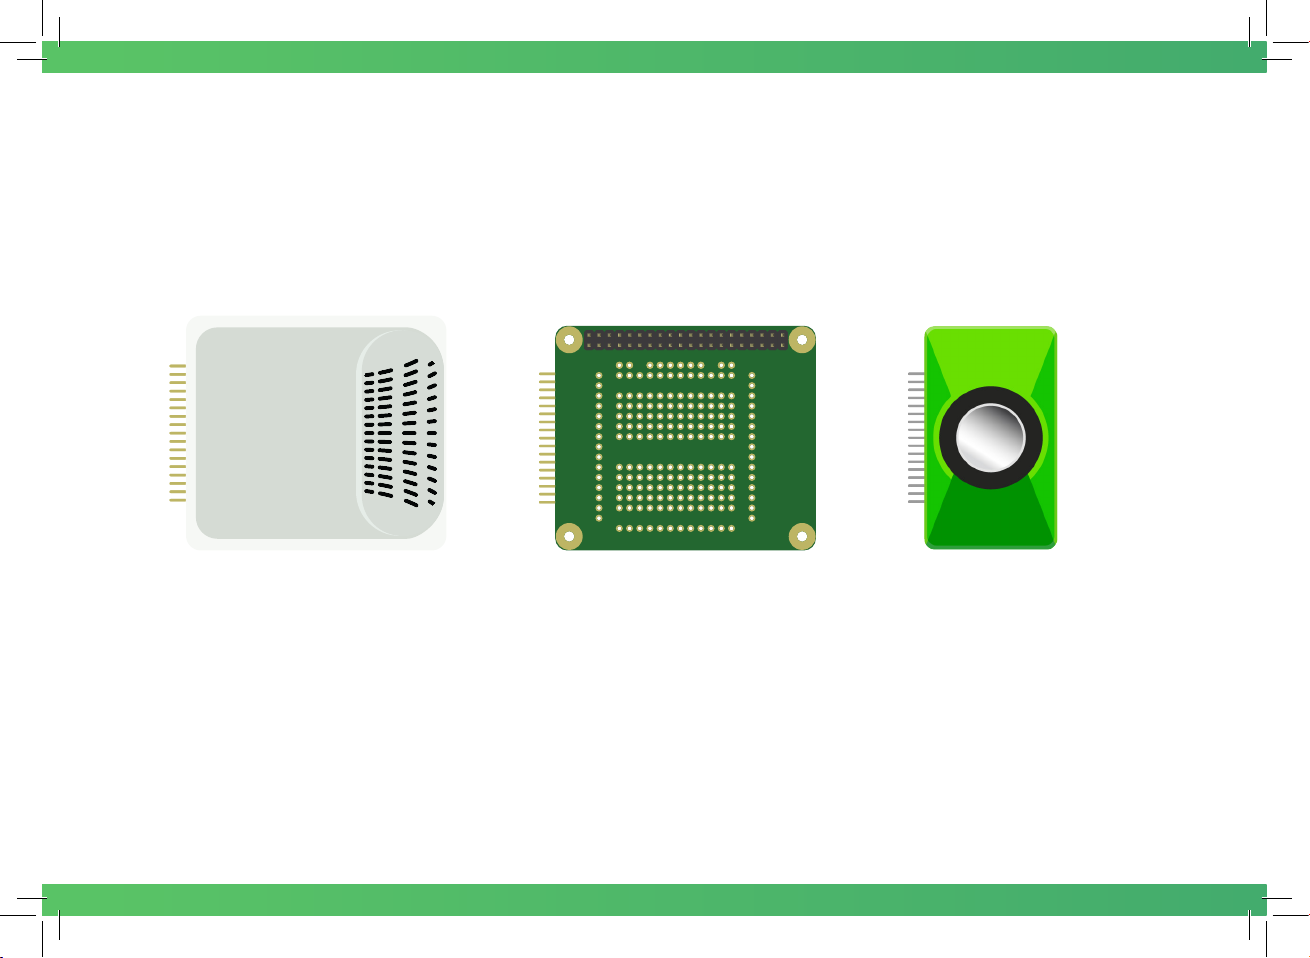
Visit www.pi-top.com to see our full
range of amazing accessories!
31
pi-topPULSE brings the arts
into STEAM. Code your own
games, create music and
lightshows and build your
own pi-top powered Amazon
Alexa!
pi-topPROTOpi-topPULSE
Use pi-topPROTO to make
circuits for pi-topCODER and
CEEDuniverse & even solder
your own projects.
pi-topSPEAKER
Use pi-topSPEAKER to give
your pi-top a voice. Enjoy
immersive gameplay in
CEEDuniverse or making
your own music in Sonic Pi.
Page 35

Notes
32
Page 36

pi-top
Model: 2.0
Brand:pi-top
Manufacturer Name: CEED LTD
Manufacturer Address:
19 - 23 Featherstone Street
London, EC1Y 8SL
This device complies with Part 15 of the FCC Rules.
Operation is subject to the following two conditions:
1. This device may not cause harmful interference.
2. This device must accept any interference received,
including interference that may cause undesired operation.
ABS
Made in China
33
Page 37
The new pi-top
FAQs
Overview of Questions
1. What is the new pi-top?
2. Who is the new pi-top for?
3. Does the new pi-top work with the Raspberry Pi?
4. What projects / inventions can you make with it?
5. Is the new pi-top used in the classroom?
6. What colours are available for the new pi-top?
7. What keyboard layouts are available?
8. What plug types are available?
9. What’s inside the box?
10. What is the inventor’s kit?
11. What inventions or projects can you build with the inventor’s kit?
12. Is there a heat sink / cooling system for the new pi-top?
***
1. What is the new pi-top
The new pi-top is a new generation of laptops. It’s a modular laptop and introduces an all-new
sliding keyboard. It’s powered by the Raspberry Pi (optional), a credit-card sized PC.
Page 38

2. Who is the new pi-top for?
We’re all young at heart, that’s why pi-top have developed a new range of exciting inventor
journeys to awaken anyone’s inner child. So anyone from young musicians to explorers to
scientists to software developers to inventors can do what they enjoy like they’ve never done
before. The all new pi-top is for anyone.
3. Does the new pi-top work with the Raspberry Pi?
Yes, it works with the Raspberry Pi 3. It is the brain of the pi-top. All pi-top products are
powered by the Raspberry Pi which is a credit-card sized PC.
Learn more about the Raspberry Pi here.
4. What projects / inventions can you make with it?
Create your own inventions with your inventor’s kit. Discover the world of coding and building
electronics. It includes several components such as a pi-topPROTO+ (pi-topPROTO plus).
There are 3 inventor’s journeys - Smart Robot, Music Master and Space Race. The guide
describes 20+ projects which you can complete with the step-by-step guide in the pi-
topCODER! Explore technology together and create inventions with all the bits and accessories
in the kit. Some of the inventions you’ll be making are:
● Music Maker
● Smart Robot
● Let there be light!
● Melody Madness
● Space Race
● Clappy Hands
And more!
5. Is the new pi-top used in the classroom?
It is definitely suitable for your STEAM or Computer science classroom! The original pi-top and
pi-topCEED have been deployed worldwide in numerous classrooms. It’s a great tool for a
project-based teaching style for STEAM and Computer Science subjects.
6. What colours are available for the new pi-top?
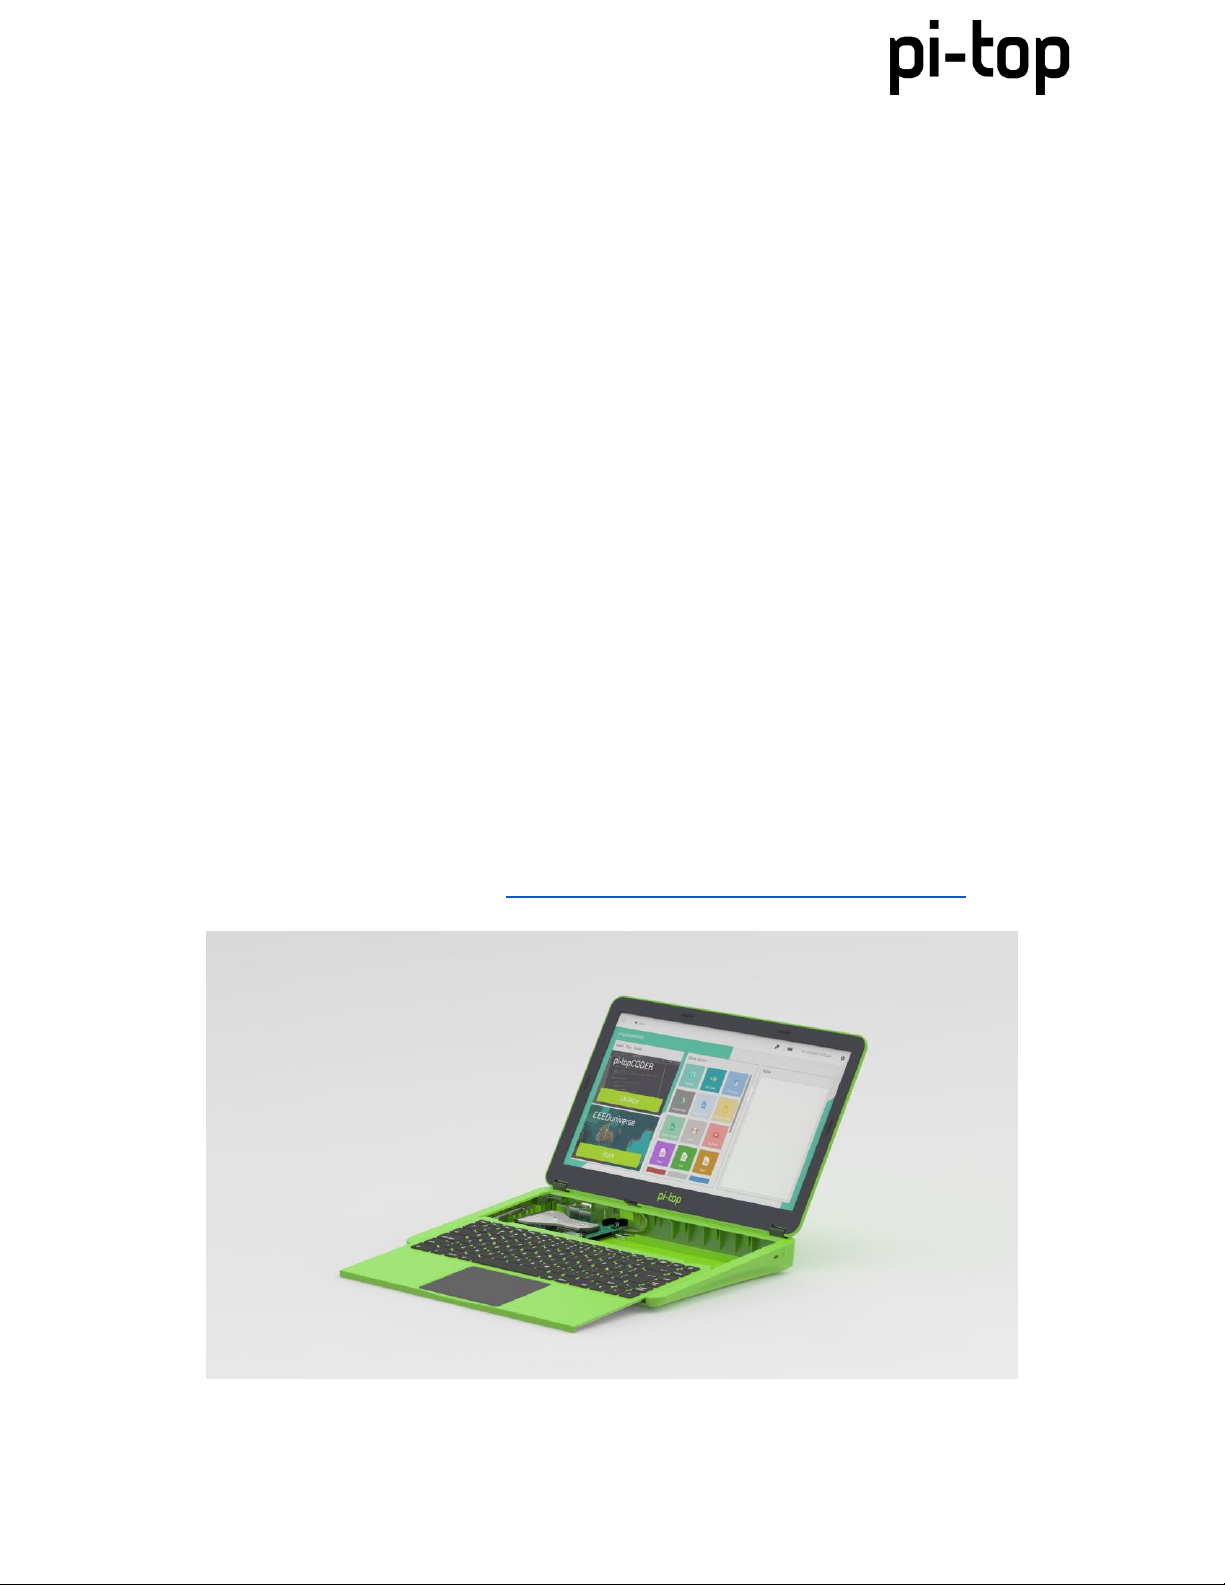
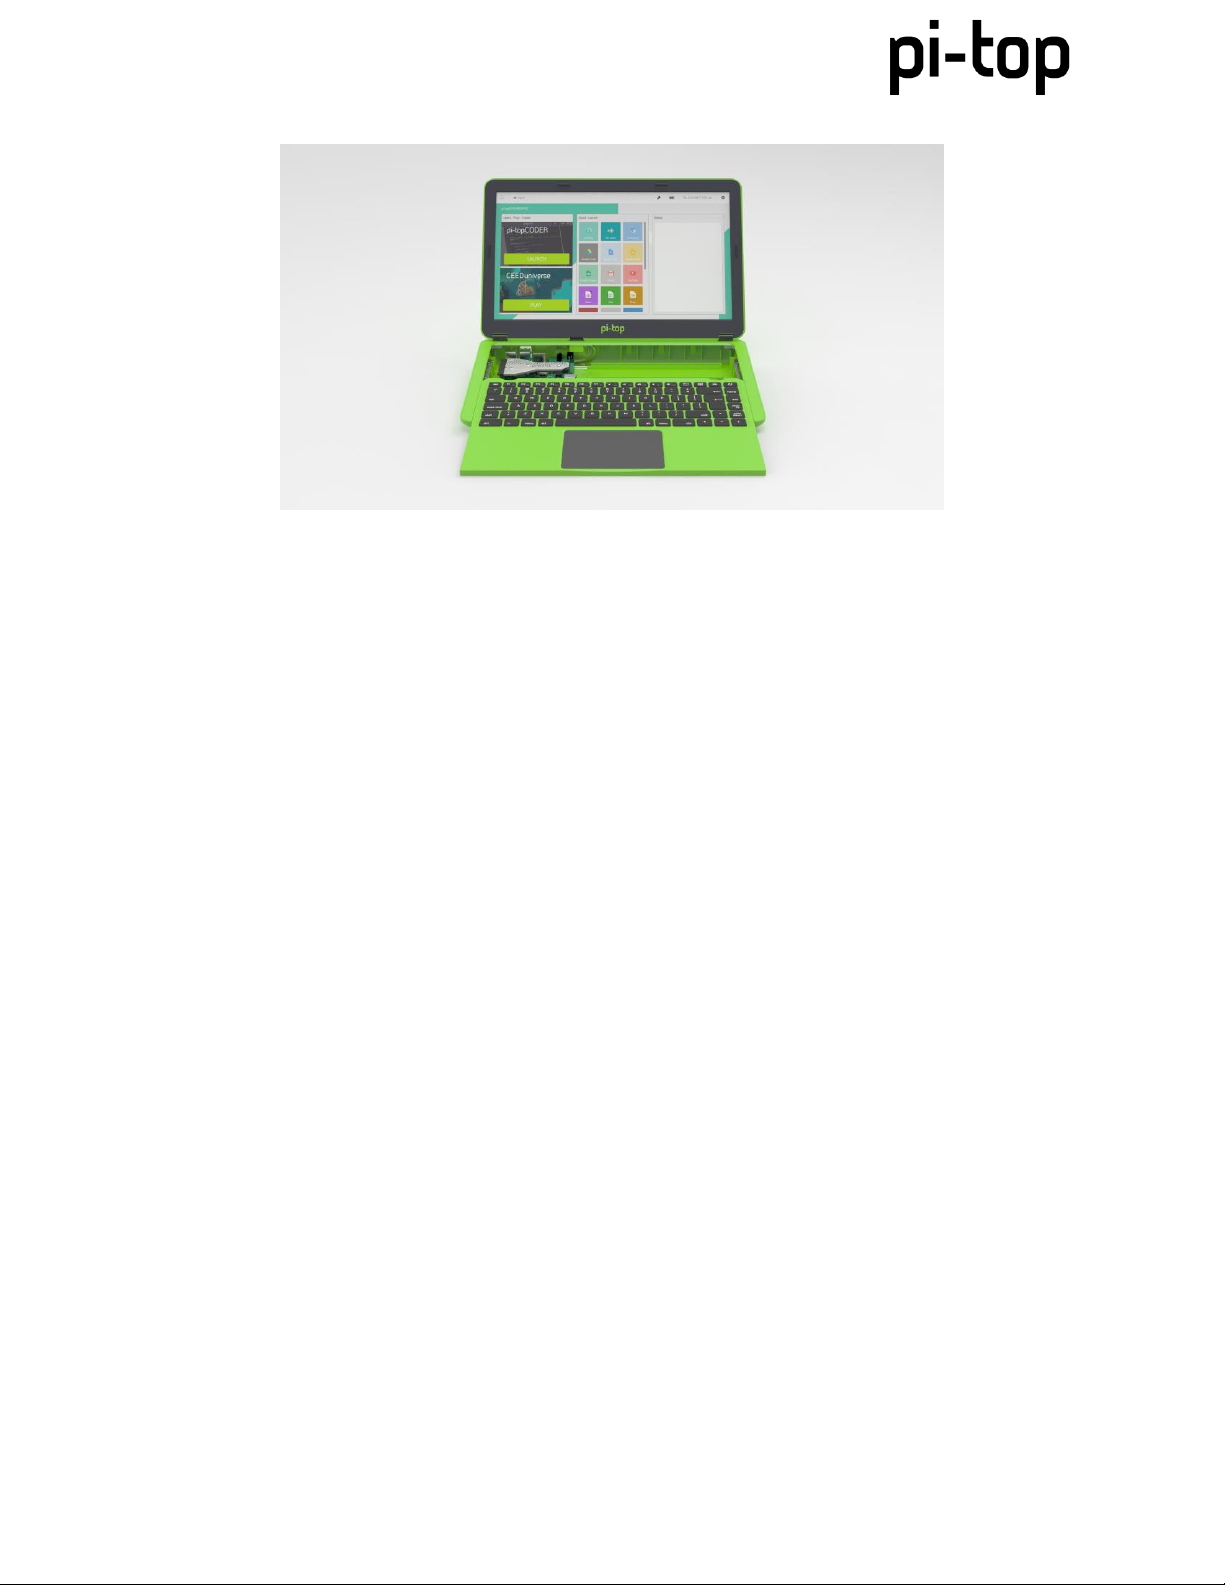
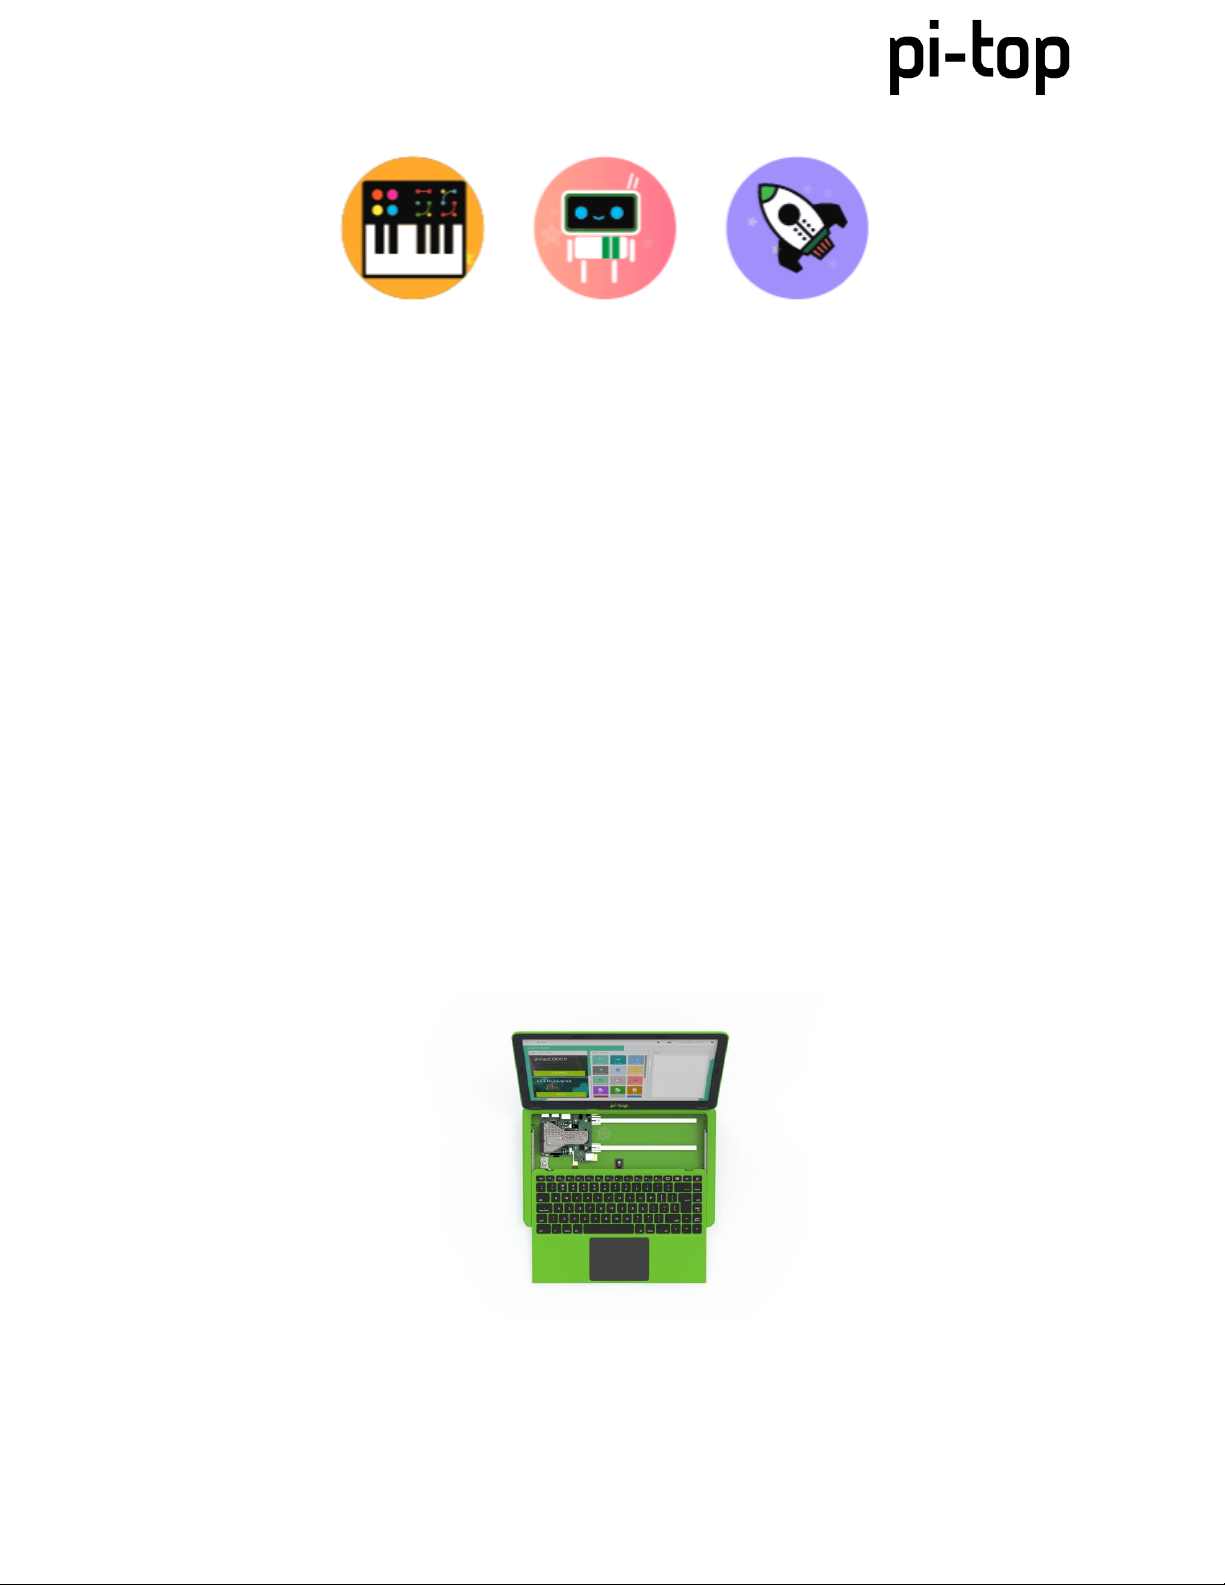
The new pi-top is available in a zesty green with dark grey bezel. See image below:
Page 39
7. What keyboard layouts are available?
Currently, it is available as a US QWERTY keyboard layout.
8. What plug types are available?
The new pi-top comes with an International plug. This includes plugs for: US, UK, EU and AU.
9. What’s inside the box?
Of course, you’ll get a new generation laptop, pi-top. It’s a modular laptop and introduces an allnew sliding keyboard. Components include:
- 14” full HD display
- Sliding keyboard and trackpad
- Modular magnetic rail for building and creating
- 8GB SD card with full pi-topOS software suite
Additionally, it includes a free inventor’s kit so you can get started building, creating and
inventing. You’ll get visual building instructions and an inventor guide with 20+ projects inside!
The pi-topCODER app has step-by-step guides to complete hundreds of hours of projects.
10. What is the inventor’s kit?
The inventor’s kit is a toolbox including all the components and guides needed to start building
and playing. Create your own inventions with your inventor’s kit. Discover the world of coding
and building electronics. It includes several components such as
● 1x pi-topPROTO+ (pi-topPROTO plus).
● LED lights
● Buttons
● Buzzers
and more!
There are 3 inventor’s journeys - Music Master, Smart Robot and Space Race.
Page 40
It includes the inventor’s guide which describes 20+ inventions. You can complete them by
following the step-by-step guide in the pi-topCODER app! Explore technology together and
create inventions with all the bits and accessories in the kit. Some of the inventions you’ll be
making are:
● Let there be light!
● Melody Madness
● Space Race
● Clappy Hands
And more!
11. What inventions or projects can you build with the inventor’s kit?
Use your limitless imagination to create your own games, get hands-on with electronics and
experiment with your inventions. It includes coding up your personal robot assistant, an
ingenuity trial to challenge your friends and a musical entertainment invention! Build dozens of
gadgets such as your own music instruments, reaction challenge game, space race, smart robot
pet and more. We’ve included some fun cardboard cut-outs to dress up your inventions!
12. Is there a heat sink / cooling system for the new pi-top?
Yes, there now is a specially designed in-built passive Cooling Bridge for faster, stable
processing with the Raspberry Pi, credit-card sized PC.
 Loading...