

Page 1
Before You Start
Introducing XM Satellite
Radio
There’s a world beyond AM and FM. XM
Satellite Radio. Up to 100 channels. Coast-tocoast coverage. Digital quality sound. With
many commercial-free music channels. Plus
the best sports, comedy, talk, news and
entertainment. Questions? Visit www.xmradio.com. The future is waiting.
Note
XM Radio is responsible for the channel lineup
and categories, and may change at any time.
Please contact XM Radio for the latest channel
lineup and category information.
How to subscribe
Listeners can subscribe by visiting XM on the
web at www.xmradio.com or by calling XM’s
Listener Care at (800) 852-9696. Customers
should have their Radio ID ready; for details,
refer to “Display the ID code
”
. Customers are
able to receive a limited number of free-to-air
channels without activation.
Technology. It is prohibited to copy, decompile,
disassemble, reverse engineer or manipulate any
technology incorporated in receivers compatible
with the XM Satellite Radio system. Furthermore,
the AMBE ® voice compression software included
in this product is protected by intellectual property
rights including patent rights, copyrights, and trade
secrets of Digital Voice Systems, Inc. The user of
this or any other software contained in an XM Radio
is explicitly prohibited from attempting to copy,
decompile, reverse engineer, or disassemble the
object code, or in any other way convert the object
code into human-readable form. The software is
licensed solely for use within this product.
About the XM mark
The “XM” mark on this unit indicates that it is
an XM satellite radio receiver. You can receive
XM satellite radio broadcasts by connecting
the unit as shown in the installation manual.
Note
The XM name and related logos are trademarks
of XM Satellite Radio Inc.
About this manual
This unit features a number of sophisticated
functions ensuring superior reception and
operation. All the functions have been
designed for the easiest possible use, but
many are not self-explanatory. This operation
manual will help you benefit fully from this
unit’s potential and to maximize your listening enjoyment.
We recommend that you familiarize yourself
with the functions and their operation by
reading through the manual before you begin
using this unit. It is especially important that
you read and observe precautions.
En
Operation Manual
XM satellite digital tuner
GEX-P910XM
PIONEER CORPORATION
4-1, MEGURO 1-CHOME, MEGURO-KU, TOKYO 153-8654, JAPAN
PIONEER ELECTRONICS (USA) INC.
P.O. Box 1540, Long Beach, California 90801-1540, U.S.A.
TEL: (800) 421-1404
PIONEER EUROPE NV
Haven 1087, Keetberglaan 1, B-9120 Melsele, Belgium
TEL: (0) 3/570.05.11
PIONEER ELECTRONICS ASIACENTRE PTE. LTD.
253 Alexandra Road, #04-01, Singapore 159936
TEL: 65-6472-1111
PIONEER ELECTRONICS AUSTRALIA PTY. LTD.
178-184 Boundary Road, Braeside, Victoria 3195, Australia
TEL: (03) 9586-6300
PIONEER ELECTRONICS OF CANADA, INC.
300 Allstate Parkway, Markham, Ontario L3R OP2, Canada
TEL: (905) 479-4411
PIONEER ELECTRONICS DE MEXICO, S.A. de C.V.
San Lorenzo 1009 3er. Piso Desp. 302
Col. Del Valle Mexico, D.F. C.P. 03100
TEL: 55-5688-52-90
Published by Pioneer Corporation.
Copyright © 2002 by Pioneer Corporation.
All rights reserved.
<KYMZX/02H00000>
Printed in Thailand
<CRB1801-A/N> UC
Selecting fine audio equipment such as the unit you’ve just purchased is only the start of your
musical enjoyment. Now it’s time to consider how you can maximize the fun and excitement your
equipment offers. This manufacturer and the Electronic Industries Association’s Consumer
Electronics Group want you to get the most out of your equipment by playing it at a safe level. One
that lets the sound come through loud and clear without annoying blaring or distortion – and, most
importantly, without affecting your sensitive hearing.
Sound can be deceiving. Over time your hearing “comfort level” adapts to higher volumes of
sound. So what sounds “normal” can actually be loud and harmful to your hearing. Guard against
this by setting your equipment at a safe level BEFORE your hearing adapts.
To establish a safe level:
• Start your volume control at a low setting.
• Slowly increase the sound until you can hear it comfortably and clearly, and without distortion.
Once you have established a comfortable sound level:
• Set the dial and leave it there.
Taking a minute to do this now will help to prevent hearing damage or loss in the future. After all,
we want you listening for a lifetime.
We Want You Listening For A Lifetime
Used wisely, your new sound equipment will provide a lifetime of fun and enjoyment. Since
hearing damage from loud noise is often undetectable until it is too late, this manufacturer and the
Electronic Industries Association’s Consumer Electronics Group recommend you avoid prolonged
exposure to excessive noise. This list of sound levels is included for your protection.
Decibel
Level Example
30 Quiet library, soft whispers.
40 Living room, refrigerator, bedroom away from traffic.
50 Light traffic, normal conversation, quiet office.
60 Air conditioner at 20 feet, sewing machine.
70 Vacuum cleaner, hair dryer, noisy restaurant.
80 Average city traffic, garbage disposals, alarm clock at two feet.
THE FOLLOWING NOISES CAN BE DANGEROUS UNDER CONSTANT
EXPOSURE
90 Subway, motorcycle, truck traffic, lawn mower.
100 Garbage truck, chain saw, pneumatic drill.
120 Rock band concert in front of speakers, thunderclap.
140 Gunshot blast, jet plane.
180 Rocket launching pad.
Information courtesy of the Deafness Research Foundation.
Register your product at
See “Product registration” page
Page 2
Before You Start
Head unit group 3
Function Button Operation
Source switching SOURCE :Select
Select the channel or :Select
Changing the band BAND :Select
Switching the DISPLAY :Select
display
Scrolling the DISPLAY :Scroll
display (hold for 2
seconds)
Display the MENUS A.MENU :Display
Preset memory 1. or :Select number
(P.CH MEMORY) 2. A.MENU :Memory
Direct recall 1. or :Select number
(P.CH RECALL) 2. A.MENU :Recall
Switching the or :Select
channel select
mode (CH MODE)
Select the category or :Select
(Channel category
select mode)
En
Before You Start
Head unit group 2
When using this unit with these head units,
operate while referring to the head unit group
2 function compatibility chart.
• These head units control this unit as an
external unit.
DEH-P90HDD* DEH-P4400
DEH-P440 DEH-P44
FH-P4100
Head unit group 3
When using this unit with these head units,
operate while referring to the head unit group
3 function compatibility chart.
AVH-P6400CD AVH-P6400
Function compatibility charts
Operate using the same buttons on the head
unit itself or the remote control.
Head unit group 2
Function Button Operation
Source switching SOURCE :Select
Select the channel or :Select
Changing the band BAND :Select
Preset memory 1–6 :Memory
(hold for 2
seconds)
Direct recall 1–6 :Recall
Sequential recall or :Recall
(Channel number
select mode)
Select the category or :Select
(Channel category
select mode)
Entering the FUNCTION :Select
function menu
(See
“
Introduction
of advanced tuner
operation”.)
Switching the or :Select
display (FUNC1)
Scrolling the or :Scroll
display (FUNC1) (hold for 2
seconds)
Scrolling the DISPLAY :Scroll
display (hold for 2
seconds)
Switching the or :Select
channel select
mode (FUNC2)
En
Before You StartBefore You Start
• Keep this manual handy as a reference for
operating procedures and precautions.
• Always keep the volume low enough so
you can hear sounds outside of the car.
• Protect this product from moisture.
• If the battery is disconnected or
discharged, the preset memory will be
erased and must be reprogrammed.
After-sales service for
Pioneer products
Please contact the dealer or distributor from
where you purchased this unit for after-sales
service (including warranty conditions) or
any other information. In case the necessary
information is not available, please contact
the company listed below:
Please do not ship your unit to the company
at the addresses listed below for repair without advance contact.
For warranty information please see the
Limited Warranty sheet included with this
unit.
Product registration
Visit us at the following site:
1 Register your product. We will keep the
details of your purchase on file to help you
refer to this information in the event of an
insurance claim such as loss or theft.
2 Receive updates on the latest products
and technologies.
3 Download owner’s manuals, order prod-
uct catalogues, research new products,
and much more.
Operating with different
head units
Operate this unit (for XM reception) with the
connected head unit. For illustration, instructions in this manual use the “DEH-P6400” as
an example of head unit.
• When using a remote control, you can
operate these head units marked with * in
the same way as the “DEH-P6400”. For
details concerning operation with the
head unit itself, refer to the head unit’s
operation manual.
Head unit group 1
Operation when using the following head
unit is the same as with the “DEH-P6400”,
operate following the instructions in this
manual.
DEH-P9400MP* DEH-P940MP*
DEH-P8400MP DEH-P840MP
DEH-P7400MP DEH-P740MP
DEH-P640 DVH-P7000
U.S.A.
Pioneer Electronics (USA), Inc.
CUSTOMER SUPPORT DIVISION
P.O. Box 1760
Long Beach, CA 90801-1760
800-421-1404
Important
The serial number of this device is located on
the bottom of this unit. For your own security
and convenience, be sure to record this number on the enclosed warranty card.
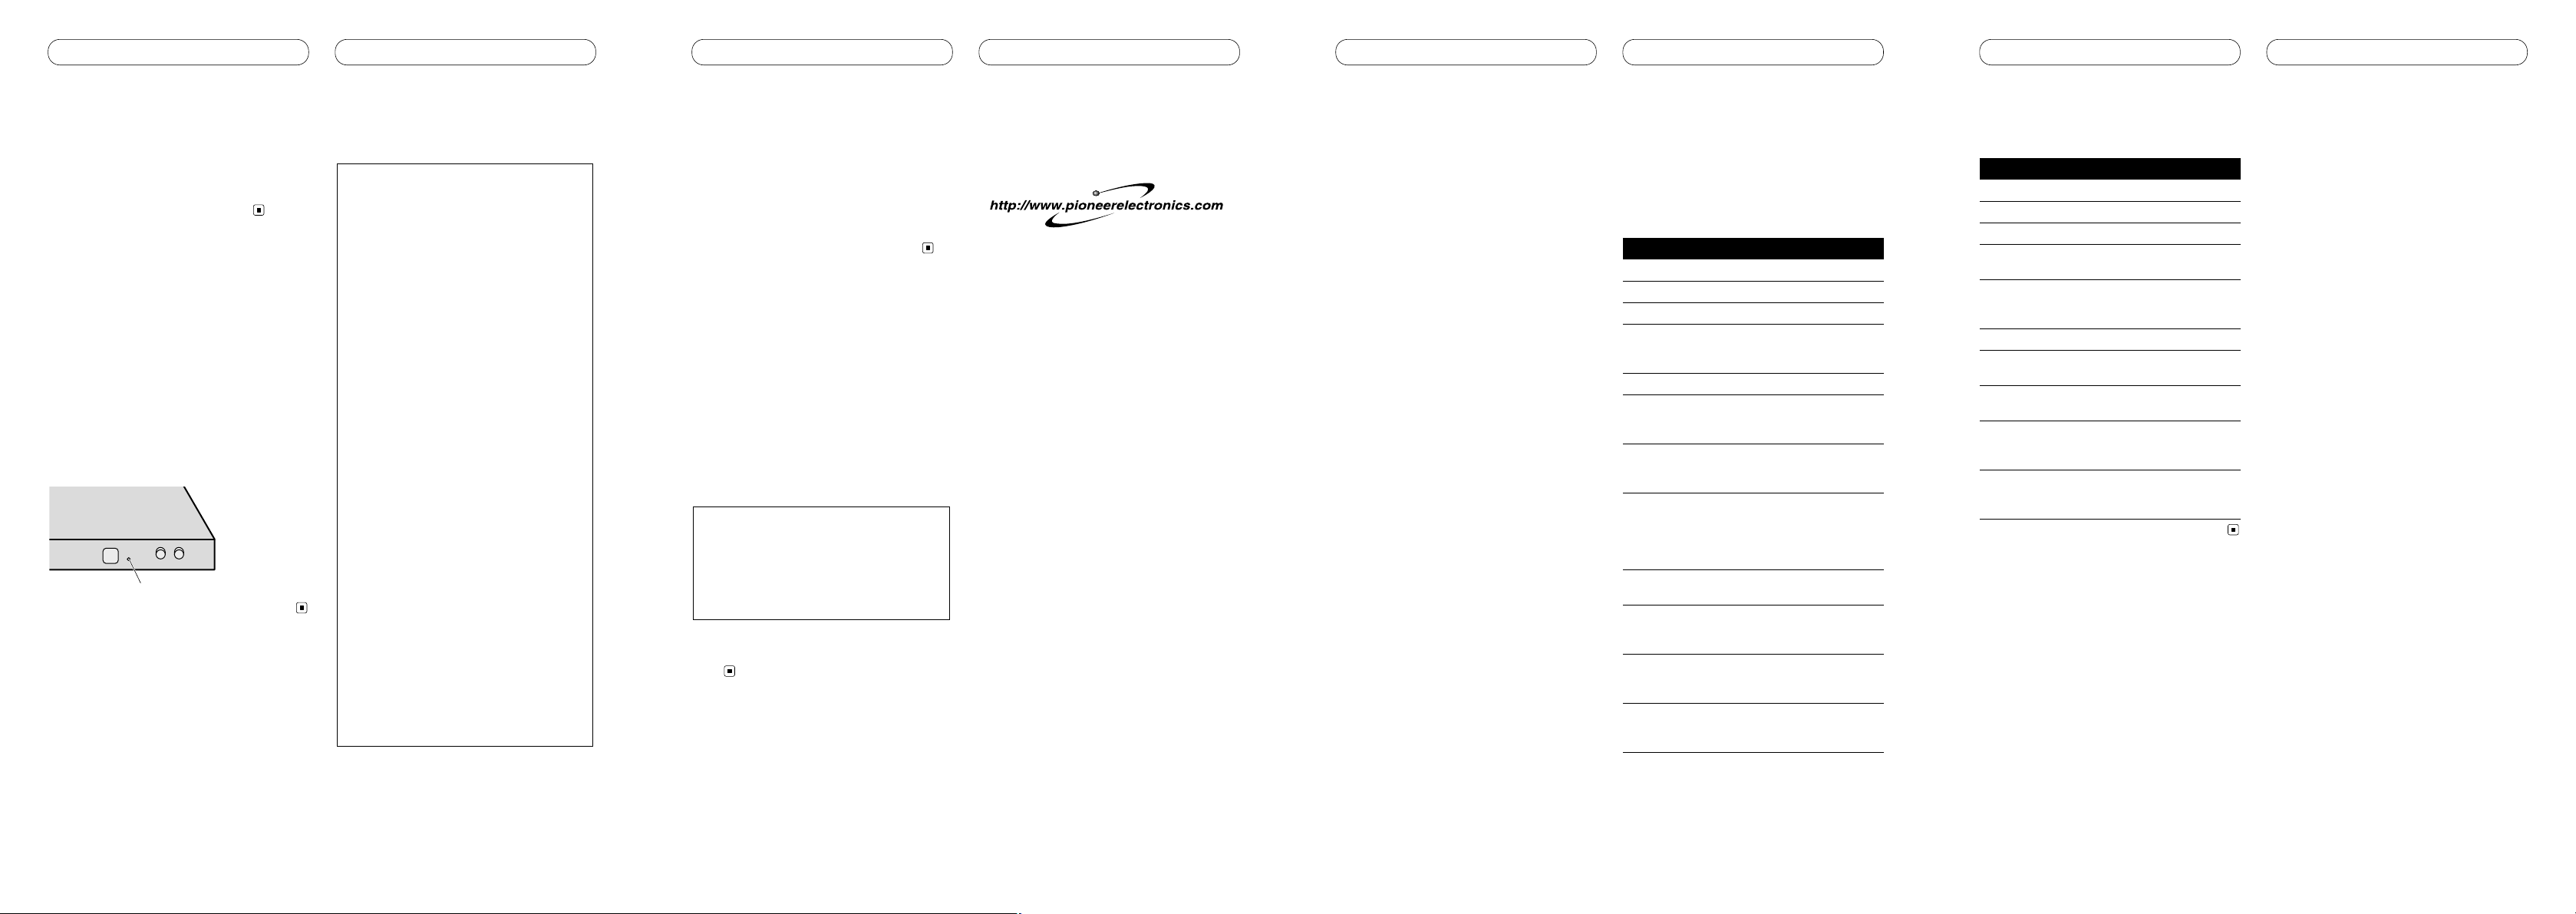
Resetting the microprocessor
The microprocessor must be reset under the
following conditions:
• Prior to using this unit for the first time
after installation
• If the unit fails to operate properly
• When strange or incorrect messages
appear on the display
Press RESET on the unit with a pen tip
or other pointed instrument.
RESET button
Precautions
This equipment has been tested and
found to comply with the limits for a class
B digital device, pursuant to Part 15 of the
FCC Rules. These limits are designed to
provide reasonable protection against
harmful interference in a residential
installation. This equipment generates,
uses and can radiate radio frequency
energy and, if not installed and used in
accordance with the instructions, may
cause harmful interference to radio communications. However, there is no guarantee that interference will not occur in a
particular installation. If this equipment
does cause harmful interference to radio
or television reception, which can be
determined by turning the equipment off
and on, the user is encouraged to try to
correct the interference by one or more of
the following measures:
– Reorient or relocate the receiving
antenna.
– Increase the separation between the
equipment and receiver.
– Connect the equipment into an outlet
on a circuit different from that to
which the receiver is connected.
– Consult the dealer or an experienced
radio/TV technician for help.
Information to User
Alteration or modifications carried out
without appropriate authorization may
invalidate the user’s right to operate the
equipment.
EnEn
Page 3

XM tuner
3 Press or to select a desired channel.
The channel number move up or down step
by step.
Channels that cannot currently be selected
are skipped, and the next channel is
selected.
If you press and hold or , you can
increase or decrease channel number continuously.
You can also select a channel from a desired
channel category. (Refer to “Switching the
channel select mode”.)
4 Press SOURCE and hold until the unit
turns off.
Notes
• It may take a few seconds before you can
hear anything while this unit acquires and
processes the satellite signal when you turn
power on, change the source to XM tuner, or
select a channel.
• Display changes as follows when you switch
channels or operate in other ways. The text of
selected display* is automatically scrolled.
Channel number—Channel name—Selected
display *
* For details, refer to “Switching the
display”.
Storing and recalling channels
If you press any of the preset tuning buttons
1–6 you can easily store up to six channels
for later recall with the touch of a button.
• Memory and recall are for broadcasts. If
you recall a memorized broadcast that
has been moved to another channel, the
channel to which the broadcast was
moved is selected.
When you find a channel that you
want to store in memory press a preset
tuning button 1–6 and hold until the preset number stops flashing.
The number you have pressed will flash in the
preset number indicator and then remain lit.
The selected channel has been stored in
memory.
The next time you press the same preset tuning button 1–6 the channel is recalled from
memory.
Notes
• Up to 18 channels, 6 for each of the three XM
bands can be stored in memory.
• When channel number select mode is
selected, you can also use and to recall
channels assigned to preset tuning buttons
1–6.
• If a channel you have recalled cannot be
selected, a message is displayed for 2 seconds and the unit returns to the operating
status before the channel was recalled.
En
XM tuner
Selecting a XM source
Press SOURCE to select a XM source.
Press SOURCE repeatedly to switch between
the following sources:
Built-in CD player—Television—Tuner—
XM tuner—Multi-CD player—External
unit 1—External unit 2—AUX
Turning the unit off
Press SOURCE and hold until the unit
turns off.
Listening to XM
These are the basic steps necessary to operate the XM.
Channel select mode indicator
Shows what channel select mode has
been selected. CH.No is displayed when
CH NUMBER is selected, and CAT is dis-
played when CATEGORY is selected.
Channel number indicator
Shows to which channel number the tuner
is tuned.
Band indicator
Shows the band which has been selected.
Preset number indicator
Shows what preset has been selected.
1 Press SOURCE to select a XM source.
2 Press BAND to select a band.
Press BAND until the desired band is displayed, XM1, XM2 or XM3.
En
What’s What
Head unit (e.g. DEH-P6400)
DISPLAY button
Press to select different displays.
FUNCTION button
Press to select functions.
/// buttons
Press to do channel select, recalling channels and category select. Also used for
controlling functions.
SOURCE button
Head unit is turned on by selecting a
source. Press to cycle through all of the
available sources.
1–6 buttons
Press for preset tuning.
BAND button
Press to select among three XM bands and
cancel the control mode of functions.
Remote control
(e.g. DEH-P6400)
You can operate in the same way with the
remote control supplied with the head unit.
For details, refer to the head unit’s operation
manual.
En
XM tuner
Switching the display
XM channels each have a channel number
and channel name. XM programing also
carries song or program title, artist name and
category, when available.
Press DISPLAY.
Press DISPLAY repeatedly to switch between
the following settings:
Channel name—Artist name/feature—
Song/program title—Channel number—
Channel category
Note
When you switch the display, the text is automatically scrolled.
Scrolling the text in the display
You can scroll the text to the left so that the
rest of the text can be seen.
Press DISPLAY and hold until the text
begins to scroll to the left.
The rest of the text will appear in the
display.
Introduction of advanced
tuner operation
Function display
Shows the function status.
Press FUNCTION to display the function name.
Press FUNCTION to display the following
function:
MODE (Channel select mode)
To return to the XM display, press BAND.
Note
When using this unit with one of head unit
group 2, press FUNCTION to display the follow-
ing function:
FUNC1 (Switching the display)—FUNC2
(Switching the channel select mode)—FUNC3
(No function)—FUNC4 (No function)—AUTO
(No function).
En
SELECT
Page 4

Additional Information
Specifications
General
Power source ...................... 14.4 V DC (10.8 – 15.1 V
allowable)
Grounding system .............. Negative type
Max. current consumption
............................................. 2.0 A
Dimensions (W × H × D) ..... 220 × 28 × 145 mm
(8-5/8 × 1-1/8 × 5-3/4 in.)
Weight ................................. 0.85 kg (1.9 lbs)
XM tuner
Frequency range ................. 2,332.50 – 2,345.00 MHz
Usable sensitivity
Satellite ....................... – 94.0 dBm
Terrestrial .................... – 90.0 dBm
Audio
Signal-to-noise ratio ........... 92 dB (IHF-A network)
Separation .......................... 75 dB
Note
Specifications and the design are subject to
possible modifications without notice due to
improvements.
En
Additional Information
Messages
When problems occur with XM tuner, a message appears on the display. Refer to the table
below to identify the problem, then take the suggested corrective action.
Message Cause Action
ANTENNA The XM antenna is not Check whether the XM antenna cable is
connected. attached securely.
A short-circuit occurring in Make sure that there is nothing unusual
the antenna or the surrounding with the antenna or antenna cable. Turn the
antenna cable. ignition off and then on.
UPDATING Radio is being updated with Wait until encryption code is being
latest encryption code. updated. Channels 00 and 01 should
function normally.
NOSIGNAL XM signal is too weak at the Wait until the car reaches a location
current location. with a stronger signal.
LOADING Unit is acquiring audio or Wait until the unit has received the
program information. information.
OFF AIR The channel currently selected Select another channel.
has stopped broadcasting.
– – – – – – – – The user has selected a channel Automatically switches to Channel 01.
number that does not exist or is
not subscribed to.
– – – – There is no artist name/feature, No action needed.
song/program title, or channel
category associated with the
channel at that time.
En
XM tuner
Display the ID code (Radio
ID)
Each XM tuner is identified with a unique
Radio ID. You will need the Radio ID when
activating XM service or when reporting a
problem. How to display the ID code depends
on the channel select mode.
Channel number select mode
If you select CH 00, the ID code is displayed.
Press or to select the channel
number zero (CH 00).
Channel category select mode
RADIO ID is provided as a channel category
for displaying the ID code.
Press or to select the RADIO ID
from channel category.
Notes
• If you select another channel, display of the
ID code is canceled.
• Display of the ID code repeats displaying
RADIO ID and the ID code one after the
other.
Radio ID
Refer to the following chart to verify each
Radio ID, before displaying them on the following head units.
DEH-P4400 DEH-P440
DEH-P44 FH-P4100
En
XM tuner
Switching the channel
select mode
You can switch if you select a channel with a
channel number or from a channel category
when you select a channel.
Initially, channel number select mode is
selected.
1 Press FUNCTION to select MODE.
Press FUNCTION until MODE appears in the
display.
2 Press or to select the desired
channel select mode.
Press or repeatedly to switch between
the following settings:
CH NUMBER (Channel number select
mode)—CATEGORY (Channel category
select mode)
Note
Depending on the head unit you are using, it
may be possible to directly switch between the
channel select modes using the allocated button. For details, refer to the head unit’s
manual.
Selecting the channel in the
channel category
Channels are organized into various program
categories, e.g. Rock, Classic, Jazz. You can
search between different categories, and
then search among channels within each
channel category.
1 Select the channel category select
mode. (Refer to “Switching the channel
select mode” above.)
2 Press BAND to return to the XM display.
3 Press or to select the desired
channel category.
Once you select a channel category, the unit
searches for channels in that category.
During search, the channel category doesn’t
immediately change even if you press the
button. To successively change the channel
category, continue pressing the button.
4 Press or to select the desired
channel in the selected channel category.
The channel number move up or down in the
selected channel category.
Channels that cannot currently be selected
are skipped, and the next channel in that
channel category is selected.
Note
If you select a channel of another category by
channel recall, etc., during steps 3 and 4, the
category selected in step 3 still remains in
memory. If you press or , the channel number moves up or down in the category selected
in step 3 regardless of the category of the present channel.
En
ID Display
1
2
3
4
5
6
7
8
9
0
A
B
C
D
E
F (Not used.) ——
G
H
ID Display
I (Not used.) ——
J
K
L
M
N
O (Not used.) ——
P
Q
R
S (Not used.) ——
T
U
V
W
X
Y
Z
 Loading...