

Page 1

Pro Tools
KeyStudio
English
User Guide
Page 2

Pro Tools KeyStudio Set Up Guide | 1
Introduction
Congratulations on your purchase of Pro Tools® KeyStudio™. Pro Tools KeyStudio turns your
PC or Mac into a complete recording and music production environment, by combining a velocity sensitive 49-key keyboard, a high-performance, low-latency USB audio interface and
Pro Tools
industry standard platform in music production software, and used in top recording facilities
around the world. No matter if you are an established professional who wants to take Pro Tools
on the road, or if this is your first recording system, we recommend you spend a few minutes
reviewing this guide to ensure proper setup.
®
M-Powered™ Essential music production software in one package. Pro Tools is the
What's in the Box?
Your Pro Tools KeyStudio bundle contains the following items:
M-Audio KeyStudio USB keyboard
M-Audio USB Micro audio interface
USB cable
Pro Tools M-Powered Essential DVD
Pro Tools M-Powered Essential Quick Setup
This Setup Guide
If any of the above listed items are missing, please contact the retailer where you purchased the
product.
KeyStudio Keyboard Features
49-key velocity-sensitive keyboard
Pitch Bend wheel
Modulation wheel; MIDI re-assignable
Volume slider; MIDI re-assignable
Octave up/down buttons; MIDI re-assignable
Edit Mode button for advanced functions and programming
Sustain foot pedal input
no driver installation needed - simply connect and power on
bus-powered through USB
English
USB Micro Audio Interface Features
Low latency performance through ASIO / CoreAudio driver architecture
1/8" mono/stereo input for instruments, microphones, and line-level devices
1/8" stereo output for headphones or powered monitors
Bus-powered through USB
Qualified audio interface for Pro Tools M-Powered and M-Powered Essential
Page 3
2|Pro Tools KeyStudio Set Up Guide
Installation Overview
It is important that installation and setup take place in the following sequence (all of these steps
are explained in detail later in this Setup Guide):
1. Install the M-Audio USB Micro drivers
2. Connect M-Audio USB Micro
3. Connect M-Audio KeyStudio USB
4. Install the Pro Tools M-Powered Essential software (or configure your 3rd party recording
software)
M-Audio USB Micro Installation
Although USB Micro may function with your computer even if the M-Audio drivers have not
been installed, to ensure full functionality (including the Software Control Panel) you must install
the M-Audio drivers before connecting USB Micro to your computer.
Also note that the USB Micro driver software must be installed and USB Micro connected in
order for Pro Tools M-Powered Essential to function.
Installation instructions for Windows XP and Vista
PLEASE NOTE: Make sure M-Audio USB Micro is not connected to your computer
when beginning the installation. The following instructions will indicate when you
should connect the device to your computer.
1. Install the M-Audio USB Micro drivers by doing one of the following:
• If you have Internet access, download the latest USB Micro drivers from the Support >
Drivers page at www.m-audio.com. This is highly recommended as it provides you with the
newest drivers available. Once you have saved the installer to your computer, double-click
the file to start the installation process.
- or -
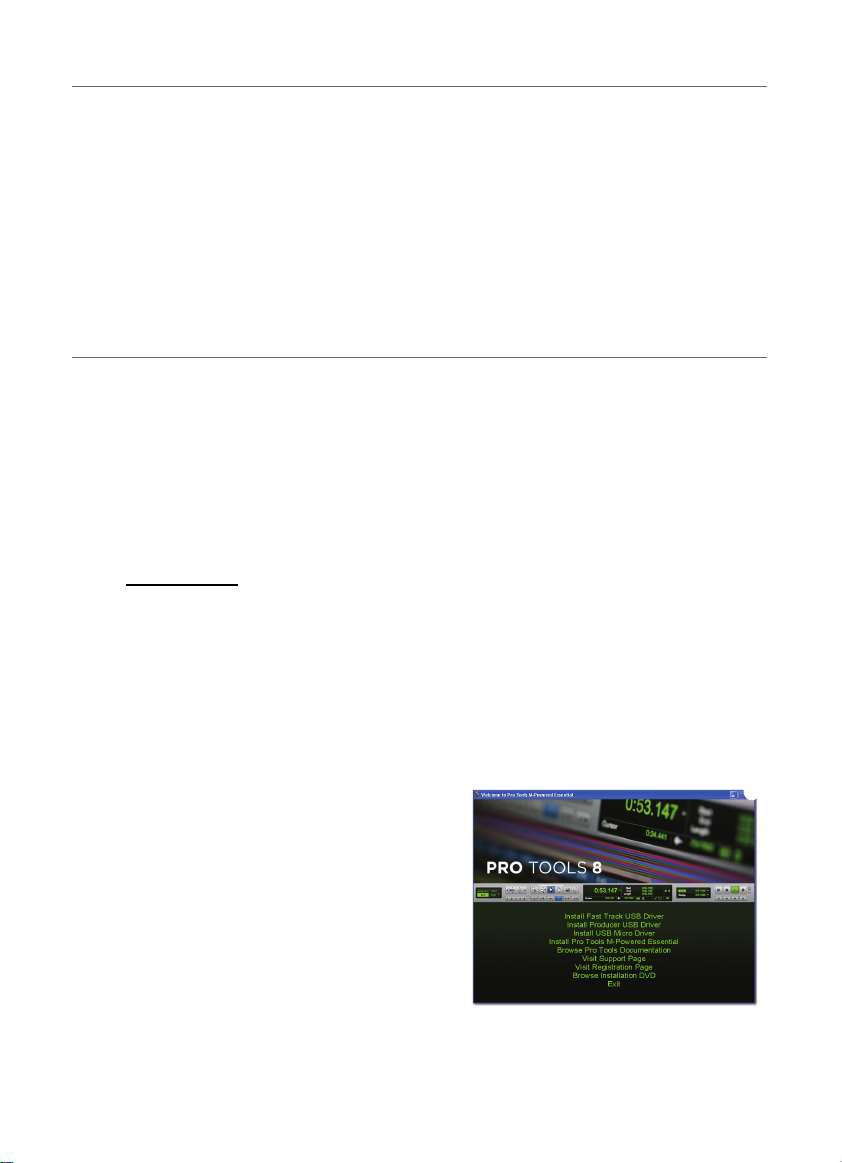
• If you do not have Internet access and are
installing drivers from the included disc, the
computer will automatically display the
interactive install screen
inserted. If your computer fails to launch this
application, you can manually start it by
clicking on Start > My Computer* > Pro Tools
M-Powered Essential DVD, and then doubleclicking "Setup.exe."
Next, click "Install USB Micro Driver."
*If you are using Windows Vista, "My Computer"
will be labeled "Computer" in this step.
when the disk is
Page 4

Pro Tools KeyStudio Set Up Guide | 3
2. Follow the driver installer’s on-screen instructions. At various points in this installation process, you may be notified that the driver being installed has not passed Windows Logo Testing, or asked whether the program you wish to run is a trusted application. Click "Continue
Anyway"
3. Once the installer has completed, click "Finish."
4. Connect USB Micro to an available USB port on your computer.
The installation should automatically complete.
5. Windows XP will identify the interface and ask if you want to search the Internet for a driver.
Select "No, not this time" and press "Next."
6. Windows XP will display a Found New Hardware Wizard dialog. Choose "Install the software
automatically" and click "Next."
(Windows XP) or "Install" (Windows Vista) to proceed with the installation.
NOTE
: Windows XP users may encounter additional messages. If so, proceed with
steps 5-7.
English
7. Once the Wizard has completed, click "Finish."
If you are presented with another Found New Hardware Wizard dialog, repeat steps 5-7.
Page 5
4|Pro Tools KeyStudio Set Up Guide
Installation Instructions for Mac OS X
PLEASE NOTE: Make sure M-Audio USB Micro is not connected to your computer
when beginning the installation. The following instructions will indicate when you
should connect the interface to your computer.
1. Install the USB Micro drivers by doing one of the following:
• If you have Internet access, download the latest USB Micro drivers from the Support >
Drivers page at www.m-audio.com. This is highly recommended as it provides you with the
newest drivers available.The downloaded file should automatically mount and display its
contents. If this file does not automatically mount after it has finished downloading, click on
the file from the downloads stack in the dock to display its contents. Next, double-click the
installer application.
- or -
• If you do not have Internet access and are installing drivers from the included disc, a DVD-
ROM icon will appear on your desktop once the disc is inserted into your computer. Doubleclick this icon to view the contents of the disc. In the Drivers folder, double-click the driver
installer (.dmg) file for USB Micro.
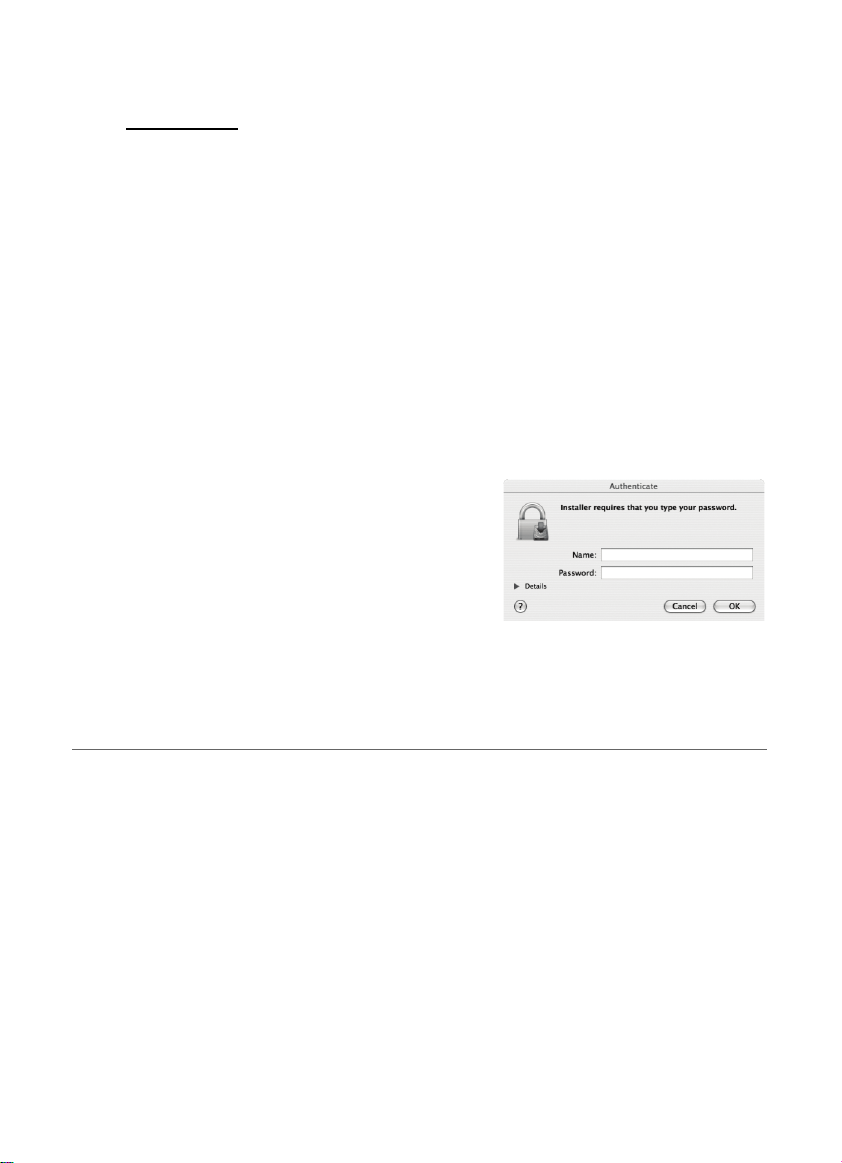
2. Follow the driver installer’s on-screen instructions.
During installation, Mac OS X will ask you to enter
your user name and password. Enter this information
and click OK to confirm. If you have not configured a
password for your computer, leave the password field
blank and click OK. If you are not the computer’s
owner, ask the owner or your Administrator for this
information.
3. When the installer has completed, click “Restart.” Your computer will reboot automatically.
4. After your computer has finished starting up, connect USB Micro to an available USB port on
your computer. USB Micro is now installed and ready to be used.
M-Audio KeyStudio Keyboard Installation
Use the provided USB cable to connect KeyStudio to an available USB port on your computer.
The USB cable not only powers the keyboard but also transmits MIDI data to your computer.
Make sure that the power switch on the back of the keyboard is in the "on" ( I ) position. The
KeyStudio keyboard is now ready to be used - no additional installation steps are required.
Windows users who are planning to use the keyboard with more than one application at the same time, or simultaneously use other class-compliant USB devices
with audio capabilities must install the latest KeyStudio driver found on the M-Audio
website www.m-audio.com.
For instructions on installation and advanced KeyStudio keyboard features, please
see the KeyStudio User Guide on the included DVD.
Page 6

Pro Tools KeyStudio Set Up Guide | 5
Sustain
computer
keyboard
USB
sustain pedal
(optional)
electric
guitar
CD player
synthesizer
microphone
computer
connect either:
speakers
headphones
computer
connect either:
Pro Tools M-Powered Essential Installation
Window XP and Vista:
Insert the Pro Tools M-Powered Essential DVD into your computer. The computer will automatically display the interactive install screen. Click the on-screen link to install Pro Tools
M-Powered Essential, then follow the on-screen instructions. If the splash screen doesn’t
appear after inserting the installer DVD, locate and double-click Setup.exe. Then click the
on-screen link.
Macintosh:
Insert the Pro Tools M-Powered Essential DVD into your computer. Locate and double-click
Install Pro Tools MP Essential.mpkg on the installer DVD, then follow the on-screen instructions.
Connections
KeyStudio Keyboard
Connect your KeyStudio keyboard to
an available USB port on your computer and switch the unit on.
Optional: Connect a sustain pedal (not
included) to the sustain pedal jack on
the rear panel of your
KeyStudio keyboard.
English
USB Micro Audio
Interface
Once the drivers are installed, you’ll
need to connect your equipment
(microphones, instruments, speakers,
headphones, etc.) to
M-Audio USB Micro. The diagrams on the
right illustrate how everything should be connected:
1. Connect a microphone, instrument (electric
guitar or bass), or line-level source (synthesizer, CD player, DJ mixer, etc.) to the 1/8”
input of M-Audio USB Micro.
2. Connect your headphones or powered
speakers to the 1/8” output.
Page 7

6|Pro Tools KeyStudio Set Up Guide
Software Configuration
The included Pro Tools M-Powered Essential software automatically selects and configures
M-Audio USB Micro and KeyStudio for audio and MIDI recording. If you are planning to use a
3rd party recording software, you will need to select M-Audio USB Micro as the audio input and
output device, and KeyStudio as the MIDI input device for the software and its tracks. Please
refer to the documentation for your recording software for more information on audio and MIDI
device configuration.
M-Audio USB Micro Control Panel
The USB Micro Control Panel lets you adjust input gain, monitor mix levels, output volume, and
on Windows systems, also the buffer size (latency).
• Windows XP/Vista users: A small M-Audio logo will be placed in the system tray,
generally located at the bottom of your Windows desktop. Double click this icon to open the
Control Panel.
• Mac OS X users: The USB Micro Control Panel can be found in System Preferences,
under "Other."
The USB Micro Control Panel is divided into separate pages, each accessible by clicking on the
corresponding tab:
Levels Tab
Input Gain: This slider controls the level coming from the input. Settings below the center line
will work well with line-level devices such as electronic keyboards or CD players as well as with
instruments like electric guitars or basses. Settings above this line will work for most handheld
and PC desk microphones (dynamic and electret microphones).
Monitor Mix: This slider controls the level of signal from the input jack, that is sent directly back
to the output jack of USB Micro. This monitoring method is called “Hardware Monitoring” and
allows you to listen to your input signal before any software audio processing takes place, and
thereby prevents undesirable delays common when monitoring your input signal through your
software. Adjust this slider until you have achieved the desired balance between input and playback levels.
Output Volume: This slider sets the output level of USB Micro.
Page 8

Pro Tools KeyStudio Set Up Guide | 7
Before Updating Your Mac or Windows System:
Please check the M-Audio driver download page at www.m-audio.com/drivers
for the availability of an updated driver before you decide to install Microsoft or
Apple operating system updates.
Before new M-Audio device drivers are released, they are tested for use with
operating system versions that are available at that time. When updates for an
operating system are released, all M-Audio device drivers have to be re-tested
and possibly updated to ensure proper operation.
M-Audio recommends refraining from installing operating system updates until
a driver has been posted to the M-Audio website for that specific operating
system. The M-Audio website (www.m-audio.com) contains the latest drivers
and program updates as well as useful links to news stories, FAQs, and technical support. We recommend checking this site regularly to ensure you have
the latest drivers and most up-to-date information about your M-Audio
products.
Latency Tab (Windows XP/Vista only)
When recording to your computer, you will experience a short delay between the time you create a sound and the time you hear it in your headphones or monitors. This is due to the time it
takes for your input signal to pass through your audio software and appear at the outputs, and is
referred to as Latency.
Using the slider on this tab, you can control the amount of latency (signal delay) you experience
by changing the buffer size. Smaller buffer sizes result in lower latency, but may not function
well with slower systems.
The default buffer size setting of 256 samples may adequately serve your purposes, but if you
wish to, you can experiment with lower settings. If you experience stuttering or crackling in your
audio playback or while recording, try using a larger buffer size.
NOTE
: This setting cannot be modified while a recording application is running.
About Tab
This tab provides links to driver updates, knowledge base articles, technical support contact
information as well as information on your hardware and current driver software versions. You
can also find version numbers of the installed M-Audio USB Micro software components here.
This information may be helpful, should you ever need to call for technical support.
Additional Information and Support
The complete User Guide for the M-Audio KeyStudio keyboard can be found on the included
disc.
Documentation for Pro Tools M-Powered Essential software can be accessed via the application’s Help menu. Additional installation and setup instructions can also be found in the included
Pro Tools M-Powered Essential Quick Setup.
English
Page 9

8|Pro Tools KeyStudio Set Up Guide
KeyStudio, USB Micro
FOR HOME OR STUDIO USE
Tested to comply with
FCC standards
Warranty
Warranty Terms
M-Audio warrants products to be free from defects in materials and workmanship, under normal
use and provided that the product is owned by the original, registered user. Visit
www.m-audio.com/warranty for terms and limitations applying to your specific product.
Warranty Registration
Immediately registering your new M-Audio product entitles you to full warranty coverage and
helps M-Audio develop and manufacture the finest quality products available. Register online at
www.m-audio.com/register to receive FREE product updates and for the chance to win
M-Audio giveaways.
Documentation Feedback
At M-Audio, we are always looking for ways to improve our documentation. If you have comments, corrections, or suggestions regarding our documentation, e-mail us at
publications@m-audio.com.
ESD and Fast Transient may cause the unit to temporarily malfunction. Switch off and on again
to restore normal operation.
WAR NING: This product contains chemicals, including lead, known to the State of California
to cause cancer, and birth defects or other reproductive harm. Wash hands after handling.
© 2009 Avid Technology, Inc. All rights reserved. Product features, specifications, system
requirements and availability are subject to change without notice. Avid, M-Audio, Pro Tools,
KeyStudio and USB Micro are either trademarks or registered trademarks of Avid Technology,
Inc. All other trademarks contained herein are the property of their respective owners.
 Loading...