

Page 1
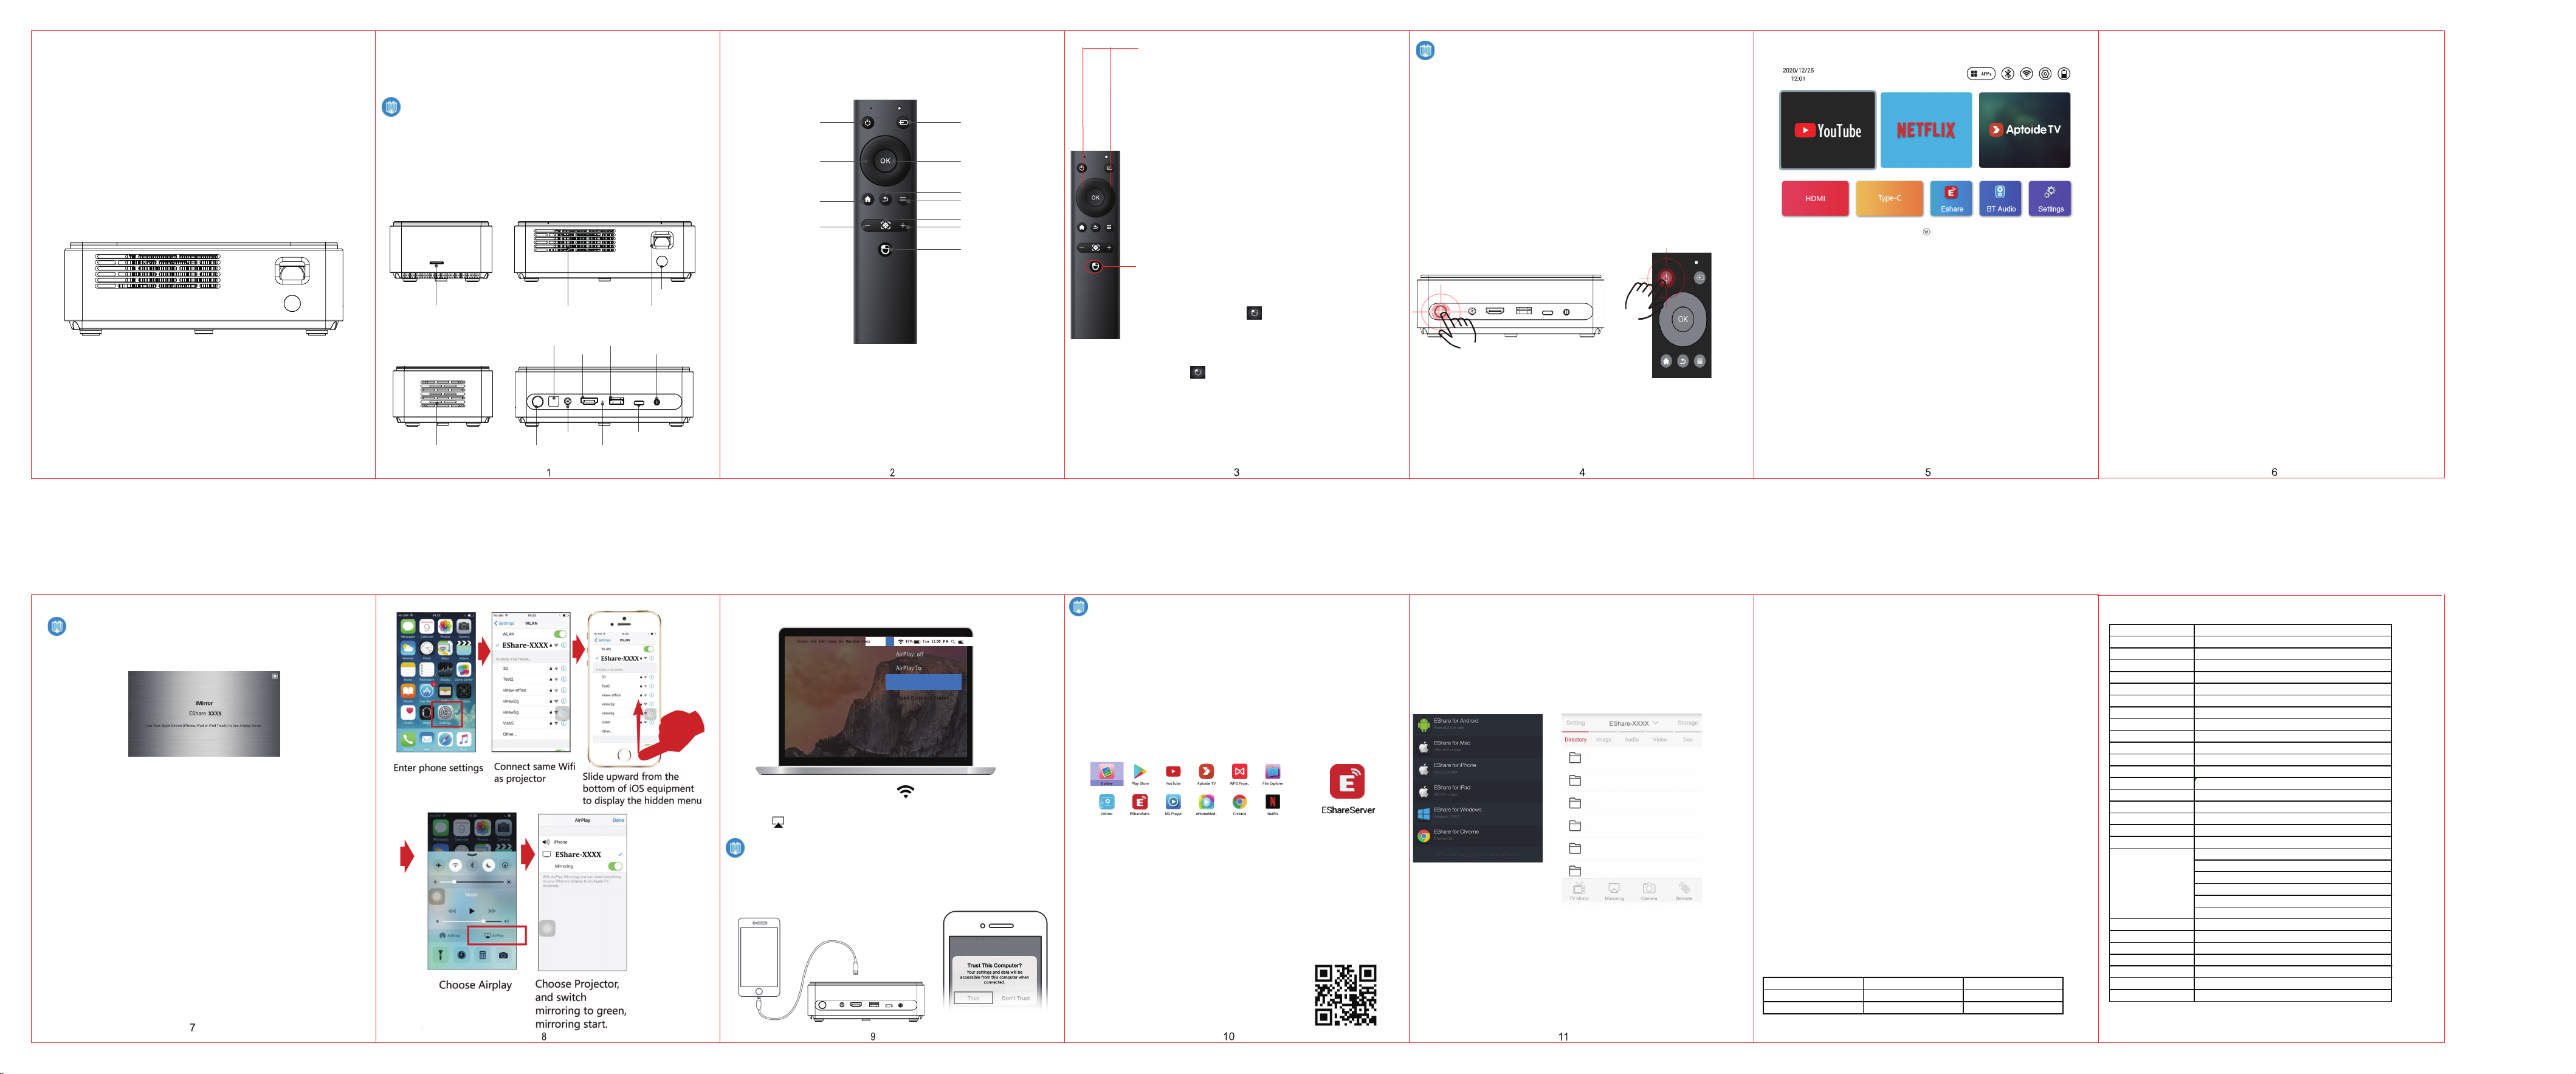
Turn off
Turn on
Red Light
Charging
Charging
Blue Light
×
Working
SMART PROJECTOR
Product Name Smart Projector
Display Technology 0.23" DMD DLP
Net Weight 630g
Power supply DC 12V/4A
QUICK START GUIDE
Thank you for purchasing our DLP mini projector.Please
read this manual carefully and keep it in a safe place for
future reference.
BRIEF INTRODUCTION
1.1 Package Contents
Including mini projector, remote controller, power
adapter, HDMI cable and user manual.
1.2 Appearance
Micro SD
Speaker
Power
Air outlet
IR
HDMI in
DC IN
Reset
Lens
USB
Audio out
Type-C
1.3 Remote Controller
Power
Direction
navigation
Homepage
Volume-
Settings
Confirm
Return
Menu
Focus key
Volume+
Gyro mouse
Bluetooth Remote Pairing
1. Enter "Bluetooth" manual from Projector
home screen.Turn on the Bluetooth.
2. Hold the "Left" and " Right " buttons on the
remote controller for 5 seconds to turn on
the bluetooth function of the remote
controller. The red indicator of remote
controller will flash quickly when the
bluetooth is turned-on.
3. In the "Bluetooth" manual,selecet Scan
and select "BT-Mouse" and connect.
Turn On and Turn Off
1. After " BT-Mouse" Connected
successfully,click " " on the remote
controller to enable Air Mouse function. You
will find the mouse cursor move when you
move the remote controller.
2. Click " " on the remote controller again
to disable the Air Mouse function. You can
then use "Return" key on the remote
controller to return back to the home screen.
BASIC OPERATION OF THE PROJECTOR
2.1 Power on/Power off
1.Power on
In battery mode, holding power button 5 seconds(P1);
In charging mode, holding power button 5
seconds(P1), or holding power key of remote
1seconds(P2).
2.Power off
In battery mode, holding power button 5 seconds(P1),
In charging mode, holding power button 5
seconds(P1), or holding power key of remote
1seconds(P2).
P1 P2
2.2 Interface Display
2.3 Wi-Fi
Enter "WiFi", and turn on , searching and connecting.
2.4 Aptoide TV
User can download apps from Aptoide TV.
2.5 BT Audio
Projector can be BT speaker.
2.6 Settings
Where various adjustments can be done to fully enjoy
the features of the projector.
2.7 Typc-C
Projecting the display screen from Type-C source
devices like some smartphones, PS4, Xbox ONE game
consoles via Typc-C cable connection.
2.8 HDMI
Projecting the display screen from computers, DVS,
DSC or other HDMI source devices like PS4, Xbox ONE
game consoles via HDMI cable connection.
2.9 WPS Office
WPS app. is used for playing office files like PPT,PDF...
stored in USB disk, internal memory and phone.
2.10 Files Explorer
Allows you to view files of both internal/external storage.
Airplay
Enter "iMirror" app. on the homescreen.
iPhone(iPad)
1.In Wi-Fi environment:Go to iPhone's "Setting"--"Wi-Fi", then connect your phone and projector to the
same network.
2.Back to the phone homepage, slide upward of iOS
equipment to display the hidden menu and click
"Airplay".
3. Choose ID "EShare-XXXX", then open "Mirroring"
and done.
Mac
1.Projector Networked: Click ,connect it to
projector through the same network.
2.Click ,choose ID "EShare-XXXX" and be done.
USB Mirror(iPhone/iPad)
1.Please connect iphone to the projector as shown.
2. Click the "Trust" option, then start mirroring.
EShare
Compatible iOS,Android and Windows device.
1.Allows user to share/mirror smartphone/Computer to
the projector with the use of the app.
2.Allows user to control the projector with the use of
EShare app.
Enter "APPs" on the homescreen and open EShare
Server app.
1.Please make sure your device is connected to the
same network with projector.
2.Visit "http://XXX.XXX.X.XXX:8000" as display in the
project screen from your mobile device brower or
Scran the -QR code to download app.
3.Launch EShare and click "EShare-XXXX" to
connect.
EShare Download link and QR code:
EShare-XXXX
Eshare supports TV Mirror,Mirroring,Camera and Remote
function.
TV Mirror: Phone will display projector’s content.
Mirroring: The projector will display phone’s content.
Camera: Launch the phone’s camera function and display
through projector.
Remote: Phone becomes the remote of projector.
FAQ
Q) The projector is not powering up.
A) Check if the charger is properly connected to the
projector and the mains and make sure that the projector
have enough charge to operate.
Q) No Display from HDMI.
A) Re-check the connections of the projector from the
source. Loose connection or faulty cable(s) can cause this
issue. Adjusting the source's resolution may also sort it out.
Q) How to upgrade pre-installed Youtube and Netflix in
future?
A) Please download latest APP through Aptoide TV on the
homescreen. Do not upgrade through Google play.
Q) The remote is not working in Netflix?
A) Please use mouse to operate Netflix.
CHARGING
The projector can be powered by AC adapter or internal
rechargeable battery. To have maximum battery life, it is
highly suggested to charge the battery for at least 2 hours
the first time.
1.Ensure the projector is turned off and connect it to the
power charger.
2.Insert the plug of the power charger into the wall outlet
to charge the battery.
※ Indicator Lights Status
SPECIFICATIONS
Compatible Resolution Up to 1080P
Light source RGB 3LED OSRAM
LED working life Above 30000 hrs
Focus Auto Focus
Offset Support
Operation System
CPU
Memory
Wi-Fi
Wireless mirror Airplay,Android,Windows
Wired Mirror
Bluetooth
Keystone Co
Projection Methods Front/Rear/Ceiling
Operation Methods Remote, Mouse, Physical Buttons
Application Compatible with thousands of Apps.
Projection Screen Size 7"~200"
Interface
Physical Buttons
Built-in Speaker 8 ohm 5W( X1)
Built-in Battery Li-Po
Working time 2hrs(Approx.)
Projector Size (mm) 160(D) x90(W) x 50(H)
rrection
Android
Cortex A7 Quad-Core, 1.2GHz
RAM:DDR3 2G + ROM Fl ash memory 16 GB(EMMC 5.1)
802.11 a/b/g/n/ac (2.4/5.0 GHz dual band)
For iOS devices only (USB port);For Android (Type-C port)
5.0
Support
TYPE-C X 1 Wired Mirror
HDMI X1 HDMI input (1.4 line)
USB X 1 Multimedia Play & Wired Mirror
Micro SD X1 Multimedia Play
DC X1
3.5mm stereo audio output *1
Power
lymer,10000mAH
Link: http://d.eshare.tech/#once
12
Note : The specifications are subject to change without
notice.
13
 Loading...