

Page 1
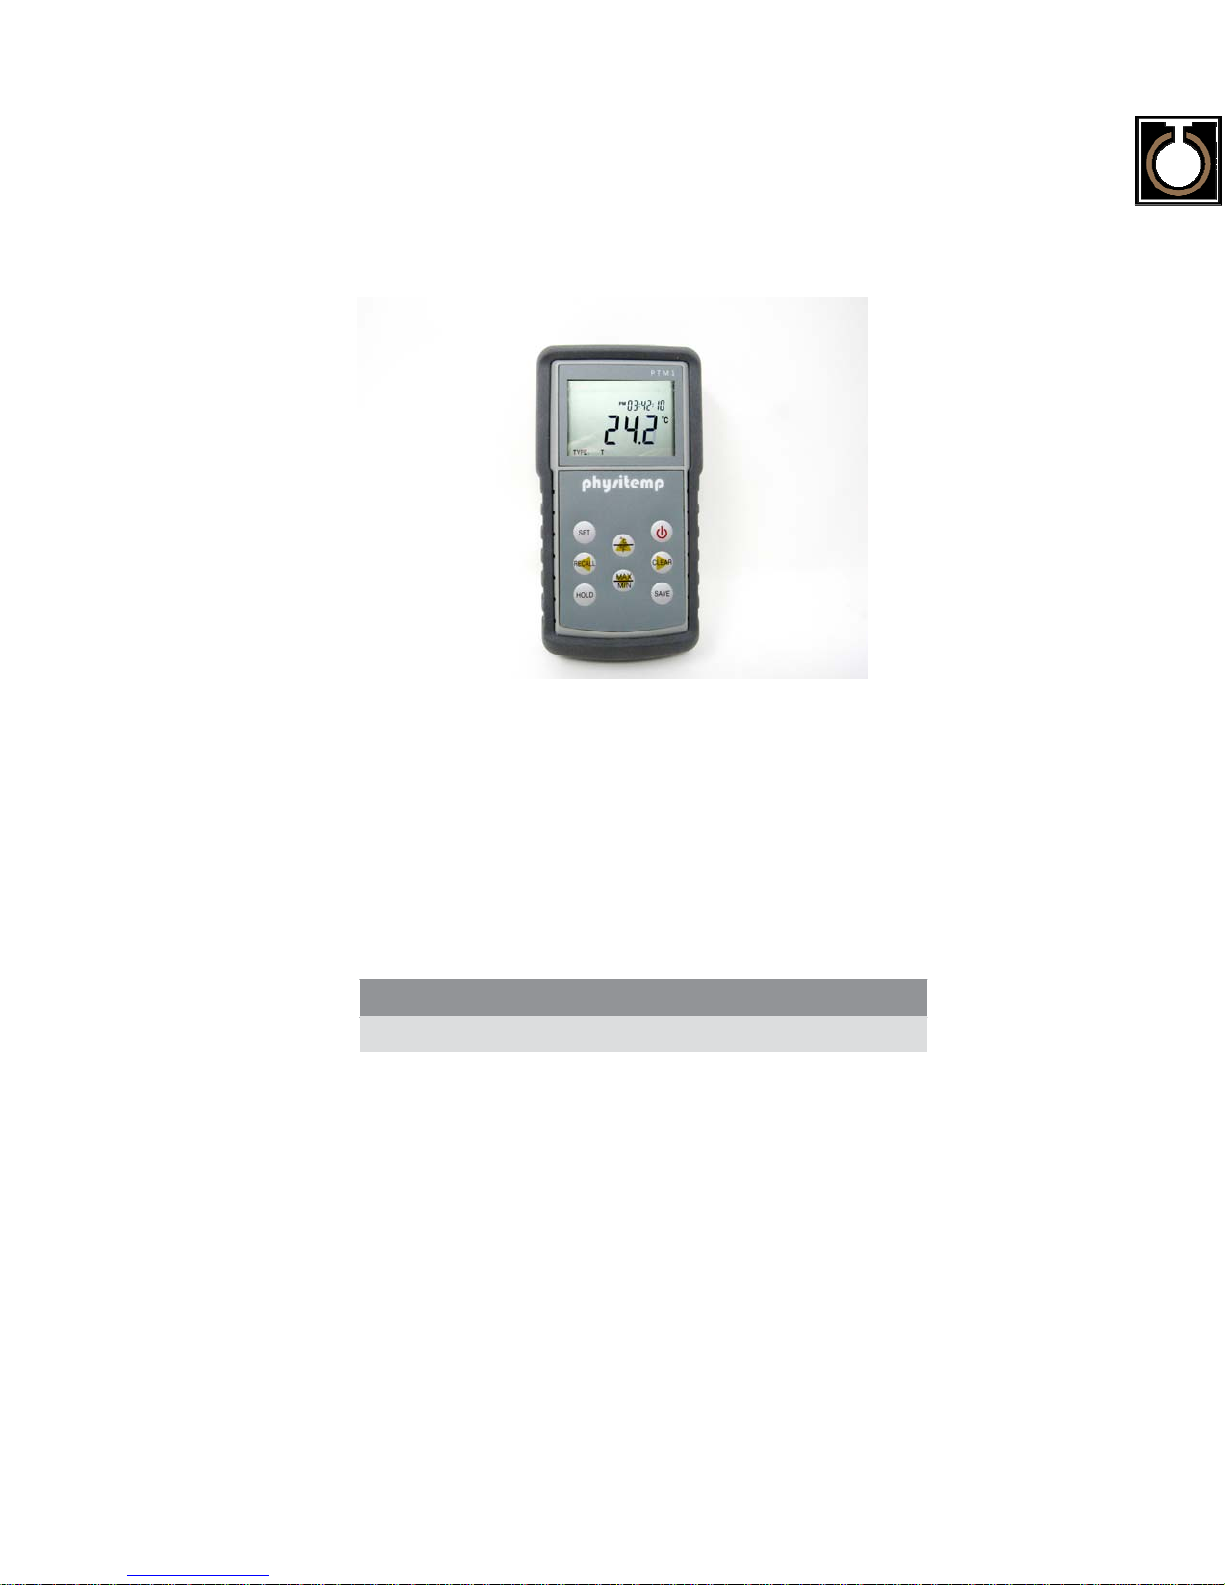
physitemp
Operating Manual
Portable Temperature Meter
PTM1
Page 2

2
Page 3

3
Page 4

CONTENTS
GENERAL INTRODUCTION………………..................4
INITIAL INSPECTION……...………………..................4
WATER PROOF…….……...………………..................4
INSTALLING THE BATTERIES..…………..................5
KEYS FUNCTION…..…………………………….…………5
MODEL PTM1 MODES.…………….............................. 7
A. MEASURE mode..................................... ... ..........7
B. MAX mode
C. MIN mode.............................................. ..............8
D. HOLD mode.........................................................8
E. SETTING mode....................................................8
a. AM/PM................................................................9
b. Hour/Min/Sec………………………….………..….9
c. Month/Day/Year...................................................9
d. ABS/REL............................................................9
e. °C/°F ..................................................................10
f. TYPE K, J or T......................................................10
g. OFFSET.............................................................10
h. EXIT...................................................................11
F. RECALL mode.....................................................11
ERROR DISPLAYS AND TROUBLESHOOTING.......12
SPECIFICATIONS………………..……........................13
WARRANTY………………………….........................14
...........................................................8
4
Page 5

GENERAL INTRODUCTION
Thank you for selecting the PTM1 Temperature Meter. The PTM1 is
a precision tool that measures temperature. A built-in
microprocessor stores, calculates and compensates for K, J and T
type thermocouple probes.
This unit has a waterproof IP67 case. The touch mode keys are
highly reliable with tactile and audio feedback. This meter uses four
“AAA” batteries. The resetting of parameters are not required when
power is restored.
The front of the meter has a large LCD that displays temperature
and time/date simultaneously along with user prompts and
thermocouple type indicator.
The unit is also equipped with a non-volatile memory allowing the
user to store 50 different sets of readings. This unit will assign a site
number for each set of readings stored, so the user can review the
data easily.
Other features include long battery life and 50/60Hz AC noise
rejection. This meter is user-friendly for field, industrial and
laboratory applications.
INITIAL INSPECTION
Carefully unpack the unit and accessories. Inspect for damages
made in shipment. If any damage is found, notify your Physitemp
representative immediately. All packing materials should be saved
until satisfactory operation is confirmed.
WATER PROOF
Though the PTM1 meter is housed in a watertight case, DO NOT
use it underwater. The watertight case prevents permanent damage
to the unit if accidentally dropped into non-corrosive solutions.
Follow these steps immediately if the unit is immersed in any
solution:
1. Rinse unit carefully with distilled water. After rinsing and drying,
inspect and clean connectors to remove all contaminants that
may affect probe connections.
2. Wait for the unit and probe to dry completely before resuming
operation.
3. If the unit does not function correctly after steps1 and 2, call
Physitemp for possible repair or replacement (see Warranty).
5
Page 6
INSTALLING THE BATTERIES
The PTM1 meter is supplied with four “AAA” alkaline batteries
required for operation. To insert the batteries into the meter, follow
the procedure outlined below.
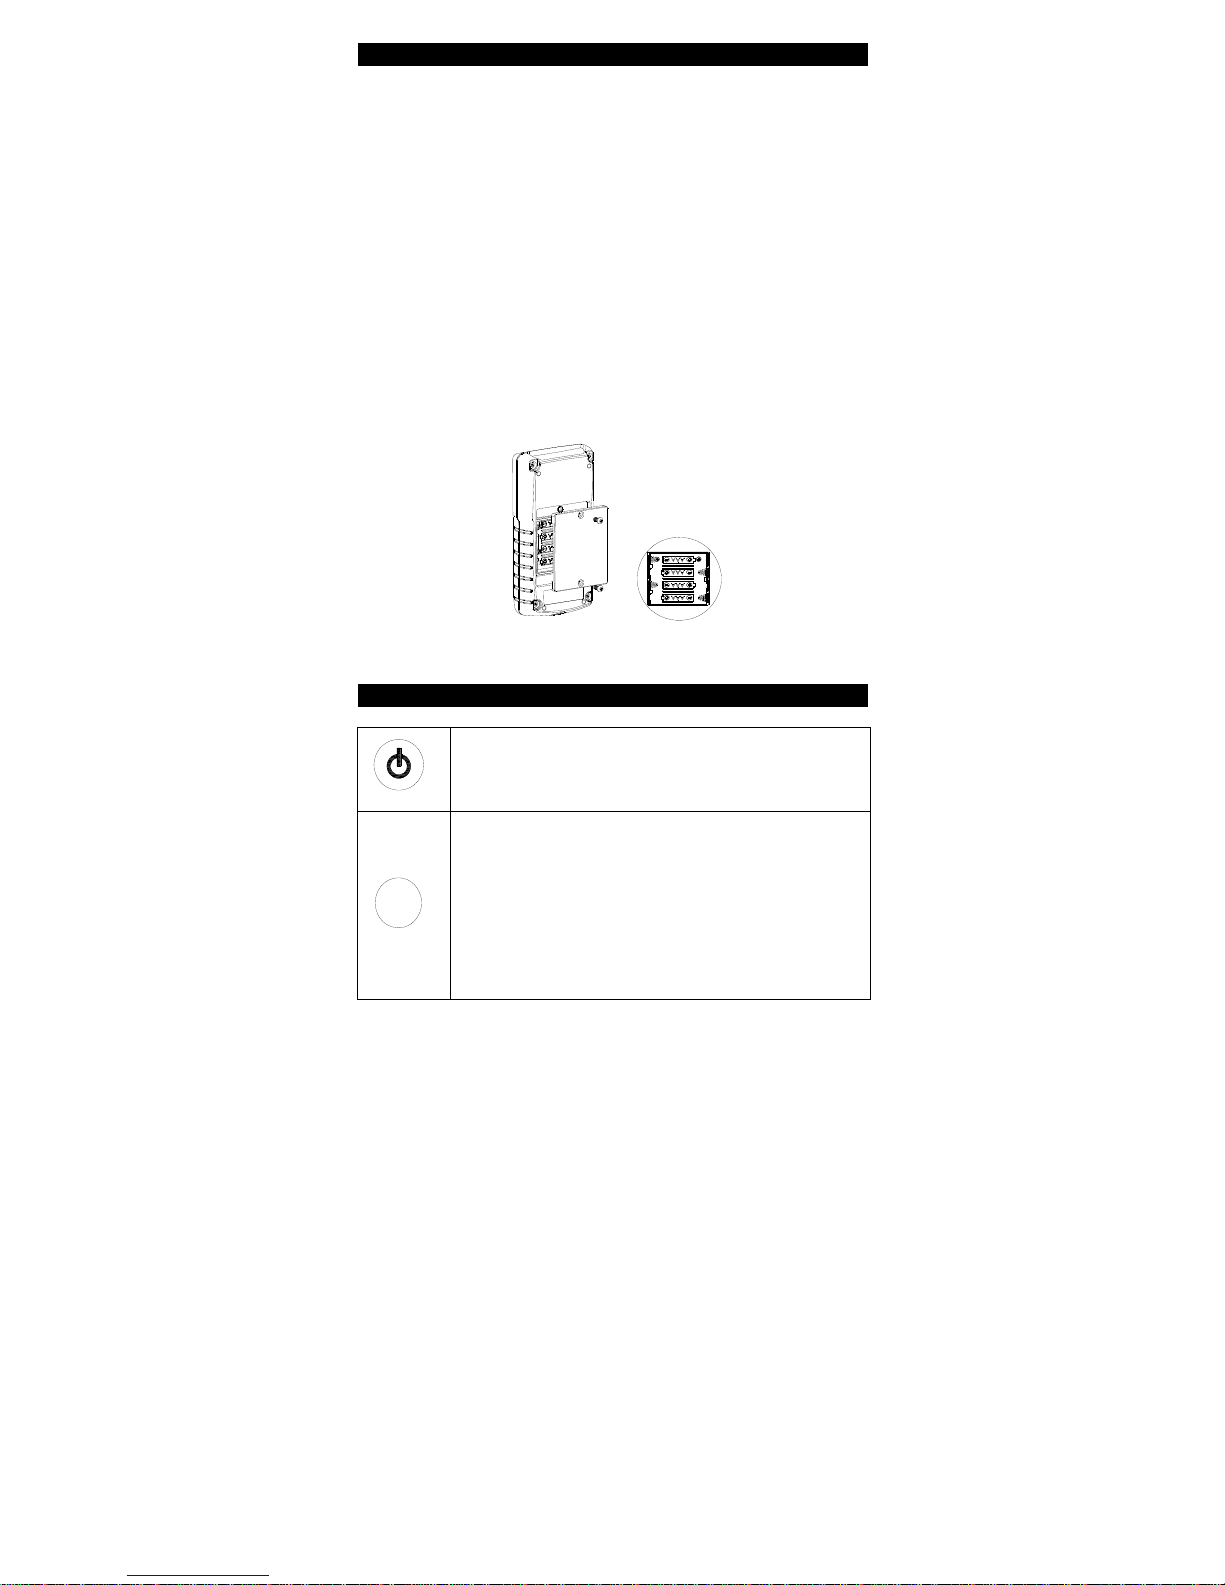
1. Use a screw driver to remove the two screws and battery cover
to expose the battery compartment. (Figure 1.)
2. Note the polarity and insert the batteries into the battery
compartment correctly.
3. Replace the battery cover and make sure to secure the two
screws for the water-tight feature.
[Note: Press the [ON/OFF] key to turn the unit on. If the unit is
running then you can press the [ON/OFF] key to turn the unit off.
The unit will automatically turn off after 30 minutes of no key
activity.]
Figure 1: Battery compartment
KEYS FUNCTION
ON/OFF-
Powers on and shuts off the meter.
HOLD-
In the MEASURE mode, press this key to freeze
HOLD
the temperature display. Press this key and hold for
10 seconds to turn on or turn off the one hour-auto
shutdown feature.
In the HOLD mode, press this key to unlock the
temperature display.
6
Page 7
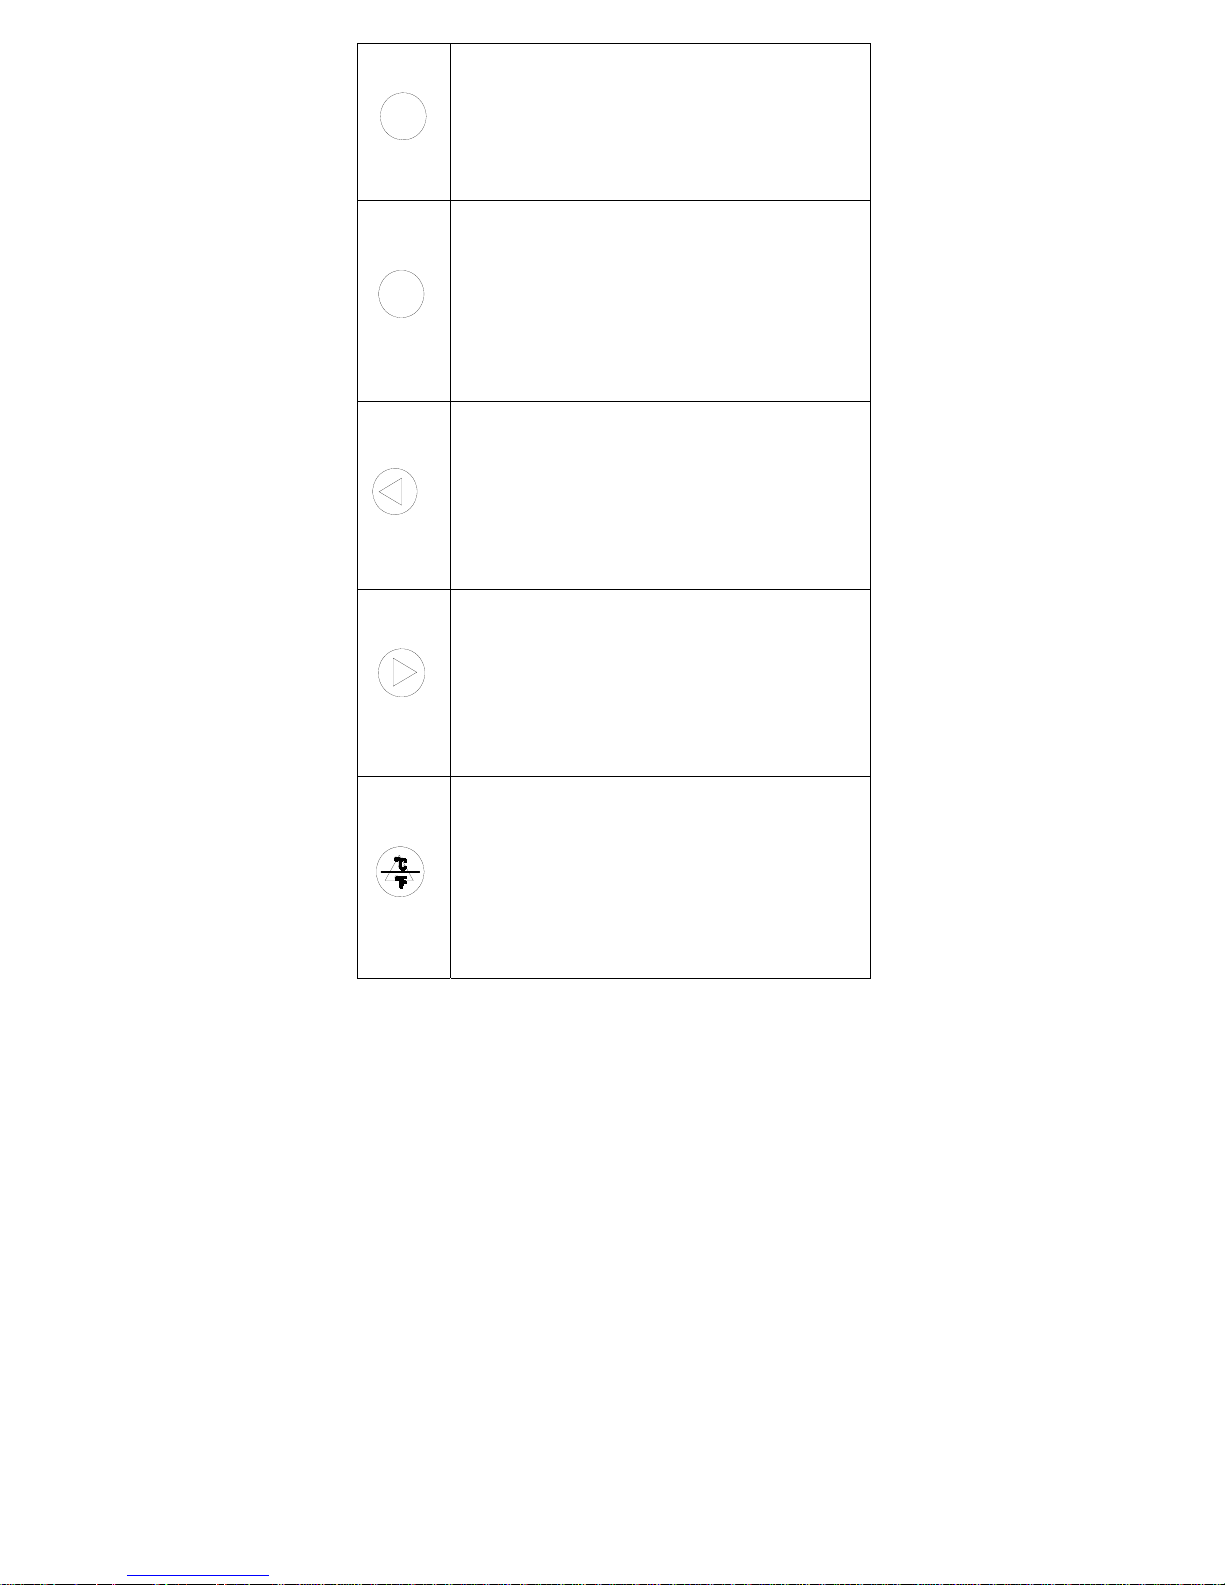
SET
SAVE
RECALL
CLEAR
SET-
In the MEASURE mode, press this key to enter
the SETTING mode.
In the SETTING mode, press this key to cancel
any changes made and return to the MEASURE
mode.
SAVE-
In the MEASURE mode, press this key to save the
temperature reading, date and time in the next
available slot of the 50-slot memory.
In the SETTING mode, press this in the “EXIT”
option to save all the changes the user made and
return to the MEASURE mode. This key will only
work in the “EXIT” option.
LEFT / RECALL-
In the MEASURE mode, press this key to change
the mode to RECALL mode.
In the SETTING mode, press this key to move
back to the previous setting.
In the RECALL mode, press this key to exit the
RECALL mode and return to the MEASURE mode.
RIGHT / CLEAR-
In the MEASURE mode, MAX mode, MIN mode,
press this key to clear the max and mix values.
In the SETTING mode, press this key to select the
next setting.
In the RECALL mode, press this key for 2
seconds to clear all data saved.
Up / °C / °F-
In the MEASURE mode, MAX mode, MIN mode,
press this key to display the temperature reading in
either °C or °F.
In the SETTING mode, press this key to select the
next option of the flashing setting. In the time and
date setting, it will advance the date or time.
In the RECALL mode, press this key to display the
next available data storage site.
7
Page 8
DOWN / MAX / MIN-
In the MEASURE mode, press this key to change
the mode to MAX mode.
In the MAX mode, press this key to change the
MA X
MIN
mode to MIN mode.
In the MIN mode, press this key to change the
mode to MEASURE mode.
In the SETTING mode, press this key to go back
to the previous selection option. In the time and date
settings, it will advance the value of the date or time.
In the RECALL mode, press this key to display the
last data storage site.
MODEL PTM1 MODES
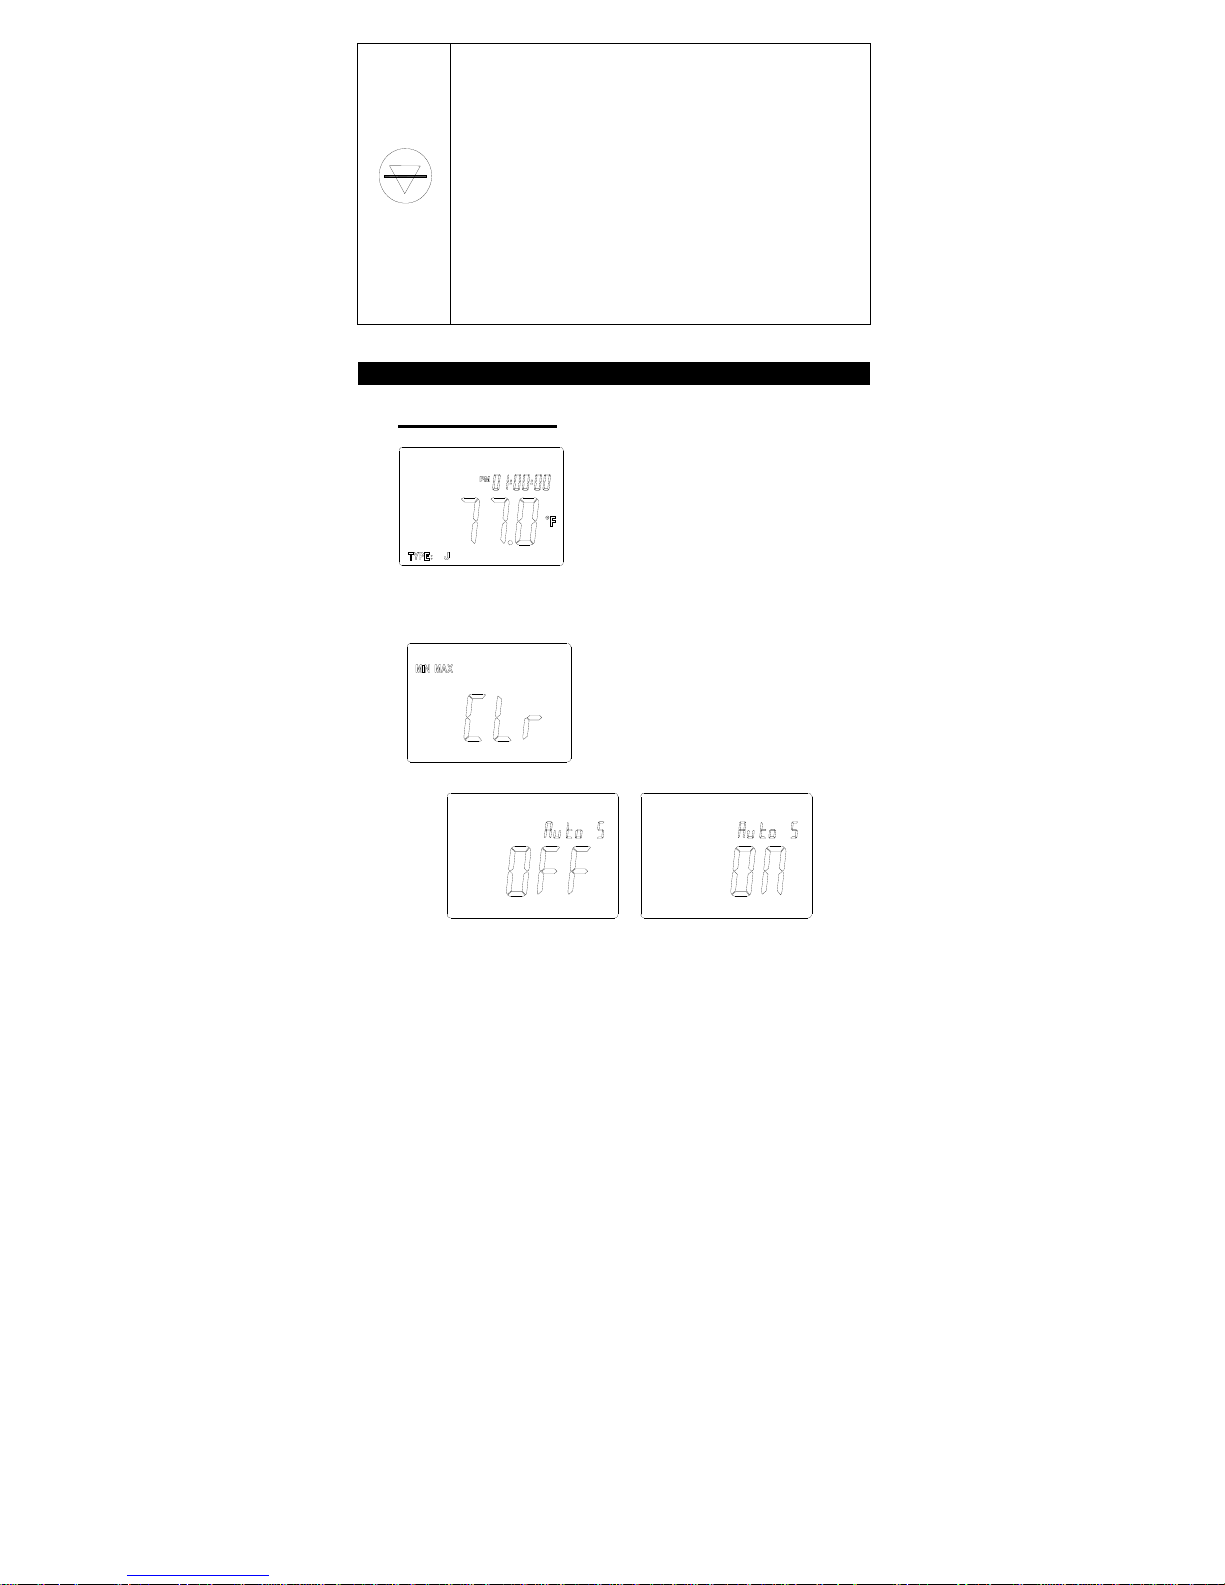
A. MEASURE mode
When user powers on the model
PTM1, the MEASURE mode screen
will appear. The instrument will
return to this mode once you exit
from other modes. Only in the
MEASURE mode, the user can
press the [SAVE] key to save the
into the next available slot of the 50-slot memory.
temperature reading, time and date
The user can clear the MIN and
MAX values while in the MEASURE
mode. The instrument will display
the screen on the left for a few
seconds when the user presses the
[CLEAR] key.
The user can turn on or turn off the one hour-auto shutdown
feature only in the MEASURE mode. Press the [HOLD] key
and hold for 10 seconds to toggle the setting of the one
hour-auto shutdown feature.
8
Page 9

B. MAX mode
Press the [MAX/MIN] key in MEASURE mode to enter the
MAX mode, the model PTM1 will display the maximum
temperature reading it has captured since the last time the
instrument has been cleared. The instrument will display 2
screens, one with time and the other with date. The user can
press the [CLEAR] key to clear the MAX and MIN values while
in this mode.
C. MIN mode
Press the [MAX/MIN] key in MEASURE mode to enter the MIN
mode, the model PTM1 will display the minimum temperature
reading it has captured since the last time the instrument has
been cleared. The instrument will display 2 screens, one with
time and the other with date. The user can press the [CLEAR]
key to clear the MAX and MIN values while in this mode.
D. HOLD mode
Press the [HOLD] key in
MEASURE mode to enter the
HOLD mode, the model PTM1
will freeze the temperature
reading. The time will still be
updated on screen but the
temperature reading will NOT be
updated until you return to the
Press the [HOLD] key again to return to the MEASURE mode.
MEASURE mode.
E. SETTING mode
Press the [SET] key in MEASURE mode to enter the SETTING
mode.
In this mode the user can change the following model PTM1
settings:
9
Page 10
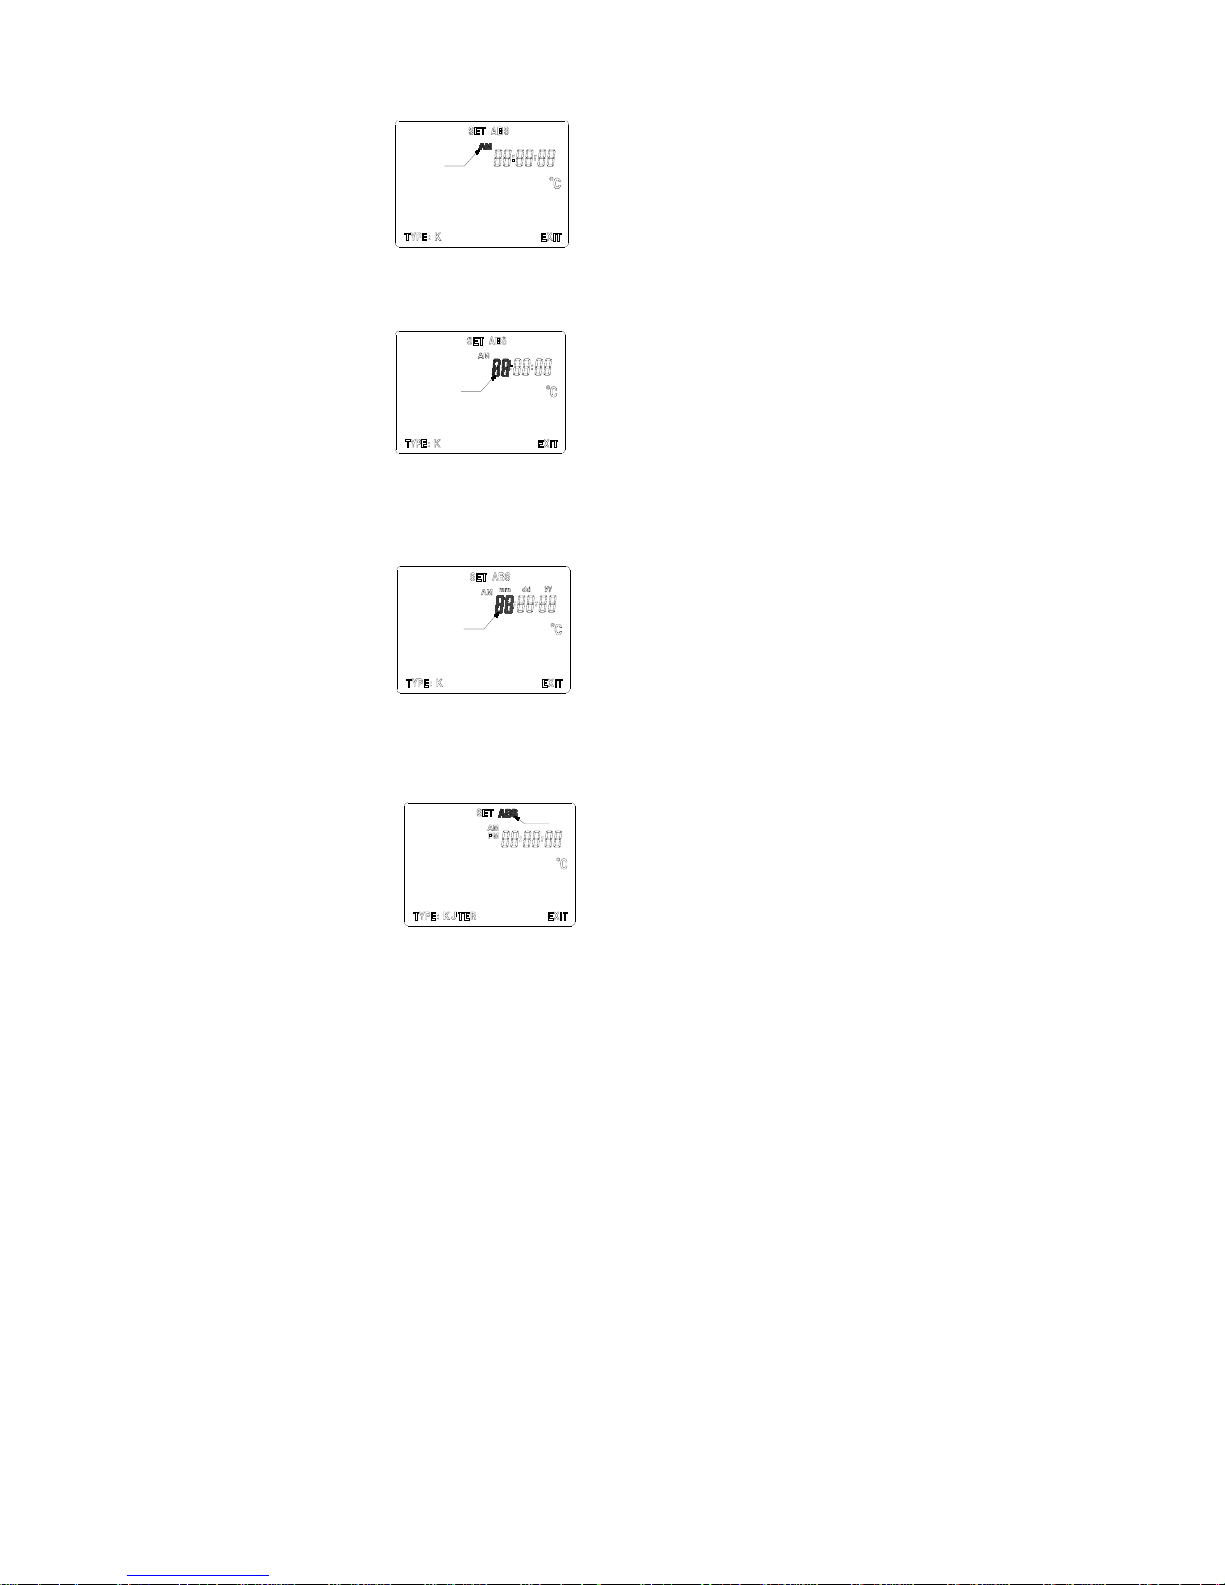
a. AM / PM
Press the [UP] or [DOWN] key to
Flashing
change to PM or AM.
Press the [RIGHT] key to move to
Hour, Min, Sec setting. Press the
[LEFT] key to move to the EXIT
option.
b. Hour / Min / Sec
Press the [UP] or [DOWN] key to
change the flashing value or press
Flashing
the [RIGHT] key to move to the next
time setting. After the Sec setting,
press the [RIGHT] key to move to
Month, Day, Year setting.
Press the [LEFT] key to move back
to the previous option.
c. Month / Day / Year
Press the [UP] or [DOWN] key to
change the flashing value or press
Flashing
the [RIGHT] key to move to the next
date setting.
After the Year setting, press the
[RIGHT] key to move to ABS/REL
setting. Press the [LEFT] key to
move back to the previous option.
d. ABS / REL
Flashing
Press the [UP] or [DOWN] key to
change to ABS or REL value
settings. If the user chooses ABS,
the MAX and MIN mode will
display the actual time the MAX
and MIN temperature occurred.
If the user chooses REL, the MAX
and MIN mode will display the ELASPED TIME from time the
user cleared the last MAX and MIN values to the time the new
MAX and MIN values occurred. Press the [RIGHT] key to move
to the next setting.
10
Page 11
SPECIAL NOTE WHEN SETTING I N REL TIME
The Instrument will auto shutdown after 1 hour of no key activity
unless the user turns off the auto shutdown feature (see [HOLD]
key function). The maximum elapsed time the instrument can
record is about 24 hours “23:59:59” after which it will start back
to “00:00:00”. If the user turns on the instrument after shutting
down for a long period of time, the instrument will still compute
the elapsed time from the last [CLEAR] key function the user
performed.
Example: If the user clears the min/max at 03:00:00AM and the
last max recorded occurred at 04:00:00AM the next day (after
more than 1 day) the recorded elapsed time will be 01:00:00.
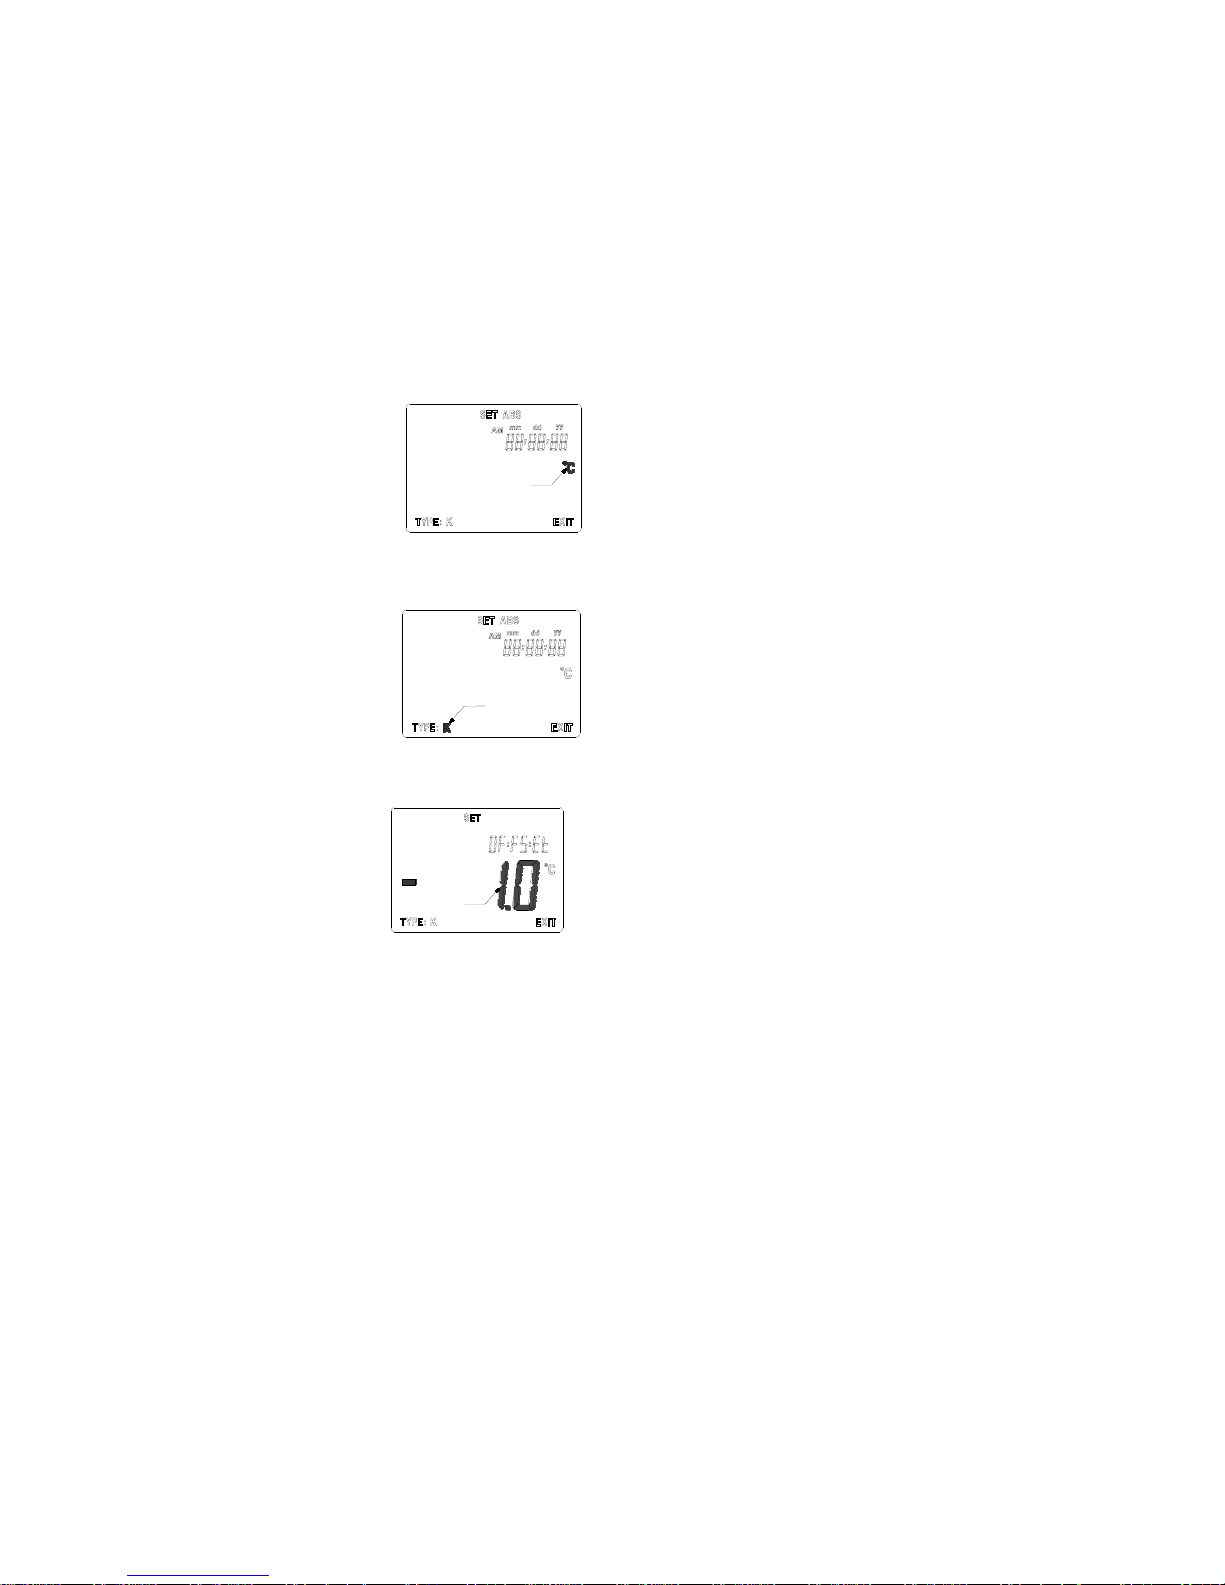
e. °C / °F
Press the [UP] or [DOWN] key to
change to °C or °F. This will set the
Flashing
default turn-on temperature unit.
f. TYPE K, J or T
Press the [UP] or [DOWN] key to
select K, J or T type thermocouple.
Press the [RIGHT] key to move to
the OFFSET option.
Flashing
Press the [LEFT] key to move
back to the previous option.
g. OFFSET
Press the [UP] or [DOWN] key to
change the value from –10.0 to 10.0
if the unit is in °C or –18.0 to 18.0 if
unit is in °F. The value here will be
Flashing
Press the [RIGHT] key to move to the EXIT option.
added to the temperature display in
the MEASURE mode.
11
Page 12
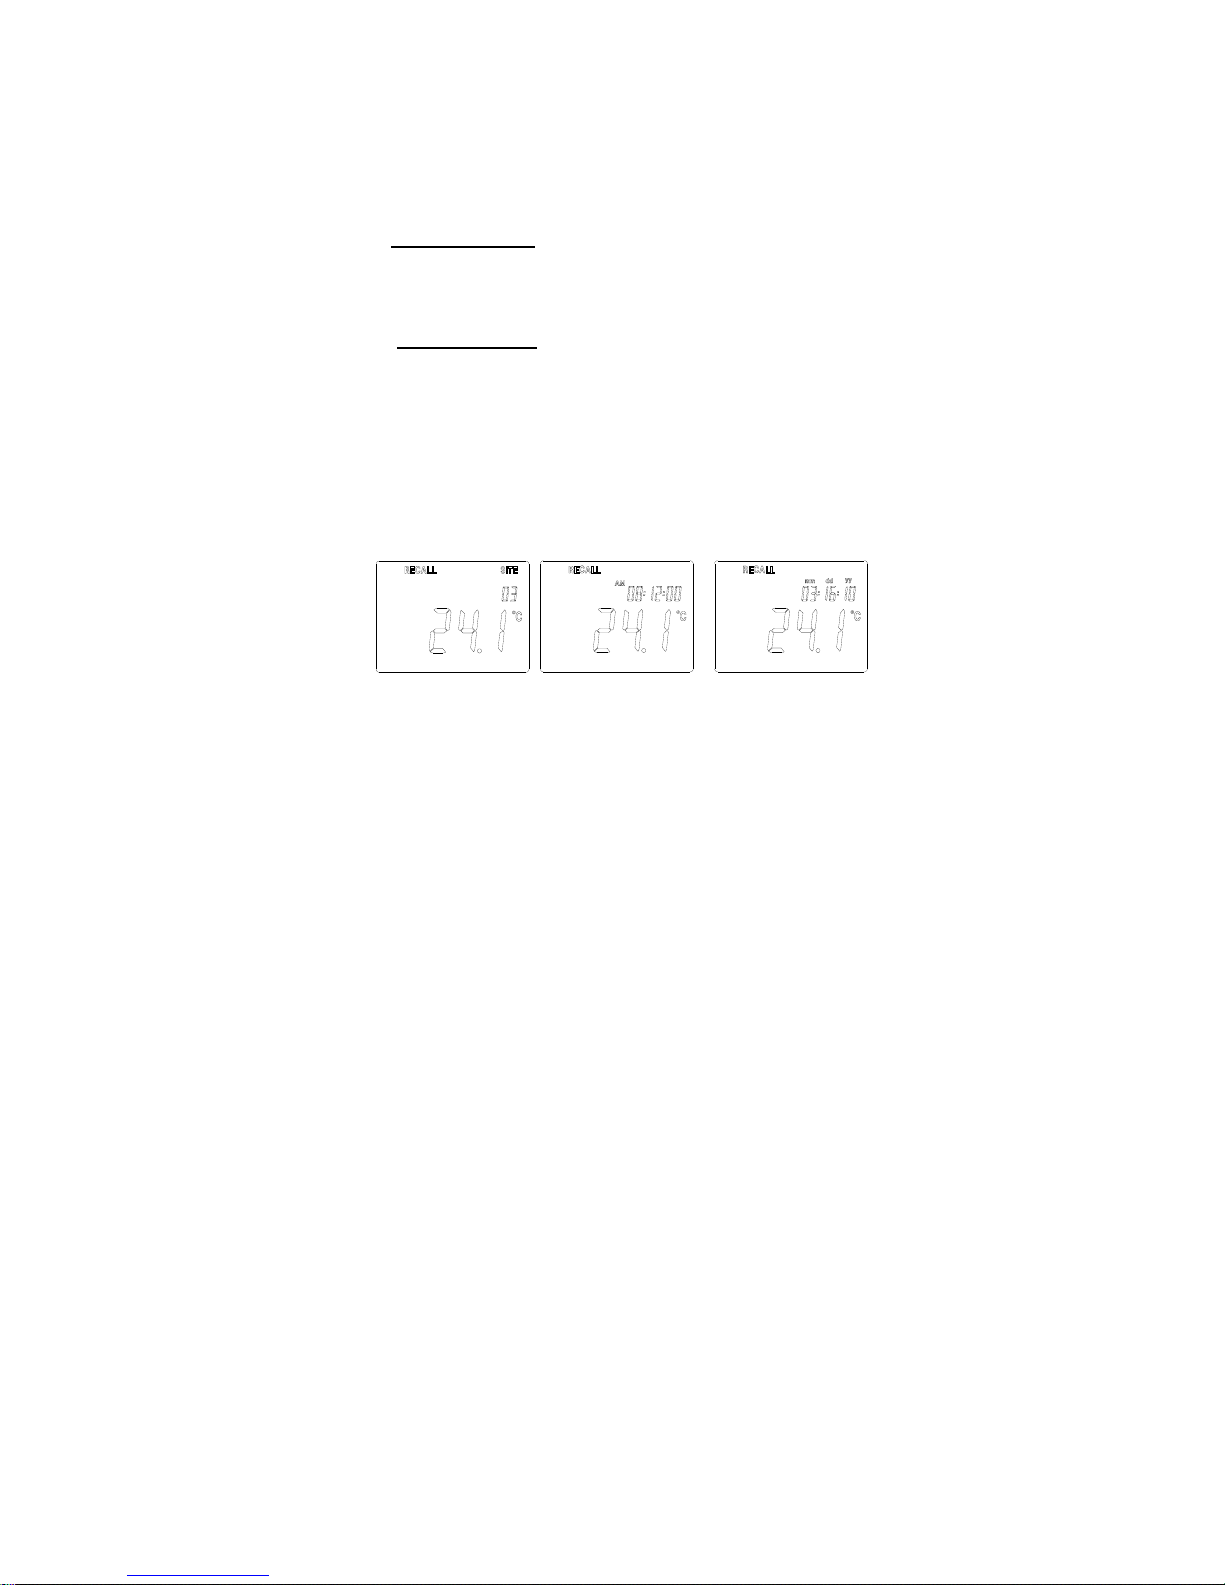
h. EXIT
Press the [SAVE] key to save all the changes made.
IMPORTANT Note: The user must power down the unit and
back on for the changes to take effect.
If the user wants to cancel at any time, just press the [SET] key.
F. RECALL mode
Press the [LEFT/RECALL] key in the MEASURE mode to
switch to the RECALL mode. Press the [LEFT/RECALL] key
again to exit the RECALL mode and return to the MEASURE
mode.
When the instrument switches to the RECALL mode, it will first
display the last data saved by the user. Three screens will be
displayed for every data site.
The first screen will display the site number, the 2nd screen will
display time and the 3rd screen will display the date. The
temperature reading saved is always displayed in all screens.
In the RECALL mode, press this key for 2 seconds to clear all
data saved
12
Page 13

ERROR DISPLAYS AND TROUBLESHOOTING
LCD
display
Additional
LCD
Mode Possible cause(s)
[Action(s)]
message
"ovEr"
(OVER)
MEASURE
a. Temperature
measured > the
instrument’s range for
the thermocouple type
sensor used.
b. Probe not properly
connected.
[Change sensor with
proper temperature
range.]
[Check probe
connection.]
"undr"
(UNDER)
MEASURE
a. Temperature
measured < the
instrument’s range for
the thermocouple type
sensor used.
b. Probe not properly
connected.
[Change sensor with
proper temperature
range.]
[Check probe
connection.]
"ovEr"
(OVER)
“MAX”
MAX Unit recorded an over
temperature reading
before.
[Clear the MAX values]
"undr"
(UNDER)
“MIN”
MIN Unit recorded an
under temperature
reading before.
[Clear the MIN values]
"FUL"
(FULL)
“SAVE”
MEASURE User tries to save data
but the 50 sites are full.
[Go to the RECALL
mode and erase all
data]
“EPt”
(EMPTY)
“RECALL”
RECALL User tried to go to the
RECALL mode but no
data has been saved.
[Save at least 1 set of
data]
13
Page 14

[Note: If the meter still does not perform normally after the above
A
measures are taken, call Physitemp Service Department.]
SPECIFICATIONS
Type Range Resolution Accuracy
J,K,T -328.0°F to 392.0°F
-200.0°C to 200.0°C
J 393°F to 2010°F
201°C to 1099°C
K 393°F to 2500°F
201°C to 1371°C
T 393°F to 752°F
201°C to 400°C
0.1°F
0.1°C
1°F
1°C
1°F
1°C
1°F
1°C
±0.1%FS ±1.4°F
±0.1%FS ±0.7°C
±0.1%FS ±1.4°F
±0.1%FS ±0.7°C
±0.1%FS ±1.4°F
±0.1%FS ±0.7°C
±0.1%FS ±1.4°F
±0.1%FS ±0.7°C
Cold Junction Compensation Error
mbient Temperature :
Measurement Range
Rated Accuracy
Power
Display ( Time : Temperature)
Relative Humidity up to 90%
Case IP67 water-tight case
Dimensions (W x D x H) 75mm x 157mm x 35mm
Weight
0.05°C / °C; 0,05°F / °F
0.0°C to 50.0 °C
18.0°C to 28.0 °C
Four “AAA” Batteries
4.7mm : 13.9mm
high LCD
230 grams
(Batteries included)
14
Page 15

WARRANTY
Physitemp Instruments warrants its instruments to be free from defects in
material and workmanship for a period of 12 months from the date of
shipment. Repair or replacement will be made at no charge at the
discretion of Physitemp if the defect is not the result of misuse or
abuse. Physitemp accepts no consequential liability for delay in
delivery, alleged faulty performance of the product, or any other cause.
This limited warranty covers parts and labor, but not transportation and
insurance charges. In the event of a warranty claim, contact Physitemp
Instruments at 973-779-5577 or by email at [email protected]. If the
cause is determined to be a manufacturing fault, Physitemp will repair or
replace all defective parts and restore the unit to operation. Warranty
return shipping charges back to customer will be covered by
Physitemp. Damage due to misuse or accidental breakage is not
covered.
Temperature probes are considered expendable and are not covered by
this warranty unless found to be defective within 30 days of receipt, at
which time they may be returned for repair or replacement at the
discretion of Physitemp Instruments.
If equipment is received damaged, customer is responsible for contacting
Physitemp Instruments immediately so a damage claim can be initiated
with the carrier. In the event of shipping damage all shipping containers
and packing material must be retained for inspection.
See the current Physitemp warranty policy located under the General
Sales Policy on the Physitemp website at www.physitemp.com
NOTE: Physitemp reserves the right to make improvements in
design, construction and appearance of our products without
notice.
Physitemp Instruments, LLC
154 Huron Avenue
Clifton, New Jersey 07013
Tel: Int +1.973.779.5577
Tel: US 800.452.8510
e-mail: [email protected]
www.physitemp.com
15
 Loading...