

Page 1
JUBI 12A LITE
JUBI 15A LITE
User's Manual
Manual de Usuario
Page 2

English Español
JUBI 12A LITE
JUBI 15A LITE
2-WAY ACTIVE LOUDSPEAKERS
ENGLISH .......................................I
ESPAÑOL ...................................II
APPENDIX ..................................III
V1.2 05/23/2015
Page 3

USER'S MANUAL
CONTENTS
INTRODUCTION.................................................................1
FEATURES..............................................................................1
APPLICATION........................................................................1
PLAYBACK..........................................................................1
RECORD........................................................................1
SYSTEM OVERVIEW.............................................................2
SPECIFICATIONS................................................................3
APPENDIX
English
DIMENSIONS......................................................................1
Phonic preserves the right to improve or alter any information within this
document without prior notice.
Page 4
The apparatus shall not be exposed to dripping or splashingand that no objects with liquids, such as vases,
shall be placed on the apparatus. The MAINS plug is used as thedisconnect device,the disconnect device shall
English
remain readily operable.
Warning: the user shall not place this apparatus in the area during theoperation so that the mains switch
can be easily accessible.
1. Read these instructions before operating this
apparatus.
2. Keep these instructions for future reference.
3. Heed all warnings to ensure safe operation.
4. Follow all instructions provided in this document.
5. Do not use this apparatus near water or in locations
where condensation may occur.
6. Clean only with dry cloth. Do not use aerosol or liquid
cleaners. Unplug this apparatus before cleaning.
7. Do not block any of the ventilation openings. Install
in accordance with the manufacturer
8. Do not install near any heat sources such as radiators,
heat registers, stoves, or other apparatus (including
9. Do not defeat the safety purpose of the polarized or
grounding-type plug. A polarized plug has two blades
with one wider than the other. A grounding type plug
has two blades and a third grounding prong. The wide
blade or the third prong is provided for your safety. If
the provided plug does not into your outlet, consult
an electrician for replacement of the obsolete outlet.
IMPORTANT SAFETY INSTRUCTIONS
CAUTION
RISK OF ELECTRIC SHOCK
DO NOT OPEN
CAUTION: TO REDUCE THE RISK OF ELECTRIC SHOCK,
DO NOT REMOVE COVER (OR BACK)
NO USER SERVICEABLE PARTS INSIDE
REFER SERVICING TO QUALIFIED PERSONNEL
The lightning flash with arrowhead symbol, within an
equilateral triangle, is intended to alert the user to the
’
s instructions.
.
WARNING: To reduce the risk of or electric shock, do
not expose this apparatus to rain or moisture.
presence of uninsulated
product
’
magnitude to constitute a risk of electric shock to persons.
The exclamation point within an equilateral triangle is in-
tended to alert the user to the presence of important operat-
ing and maintenance (servicing) instructions in the literature
accompanying the appliance.
“
dangerous voltage”within the
10. Protect the power cord from being walked on or
pinched particularly at plug, convenience receptacles,
and the point where they exit from the apparatus.
11. Only use attachments/accessories by the
manufacturer.
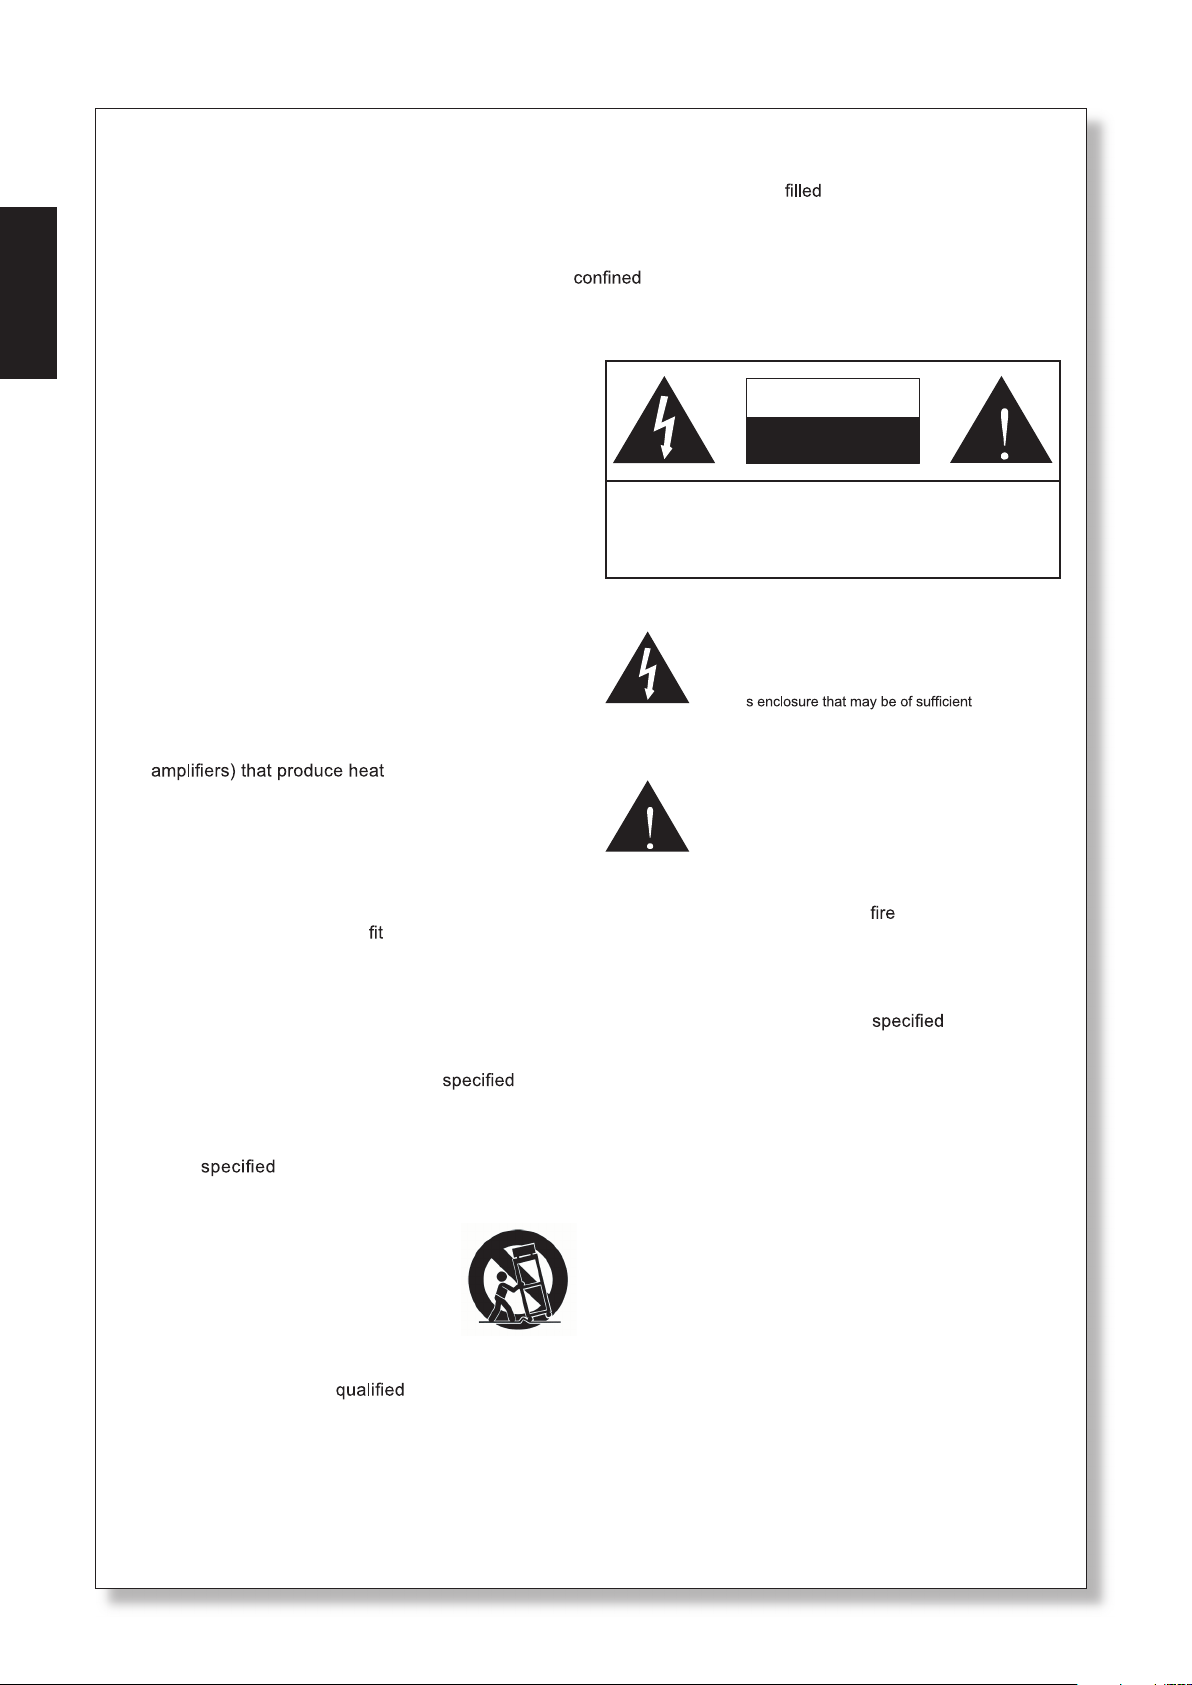
12. Use only with a cart, stand, t ripod, bracket, or
table by the manufacturer, or sold with
the apparatus. When a cart is used, use caution
when moving the cart/apparatus
combination to avoid injury from tipover.
13. Unplug this apparatus during lighting
storms or when unused for long
periods of time.
14. Refer all servicing to service personnel.
Servicing is required when the apparatus has been
damaged in any way, such as power-supply cord or
plug is damaged, liquid has been spilled or objects
have fallen into the apparatus, the apparatus has
been exposed to rain or moisture, does not operate
normally, or has been dropped.
CAUTION: Use of controls or
adjustments or performance
of procedures other than those may result in
hazardous radiation exposure.
Page 5
INTRODUCTION
Congratulations on your purchase of the Phonic Jubi 12A
Lite or Jubi 15A Lite active loudspeakers. The Jubi’s 320
Watt (continuous) amplier uses both Class D and AB
technology to produce up to a shattering 123 dB maximum
SPL. This provides sufcient power for a wide range of
venues, large and small. Jubi’s stylish polymer enclosure
also improves acoustical accuracy by minimizing distortion
and diffraction. Finally, reliability and durability was the
paramount factor throughout the Jubi’s development.
With 320 Watts of ground shaking power, a 2-channel onboard mixer, custom engineered transducers, and great
versatility, the Jubi active loudspeakers simply excel.
PLAYBACK
The USB player supports WAV, WMA and MP3 playback.
1. Insert an appropriately formatted (FAT32) USB ash
drive.
2. On the main menu, select “Playback” and press the
PLAY button.
3. Press the PLAY button to play the current track, or
the << and >> buttons to skip forward and backwards
between tracks.
4. Press the MENU button while in the Playback mode
to access the File Browser, Delete File, Repeat Mode
and Volume Control functions.
5. Press and hold the MENU button for three seconds to
exit playback mode and return to the main menu.
English
FEATURES
● Remarkable sound, remarkable power, and remarkable
style in a lightweight, durable enclosure
● 320 Watts of continuous power using Class D technology
● 123 dB maximum sound pressure level
● 12" or 15" woofer matched with 1" compression tweeter
● Flat frequency response between 53/56Hz and 20kHz
● 2 channel onboard mixer: mic channel featuring an
XLR input and 1/4" TRS phone jack, plus a line channel
with 1/4" TRS phone jack and stereo RCA inputs
● Record audio directly to USB ash drives
● Digital MP3 audio playback from USB ash drives
● Send speaker's main signal off to additional speakers
or ampliers through a balanced XLR output connector
● 4th order phase-accurate Linkwitz-Riley crossover
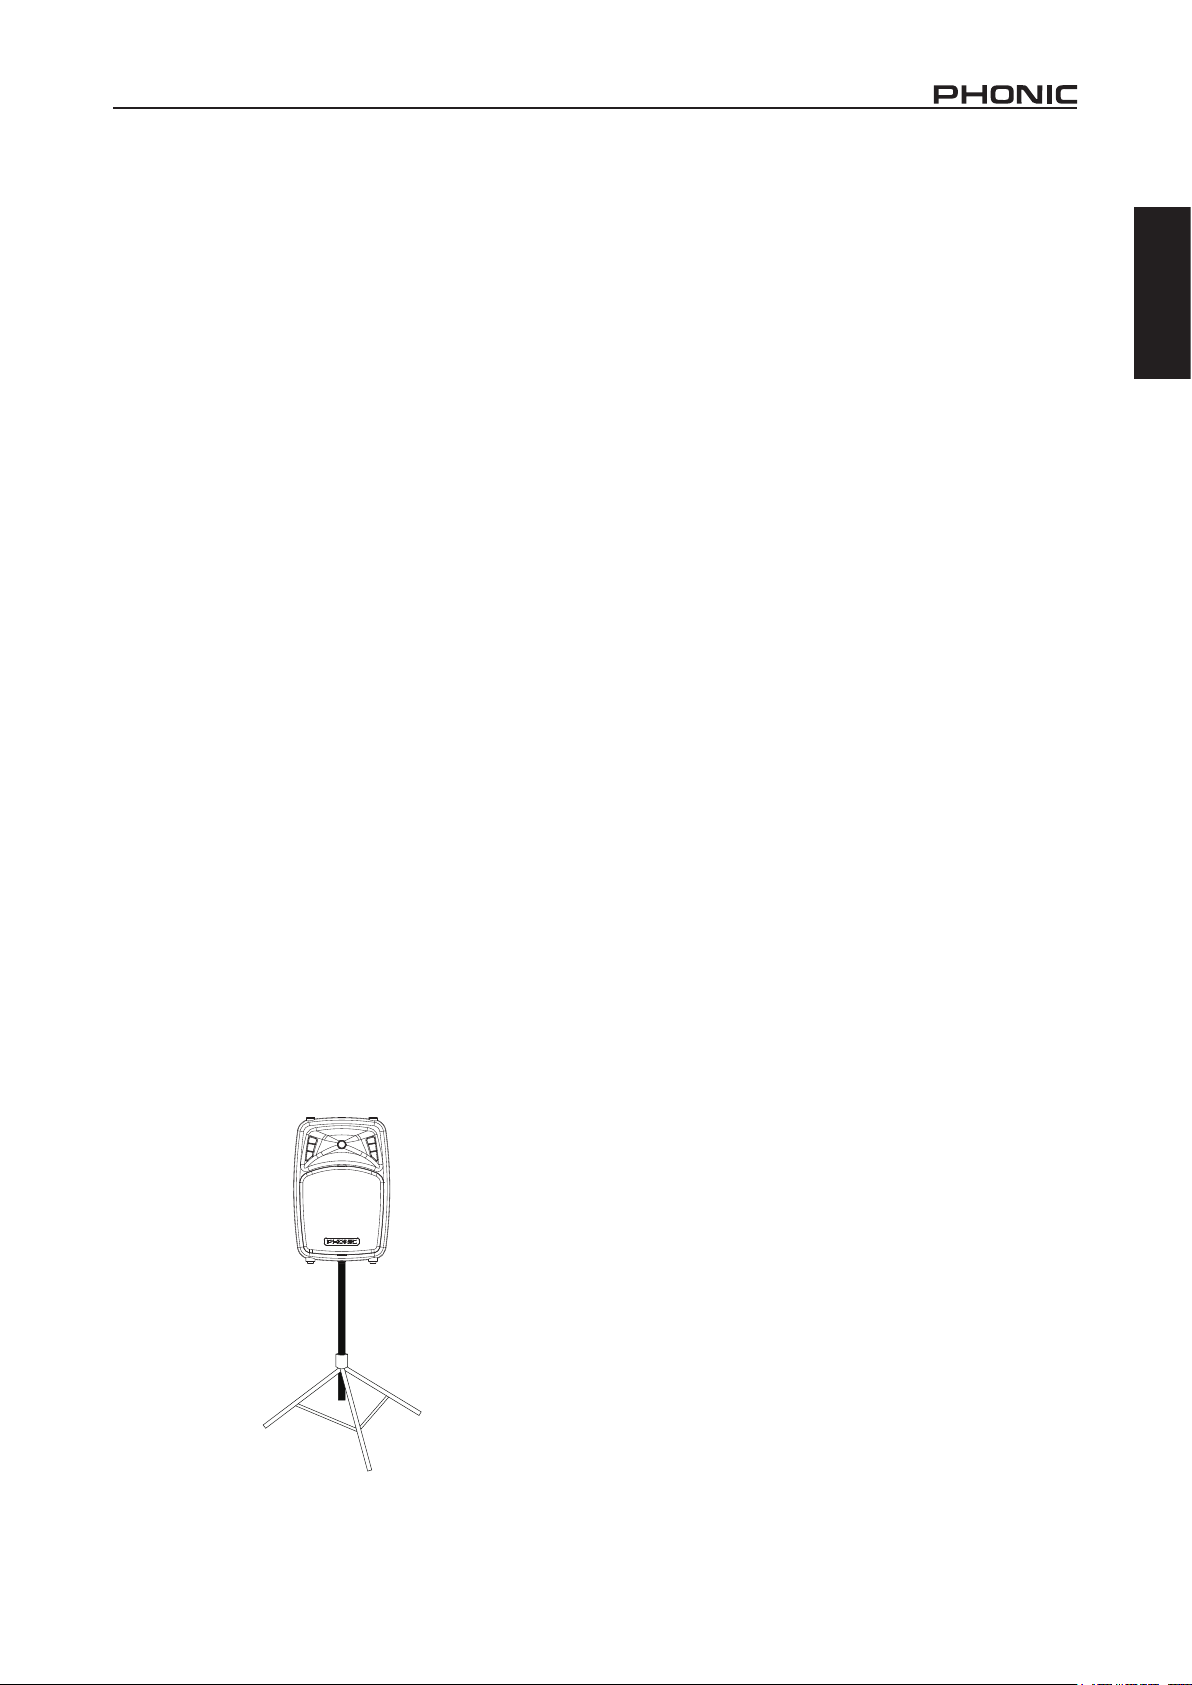
● 35mm pole mount for extended audience reach
● Impact resistant polymer enclosure with internal
bracings
● Tour grade steel grille (1.2 mm)
● Rotary EQ controls for high and low frequency audio
APPLICATION
Folders - Freely navigate songs in each folder on USB
ash disc using the << and >> buttons. Press PLAY
button to select, press MENU button to go back.
Repeat Mode - There 4 repeat modes available.
No Repeat - Play each le in the current folder or root
for once.
Repeat one - Constantly repeat selected song.
Repeat Folder - Constantly repeat all the song in the
certain folder or root.
Random – Enables random playback of les in
current folder or root.
RECORD
Users can record high quality WAV format.
1. Insert an appropriately formatted (FAT32) USB ash
drive.
2. In the main menu, select “Record” and press the
PLAY button to enter recording mode.
3. Select between the 128 kbit/s and 192 kbit/s WAV
recording modes and press the PLAY button.
4. Record mode will begin in standby/pause. Push the
Play/Pause button to begin recording. The unit will
save the recorded le into the RECORD directory on
the USB device.
5. Push the Play/Pause button to pause recording.
Pushing the Play/Pause button again will resume
recording from the position at which it was paused.
7. Press the MENU button at any time to save the
recording. Once the recording is saved, the system
will automatically skip to the next track.
8. To exit out of the playback mode and return to the
main menu, press and hold MENU button for three
seconds.
35mm mounting point
NOTE:
1. The MP3 Recorder rotary control will adjust the
playback level only and will not affect recording levels.
The only level controls that will affect the recording
level are those found on the individual Mic and Line
input channels.
2. Users may experience very short instances of drop
outs during playback of recorded WAV les.
1JUBI 12A LITE / JUBI 15A LITE
Page 6

SYSTEM OVERVIEW
1 2
English
6
7
9
11
15
1. Play/Pause Button
Push this button to start and stop playback and recording
of the currently displayed track. Starting a track after it
is paused will resume the track from the point at which
it was paused (in both record and playback mode). This
button also doubles as the “select” button when navigating
menus.
2. Return/Skip Buttons
Pushing these buttons will allow users to skip ahead and
back between tracks in sequence. They’re also used for
navigating menus.
3. Stop/Menu Button
Push this button to stop the currently playing or recording
track. When pushed and hold, this button will allow
access to the recording module’s menu. The menu allows
users to select playback and recording modes, a number
of different repeat modes, the ability to delete les from
USB ash discs, and a level control for playback signals.
4. Display
This small LCD display will show the track number
currently being played or details on your current recording.
It also offers play, pause and record indicators to the left
of the display. When in playback mode, the screen will
indicate the type of le type the unit is currently playing:
wav or mp3.
5. USB Port
Connect your USB ash drive to this input. Once a drive
is connected, the les will initiate and you will be able to
play or record les.
MADE IN CHINA
3
4
5
8
10
12
13
14
16
6. USB Level Control
This control adjust the nal signal level from the USB
player to the main mix.
7. Mic Inputs
Jubi speakers are design to accept microphone level signals through XLR and 1/4” phone jacks (for balanced or
unbalanced signals). The level of these inputs’ signal can
be adjusted using the mic volume control.
8. Mic Volume Control
This control allows you to adjust the incoming signal from
the mic input jacks. Setting them to the left-most position
(-∞ dB) will completely cut the incoming signal, whereas
the right-most position will add 10dB of boost to the signal.
9. Line Inputs
This balanced ¼” phone jack accepts line-level signals
from external devices. Stereo RCA connectors are also
included. The incoming signals from these inputs can be
adjusted using the line volume control.
10. Line Volume Control
This control allows you to adjust the incoming signal from
the both the line input and RCA input jacks. Setting them
to the left-most position (-∞ dB) will completely cut the
incoming signals, whereas the right-most position will add
10dB of boost to the signals.
11. Line Output
The 1/4” phone jack line output will send the nal mix of
the channel 1 and 2 input signals, allowing the signals
to be employed by additional speakers or other devices.
Do not under any circumstances connect this output connector to the input of the same unit. This will cause an
audio loop at frequencies and levels that will be extremely
unpleasant.
12. Main Level Control
This rotary control will adjust the nal output mix for the
Jubi Lite speakers.
13. Treble Control
This control gives the user control of high frequencies
(12kHz) in their audio. This allows for a total of 10 dB of
boost or cut.
14. Bass Control
This control gives the user control of low frequencies
(80Hz) in their audio. This allows for a total of 10 dB of
boost or cut.
15. AC Power Connector
The Jubi Lite speakers offer a built-in power cable. Phonic
advises that users do not attempt to remove or replace
this cable for any reason. We also advise that the grounding pin of the cable should not be defeated for any reason.
16. Power Switch
This switch will turn the Jubi Lite speaker on and off.
2 JUBI 12A LITE / JUBI 15A LITE
Page 7

SPECIFICATIONS
Jubi 12A Lite Jubi 15A Lite
Woofer 12" 15"
Tweeter Compression Driver Compression Driver
Continuous Power 320 Watts 320 Watts
Peak Power 640 Watts 640 Watts
Minimum THD 0.01% 0.01%
Frequency Response 56 Hz to 20 kHz 53 Hz to 20 kHz
Maximum SPL 123 dB 123 dB
Total Channels 2 2
Inputs
Microphone 1 XLR + 1 TRS 1 XLR + 1 TRS
Line 1 XLR + 1 Stereo RCA 1 XLR + 1 Stereo RCA
MP3 USB (Record + Playback) USB (Record + Playback)
Output
Audio Out 1 x 1/4" TRS 1 x 1/4" TRS
English
EQ Treble (12kHz), Bass (80Hz) Treble (12kHz), Bass (80Hz)
Dimensions (HxWxD) 559 x 370 x 277 mm (22" x 14.56" x 10.9") 679 x 450 x 345 mm (26.7" x 17.7" x 13.6")
Weight 12.6 kg (27.8 lbs) 18.8 kg (41.4 lbs)
3JUBI 12A LITE / JUBI 15A LITE
Page 8

English
SERVICE AND REPAIR
For replacement parts, service and repairs please contact the Phonic distributor in your
country. Phonic does not release service manuals to consumers, and advice users to not
attempt any self repairs, as doing so voids all warranties. Yo u can locate a dealer near you at
http://www.phonic.com/where/.
WARRANTY INFORMATION
Phonic stands behind every product we make with a no-hassles warranty. Warranty coverage
may be extended, depending on your region. Phonic Corporation warrants this product for a
minimum of one year from the original date of purchase against defects in material and
workmanship under use as instructed by the user’s manual. Phonic, at its option, shall repair
or replace the defective unit covered by this warranty. Please retain the dated sales receipt as
evidence of the date of purchase. You will need it for any warranty service. No returns or repairs
will be accepted without a proper RMA number (return merchandise authorization). In order to
keep this warranty in effect, the product must have been handled and used as prescribed in the
instructions accompanying this warranty. Any tampering of the product or attempts of self repair
voids all warranty. This warranty does not cover any damage due to accident, misuse, abuse,
or negligence. This warranty is valid only if the product was purchased new from an authorized
Phonic dealer/distributor. For complete warranty policy information, please visit
http://www.phonic.com/warranty/.
CUSTOMER SERVICE AND TECHNICAL SUPPORT
We encourage you to visit our online help at http://www.phonic.com/support/. There you can find
answers to frequently asked questions, tech tips, driver downloads, returns instruction and other
helpful information. We make every effort to answer your questions within one business day.
FCC Caution: To assure continued compliance, any changes or modifications not expressly
approved by the party responsible for compliance could void the user's authority to operate this
equipment. (Example - use only shielded interface cables when connecting to computer or
peripheral devices).
THIS DEVICE COMPLIES WITH PART 74 OF THE FCC RULES. This equipment complies with
FCC RF radiation exposure limits set forth for an uncontrolled environment.
support@phonic.com
http://www.phonic.com
Page 9

MANUAL DEL USUARIO
CONTENIDO
INTRODUCCIÓN........................................................................................1
CARACTERÍSTICAS...................................................................................1
APLICACIONES.......................................................................................1
REPRODUCCIÓN.......................................................................................1
REGISTRO..........................................................................................1
DESCRIPCIÓN GENERAL DEL SISTEMA............................................2
ESPECIFICACIONES...............................................................................3
Español
APÉNDICE
DIMENSIONES.................................................................................1
Phonic se reserva el derecho de mejorar o alterar cualquier información
dentro de este documento, sin previo aviso.
9JUBI 12A LITE / JUBI 15A LITE
Page 10

Español
10
JUBI 12A LITE / JUBI 15A LITE
Page 11

INTRODUCCIÓN
Felicitaciones por la compra de los altavoces activos Phonic
Jubi 12A Lite o 15A Lite de Jubi (continuous) de 320 vatios
utiliza tecnología de clase D para producir un aplastante
123 dB SPL máximo, proporcionando suciente energía
para una amplia gama de tipos y tamaños de conciertos.
Un diseño ligero y montajes en poste robustos hacen que
el Jubi sea el más versátil altavoz activo, portátil actual.
Los ingenieros de Phonic diseñaron un woofer de alta
factor potencia BL y un tweeter de compresión de 1” para
lograr un entorno acústico asombrosamente amplio y
lograr una transparencia de sonido característica a Jubi.
Un recinto de polímero cuidadosamente elaborado con
curvaturas verticales para mejorar la precisión acústica,
reduciendo al mínimo la difracción interna. Por último,
la abilidad y la durabilidad fueron el factor primordial
en todo el desarrollo del altavoz Jubi. Con de 320
vatios de potencia, un mezclador de 2 canales a bordo,
transductores diseñados a la medida, y una increíble
versatilidad, el Jubi 12A Lite y 15A Lite de Phonic son
altavoces a tener en cuenta.
CARACTERÍSTICAS
● Sonido y potencia increíble y un estilo único en un
recinto ligero y durable
● 320 vatios de potencia (continuous) utilizando tanto la
clase AB y las tecnologías de D;
● Niveles de presión sonora máxima de 123 dB
● Woofer de 12” o 15” emparejado con un tweeters de
compresión
● Respuesta de frecuencia plana entre 53/56Hz y 20kHz
● 2 canales a bordo de la mezcladora: canal de micrófono
con una entrada XLR y conector TRS de 6.35mm más
un canal linear TRS de 6.35mm y entradas estéreo
RCA
● Grabación de audio directamente a las unidades ash USB
● Reproducción de audio digital MP3 desde unidades
ash USB
● Envió de señal principal a altavoces o amplicadores
adicionales a través de un conector de salida XLR
balanceada
● Orden de cuarta fase con precisión de Linkwitz-Riley
● Montaje de 35 mm en poste para llegar a una audiencia
ampliada
● Recinto polímero resistente a impactos con refuerzos
internos incluidos
● Rejilla de acero (1,2 mm) parte frontal (protección
adicional del cono del altavoz)
● Controles Rotativos de ecualización de audio de alta y
baja frecuencia
APLICACIONES
Barra de montaje de 35mm
REPRODUCCIÓN
El reproductor es compatible con USB WAV, WMA, MP3
y reproducción a través de USB
1. Inserte un formato adecuado (FAT32) unidad ash
USB.
2. En el menú principal, seleccione "Reproducir" y pulse
el botón PLAY.
3. Pulse el botón de PLAY para reproducir la pista actual,
o los botones << y >> para saltar hacia adelante y
hacia atrás entre las pistas.
4. Pulse el botón MENU en el modo de reproducción
para acceder al explorador de archivos, eliminar
archivos, Modo de repetición y las funciones de
control de volumen.
5. Mantenga pulsado el botón MENU durante tres
segundos para salir del modo de reproducción y
volver al menú principal.
Archivos- Libremente navegar por las canciones en
cada archivo en el disco USB ash con los botones <<
y >>. Presione el botón PLAY para seleccionar, pulse el
botón MENU para volver atrás.
Modo de repetición - Hay 4 modos de repetición disponibles.
No se repiten/ No repeat - Juega cada pista en el
archivo actual, por una vez.
Repetir una/Repeat one - Constantemente repetir la
canción seleccionada.
Repetir Archivo/Repeat Folder - Constantemente
repite toda la canción en el Archivo determinado
Aleatorio/ Random - Permite la reproducción aleatoria
de los archivos de la carpeta actual o de la raíz.
REGISTRO
Los usuarios pueden grabar alta denición en formato
WAV.
1. Inserte un formato adecuado (FAT32) unidad ash
USB.
2. En el menú principal, seleccione "Grabar" y pulse el
botón PLAY para entrar en el modo de grabación.
3. Seleccione entre los modos de grabación 128 kbit / s
y 192 kbit / s WAV y pulse el botón PLAY.
4. El modo de grabación se iniciará en modo de espera
/ pausa. Pulse el botón de reproducción / pausa para
iniciar la grabación. La unidad se guarda el archivo
grabado en el directorio de registros en el dispositivo
USB.
5. Pulse el botón Play / Pause para pausar la grabación.
Al pulsar el botón Reproducir / Pausa volverá a
reanudar la grabación desde la posición en la que se
detuvo.
6. Pulse el botón MENU en cualquier momento para
guardar la grabación. Una vez que la grabación se
guarda, el sistema automáticamente se saltará a la
pista siguiente.
7. Para salir del modo de reproducción y volver al
menú principal, presione y mantenga el botón MENU
durante tres segundos
NOTA:
1. El control USB giratorio ajustará el nivel de reproducción
solamente y no afectará los niveles de grabado. Solamente
los controles de nivel afectarán el nivel de grabado se
encuentran en los canales de entrada individuales.
2. Los usuarios pueden experimentar interrupciones muy cortas
durante la reproduccion de archivos WAV grabados.
Español
1JUBI 12A LITE / JUBI 15A LITE
Page 12

DESCRIPCIÓN GENERAL DEL SISTEMA
Español
11
15
1. Reproducir / Pausa
Pulse este botón para iniciar y detener la reproducción
y la grabación de la pista que se muestra actualmente.
A partir de una pista, después de que se haya detenido,
se reanudará la pista desde el punto en el que se hizo
la pausa (en ambos modos Grabación y Reproducción).
2. Retorno / Salto Botones
Al pulsar estos botones, se permite a los usuarios saltar
hacia adelante y hacia atrás entre las pistas en secuencia.
3. Detener / Menú
Pulse este botón para detener la reproducción o
grabación de la pista actual. Cuando se pulsa durante
varios segundos, este botón permite el acceso al menú
del módulo de grabación. El menú permite a los usuarios
seleccionar los modos de grabación y reproducción, un
número de diferentes modos de repetición, la capacidad
de borrar archivos desde discos USB ash, y un control
de nivel para las señales de reproducción.
4. Pantalla
Esta pequeña pantalla LCD mostrará el número de
pista que se está reproduciendo o los detalles sobre
la grabación actual. También ofrece indicadores de
reproducción es decir ¨pausa y grabar¨ a la izquierda
de la pantalla. En el modo de reproducción, la pantalla
indicará el tipo de tipo de archivo de la unidad que se está
reproduciendo: wav, mp3 o wma.
1 2
6
3
4
7
5
8
10
9
12
13
14
16
MADE IN CHINA
5. Puerto USB
Conecte su unidad ash USB a esta entrada. Una vez
que una unidad está conectada, los archivos se iniciarán
y usted será capaz de reproducir o grabar archivos.
6. USB Level Control
Este control ajusta el nivel de la señal denitiva del
reproductor de USB a la mezcla principal.
7 . Entradas de micrófono
Los altavoces Jubi están diseñados para aceptar señales
de nivel de micrófono a través tomas XLR de 6.35mm
(para señales simétricas y no simétricas). El nivel de
señal de estas entradas se puede ajustar mediante el
control de volumen del micrófono.
8 . Control de volumen del micrófono
Este control le permite ajustar la señal de entrada
procedente de las tomas de entrada de micrófono
Ajuste a la posición más a la izquierda (-∞ dB) será
completamente cortado la señal de entrada , mientras
que la posición más a la derecha se sumará 10dB de
aumento en la señal.
9 . Entradas de línea
Esta toma simétrica de 6.35mm acepta señales de nivel
de línea de dispositivos externos. También se incluyen
los conectores RCA estéreo. Las señales entrantes de
estas entradas se pueden ajustar mediante el control de
volumen de línea.
10 . Control de la línea de volumen
Este control le permite ajustar la señal de entrada de
las tomas de entrada tanto de la entrada de línea y RCA
Ajuste a la posición más a la izquierda (-∞ dB) será
completamente cortado las señales de entrada, mientras
que la posición más a la derecha se sumará 10dB de
realce a las señales.
11 . Salida de línea
La salida de línea de 6.35mm enviará la mezcla nal
del canal 1 y 2 señales de entrada , lo que permite que
las señales sean empleadas por altavoces adicionales u
otros dispositivos. No bajo ninguna circunstancia conectar
este conector de salida a la entrada de la misma unidad.
Esto causará un bucle de audio a frecuencias y niveles
que serán extremadamente desagradable.
12. Control de nivel principal
Este control giratorio ajusta la mezcla nal de salida para
los altavoces Jubi Lite.
13. EQ High
Este control da al usuario el control de las altas frecuencias
(12 kHz) en su audio. Esto permite un total de 10 dB de
aumento o corte.
14. EQ Low
Este control da al usuario el control de frecuencias bajas
(80 Hz) en su audio. Esto permite un total de 10 dB de
aumento o corte.
15. Conector de alimentación CA
Los altavoces Jubi Lite ofrecen un cable de alimentación
integrado. Phonic informa que los usuarios no intentarán
eliminar o reemplazar este cable por cualquier razón.
También le aconsejamos que la clavija de conexión a
tierra del cable no deberá quedar sin efecto por cualquier
motivo.
16. Interruptor de encendido
Este interruptor activa el altavoz Jubi.
2
JUBI 12A LITE / JUBI 15A LITE
Page 13

ESPECIFICACIONES
Jubi 12A Lite Jubi 15A Lite
Woofer 12" 15"
Tweeter Conductor de la compresión Conductor de la compresión
Continuous Potencia 320 Watts 320 Watts
Peak Potencia 640 Watts 640 Watts
THD mínimo 0,01% 0,01%
Respuesta de frecuencia
Máximo SPL 123 dB 123 dB
Canales totales 2 2
Entradas
Micrófono 1 XLR + 1 TRS 1 XLR + 1 TRS
Línea 1 XLR + 1 estéreo RCA 1 XLR + 1 estéreo RCA
MP3 USB (Record + Reproducción) USB (Record + Reproducción)
Salida
Salida de audio 1 x 1/4" TRS 1 x 1/4" TRS
EQ Agudos (12 kHz), Bajo (80Hz) Agudos (12 kHz), Bajo (80Hz)
Dimensiones (HxWxD)
Peso 12.6 kg (27.8 lbs) 18.8 kg (41.4 lbs)
56 Hz to 20 kHz 53 Hz to 20 kHz
559 x 370 x 277 mm
(22" x 14.6" x 10,9")
679 x 450 x 345 mm
(26,7" x 17,7" x 13,6")
Español
3JUBI 12A LITE / JUBI 15A LITE
Page 14

Español
SERVICIO Y REPARACIÓN
Para refacciones de reemplazo y reparaciones, por favor póngase en contacto con nuestro
distribuidor de Phonic en su país. Phonic no distribuye manuales de servicio directamente a los
consumidores y, avisa a los usuarios que no intenten hacer cualquier reparación por si mismo,
haciendo ésto invalidará todas las garantías del equipo. Puede encontrar un distribuidor cerca
de usted en http://www.phonic.com/where/.
INFORMACIÓN DE LA GARANTIA
Phonic respalda cada producto que hacemos con una garantía sin enredo. La cobertura de
garantía podría ser ampliada dependiendo de su región. Phonic Corporation garantiza este
producto por un mínimo de un año desde la fecha original de su compra, contra defectos en
materiales y mano de obra bajo el uso que se instruya en el manual del usuario. Phonic, a su
propia opinión, reparará o cambiará la unidad defectuosa que se encuentra dentro de esta
garantía. Por favor, guarde los recibos de venta con la fecha de compra como evidencia de la
fecha de compra. Va a necesitar este comprobante para cualquier servicio de garantía. No se
aceptarán reparaciones o devoluciones sin un número RMA apropiado (return merchandise
autorization). En orden de tener esta garantía válida, el producto deberá de haber sido
manejado y utilizado como se describe en las instrucciones que acompañan esta garantía.
Cualquier atentado hacia el producto o cualquier intento de repararlo por usted mismo,
cancelará completamente esta garantía. Esta garantía no cubre daños ocasionados por
accidentes, mal uso, abuso o negligencia. Esta garantía es válida solamente si el producto fue
comprado nuevo de un representante/distribuidor autorizado de Phonic. Para la información
completa acerca de la política de garantía, por favor visite http://www.phonic.com/warranty/.
SERVICIO AL CLIENTE Y SOPORTE TÉCNICO
Le invitamos a que visite nuestro sistema de ayuda en línea en www.phonic.com/support/. Ahí
podrá encontrar respuestas a las preguntas más frecuentes, consejos técnicos, descarga de
drivers, instrucciones de devolución de equipos y más información de mucho interés. Nosotros
haremos todo el esfuerzo para contestar sus preguntas lo antes posible.
FCC Caution: To assure continued compliance, any changes or modifications not expressly
approved by the party responsible for compliance could void the user's authority to operate this
equipment. (Example - use only shielded interface cables when connecting to computer or
peripheral devices).
THIS DEVICE COMPLIES WITH PART 74 OF THE FCC RULES. This equipment complies with
FCC RF radiation exposure limits set forth for an uncontrolled environment.
support@phonic.com
http://www.phonic.com
4
JUBI 12A LITE / JUBI 15A LITE
Page 15

DIMENSIONS DIMENSIONES
Jubi 12A Lite
559 / 22
Appendix Apéndice
370 / 14.6
277 / 10.9
Jubi 15A Lite
450 / 17.7
679 / 26.7
345 / 13.6
Measurements are shown in mm/inches
Todas las medidas están mostradas en mm/pulgadas.
1JUBI 12A LITE / JUBI 15A LITE
Page 16

 Loading...