

Phoenix TS-332 Owner's Manual
PO Box 8680 • Madison, WI 53708
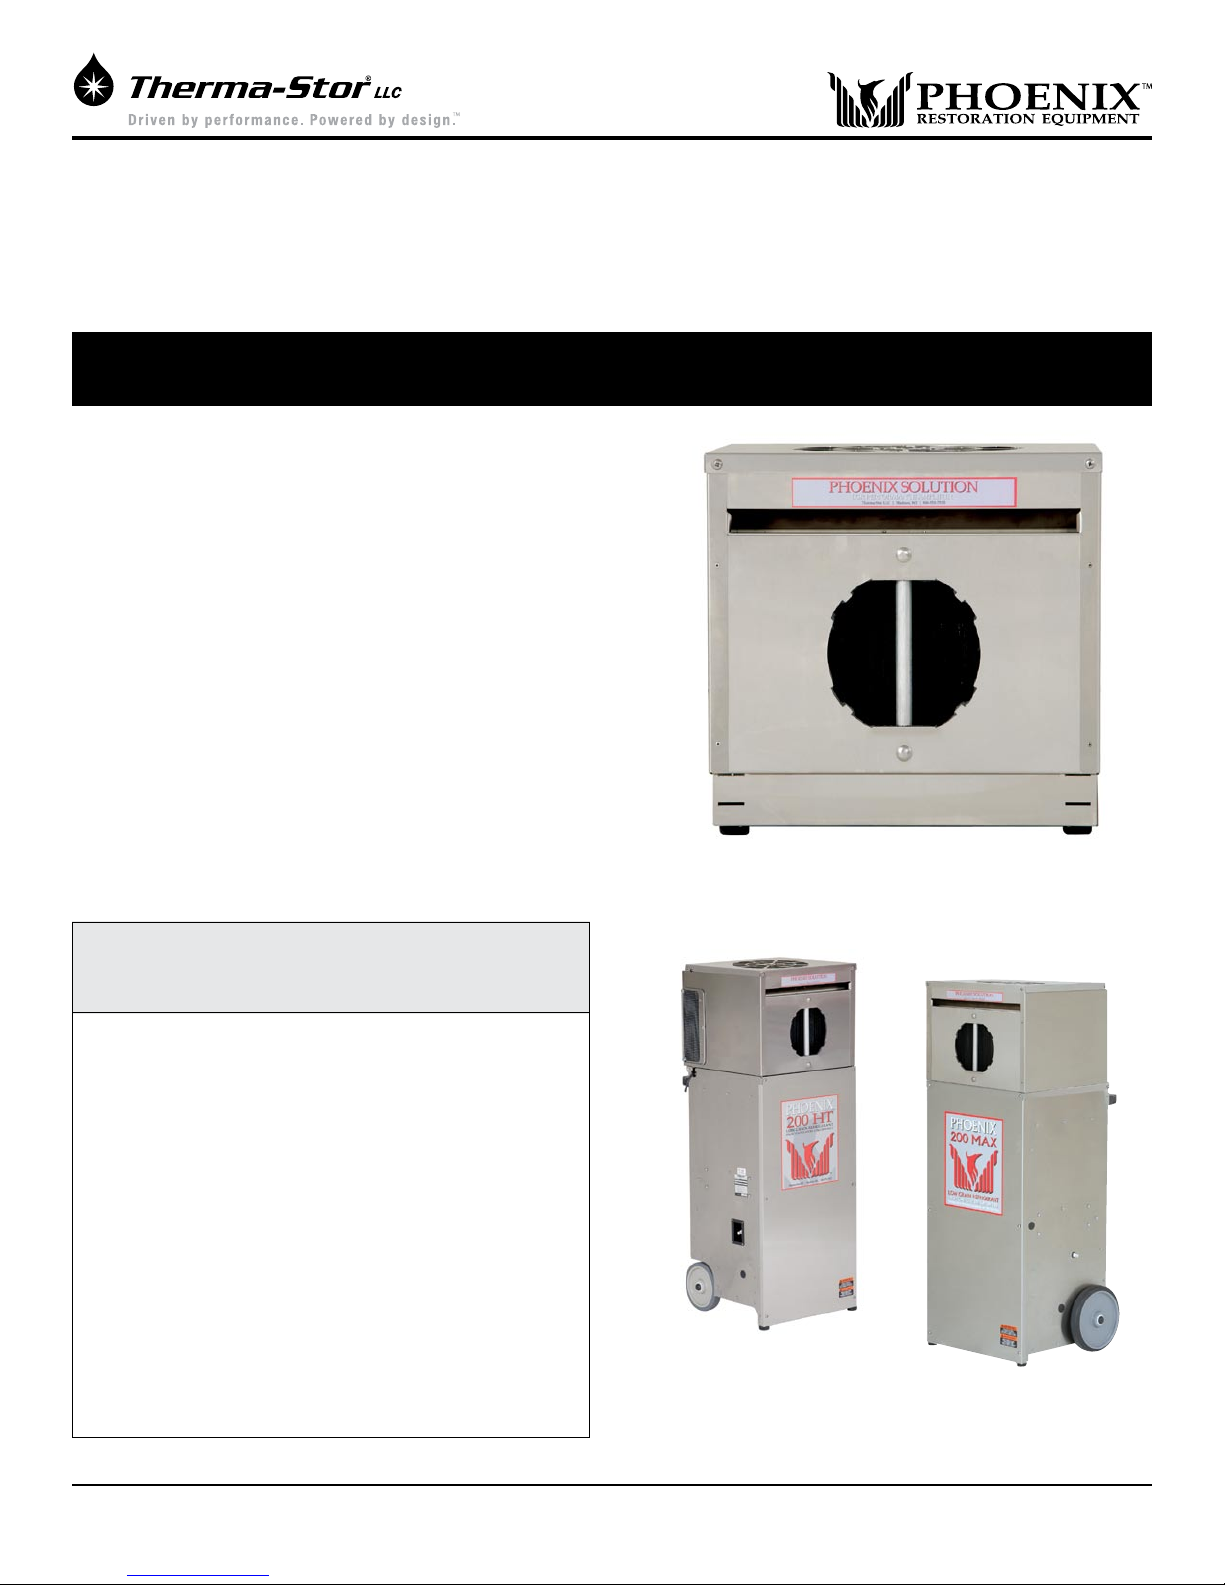
Owner’s Manual — Phoenix Solution LGR
Performance Amplifier
Installation, Operation & Service Instructions
Read and Save These Instructions
The new Phoenix Solution LGR Performance Amplifier widens
the effective operating range of LGR dehumidifiers, increases
grain depression, and improves water removal rates up to 100
percent.
The Solution is a specially designed intercooler that pre-cools
the incoming air stream to the LGR dehumidifier. This precooling is the same process that provides LGR dehumidifiers
with their leap in performance over conventional dehumidifiers.
The Solution is designed to take advantage of outside,
unaffected or air conditioned air to provide significant water
removal in drying conditions up to 140°F. Therma-Stor testing
has revealed an increase in water removal rates and faster
drying times using the Solution by utilizing cold outside air.
The Solution improves the grain depression of the dehumidified
air. This increases the vapor pressure differential (the key to
evaporation) up to 33% and accelerates the drying process.
This improves drying times in all classes of water damage but is
particularly beneficial in specialty drying applications, such as
hardwood floors.
Phoenix Solution
PN 4026600
The Phoenix Solution
LGR Performance Amplifier
• Widens the temperature range for LGR performance
up to 140°F.
• Increases water removal rates up to 100%.
• Increases grain depression up to 33% for faster
drying of more materials.
• Removes BTUs from the affected areas.
• Achieves optimal drying conditions in structures
with insufficient or without air conditioning.
• Drives the grains/lb. in the drying area from the mid
30’s to the low 20’s.
• Enhances the performance of heat based systems
when outside grains/lb. or indoor temperatures are
high by allowing dehumidification.
Specifications subject to change without notice.
TS-332
Revised 7/07
1
www.usephoenix.com • sales@thermastor.comToll-Free 1-800-533-7533

Table of Contents
Introduction ...............................................................1
1. Intended Application ..............................................2
2. Specifications ........................................................2
3. Set Up ..................................................................2
3.1 Transporting ...................................................2
3.2 Installation .....................................................2
3.3 Ducting ..........................................................3
3.4 Condensate Removal ......................................3
3.5 Electrical Requirements ...................................4
3.6 Control Switch ................................................4
4. Maintenance .........................................................4
5. Service .................................................................4
5.1 Technical Description ......................................4
5.2 Troubleshooting ..............................................4
5.3 Blower Replacement .......................................4
5.4 Thermostat & Switch Replacement ...................4
6. Options & Accessories ...........................................4
7. Wiring Diagram .....................................................5
8. Installation Diagram ..............................................6
9. Service Parts .................................................................... 7
10. Warranty ...............................................................9
1 Intended Application
The Solution is a specially designed intercooling head that
provides pre-cooling to the dehumidifier’s incoming air
stream. Just like the pre-cooling feature is the key to the
performance leap of LGR dehumidifiers, the Solution can
actually double the water removal rate of your LGR in some
conditions.
The enhanced efficiency achieved with the Solution
practically matches the 1.6 amps required to operate the
unit, resulting in a minimal overall power increase.
2 Specifications
Model: Phoenix Solution (P/N 4026600)
Electrical: 110-120 Vac, 1.6 Amps, grounded
Operating CFM & Temperature Range:
Primary air stream 300 CFM & 33°F min., 125°F max.
Secondary air stream 230 CFM & 15°F min., 125°F max.
Duct Connections: 4” x 10” rectangular exhaust
8” round intake
Size: 19” high x 19-1/2” wide x 19-1/2” deep
Weight: 40 lbs
Read the operation and maintenance instructions
carefully before using this unit. Proper adherence to
these instructions is essential to obtain maximum
benefit from your Phoenix Solution performance
amplifier.
• It is designed to be used INDOORS ONLY.
• If used in a wet area, plug it into a GROUND FAULT
INTERRUPTER.
• DO NOT use the Phoenix Solution as a bench or table.
• It must always be used in the upright position.
• The included bracket with engaging tabs must be
installed correctly on the dehumidifier that the
Phoenix Solution is attached to.
• The Phoenix Solution must be removed from the
dehumidifier for transport to and from the job site.
• Automatically operated device.
• Risk of electric shock.
• Can cause injury or death: disconnect all remote
electric power supplies before servicing.
3 Operation
3.1 Transporting
The Phoenix Solution is designed to be carried by the
recessed handles built into the front and rear of the unit.
Multiple Solutions may be stacked for transport on a
suitable cart. Transporting the Phoenix Solution as it is
attached to a dehumidifier is NOT RECOMMENDED.
3.2 Installation
The top of the Phoenix Solution is designed to accept the
filter and top cover from the Phoenix 200 MAX or Phoenix
200 HT that it is mounted on. The Phoenix Solution is
designed to engage the spring clips found on the Phoenix
200 MAX and 200 HT dehumidifiers. An additional bracket
with engaging tabs (1 included) must be installed on the
dehumidifier to secure the front of the Phoenix Solution
chassis.
2
www.usephoenix.com • sales@thermastor.comToll-Free 1-800-533-7533
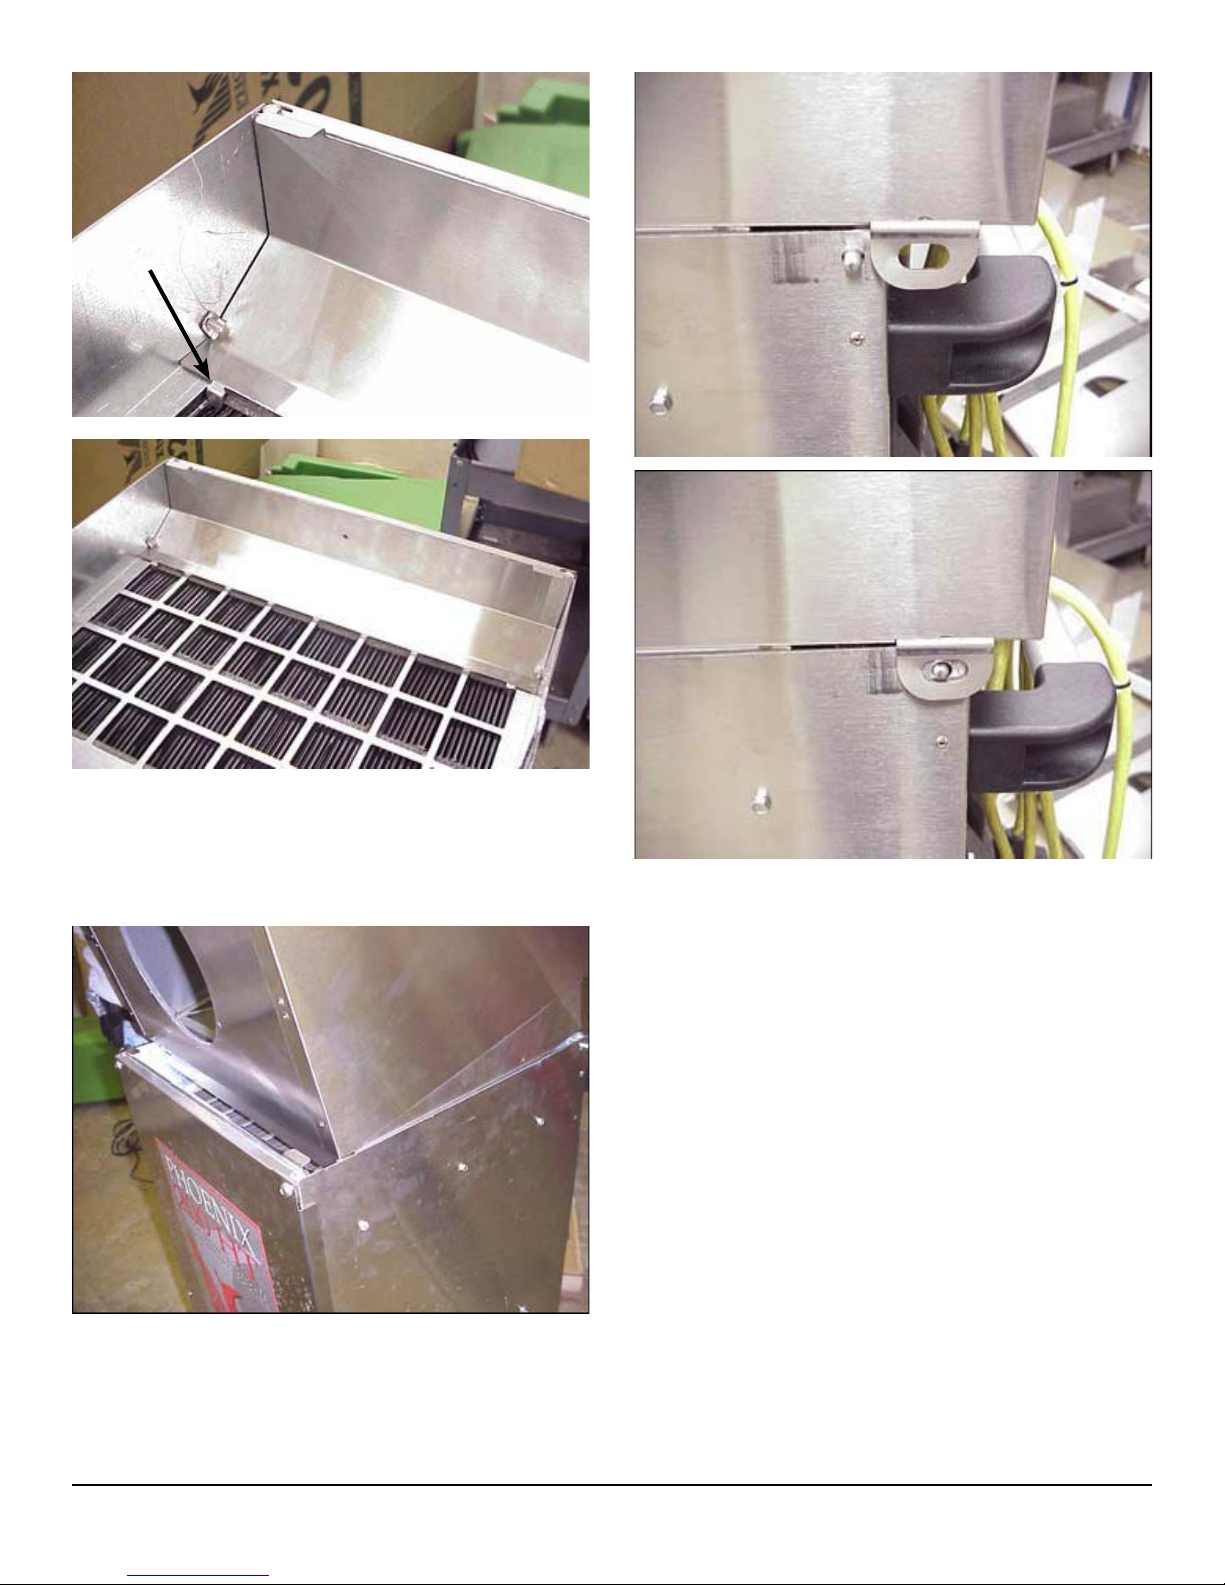
Figure 1: Bracket installed in Phoenix HT using existing fasteners.
Note tabs bent down between plastic heat exchanger panels. 200
MAX installation is similar
Figure 2: The front of the Solution has four slots to engage the
tabs on the dehumidifier bracket. The top two slots are for use
when installing on a Phoenix 200 HT and the bottom two are for
use on a Phoenix 200 MAX.
Figure 3: Solution slides forwards and engages clips on side of
dehumidifier.
3.3 Ducting
A detachable rectangular duct ring is supplied to allow 10”
round lay-flat duct to be attached to the Phoenix Solution
outlet. Lay-flat plastic ducting is available. See accessories
table section 6. To attach ducting to a ring, put the plastic
duct end through the ring center and roll the duct end
outward so that it overlaps the outside of the ring. The
duct and ring may then be quickly attached to the Phoenix
Solution by snapping the ring over the three screws at the
blower outlet.
3.4 Condensate Removal
In applications where the temperature of the secondary
air stream is significantly below the dew point of the
primary air stream, condensation may occur inside the
Solution’s heat exchanger. A drip pan underneath the heat
exchanger, along with the mounting bracket secured in
the dehumidifier, direct condensate into the dehumidifier’s
drain pan for removal.
3
www.usephoenix.com • sales@thermastor.comToll-Free 1-800-533-7533
 Loading...