

Page 1
User manual
Manuel d'utilisation
Manual del usuario
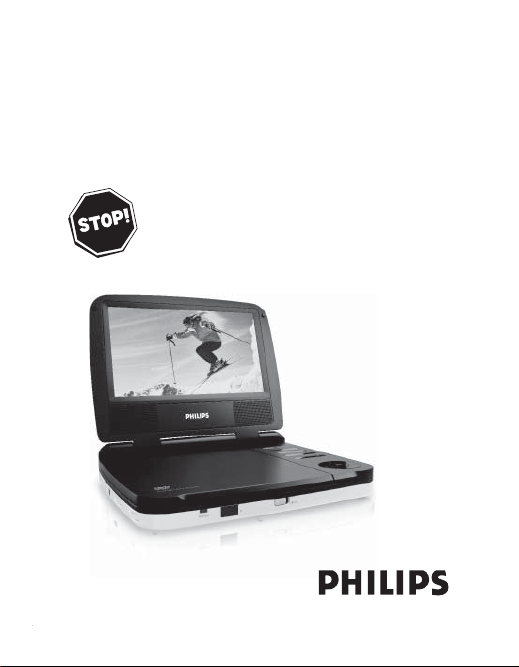
Portable DVD player
PET702
Need help? Call us!
Philips representatives are ready to help you
with any questions about your new product.
CALL US BEFORE YOU CONSIDER
RETURNING THE PRODUCT!
1-888-PHILIPS(744-5477)
or visit us on the web at www.philips.com/welcome
Page 2
1
1
2
3
4
5
6
78 9
13 14 15
10 11 12
Page 3

2
1234
5
6
7
8
9
10
14
11
12
13
Page 4

English
FUNCTIONAL OVERVIEW
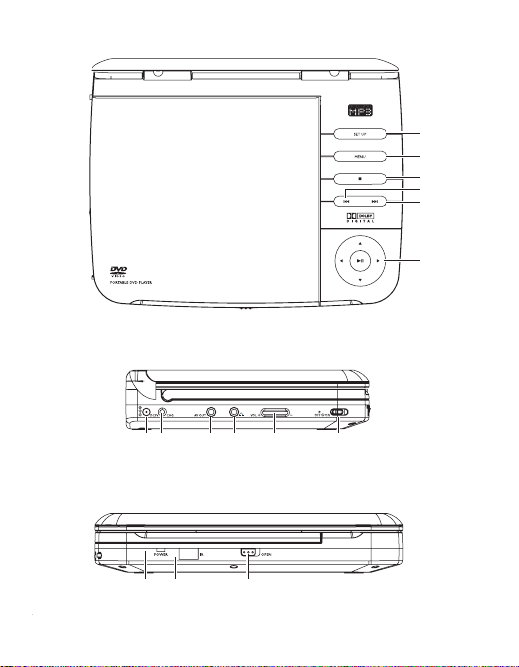
Main unit controls ( see figure 1)
1 SETUP ....................Switch the aspect ratio between 16:9 or 4:3.
2 MENU.....................Display the MENU page.
3 9 .............................Stop playback
4 J( ...........................Skip to the previous chapter, track or title
5 )K ...........................Skip to the next chapter, track or title
6 3, 4, 1, 2 ...........Navigate in a menu.
...........(1 / 2) search backward/forward in a disc at different
speeds.
2
;
........................Start or interrupt playback.
........................Confirm a selection.
Left of player ( see figure 1)
7 DC 9V .....................Power supply socket.
8 CHG ........................Charge indicator.
9 AV OUT ..................Audio/Video output jack.
0
p.............................Headphone jack
! VOL F ................Volume control.
@ OFF y ON...............Switch the power on/off.
Front of player ( see figure 1)
# POWER ..................Power indicator
$ IR.............................Remote sensor
% OPEN .....................Open the disc door to insert or remove disc
Page 5

FUNCTIONAL OVERVIEW
Remote controls ( see figure 2)
1 SETUP ....................Enter or exit the system menu.
2 DISPLAY ................Display information on TFT during playback.
3 ZOOM.....................Enlarge or reduce a picture or active image on the TFT.
4 SUB ........................Select a subtitle language.
5 J( ...........................Skip to the previous chapter, track or title.
6 §............................Skip to the next chapter, track or title.
7 3, 4, 11, 22 ....Navigate in a menu.
....(11 / 22) search backward/forward in a disc at different
speeds.
ENTER ....................Confirm a selection.
8 2
;
...........................Start or interrupt playback.
9 9 .............................Stop playback
0 0-9...........................Numeric Keypad
! REPEAT 1/ALL.......Repeat a chapter/track/title.
A-B... ......................Repeat playback of a specific section on a disc.
@ MENU.....................Enter or exit the disc contents menu.
# AUDIO ....................Select an audio language when playing a DVD disc or
select an audio mode (Stereo, Mono-Left or Mono-Right)
when playing a VCD/CD disc.
$ ANGLE....................Select DVD camera angle
CAUTION
Use of controls or adjustments or performance of procedures
other than herein may result in hazardous radiation exposure
or other unsafe operation.
Page 6

INTRODUCTION
Your portable DVD player
Your portable DVD player plays digital video discs conforming to the universal
DVD Video standard. With it, you will be able to enjoy full-length movies with
true cinema picture quality, and stereo or multichannel sound (depending on the
disc and on your playback set-up).
The unique features of DVD-Video, such as selection of soundtrack and subtitle
languages, and of different camera angles (again depending on the disc), are all
included.
What’s more, parental lock lets you decide which discs your children will be able
to see. You will find your player remarkably easy to use with the On-Screen
Display and player display in combination with the remote control.
Unpacking
First check and identify the contents of your package, as listed below:
• Portable DVD player • Remote Control
• Car adaptor (12V) • Audio / Video cable
• User Manual • Warranty
• AC power adaptor, DSA-9W-09 F (DVE) or AY4132(PHILIPS)
Placement
• Place the player on a firm, flat surface.
• Keep away from domestic heating equipment and direct sunlight.
• If the player cannot read CDs/DVDs correctly, try using a commonly available
cleaning CD/DVD to clean the lens before taking the player to be repaired.
Other cleaning methods may destroy the lens.
• Always keep the disc door closed to avoid dust on the lens.
• The lens may cloud over when the player is suddenly moved from cold to warm
surroundings. It is then not possible to play a CD/DVD. Leave the player in a warm
environment until the moisture evaporates.
Page 7

INTRODUCTION
About Built-in Rechargeable Battery
Precautions related to battery recharge
1 Once the battery is fully discharged, immediately recharge it (regardless of
whether you plan to use the battery or not) in order to maximize the battery
life.
2 To charge the battery, please directly connect this DVD player to AC mains
and the charge indicator will turn on.
Using and maintaining your rechargeable batteries
1 Please make sure you always use only the AC adapter included with the
player to recharge your batteries.
2 Recharge efficiency will degrade when the environmental temperature drops
below 50
o
F (10oC) or exceed 95oF (35oC).
3 The lasting time of the fully charged battery when a headphone is connected
to the DVD player is approximately 2 hours.
Playable disc formats
In addition to DVD-Video disc, you will also be able to play all Video CDs and
audio CDs (including CD
±
R, CD±RW,DVD±R and DVD±RW).
DVD-Video
Depending on the material on the disc (a movie, video clips, a
drama series, etc.) these discs may have one or more Titles,
and each Title may have one or more Chapters. To make access
easy and convenient, your player lets you move between
Titles, and also between Chapters.
CD with JPEG files
You can also view JPEG still photos on this player.
Page 8

INTRODUCTION
Video CD
Depending on the material on the disc (a movie, video clips, a drama
series, etc.) these discs may have one or more Tracks, and tracks
may have one or more indexes, as indicated on the disc case.To make access easy
and convenient, your player lets you move between tracks and between indexes.
Audio CD / MP3 CD
Audio CDs / MP3-CD contain music tracks only. You can play
them in the conventional way through a stereo system using the
keys on the remote control and/or main unit, or via the TV using
the On Screen Display (OSD).
Page 9

GENERAL INFORMATION
Power Sources
This unit operates on a supplied AC adapter and car adapter.
• Make sure that the input voltage of the AC adaptor is in line with the local
voltage. Otherwise, the AC adaptor and unit may be damaged.
• Do not touch the AC adaptor with wet hands to prevent electric shock.
• When connecting with car power (cigarette lighter) adaptor, be sure the
input voltage of the adaptor is identical with car voltage.
• Unplug the AC adaptor from the outlet when the unit is not used for long
periods of time.
• Hold the plug to disconnect the AC adaptor. Do not pull the power cord.
Safety and maintenance
• Do not disassemble the unit for laser rays are dangerous to eyes.
Any service should be done by qualified service personnel.
• Unplug the AC adaptor to cut the power if liquid or objects get inside the unit.
• Take care not to drop the unit or subject it to strong shocks, which may
cause malfunction.
• Hearing safety: listen at a moderate volume. Using headphones at high
volume can impair your hearing.
• Important (for models with by-packed headphones): Philips guarantees
compliance with the maximum sound power of its audio players as
determined by relevant regulatory bodies only with the original model of
provided headphones. In case this one needs replacement, we recommend that
you contact your retailer to order a model identical to that of the original
provided by Philips.
• Traffic safety: do not use while driving or cycling as you may cause an accident
• Do not expose to excessive heat caused by heating equipment or
direct sunlight.
• This product is not waterproof: do not allow your player to be submersed
in water. Water entering the player may cause major damage.
• Do not use any cleaning agents containing alcohol, ammonia, benzene,
or abrasives as these may harm the player.
• Apparatus shall not be exposed to dripping or splashing. Do not place any
sources of danger on the appartus (e.g. liquid filled objects,lighted candles)
• Do not touch the lens!
Note: When the player is in use for a long period of time, the surface will be
heated. This is normal
.
Page 10

GENERAL INFORMATION
Hearing Safety
Listen at a moderate volume:
• Using headphones at a high volume can impair your hearing. This
product can produce sounds in decibel ranges that may cause hearing
loss for a normal person, even for exposure less than a minute. The
higher decibel ranges are offered for those that may have already experienced
some hearing loss.
• Sound can be deceiving. Over time your hearing "comfort level" adapts to
higher volumes of sound. So after prolonged listening, what sounds "normal"
can actually be loud and harmful to your hearing. To guard against this, set your
volume to a safe level before your hearing adapts and leave it there.
To establish a safe volume level:
• Set your volume control at a low setting.
• Slowly increase the sound until you can hear it comfortably and clearly, without
distortion.
Listen for reasonable periods of time:
• Prolonged exposure to sound, even at normally "safe" levels, can also cause
hearing loss.
• Be sure to use your equipment reasonably and take appropriate breaks.
Be sure to observe the following guidelines when using your
headphones:
• Listen at reasonable volumes for reasonable periods of time.
• Be careful not to adjust the volume as your hearing adapts.
• Do not turn up the volume so high that you can't hear what's around you.
• You should use caution or temporarily discontinue use in potentially hazardous
situations.
• Do not use headphones while operating a motorized vehicle, cycling,
skateboarding, etc.; it may create a traffic hazard and is illegal in many areas.
Page 11
GENERAL INFORMATION
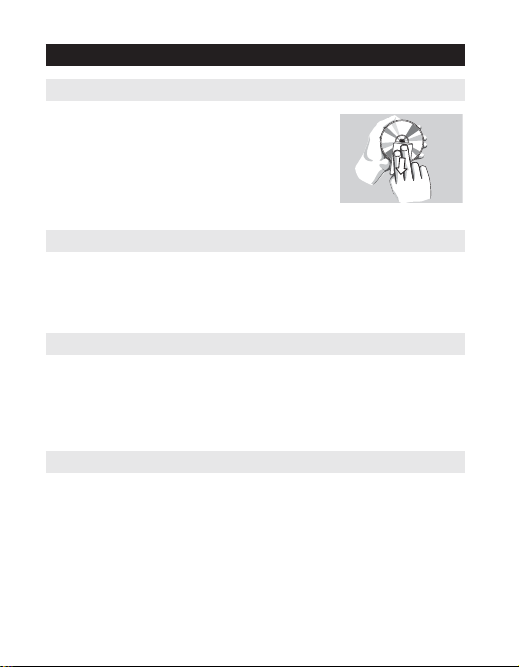
Handling discs
• Do not attach paper or tape to the disc.
• Keep the disc away from direct sunlight or heat
sources.
• Store the disc in a disc case after playback.
• To clean, wipe the disc outwards from the center
with a soft, lint-free clean cloth.
On handling the LCD screen
The LCD is manufactured using high precision technology. You may, however, see
tiny black points and/or bright points(red,blue,green) that continuously appear on
the LCD. This is a normal result of the manufacturing process and does not
indicate a malfunction.
Environmental information
We have reduced the packaging to its minimum and made it easy to separate into
mono materials: cardboard, PS, PE and PET.
Your set consists of material which can be recycled if disassembled by a
specialized company. Please observe the local regulations to dispose of
packaging, exhausted batteries and old equipment.
Copyright information
All other brand and product names are trademarks of their respective companies
or organizations.
Unauthorized duplication of any recordings downloaded from the internet or made
from CDs / VCDs / DVDs is a violation of copyright laws and international
treaties.
Page 12
PREPARATIONS
Power supply
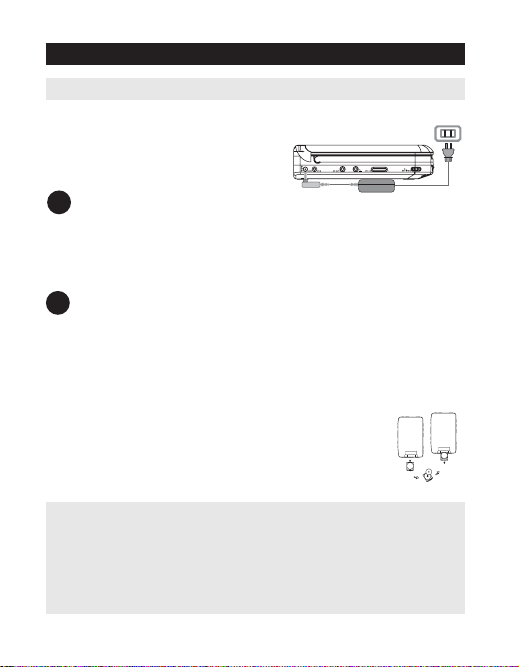
Using the AC / DC adaptor
Turn off the player before connecting the
supplied adapter to it and the main power
supply (as shown). The player must be
turned off when the battery charges.
TIP
To avoid damage to the player, switch off before plugging or unplugging the
AC adaptor.
Using the car adapter
Connect the supplied car adapter to the set and the car cigarette lighter outlet.
TIP
• To avoid damage to the player, switch off before plugging or unplugging
the car adaptor.
• When connecting with car power (cigarette lighter) adaptor, be sure the
input voltage of the adaptor is identical with car voltage.
• Make sure the temperature is below 35oC when the DVD player is
connected to DC 16.0V in a car.
Powering your remote control
1 Open the battery compartment. Remove the protective
plastic tab (first time users only).
2 Insert 1 x lithium 3V battery, type CR2025, then close
the compartment.
✔
✔
CAUTION
-
Batteries contain chemical substances, so they should be disposed of
properly.
-
Danger of explosion if battery is incorrectly replaced. Replace only with
the same or equivalent type.
-
Incorrect use of batteries can cause electrolyte leakage
and will corrode the compartment or cause the batteries to burst.
Page 13
PREPARATIONS
Remove the battery if the remote control is not to be used for a long time.
Connections
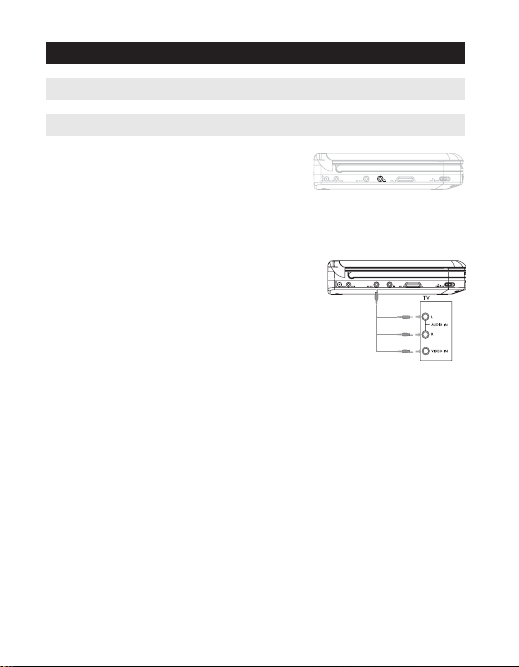
Connecting headphones
Connect the headphones into the p jack of
your set.
Connecting additional equipment
• Turn off your set before connecting to any
additional equipment.
• You can connect the player to a TV or an amplifier
to enjoy DVDs or karaoke.
AV OUT
Connect the desired device to this terminal directly (no
setting needed in the DVD mode).
White
Red
Yellow
Page 14
GENERAL EXPLANATION
About this manual
This manual gives the basic instructions for operating this DVD player.
Some DVD discs however are produced in a way that requires specific
operation or allows only limited operation during playback. In these cases
the player may not respond to all operating commands. When this occurs,
please refer to the instructions in the disc inlay. When a “ ” appears on
the screen, the operation is not permitted by the player or the disc.
Remote control operation
• Unless otherwise stated, all operations can be carried out with the remote
control. Always point the remote control directly at the player, making
sure there are no obstructions in the path of the infrared beam.
• When there are corresponding keys on the main unit, they can also be used.
Menu navigation
• Your player has an intuitive menu navigation system to guide you through
various settings and operations.
• Use the function keys to activate / disable relevant operations.
• Use 3, 4, 1, 2 to browse through menus.
• Press ENTER key to confirm your selection.
Page 15
BASIC FUNCTIONS
Switching on for OSD language setup
English is the default language of your player’s on screen display. You may choose to
use English, French, Spanish, German, Portuguese for your player’s on screen display.
Country OSD Language Options
America English, French, Spanish
1 Slide the POWER switch to ON to switch on the
player.
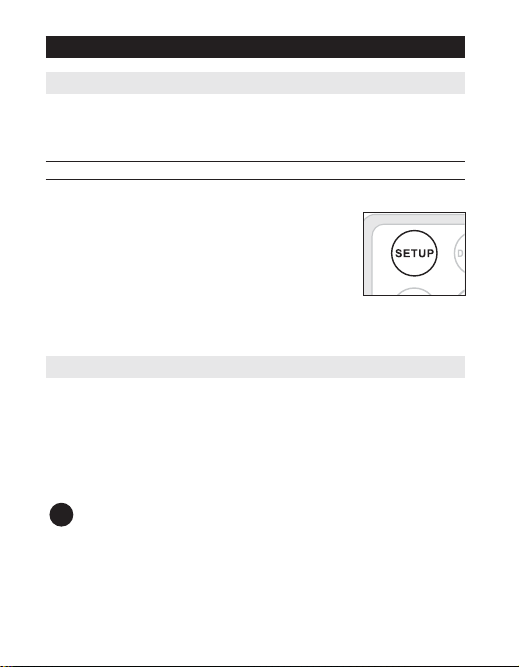
2 Press SETUP for the setup menu.
3 Select General Setup Page and press ENTER.
4 Scroll and select OSD Language and press 2 to
select from OSD language options.
5 Select your preferred language and press ENTER.
Loading discs and switching on
1 Slide OPEN to open the disc door.
2 Insert your chosen disc, label side up (also when a double sided
DVD disc is inserted). Make sure it is sitting properly in the correct recess.
3 Gently push to close the door.
4 Slide the POWER switch to ON to switch on the player.
TIP
A normal mechanical noise is heard during playback.
✔
Page 16

BASIC FUNCTIONS
Playing a DVD disc
After switching on, inserting the disc and closing the door, playback starts
automatically. The screen shows the type of disc loaded. The disc may invite you
to select an item from a menu. Use the 3, 4, ((, )) keys to highlight your
selection,and press ENTER.
Note: Since it is usual for DVD movies to be released at different times in
different regions of the world, all players have region codes and discs can have
an optional region code. If you load a disc of a different region code to your
player, you will see the region code notice on the screen. The disc will not play,
and should be unloaded.
Playing an audio or video CD disc
• After switching on, inserting the disc and closing the door, playback starts
automatically. The screen shows the type of disc loaded as well as information
about the disc’s contents.
• While playing VCD with MTV/Karaoke, press number keys(0-9) to select the
track and press 2
;
or ENTER to play the track. Press MENU to go back to
menu of the selection.
Page 17

BASIC FUNCTIONS
Playing a MP3 CD
The following playback features are available for MP3 CDs.
Please refer to the corresponding sections for more information.
Volume control, skipping tracks, searching, repeat, shuffle, etc.
Use the 3, 4 keys to highlight your selected music folder.
Press ENTER to play.
Playing a JPEG discs
Use the 3, 4, ((, )) keys to highlight your selected picture folder.
Press ENTER. The player will then automatically enter the slide show mode.
During playback, you can:
• Use the 3, 4, ((, )) to rotate the picture.
• Use the 3 to filp up/down.
• Use the 4 to flip left/right.
• Press MENU to go back to folder screen.
• Press 9 to go to group preview.
• Use the 3, 4, ((, )) to highlight the preview picture and access the
on-screen functions.
• Press ZOOM repeatedly to display the picture with different scales.
• Use the 3, 4, ((, )) to view the zoomed picture (for picture zoomed in only).
Note: Unless stated otherwise, all operations described are based on remote
control operation.
Page 18
GENERAL FEATURESS
Moving to another title / track / chapter
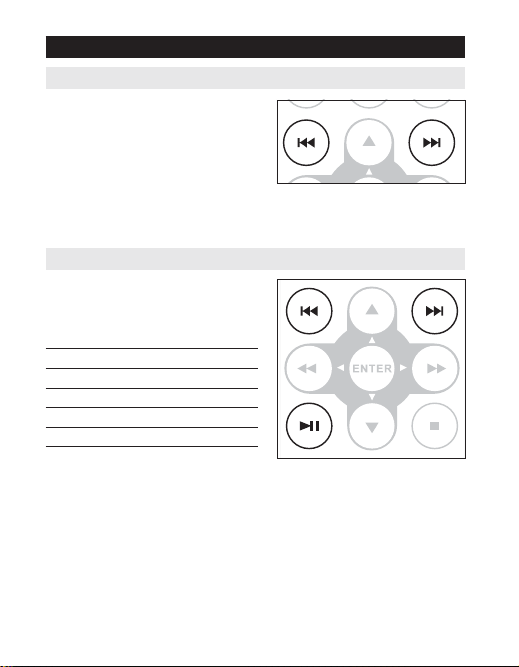
When a disc has more than one title or
track, you can move to another
title/track/chapter as follows:
• Press )) briefly during play to select
the next title/ track / chapter.
• Press (( briefly during play to step
back to the previous
title/track/chapter.
• To go directly to any title, track or chapter, enter the corresponding number
using the numerical keys (0-9).
Search
During playback, press )) repeatedly for
the following forward search options:
Press (( repeatedly for the following
backward search options:
(( ))
2 X backwards 2 X forward
4 X backwards 4 X forward
8 X backwards 8 X forward
16 X backwards 16 X forward
32 X backwards 32 X forward
normal speed normal speed
Press ENTER or 2
;
to resume normal playback.
Page 19
GENERAL FEATURES
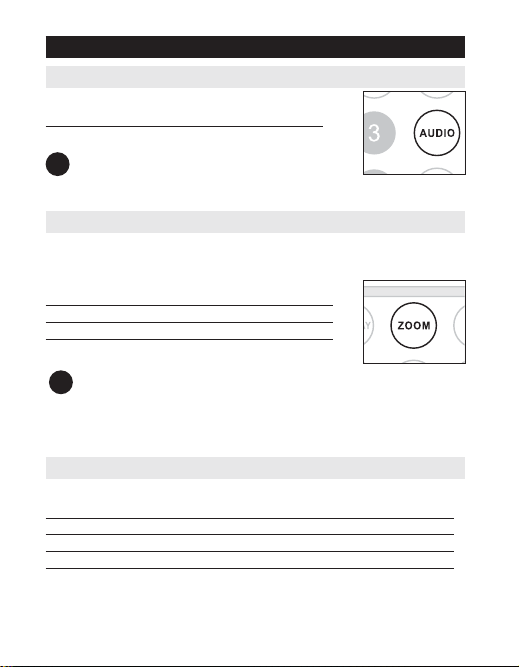
Changing the audio output (for VCD/CD)
Press AUDIO repeatedly for the following audio options.
x 1 Mono left x 2 Mono right
x 3 Stereo
TIP
This key is used to select audio languages during DVD playback.
ZOOM
The Zoom function allows you to enlarge the video image and to pan
through the enlarged image. Press ZOOM repeatedly to select the following
zooming options.
Zoom x 1 2X Zoom x 2 3X
Zoom x 3 4X Zoom x 4 1/2
Zoom x 5 1/3 Zoom x 6 1/4
Zoom x 7 normal
TIP
During JPEG operation, the sequence is 100%, 125%, 150%, 200%, 50%,
75% and normal.
REPEAT
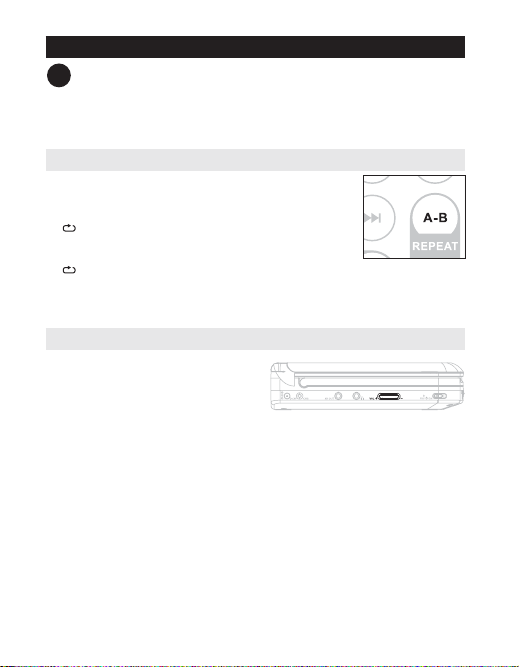
Press REPEAT 1/ALL repeatedly for the following repeat options:
DVD actions MP3 actions CD actions JPEG actions
x 1 repeats chapter repeats one repeats track repeats one
x 2 repeats title repeats folder repeats all repeats all
x 3 repeats all cancels repeat cancels repeat cancels repeat
x 4 cancels repeat
✔
✔
Page 20
GENERAL FEATURES
TIP
The repeat function is also available for JPEG. The actions may vary for
different media being played.
Repeat A - B
To repeat or loop a sequence in a title:
• Press A
- B at your chosen starting point;
A appears on the screen.
• Press A
- B again at your chosen end point;
AB appears on the display, and the repeat sequence begins.
• To exit the sequence, press A
- B.
Volume Control
• Use the rotatary switch on the left side
of the unit to increase or decrease
playback volume.
✔
Page 21
GENERAL FEATURES
DISPLAY
Press DISPLAY on the remote repeatedly for the following display options:
DVD CD/VCD
x 1 Title elapsed Single elapsed
x 2 Title remained Single remained
x 3 Chapter elapsed Total elapsed
x 4 Chapter remained Total remained
X5 Display off Display off
TIP
During JPEG operation, pressing this button enables you to select 17
slideshow modes.
✔
Page 22
SPECIAL DVD FEATURES
Checking the contents of DVD-Video discs: MENU.
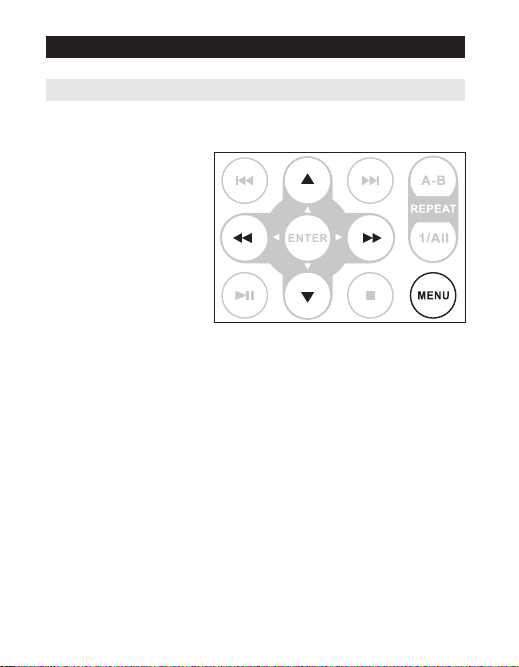
For titles and chapters, selection menus may be included on the disc.
The DVD’s menu feature allows you to make selections from these menus. Press
the appropriate numerical key; or use the 3, 4, ((, )) keys to highlight your
selection, and press ENTER.
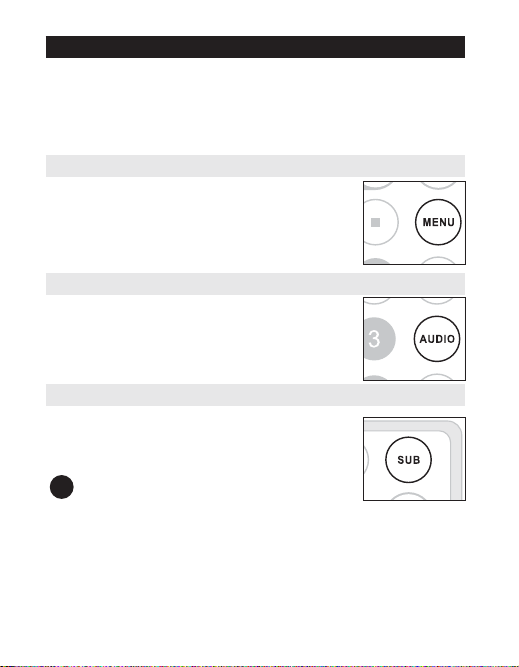
Disc menu
Press MENU. The menu may list, for example, camera
angles, spoken language and subtitle options, and chapters
for the title.
Changing the language
Press AUDIO. If the current disc has different langauge
options, this now appears on the screen.
Press AUDIO repeatedly until you have reached
your desired language option.
Subtitle
Press SUB. If the current disc has different subtitles options,
this now appears on the screen.
Press SUB repeatedly until you have reached
your desired subtitles option.
TIP
The above two features depend on whether your disc contains any language
or subtitle options.
✔
Page 23
SPECIAL DVD FEATURES
Playing a title
1 Press DISC MENU to enter the disc title menu.
2 Use ((, )) 3 4 or numeric keys (0-9) to select a play option.
3 Press ENTER to confirm.
Page 24
SETUP OPERATIONS
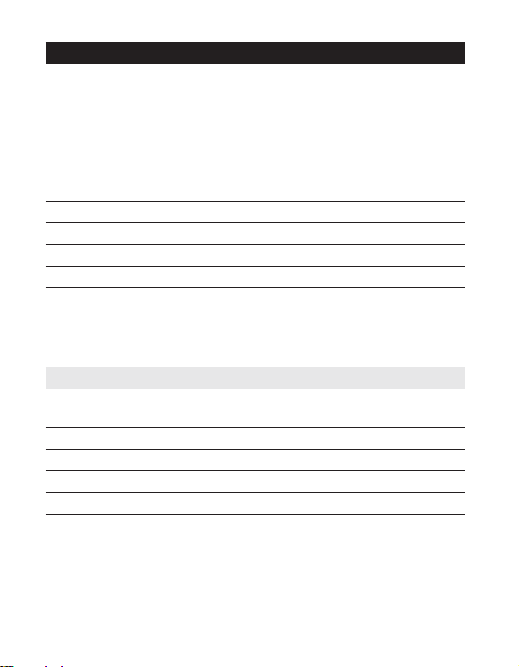
To maximize your playback experience, use SETUP to fine tune your settings.
Use the 3, 4, ((, )) keys to highlight your selection, and press ENTER.
1 Press SETUP. A list of features is shown.
2 Use the 3 4 keys to highlight your selection.
When the cursor highlights these settings, press ENTER to:
General Setup Page select display and other options
Video Setup Page select video options
Password Setup Page select password options
Preference Page select playback preferences
Exit exit the system menu
3 Press (( to abort current settings or go back to previous menu level.
4 Press SETUP to exit.
General Setup Page
When the cursor highlights these settings, press ENTER to:
TV Display select display ratio
Angle Mark select angle mark display options
OSD Language select onscreen display language
Screen Saver select screen saver options
Last Memory select last playback memory options
Press (( to abort current settings or go back to previous menu level.
Note: Before using the 3,4 keys to select your desired angle mark, ensure the
disc has been recorded with angle mark and you have enabled the angle mark
option in the system menu.
Page 25
SETUP OPERATIONS
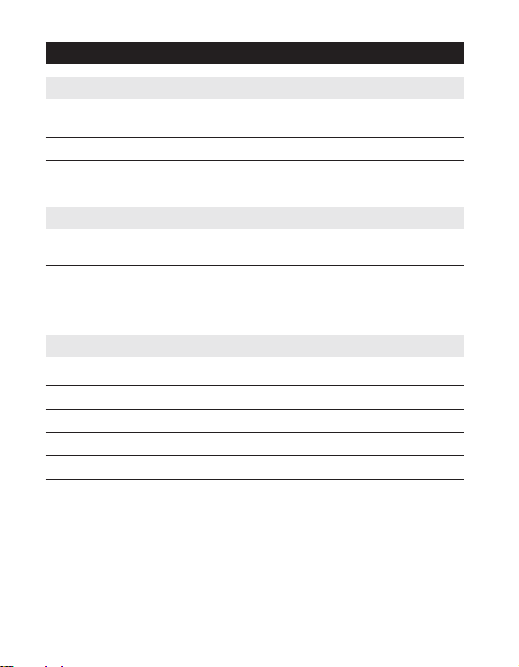
Video Setup Page
When the cursor highlights these settings, press ENTER to:
Brightness It allows you to adjust the brightness of the screen
Contrast It allows you to adjust the contrast of the screen
Press (( to abort current settings or go back to previous menu level
Password Setup Page
When the cursor highlights these settings, press ENTER to:
Password change existing password (3308 by default)
Press (( to abort current settings or go back to previous menu level
Note: Parental options are only selectable when password mode is deactivated.
Preference Page
When the cursor highlights these settings, press ENTER to:
Audio select audio language options
Subtitle select subtitle language options
Disc Menu select disc menu language options
Parental select parental options
Default restore factory settings
Press (( to abort current settings or go back to previous menu level.
Page 26

TROUBLESHOOTING
If it appears that the DVD-Video player is faulty, first consult this checklist.
It may be that something has been overlooked.
WARNING
Under no circumstances should you try to repair the set yourself as this
will invalidate the guarantee.
If a fault occurs, first check the points listed, before taking the set for
repair. If you are unable to solve a problem by following these hints,
consult your dealer or service centre.
Symptom Remedy
No power – Check if both plugs of the mains cord are
properly connected.
– Check if there is power at the AC outlet by
plugging in another appliance.
– Check if the built-in battery is drained.
– Check if car adaptor is connected appropriately.
Distorted picture – Check the disc for fingerprints and clean with
a soft cloth, wiping from centre to edge.
– Sometimes a small amount of picture
distortion may appear. This is not a
malfunction.
Completely distorted – The PAL setting may be in the wrong
picture / no colour in status. Match your TV’s setting with the
the TV screen player’s setting.
No sound – Check audio connections. If using a HiFi
amplifier, try another sound source.
Page 27

TROUBLESHOOTING
Symptom Remedy
Disc can’t be played – Ensure the disc label is upwards.
– Clean the disc.
– Check if the disc is defective by trying another
disc.
The player does not – Aim the remote control directly at the
respond to the remote sensor on the front of the player. Avoid all
control obstacles that may interfere with the signal
path. Inspect or replace the batteries.
Distorted or B/W – Use only discs formatted according to the
picture with DVD TV-set used (PAL).
Player does not respond – Operations are not permitted by the disc.
to all operating commands – Refer to the instructions in the disc inlay.
during playback
Player feels warm – When the player is in use for a long
period of time, the surface will be heated.
This is normal.
Display goes dimmer when – The unit is saving power to ensure longer
AC is unplugged playtime with battery. It is normal.
Adjust the brightness using the rotary
brightness control.
This set complies with the radio interference requirements of the
European Union.
Page 28

TECHNICAL DATA
Dimensions 210 x 178 x 39 mm
8.3 x 7.0 x 1.5 inches
Weight 0.79 kg / 0.36 pounds
Power supply DC 9V 1.0A
Power Consumption 9W
Operating temperature range 0 - 45°C
Laser wavelength 650nm
Video system NTSC
Frequency response 20Hz ~ 20KHz ± 1dB
Signal/noise ratio t 80dB
Audio distortion + noise d -80(1KHz)
Channel separation t 80dB
Dynamic range t 80dB
Output
Audio out (analog audio) Output level: 2V ± 10%
Load impedance: 10K:
Video out Output level: 1Vp - p ± 20%
Load impedance: 75:
Philips reserves the right to make design and specification changes
for product improvement without prior notice.
Modifications not authorized by the manufacturer may void users
authority to operate this device.
All rights reserved.
Page 29
Printed in China wk7201
Specifications are subject to change without notice.
Trademarks are the property of Koninklijke Philips Electronics N.V.
or their respective owners
2007 © Koninklijke Philips Electronics N.V. All rights reserved.
CLASS 1
LASER PRODUCT
Meet Philips at the Internet
http://www.philips.com/welcome
or call
1-888-philips (744-5477)
PHILIPS CONSUMER ELECTRONICS COMPA N Y
Marietta, GA 30006-0026
 Loading...