

Page 1
Page 2

Lightolier Controls
2828 Trade Center Drive, Suite 130B
Carrollton, TX 75007
+1-800-526-2731 (In the United States and Canada)
214-647-7880
Fax: 214-647-8032
www.lolcontrols.com
Lilghtolier Controls is a Philips Controls brand.
This manual is for informational use only and is subject to change without notice.
Lightolier Controls assumes no responsibility or liability for any claims resulting
from errors or inaccuracies that may appear in this manual.
Version as of: December 2005
Document: 85-6333A0
Lytemode 2-Button Remote Station User’s Guide
© Philips Controls. All Rights Reserved.
THREE YEAR LIMITED WARRANTY
The Philips Controls product, when properly installed and under normal conditions of use
(without overload, abuse or alteration), is warranted to you, the original user, for a period
of three years form the date of original retail purchase, to be free from defects in materials
and workmanship. If during the warranty period you believe the purchased product or any
part thereof has such a defect, you must return the product (or part) at your cost during
such period, with proof of purchase (or if installed by a third-party a written explanation
of installation transaction with proof of date), to Philips Controls, 2828 Trade Center Dr.
Ste. 130B, Carrollton, TX 75007, for repair or replacement (or to an authorized Philips
Controls supplier which agrees in advance to handle the return and replacement by
factory authorization). If the product or part is found by Philips Controls to have been
defective in material or workmanship it will be repaired or replaced (as deemed necessary
by Philips Controls), and the replacement will be returned to you free of charge. The
original user is solely responsible for any costs associated with removal and
re-installation of the product and shipping to Philips Controls or its authorized supplier.
PHILIPS CONTROLS LIMITS THE DURATION OF THE IMPLIED WARRANTY OF
MERCHANTABILITY WITH RESPECT TO THE PRODUCT TO THE LIMITED
WARRANTY PERIOD SET FORTH ABOVE, AND OTHERWISE DISCLAIMS ALL
IMPLIED WARRANTIES WITH RESPECT TO THE PRODUCT AND ITS PARTS.
Some states disallow certain limitations on implied warranties so you should consult your
state law if you have a questions regarding this limitation and disclaimer. Philips Controls
disclaims any and all liability for incidental, consequential, special or indirect damage
arising out of any claimed breach of warranty or otherwise. However, some states do not
allow exclusion or limitation of such damages, so this disclaimer may not apply to you.
The remedy provided in the Limited Warranty for defective products is the user’s sole and
exclusive remedy, subject to your state law. Further, this Warranty gives the user specific
legal rights, and the user may also have other rights which may vary from state to state.
If you believe warranty claim is warranted, you may contact your nearest authorized
Philips Controls supplier. If one does not exist in your area, please contact Philips
Controls Customer Service at the above address (or at 1-800-526-2731), or please visit us
at www.lolcontrols.com.
Page 3

2-Button Remote Station User’s Guide 1
Table of Contents
Customer Service .....................................................................2
Lytemode
System Overview ...............................................3
2-Button Remote Station
Overview ........................................4
Installation ...............................................................................5
Basic Settings ..........................................................................6
LED Intensity ...................................................................6
Lockout .............................................................................6
Programming ...........................................................................7
Remote ON/OFF ..............................................................7
Remote RAISE/LOWER ..................................................8
Remote ROOM COMBINE .............................................9
Remote LOCK/UNLOCK ..............................................10
Resetting Unit to Factory Defaults ........................................11
Installing Custom Buttons .....................................................12
Specifications ........................................................................13
Accessories ............................................................................13
Page 4
2 Customer Service
Customer Service
Technical and Sales assistance for Lytemode products are
available worldwide.
Ph
one: +1-800-526-2731 (In the United States and Canada)
+1-214-647-7880 (Worldwide)
Page 5

2-Button Remote Station User’s Guide 3
Lytemode System Overview
The Lytemode System is designed to control architectural
lig
hting by distributing both power and intelligence. The system
provides processing power and control at each respective Master or
Remote Station, eliminating the need for a central processor.
Lytemode Master Stations provide individual control for up to 16
channels, 13 scenes plus “Off”, and adjustable fade times. Multiple
Master Stations may be linked together for control of up to 128
Channels and 13 preset scenes. By combining Lytemode Master
Stations with Lytemode Remote Stations, the system provides
remote access to scenes, Master Raise/Lower control, Multi-room
partition control, or Master Station Lockout. Lytemode Master
Stations are easily programmed using the front panel buttons,
without removing the Master Station from the wall, and without the
need for a computer. Lytemode Master Stations are compatible with
both Lightolier
Controls Insulated Gate Bipolar Transistor
(IGBT) Di
mming Cabinets as well as Silicon Controlled Rectifier
(SCR) Dimming Panels.
Lytemode products are controlled by the Intelligent Lytemode
System (ILS) protocol. All Lytemode control devices must be
connected to the ILS system and given a unique ID (or address) in
order to interact properly. The ID identifies the device on the
network and allows the device to avoid network collisions when
transmitting data.
Page 6
4 2-Button Remote Station Overview
2-Button Remote Station Overview
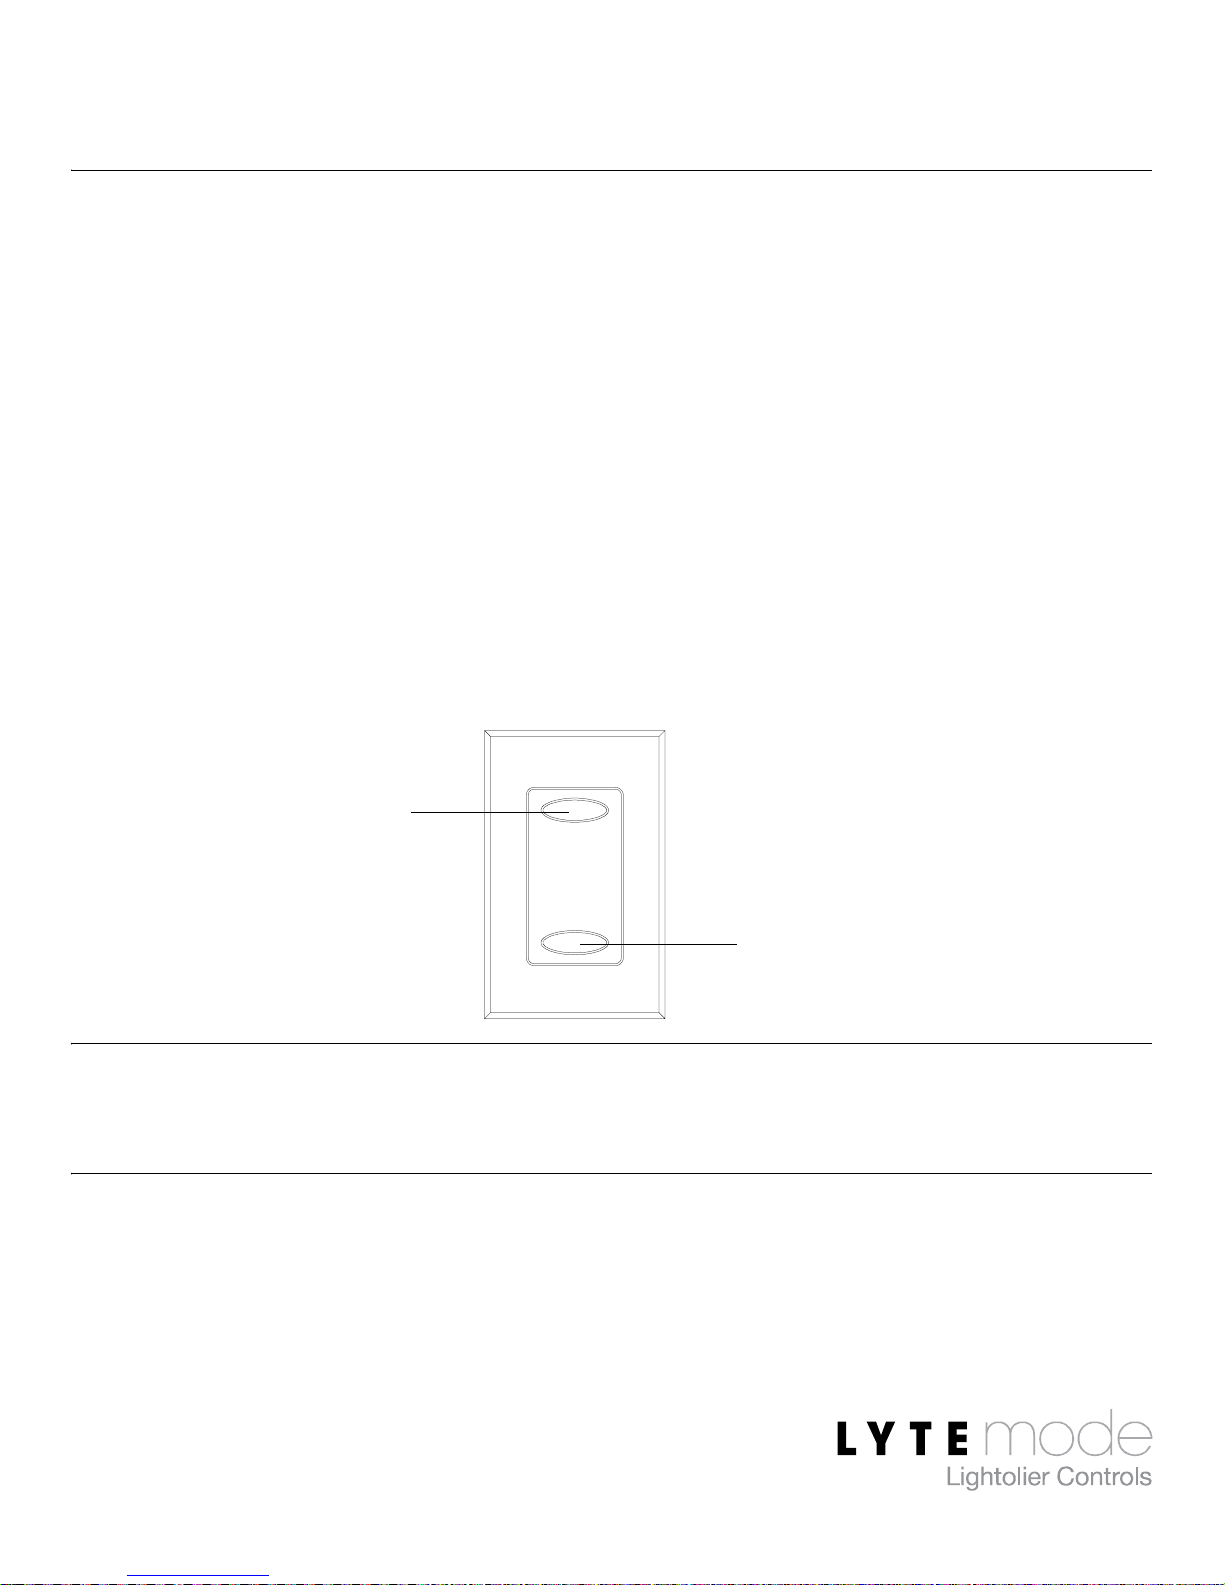
The Lytemode 2-Button Remote Station (ILS-CL-2RES) can be
configured to
operate in one of four modes:
• Remote On/Off - allows unit to set a single scene or turn
lights off.
• Remote Raise/Lower - allows unit to adjust lighting levels.
• Remote Room Combine - allows two rooms to be
combined or un-combined (when used with an ILS-CLRCGP or ILS-CL8-RSPS Room Combine Panel).
• Remote Lock/Unlock - allows unit to lock or unlock a
Master or Remote Station.
Note: Pressing either button when a unit has not been programmed
will blink both button LEDs for 1 second.
* The configurable 2-Button Remote includes four user-replaceable keypad
membranes, each labeled for a specific mode of operation. Custom
engraved keypad membranes are available from our website at: www.lolcontrols.com
TOP Button * Functions as ON,
RAISE, LOCK or
OPEN depending
on mode setting.
BOTTOM Button * Functions as OFF,
LOWER, UNLOCK or
CLOSE depending on
mode setting.
Page 7
2-Button Remote Station User’s Guide 5
Installation
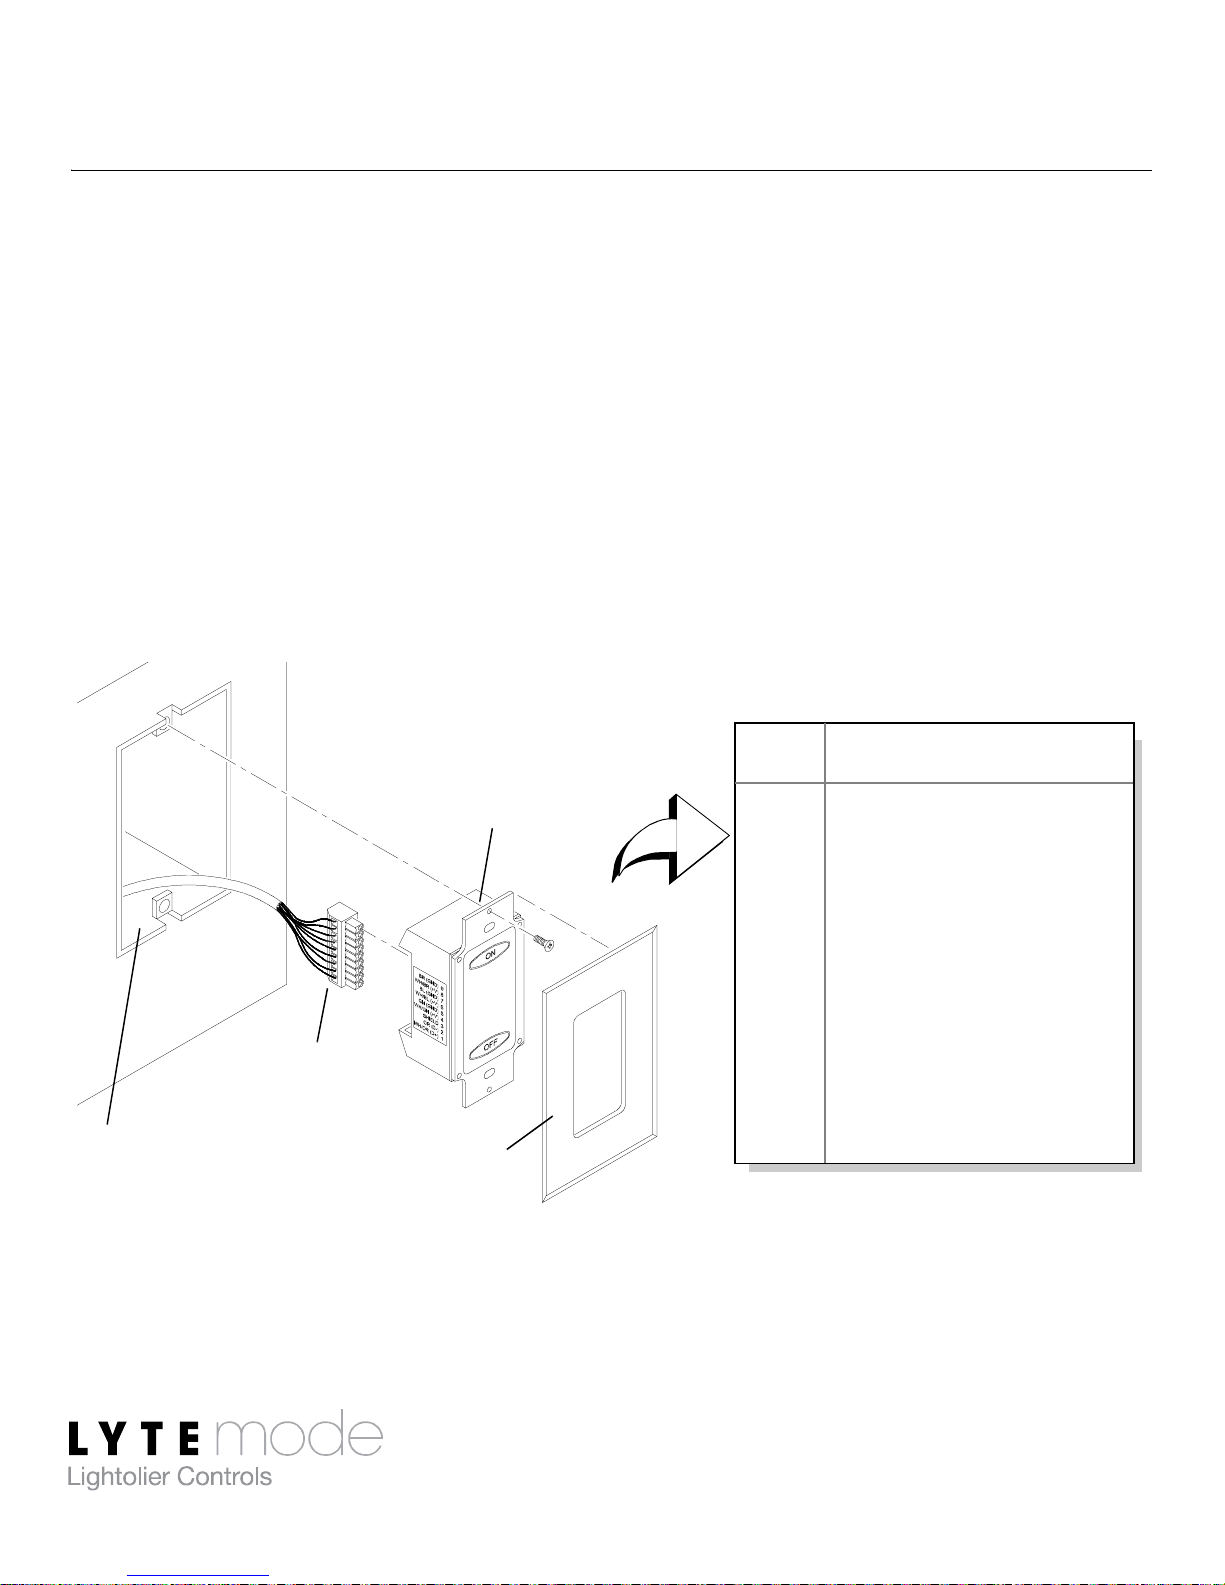
The Lytemode ILS Network consists of a single CAT5e cable
conn
ecting all ILS devices in a daisy chain manner. All units
connect to the network using a 9-pin connector (included).
To install:
Step 1. Unpack unit and inspect for any signs of shipping damage.
Ensure that two mounting screws are included.
Step 2. Connect ILS Network Cable to 9-pin connector at back of
2-Button Remote Station.
Step 3. Insert 2-Button Station into standard deep rough-in box
(not included). Secure with two supplied mounting screws.
Step 4. Snap faceplate into place.
1WH/OR (+ Data)
2 OR (- Data)
3SHIELD
4WH/GN (+ Volts)
5 GN (Ground)
6WH/BL (+ Volts)
7 BL (Ground)
8WH/BR (+ Volts)
9 BR (Ground)
9-Pin Connector Wiring
PIN SIGNAL
9-Pin
Rough-In Box
2-Button
Faceplate
(not included)
Connector
Station
Page 8

6 Basic Settings
Basic Settings
LED Intensity
The LED intensity (brightness) may be set to four different levels.
To prog ram :
Step 1. Press and hold TOP button for 3 seconds.
Step 2. While holding TOP button, tap BOTTOM button. LED
intensity will change.
Step 3. Tap BOTTOM button until desired intensity is reached.
Step 4. Release buttons to save setting.
Lockout
The 2-Button Remote Station can be "locked," which will prevent it
from sending commands. In this state, pressing either button will
illuminate both LEDs for 1 second, but will not transmit any
commands. The unit will continue to display proper ILS Master or
Room Combine status.
Lock/Unlock a station:
• Press and hold either button for 10 seconds.
Page 9
2-Button Remote Station User’s Guide 7
Programming
The 2-Button Station can be set in one of four modes as follows:
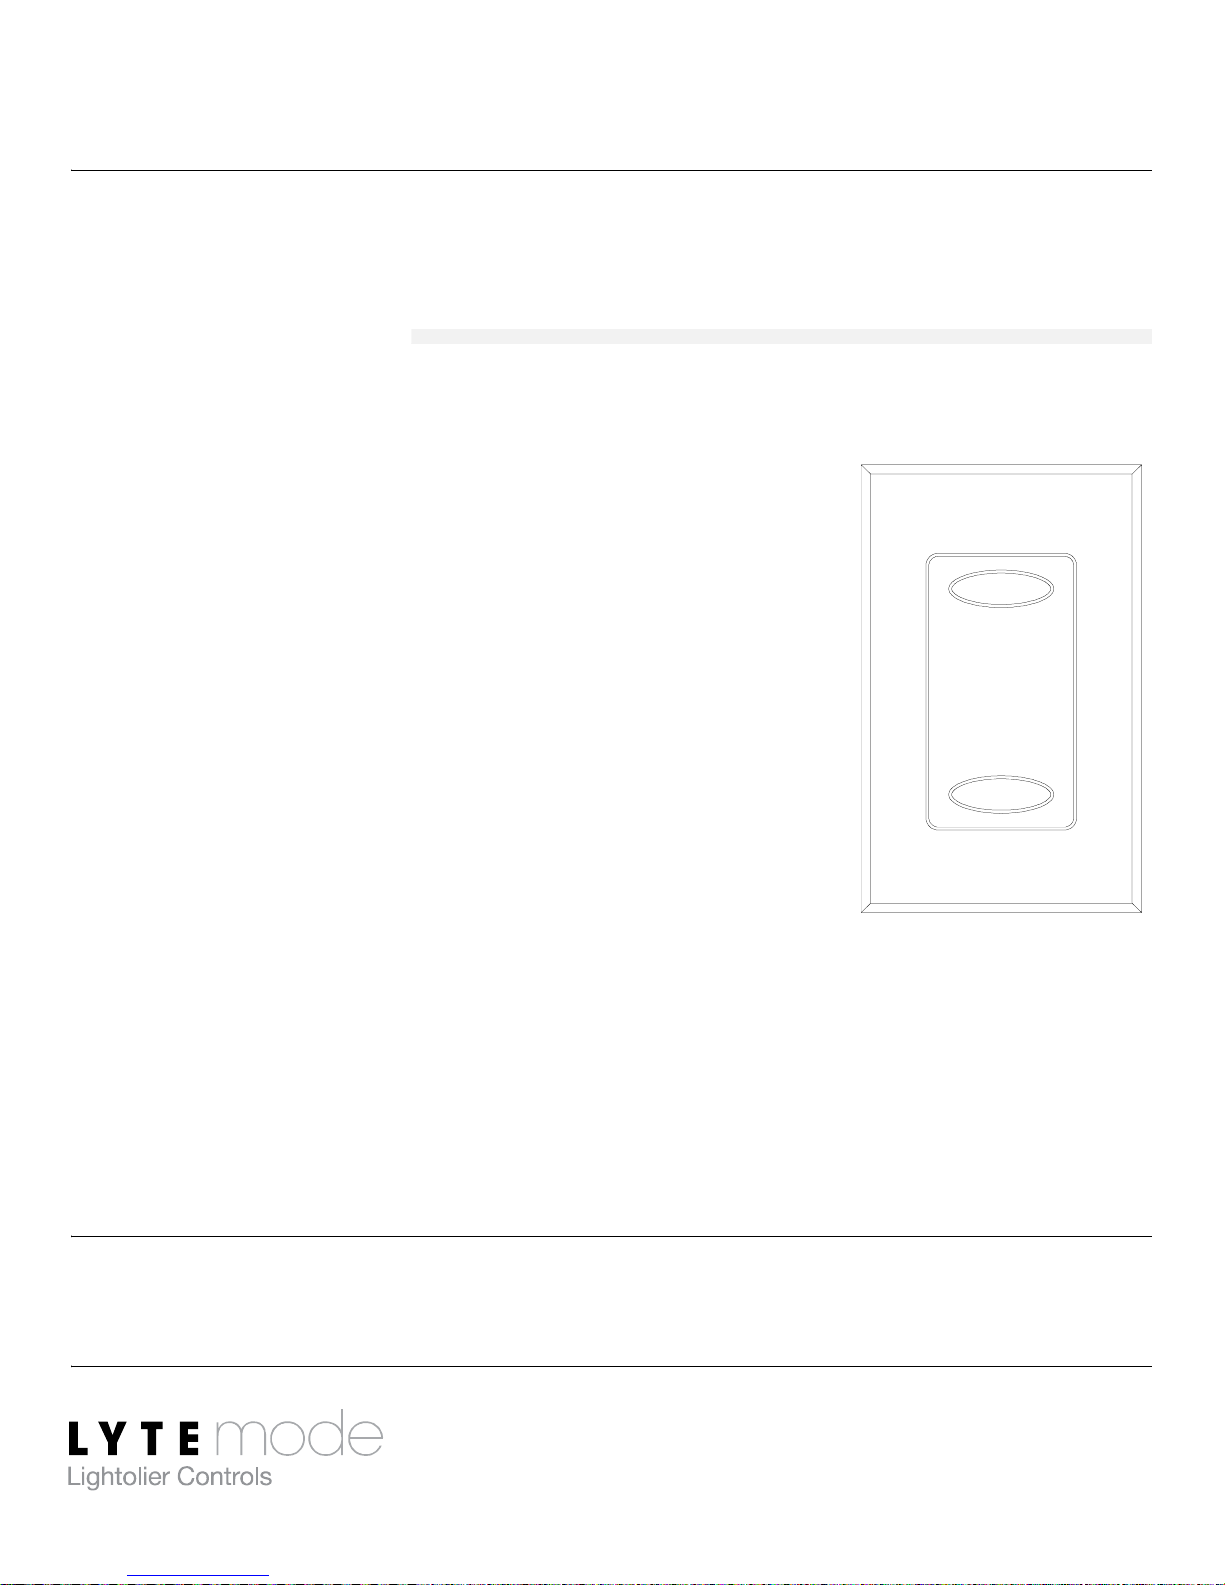
Remote ON/OFF
Provides control for up to 16 Lytemode Masters (or separate IDs).
In this configuration, the top (ON) button can
be programmed to correspond with any Master
scene (ON, A-L), while the bottom (OFF)
button will always send an off command. The
ON button LED will illuminate when at least
one of the selected IDs are in Scenes ON or AL. The OFF button LED will only illuminate
when all selected IDs are off.
To prog ram :
Step 1. Press and hold TOP and BOTTOM
buttons for 10 seconds. (Both LEDs will start to blink.)
Step 2. At each Master or Mini-Master station (up to 16), press
a Scene button (ON, A-L).
Step 3. At 2-Button Remote Station, press TOP button to accept
or press BOTTOM button to abort.
Note: TOP button will not accept an OFF scene. BOTTOM button
will always default to match TOP button’s assignment.
ON
OFF
Page 10
8 Programming
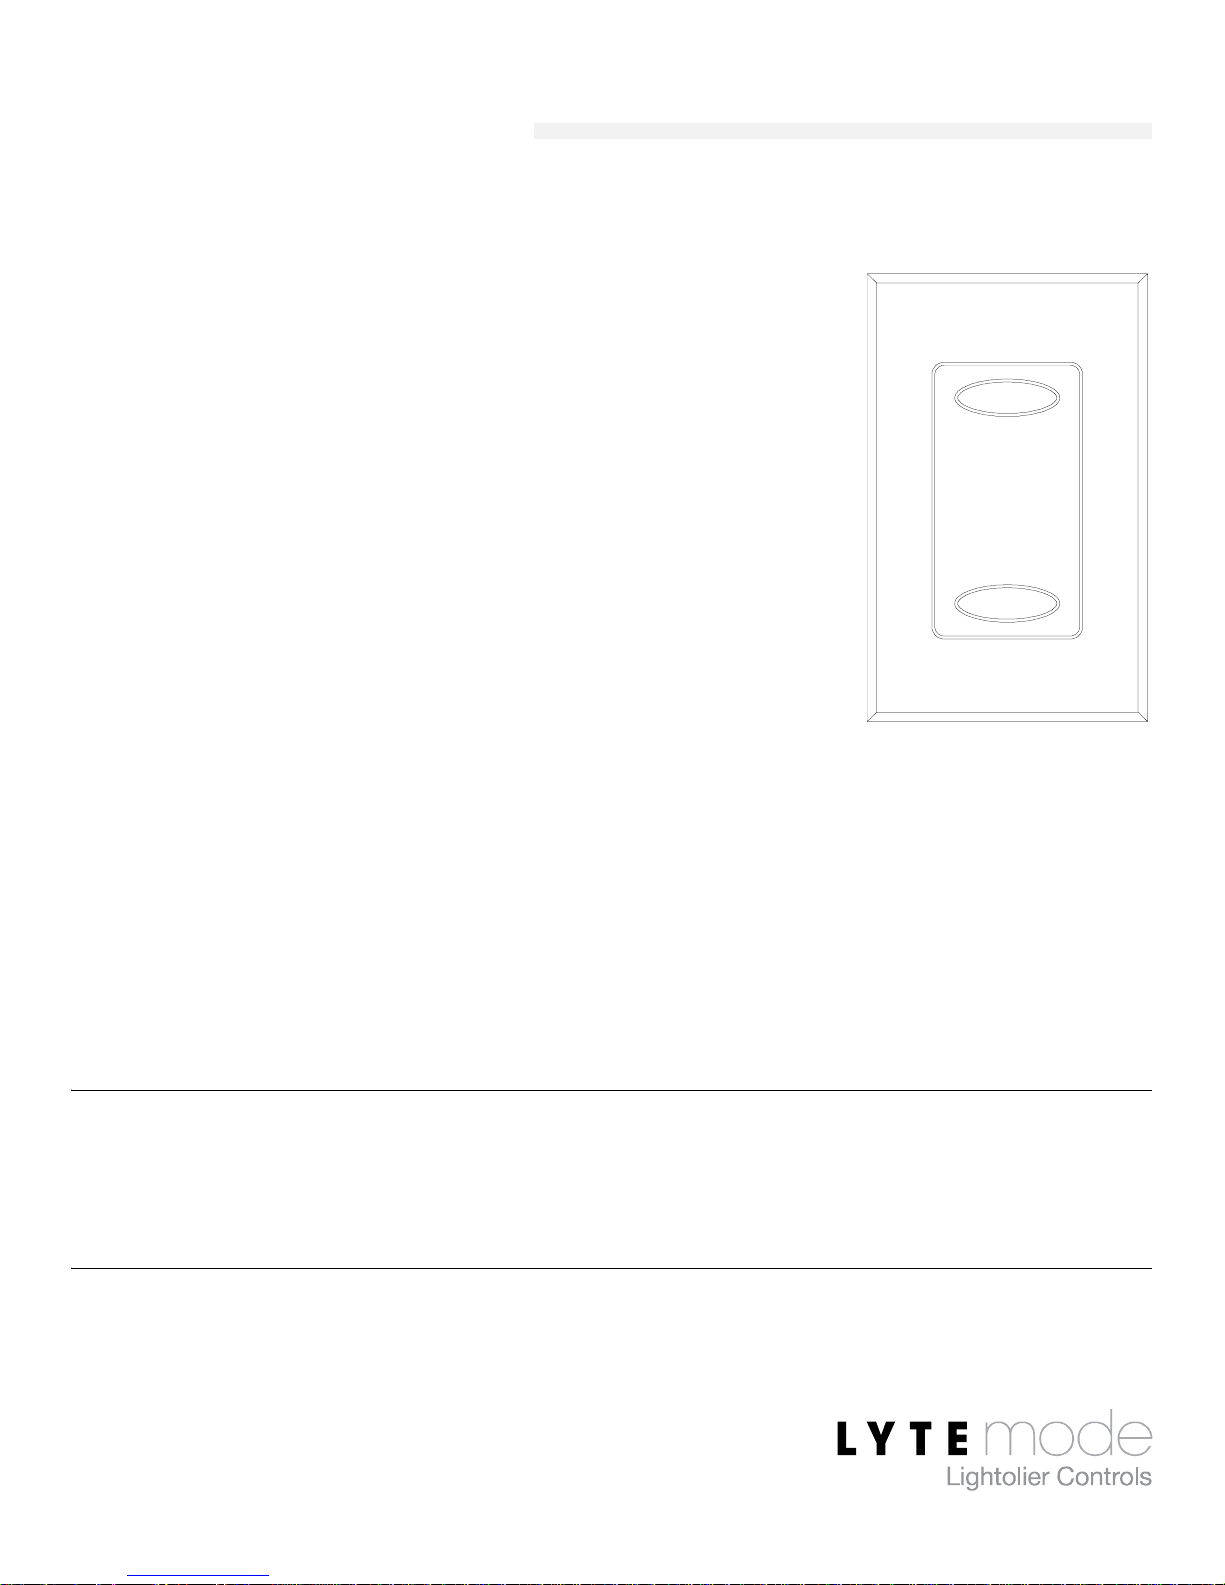
Remote RAISE/LOWER
Provides control for up to 16 Lytemode Masters (or separate IDs).
In this configuration, the station can be used as
either a Master Raise/Lower or a Channel
Raise/Lower device. In the Raise/Lower
mode, the top button sends the Raise
command, while the bottom button will send
the Lower command. Both the top and bottom
button LEDs will illuminate dimly. Pressing
either button will cause it to illuminate at full
brightness.
To prog ram :
Step 1. Press and hold TOP and BOTTOM
buttons for 10 seconds. (Both LEDs will start to blink.)
Step 2. At each Master or Mini-Master station (up to 16), press
All Raise/Lower or Channel Raise/Lower as required.
Step 3. At 2-Button Remote Station, press TOP button to accept
or press BOTTOM button to abort.
Note: While in program mode, pressing an All Raise/Lower or
Channel Raise/Lower on a Lytemode Master will automatically
program both buttons on the 2-button keypad.
RAISE
LOWER
Page 11
2-Button Remote Station User’s Guide 9
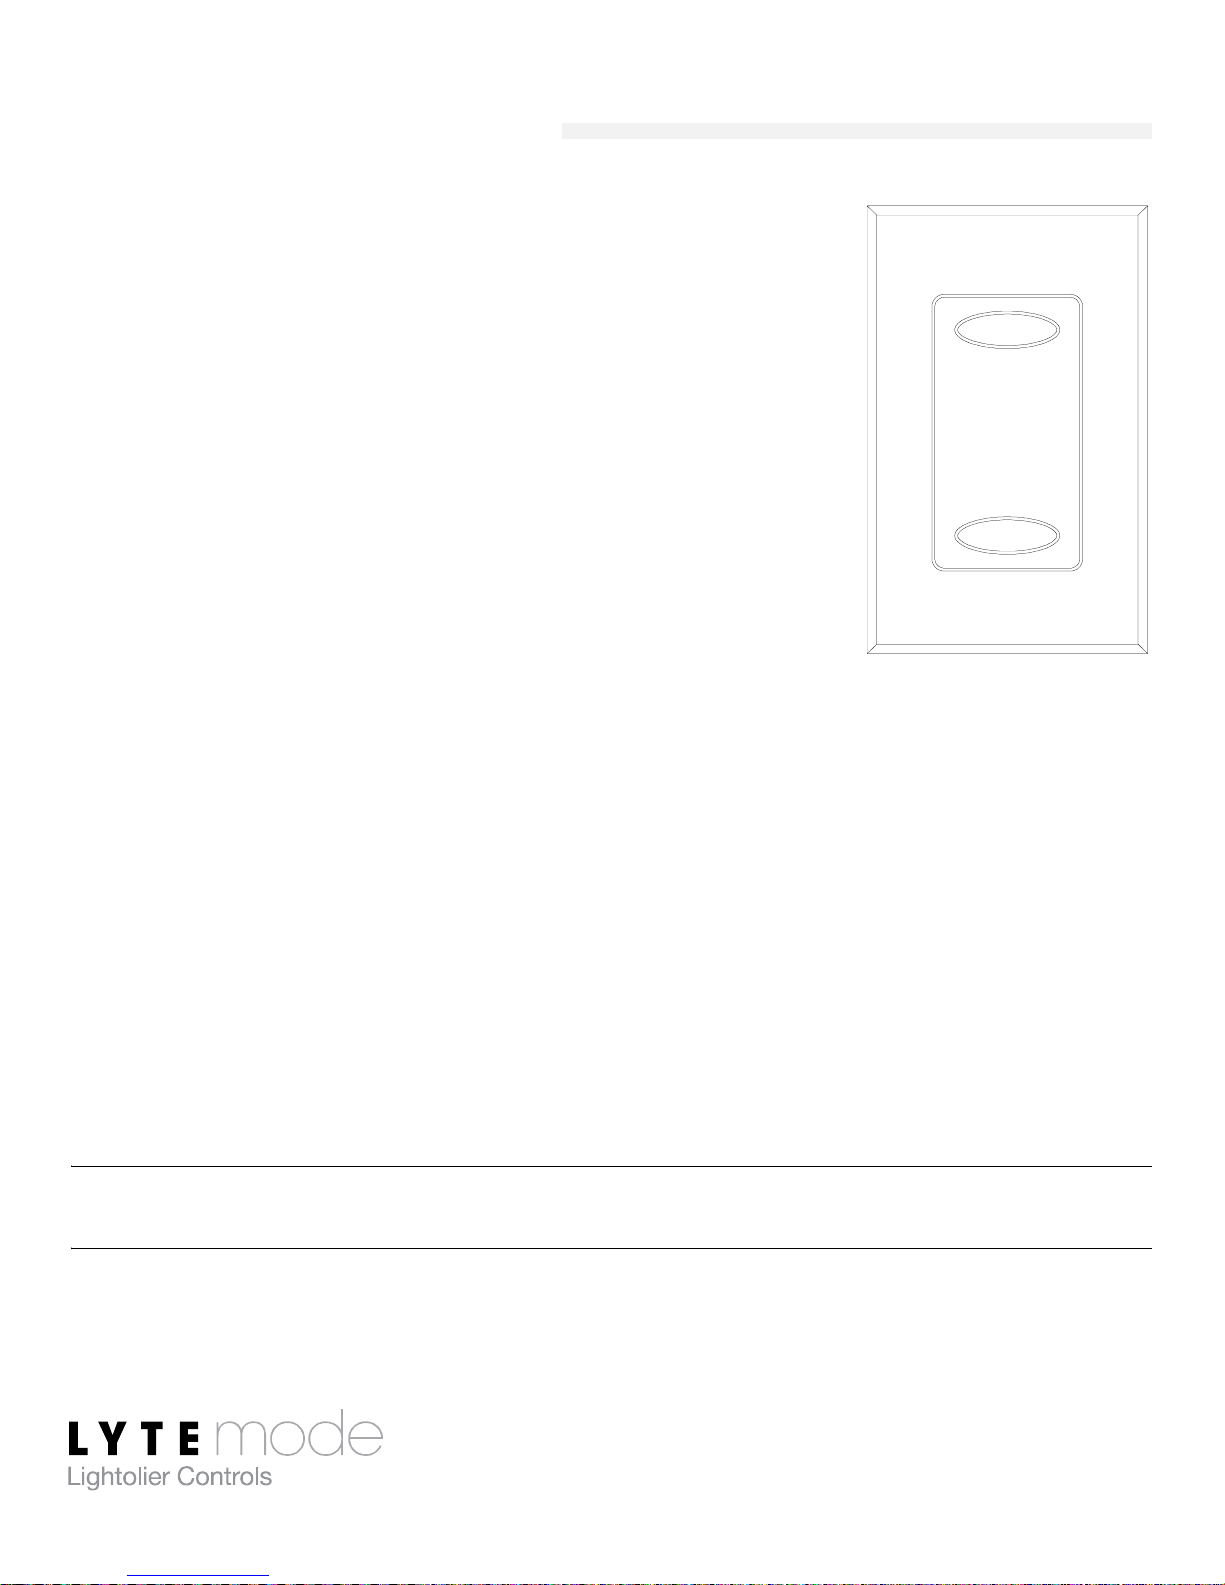
Remote ROOM COMBINE
When used with an ILS-CL-RCGP or ILSCL8-RSPS Room Combine Panel, the unit can
be programmed to control the combining of
two rooms. The top (OPEN) button will send
the room combine command, while the bottom
(CLOSE) button will send the room uncombine command. The top button LED will
illuminate when Room Partition has combined
the two rooms. The bottom button LED will
illuminate when Room Partition has uncombined the two rooms.
To prog ram :
Step 1. Press and hold TOP and BOTTOM buttons for 10
seconds. (Both LEDs will start to blink.)
Step 2. At the ILS-CLRCGP or ILS-CL8-RSPS, press a Room
Combine Partition Switch button.
Step 3. At the 2-Button Room Combine Remote Station, press
TOP button to accept or press BOTTOM button to
abort.
Note: Only one partition can be programmed.
OPEN
CLOSE
Page 12
10 Programming
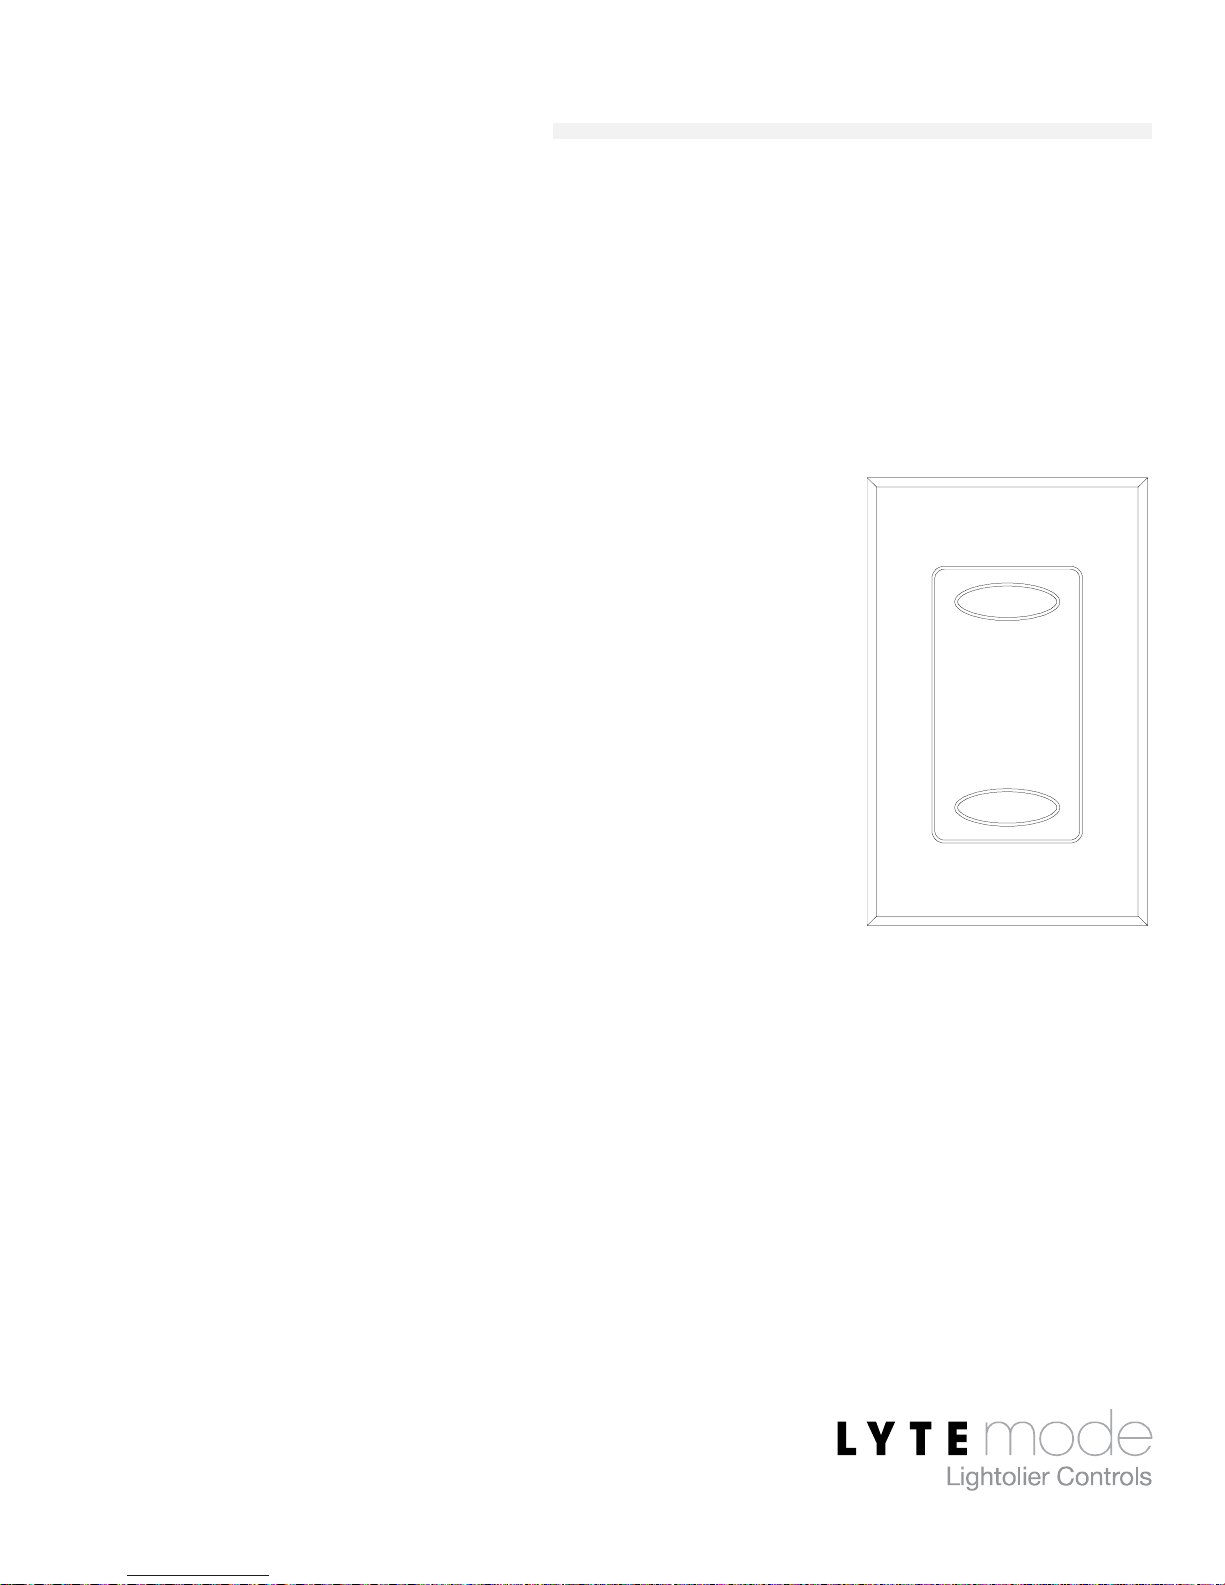
Remote LOCK/UNLOCK
Provides control for up to 16 Lytemode Masters (or separate IDs).
In this configuration, the 2-Button Remote Station provides lockout control for any Master or Remote Station. This will allow the
Master or Remote to be locked or unlocked without entering the
password at each Master Station.
To prog ram :
Step 1. Press and hold TOP and BOTTOM
buttons for 10 seconds. (Both
LEDs will start to blink.)
Step 2. At each Master or Mini-Master
station (up to 16), press and hold
FADE DOWN button for 10
seconds.
Step 3. At 2-Button Remote Station, press
TOP button to accept or press
BOTTOM button to abort.
LOCK
UNLOCK
Page 13

2-Button Remote Station User’s Guide 11
Resetting Unit to Factory Defaults
To set the unit back to its Factory Defaults, do the following:
Step 1. Press and hold TOP and BOTTOM buttons for 10
seconds. (Both LEDs will start to blink.)
Step 2. Press TOP button. (Unit will clear and remove itself
from the ILS network.)
Note: The LED intensity setting will not change. To change
intensity, refer to “LED Intensity” on page 6.
Page 14
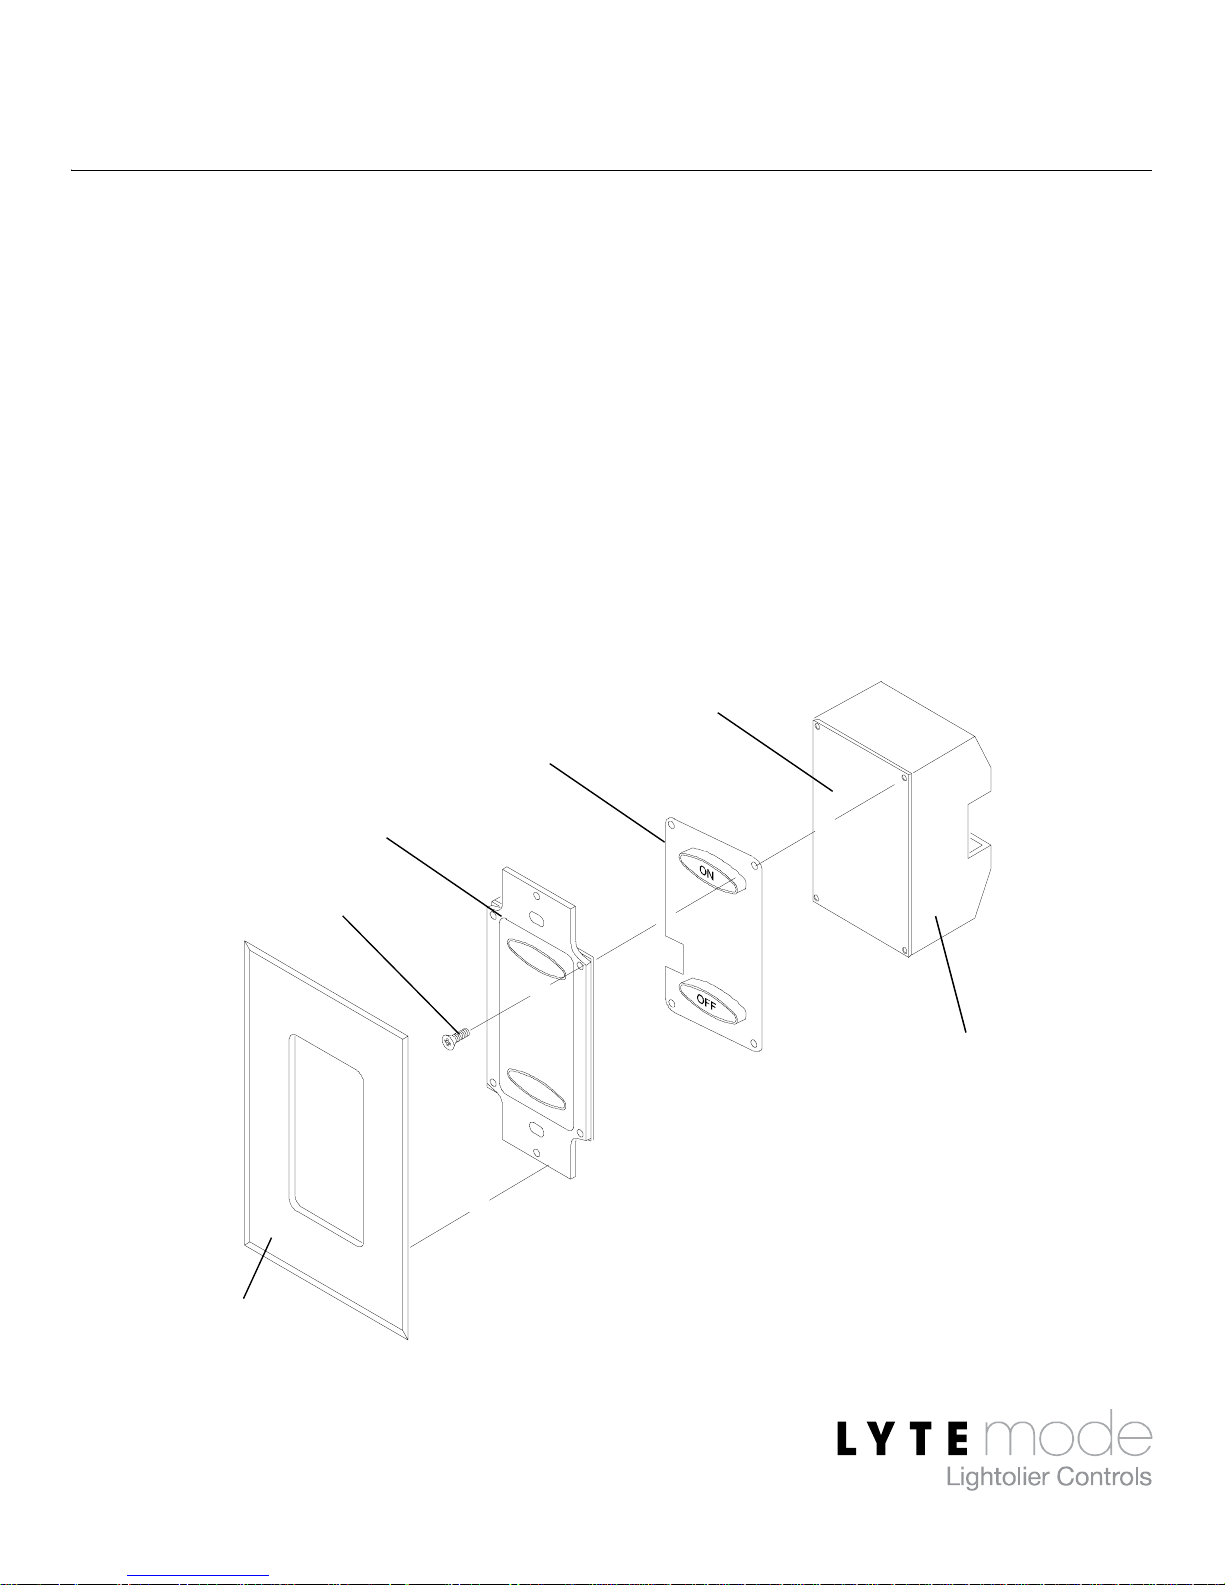
12 Installing Custom Buttons
Installing Custom Buttons
Custom engraved buttons* are available for Lytemode products.
If you received custom buttons with your unit or obtain them in the
fu
ture, use the following procedure for installation.
To install custom buttons:
Step 1. At 2-button unit, remove faceplate.
Step 2. Remove 2-button plate by removing two screws.
Step 3. Remove existing button pad.
Step 4. Insert custom button pad and re-assemble components.
* Available from Lightolier Controls: www.lolcontrols.com
2-Button Unit
PC Board
Button Pad
2-Button Plate
Screw
Faceplate
Page 15
2-Button Remote Station User’s Guide 13
Specifications
Electrical:
• Input Power: +18-26 VDC (powered from Lytemode ILS network)
• Current: 20mA
• Temperature
- Storage: -25° to 85° C
- Operating: 0° to 40° C
- Relative Humidity: 30-90% (non-condensing)
Accessories
* Color Kits available in: AL=Almond, LA=Light Almond, I=Ivory, BR=Brown,
GR=Gray, and BL=Black
** Faceplates available in: W=White, AL=Almond, LA=Light Almond, I=Ivory,
BR=Brown, GR=Gray, and BL=Black
*** To order custom engraved keypads and faceplates, please visit our website at:
www.lolcontrols.com
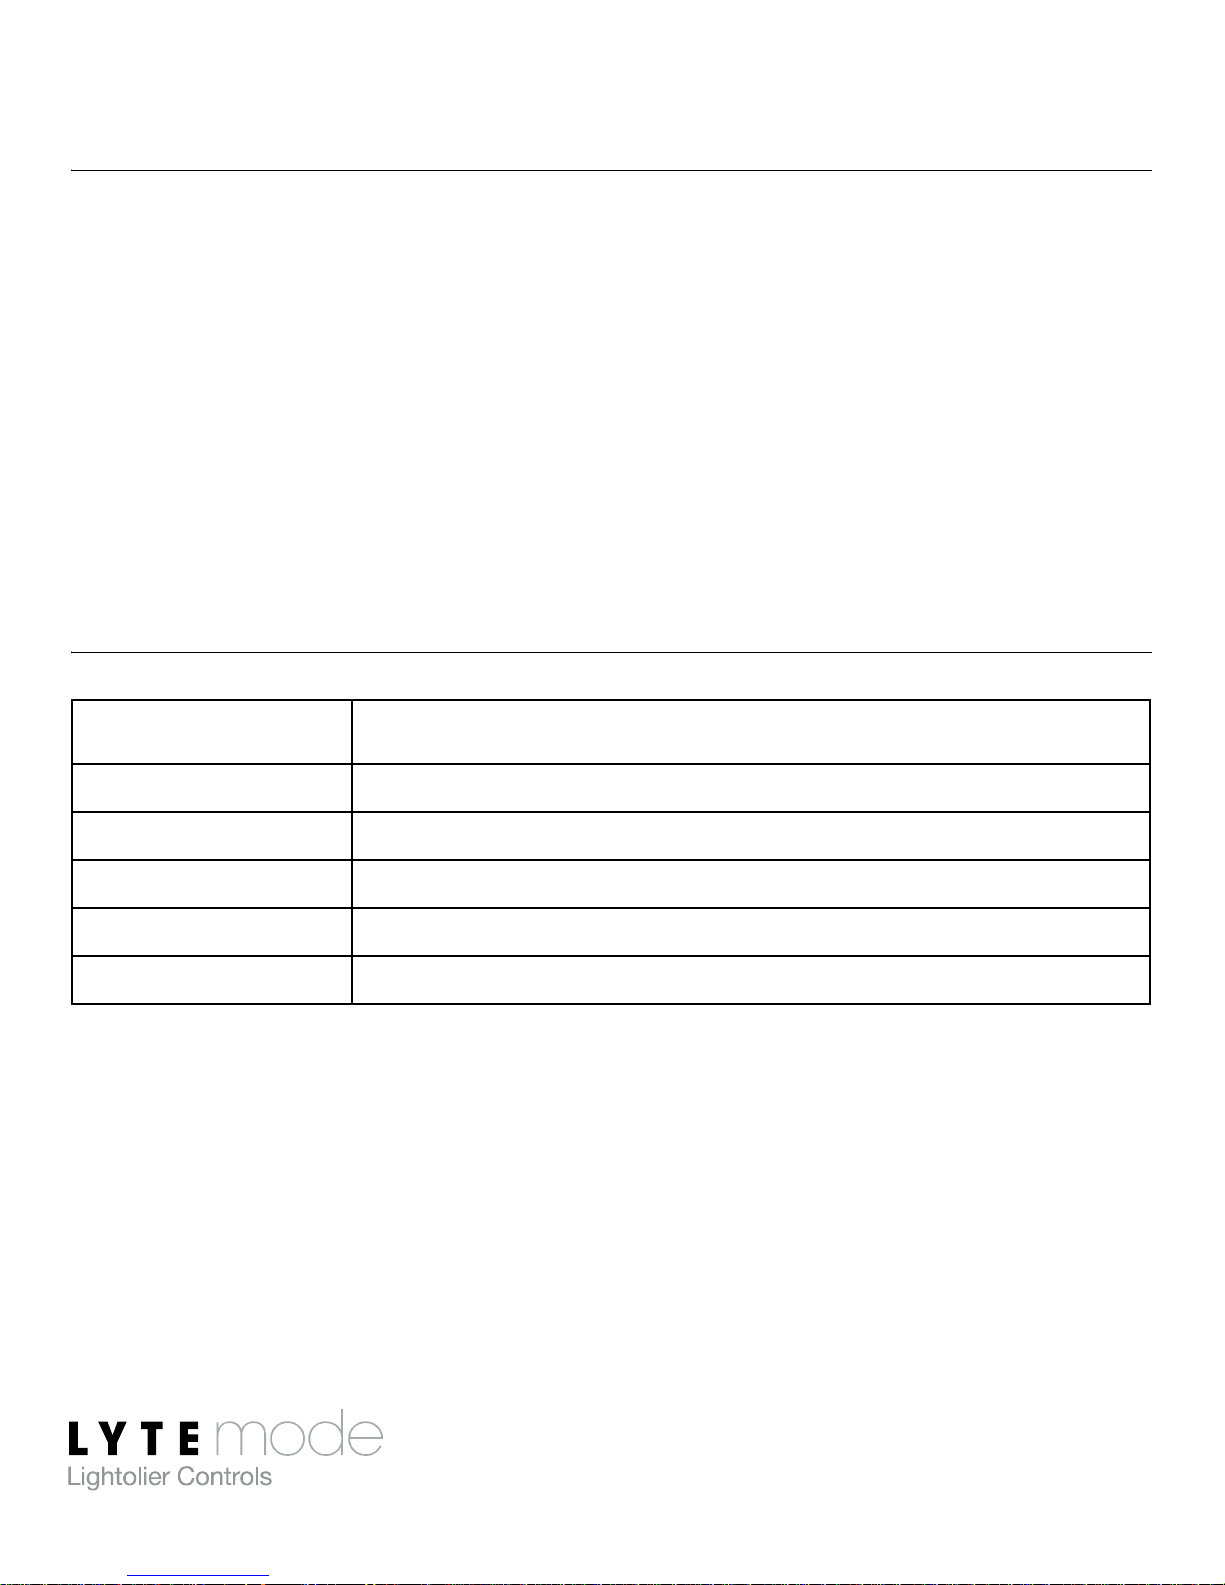
Part Number Description
ILSCK2B__* Color Kit for 2-Button Remote Station
CE2BES*** Custom Engraved 2-Button Keypad Membrane
COMFP1__** Compli Screwless Faceplate, 1-Gang
COMFP1CE__*** Custom Engraved, Compli Screwless Faceplate, 1-Gang
LB-1G 1-Gang Locking Security Cover
Page 16

14 Notes
Notes
Page 17

2-Button Remote Station User’s Guide 15
Notes
Page 18

16 Notes
Notes
 Loading...