

Page 1
3
Enjoy
Need help?
User Manual
See the user manual that came with your Philips DVD Home Theater System.
Hotline
Call 1-888-PHILIPS (1-888-744-5477) for our operators.
2008 C Philips Consumer Lifestyle
A Division of Philips Electronics North America Corp
P.O. Box 671539 Marietta, GA 30006 0026
All rights reserved.
Printed in China
sgpjp_816/37-eng2
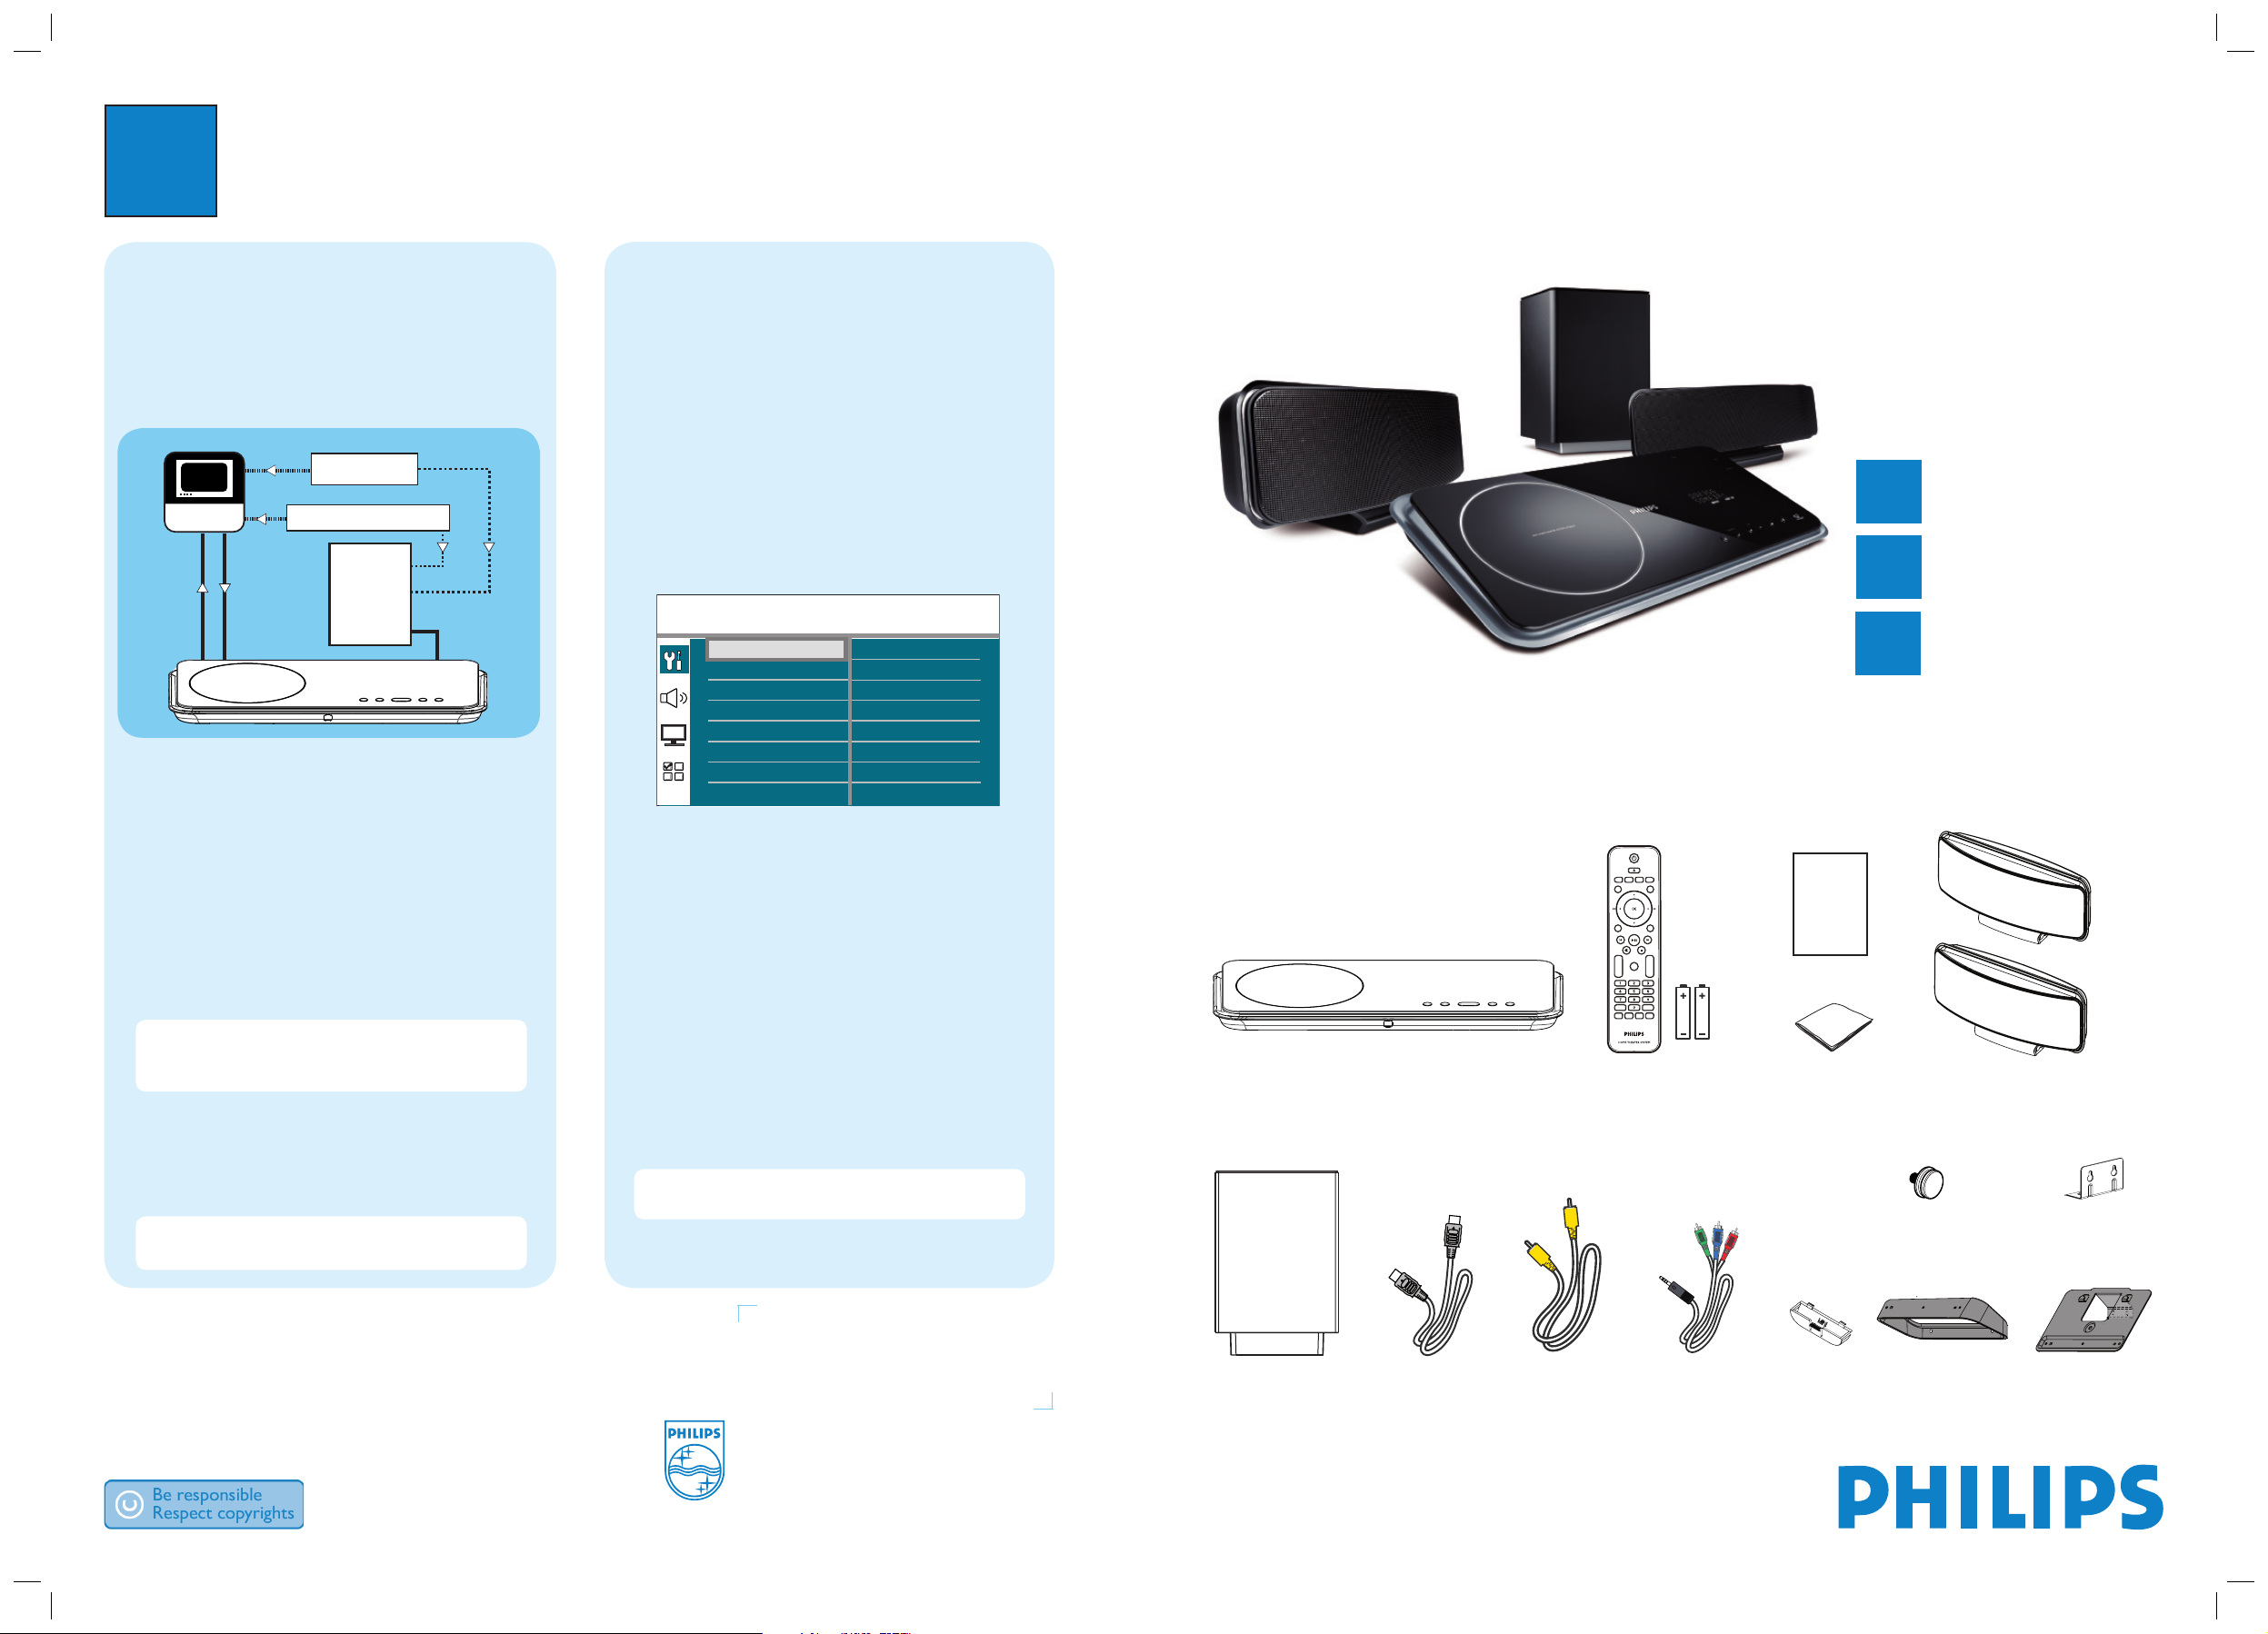
DVD Home Theatre unit
Remote Control
and 2 batteries
Table stand
Micro bre
cleaning cloth
Subwoofer
User
Manual
Composite
Video cable
HDMI cable
Register your product and get support at
www.philips.com/welcome
Quick Start Guide
HTS6515D
What’s in the box?
Connect
Set up
Enjoy
1
2
3
EasyLink control
This feature is only applicable if this DVD Home Theater
unit is connected to HDMI CEC compliant TV/device
using HDMI cable. It enables all the linked devices
response or react to certain commands simultaneously
with one touch control.
A Turn on the HDMI CEC operations on your TV and
other connected devices. See TVs/devices manual for
details.
B You can now enjoy the EasyLink controls.
One touch play [ Auto Wake-up TV ]
A Press PLAY.
It turns on this unit and start disc play (if a video disc
is detected,) and your TV automatically turns on and
switches to the correct viewing channel.
Note This is only possible if this unit is in standby
mode. If this unit is in active mode, you have to press
DISC followed by PLAY to start disc play.
One touch power off [ System Standby ]
A Press and hold 2.
It turns off all linked devices.
Note This unit responses to standby command from
other HDMI CEC compliant TV/devices.
One touch audio input switching
This unit is able to render the audio signals from the
active source and switch automatically to the
corresponding audio input.
Before you can enjoy this feature, connect audio cables
from this unit to your TV/devices and follow the
instructions below to map the audio inputs to the
connected devices.
A Press DISC.
B Press OPTIONS.
C Press B.
D Select
[ EasyLink ]
, then press B.
E Select [ System Audio Control ] > [ On ], then
press OK.
F Select [ Audio Input Mapping ], then press OK.
G Select [ OK ] in the menu, then press OK to start
scanning of devices.
H When scanning complete, select the audio input of
this unit that is used to connect to your TV/device
(e.g. AUX1 Input,) then press B.
I Select the TV/device (appeared in its brand name)
in the right panel, then press OK.
J
Repeat steps 8~9 to map other connected devices.
K To exit the menu, press OPTIONS.
Note Philips does not guarantee 100%
interoperability with all HDMI CEC compliant devices.
Speakers
Component
video cables
Big bracket
2 Small brackets
4 Dock
adaptors
Mounting knob
Subwoofer
Satellite Receiver/
Cable Box
HDD / DVD Recorder
HDMI CEC
HDMI
HDMI
TV
AUDIO
AUDIO
General Setup
EasyLink
Disc Lock
Display Dim
OSD Language
Screen Saver
Sleep Timer
Standby Mode
DivX(R) VOD Code
Auto Wake-up TV
System Standby
System Audio Control
Audio Input Mapping
Page 2

1
Connect
2
Set up
A
Find the viewing channel
A Press 2 to turn on this
DVD Home Theater unit
.
B Turn on the TV. Use the TVs remote control to
select the correct viewing channel.
Note To search for the correct viewing channel,
press the Channel Down button on the TVs remote
control repeatedly (or AV, SELECT,
° button) until
you see the Video In channel. If you are using a RF
modulator, set the TV to channel 3 or 4.
B
Start Ambisound setup
When you turn on this DVD Home Theater unit for the
rst time, change the Ambisound setup according to
your room environment and setup.
A In disc mode, press OPTIONS.
B Press V to select [ Audio Setup ] in the menu,
then press B.
C Select [ Ambisound Setup ] in the menu, then press
B.
D Select a setup you want to change, then press B.
[ Room Acoustics ]
Select the type of walls that surround your room.
The default setting is [ Hard (concrete, wood) ].
[ Room Placement ]
Select the speakers placement position in your room.
The default setting is [ Middle of room ].
[ Speaker Distance ]
Select the distance between two speakers. The
default setting is between 2~3 meters.
[ Listening Position ]
Select the distance between the listening position and
the speakers. The default setting is between 2~3
meters.
E Press vV to select a setting, then press OK.
F To exit the menu, press OPTIONS.
Note Refer to the accompanying user manual
for other setup options.
A
Placement
Proper speakers system placement is important to
ensure optimum sound performance.
RIGHT
LEFT
B
Connect speakers
A Connect the left and right Ambisound speakers to
the matching jacks on the subwoofer.
C
Prepare for rear connections
A Push up the catch and remove the rear cover.
B Connect the required cables (see the following
sections for details) and direct all the cables to the
open hole on top.
D
Connect to TV
A If your TV supports HDMI, connect the HDMI cable
from the HDMI OUT jack to the HDMI IN jack on
your TV (or connect the component video cables to
the corresponding COMPONENT VIDEO jacks.)
B Connect the composite video cable from the VIDEO
OUT jack to the VIDEO IN jack on your TV (this
connection is required for iPod video play.)
Note HDMI connection does not support audio
output from your TV to this unit, a separate audio
connection is required.
E
Connect audio output from TV (for
EasyLink control)
To hear the TV audio through this DVD Home Theater
unit, connect an audio cable (not supplied) from the
AUDIO IN-AUX1 jacks to the AUDIO OUT jacks on
your TV.
Note To listen to the audio output from this
connection, press AUX/DI /MP3 LINK repeatedly
until ‘AUX1 INPUT’ is displayed on the display panel.
Subwoofer (rear)
F
Connect subwoofer and power
cable
TO SUBWOOFER
C
A
B
A
Unwind the cables from TO MAIN UNIT on the
subwoofer and connect it to TO SUBWOOFER jack
on this DVD Home Theater unit.
B Connect the FM antenna to the inner pin of the FM
75 jack (for some models, it has been connected
in the factory.) Extend the wire for optimum
reception.
C Connect the power cable from subwoofer to the AC
power outlet.
G
Attach table stand to DVD Home
Theater unit
Align Arrow
With Table Stand
A
Align Arrow
With table Stand
A table stand bracket
A Close the rear cover.
B Place the table stand bracket with the arrow
indicators aligned. Then use the protrude panels to
hold the table stand bracket.
Note All the cables must be placed properly inside
the rear panel in order for the rear cover to close.
Subwoofer (rear)
FM antenna
DVD Home Theater unit (rear)
Or
LEFT
RIGHT
VIDEO
OUT
VIDEO IN
HDMI OUT
HDMI IN
 Loading...