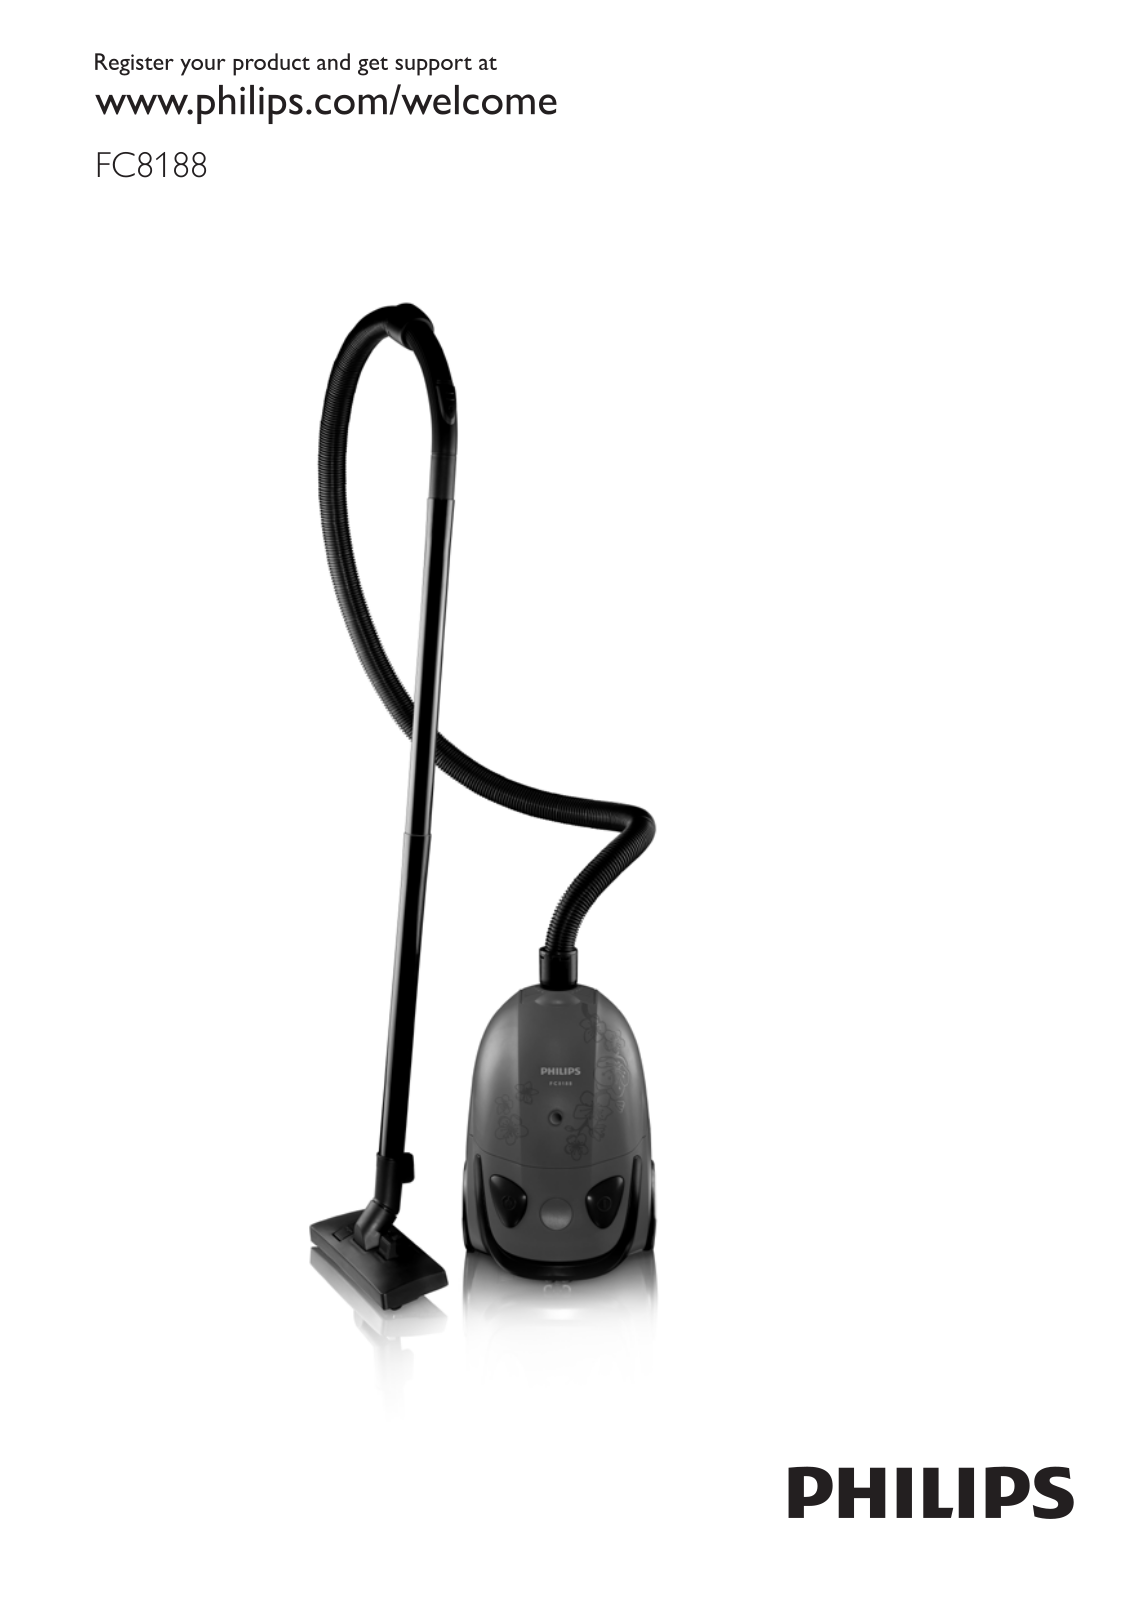
Philips FC8188 User Manual

FC8188

2

Philips FC8188 User Manual

3

B

1

A


I

C

J


D

K


E

F


H G

P

L M

O

N

Q W

R S

X

Y

Z

U

T V

4

English 6 Indonesia 10

14

Bahasa Melayu 18

22

TiếngViệt 26

30

34

FC8188

6English

Introduction

Congratulations on your purchase and welcome to Philips!To fully benefit from the support that Philips offers, register your product at www.philips.com/welcome.

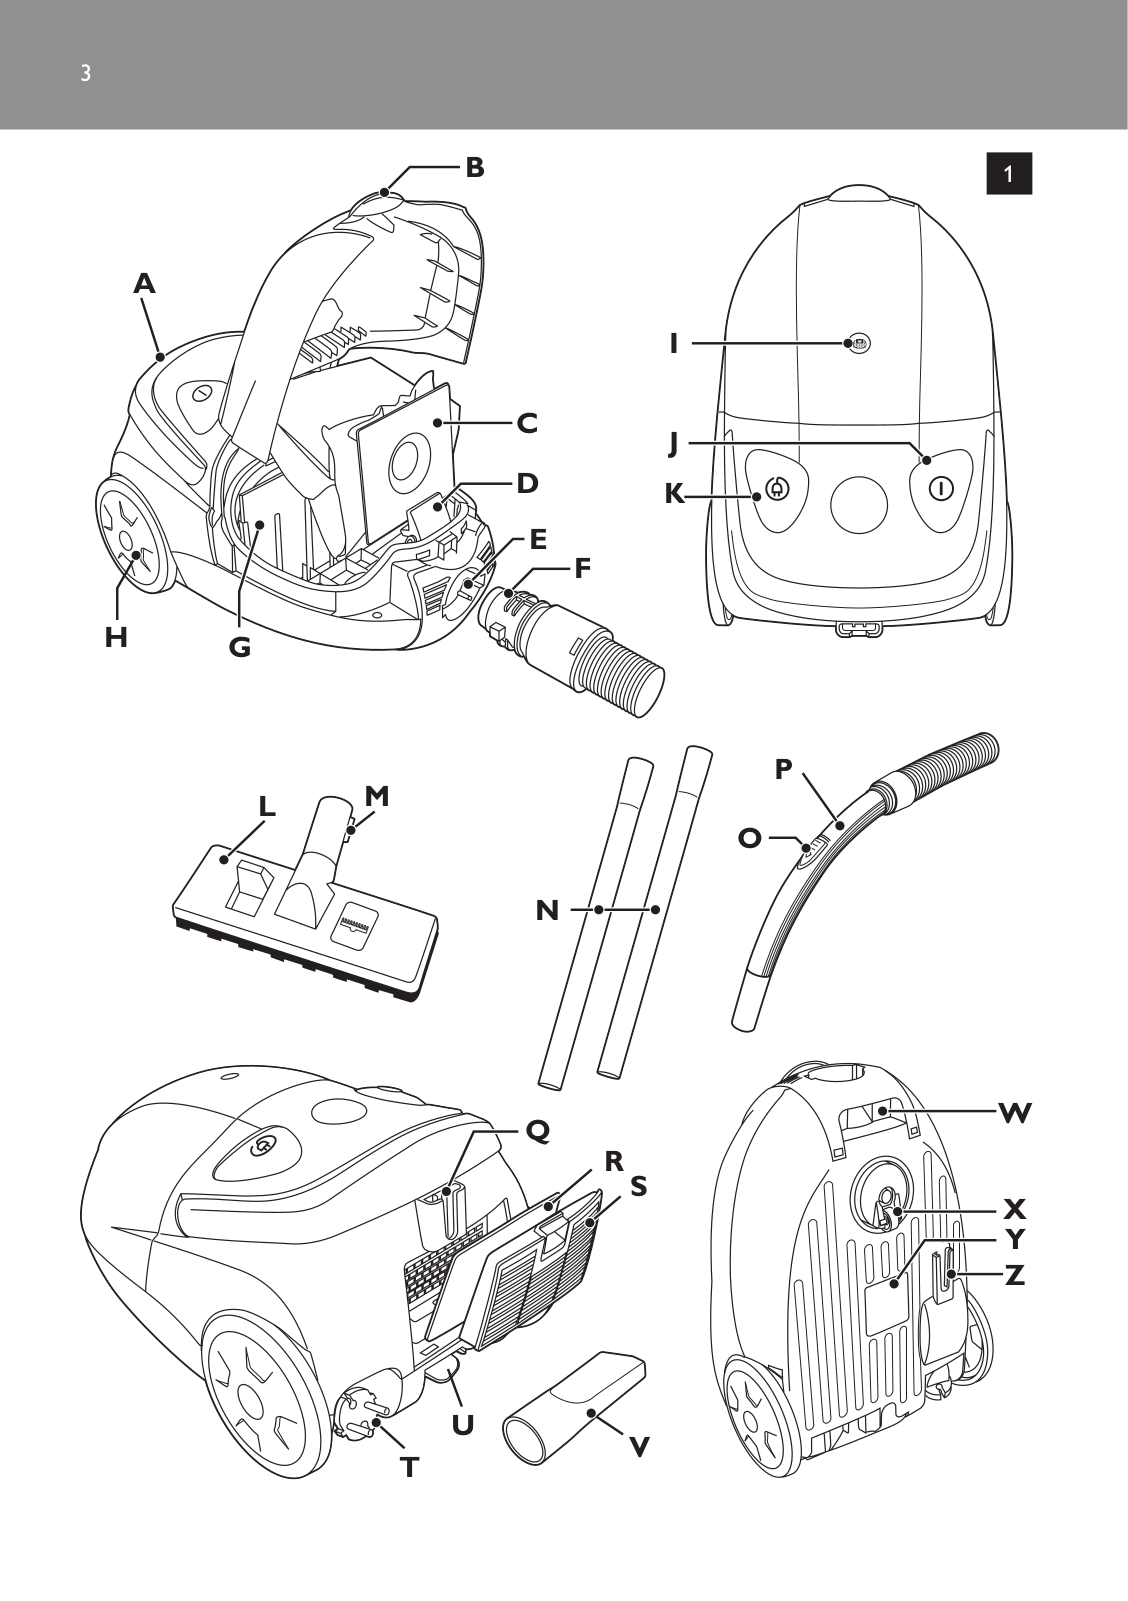
General description (Fig. 1)

A Carrying handle

B Release tab to open dustbag compartment

C Reusable dustbag

D Dustbag fixation tab

E Hose connection opening

F Hose connector

G Motor protection filter

H Rear wheel

I Dustbag-full indicator

JOn/off button

K Cord rewind button

L Floor nozzle

M Storage/parking ridge

N 2 tubes

O Suction power slide

P Bend

Q Parking slot

R Exhaust filter

S Filter grille

T Mains cord with plug

U Crevice tool compartment

V Crevice tool

W Carrying grip

X Swivel wheel

Y Type plate

Z Storage slot

Important

Read this user manual carefully before you use the appliance and save it for future reference.

Danger

-- Never suck up water or any other liquid. Never suck up flammable substances and do not suck up ashes until they are cold.

Warning

-- Check if the voltage indicated on the appliance corresponds to the local mains voltage before you connect the appliance.

-- Do not use the appliance if the plug, the mains cord or the appliance itself is damaged.

-- If the mains cord is damaged, you must have it replaced by Philips, a service centre authorised by Philips or similarly qualified persons in order to avoid a hazard.

-- This appliance is not intended for use by persons (including children) with reduced physical, sensory or mental capabilities, or lack of experience and knowledge, unless they have been given supervision or instruction concerning use of the appliance by a person responsible for their safety.

-- Children should be supervised to ensure that they do not play with the appliance.

-- Do not point the hose, the tube or any other accessory at the eyes or ears nor put it in your mouth when it is connected to the vacuum cleaner and the vacuum cleaner is switched on.

English 7

Caution

-- When you use the vacuum cleaner to vacuum ashes, fine sand, lime, cement dust and similar substances, the pores of the dustbag become clogged.As a result, the dustbag-full indicator will indicate that the dustbag is full. Replace the dustbag, even if it is not full yet (see chapter ‘Replacing/emptying the dustbag’).

-- Never use the appliance without the motor protection filter.This damages the motor and shortens the life of the appliance.

Electromagnetic fields (EMF)

-- This Philips appliance complies with all standards regarding electromagnetic fields (EMF). If handled properly and according to the instructions in this user manual, the appliance is safe to use based on scientific evidence available today.

Preparing for use

Hose

1 To connect the hose,push it into the appliance (1) and turn it clockwise (2) (‘click’) (Fig. 2).

2To disconnect the hose,turn it anticlockwise and pull it out of the appliance (Fig. 3).

Tube

1To connect the tube parts to each other,insert the narrow section into the wider section and turn it a little. (Fig. 4)

2To connect the tube to the bend of the hose,insert the narrow section into the wider section and turn it a little (Fig. 5).

-- To disconnect the tube or tube parts, pull and turn a little. -- Connect and disconnect the accessories in the same way.

Floor nozzle

The floor nozzle enables you to clean the floor efficiently.You can use the floor nozzle on carpet with the brush strips folded in or on hard floors (for instance for tiled, parqueted, laminated and linoleumed flooring) with the brush strips folded out.

1To connect the floor nozzle to the tube,insert the narrow section into the floor nozzle and turn a little (Fig. 6).

2Push the rocker switch on top of the floor nozzle with your foot to make the brush strip for cleaning hard floors come out of the nozzle housing (Fig. 7)

3Push the rocker switch on the other side to make the brush strip disappear into the floor nozzle housing (Fig. 8)

Crevice tool

You can use the crevice tool to clean hard-to-reach places quickly and conveniently.

-- You find the crevice tool in the crevice tool compartment of the appliance.  (Fig. 9) -- You can connect the crevice tool to the tube or directly to the handgrip of the hose.

1To connect the crevice tool, insert the tube or handgrip while turning it a little.

Using the appliance Vacuuming

1Pull the mains cord out of the appliance and put the plug in the wall socket.

2Press the on/off button on top of the appliance with your foot to switch on the appliance (Fig. 10).

8English

Adjusting suction power

-- During vacuum cleaning, you can adjust the suction power with the slide on the bend (Fig. 11).

Parking the tube

-- If you want to pause for a moment, insert the ridge on the nozzle into the parking slot to park the tube in a convenient position (Fig. 12).

Storage

1 Switch off the appliance and remove the mains plug from the wall socket. 2 Press the cord rewind button to rewind the mains cord (Fig. 13).

3 After use,store the crevice tool in its compartment (Fig. 9).

4Put the appliance in upright position and insert the ridge on the floor nozzle into the storage slot on the appliance (Fig. 14).

Emptying the reusable dustbag

Always unplug the appliance before you empty the reusable dustbag.

-- Empty the dustbag as soon as the dustbag-full indicator has changed colour permanently, i.e. even when the nozzle is not placed on the floor (Fig. 15).

Emptying the re-usable dustbag

1 Place your fingers under the release tab (1) and open the dustbag compartment (2) (Fig. 16). 2 Pull the dustbag fixation tab (1) forward and remove the dustbag (2) (Fig. 17).

3 To empty the dustbag,shake the contents out over a dustbin

4Pull the fixation tab forwards (1) and place the empty dustbag between the ridges (2) (Fig. 18).

Note:Make sure the arrow on the dustbag points upwards.

5 Release the dustbag fixation tab to fix the dustbag in position. 6 Close the cover (‘click’) (Fig. 19).

Note:You cannot close the cover if no dustbag has been inserted.

Cleaning the exhaust filter

1 To detach the filter grille,push the tab downwards (Fig. 20).

2 Take out the exhaust filter.Shake out the dirt over a dustbin (Fig. 21). 3 Put back the exhaust filter (Fig. 22).

4To reattach the filter grille to the vacuum cleaner,align the two ridges of the grille with the two slots on the vacuum cleaner and close the grille (‘Click’) (Fig. 23).

Replacement

Replace the dustbag if it can no longer be cleaned properly. Reuseable dustbags are available under service number 9965 0001 6015.

English 9

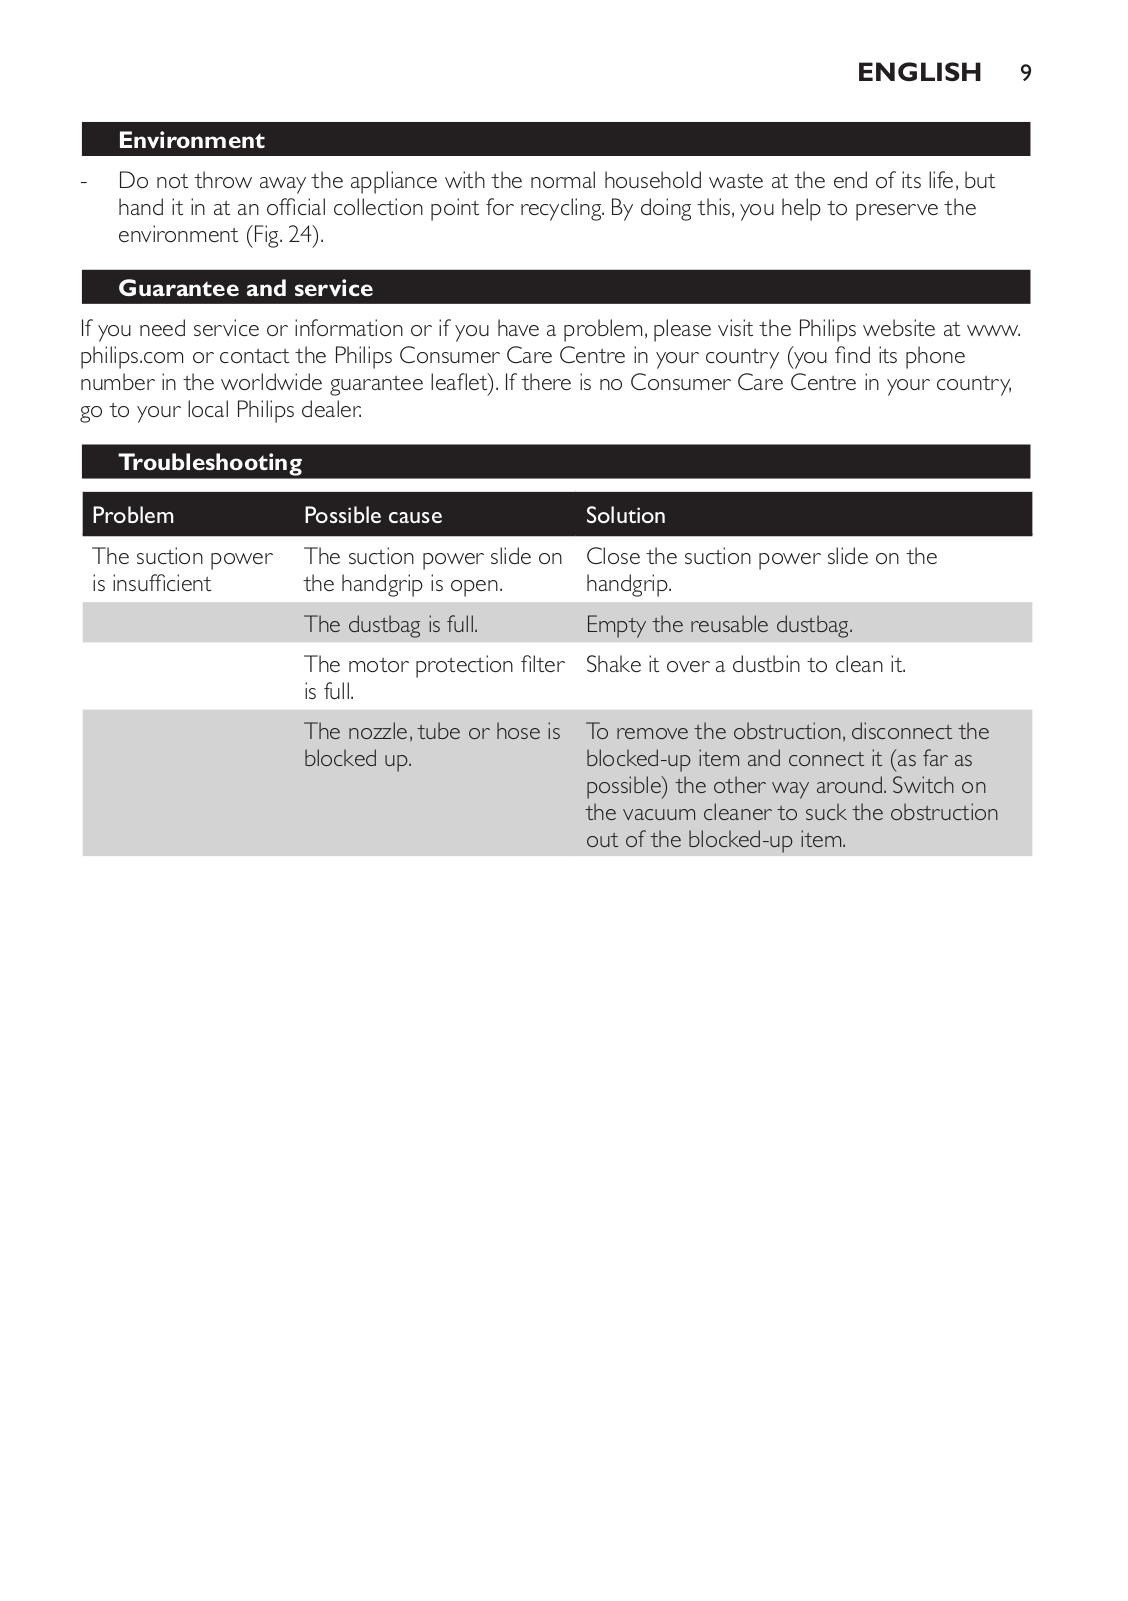
Environment

-- Do not throw away the appliance with the normal household waste at the end of its life, but hand it in at an official collection point for recycling. By doing this, you help to preserve the environment (Fig. 24).

Guarantee and service

If you need service or information or if you have a problem, please visit the Philips website at www. philips.com or contact the Philips Consumer Care Centre in your country (you find its phone number in the worldwide guarantee leaflet). If there is no Consumer Care Centre in your country, go to your local Philips dealer.

Troubleshooting

Problem

Possible cause

Solution

The suction power

The suction power slide on

Close the suction power slide on the

is insufficient

the handgrip is open.

handgrip.


The dustbag is full.

Empty the reusable dustbag.


The motor protection filter

Shake it over a dustbin to clean it.


is full.


The nozzle, tube or hose is blocked up.

To remove the obstruction, disconnect the blocked-up item and connect it (as far as possible) the other way around. Switch on the vacuum cleaner to suck the obstruction out of the blocked-up item.

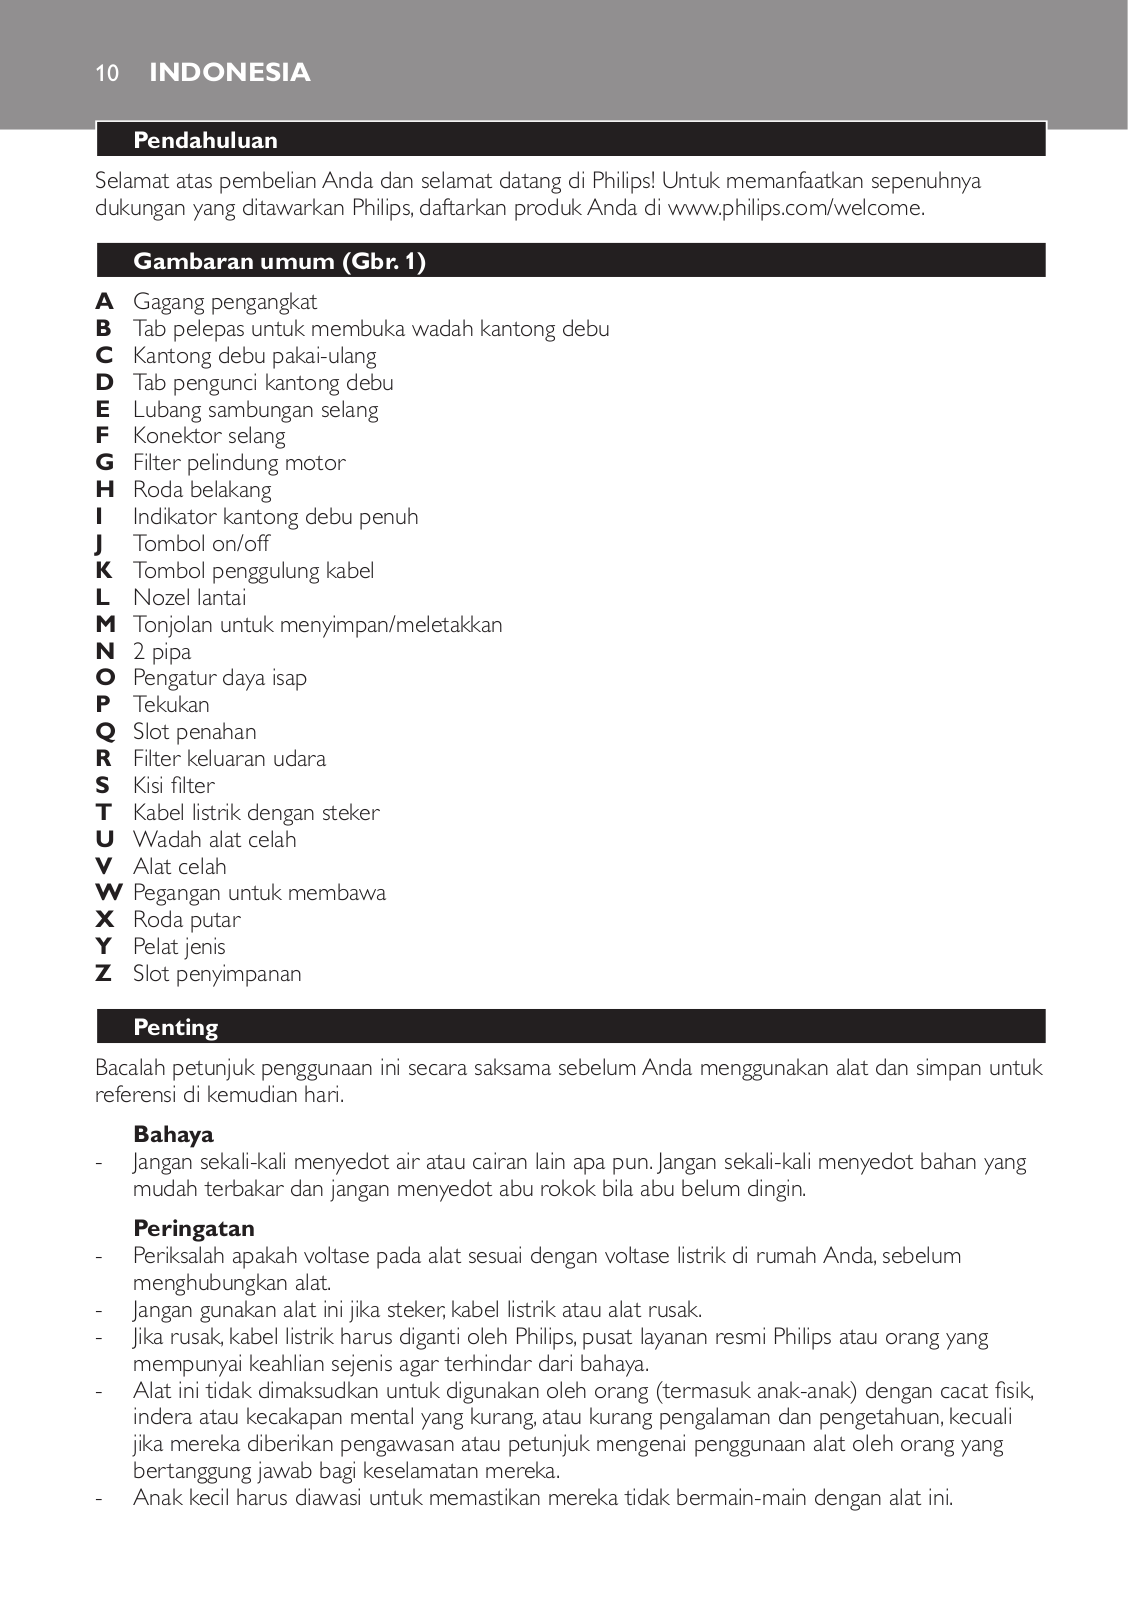
10 Indonesia

Pendahuluan

Selamat atas pembelian Anda dan selamat datang di Philips! Untuk memanfaatkan sepenuhnya dukungan yang ditawarkan Philips, daftarkan produk Anda di www.philips.com/welcome.

Gambaran umum (Gbr. 1)

A Gagang pengangkat

B Tab pelepas untuk membuka wadah kantong debu

C Kantong debu pakai-ulang

D Tab pengunci kantong debu

E Lubang sambungan selang

F Konektor selang

G Filter pelindung motor

H Roda belakang

I Indikator kantong debu penuh

JTombol on/off

K Tombol penggulung kabel

L Nozel lantai

M Tonjolan untuk menyimpan/meletakkan

N 2 pipa

O Pengatur daya isap

P Tekukan

Q Slot penahan

R Filter keluaran udara

S Kisi filter

T Kabel listrik dengan steker

U Wadah alat celah

V Alat celah

W Pegangan untuk membawa

X Roda putar

Y Pelat jenis

Z Slot penyimpanan

Penting

Bacalah petunjuk penggunaan ini secara saksama sebelum Anda menggunakan alat dan simpan untuk referensi di kemudian hari.

Bahaya

-- Jangan sekali-kali menyedot air atau cairan lain apa pun. Jangan sekali-kali menyedot bahan yang mudah terbakar dan jangan menyedot abu rokok bila abu belum dingin.

Peringatan

-- Periksalah apakah voltase pada alat sesuai dengan voltase listrik di rumah Anda, sebelum menghubungkan alat.

-- Jangan gunakan alat ini jika steker, kabel listrik atau alat rusak.

-- Jika rusak, kabel listrik harus diganti oleh Philips, pusat layanan resmi Philips atau orang yang mempunyai keahlian sejenis agar terhindar dari bahaya.

-- Alat ini tidak dimaksudkan untuk digunakan oleh orang (termasuk anak-anak) dengan cacat fisik, indera atau kecakapan mental yang kurang, atau kurang pengalaman dan pengetahuan, kecuali jika mereka diberikan pengawasan atau petunjuk mengenai penggunaan alat oleh orang yang bertanggung jawab bagi keselamatan mereka.

-- Anak kecil harus diawasi untuk memastikan mereka tidak bermain-main dengan alat ini.

Indonesia 11

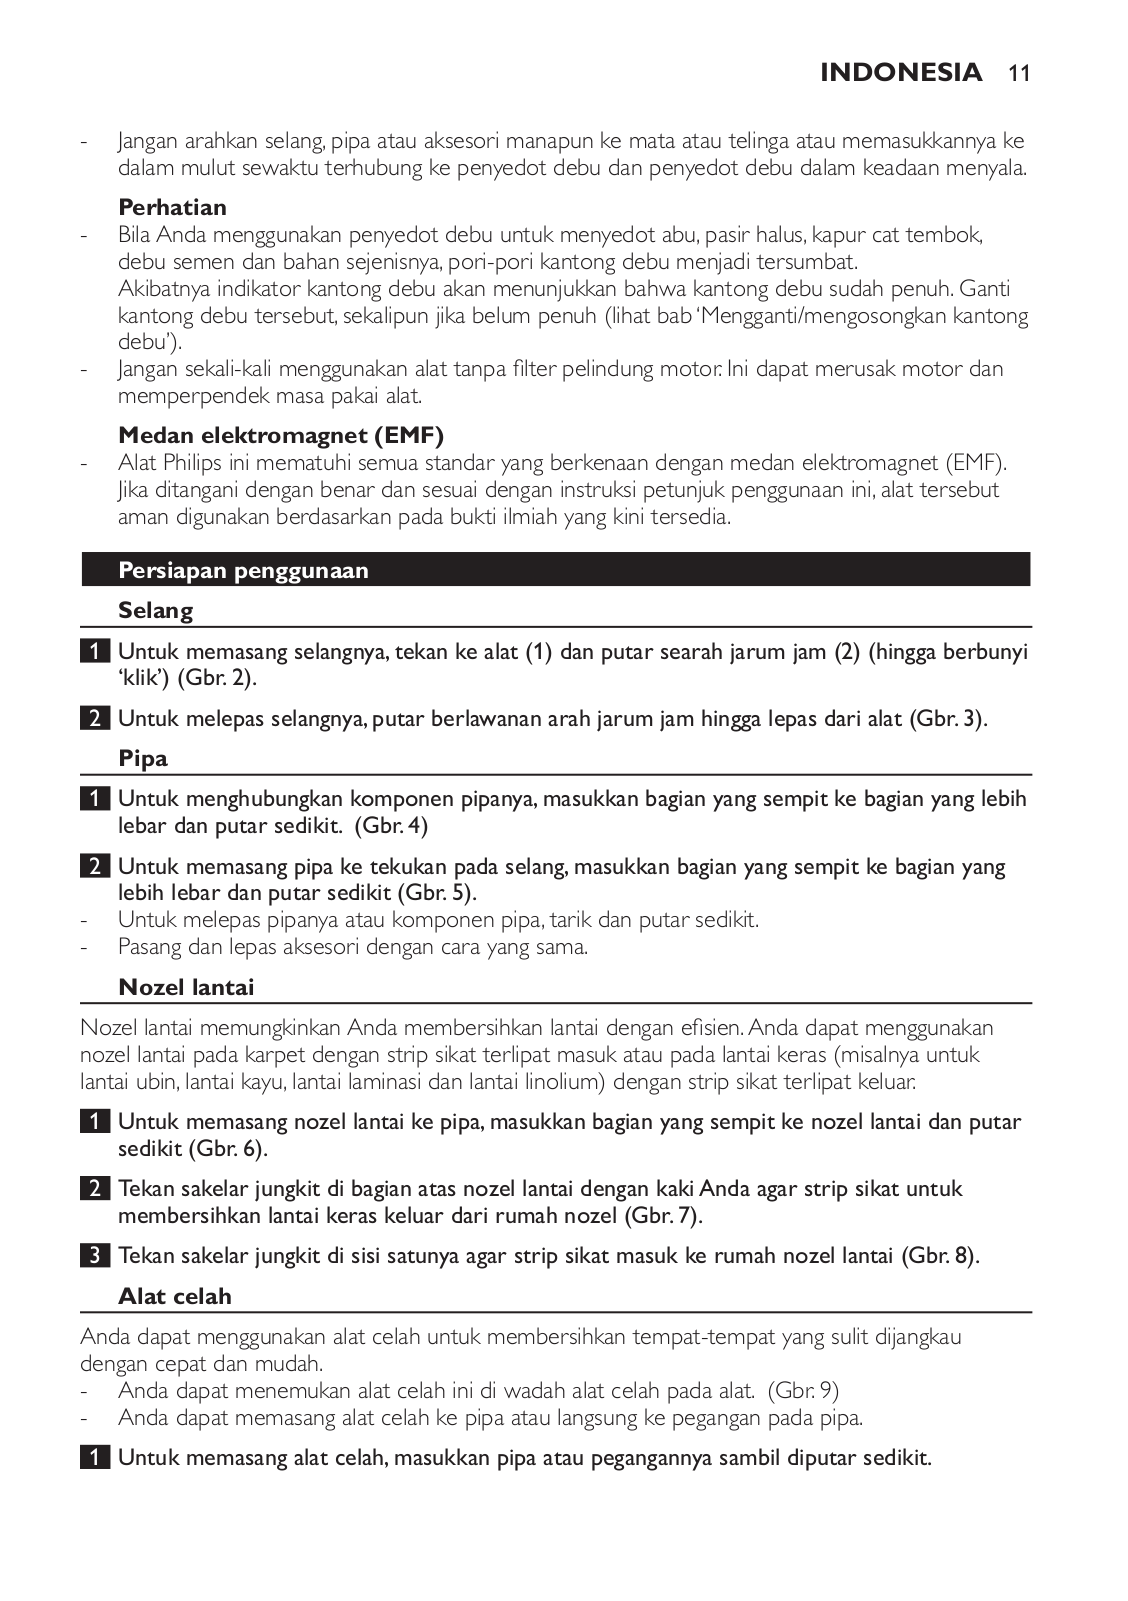
-- Jangan arahkan selang, pipa atau aksesori manapun ke mata atau telinga atau memasukkannya ke dalam mulut sewaktu terhubung ke penyedot debu dan penyedot debu dalam keadaan menyala.

Perhatian

-- Bila Anda menggunakan penyedot debu untuk menyedot abu, pasir halus, kapur cat tembok, debu semen dan bahan sejenisnya, pori-pori kantong debu menjadi tersumbat. Akibatnya indikator kantong debu akan menunjukkan bahwa kantong debu sudah penuh. Ganti kantong debu tersebut, sekalipun jika belum penuh (lihat bab‘Mengganti/mengosongkan kantong debu’).

-- Jangan sekali-kali menggunakan alat tanpa filter pelindung motor. Ini dapat merusak motor dan memperpendek masa pakai alat.

Medan elektromagnet (EMF)

-- Alat Philips ini mematuhi semua standar yang berkenaan dengan medan elektromagnet (EMF). Jika ditangani dengan benar dan sesuai dengan instruksi petunjuk penggunaan ini, alat tersebut aman digunakan berdasarkan pada bukti ilmiah yang kini tersedia.

Persiapan penggunaan

Selang

1Untuk memasang selangnya,tekan ke alat (1) dan putar searah jarum jam (2) (hingga berbunyi ‘klik’) (Gbr. 2).

2Untuk melepas selangnya,putar berlawanan arah jarum jam hingga lepas dari alat (Gbr. 3).

Pipa

1Untuk menghubungkan komponen pipanya,masukkan bagian yang sempit ke bagian yang lebih lebar dan putar sedikit. (Gbr. 4)

2Untuk memasang pipa ke tekukan pada selang,masukkan bagian yang sempit ke bagian yang lebih lebar dan putar sedikit (Gbr. 5).

-- Untuk melepas pipanya atau komponen pipa, tarik dan putar sedikit. -- Pasang dan lepas aksesori dengan cara yang sama.

Nozel lantai

Nozel lantai memungkinkan Anda membersihkan lantai dengan efisien.Anda dapat menggunakan nozel lantai pada karpet dengan strip sikat terlipat masuk atau pada lantai keras (misalnya untuk lantai ubin, lantai kayu, lantai laminasi dan lantai linolium) dengan strip sikat terlipat keluar.

1Untuk memasang nozel lantai ke pipa,masukkan bagian yang sempit ke nozel lantai dan putar sedikit (Gbr. 6).

2Tekan sakelar jungkit di bagian atas nozel lantai dengan kakiAnda agar strip sikat untuk membersihkan lantai keras keluar dari rumah nozel (Gbr. 7).

3Tekan sakelar jungkit di sisi satunya agar strip sikat masuk ke rumah nozel lantai (Gbr. 8).

Alat celah

Anda dapat menggunakan alat celah untuk membersihkan tempat-tempat yang sulit dijangkau dengan cepat dan mudah.

-- Anda dapat menemukan alat celah ini di wadah alat celah pada alat.  (Gbr. 9) -- Anda dapat memasang alat celah ke pipa atau langsung ke pegangan pada pipa.

1 Untuk memasang alat celah, masukkan pipa atau pegangannya sambil diputar sedikit.

12 Indonesia

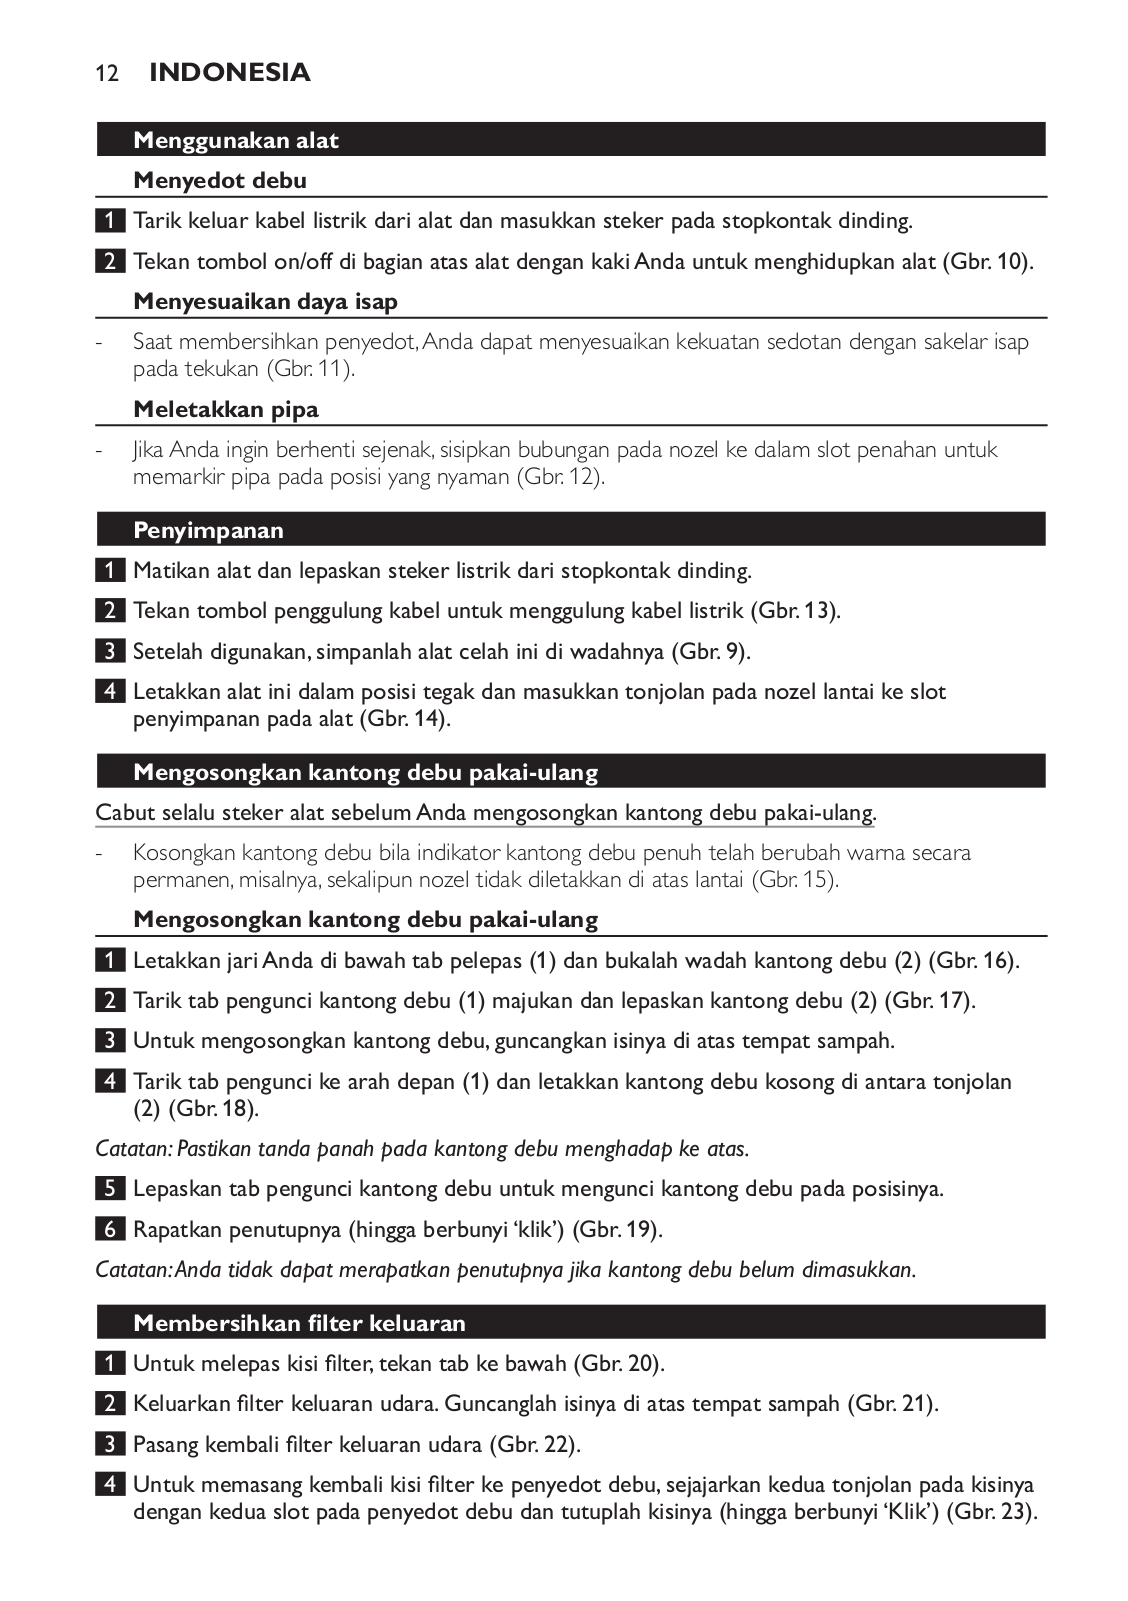
Menggunakan alat

Menyedot debu

1 Tarik keluar kabel listrik dari alat dan masukkan steker pada stopkontak dinding.

2Tekan tombol on/off di bagian atas alat dengan kakiAnda untuk menghidupkan alat (Gbr. 10).

Menyesuaikan daya isap

-- Saat membersihkan penyedot,Anda dapat menyesuaikan kekuatan sedotan dengan sakelar isap pada tekukan (Gbr. 11).

Meletakkan pipa

-- Jika Anda ingin berhenti sejenak, sisipkan bubungan pada nozel ke dalam slot penahan untuk memarkir pipa pada posisi yang nyaman (Gbr. 12).

Penyimpanan

1 Matikan alat dan lepaskan steker listrik dari stopkontak dinding.

2 Tekan tombol penggulung kabel untuk menggulung kabel listrik (Gbr. 13). 3 Setelah digunakan,simpanlah alat celah ini di wadahnya (Gbr. 9).

4Letakkan alat ini dalam posisi tegak dan masukkan tonjolan pada nozel lantai ke slot penyimpanan pada alat (Gbr. 14).

Mengosongkan kantong debu pakai-ulang

Cabut selalu steker alat sebelumAnda mengosongkan kantong debu pakai-ulang.

-- Kosongkan kantong debu bila indikator kantong debu penuh telah berubah warna secara permanen, misalnya, sekalipun nozel tidak diletakkan di atas lantai (Gbr. 15).

Mengosongkan kantong debu pakai-ulang

1 Letakkan jariAnda di bawah tab pelepas (1) dan bukalah wadah kantong debu (2) (Gbr. 16). 2 Tarik tab pengunci kantong debu (1) majukan dan lepaskan kantong debu (2) (Gbr. 17).

3 Untuk mengosongkan kantong debu,guncangkan isinya di atas tempat sampah.

4Tarik tab pengunci ke arah depan (1) dan letakkan kantong debu kosong di antara tonjolan (2) (Gbr. 18).

Catatan:Pastikan tanda panah pada kantong debu menghadap ke atas.

5 Lepaskan tab pengunci kantong debu untuk mengunci kantong debu pada posisinya. 6 Rapatkan penutupnya (hingga berbunyi‘klik’) (Gbr. 19).

Catatan:Anda tidak dapat merapatkan penutupnya jika kantong debu belum dimasukkan.

Membersihkan filter keluaran

1 Untuk melepas kisi filter,tekan tab ke bawah (Gbr. 20).

2 Keluarkan filter keluaran udara.Guncanglah isinya di atas tempat sampah (Gbr. 21). 3 Pasang kembali filter keluaran udara (Gbr. 22).

4Untuk memasang kembali kisi filter ke penyedot debu,sejajarkan kedua tonjolan pada kisinya dengan kedua slot pada penyedot debu dan tutuplah kisinya (hingga berbunyi‘Klik’) (Gbr. 23).

Loading...
+ 28 hidden pages