

Philips CT8598/000000EU, CT8598/000APMEA, CT8598/00SBASIA, CT8598/00SBEURO, CT8598/ALUSA0P2 User Manual
...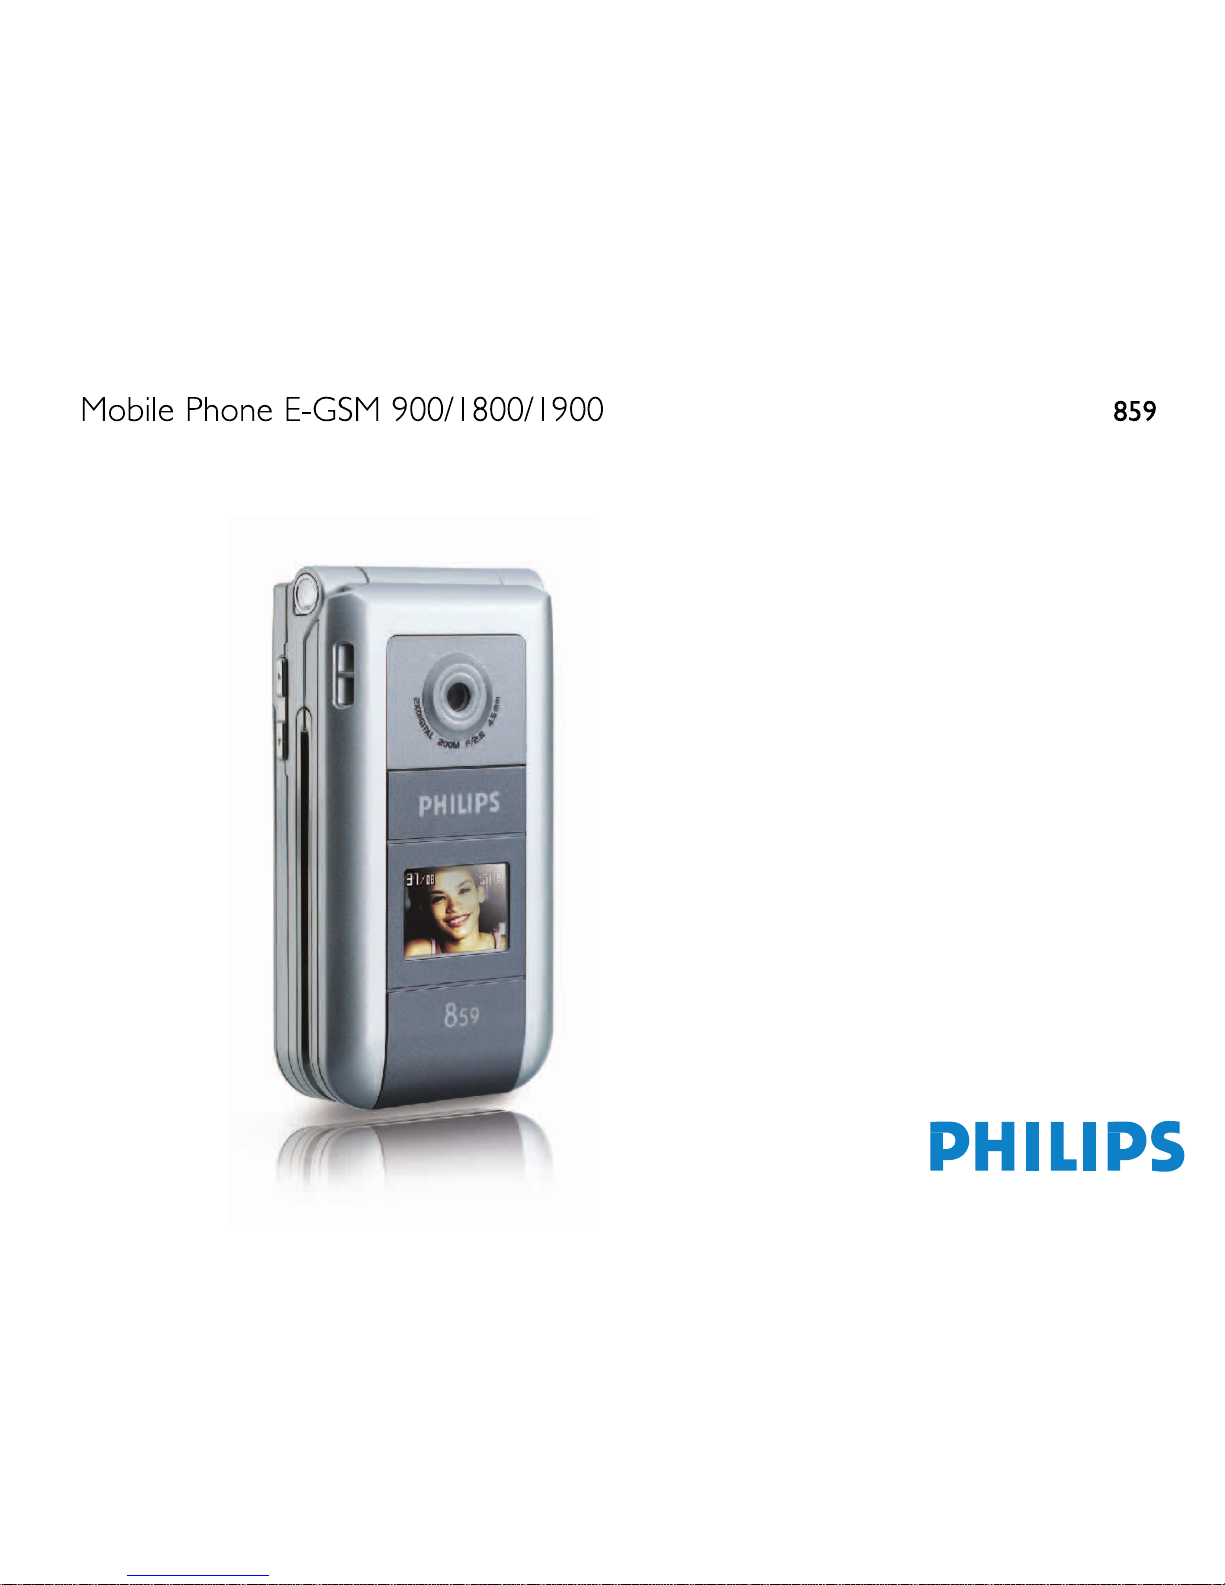

Discover your phone
Navigation
and
,
keys
65 000 colours
main screen
Hang up and
)
on/off keys
Side keys
(volume)
Back of
the
phone:
camera
lens and 4 000
colours external
screen
How to...
Switch phone On/
Off
Press
)
to switch on,
long press to switch off.
Enter PIN code
Enter your PIN code using
the keypad and press
,
or
#
to confirm.
Press and hold either side key

Reject a call
Press
)
or press and hold
either side key (in this case,
the phone must be closed).
Access the main
menu
Press
,
in idle mode.
Access the
Contacts
Press
-
in idle mode.
Use the
Contacts
Browse the list by
moving
+or-
and
press
(
to call the selected
Access a function
in the menu
Press
,
, move
<
or
>
to select a function,
then press
,
to enter the
sub-menu. Repeat to reach
the desired function.
Quickly open the
MMS
menu
Press
<
in idle mode.
Quickly send an
SMS
Press
>
in idle mode
(opens the names list for you

of your choice is selected, or
c
to cancel. Another
sub-carousel or list will then appear.
Pressing
+or-
will alternate between two
options, such as Activate/Deactivate, On/Off,
Increase/Decrease a value, etc.
Browse carousels and lists until you reach the desired
feature or option. When navigating in a list, a scroll
bar located on the right hand side of the screen shows
your actual position in the list. With the navigation
key, you can then select or adjust all the functions of
your phone as described in the relevant chapter of this
user guide.
Some events may modify the idle screen (missed call,
new message, etc.). Press
,
to access the
corresponding menu or press
c
to go back to the
idle screen.
Events

Table of contents
1. Getting started ............................................1
Insert the SIM card ...........................................1
Switch on the phone ........................................2
Set date and time ..............................................2
Copy the SIM phonebook ...............................2
Charge the battery ...........................................2
2. Main features ................................................4
Read your mobile phone number ................. 7
Clear the call list ...............................................7
Clear the SMS list .............................................7
Clear the phonebook ......................................8
Quickly scroll a list ...........................................8
3. Menu tree .......................................................9
4. Text or number entry ......................... 12

Security .............................................................26
Network .......................................................... 27
Time and date .................................................29
Language ...........................................................30
Profiles .............................................................. 30
8. Messages ....................................................... 32
SMS .................................................................... 32
E-Mail ................................................................ 35
SMS chat ........................................................... 40
Broadcast SMS ................................................ 40
11. Games & Applications ...................... 52
Euro converter ............................................... 52
Calculator ........................................................ 52
Alarm clock ..................................................... 52
Organiser ......................................................... 52
JAVA ................................................................. 54
Brick game ....................................................... 54
12. Call information .................................... 55
Call settings ..................................................... 55
Call list .............................................................. 56

1 • Getting started
Read the safety instructions in the «Precautions» section
before use.
To use your phone, you must insert a valid SIM card
supplied by your GSM operator or retailer. The SIM
card contains your subscription, your mobile number,
and memory in which you can store phone numbers
and messages (see “Contacts” page 19).
2.
Remove the SIM card from its holder and insert
it under the metal clip holder, until it stops. Be
careful that the clipped corner of the card is in
the correct corner.
3.
Place the battery in its slots as shown below: first

5.
Remove the protective film covering the screens
and the camera lens before using the phone.
For complete date and time options, see page 46.
If at first switch on, if you do not copy the SIM
phonebook, see “Contacts select” page 19.
The mobile phone detects a SIM card that already
contains names and a message asks you if you want to
copy your SIM phonebook onto the built-in
phonebook. Press
c
to cancel or
,
to accept.
Switch on the phone
Copy the SIM phonebook

LEFT
hand socket at the base of the phone on
one end, then plug it into a main AC power
socket with easy access on the other end.
2.
The battery symbol indicates the state of charge:
- during charging, the 4 charge indicators scroll;
Each bar represents around 25% of charge and
it takes around 1.45 hours to fully recharge
your mobile phone.
- when all 4 bars are steady the battery is fully
charged: disconnect the charger. Depending
on the network and condition of use, talk time
Keeping the charger plugged to the mobile when the
battery is fully charged doesn’t damage the battery.
The only way to turn off the charger is to unplug it, so
use an easily accessible AC power socket. You can
connect the charger to an IT supply (Belgium only).

2 • Main features
In idle mode, press
-
. Depending
on the selected phonebook (in SIM or
in phone, see “Contacts” page 1), the
content that appears on the screen may vary.
To view the phonebook during a call, press
,
and
select View Names List. Press
c
twice to return to
When receiving a call, the number of the caller may be
displayed. If you stored his/her number, his/her name
is displayed instead of the number.
1.
To answer the call, press
(
.
2.
To re j ec t a ca l l, pr es s
)
. If you have activated
“Active flip” (see page 55), the call is diverted to
a number or voice mail.
3.
To hang up, press
)
.
Access and view the phonebook
Contact s
Answer and end a call

2.
A default picture will automatically appear on
the TV screen, while the TV slideshow menu
will be displayed on the screen of your phone.
3.
Use the menu of your phone to set an automatic
slideshow, or display the pictures manually by
pressing
+
and
-
.
TV Link only support JPEG pictures, up to VGA size
(640 x 480 pixels). See “TV Slideshow” page 50 for
details about this feature.
This feature allows you to quickly send a message
made of a picture and a sound.
1.
When in idle mode, press the camera key to
activate the camera. If needed, press
#
to
switch to the Clip mode.
2.
Press the camera key to take a picture; Record
sound then opens automatically.
Foto Talk: send voice clips with
pictures

1.
When in idle mode, press the camera key once to
activate the camera, and a second time to take a
picture of your friend.
2.
Select Contacts > Settings > Groups setting.
Rename a group and select the Ringer of your
choice, then your friend’s picture.
When making a group of only one person, you can also
select Multimedia > Sound recording > New, record
him/her saying something, then select the recording as
the Ringer.
If already on the phone, press
,
twice to switch to
handsfree mode and back.
Select Settings > Sounds > Ringer, press
,
and
move
+or-
to select a ringer in the list. Press
,
to confirm your choice.
If you don’t want your phone to ring
Change the ringer
Activate the silence mode

To read your own mobile phone number, press
-
when in idle mode and select Own numbers > Show.
Your number is displayed if present on your SIM card.
If not, select New, then follow the instructions.
If your own number has been stored in the phonebook,
you can read it during a call. See “Access and view the
phonebook” page 4.
In most countries, conversation
recording is subject to law regulation.
We advise you to notify the caller if you
intend to record the conversation you have with them
and only record if they agree. You should also keep any
recording private. 1 min. is the maximum recording
time available (see “Sound recording” page 51).
To record a conversation during a call, press
,
,
Read your mobile phone number
Record a conversation
Record dialogue

You can also delete all the SMS messages from the SMS
Archive menu. Deleting your SMS list is useful to free
memory space in order to receive new messages
This option only applies to the phonebook in your
phone, NOT to the SIM phonebook.
To clear the content of your phonebook at once, press
,
and select Contacts > Settings > Delete all.
Press
,
to reset the phonebook content.
When browsing a list, long press
+
or
-
to scroll
page per page instead of item by item.
This doesn’t apply to the list of ringers.
Clear the phonebook
Quickly scroll a list

3 • Menu tree
The table below describe the complete menu tree (first
to third levels) of your mobile phone, as well as the
page reference you should refer to for more
information concerning each feature or setting.
Settings p23
Sounds p23
Network p27
GPRS attach / Register again / Preferred list
/ Access settings
Time and date p29
Clock display / Set date / Date format / Time
zone / Daylight saving / Set time
Language p30
List of available languages

SMS chat p40
MMS p40
New MMS / Receive an MMS / Manage
folders / Settings
Multimedia p48
Picture album p48
Games & Applications p52
Euro converter p52
Calculator p52
Alarm clock p52

Call information p55
Call settings p55
Active flip / Mailboxes / Auto redial / Any
key answer / Call waiting / Caller ID
Call list p56
Call list / Reset
Call counters p57
Operator services p58
Service numbers
The numbers available in this menu are
operator and subscription-dependent, please
check with your operator.
WAP p58

4 • Text or number entry
Text can be entered in editing screens in two different
ways: by using T9
®
predictive Text Input, or basic
text input. Two other modes for numbers and
punctuation marks, are also available. Icons appearing
on the screen show the active text mode.
What is it?
How to use it?
Alphabets and symbols represented by each key are as
follows:
T9® Text input
2
to
9
To key in letters.
<
or
>
To browse the list of candidate words.
,
or
1
To confirm entry.
c
Short press to clear one entry, long

If you wish to access the basic text input, press
*
.
This method requires multiple key presses to reach the
desired character: the letter "h" is the second letter on
the
4
key, so you must press it twice to enter "h".
Example: how to enter the word "home":
Press
4, 4
(GHI)
6, 6, 6
(MNO),
6
(MNO),
3, 3
(DEF). Press
,
when
the message is completed.
Letters, numbers and symbols are located on each key
as follows:
Basic text input
Short press Long press
1
space 1 @ _ # = < > ( )
& £ $ ¥ . 0 , / : ; » ’ ! ¡ ? ¿
* + - %
1
2
a b c 2 à ä å æ ç 2
3
d e f 3 é è D F 3

5 • Taking pictures
Your mobile phone features a digital camera that
allows you to take pictures, store them in your phone,
use them as wallpaper or send them to your friends.
How to...
Activate/deactivate
the camera
Press the
C
key to activate,
OR
press
,
and select the
menu
Camera
.
Change the
special effect
Press the navigation key
<
(left) or
>
(right) to switch
from a special effect (sepia,
embossed, etc.) to another.
Access the
camera settings
Press
,
when the camera
is active.
Tak e a p ic tu r e
Press
C
when the camera
is active.
Save the picture
Press
C
right after the

Preview mode settings
Press
C
to display the camera preview screen: the
lens of the camera is automatically focused and icons
are displayed in the bottom (
Zoom
, Effects,
Camera
mode, Shot) and eventually, if set on, on top (
Self-
timer
,
Vision
) of the screen.
All options and key presses described in this section are
applicable only when the camera mode is active, i.e.
Pictures shots
NAVIGATION KEYS AUTOM ATICALLY
ADAPT TO VERTICAL OR HORIZONTAL
POSITION (preview, key presses, etc.)

The number of pictures you can save varies according
to the settings: the higher the resolution, the bigger
the file size. A message will warn you if there isn’t
enough memory left. In this case, you must delete data
before storing a new picture (see “Memory status”
page 51).
Vision
mode
Two vision modes are available:
Normal
and
Night mode
(reflected by the moon
icon in the top of the screen). According
to ambient light level, press
*
to toggle
between modes.
Zoom
mode
This option is available in all modes: onelevel zoom (x2) in
Clip
and
Wallpaper
modes (press the navigation key
+
or
-
to zoom in or out), two-levels zoom
(x2 and x4) in
VGA
mode (as you hold
,
To access the list of available options:
Send
(by MMS, Email or infrared),
Save
it
in the
Picture Album, Modify
it, or
Take a
new picture
.

4.
The count-down starts at -10 seconds (this value
cannot be changed). A beep is played 3 seconds
before the picture is taken, then again when it’s
actually shot.
Press
c
to stop the timer and go back to preview
mode or press
0
to just stop the timer.
5.
Once the picture is shot, follow the instructions
starting at point 2 described in “Take a picture”.
Use the self-portrait
(press
c
to cancel,
,
to stop the recording,
or wait for the max. recording time of
30 seconds to be reached).
3.
Press
,
to access the following options:
Send by
MMS
To
Send
your clip via MMS.
Play clip
To
Play
it.
Saving clip
To
Save
the clip you have created: the
picture in
Picture album
and the

• answering it will quit the camera context and your
phone will return to idle when you hang up,
• rejecting it will also quit the camera context, and
bring you back to the preview screen.
To make a call, you must first go back to the idle
screen.
Press
,
while the camera mode is active to access
further settings than the ones available directly within
the preview screen.
Frames
Settings
Sounds
To s et th e
Alert
and
Shoot
sounds. The
first one occurs 3 seconds before the
shot, the second one when the picture
is shot. Select
Default
or one of the
available sounds, then press
,
to
activate it.
Reset
settings
To reset all values to the default ones.
 Loading...