

Page 1

BiPAP AVAPS
BiPAP S/T
Quick start guide
• Set up device
• Start therapy
• View information
• Comfort settings
• Undocking
• Humidification
• Humidifier settings
Page 2
Set up device
Provider setup menu
Therapy settings
Mode CPAP, S, S/T, T, PC
CPAP 4-20
AVAPS
(not available on BiPAP S/T)
Yes, No
Vte 200-1500
IPAP max 40-25
IPAP min 4-25
IPAP 4-25
EPAP 4 to IPAP
BPM 0-30
Ti 0.5-3.0
Comfort settings
Flex control Yes, No
Flex setting Off, 1, 2, 3
Rise time control Yes, No
Rise time 1-3
Ramp 0-45 min
Ramp start 4 to EPAP
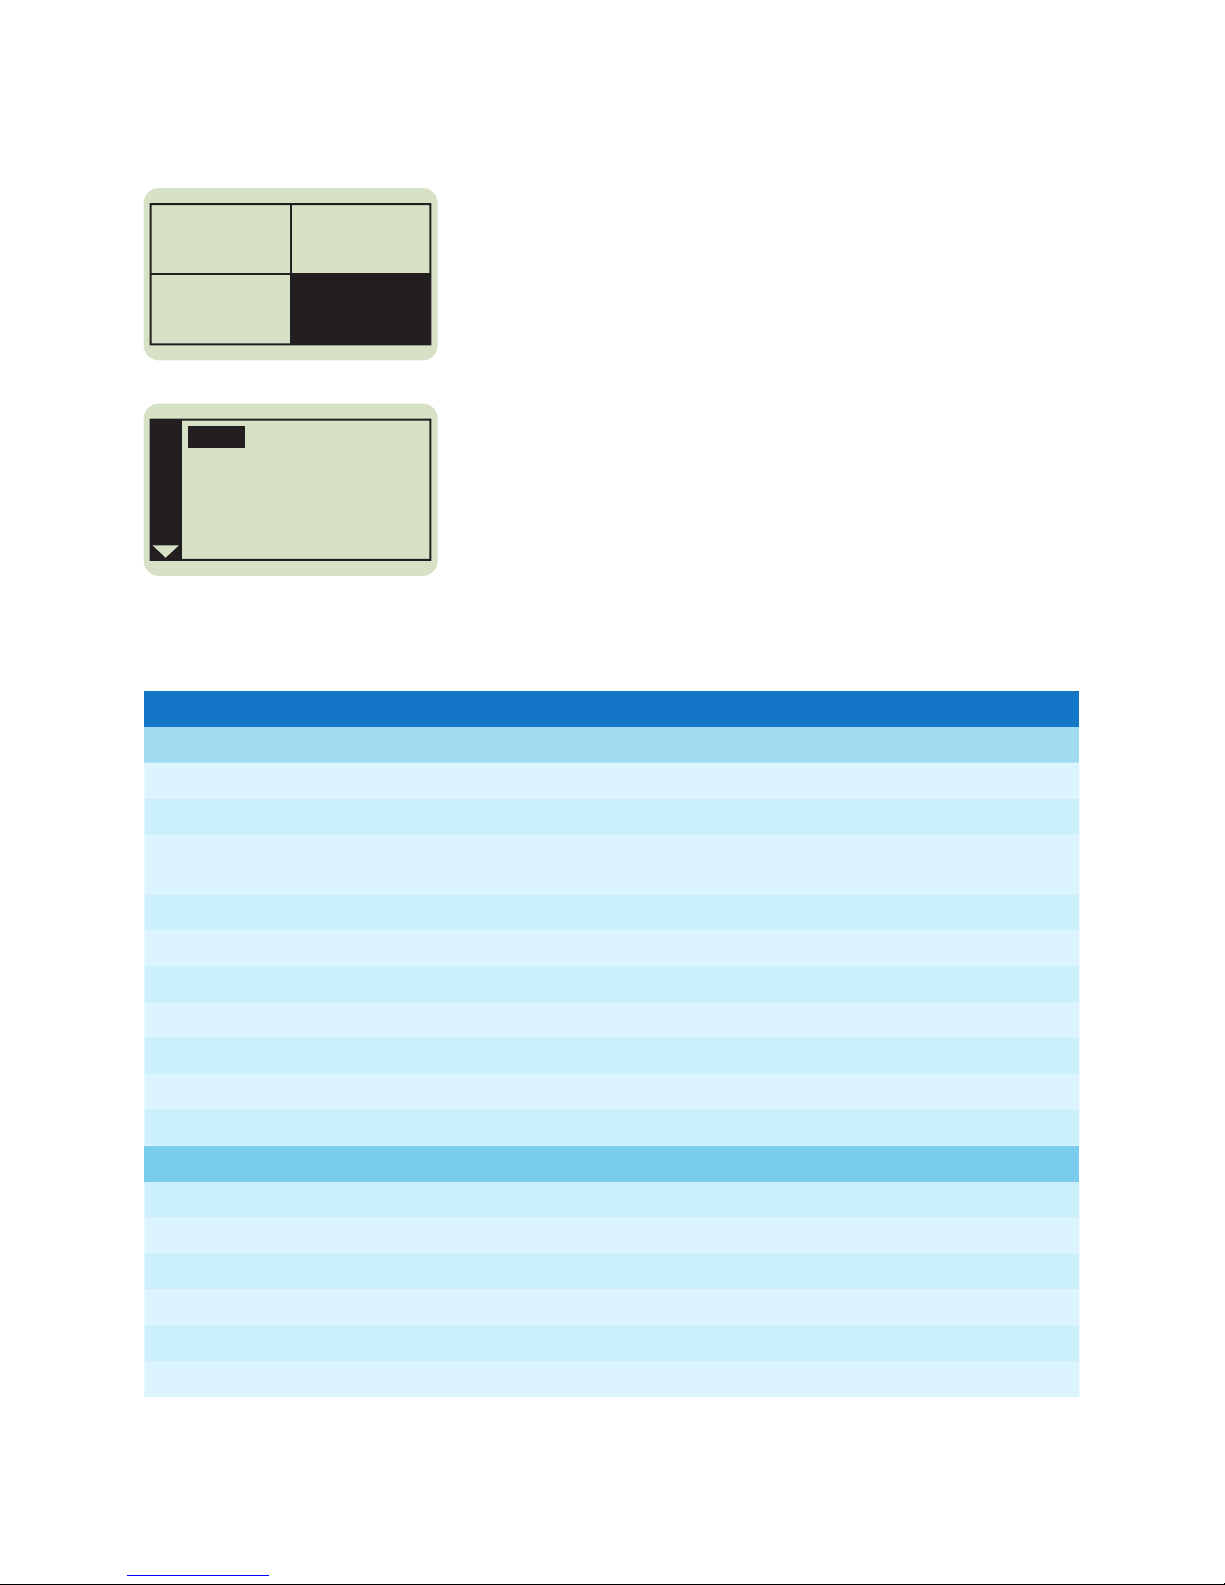
To access provider settings:
1. From the main menu, highlight Setup.
2. Press and hold ramp button and control wheel
simultaneously for 4-5 seconds until beep.
3. Provider Setup screen then appears.
To program device:
1. Turn control wheel to specific setting and press.
2. Turn control wheel to desired option and press control
wheel to select.
3. Turn control wheel to next setting and repeat.
4. To exit, turn control wheel to Back and press.
Therapy Comfort
Info Setup
Back
Mode S/T
AVAPS Off
IPAP 12.0
Setup
Page 3

Provider setup menu (cont.)
Alarm settings
Apnea 0, 10, 20, 30 sec
Patient disconnect 0, 15, 60 sec
Low min vent 0 (off) to 99 lpm in 1.0 increments
Low Vte 0 (off) 1 (on)
System settings
Backlight On, Off
Language English, Italian, Spanish, German, French, icons
hPa/cm H2O hPa, cm H2O
Setup parameter display
1
Leak, RR, Vm, Vte
Humidifier 0 to 5
Reset blower hours Yes, No
Provider mode
2
On, Off
1. Setup parameter display
You can select which measured parameters will display
on the Monitor Pressure screen. Choose from Leak, RR
(Respiratory Rate), Min vent, or Vte. See the Measured
Parameter section of the User Manual for more information.
2. Provider mode
You can choose “on” or “off” to enable or disable provider
mode. Selecting “on” will put the device in provider mode
(and the device will not automatically return to patient mode
when the screen times out or you select the Back option).
Selecting “no” keeps the device in patient mode.
Page 4
Start therapy
View information
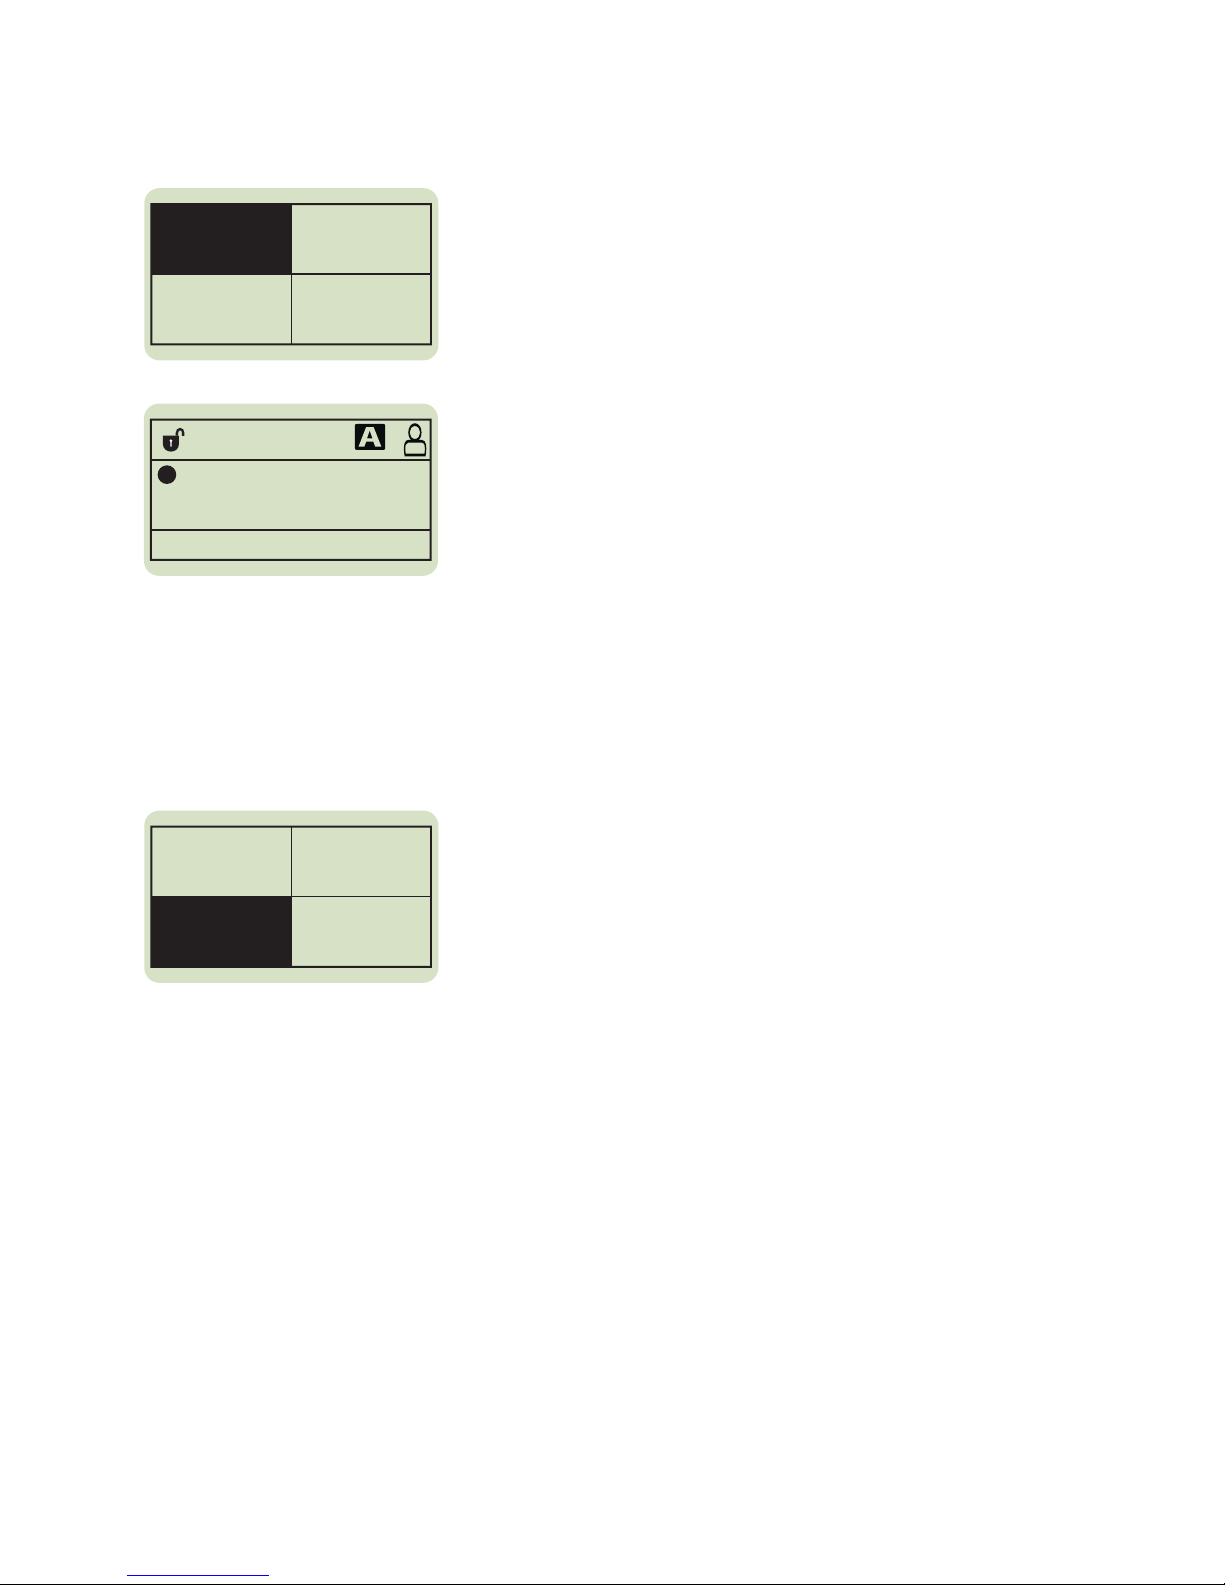
1. From the main menu, turn the control wheel to
Therapy and press.
2. The monitoring screen will be displayed and the
device will start.
Note: You can select the measured parameter to display
on the Monitor Pressure screen. Choose from Leak, RR,
MinVent, or Vte.
In provider screen:
1. Turn the control wheel to Info and press.
2. Turn the control wheel to desired option and press to
view the information identified.
3. To exit out of any option, turn the control wheel to
Back and press.
Therapy Comfort
Info Setup
Therapy Comfort
Info Setup
AVAPS
RR: 10 BPM
S/T
4.0 cmH2O
Page 5
Comfort settings
Undocking
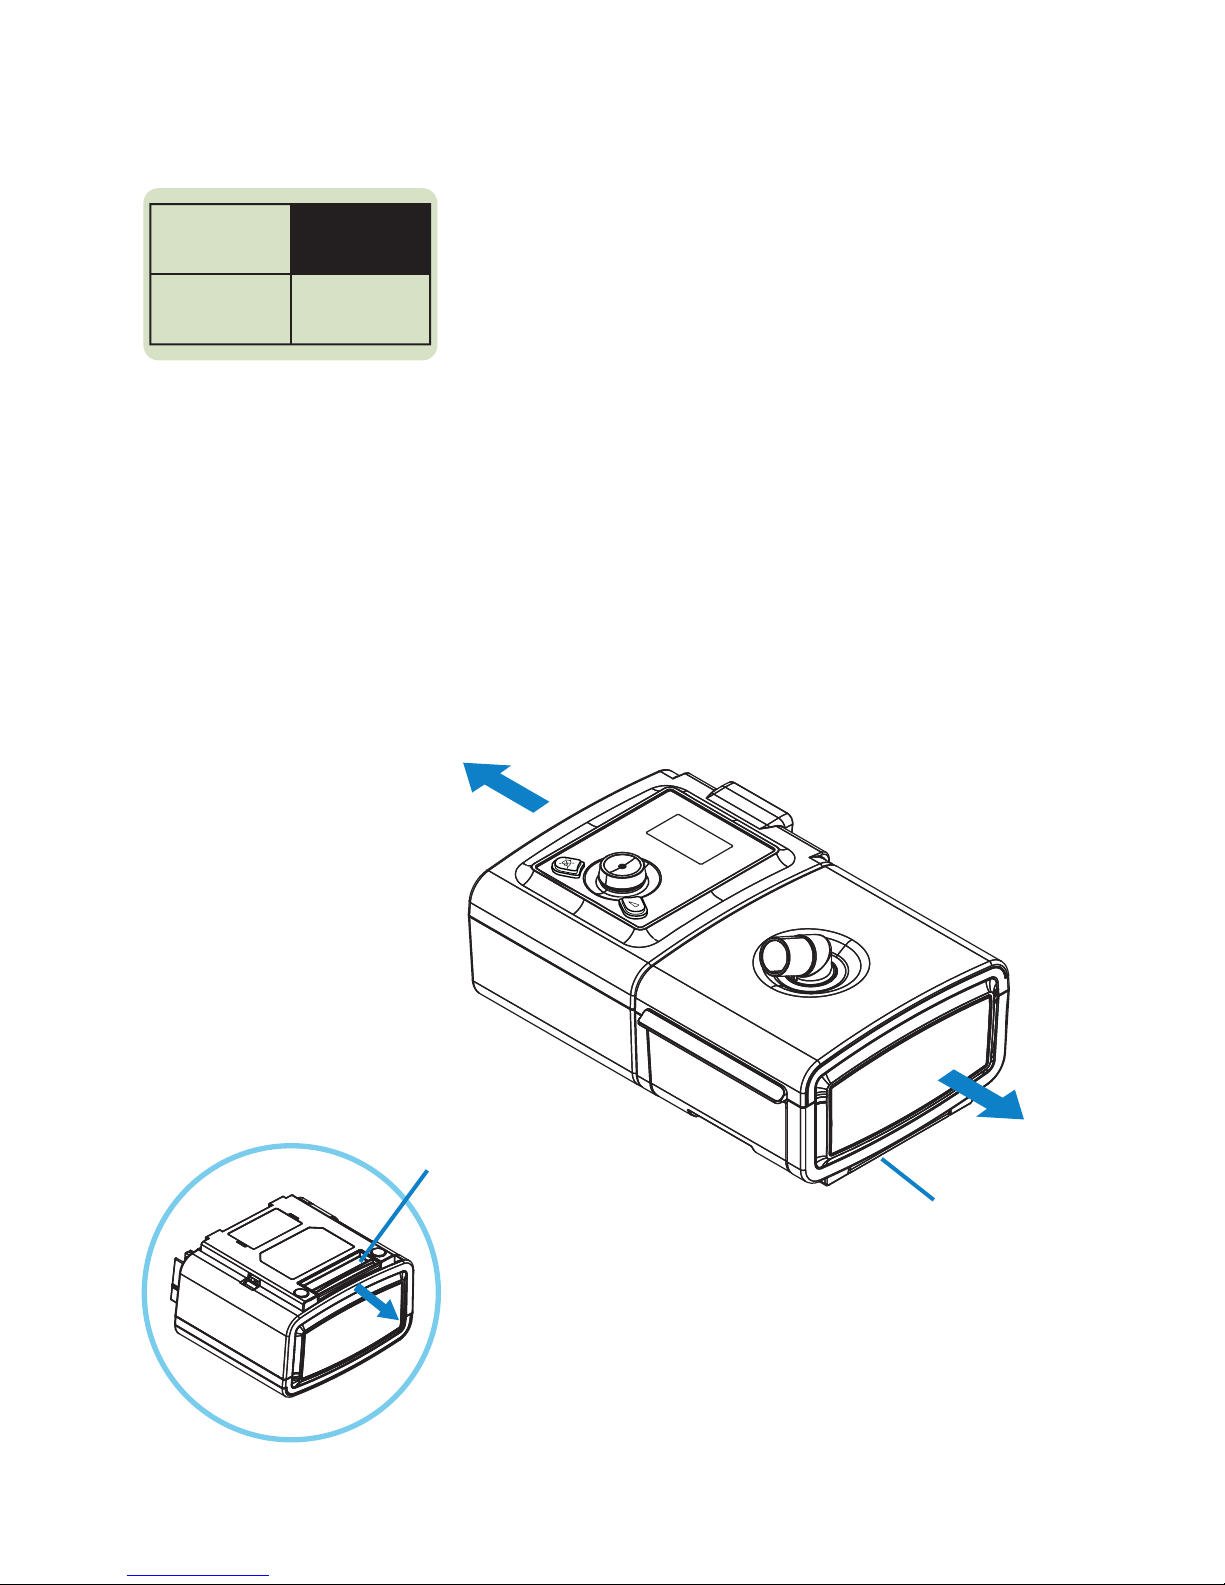
1. From the patient screen, highlight Comfort.
The Flex, Ramp, and Rise Time comfort features will be
shown in this menu selection if enabled.
2. Turn wheel to specific setting and press.
3. Turn control wheel to desired option and press to select.
4. To exit, turn control wheel to Back and press.
Refer to diagram below. Hold entire unit at each end
and slide release latch to the right.
Release latch
Release latch
Release latch
(bottom view)
Therapy Comfort
Info Setup
Page 6
Humidification
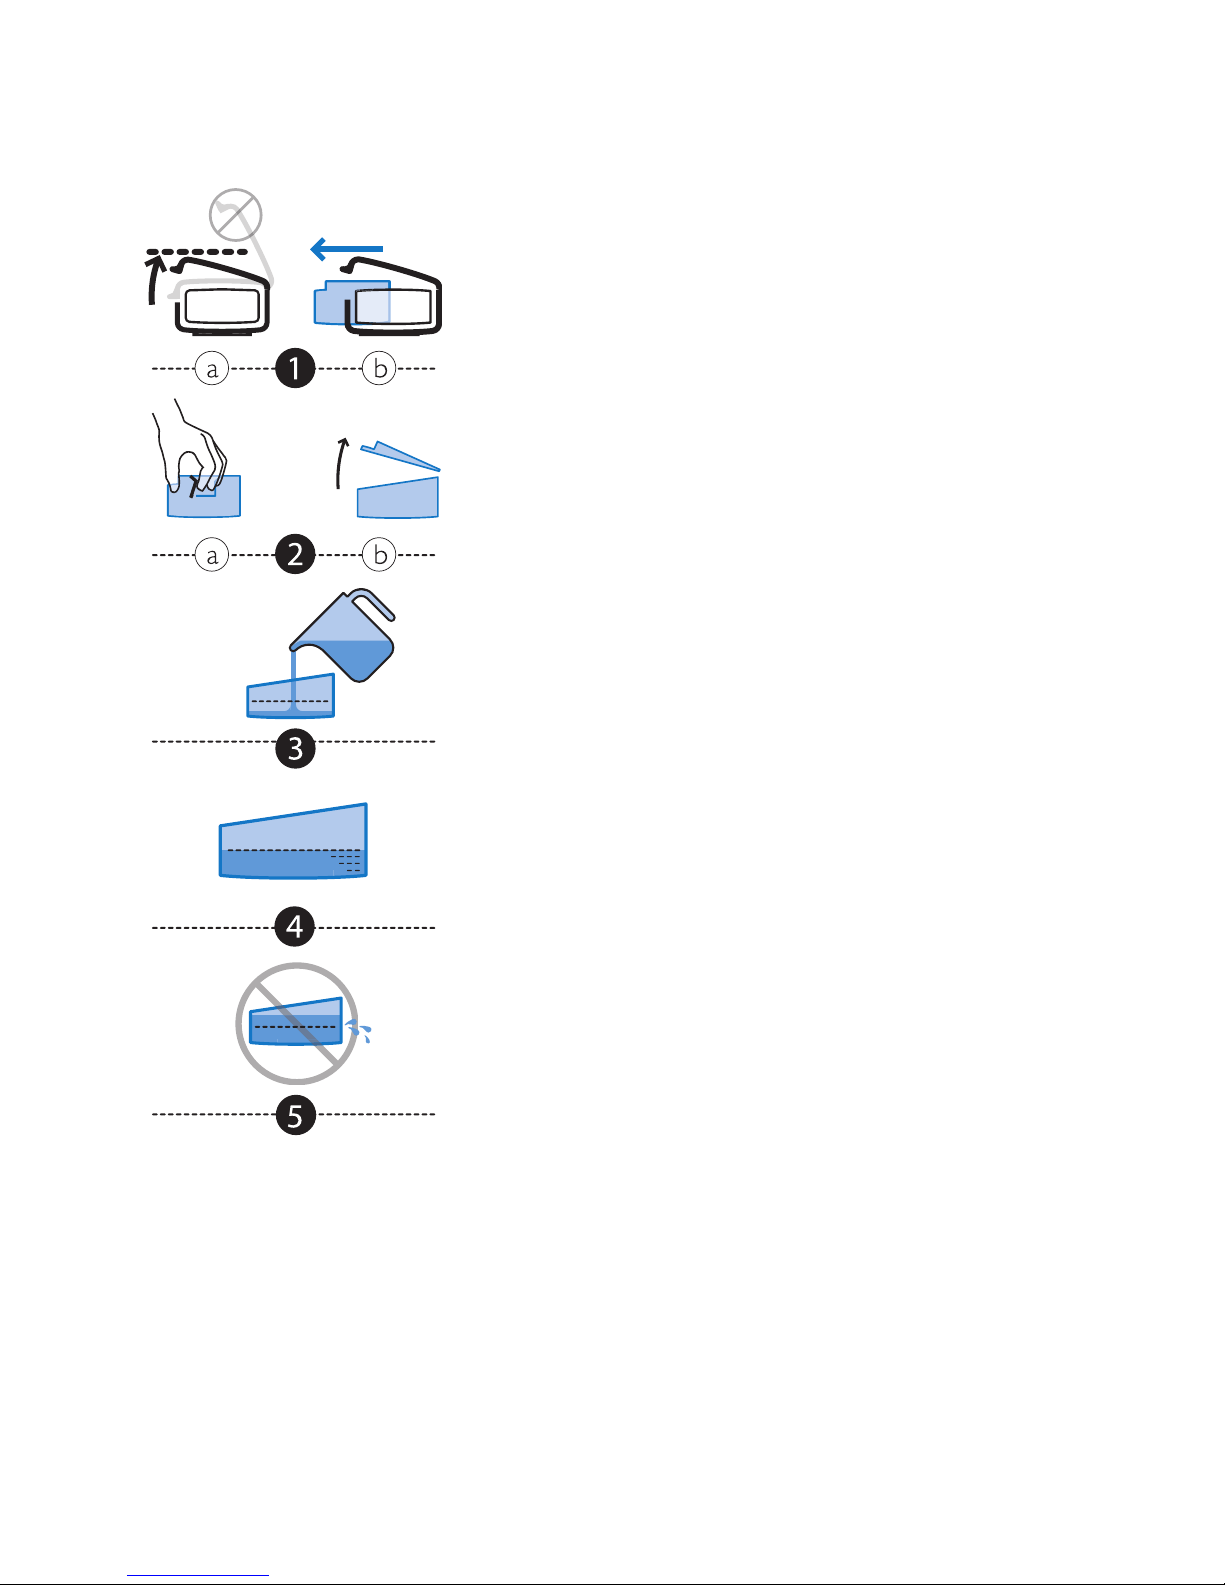
With device turned off, remove and fill chamber with water.
1. (a) Lift humidifier door until it locks in place. Do not force
door higher than the locked position. (b) Grasp front of
chamber and slide toward you.
2. (a) Gently push tab located inside round opening on top
of chamber. (b) Separate top and bottom of chamber.
3. Fill bottom chamber with distilled water.
4. Observe maximum fill lines located on sides of chamber.
5. Do not overfill.
Reassemble the chamber by placing the hinges on lid over the
two tabs on back of chamber. Close lid until it locks in place
with an audible click. Insert filled chamber into humidifier.
Page 7
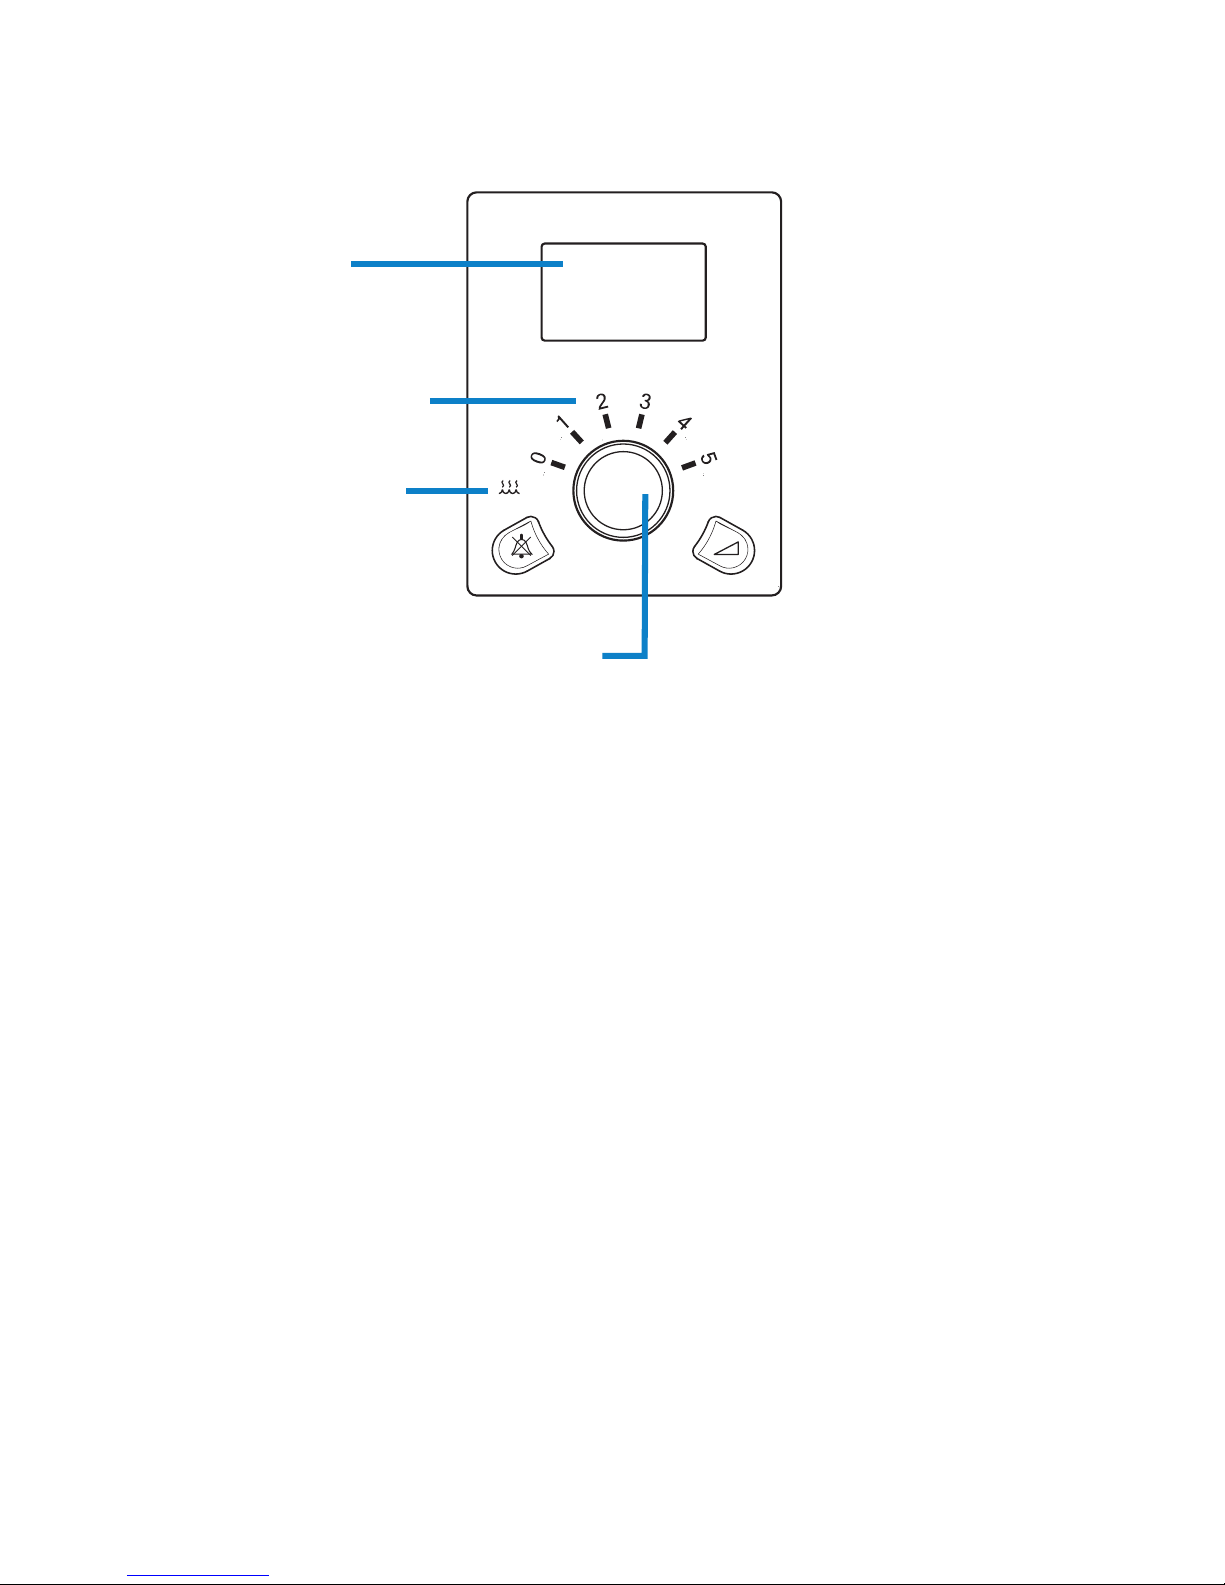
Humidifier settings
1. When blower is activated, the humidification icon and
numerical setting will light up on the device.
2. Turn control wheel to adjust humidifier number to the
desired setting (0 to 5) and press. The settings represent
relative humidity levels that will remain consistent throughout
the night even if room temperature changes.
LCD display
screen
Number settings
Humidifier icon
Control wheel/Push button
Page 8

© 2009 Koninklijke Philips Electronics N.V. All rights are reserved.
Philips Healthcare reserves the right to make changes in specifications and/or to discontinue any
product at any time without notice or obligation and will not be liable for any consequences
resulting from the use of this publication.
Geyer WMB 11/06/09 MCI 4102957 PN 1068822
Respironics, BiPAP and AVAPS are trademarks of Respironics, Inc. and its affiliates.
All rights reserved.
Please visit www.philips.com
Philips Healthcare is part of
Royal Philips Electronics
How to reach us
www.philips.com/healthcare
[email protected]
fax: +31 40 27 64 887
Asia
+852 2821 5888
Europe, Middle East, Africa
+49 7031 463 2254
Latin America
+55 11 2125 0744
North America
+1 425 487 7000
800 285 5585
(toll free, US only)
Philips Respironics
1010 Murry Ridge Lane
Murrysville, PA 15668
Customer Service
+1 724 387 4000
800 345 6443
(toll free, US only)
Respironics Asia Pacific
+65 6298 1088
Respironics Australia
+61 (2) 9666 4444
Respironics Deutschland
+49 8152 93 06 0
Respironics Europe,
Middle East, Africa
+33 1 47 52 30 00
Respironics France
+33 2 51 89 36 00
Respironics Italy
+39 03 62 63 43 1
Respironics Sweden
+46 8 120 45 900
Respironics Switzerland
+41 6 27 45 17 50
Respironics United Kingdom
+44 800 1300 845
www.philips.com/respironics
 Loading...